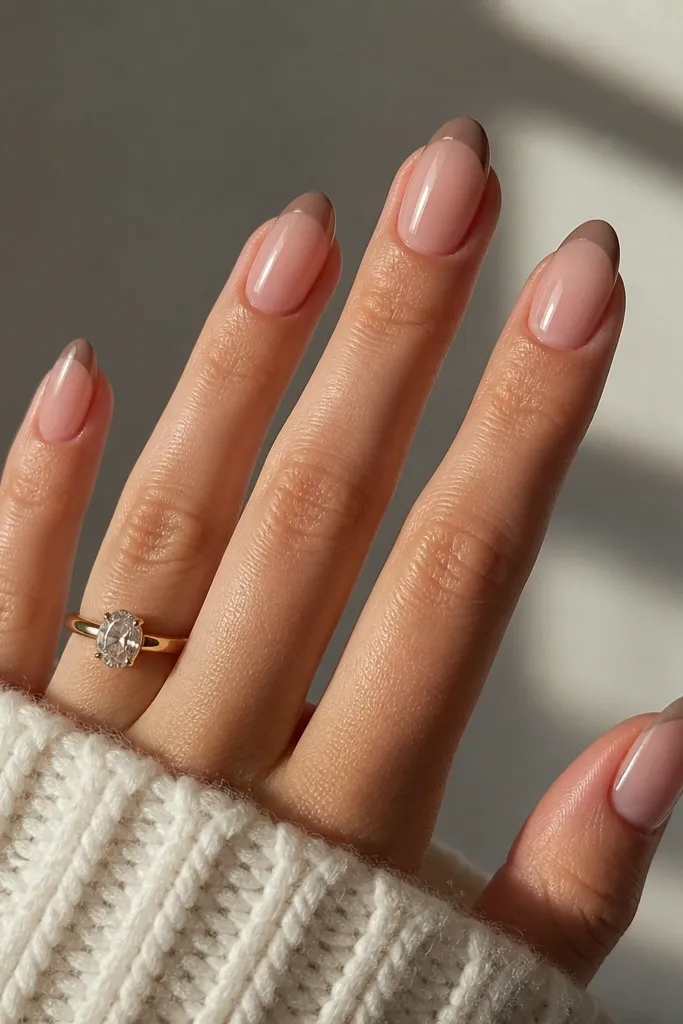
1. Milky Nude Jelly Gloss
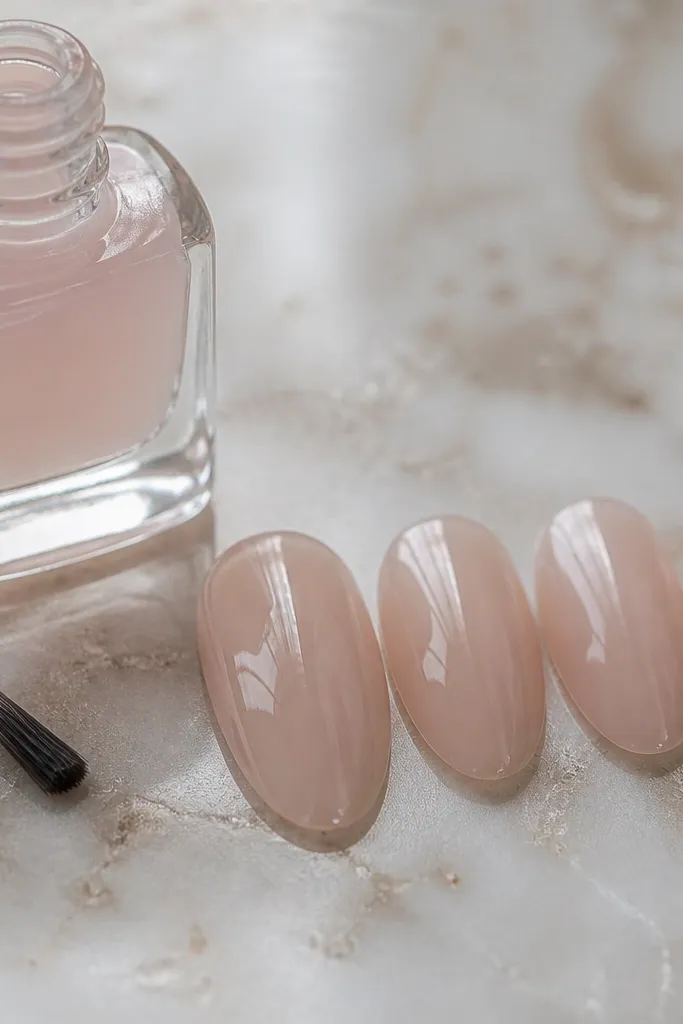
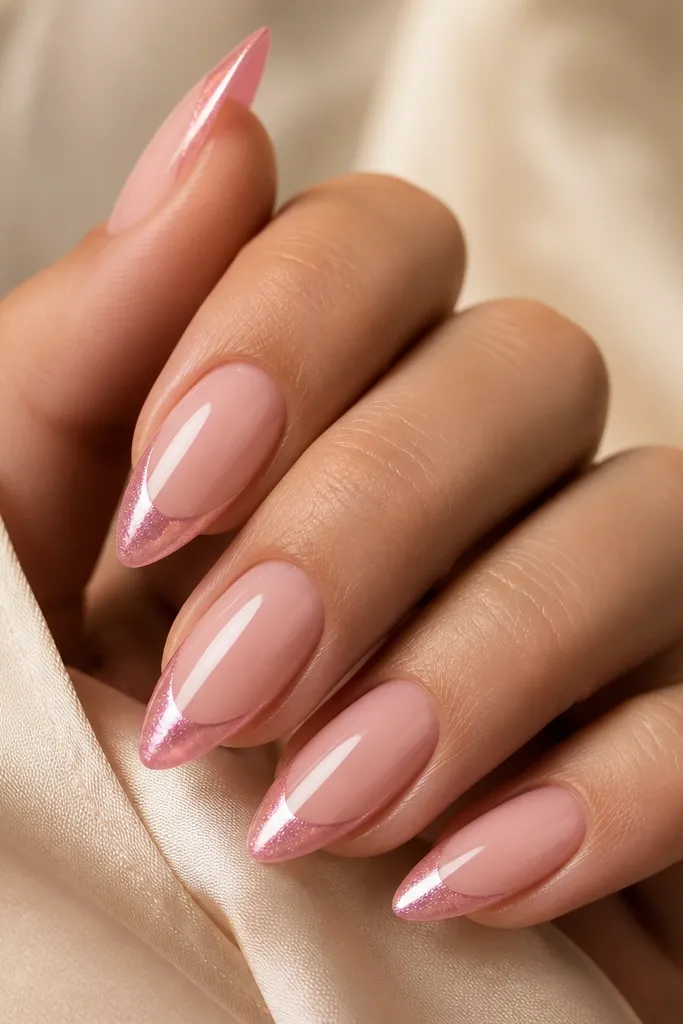
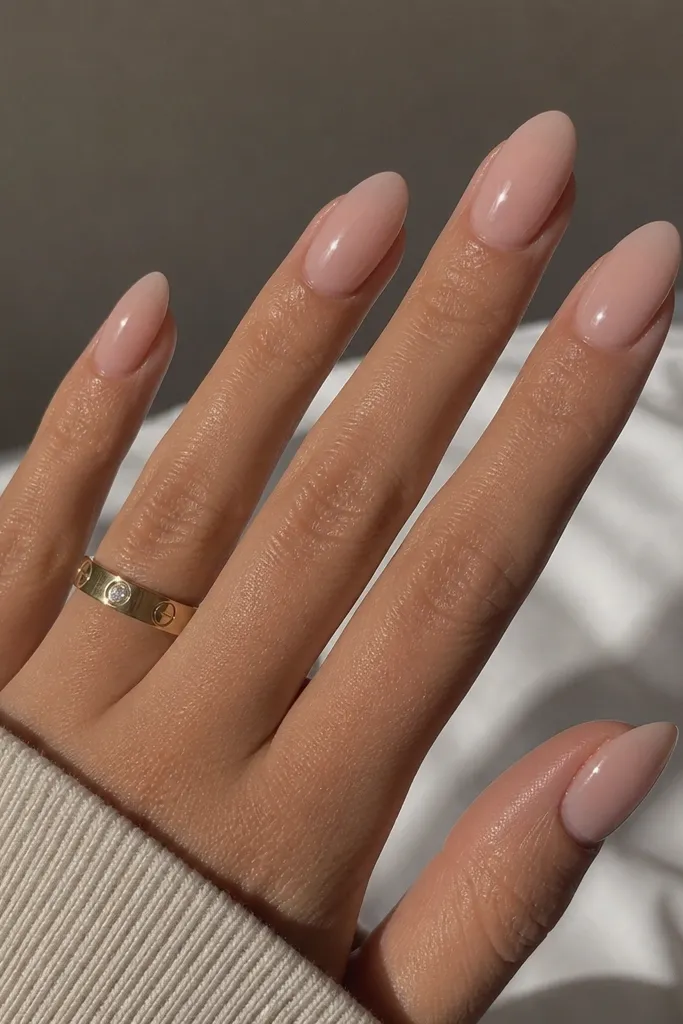
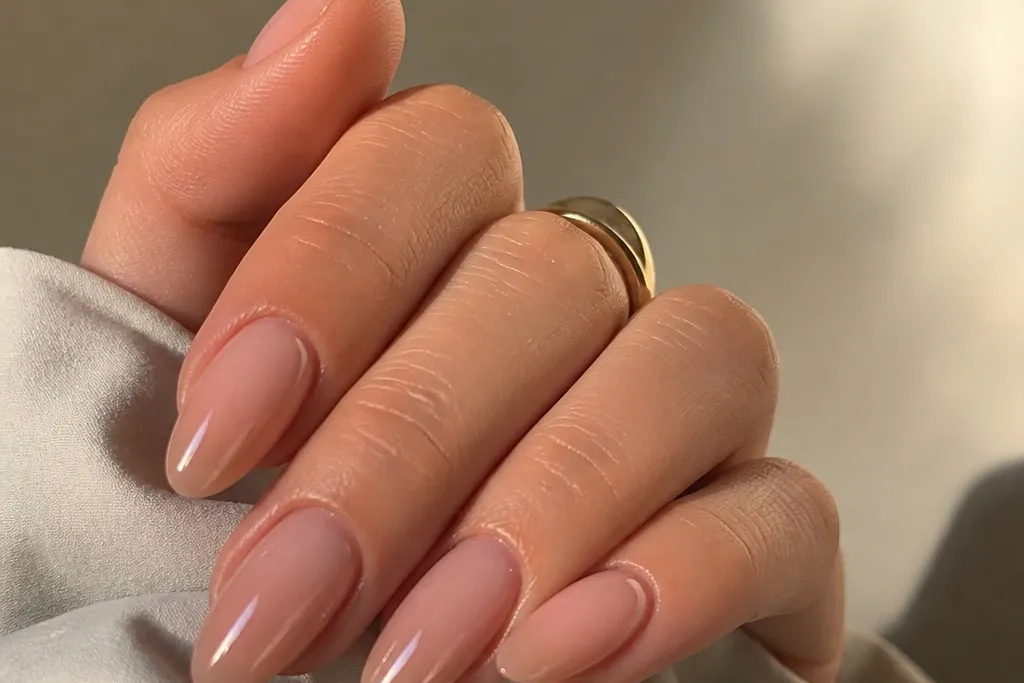
This is the Kylie-style base that makes everything else look better. The color is a translucent milky nude — think pinky-beige jelly — so it still shows your natural nail tone while looking polished. It flatters most skin tones because it’s not too warm or too gray; it sits in the middle and brightens your hands. If your nails are short, the translucency tricks the eye into thinking they’re longer because there’s no heavy, opaque block of color.
Start by pushing back the cuticle gently and buffing the nail surface just enough to remove shine. Apply a thin gel base layer, then build the milky nude jelly color in two coats, curing each coat fully. Keep the color slightly thinner near the cuticle and thicker toward the center so it looks dimensional. Finish with a thick, high-gloss top coat and cap the free edge by brushing gel over the tip. Clean up the sides with a small brush dipped in gel cleanser so the edge stays crisp.
If your jelly shade looks streaky, add a third ultra-thin coat instead of thickening one coat.
Don’t paint right up to the cuticle — a messy edge ruins the “expensive” look fast.
2. Cherry Red Micro-French Tips
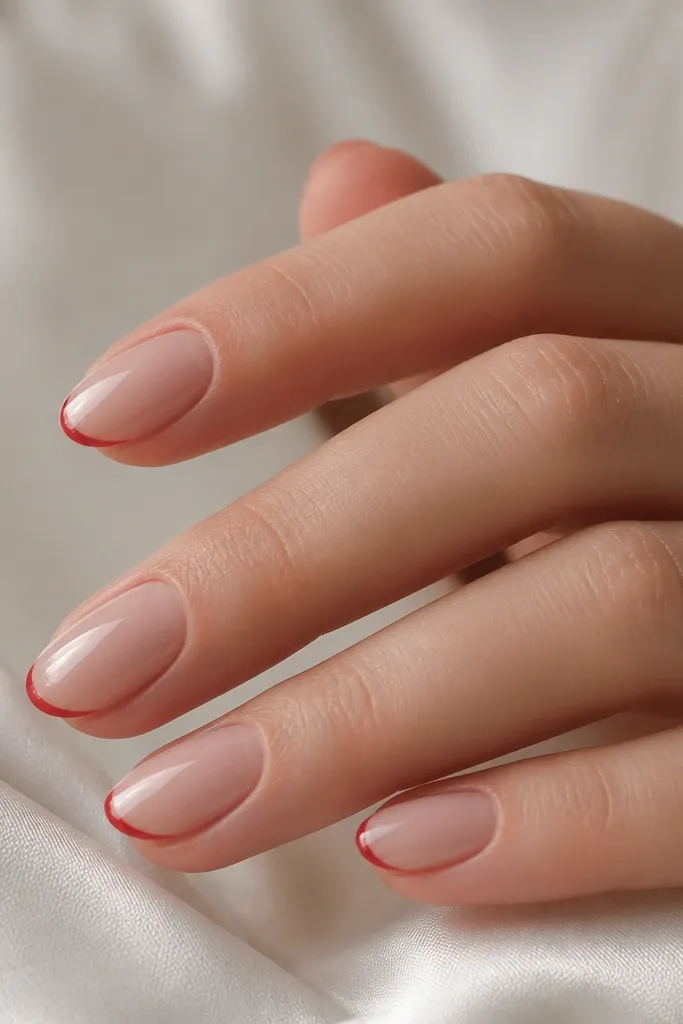
Start with a sheer nude base — either a milky nude gel or a nude polish-like gel. Using a fine striping brush, draw a super thin cherry red line across each tip, staying about 1-2mm from the sidewalls. Then add a second pass to even the thickness, keeping the line flat and centered. Cure, then seal with a glossy top coat that fully covers the tip line. If you want extra smoothness, lightly buff the top coat surface after curing and re-top-coat.
Micro-French is the cheat code for Kylie glam because it looks neat and high-end even when your lines aren’t perfect. The cherry red tip gives that bold celebrity contrast without covering the whole nail. It looks especially good on warm undertones and medium skin tones because the red pops and the nude base keeps it wearable. On smaller hands, micro-French also makes nails look longer because the tip line is thin and precise.
Skip thisSkip a thick French tip; it turns into a blocky manicure instead of that delicate Kylie vibe.
Editor's noteUse striping tape as a guide for your first attempt — pull it off right after you paint the line.
3. Chocolate Brown Latte Chrome
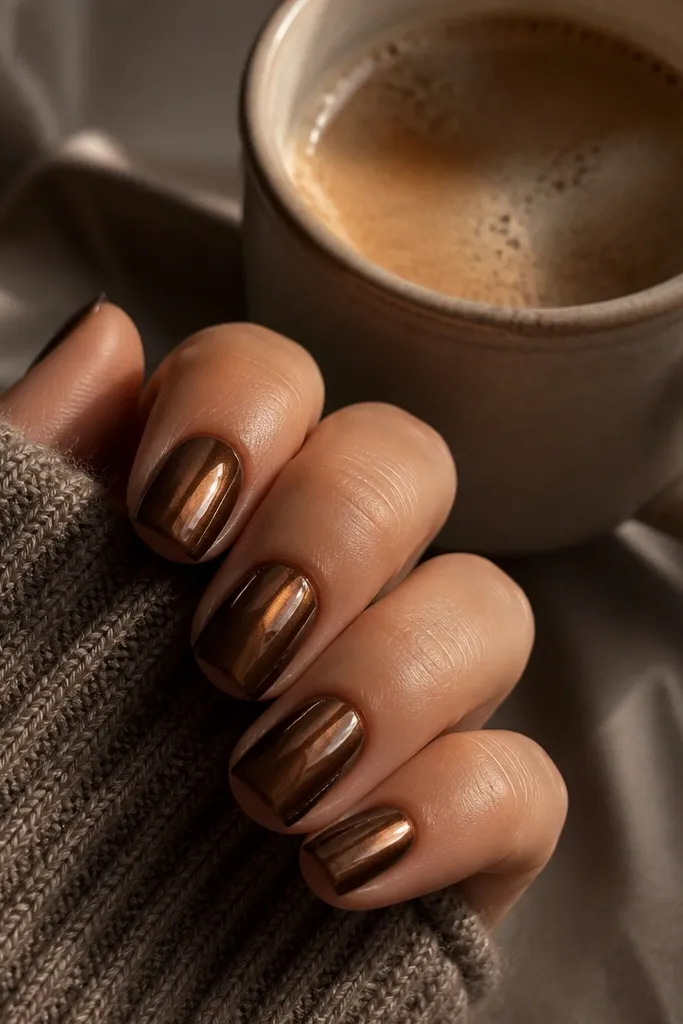
This is the “Kylie in a cozy mood” look. Chocolate brown with a soft chrome finish gives depth — it looks different when you move your hand, like coffee under light. It flatters darker skin tones because it reads rich instead of harsh, and it also looks gorgeous on fair skin because the brown warmth keeps it from washing out. The chrome is key: a mirror chrome can look too intense, so go for a diffused, latte-like reflect.
Start with a chocolate brown gel base in two thin coats, curing each. Wipe the tacky layer if your system requires it, then apply a brown-tinted chrome powder (or a brown chrome mixed with a small amount of clear base) over the center third of the nail. Use a small foam applicator and press lightly so it stays smooth. Seal with a gel top coat that won’t dull the reflect — do not use matte top coat. Finally, cap the tip with extra top coat so the chrome edge stays sealed.
If your chrome looks too silver, add a second chocolate base layer and re-chrome only the middle third.
Don’t chrome the entire nail if you want this latte effect; full coverage goes mirror and looks less like Kylie.
4. Black Gloss With One Clear Gem
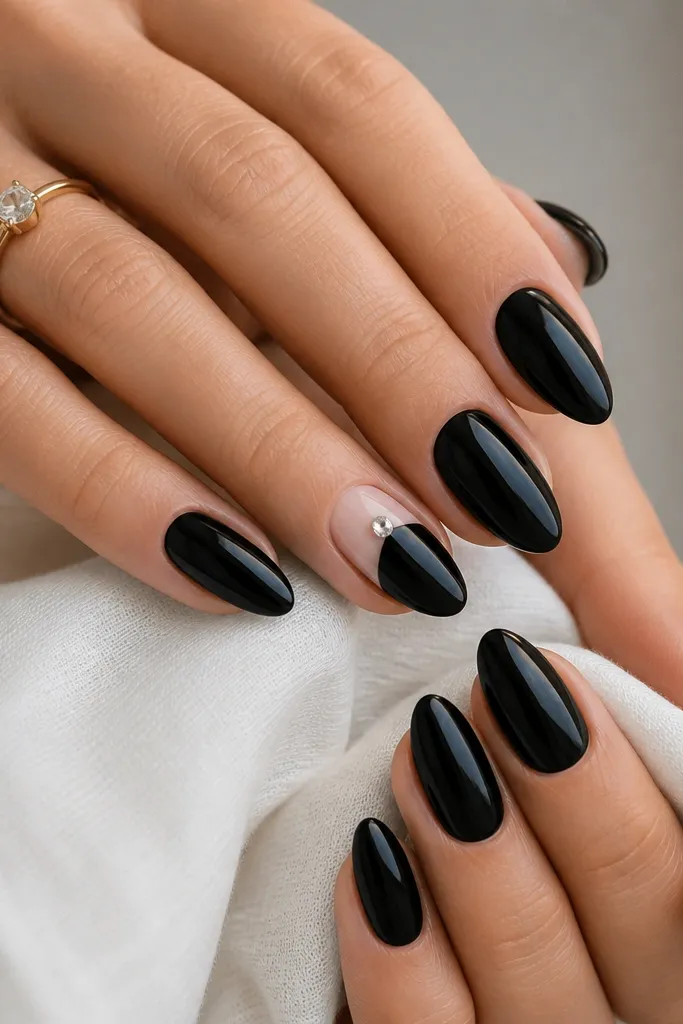
This set is pure celebrity minimalism. The glossy black makes your hands look instantly sharper, and the single clear gem gives that “caught the light” moment without busy nail art. It flatters almost everyone because black is clean and the gem is neutral-clear. If you’re newer, this is one of the easiest Kylie-inspired looks because you only place one thing correctly.
Start with a nude base on the accent nail only (milky nude gel), then cure. Paint glossy black gel on the rest of the nails in two thin coats, curing each, and keep the cuticle edge clean. On the accent nail, place one clear crystal near the cuticle — about 1mm away — using tweezers and a tiny dot of gel under it. Cure with the gem set, then top coat all nails, making sure the top coat covers the gem so it feels smooth.
Pick a crystal size like 2-3mm for a Kylie feel; bigger stones can look costume-y on short nails.
Don’t add multiple gems — clusters make it look like a craft haul instead of a polished set.
5. Blush Pink With Cuticle Sparkle Fade
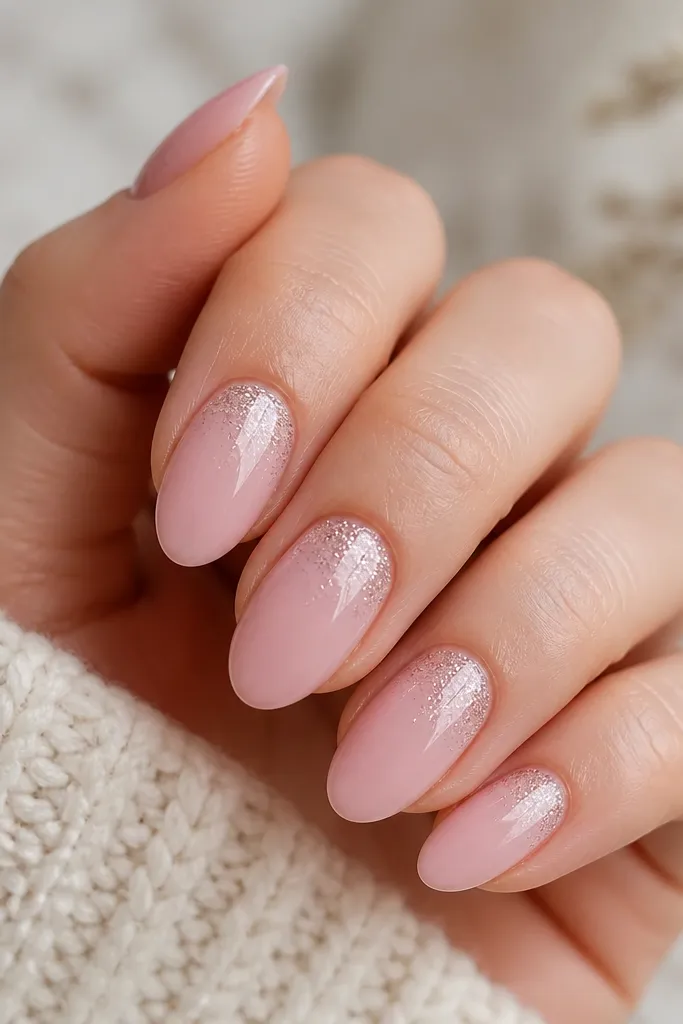
This is the “glam but soft” version of Kylie nails. The blush base is flattering because it doesn’t fight your skin tone, and the cuticle sparkle fade adds dimension where light naturally hits. It works best on fair to medium skin tones, but it still looks good on deeper tones if you pick a blush that leans rosy instead of gray. The fade is the trick — the sparkle should dissolve, not stop abruptly.
Apply a blush pink gel base in two thin coats and cure. On the tacky layer or with a thin clear gel patch near the cuticle, tap fine holographic glitter so it stays concentrated at the first third of the nail. Use a small silicone tool to blend the glitter edge downward so it fades smoothly. Cure, then seal with a thick top coat. If you see texture, buff lightly and add one more top coat to make it glass-smooth.
Use fine glitter, not chunky; chunky glitter makes the cuticle area feel rough and look messy.
Avoid loading glitter all the way to the tip — it removes the “fade” effect and looks heavier than Kylie.
6. Baby Pink Solid With One Glossy Stripe
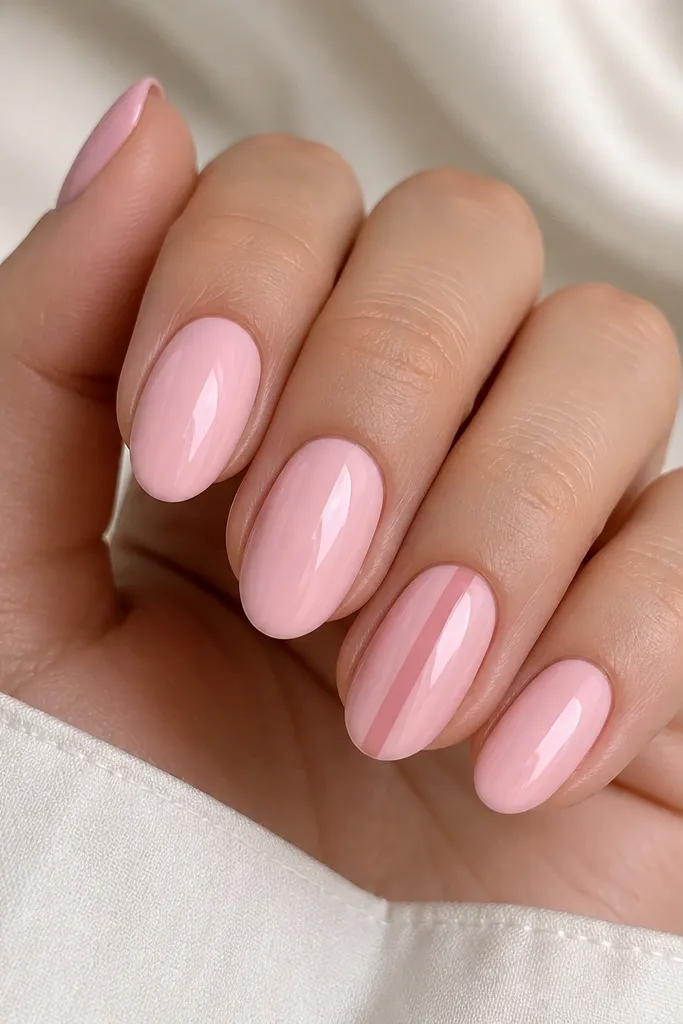
Start with a baby pink gel in two coats, keeping it slightly sheer in the first coat and building coverage in the second. Choose your stripe color — I like glossy white or glossy black — and apply it with a striping brush in one straight line from just above mid-nail to near the tip. Cure, then apply top coat over everything, making sure the stripe has no raised edges. If the stripe looks uneven after curing, add a thin layer of clear gel and cure again. Finish with a final glossy top coat for the mirror look.
This set is for when you want Kylie glam but you hate complicated art. Baby pink is the base — clean, flattering, and easy to match with jewelry. The single vertical stripe adds that fashion-editor look and makes nails look longer because the line runs straight down the nail. It’s especially flattering if you have shorter nail beds because the stripe gives a length illusion.
Skip thisDon’t make the stripe too wide; a thick stripe looks like a nail sticker instead of a design.
Editor's noteMark the center of your nail lightly with a dot using gel, then draw from that point.
7. Milky White With Tiny Heart Accent
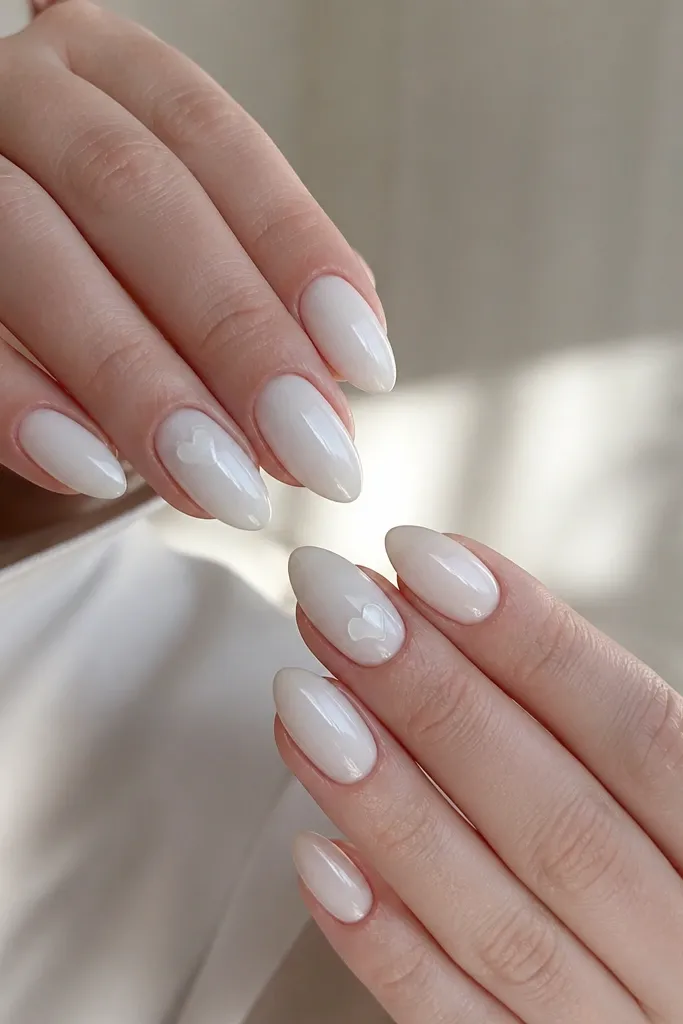
Apply milky white gel in two coats, curing each coat fully. On your accent nail, place the tiniest heart using either a heart stencil or a dotting tool with gel. Position it about 1mm away from the cuticle so it doesn’t smear when you move. Cure, then seal with top coat across the whole nail. If you’re using a sticker heart, still apply a thin gel layer over it to lock it down and smooth the surface.
Milky white gives that clean, photo-ready Kylie vibe. It makes hands look brighter and pairs well with gold rings. The tiny heart keeps the set sweet without going full cartoon. This works on fair, medium, and deep skin tones because white is bold, but the milky texture prevents it from looking harsh. The heart placement near the cuticle makes the nail look more styled, even on short lengths.
Skip thisAvoid large hearts; they overpower short nails and look like nail decals from the drugstore.
Editor's noteUse a gel that stays tacky just long enough to place the heart — it prevents the heart from sliding.
8. Clear Nude With Glossy Waterline
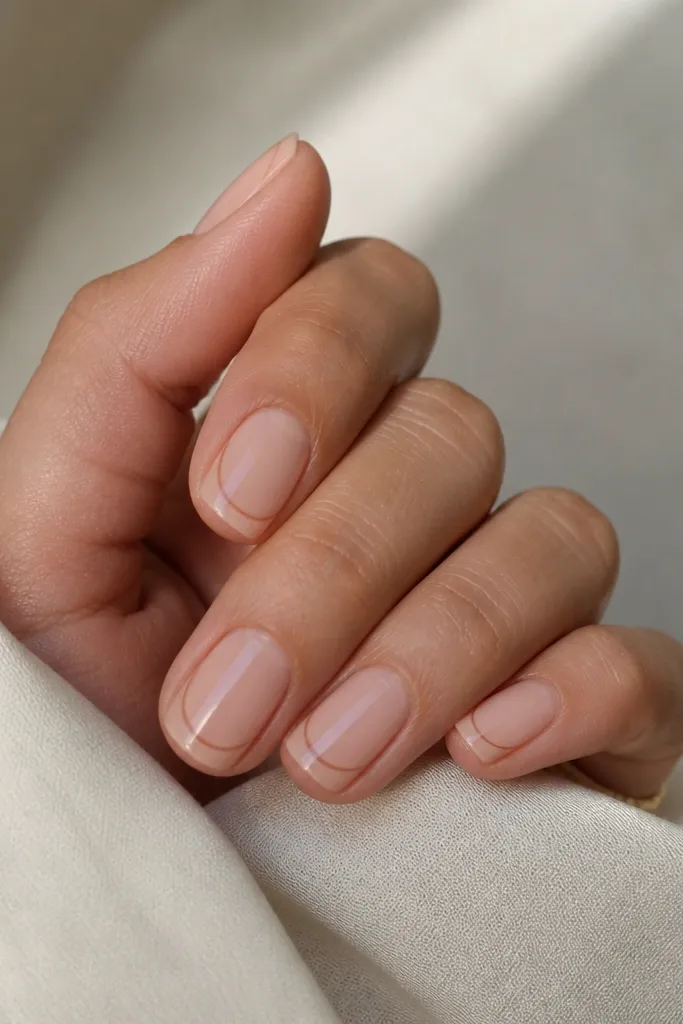
Start with a clear nude jelly gel in two thin coats, curing each. Then, using a fine brush, paint a thin curved line across the upper tip area — think of it as a gentle smile shape. Keep the line about 1-2mm thick and centered, and let it taper slightly toward the sidewalls. Cure and then top coat generously. Make sure you cap the free edge so the line stays sealed and doesn’t chip.
This is one of my favorite Kylie-inspired looks because it looks custom without being hard. The clear nude base gives a natural jelly effect, and the thin curved waterline adds movement and shine. It flatters every skin tone because it’s basically your nails, but polished. If your nails are uneven or ridged, the clear nude jelly base helps hide those bumps while still looking glossy.
Skip thisDon’t draw the line too close to the tip edge; chips start there.
Editor's notePractice the curve on a paper nail form first — your hand learns the arc fast.
9. Glossy Nude With Baby Blue Side Fade
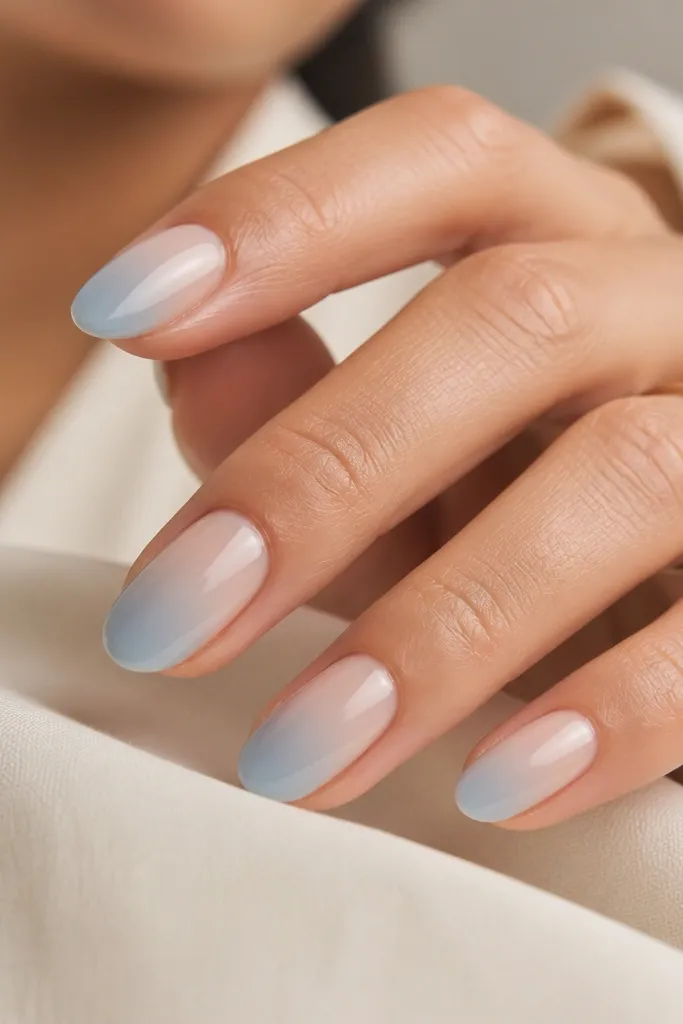
This is the “Kylie summer photos” color story. The glossy nude base keeps it wearable, and the baby blue side fade adds a pop that still looks soft. It’s flattering because the blue sits on the side of the nail, which makes the nail look slimmer and longer. I’ve worn this with gold and it looks expensive because the nude reflects light and the blue catches it.
Apply nude gel in two coats and cure. Add a tiny amount of baby blue gel to one side of the nail near the outer edge, then blend inward with a clean brush so it fades. Keep the blue in the middle third so it doesn’t overwhelm the cuticle. Cure, then top coat with a glossy finish. If you want more intensity, add a second blue layer only where the fade is darkest.
Use a small makeup sponge to blend the edge if your brush keeps streaking.
Skip full coverage blue — it turns into a plain color manicure instead of the side-fade effect.
10. Chocolate Brown French With Nude Base
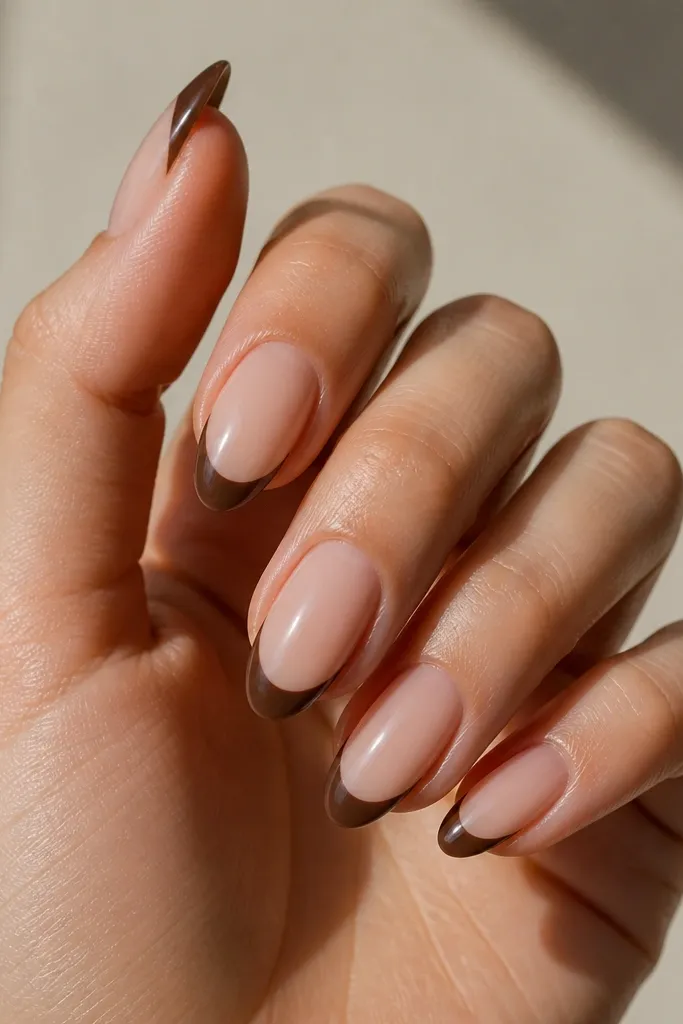
Start with a nude base gel in two thin coats and cure. Use a striping brush to paint the chocolate French tip, keeping it thin at the corners and slightly thicker at the center. Cure, then clean up any edge mistakes with a small brush and gel remover before you top coat. Apply top coat over the whole nail and cap the free edge. If the French tip looks too matte after curing, do a second top coat to bring back the shine.
This is classy Kylie energy without the bright colors. The nude base makes your hands look clean and put-together, while the chocolate French tip adds contrast that feels modern. It looks great on medium to deep skin tones, especially with warm undertones, and it also flatters fair skin because brown is softer than black. The key is the shape: the French should follow your almond curve, not be a straight line.
Skip thisDon’t make the French tip too wide; wide tips look heavy on short nails.
Editor's noteFor a clean tip, put a small amount of gel on the brush, then wipe most off so you control the line thickness.
11. Glossy Black With Tiny White "K" Accent
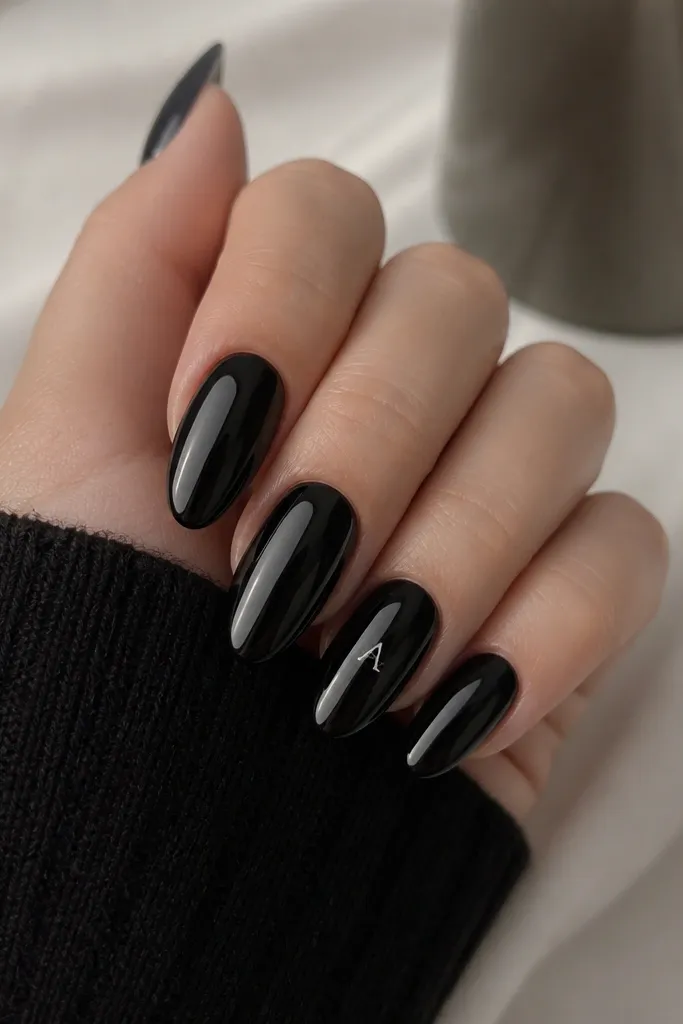
Paint glossy black gel on all nails in two thin coats, curing each. On the accent nail, use a dotting tool or fine liner brush to place a tiny white mark — I like a simple letter-like shape about the size of a small rice grain. Keep it centered and about halfway between cuticle and tip. Cure and seal with top coat. If the white mark sits on top of gel, apply one extra thin clear gel layer before top coat so it feels smooth.
This is a fun, modern take on Kylie glam that still feels minimal. The mirror black makes your hands look polished, and a tiny white accent gives that fashion detail you see in celebrity close-ups. It flatters almost everyone because black is a strong base and white reads crisp against it. If you have shorter nails, the small mark keeps the focus without shrinking the overall look.
Skip thisDon’t add multiple accents on every nail; it stops looking intentional.
Editor's noteUse a striping brush with a sharp tip; blunt brushes make the accent look messy.
12. Pink Chrome Aura Center Glow
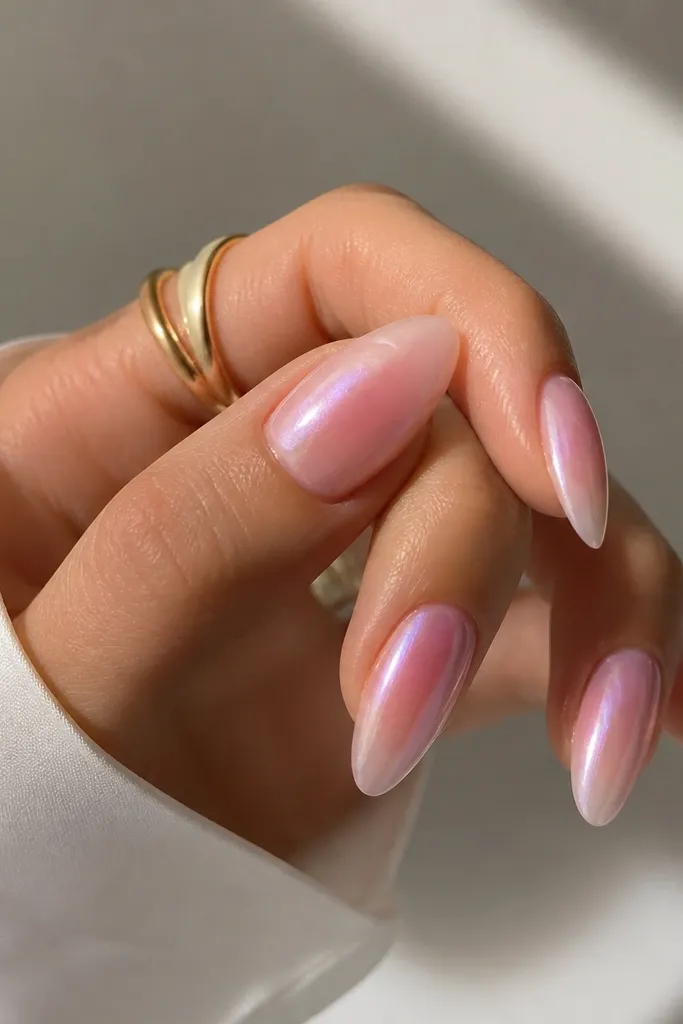
Aura chrome is the Kylie-adjacent look that photographs like crazy. The pink base keeps it sweet, and the chrome aura gives that soft glow effect in the middle third of the nail. It flatters fair to medium skin tones because pink chrome brings warmth without going neon, and it still looks good on deeper tones with a more rose-based pink. The aura shape matters — it should be a glow, not a filled-in blob.
Apply a soft pink gel base and cure. Add a thin layer of clear gel in the center third of the nail, then dab pink chrome powder onto that area with a foam applicator. Tap lightly and build gradually so the center is strongest and the edges fade. Brush away excess powder carefully, then seal with glossy top coat. If the chrome dulls, add a second top coat after a gentle buff.
Keep chrome only in the middle third — that’s what makes it look like aura light, not glitter.
Don’t press hard with the applicator; hard pressing makes chrome edges too sharp.
13. Nude Ombré With Clear Top Coat Shine
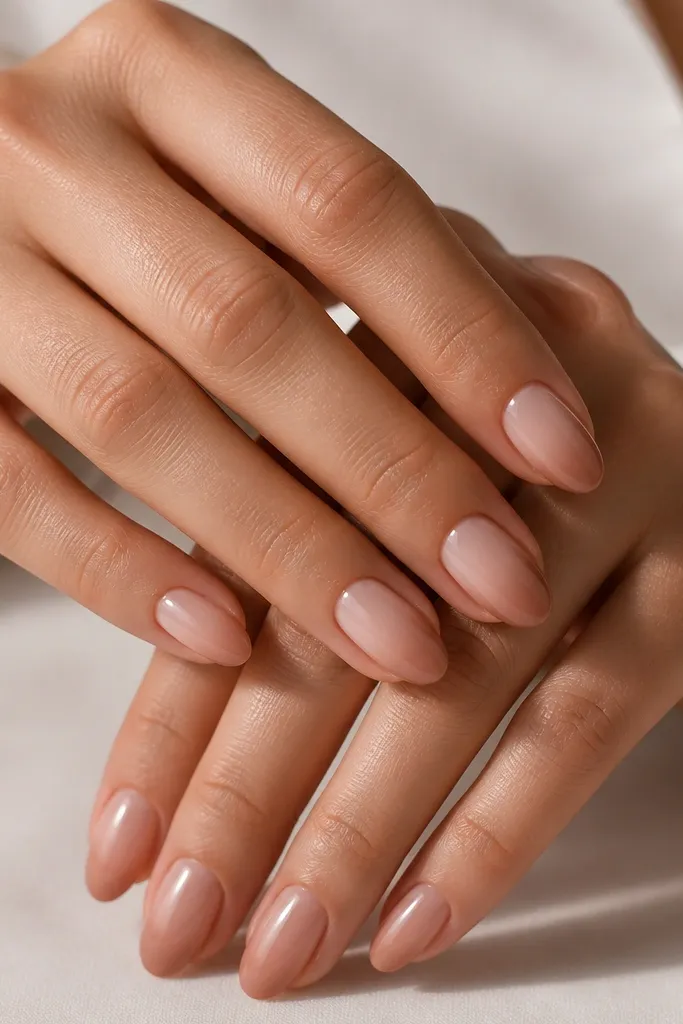
Start with a light nude base gel and cure. Dip a makeup sponge into a slightly deeper nude gel and dab at the tips, then blend upward in small taps until the fade looks smooth. Cure and wipe if needed, then add a second ombré layer only if you want more contrast. Seal with a glossy top coat in two layers if your gradient shows texture. Cap the free edge so the ombré doesn’t catch on fabric and peel.
Ombré is a sneaky way to get “long nail” energy without adding length. The darker nude at the tips makes the nail look slimmer and longer, while the lighter base keeps it natural. I like nude ombré for beginners because you can blend it with a sponge and you don’t need perfect lines. This works for every skin tone if you choose a tip shade that matches your undertone — warm nudes for warm skin, cool nudes for cool skin.
Skip thisDon’t blend too close to the cuticle; keep the fade starting around mid-nail.
Editor's noteUse less product on the sponge than you think — you want buildable color, not a heavy line.
14. Glittery Champagne Accent Nail
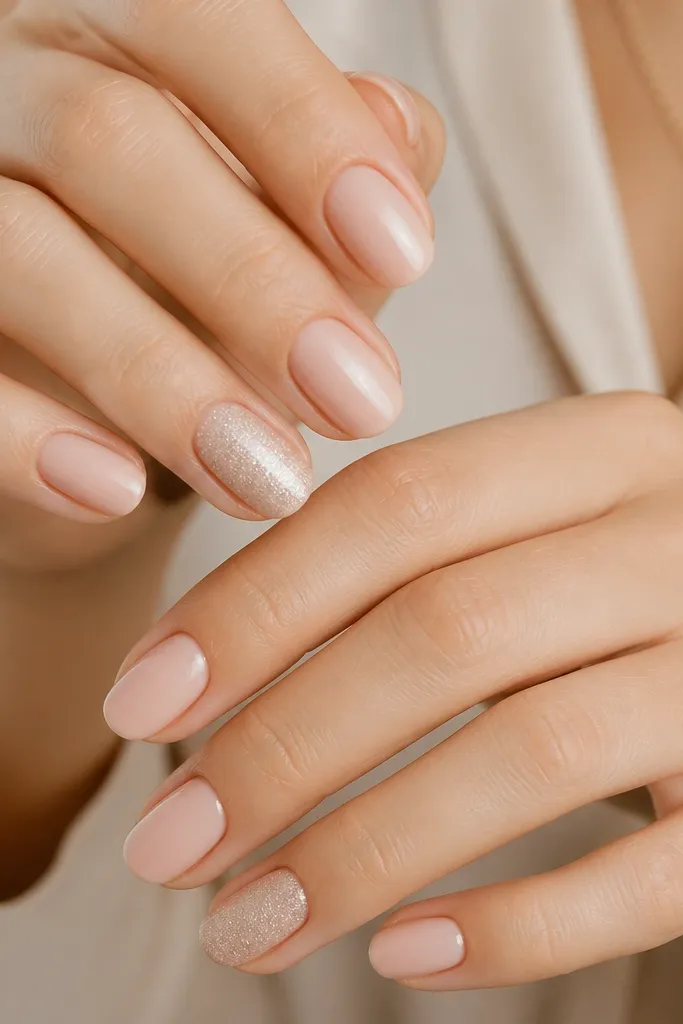
Paint nude gel on all nails in two thin coats and cure. On your accent nail, apply a thin clear gel layer and tap fine champagne glitter into it. Press gently so the glitter stays packed, then brush off extra. Cure and seal with a thick top coat — you may need two top coats to smooth texture. If you still feel grit, add a thin layer of clear gel and cure, then top coat again.
Champagne glitter is the Kylie move when you want sparkle without looking like New Year’s. The nude nails keep the set wearable, while the champagne glitter catches light in a warm, flattering way. It looks great on fair and medium skin because the champagne tone brightens, and it also looks stunning on deeper tones because gold sparkles read rich. The reason this works is that the glitter is fine and sealed smooth — it should feel like glass, not sand.
Skip thisDon’t put glitter on every nail — it looks heavy and cheap fast.
Editor's noteChoose fine glitter labeled for nails, not craft glitter; craft glitter never seals smoothly.
15. Soft Mauve With Side-Swoop Gloss
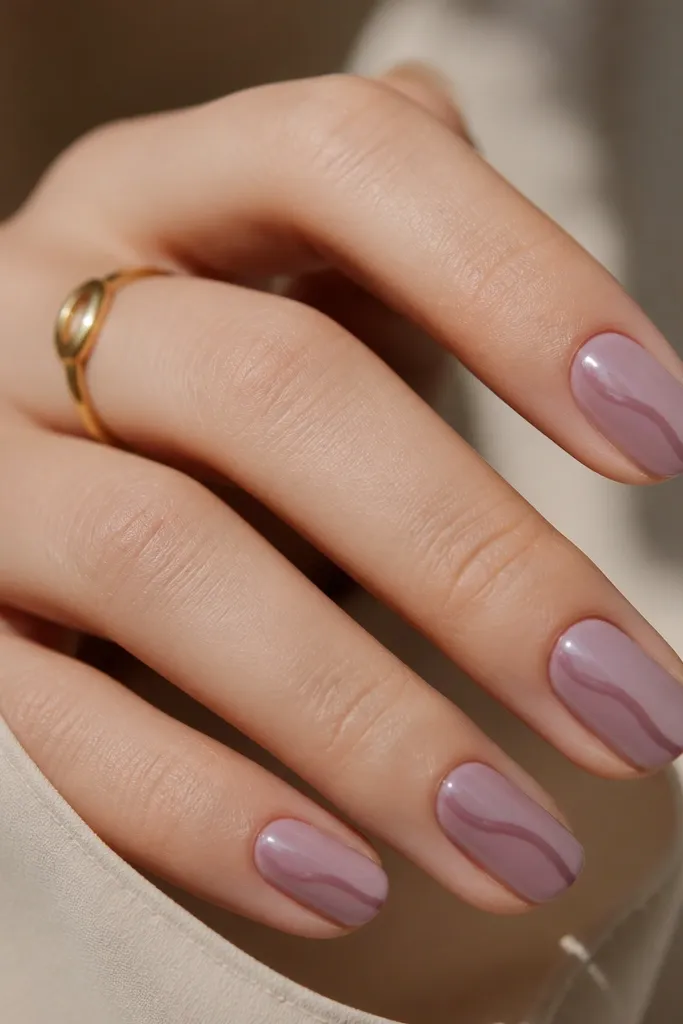
This is a wearable way to get that “celebrity nail line” look. Soft mauve is flattering because it’s neither too pink nor too brown, and it looks smooth under glossy top coat. The side-swoop line creates movement and makes the nail look more sculpted. I love it on medium and deep skin tones because mauve reads modern and doesn’t wash out like lighter pinks can.
Apply soft mauve gel in two thin coats and cure. Use a slightly darker mauve gel and a fine liner brush to draw a curved swoop that starts near the outer sidewall and sweeps toward the center, staying about 1-2mm away from the cuticle. Keep the line thin and consistent, then cure. Seal with glossy top coat, and add extra top coat over the line so it looks flat and smooth. If your line looks raised, buff lightly after curing and re-top-coat once.
Let the first line cure fully before you decide if it needs thickening.
Avoid shaky, wiggly lines — if your brush drags, wipe and reload instead of forcing it.