
1. Milky Nude Almond with Micro-Glitter Cuticle Veil
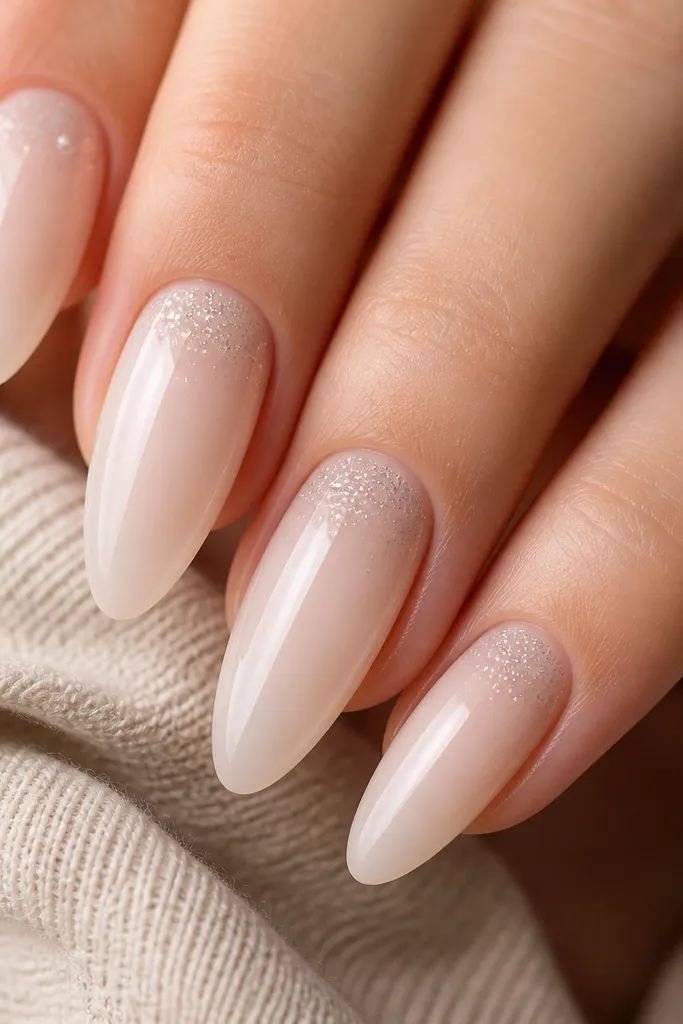
This is the Kylie “soft glam” look that still reads bold because the shine catches light near your cuticles. The milky nude base flatters almost every skin tone — on fair skin it looks clean and airy, and on deeper skin it looks like a glossy glaze. The micro-glitter veil gives the sparkle without the rough texture that makes budget sets feel fake. I like this for dinners, date nights, and office days when you want attention but not loud nail art.
Start by prepping the nail surface and buffing lightly so the base adheres. Apply a milky pink or sheer builder gel base in thin layers, then cure fully between coats until it looks even and glossy. Place micro-glitter only in a narrow band around the cuticle, leaving a clean “window” in the center so it fades naturally. Cap with a thick gel top coat, then run the brush along the free edge to seal it.
Editor's noteUse a flat glitter brush to push the glitter into the gel — you’ll get a smooth fade instead of chunky sparkles.
Skip thisAvoid piling glitter all the way to the tip; that’s what makes budget sets look gritty.
2. Black French Tip on Nude Pink Base (Kylie-Style Sharp)
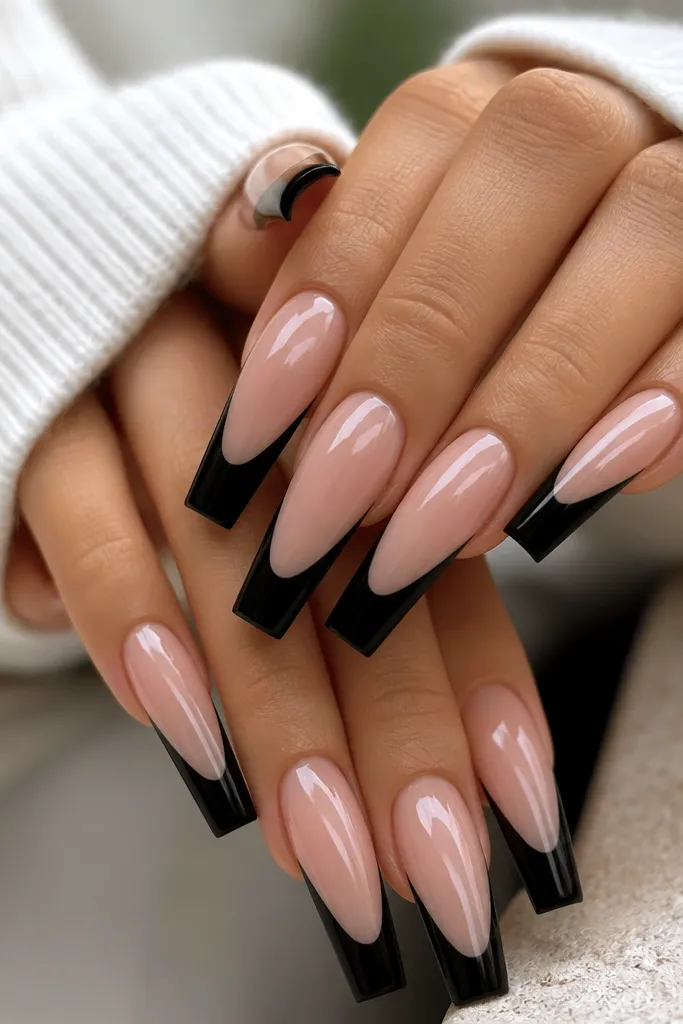
A black French tip is the easiest way to get that Kylie “edge” without needing a ton of decorations. The nude pink base keeps it flattering and makes the black look intentional, not harsh. On warm undertones, the nude pink makes the black look smoother; on cool undertones, it keeps the set from looking gray. This design is great for nights out, concerts, and any outfit where you wear black and want your nails to match cleanly.
Start with a nude pink base (sheer builder gel or milky pink acrylic) and build it thin so the nail stays flexible. Use a fine French striping brush to paint the black tip — first paint a thin guide line, then fill in the rest. Keep the black tip narrow at the sidewalls and slightly thicker in the center so it looks like a real salon French. Cure, then apply gel top coat in two layers and seal the sides.
Editor's noteChill the black gel before painting; it spreads less and helps you keep a sharp French edge.
Skip thisSkip thick black blobs at the tip — they look uneven and lift faster at the corners.
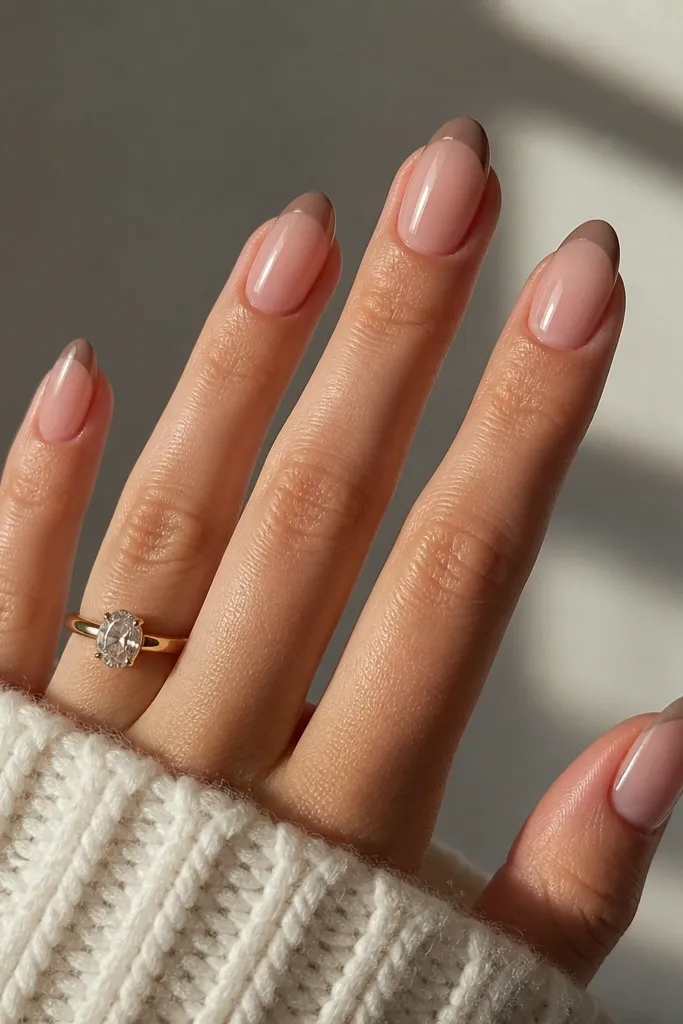
3. Chocolate Brown Gloss with Foil-Like Chrome Accent
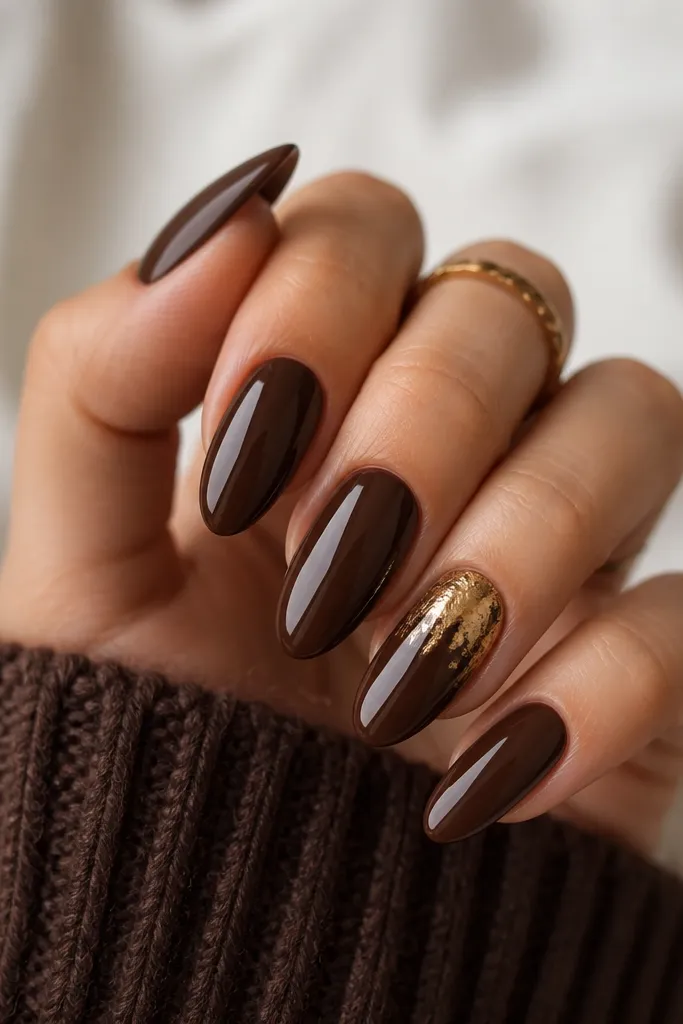
This set is for when you want Kylie glam that feels grown-up. The chocolate brown looks stunning on olive and medium-deep skin tones because it warms the overall look, but it also works on fair skin when the base is rich and opaque. The foil-like chrome accent gives that “expensive jewelry” vibe without covering every nail. I wear this with gold hoops, tan bags, and brown lip colors because the tones line up naturally.
Apply an opaque chocolate brown base in two thin layers so it doesn’t look streaky. On the accent nail, leave a small half-moon space near the cuticle where you’ll place chrome — keep the edge neat with a striping brush. Press foil chrome over the tacky layer, then tap off excess so the patch looks like a highlight, not glitter. Finish with a high-gloss top coat and cap the free edge.
Use a makeup sponge to pat chrome — it gives a softer foil edge than rubbing with your fingers.
Avoid using a thin brown that shows streaks; cheap browns look patchy under glossy top coat.
4. Clear Jelly Nude with Tiny Red Heart Dots
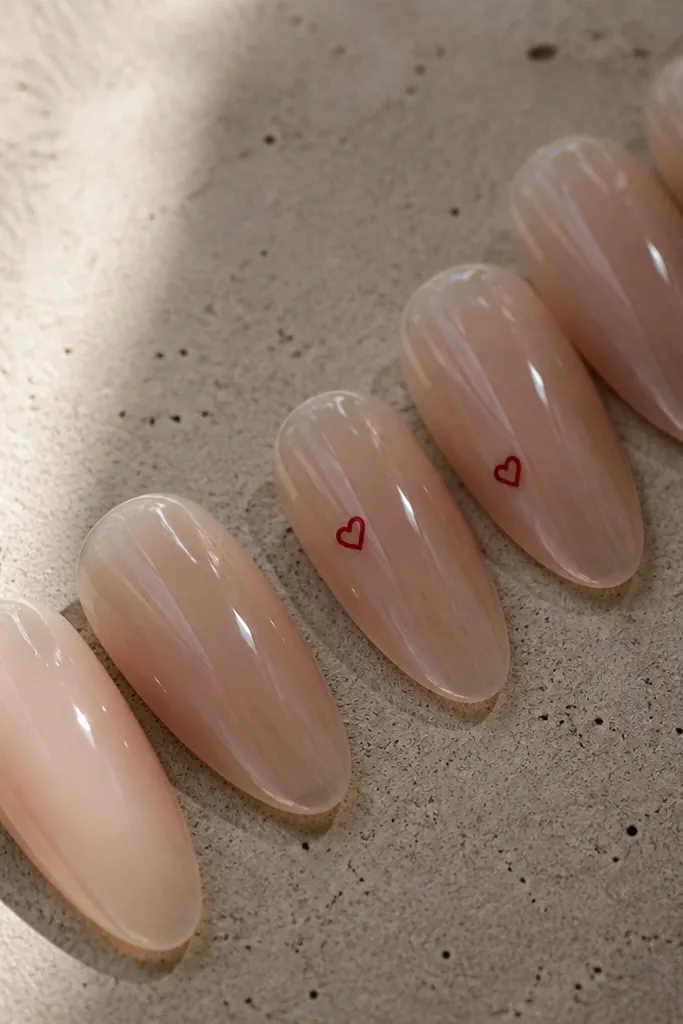
Clear jelly nude makes nails look fresh and “real” because you can see depth through the base. The red hearts are playful but still Kylie-coded when they’re tiny and placed with intention. This flatters hands that are slightly longer or slimmer because the jelly base visually lengthens the nail bed. It’s also a good choice for spring events, Valentine season, and everyday wear if you keep the hearts small.
Start with a clear jelly nude base — apply in thin layers and cure so the nail stays glossy and not too thick. Place tiny red heart dots using a dotting tool or heart stamp, then cure each nail. Keep hearts clustered near the center of the nail, not right at the cuticle, so it looks clean. Cap with a clear top coat, and do an extra pass over the heart areas so the surface feels smooth.
If your hearts smear, switch to gel paint instead of acrylic paint — it holds sharper edges under top coat.
Skip big hearts; oversized stickers look cheap fast and catch on hair.
5. Rose Quartz Pink with Silver Crushed Stone Line
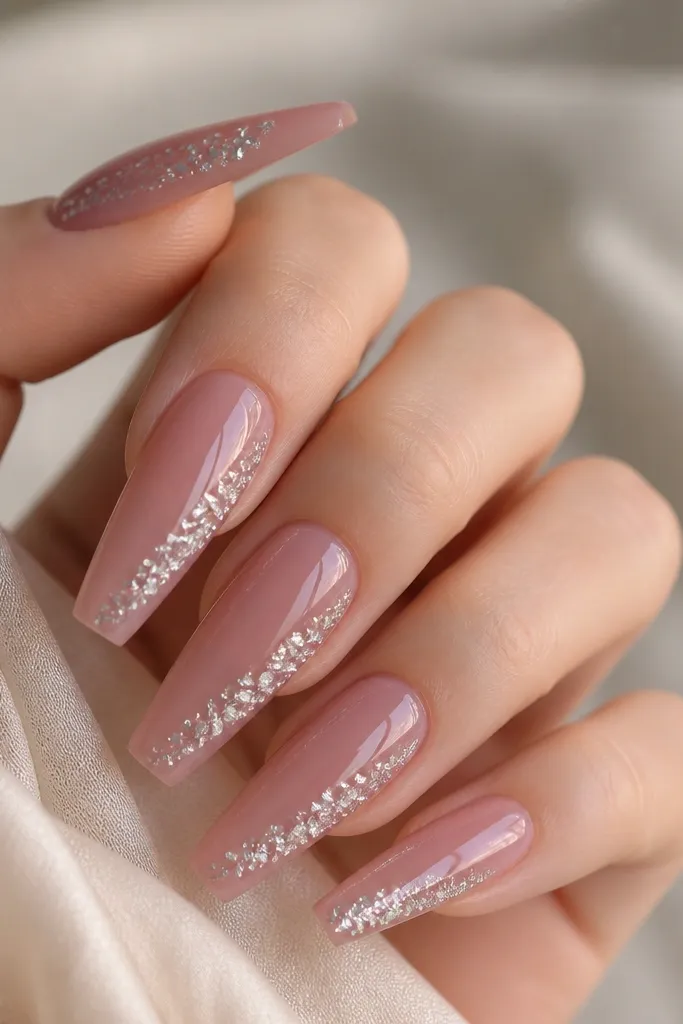
Rose quartz pink gives you that soft Kylie glow, and the silver crushed stone line adds drama without covering the whole nail bed. The translucent pink looks best when it’s not too opaque — it should look like light passes through it. This design flatters short nail beds because the translucency makes nails look longer. I wear it for weddings, brunch, and nights out when I want something photogenic but still wearable.
Apply a translucent rose pink base and cure, keeping it thin so the crushed stone doesn’t make lumps. Add clear gel where the diagonal stone line will go, then place crushed silver stone pieces with tweezers. Press gently and cure, then top with a thicker layer of clear gel to bury the stones so they feel smooth. Finish with gel top coat and seal the free edge with extra attention.
Editor's noteUse smaller stone pieces near the cuticle and slightly larger pieces toward the middle — it keeps the line looking intentional.
Skip thisDon’t leave stones exposed; rough textures look unfinished and lift at the edges.
6. Hot Pink Gloss with Black Micro-Lines (Graffiti French)
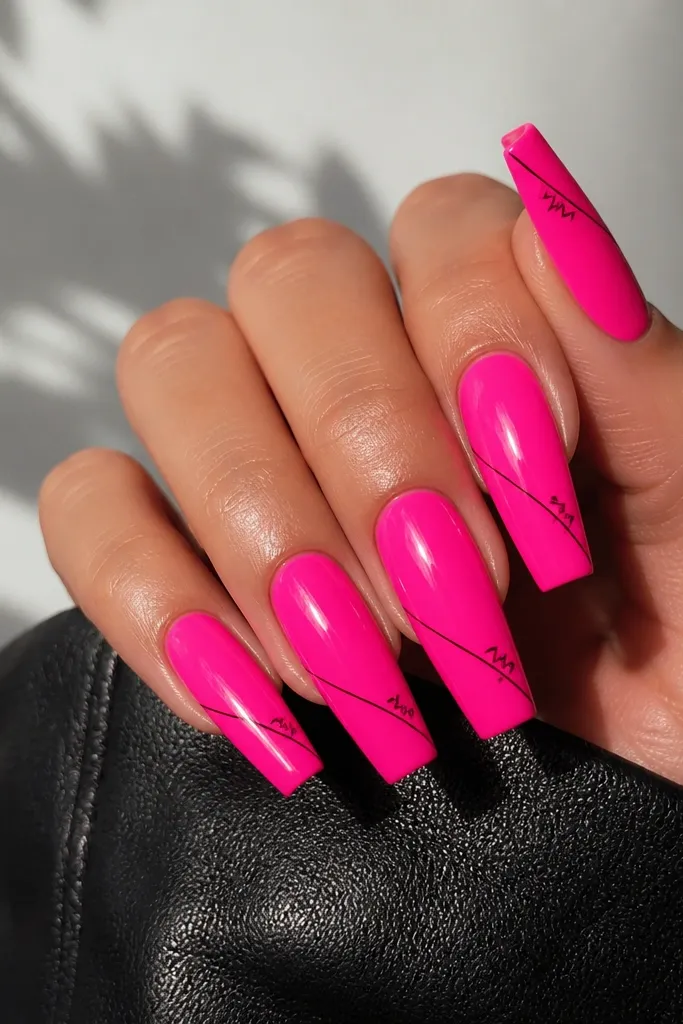
This one reads loud in the best way because hot pink always looks youthful, and the black micro-lines make it look designed rather than random. The hot pink flatters most skin tones when it’s true and opaque, not neon-clear. The black lines add contrast and make your hands look sharper, especially with gold rings. I like this for festivals, summer nights, and any outfit that needs a pop.
Start by applying hot pink polish or acrylic powder in two thin layers for full opacity, then cure and buff only the surface lightly. Use a striping brush to paint a thin diagonal black line starting about 1/3 from the tip. Add a second smaller scribble line near the first so the design looks like a French twist, not a single stripe. Seal with two gel top coat layers so the lines stay crisp.
Editor's noteWipe your striping brush on a lint-free wipe first so the black line comes out thin and controlled.
Skip thisAvoid painting black lines too close to the center — it makes the nail look cluttered and cheap.
7. Pearl White Milky Coffin with One Gem-Studded Corner
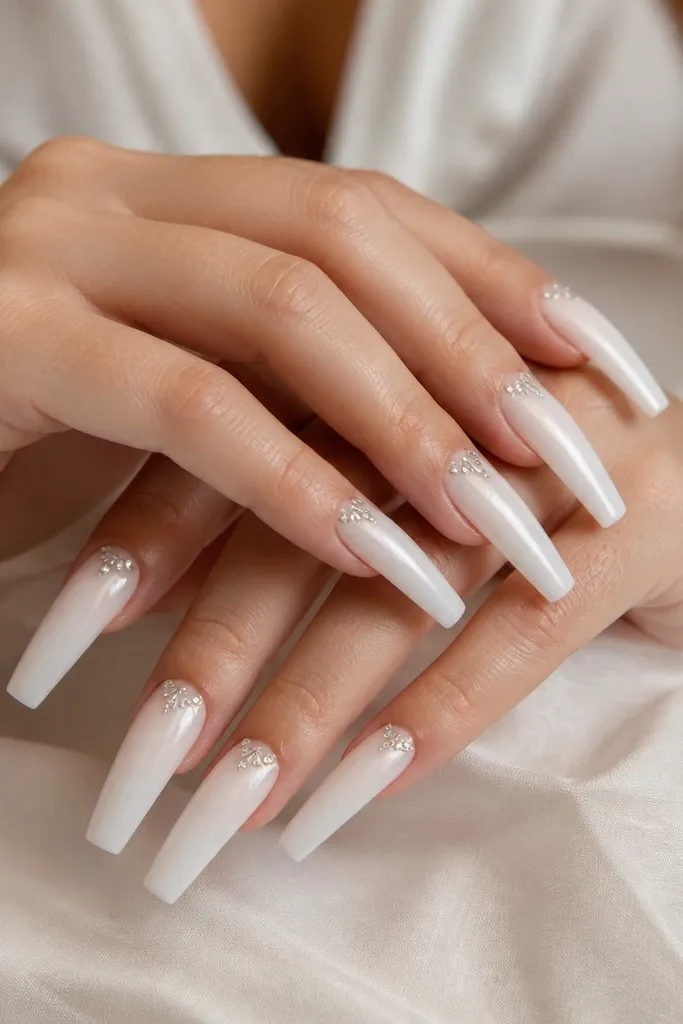
Milky pearl white is the Kylie “clean luxury” look, and the tiny gem corner keeps it glam without turning into a full rhinestone mess. Pearl white is forgiving on most skin tones, but it looks especially good when your base is slightly warm, not icy. The gem corner draws the eye to your cuticle area, which makes nails look more polished. This works for holidays, birthdays, and photos where you want your hands to look bright.
Build a milky pearl white base in thin layers until it’s smooth and opaque, then cure fully. Add a small amount of clear gel where you want the gem cluster, keeping the area small like a quarter-size corner. Place rhinestones with tweezers, then cure. Cap over the gems with clear gel and top coat, focusing on smoothing the surface so it doesn’t catch on fabric.
Use a tacky gel for rhinestone placement, then cap — tacky-only without capping makes stones pop off.
Skip giant gem clusters; they lift and look heavy on a budget set.
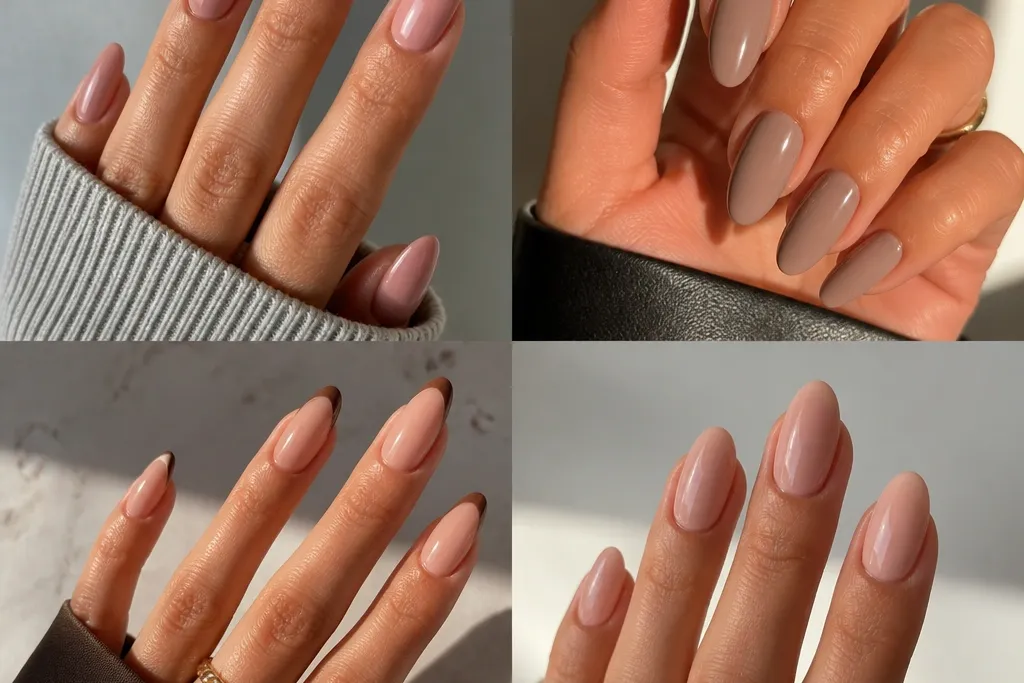
8. Champagne Nude with Gold Leaf Half-Moon
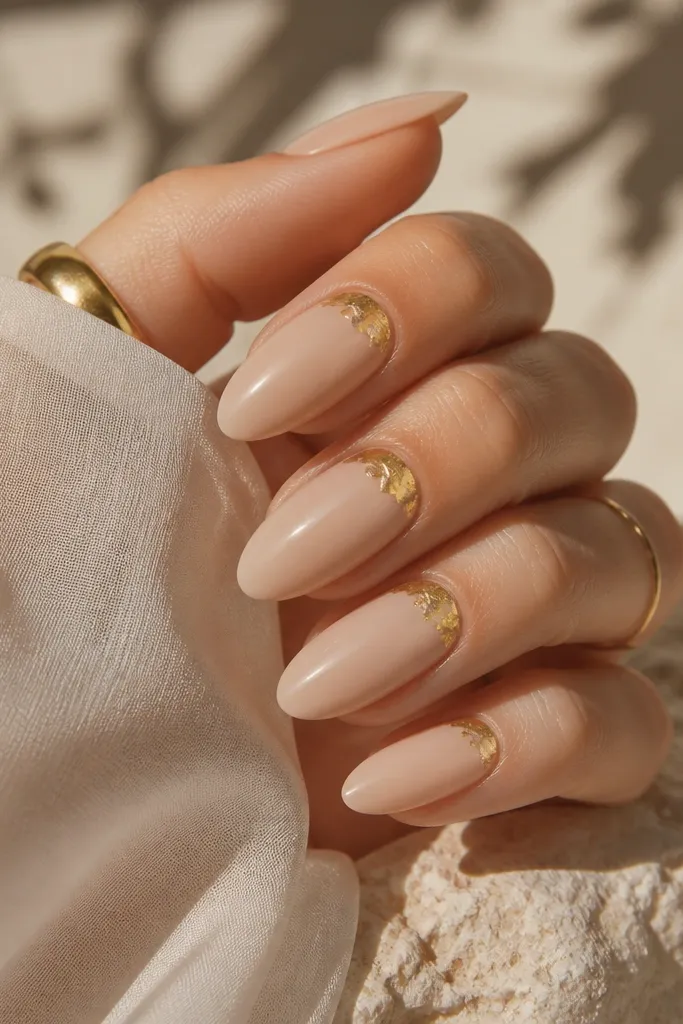
Champagne nude is my go-to for Kylie-inspired nails when you want something warm and flattering. The half-moon gold leaf near the cuticle makes the nails look like jewelry, and it’s easier than full gold chrome coverage. This looks great on medium-deep skin tones because the warmth pops without looking harsh. It also makes fair skin look healthier because it adds a golden light effect.
Start with a champagne nude base that’s slightly more opaque than sheer — two thin coats usually give that smooth “glaze” look. Apply a small patch of tacky gel in a half-moon shape at the cuticle, leaving a clean gap around the edges. Press gold leaf into the tacky patch, then tap off loose pieces so the shape stays crisp. Seal everything with a thick top coat and cap the free edge so the gold leaf stays locked in.
Editor's noteGold leaf sticks better when your gel is tacky, not fully cured — cure only after you press it.
Skip thisDon’t overfill the half-moon; too much gold leaf makes the cuticle area look bulky.
9. Icy Blue Chrome Fade on Clear Gel Base
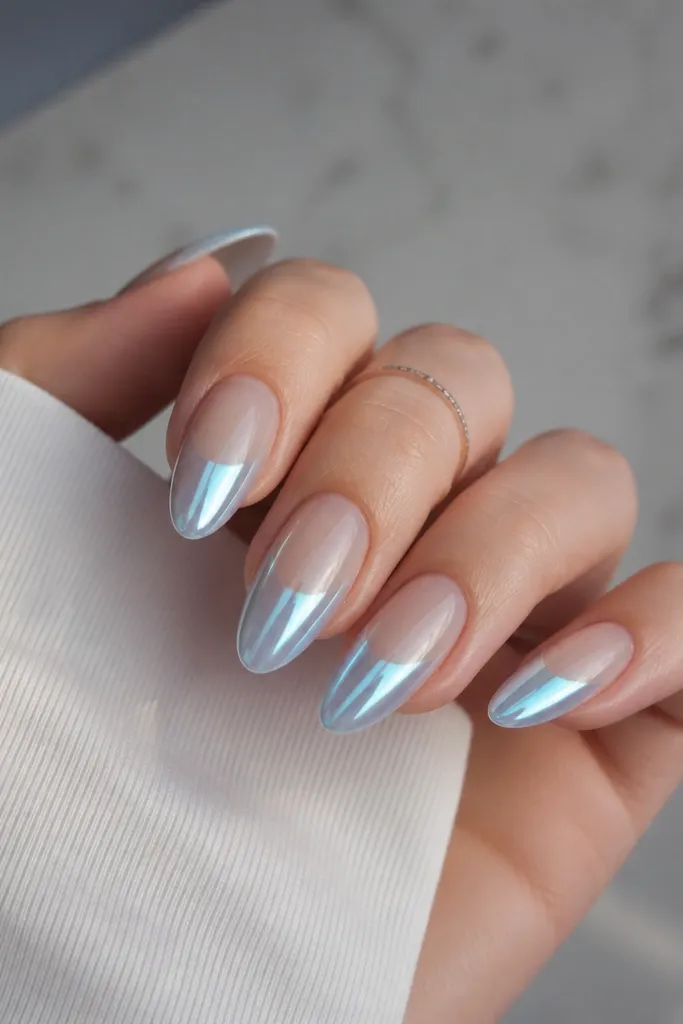
Icy blue chrome is one of those Kylie-style looks that photographs like crazy because it reflects light from multiple angles. A clear gel base keeps it airy, and the chrome fade makes it look intentional instead of like a solid color overlay. This flatters cool undertones and also looks good on warm skin because the blue adds contrast. It’s a strong choice for winter outfits, New Year parties, and any night when you want your nails to look like ice.
Apply a clear gel base and cure, keeping it thin so the chrome has something smooth to sit on. Sponge or brush icy blue chrome powder/gel only on the tips first, then blend upward with light pressure for a fade. Cure if your chrome system requires it, then wipe and buff gently so the surface stays smooth. Finish with a mirror top coat, and seal the free edge with a final thin layer.
Editor's noteBlend with a soft makeup sponge in dabbing motions — it gives a smoother fade than sweeping with a brush.
Skip thisAvoid heavy chrome all the way to the cuticle; it can look flat and cheap under flash photos.
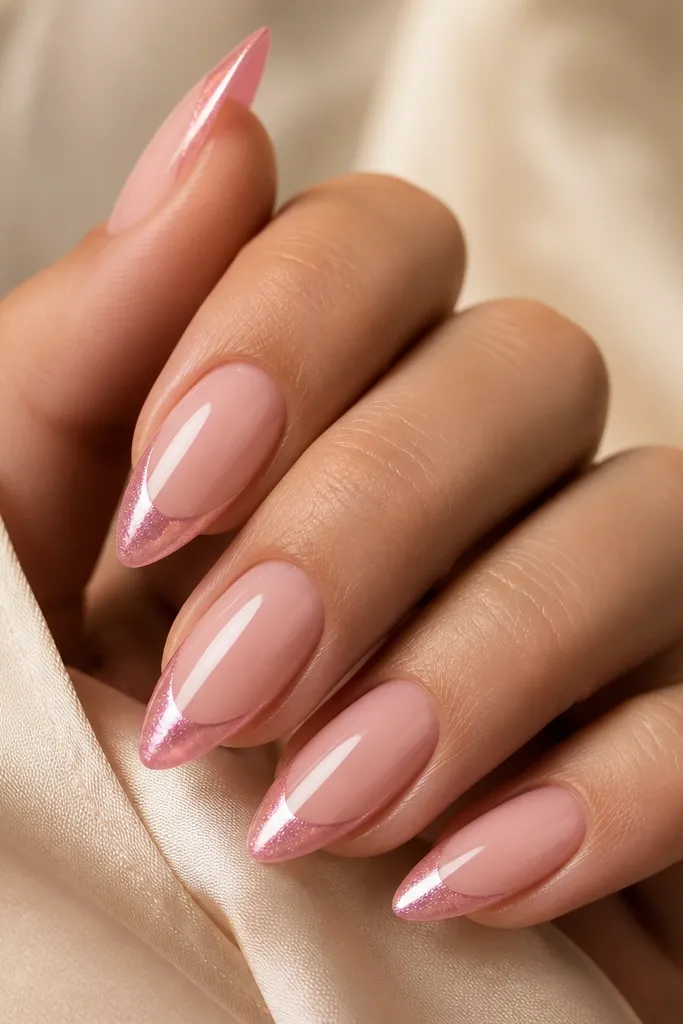
10. Soft Nude Ombré with Rose Gold Chrome Edge
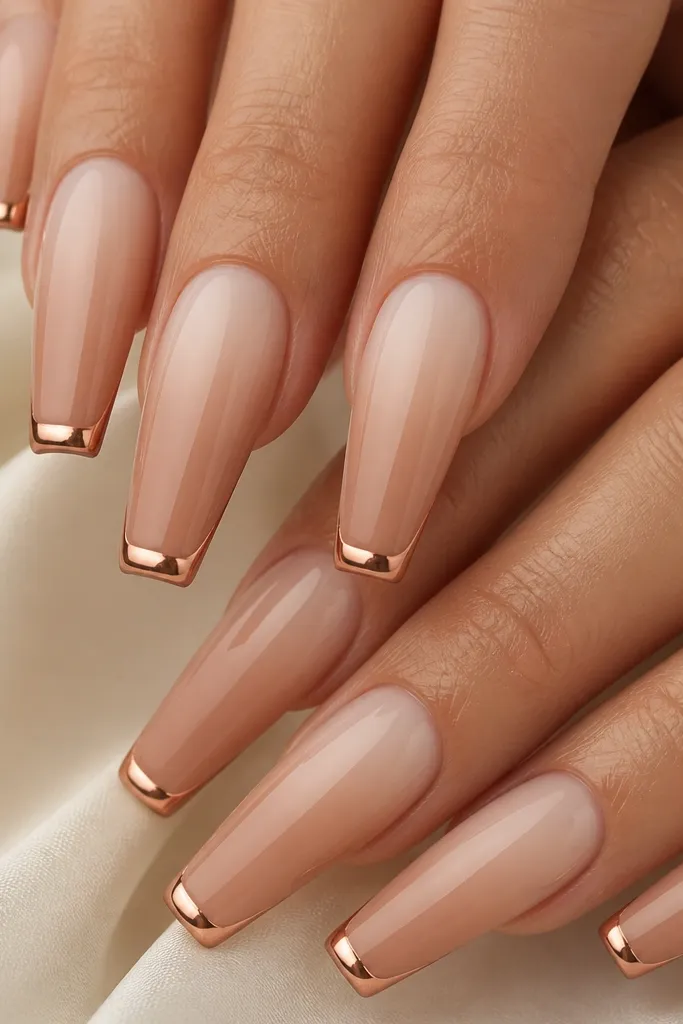
This is the “Kylie but wearable” set that looks expensive because the chrome edge acts like a frame. The nude ombré flatters every hand because it follows your nail shape and makes the nail bed look longer. Rose gold chrome is softer than yellow gold, so it doesn’t overpower your skin. I like it for everyday glam: work, dinner, and events where you want your nails to look styled but not costume-level.
Start with a sheer nude base and cure, then apply an ombré using two nude shades — keep the transition gradual at mid-nail. Add the rose gold chrome only on the last 1-2 mm at the tip so it reads like a border, not a full coating. Press or buff the chrome lightly so it stays thin and reflective. Seal with a glossy gel top coat in two layers and cap the sidewalls.
Editor's noteIf your ombré looks harsh, lightly buff the transition area before top coat — it disappears once it’s sealed.
Skip thisSkip thick chrome at the tip; it makes the nail feel rough and knocks off faster.