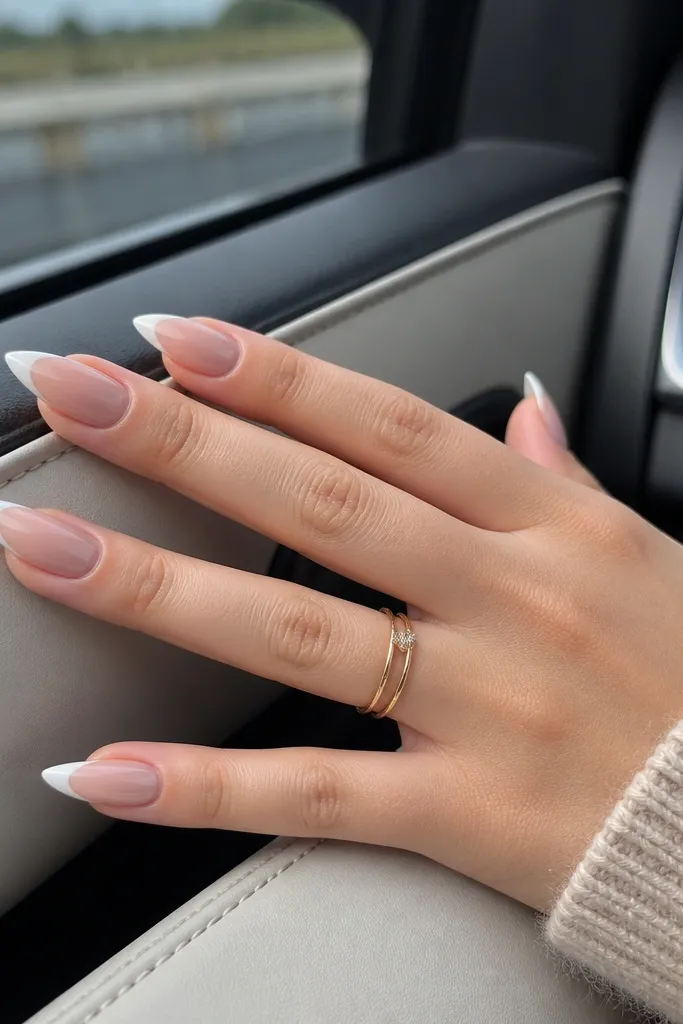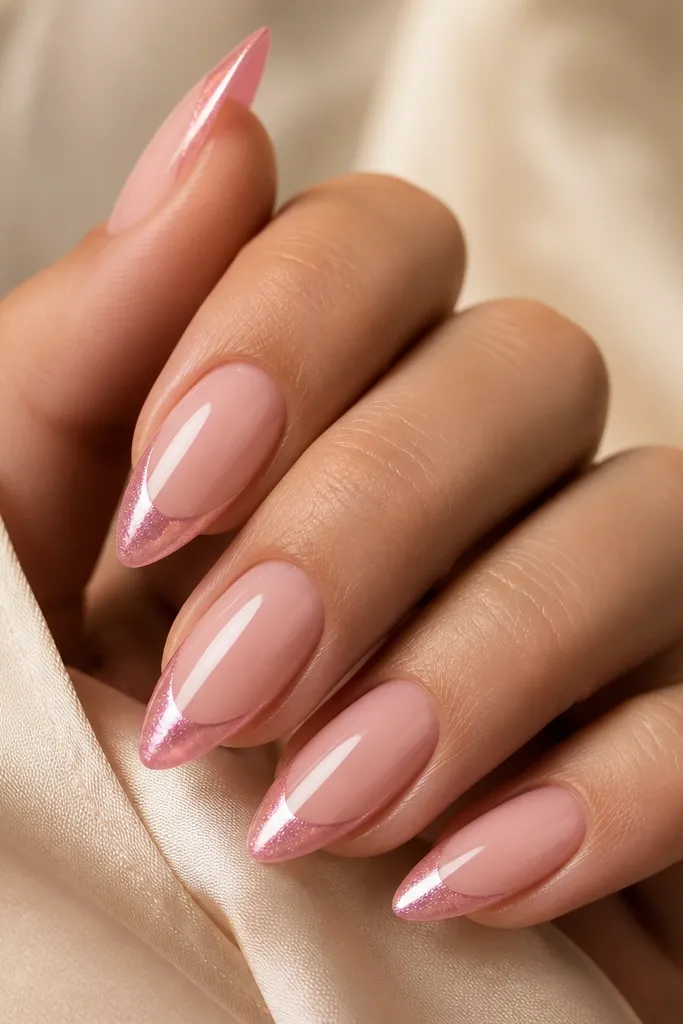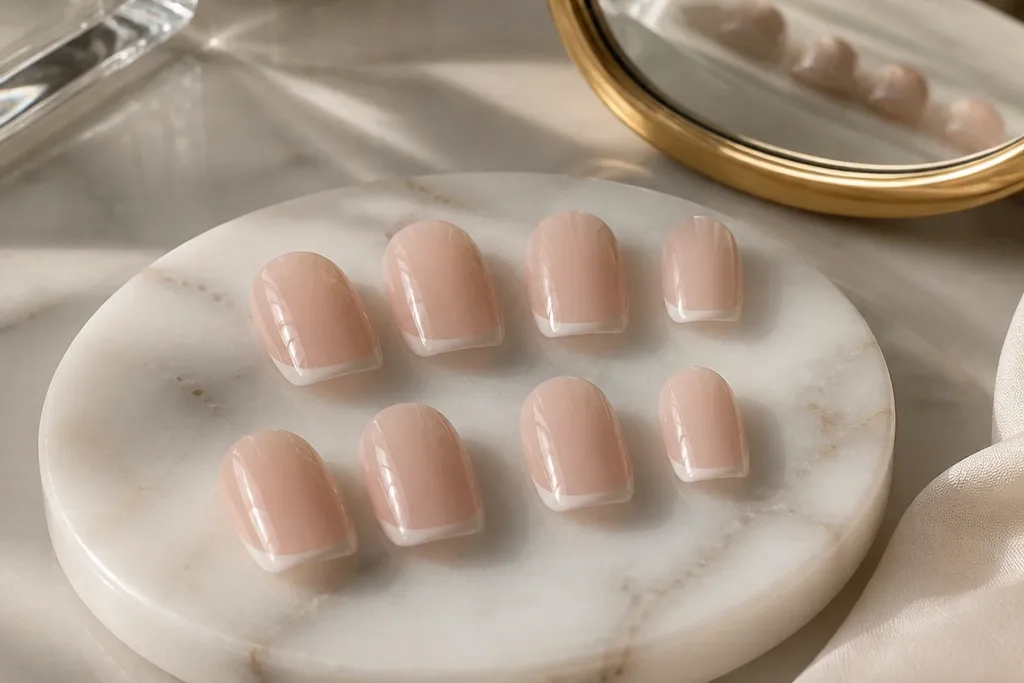

1. Butter Cream Nude with Micro French Center Line
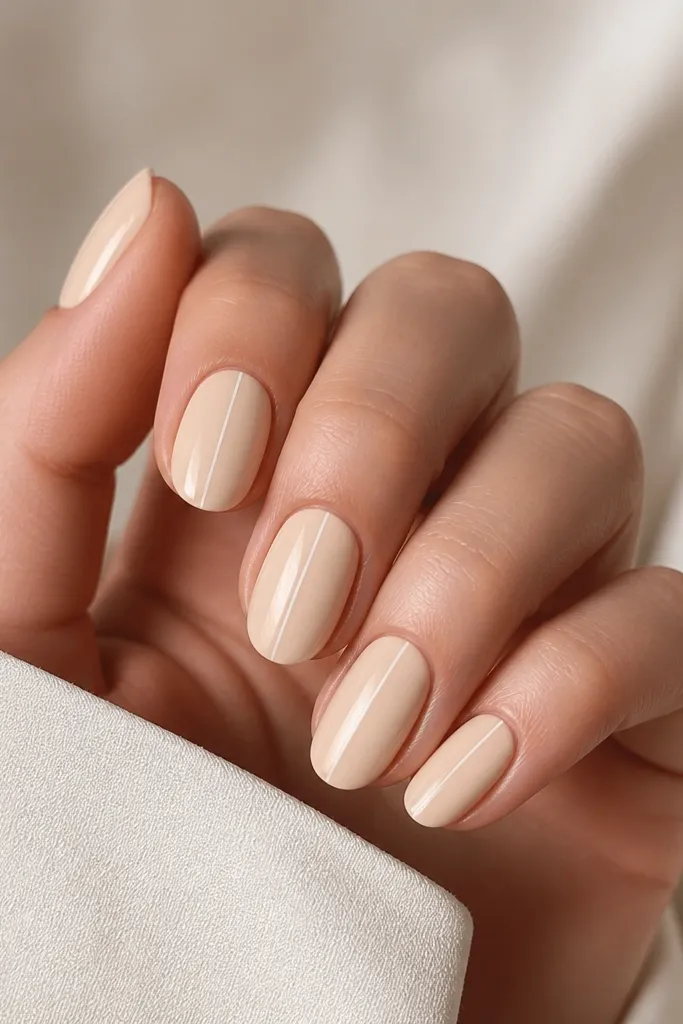
This is the Kylie vibe for small nails because it reads long while using almost zero width. The butter-cream nude has a warm undertone that flatters pale to medium skin — it makes your nail look like a soft extension of your skin tone. The micro French center line is narrow enough that it doesn’t widen the nail bed, so your eye still sees length. I like it for everyday wear and for dates because it looks clean even when the nails grow out.
Editor's noteIf your white bleeds, wipe the brush on a lint-free wipe so it’s damp, not wet.
Start by prepping the nail and pushing the cuticle back gently, then buff the shine off with a light 180-grit. Apply two thin coats of butter-cream nude gel, curing each coat fully. With a fine striping brush, draw a white line exactly in the middle — keep it about the thickness of a strand of hair and stop 1 mm before each sidewall. Cure, then cap the free edge with a clear gel top coat so the tip stays smooth.
2. Iced Latte Ombre with Clear Gloss Tips
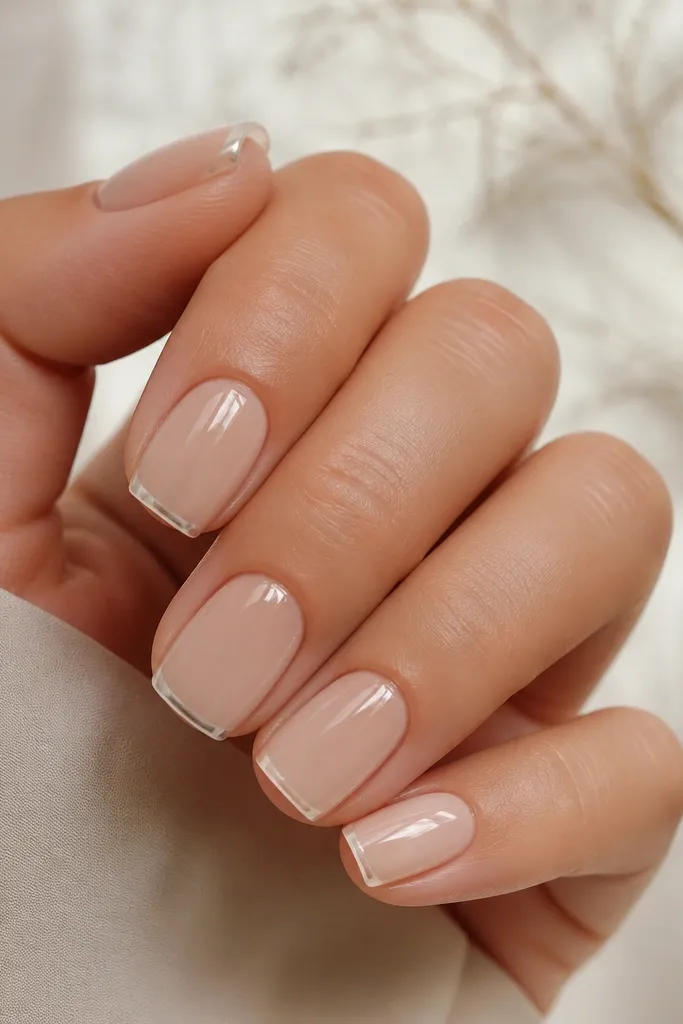
This one is for when you want Kylie nails but your nails feel too short for sparkles. The iced latte ombre stretches the nail visually because the color gets lighter toward the tips, which is where you want the eye to land. The clear jelly tip makes the nail look like it has a “floating” edge instead of a blunt end. It works on cool and warm undertones because the beige sits in the middle — not pink, not gray.
Apply a sheer nude base first, then create the ombre with a sponge: dab iced latte beige near the cuticle and blend upward and downward so the fade is tight, not cloudy. Use a second sponge pass with a lighter beige to soften the transition at the mid-nail. Finally, paint a thin layer of clear jelly gel only on the last 1/5 of the nail, then cure. Finish with a high-gloss top coat and clean up the sides with a brush dipped in slip solution.
Do the ombre in two light sponge dabs instead of one heavy press to avoid patchy edges.
3. Rose Milk Gloss with Side-Swoop Line
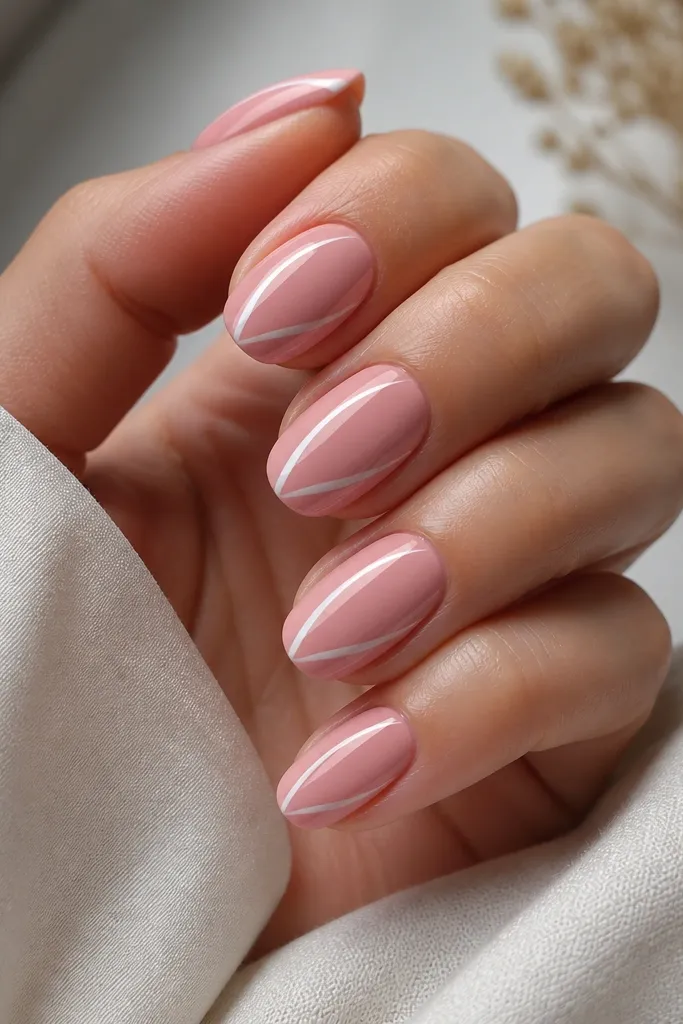
The side-swoop line makes short nails look like they have movement, and it fits small space because the art lives on one side lane. Rose milk is flattering on fair to deep skin tones because it’s milky and not neon; it softens the contrast. The white line is glossy, so it catches light and makes the nail look freshly done. I wear this when I want something “Kylie” but still office-friendly.
Editor's noteIf your swoop looks shaky, mark the start and end points with a dot first, then connect them.
Start with two coats of rose milk gel, keeping the edges thin so the sides don’t bulge. Use a striping brush to draw a swoop that begins about 1 mm from the left cuticle edge, curves across the center, and ends about 1 mm from the right sidewall. The swoop should be about 0.5 mm wide at the widest point. Cure and top coat with a thick clear layer, then cap the free edge by dragging the brush once across the tip.
4. Chocolate Truffle Nude with Tiny Star Points
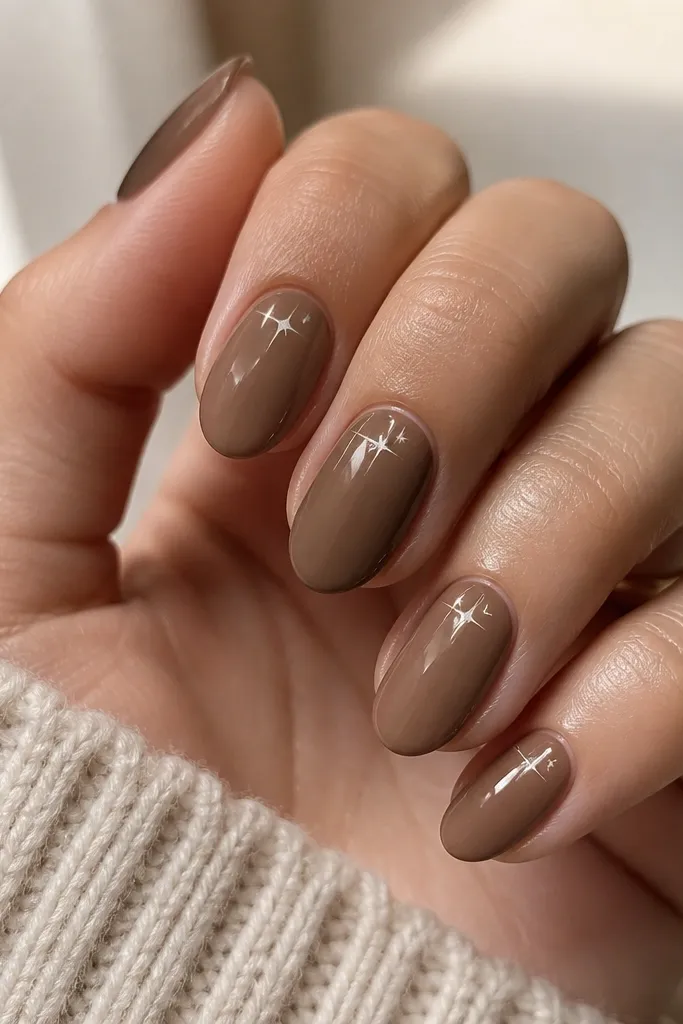
Brown Kylie nails look expensive, and this version works on small space because the star points are tiny and clustered near the cuticle. The chocolate truffle nude warms up the hand and looks good with gold jewelry. The star placement near the base makes the nail feel longer since the sparkle doesn’t sit at the widest part. It’s a great choice if you want “night out” nails without heavy glitter coverage.
Editor's noteUse gel paint for the stars instead of loose pigment so the lines stay crisp.
Apply two coats of chocolate truffle nude, then cure. Use a dotting tool or a star stencil to place one tiny white star near the cuticle and slightly inward — keep it at least 1 mm away from each sidewall. Add a second micro star only on two nails if you want variation, not on every nail. Cure again, then apply a glossy top coat in two thin passes so the stars don’t get dragged.
5. Pearl Champagne Base with Narrow Glitter Stripe
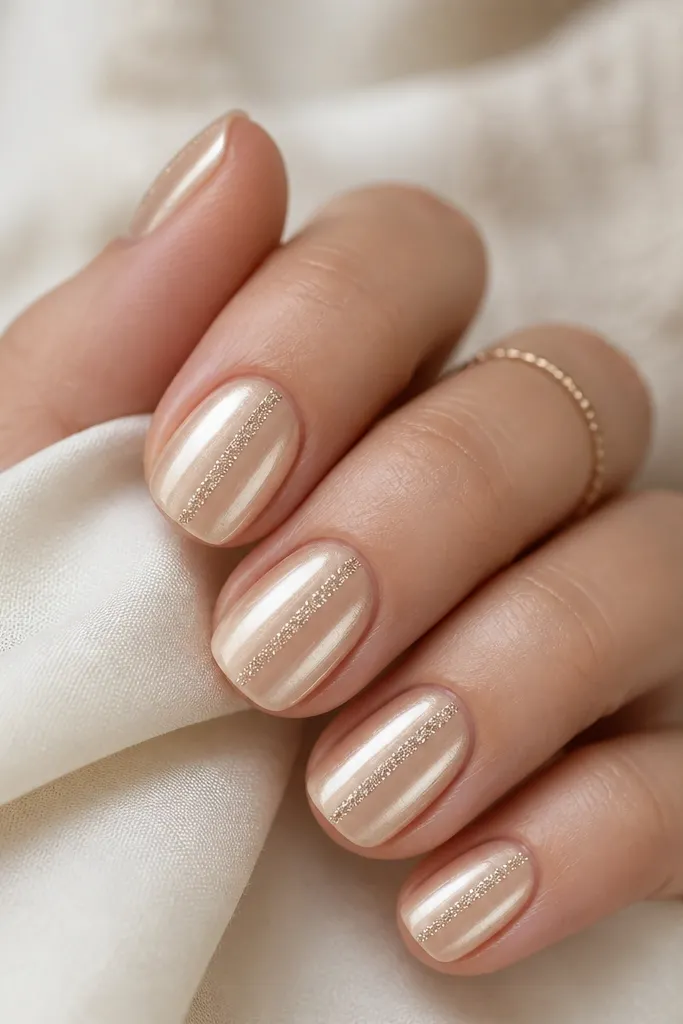
A single narrow glitter stripe is the small-space trick that still looks like Kylie’s glossy glam. Pearl champagne is flattering because it reflects light without turning your nails gray or too yellow. The stripe draws the eye down the nail, so your nails look longer even when the free edge is short. This also hides minor unevenness because the glitter adds texture where you want focus.
Editor's noteIf glitter feels gritty after curing, add one extra thin top coat and cure longer.
Paint two thin coats of pearl champagne gel, curing each coat. Take a gel glitter in a fine champagne shade and apply it with a striping brush — keep the stripe width around 2 to 3 mm total on the nail, centered. Leave a 1 mm gap from the cuticle so it looks intentional. Cure thoroughly, then seal with a clear top coat, pressing the brush along the stripe so it stays flat.
6. Soft Pink Nude with Double Micro French (Two-Tone)
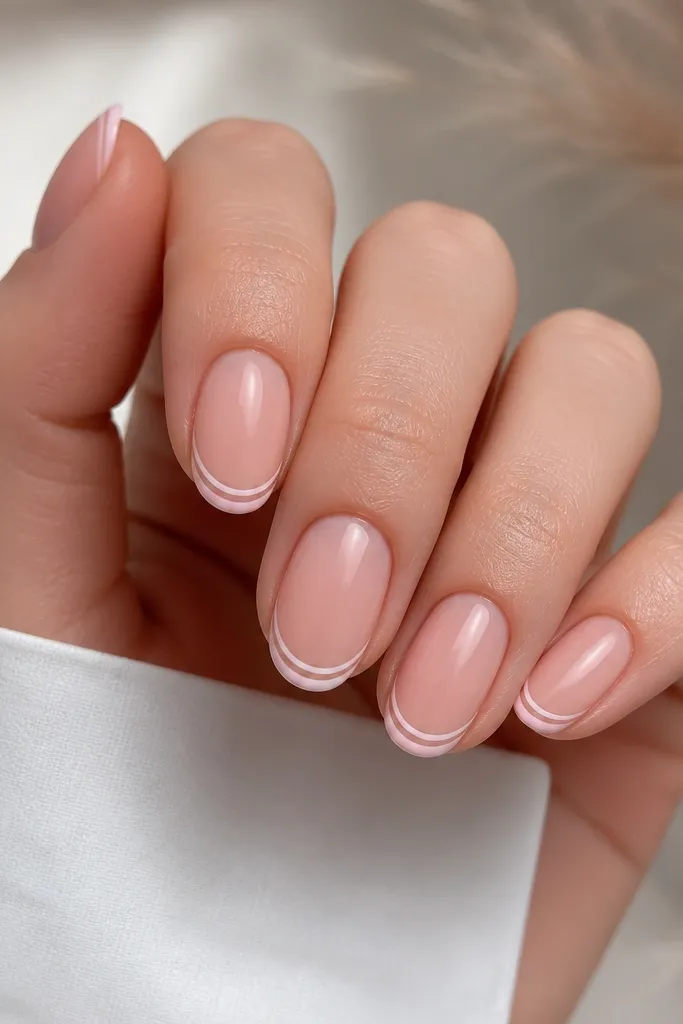
Double micro French looks fancy on short nails because it creates a layered frame at the tip without taking over the nail bed. The soft pink nude base makes skin look fresh, and the two-tone lines add depth without widening the nail. I like this for weddings, portraits, and any time you want a “put-together” manicure that still reads Kylie-adjacent. The key is keeping both lines thin and centered so the nail doesn’t look chopped.
Editor's noteUse a nail guide strip or tape to keep the tip line straight for the first nail only.
Apply a sheer soft pink base in two coats, curing each. Draw the first micro French line in white along the tip edge, keeping it about 2 mm from each sidewall at the widest point. Add the second micro line in pale pink just under the first line, following the same curve. Cure, then apply top coat and cap the free edge so the lines don’t chip.
7. Milky Clear Base with Pink Jelly Heart Dot
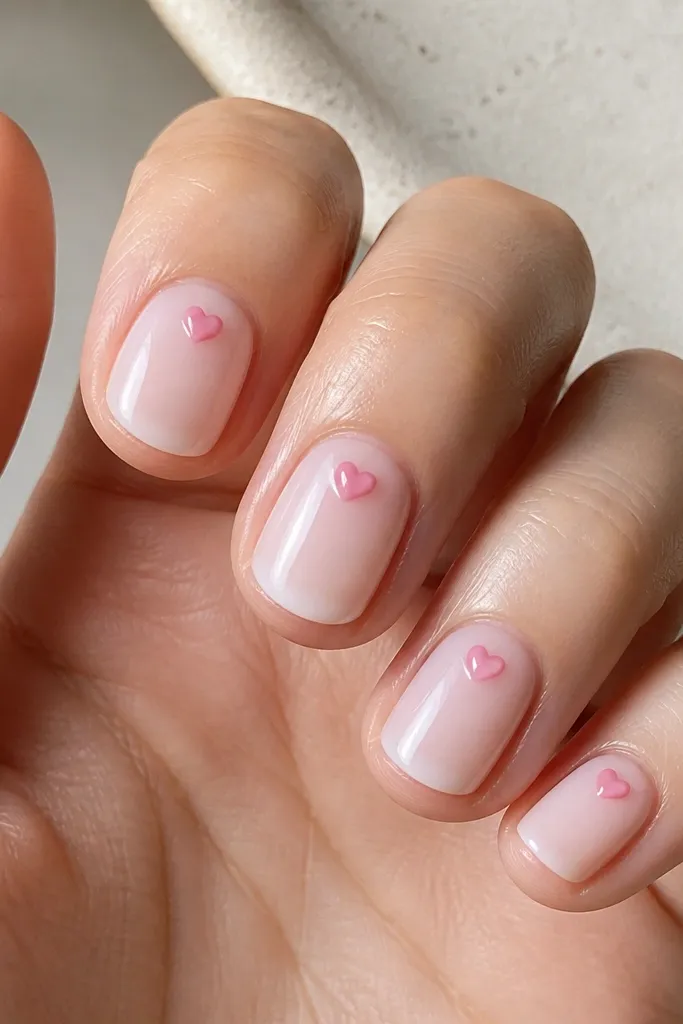
This is the sweetest Kylie look for small nails because it’s airy, not heavy. The milky clear base makes your nail look healthy and lets the heart pop without crowding the sides. The pink jelly heart has a soft, dimensional look that catches light like candy, even on a tiny nail. It flatters hands that look dry because milky bases hide small texture and make the nail surface look smoother.
Start with a milky clear builder gel or sheer milky base in two thin coats. Cure each coat until it’s tack-free. Use a dotting tool to place a small pink jelly heart near the cuticle center, keeping it roughly the size of a grain of rice. Cure, then finish with a glossy top coat and cap the edges carefully so the heart stays smooth.
If the heart floods, clean the brush and re-place with a smaller amount — jelly gel spreads fast.
8. Olive Taupe Nude with Tight Marble Vein
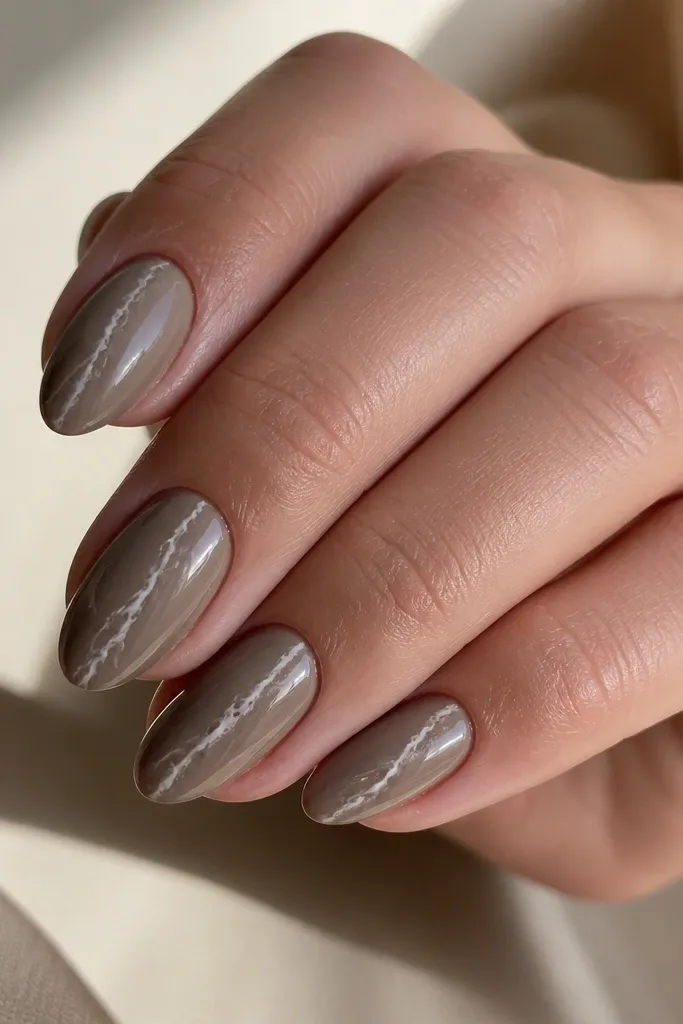
Marble works on small nails when it’s a single vein, not a full pattern. Olive taupe nude is flattering because it adds warmth without going too orange, and it looks great on both cool and warm skin tones. The tight marble vein creates a vertical focal point, so short nails look longer. This is a good pick if you want something different from the usual pinks and nudes but still wearable.
Editor's noteMarble veins look best when you keep the line imperfect — a straight ruler line looks fake.
Apply two coats of olive taupe nude and cure fully. With a thin detail brush, paint a narrow vein in white-gray — keep it about 1 mm wide at the thickest point and centered. Add one small branch vein near the middle, then soften the edges with a tiny amount of clear gel before curing. Seal with a clear top coat in two thin layers so the marble looks smooth, not textured.
9. Classic Nude with Chrome Halo Cuticle
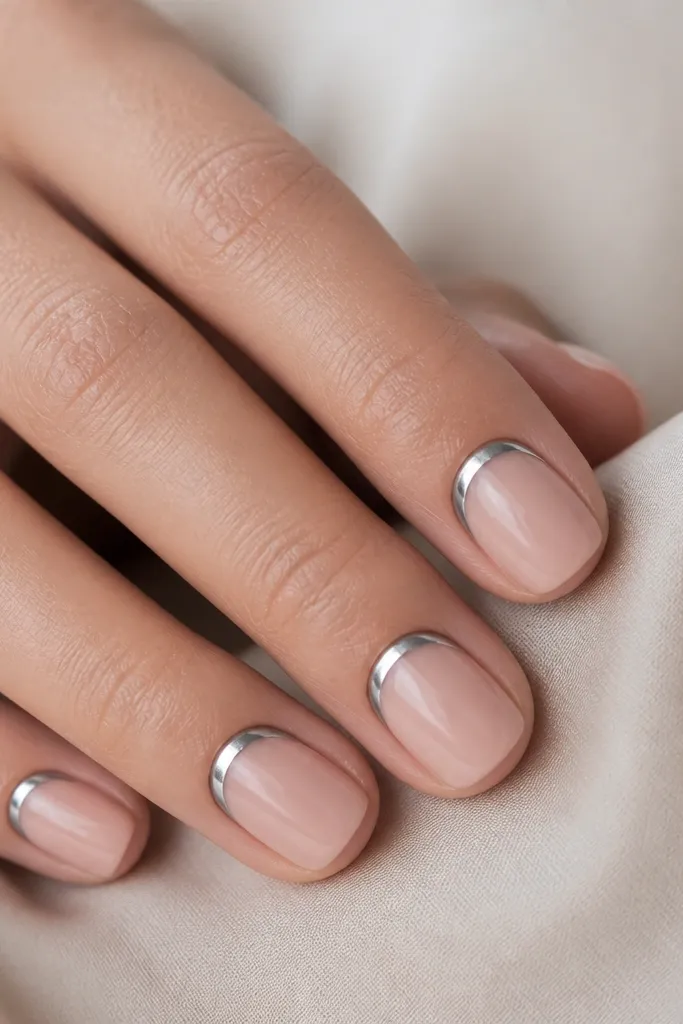
A chrome halo is Kylie’s glossy cuticle moment, scaled down for small space. It makes the nail look refined because it frames the base, and framing is the easiest way to create the illusion of length. The classic nude base keeps it flattering, and the silver chrome makes your skin look brighter. This is perfect when your nails grow out and you want something that still looks intentional at the base.
Editor's noteUse a makeup sponge to press chrome — it gives a smoother halo than dragging with a brush.
Paint two coats of classic nude pink-beige and cure. Apply a small amount of cuticle-area gel near the base in a crescent shape, leaving a tiny gap from the sidewalls. Lightly press silver chrome powder onto the tacky gel, then brush off excess. Cure and seal with a clear top coat, keeping the first top coat thin so the chrome doesn’t dull.
10. Lavender Milk with Tiny Gem Confetti
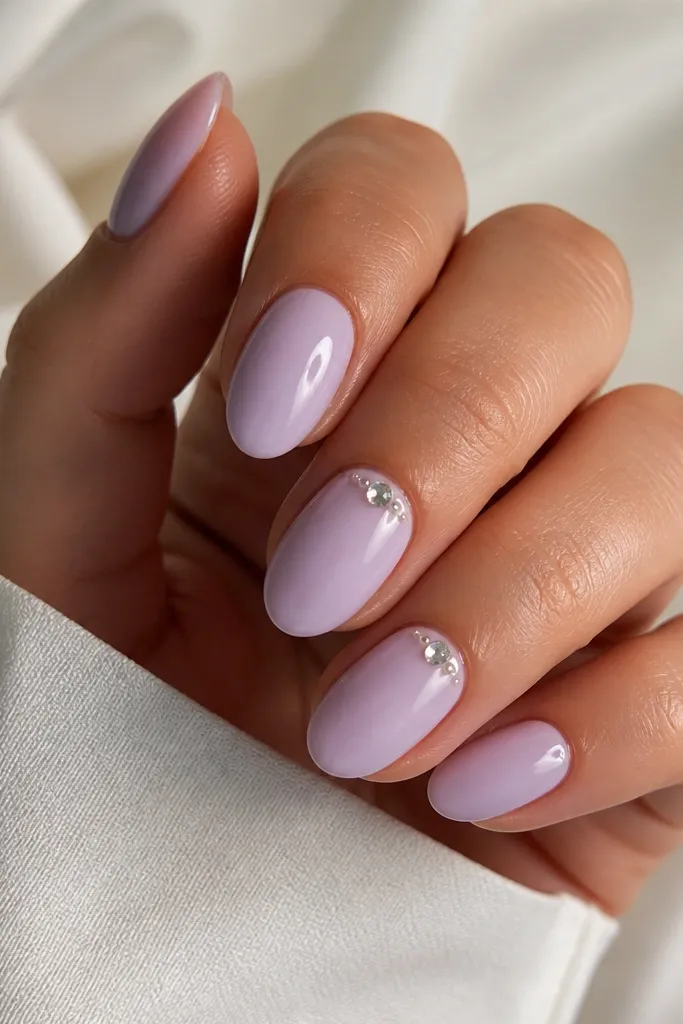
Lavender milk nails look soft and expensive, and tiny gems make them feel Kylie without going full bling. The gem confetti is small-space friendly because it sits in the center near the cuticle where the nail bed is more forgiving. Lavender also looks great if your skin has pink undertones or you wear cooler makeup — it matches the vibe without clashing. This manicure is best for events, but it’s still wearable because the gems are minimal.
Apply two coats of lavender milk gel and cure. Place rhinestones only on two nails: use a dot of clear gel where each stone sits, then press each gem with a flat tool. Keep the cluster tight — about 3 stones total — and leave 1 mm space from the sidewalls. Cure and seal with top coat in two thin layers, dragging the brush gently over the stones so you don’t pop them up.
If stones catch on fabric, add an extra top coat and cap around each gem.
11. Peachy Nude with One-Line Bow at the Tip
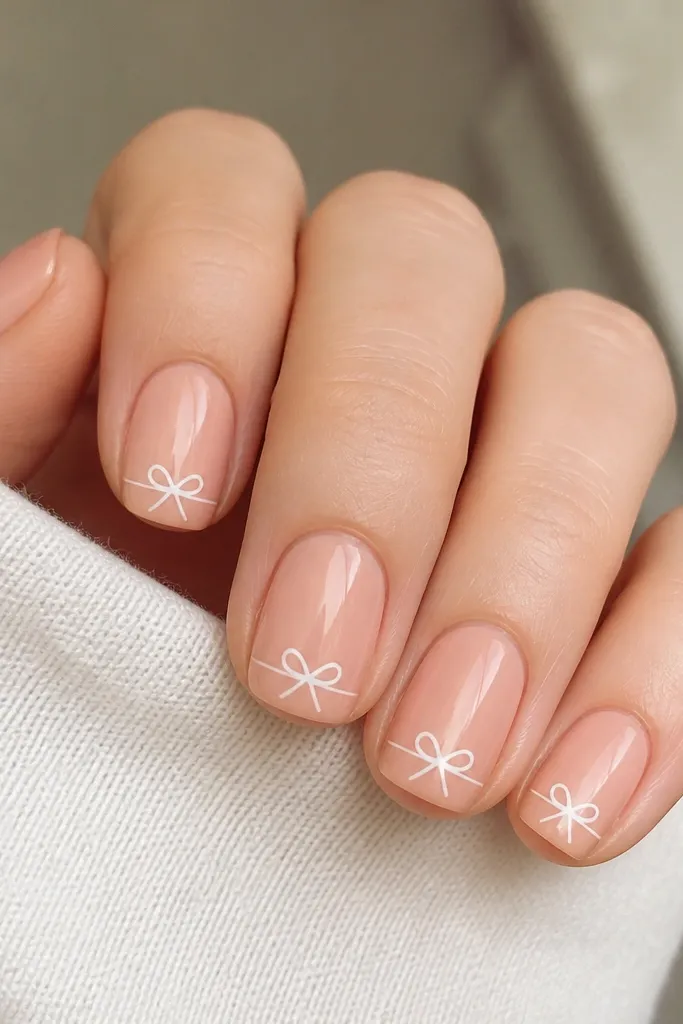
A one-line bow gives you that cute Kylie signature without needing big artwork. Peachy nude flatters hands by warming up the nail and blending with skin tone, especially if you wear bronzer or warm blush. The bow at the tip works for small space because the icon is compact and centered, so it doesn’t widen the nail. It’s adorable for spring and summer, and it photographs well because the bow is high-contrast and glossy.
Start with two coats of peachy nude, curing each. Use a fine nail art brush and draw a small V shape for the bow tails, then add two loops on top — keep the whole bow about 3 mm wide. Place it at the tip center, leaving 1 mm from each sidewall. Cure, then top coat and cap the tip so the bow edges feel smooth.
Practice the bow on a spare nail tip first — the second try always looks cleaner.
12. Clear Jelly Pink with Center Dotline
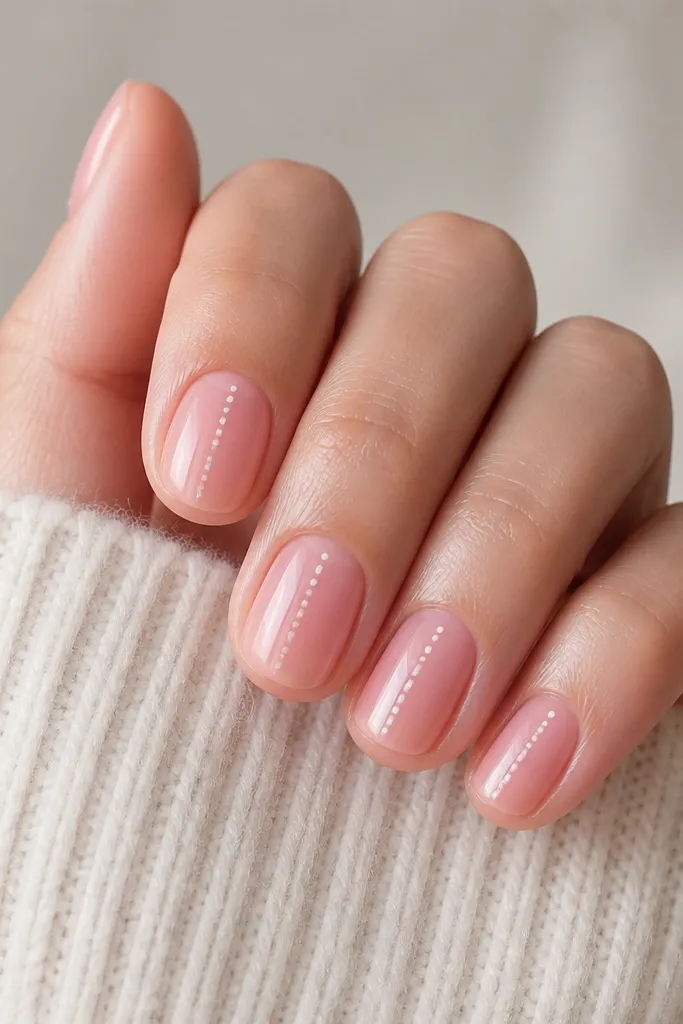
This is a small-space design that still feels playful. The clear jelly pink makes your nails look juicy and hydrated, and it’s forgiving on short nail beds because it doesn’t require full coverage. The center dotline creates a vertical rhythm, so the nail reads longer than it is. It’s a good choice if your natural nails are a little uneven — jelly bases blur the look.
Editor's notePut a tiny dot of acetone on a lint-free wipe to clean the sides of your dotline after curing.
Build a thin clear jelly pink layer, cure, then add a second thin coat for opacity. Use a dotting tool to place small white dots in a straight line down the center — keep the first dot about halfway up the nail. Space the dots evenly, about 1 mm apart, and keep the line narrow so it stays centered. Cure and finish with a thick glossy top coat for a smooth, rounded “plump” look.
13. Nude Brown with Micro Rhinestone Border Only on One Side
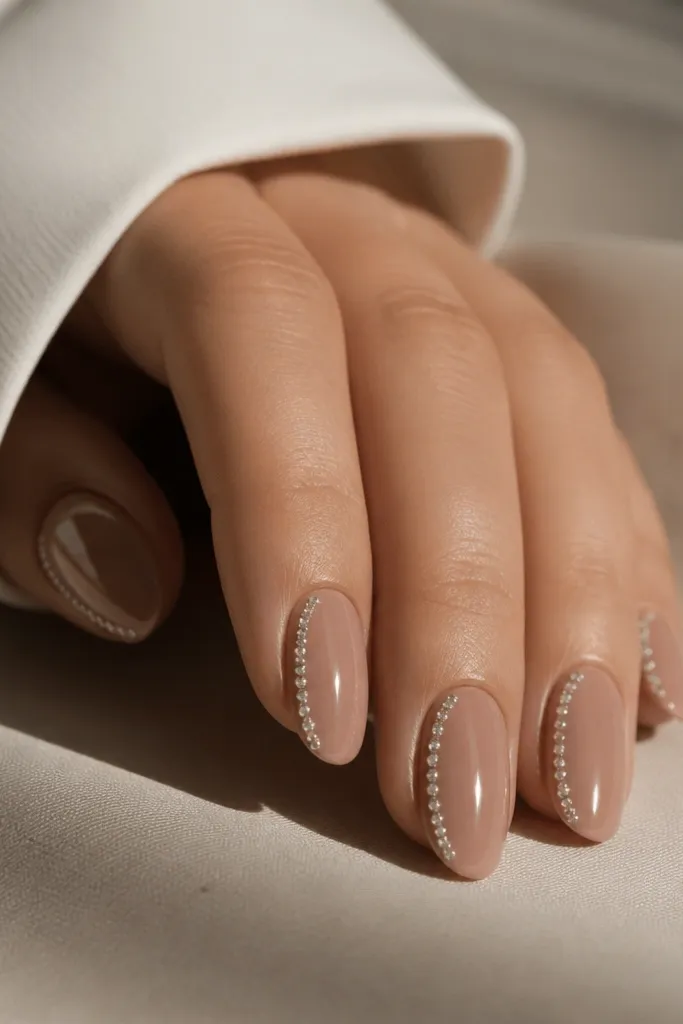
This one is bold without crowding because it uses negative space on purpose. Nude brown is flattering and hides staining, and the rhinestone border on only one side creates a slimming diagonal effect. On small nails, full borders look bulky, but a single-side border stays light and still looks luxe. It’s my go-to for nights out when I want sparkle that doesn’t catch on everything.
Editor's noteIf stones feel raised, add a gel top coat and cure with extra time, then buff lightly with a 2000-grit after.
Apply two coats of nude brown and cure. Add a thin strip of clear gel only along the left sidewall area, staying about 0.5 mm away from the edge. Place micro rhinestones one by one with tweezers or a rhinestone picker, keeping the row straight and tight — no gaps bigger than a rhinestone. Cure and seal with top coat, using a flat brush to press the stones down so the surface stays smooth.
14. Satin Pink Nude with Soft Glossy Side Gradient
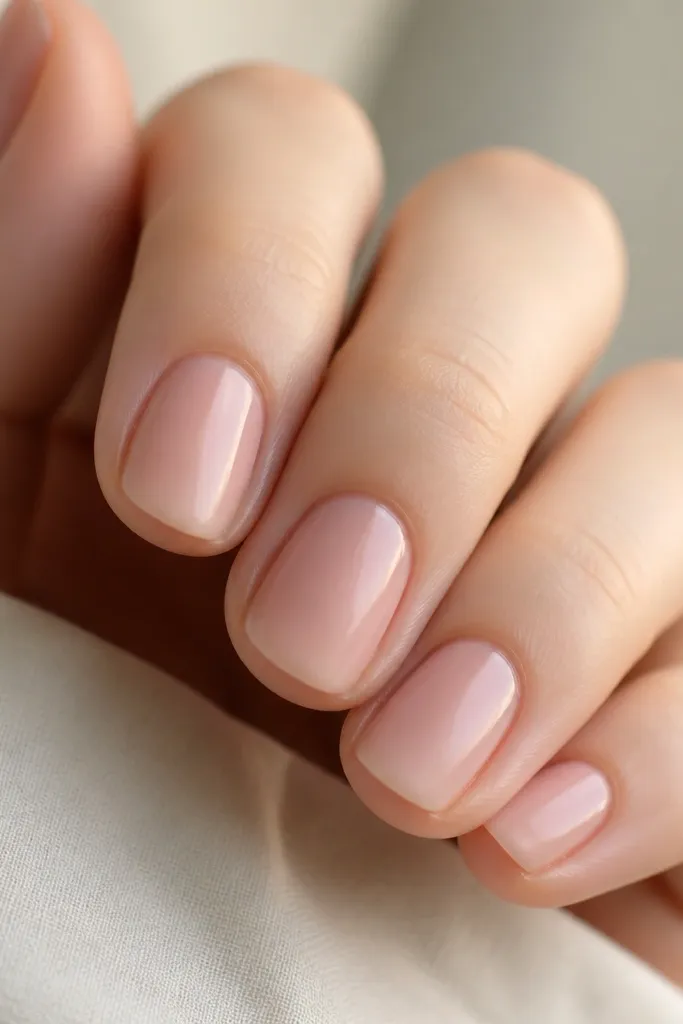
Satin-to-gloss contrast tricks the eye into seeing depth, which matters on small space nails. The satin pink base looks soft and flattering, especially if you wear matte makeup. I like the subtle side gradient because it keeps the nail looking narrow while still giving you dimension. This style is great for someone who hates glitter but still wants that “done” look.
Apply a satin pink base in two thin coats and cure each coat. Then apply a clear glossy gel only down the center strip — about 2 mm wide — and feather it slightly into the satin so the transition is smooth. Cure and wipe any tackiness if your gel needs it. Finish with a thin top coat that keeps the satin sides satin and keeps the center glassy so the contrast stays visible.
Use a gel with a true satin finish for the base; regular top coat satin can look patchy.
15. Peach Chrome Tips with Barely-There Base
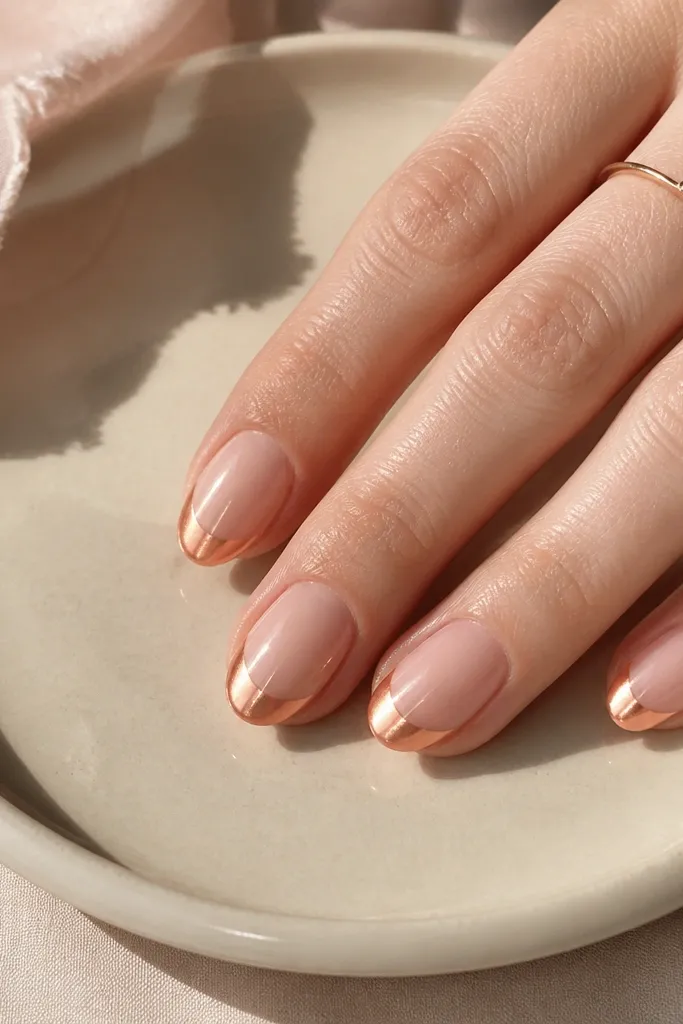
Chrome tips are the quickest way to make short nails look dressed up. The peach chrome over a barely-there base keeps the nail from looking bulky, which is key for small space. It flatters medium and deep skin tones because the warm peach-gold reflects nicely and makes your nails look brighter. This is also one of the easiest Kylie-style looks to maintain because the chrome tip still looks intentional as your nails grow.
Apply a sheer nude builder gel or sheer nude polish, two thin coats, curing each. Leave the center alone and apply tacky gel only on the last 1/4 of the nail. Press peach chrome powder onto the tacky area, then lightly blend downward with a soft sponge so it looks like a tip-to-mid gradient. Seal with a chrome-safe top coat and cap the free edge carefully.
Do the chrome over a sticky tack layer, not on fully cured gel — it grips better and looks smoother.