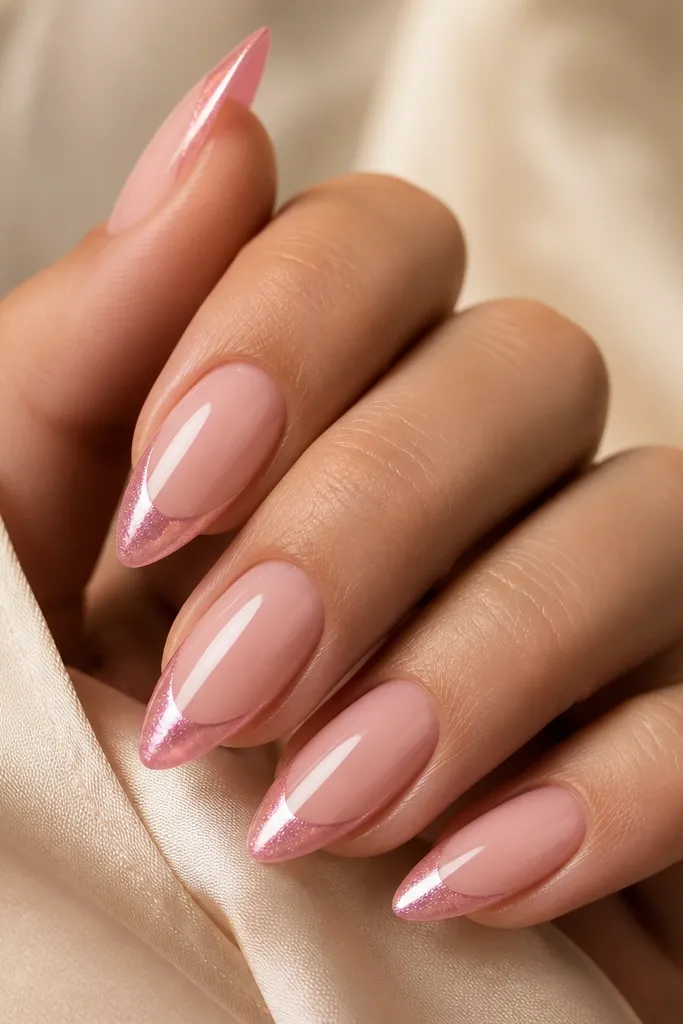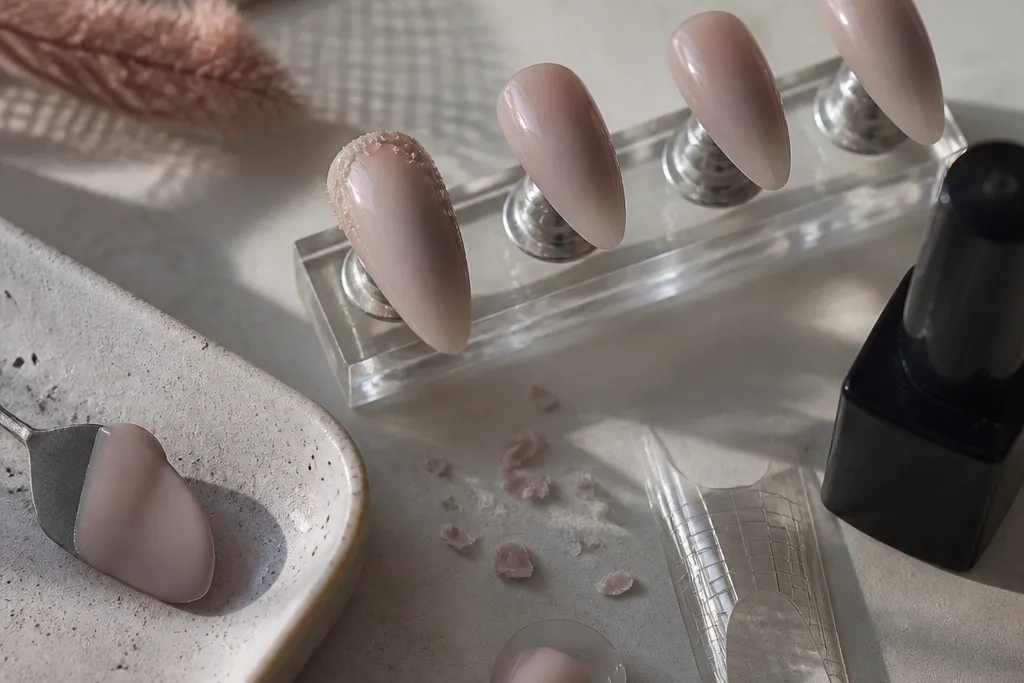
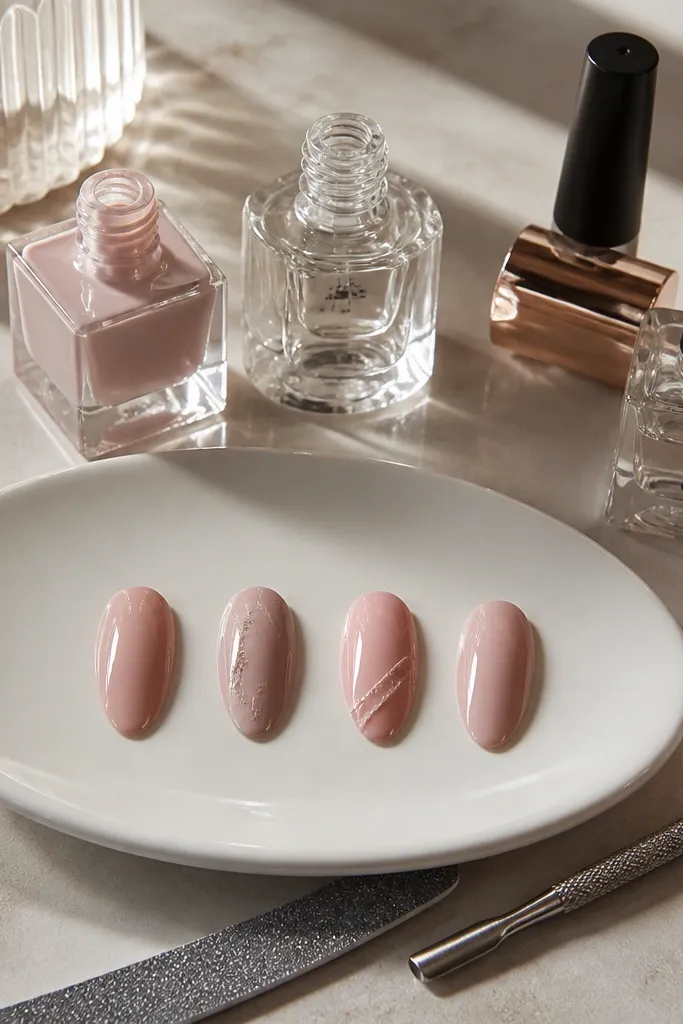
1. Milky Nude Almond with Glass Top Coat
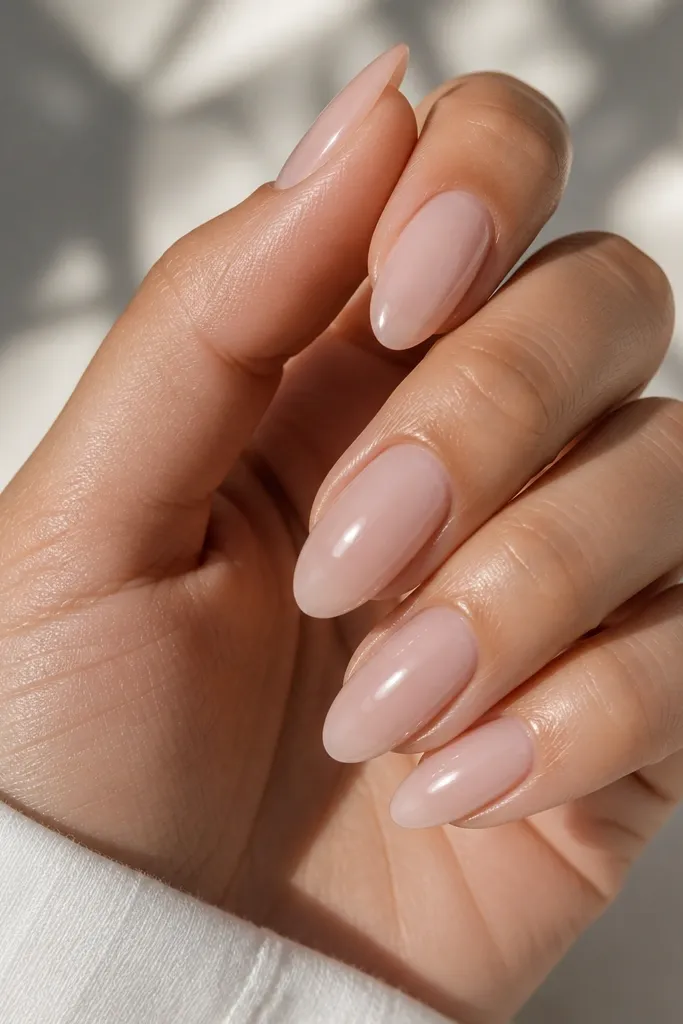
This is the Kylie 2016 “my nails but better” set. The color reads soft and bright because it’s milky (not fully opaque) and still pink enough to flatter cool and neutral skin tones. I like it for short-to-medium nail beds because the milky nude avoids that harsh contrast that makes the nail look smaller. The shine matters more than people think — a true high-gloss top coat turns a simple nude into a polished, expensive-looking finish.
Start by filing your nails into almond: the sidewalls taper evenly toward the tip, and the widest point sits slightly above the center of the nail. Push back the cuticle gently, then buff only the shine off the surface — don’t thin the nail. Apply a base coat, then two thin coats of milky nude gel, curing fully between coats. Finish with a thick but smooth layer of high-gloss top coat, and cap the free edge so the shine and color stay intact longer.
If your milky nude looks streaky after coat one, stop and cure — then do coat two thin. Thick coat one is what creates bumps.
Avoid one thick nude coat. It drags, pools near the cuticle, and shows ridges.
2. Warm Nude "Skin Tone" with Blush Undertone
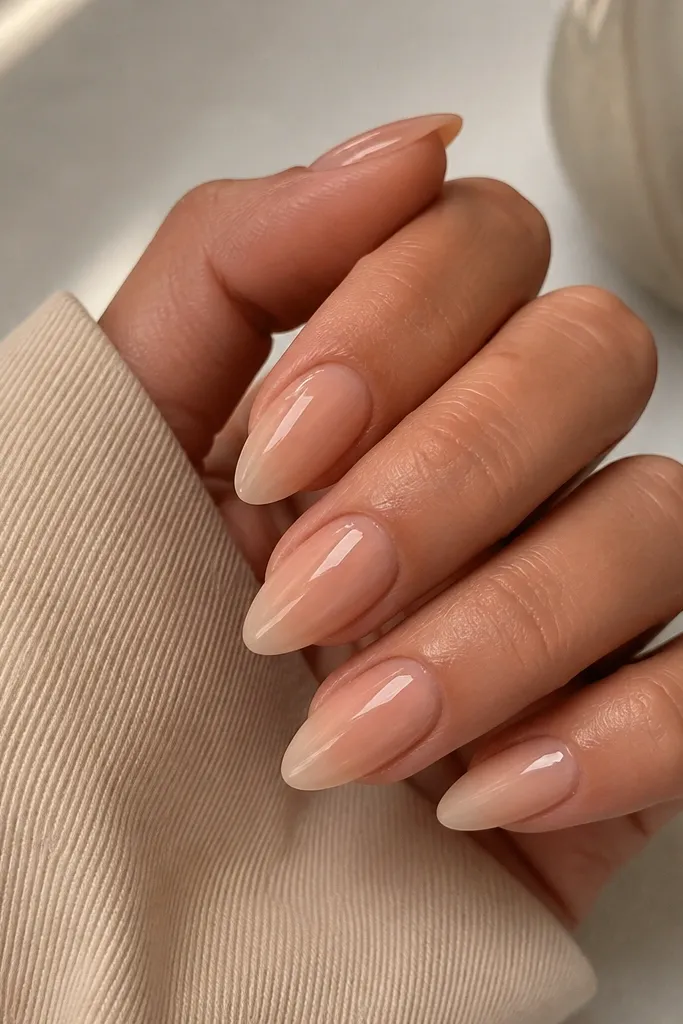
This version is for anyone who gets the “why does the nude look gray on me?” problem. The warm blush undertone makes your nail blend with your skin, which lengthens the look of your fingers. It’s especially flattering if you have golden undertones or tan easily because the nude doesn’t fight your complexion. I also use this when a client wants a Kylie-style nude but doesn’t want it to look too pale.
Choose a nude gel that looks like your skin after you apply concealer — not a pale pink, not a brown. Apply one thin coat for even coverage, cure, then do a second thin coat that stays slightly lighter near the center of the nail. If you want that subtle “Kylie” softness, use a tiny sponge to tap the mid-nail only — keep it away from the cuticle line. Seal with glossy top coat and cap the tip so the color stays smooth.
Editor's noteMatch the nude to your knuckle, not your wrist. Knuckle skin is the real guide for how nude polish sits on you.
Skip thisAvoid a nude that’s two shades darker than your skin. It makes the nail look stubby.
3. Dark Cherry Almond with Creamy Depth
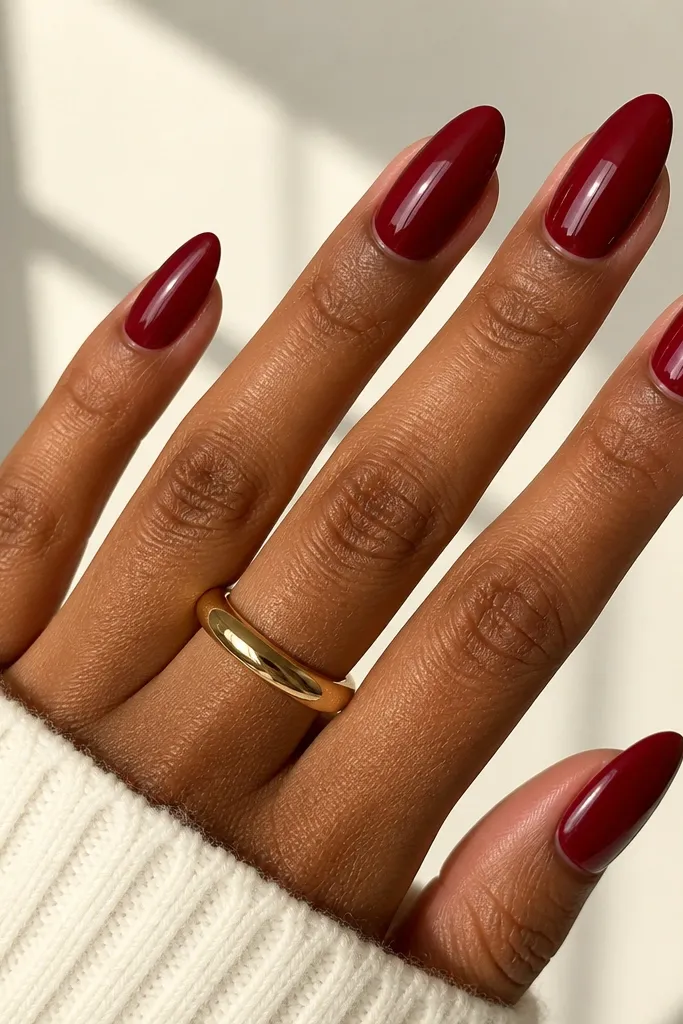
2016 Kylie reds aren’t bright fire-engine. They’re deeper, almost wine-cherry, and they look expensive because they’re opaque and smooth. This shade flatters most skin tones but especially looks good on warm undertones because the red has a slight brown base. If you hate reds that look too loud, this one reads bold without screaming. It’s also a great choice for photos because the glossy cream finish holds highlights cleanly.
File almond with a slightly longer tip than you think you need — cherry shades look better when the nail outline is slender. Prep and buff lightly, then apply base coat. Paint two thin coats of dark cherry cream gel, curing fully each time; thin coats prevent pooling and keep the surface flat. Finish with a high-gloss top coat and wipe the tacky layer if your top coat is tack-free, then apply a second thin top coat only if you see any micro-texture.
Editor's noteUse a wide brush for the first coat so you lay color flat, then clean the cuticle edge with a small detail brush dipped in gel cleanser.
Skip thisAvoid translucent cherry. It forces you into extra coats and the nail gets thick.
4. Glossy Chocolate Brown with Soft Shine
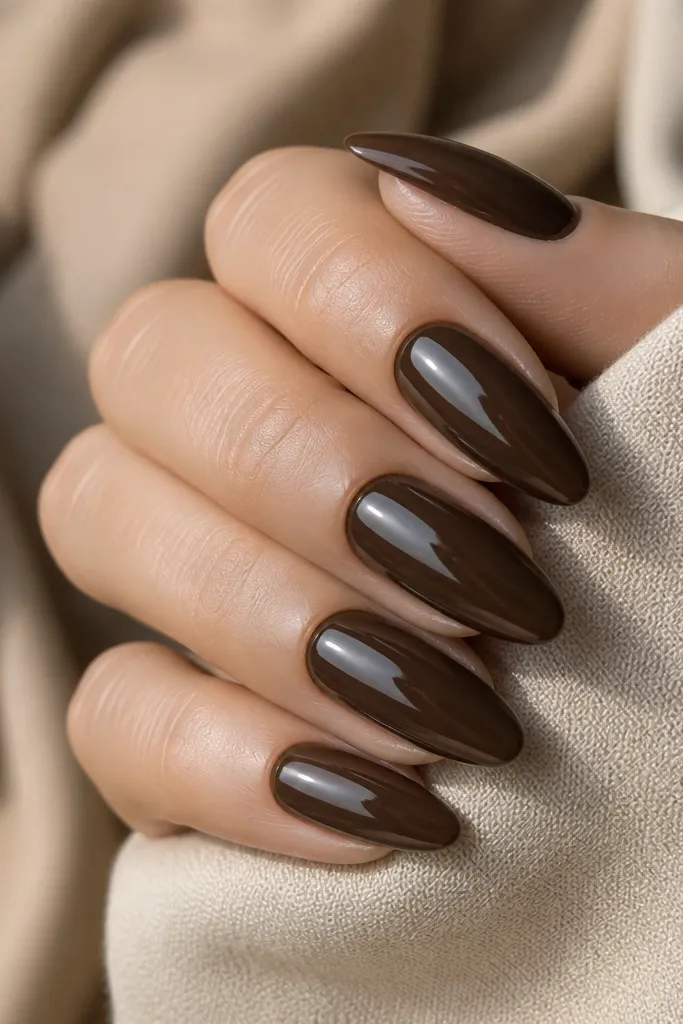
This is the Kylie 2016 mood when she leaned into darker nudes. Chocolate brown looks chic because it’s neutral — it doesn’t pull orange like some “coffee” browns. On fair skin it looks edgy but still wearable; on deeper skin tones it looks rich and clean. I like this set for fall and winter because the gloss keeps it from feeling flat. The key is a creamy brown with full coverage, not a sheer tint.
Start with almond shaping that keeps the nail narrow at the tip. Base coat goes on thin and even, then apply two thin coats of chocolate brown cream gel, curing well between coats. Keep the first coat slightly lighter at the center if your polish is very pigmented — it helps avoid shrinkage lines. Top coat should be glossy and slightly thicker than usual; brush it in one direction to smooth out any streaks.
Editor's noteIf you see streaks after curing, wait until after the second coat and then fix with a small amount of top coat — don’t repaint the brown again.
Skip thisAvoid brown with red shimmer. It looks cheap under daylight and kills the Kylie-clean vibe.
5. Nude French with Micro-White Smile Line
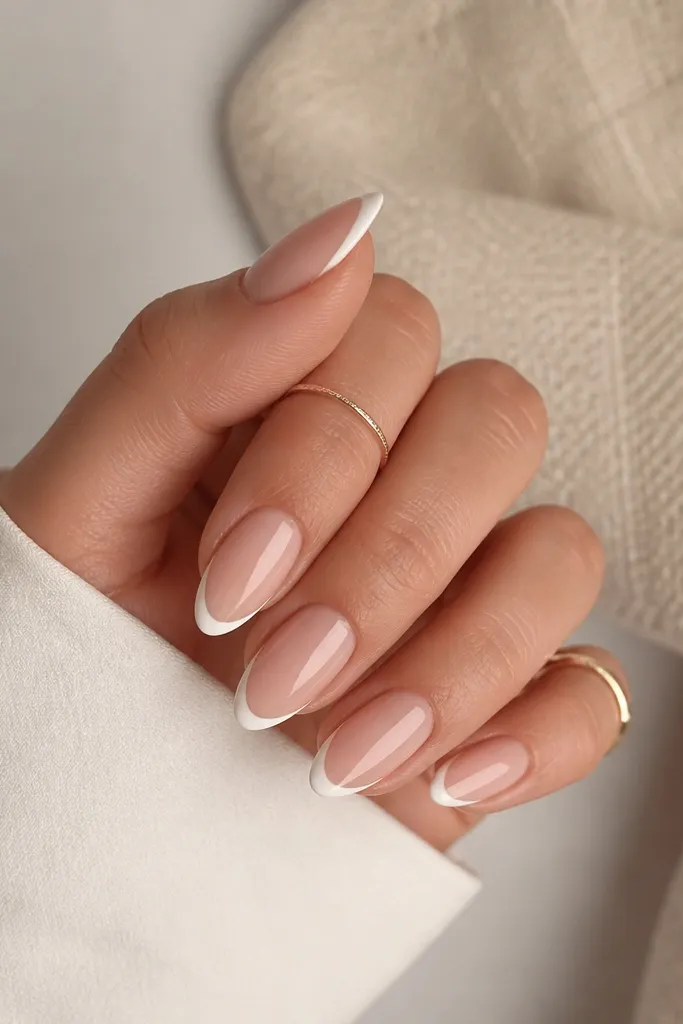
Micro-French is the exact trick that makes French tips look modern instead of bridal. The nude base keeps it Kylie, and the ultra-thin white smile line keeps it 2016. This set flatters nearly everyone because it visually lengthens the nail while staying neutral. If your nails are naturally short, micro-French gives you a defined tip without making the nail look bulky.
Paint a nude base first — I use a sheer pink-nude gel in two thin coats so it looks like your nail, just smoother. Then map the smile line: place the brush at the center of the free edge, pull outward to the sides, and keep the line about the width of a fine marker stroke. Cure, then clean up the edges with a cotton swab dipped in gel cleanser. Finish with glossy top coat and cap the tip for that sealed, smooth French edge.
Editor's noteUse striping tape as a guide for your first attempt. Remove it right after you paint the line, before curing.
Skip thisAvoid thick French tips. They look like press-ons and hide the almond shape.
6. Blush Pink with One Thin Nude Stripe
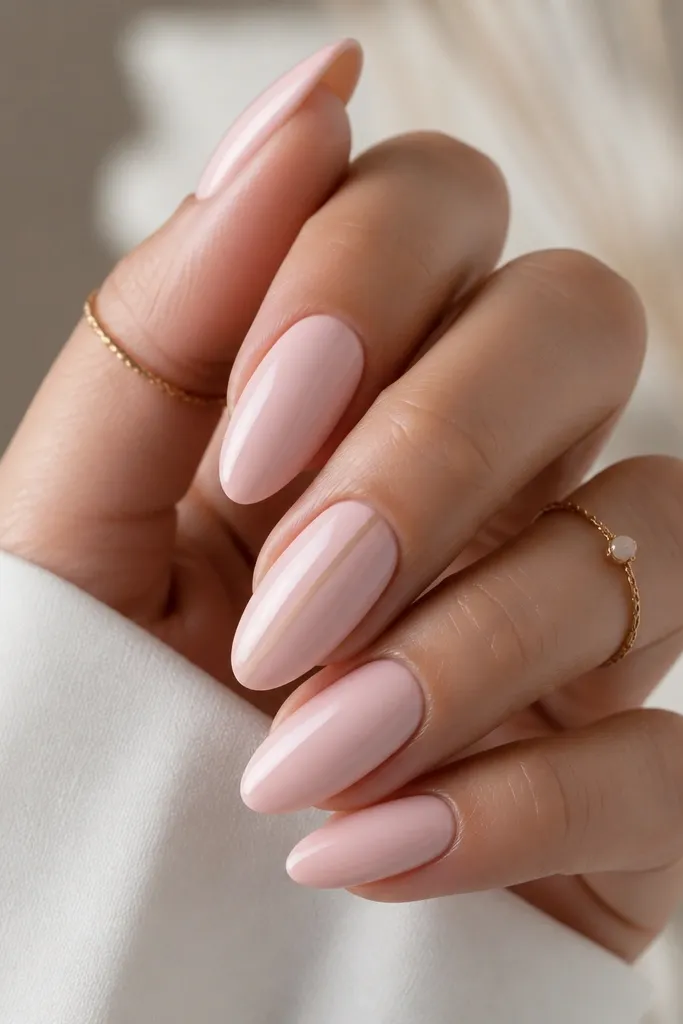
This is a subtle Kylie-style detail that reads stylish in real life, not just in photos. The blush pink base flatters cool and neutral tones because it’s soft, not icy; the nude stripe adds a little dimension without turning the set into nail art overload. I especially like it on medium-length almond because the vertical stripe makes the nail look longer. It’s also forgiving if your stripe line isn’t perfectly straight — it still looks intentional.
Apply base coat, then two thin coats of blush pink gel for a smooth, opaque finish. Pick a nude stripe gel that’s one shade deeper than the base so it shows — not a white stripe, not a glitter stripe. Use a striping brush and paint a single vertical line centered on one accent nail; cure. Seal with glossy top coat, and apply extra top coat over the stripe so it looks like it’s under glass.
Editor's noteIf the stripe is too thick, wipe the brush on a paper towel first. Stripes look best when the line is thin enough to show nail texture beneath the gloss.
Skip thisAvoid multiple stripes or diagonal lines. They turn the set into a busy manicure instead of a clean Kylie detail.
7. Clear Nude with Frosted Micro-Glitter Tips
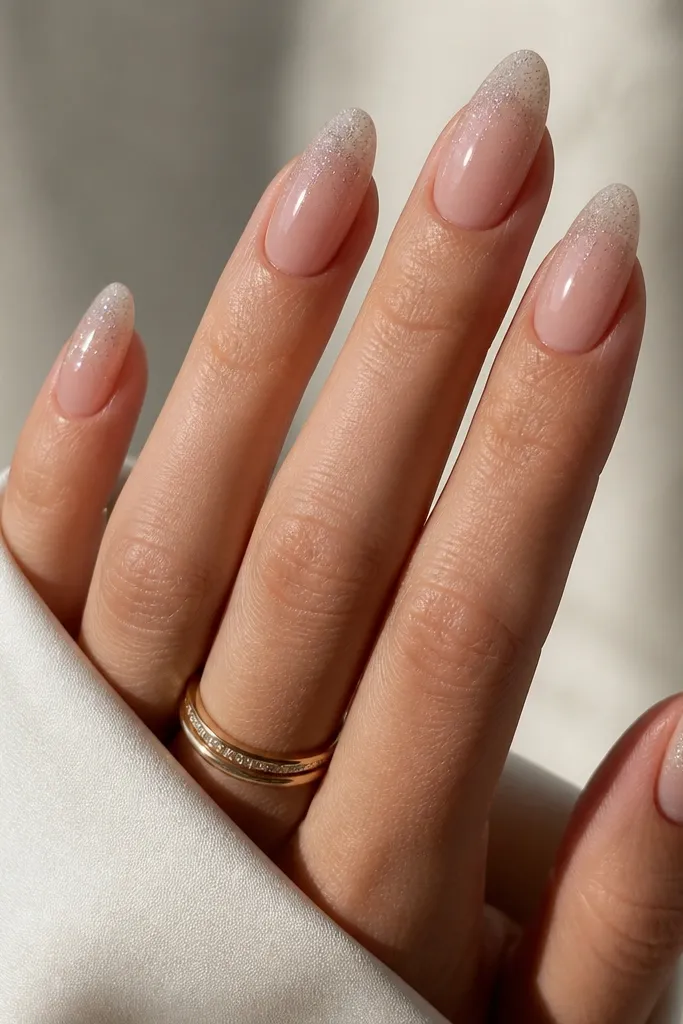
This one is all about texture. The clear nude base keeps it airy, and the micro-glitter tips give that 2016 “caught the light” effect without looking like chunky glitter. It flatters short nail beds because the glitter only sits at the tip, so your nail still looks long. I like this for parties and nights out because it looks different under warm restaurant lighting.
Start with a clear nude gel base in two thin coats so you get a glassy nude look. For the glitter, use a fine micro-glitter gel or loose glitter mixed into clear gel — chunky glitter makes this look messy. Sponge or dab glitter only on the last third of the nail, then blend slightly upward with gentle tapping. Cure, then top coat generously to smooth the glitter so it doesn’t snag on clothes or hair.
Editor's notePress the glitter down with the brush tip for one second before curing. It reduces the “loose sparkle” look and makes the gradient smoother.
Skip thisAvoid glitter that’s too large. It catches on everything and makes the set look worn fast.
8. Soft Nude Gradient from Cuticle to Tip
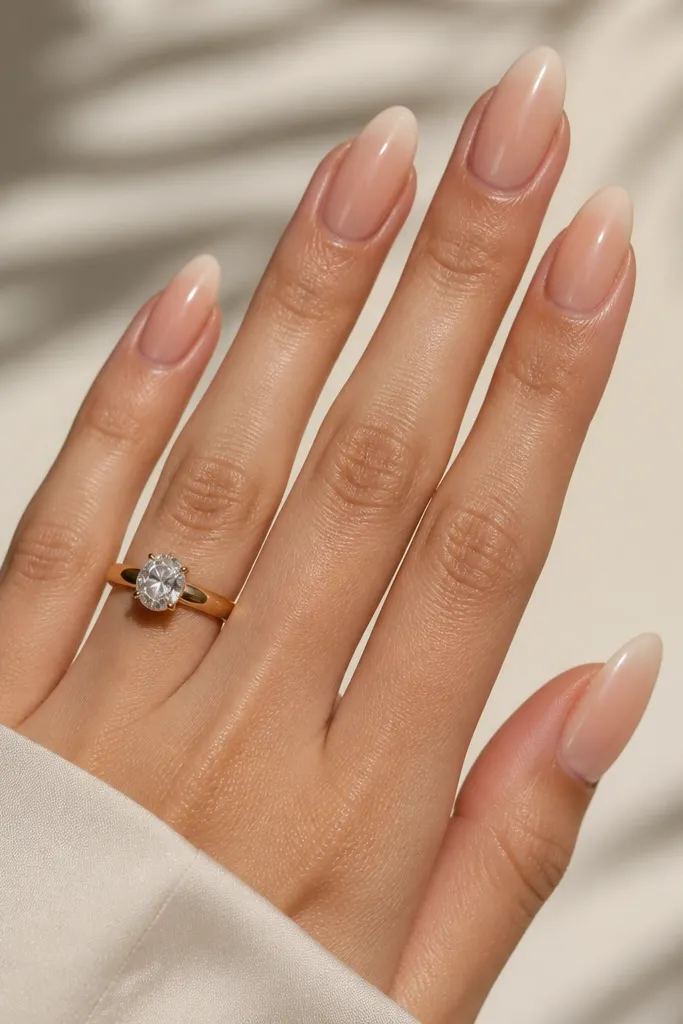
A nude gradient is a Kylie 2016 trick that makes nails look custom, even if you’re using the same base color every week. The deeper cuticle makes the nail bed look fuller, and the lighter tip creates length. This is flattering on both short and long nails, but it’s especially good if your nails naturally look flat. I like gradients when I want the look to feel expensive without adding accents.
Apply a base coat, then paint a nude color close to your skin tone in two thin coats. For the gradient, use a makeup sponge and a second nude shade slightly deeper than the base — dab it near the cuticle and blend downward toward the center. Keep the edge airy so there’s no visible line; if you see a line, it’s too much product. Cure, then finish with a glossy top coat that smooths the sponge texture.
Do the gradient in two light passes instead of one heavy pass. The second pass gives you control without harsh edges.
Avoid a gradient that stops abruptly at mid-nail. That “stripe line” instantly dates the look.
9. Black Micro-Liner on Nude Base
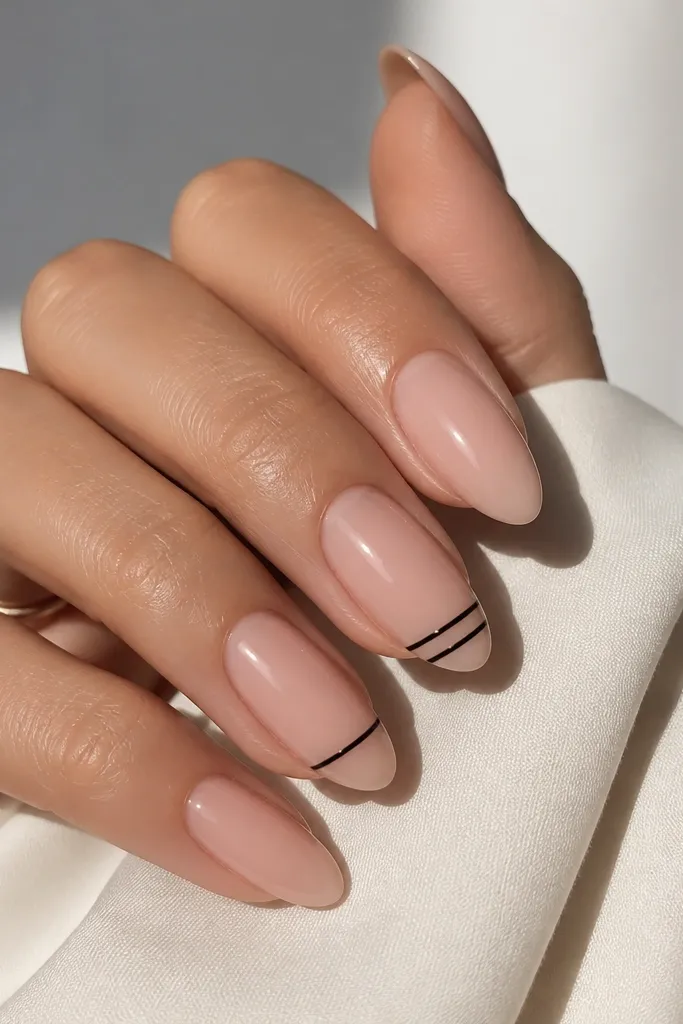
Minimal black liner is one of the cleanest ways to get a Kylie 2016 vibe without going full nail art. The nude base keeps it soft, and the black line adds contrast that looks sharp on camera. It’s flattering because it draws attention to the nail shape; the almond taper makes the line feel intentional, not random. I use this when someone wants “edgy but still wearable” and hates thick decals.
Paint a sheer nude base in two thin coats so the nail looks natural but smooth. Then use a fine striping brush or nail liner pen to draw one thin horizontal line across the middle of an accent nail. Keep the line length consistent and stop short of the sidewalls so it stays neat. Cure and apply glossy top coat in one smooth coat so the line stays crisp under glass.
Practice the line on a scrap nail or a piece of clear plastic first. Your hand learns the pressure faster than you think.
Avoid wobbly lines. If the line shakes, it looks cheap even if the color is perfect.
10. Nude Marble with Tiny Vein Detail
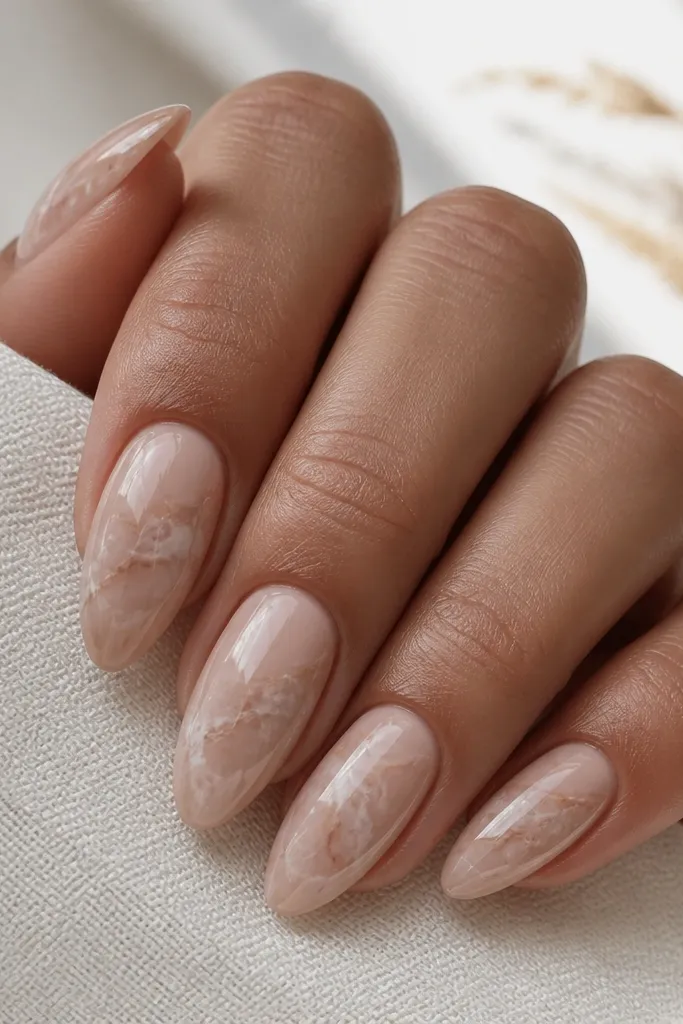
Marble nails can get messy fast, but tiny-vein nude marble looks like Kylie’s photos from 2016 where the art is there, but it doesn’t scream. The nude base keeps it flattering and wearable, while the taupe and white veins add dimension without turning the nail into a cartoon. This works best on medium almond because there’s enough space for the veins to breathe. I also like it for anyone who wants something different but still wants the nails to look clean up close.
Start with a nude base gel in two thin coats, then cure. For veins, use a small liner brush and paint wispy lines in taupe first, letting some lines fade out before they reach the edges. Add a few thin white veins on top, but keep them smaller than the taupe so the marble looks layered, not flat. Cure, then seal with glossy top coat; press the top coat gently over the veins so they look embedded, not sitting on top.
Less vein coverage looks more expensive. I stop after 5-7 vein strokes per nail so it stays airy.
Avoid chunky marble swirls. Heavy patterns make the set look like it was done with stickers.