1. Jelly Ice Pink with Clear Glass Dome
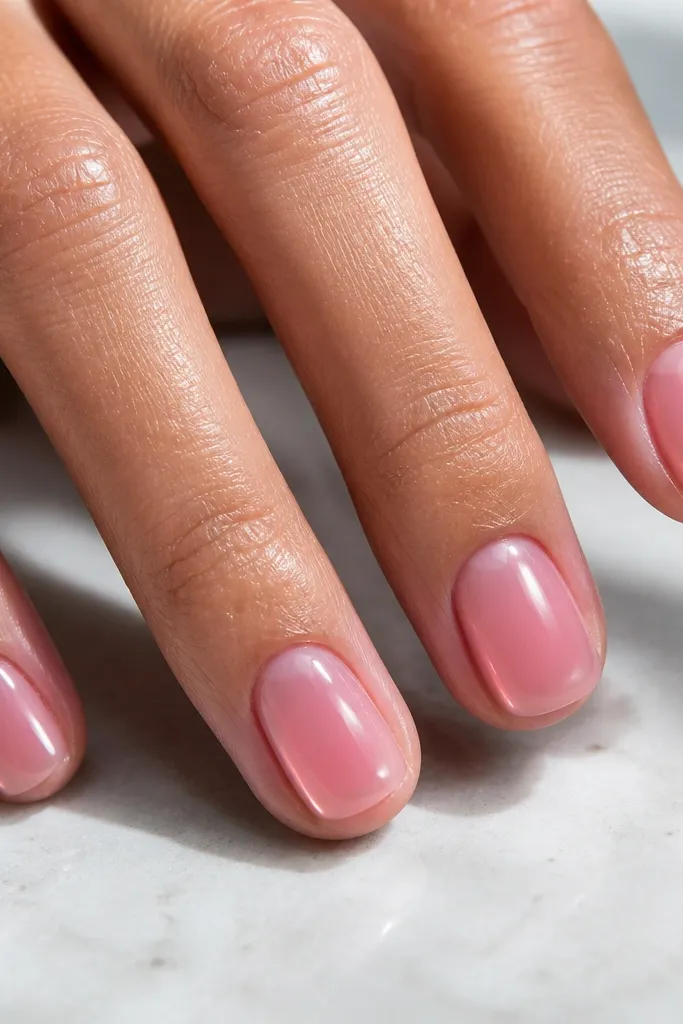
This is the easiest “Kylie glass” look because the pink is semi-sheer, so your nails don’t scream regrowth. I like it on light to medium skin tones because the jelly shade looks like your nails are naturally healthy and hydrated. The clear dome makes the color look deeper, not flat. It also flatters shorter nail beds because the transparency visually stretches the nail from cuticle to tip.
Start by pushing back cuticles and wiping the nail plate with a gel cleanser, then apply a rubber base coat in a thin layer. Paint jelly ice pink from cuticle to tip with two coats, keeping the second coat slightly thicker in the middle third. Cure fully between coats, then apply a clear gel top coat thickly over the center and “cap” the free edge. Finally, do a last top coat layer but wipe lightly around the sides so it looks smooth, not bumpy.
Editor's noteIf your top coat bubbles, thin it with a few drops of top coat thinner and mix on a clean palette before applying.
Skip thisSkipping the thick center dome makes the nails look like regular polish instead of glass.
2. Chrome Half-Moon Tips on Milky Nude
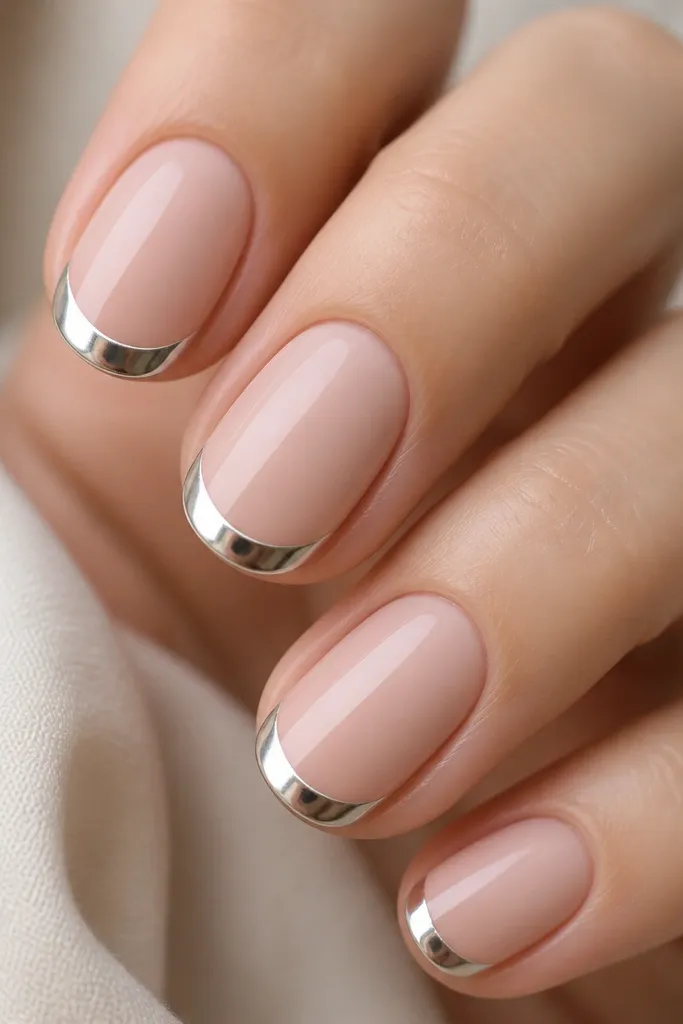
This layout hides wear because the base is milky nude and forgiving, while the chrome sits at the tip where chips are less noticeable. I’ve worn it on days when I’m typing nonstop, and the chrome still looks crisp because it doesn’t require detailed line art. It flatters warm and neutral skin tones because milky nude keeps things soft while silver chrome adds that futuristic edge. The half-moon arc also makes fingers look longer by pulling the eye toward the tip.
Apply a milky nude gel in two thin coats, keeping it slightly sheer near the cuticle. Cure, then add a tacky layer on just the top third of each nail where the chrome will go. Tap silver chrome powder only on the free edge area, then use a soft brush to remove excess so the half-moon line stays clean. Seal everything with a glossy top coat and cap the free edge with extra thickness.
Use a makeup sponge to dab the chrome lightly — it gives a smoother arc than a heavy brush.
Don’t pull chrome across the nail — dragging makes the arc look messy and cheap.
3. Black Jelly with Mirror Chrome Ring Finger
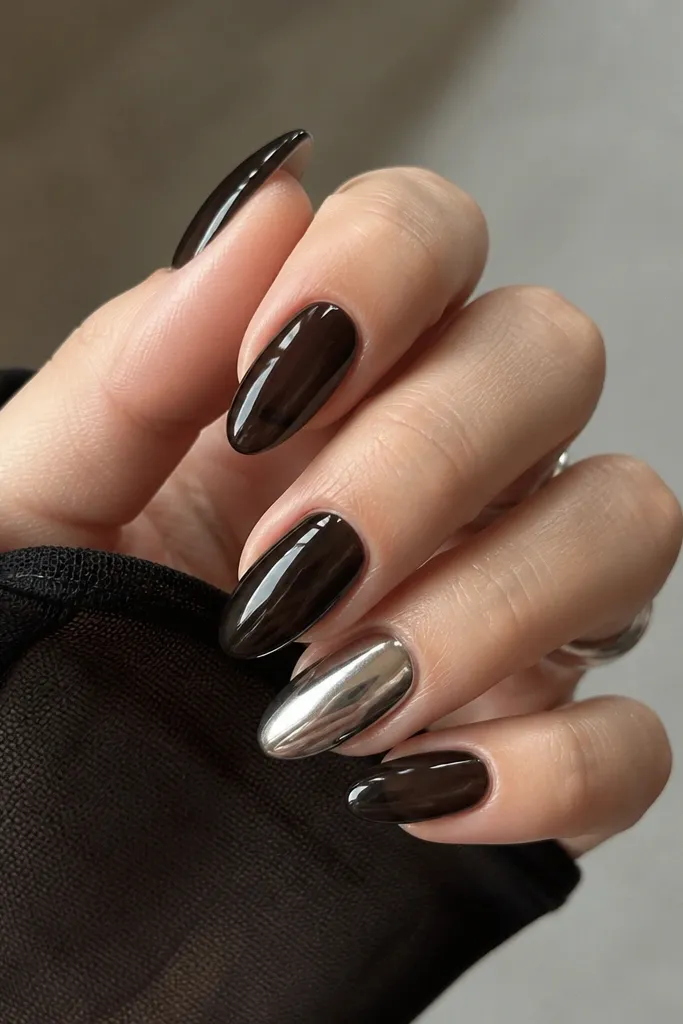
Black jelly is dramatic but still low maintenance because it’s glossy and doesn’t show tiny imperfections as quickly as bright pastels. I love this on olive, fair, and medium-deep skin tones because the jelly stays dimensional instead of looking like flat ink. Keeping chrome only on the ring finger makes the manicure feel Kylie-ish without forcing you to redo chrome across all nails. It also looks good in photos because the contrast reads instantly.
Start with a clear base coat, then apply black jelly gel in three thin coats so it stays glassy and not thick. Cure each coat and keep the final coat slightly thicker in the center. On the ring finger only, add a tacky layer over the black jelly and press mirror silver chrome powder until it turns fully reflective. Seal all nails with one glossy top coat layer, and for the ring finger, do an extra thin top coat so it doesn’t dull the shine.
Editor's noteIf your black jelly stains your skin, clean the edges with a gel brush dipped in alcohol before curing.
Skip thisDon’t use matte top coat — it kills the glass look.
4. Opal White Gradient with Silver Chrome Edge
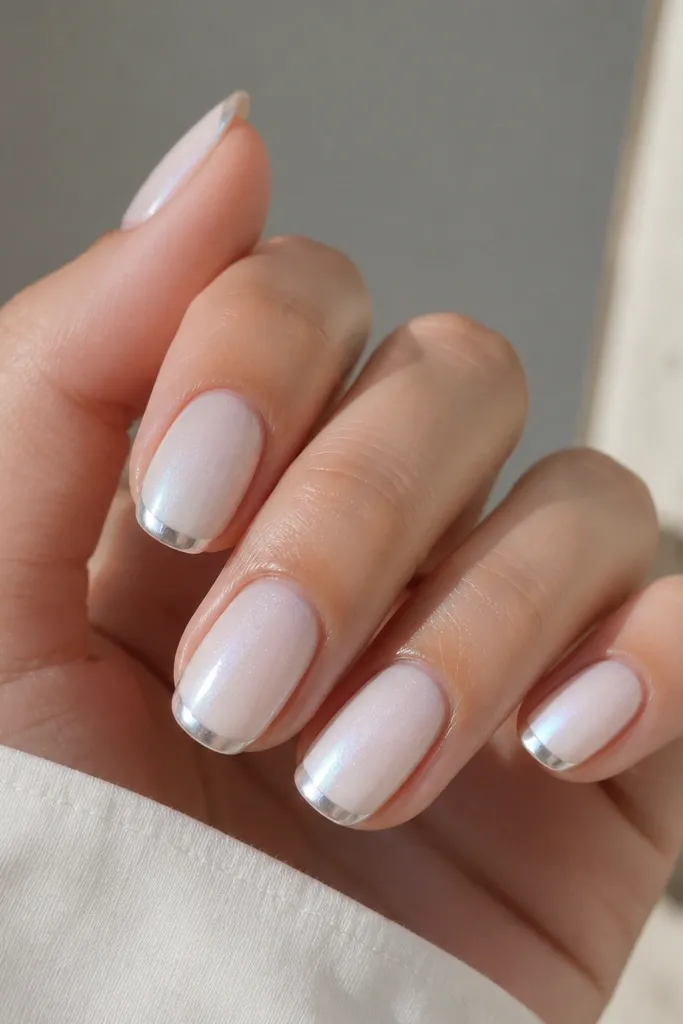
This one looks futuristic without being hard to maintain because the gradient smooths out regrowth. Opal white also photographs beautifully on every skin tone because it’s not pure stark white — it has a soft pearly shift. The thin chrome edge adds the “Kylie glass” hit while staying minimal, so you don’t need perfect nail-to-nail matching. It flatters medium and longer nail shapes especially almond, because the gradient naturally elongates.
Apply a sheer base coat, then sponge or brush on opal white gel starting from the cuticle and fading toward the tip. Keep it translucent enough that the nail line still shows through a little, then cure. Add a tacky gel strip only at the last 1-2 mm of the tip, tap silver chrome powder onto that strip, and blend the edge with a tiny amount of gel to keep it straight. Seal with a thick glossy top coat to lock the opal sheen and make the chrome look suspended in glass.
Work with a small makeup sponge for the gradient — it gives a softer blur than a brush.
Don’t make the chrome band too wide — wide bands catch on clothes and chip faster.
5. Taffy Pink Jelly with Micro Chrome Specks
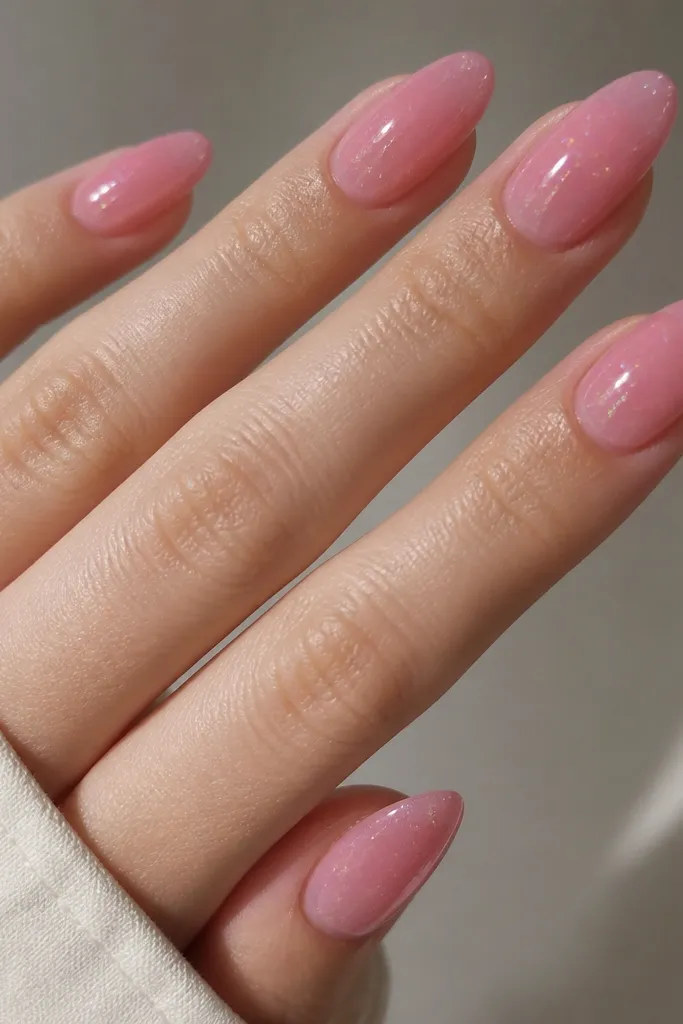
If you want a glossy futuristic manicure but hate heavy glitter, micro chrome specks are the sweet spot. The taffy pink jelly base keeps everything wearable for everyday, and the tiny reflective dots catch light when you move your hands. This flatters cool and neutral skin tones because the pink reads creamy instead of neon. It also hides small chips because the specks distract the eye from minor edge wear.
Start with a clear base, then apply taffy pink jelly gel in two coats, curing each. While the surface is still tacky after the second coat, use a small silicone tool or the tip of a clean makeup brush to press and scatter micro chrome powder lightly across the nail. Don’t fully cover — aim for uneven “snow” patterns. Finish with two layers of glossy top coat, keeping the second layer slightly thicker at the center for that domed glass look.
Editor's noteTap off chrome over a white paper so you can see how dense your speckle pattern is before you commit.
Skip thisDon’t pack the specks too dense — it turns into gritty texture instead of glass dust.
6. See-Through Rosy Nude with Frosted Chrome Cuticle
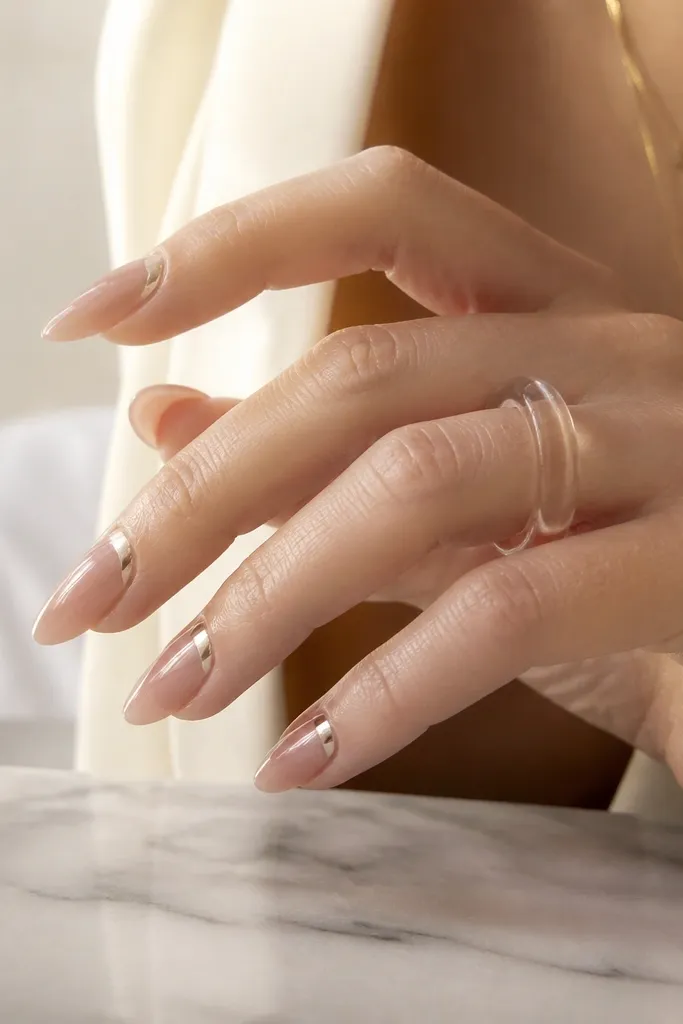
This is a low maintenance look because the cuticle area stays clean and the frosted chrome halo grows out without looking messy. I’ve done this on nails that grow fast, and the halo still looks intentional at day 10 because it’s soft and not a harsh stripe. The rosy nude flatters fair, light-medium, and medium skin tones because it looks like a healthy flush. The frosted chrome near the cuticle makes fingers look more lifted and neat.
Apply a sheer rosy nude base in two very thin coats so it stays translucent, curing between coats. Add a tacky layer only around the cuticle edge in a half-moon shape, then press a frosted chrome powder so it sits like a soft halo. Use a small brush to tidy the outer edge of the halo. Seal with a glossy top coat in two layers, with extra thickness on the center so the whole nail looks like it’s under clear resin.
Editor's noteIf the halo looks too bright, dust off with a clean fluffy brush before sealing.
Skip thisDon’t bring the chrome down the sides — that’s where it lifts and looks streaky.
7. Clear Pink Base with Black Micro-Liner Tips
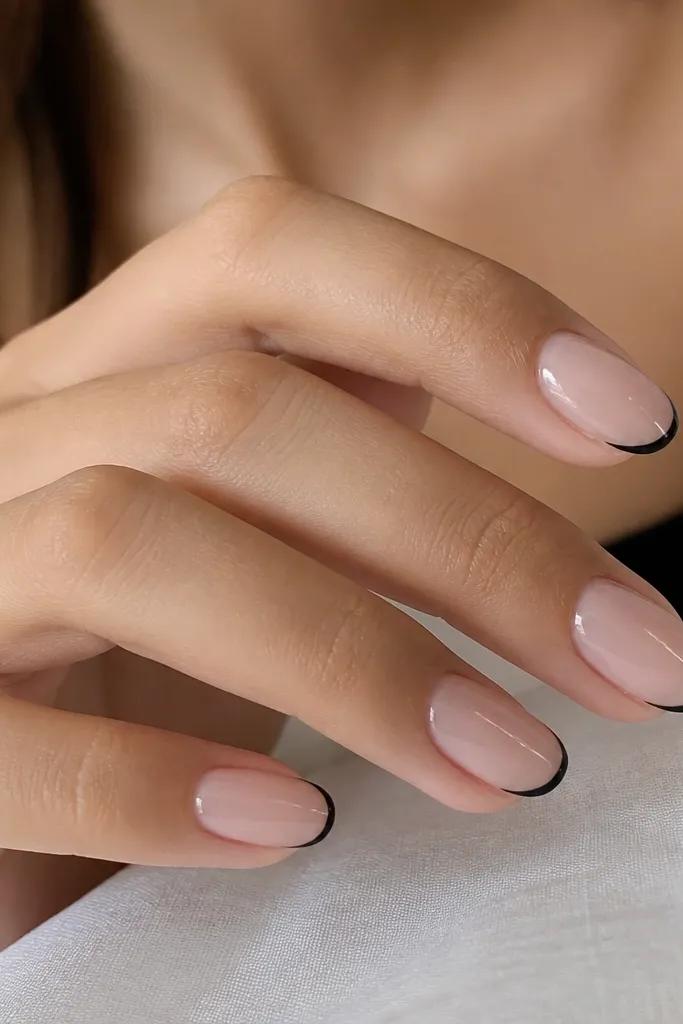
Micro-liner tips are my favorite “Kylie” trick for people who don’t want full nail art. The clear pink base makes it look airy and glassy, and the thin black line reads futuristic without needing symmetry across all fingers. It’s flattering on short to medium nails because the line visually frames the tip instead of adding bulk. This also holds up well because if the line chips slightly, it still looks like a design detail.
Start with a sheer clear-pink builder gel or a clear base plus one coat of rosy tint, keeping it translucent. Cure, then use a fine striping brush with black gel to draw a micro line along the free edge — just 1 mm thick. Keep the line slightly curved to match your smile line, then add one more tiny touch at the very center for crispness. Seal with a glossy top coat layer that covers the line smoothly, and cap the tip with a thicker pass over the center.
Use gel striping, not regular paint — it levels under top coat and stays sharp.
Don’t make the line wide — thick black at the tip can look heavy on small nails.
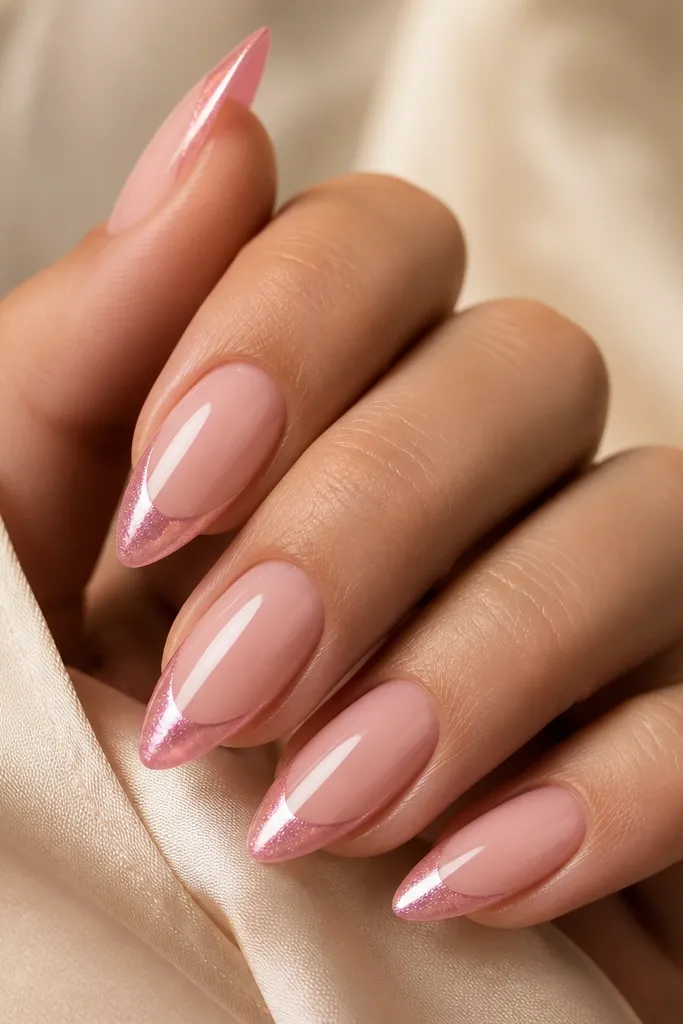
8. Pearl Jelly Nude with Silver Aura on the Tip
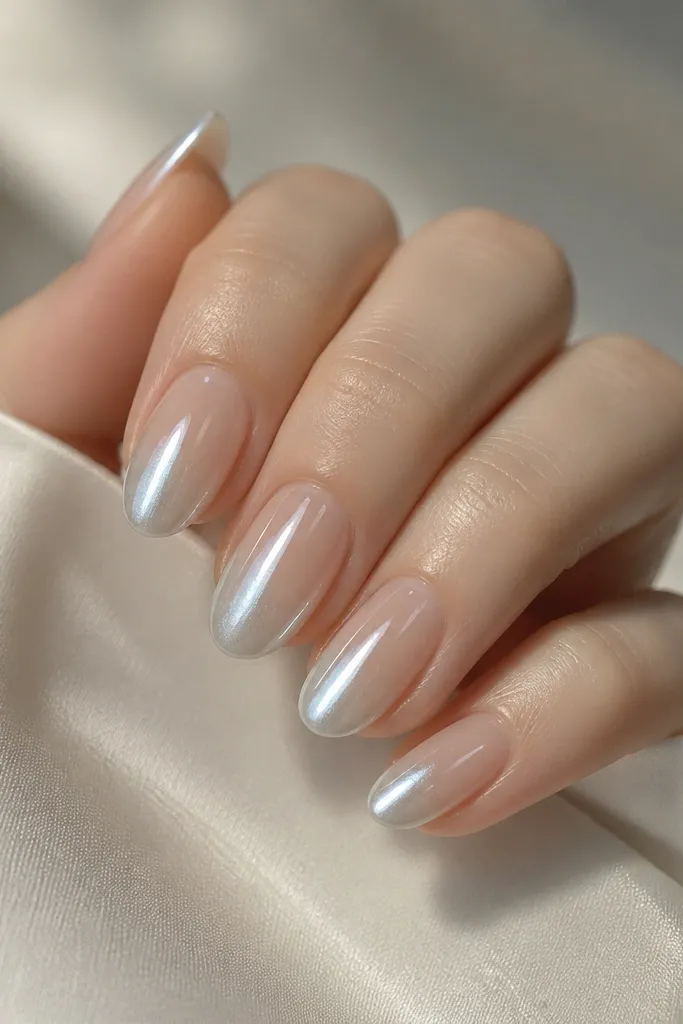
Aura placement is low maintenance because it’s a gradient by nature, so your hands can look polished even when the design shifts slightly as nails grow. The pearl jelly nude base keeps it neutral and flattering, while the silver aura on top gives that futuristic “light beam” effect Kylie fans love. I like it most on medium lengths and almond shapes because the aura has space to fade. It also hides minor unevenness in application since the glow softens edges.
Apply a pearl jelly nude gel in two coats, curing fully each time. For the aura, add a thin tacky gel layer only on the top third, then sponge silver chrome powder into the tacky area starting at the very tip and fading upward with light pressure. Clean the edges with a brush so the aura doesn’t smear onto the sides. Finish with two layers of glossy top coat, focusing on a domed center so the aura looks suspended in glass.
Editor's noteUse a small sponge cut to a point — it helps you control the aura fade.
Skip thisDon’t buff the surface matte before chrome — you want tacky gel for adhesion.
9. Soft Lavender Jelly with Clear French Outline
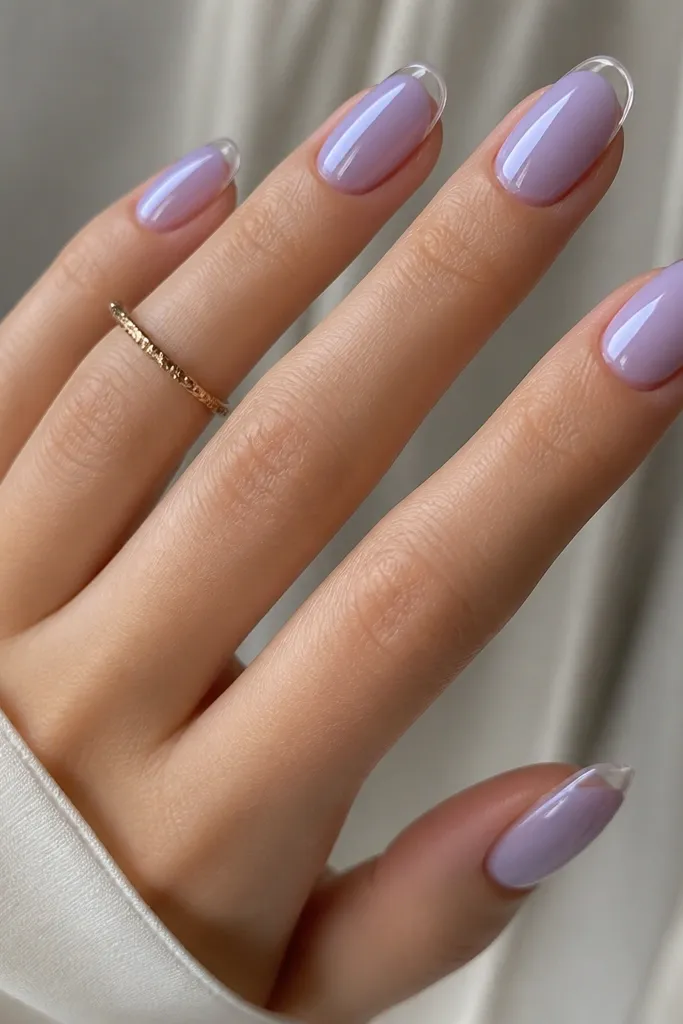
This is a smart option for low maintenance because the “French” outline is clear and reflective under top coat, so it keeps looking clean as it grows. Soft lavender jelly is flattering on fair and cool undertones, but it also works on medium skin because it’s not too icy — it’s creamy. The clear outline adds structure without needing strong pigment coverage. It’s also a great choice if you want something a little different from standard pink and nude.
Start with a sheer lavender jelly base in two coats, curing between coats and keeping it slightly lighter near the cuticle. For the outline, use a thin gel brush to paint a clear gel along the free edge in a French curve - not a full tip fill, just the outline. Cure, then apply a glossy top coat over everything so the outline levels and looks like it’s part of the nail. Do one extra top coat layer at the center for a rounded glass finish.
Editor's noteIf the clear outline spreads, wipe the brush on the palette edge before pulling the line.
Skip thisDon’t do the outline in pigment-white — it turns chalky once it grows out.
10. Rose Gold Mirror Tips on Barely-There Blush
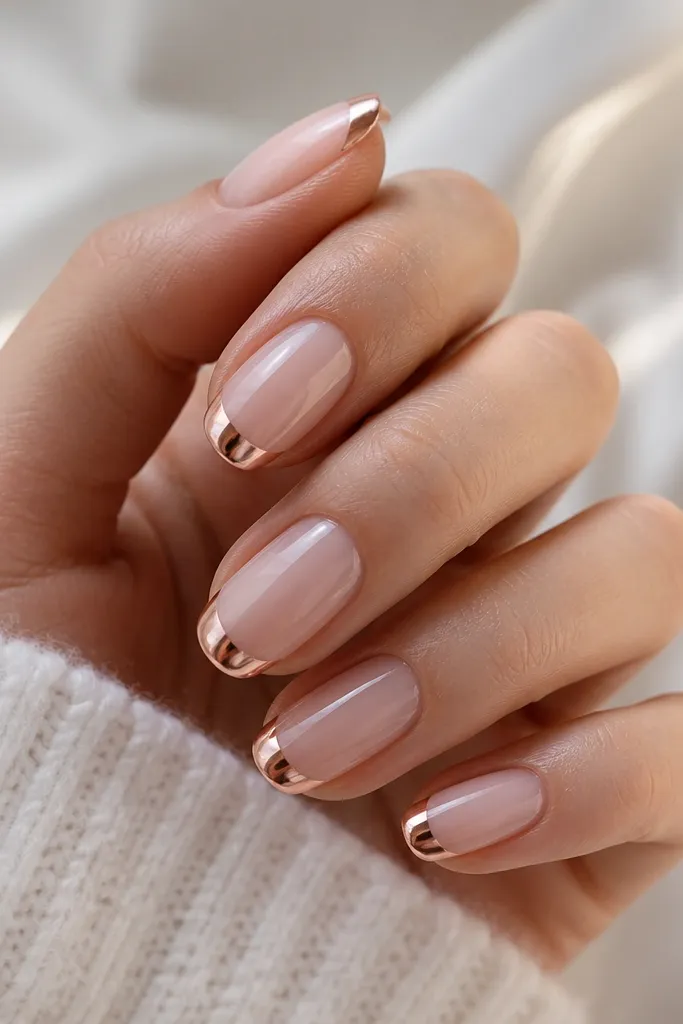
Rose gold mirror tips look like money in daylight, and they’re low maintenance because the base is neutral and the chrome is confined to the last few millimeters. I’ve worn this to weddings and work events, and it stays flattering even if your nails grow out a bit because the blush doesn’t clash with anything. It complements warm undertones and looks gorgeous with gold jewelry. The mirror finish also makes your hands look polished without extra art.
Apply a barely-there blush gel in two thin coats, keeping it see-through enough that it looks natural. Cure, then add a tacky gel layer only on the tip cap area — about 2 mm. Press rose gold mirror chrome powder onto the tacky gel until it turns reflective, then clean the edges with a soft brush so it looks like a neat cap. Seal with a glossy top coat layer, and cap the free edge again so the chrome doesn’t lift.
If you want a softer mirror, use a slightly less tacky layer and dust off the first pass before sealing.
Don’t skip edge capping — it’s where mirror chrome chips first.