1. Micro French with Barely-There Nude
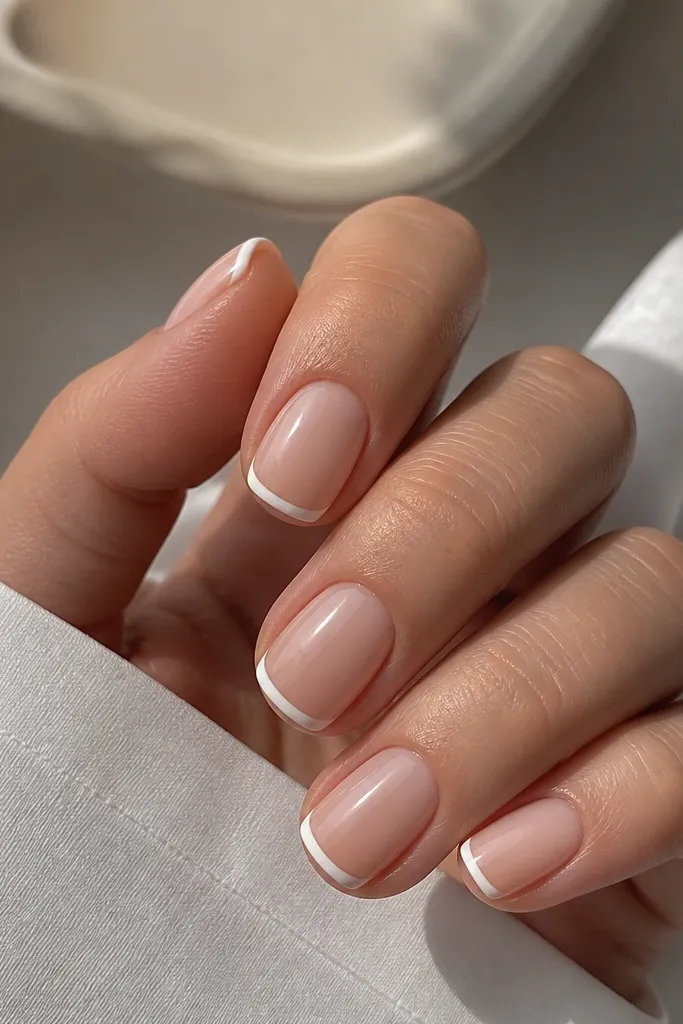
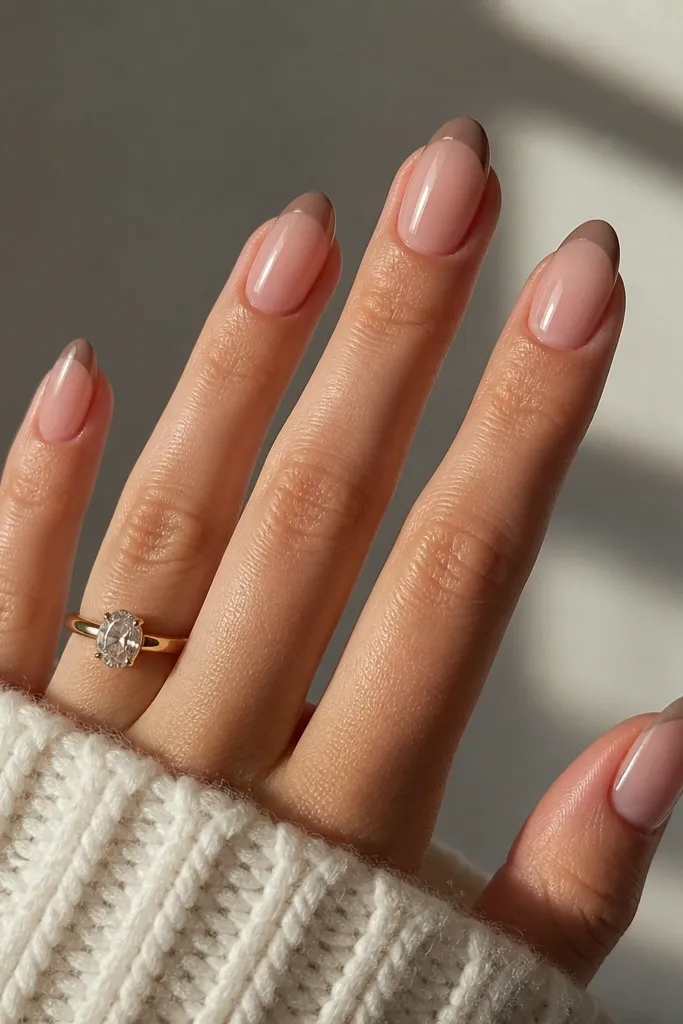
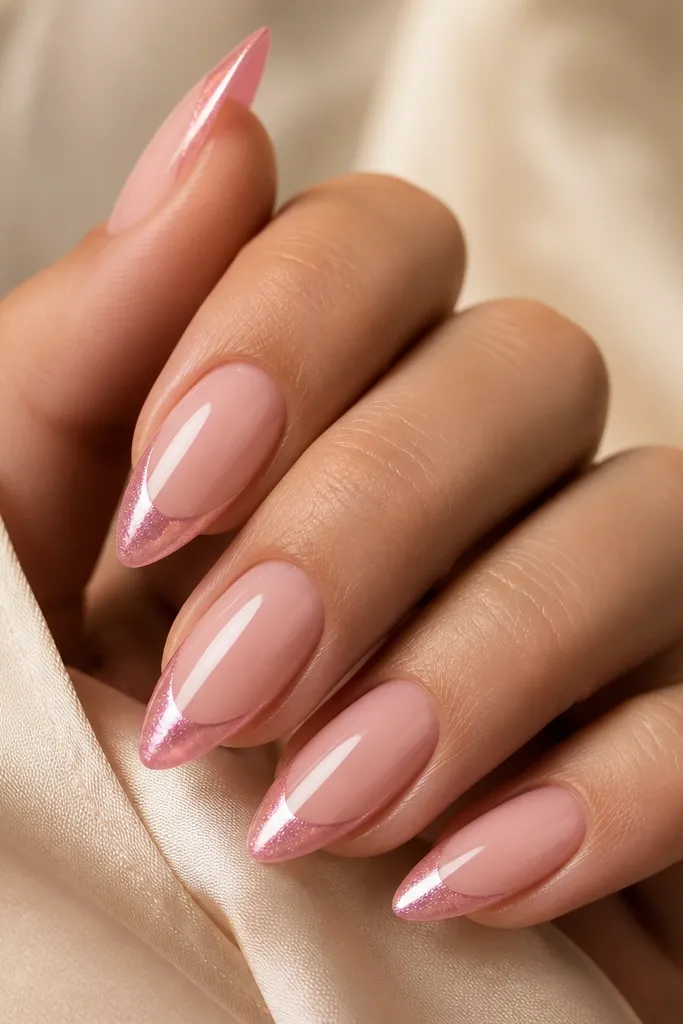
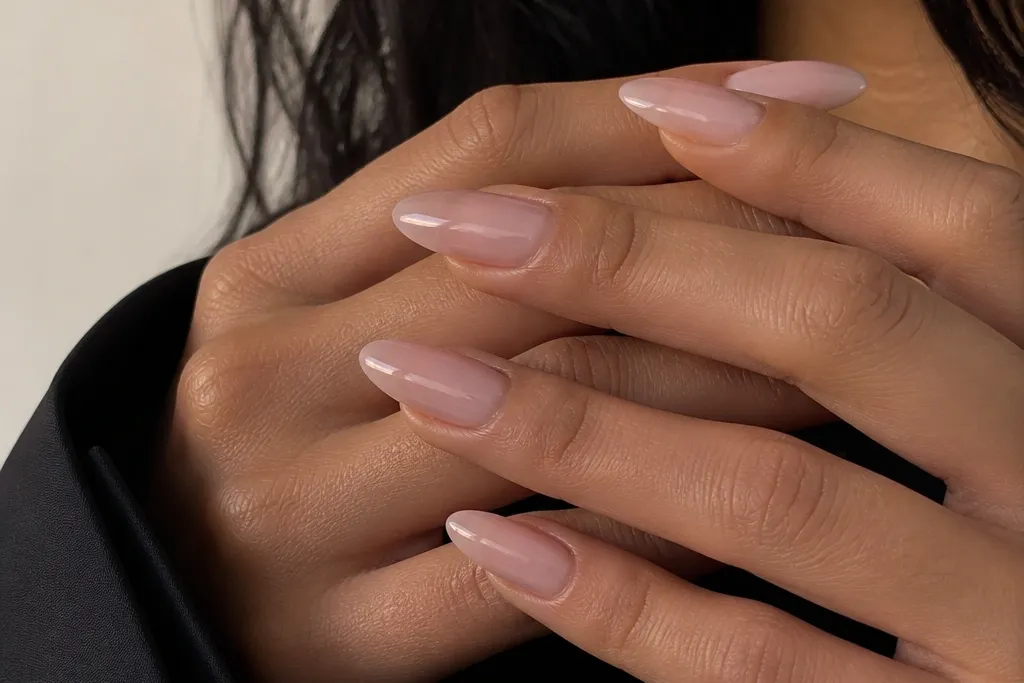
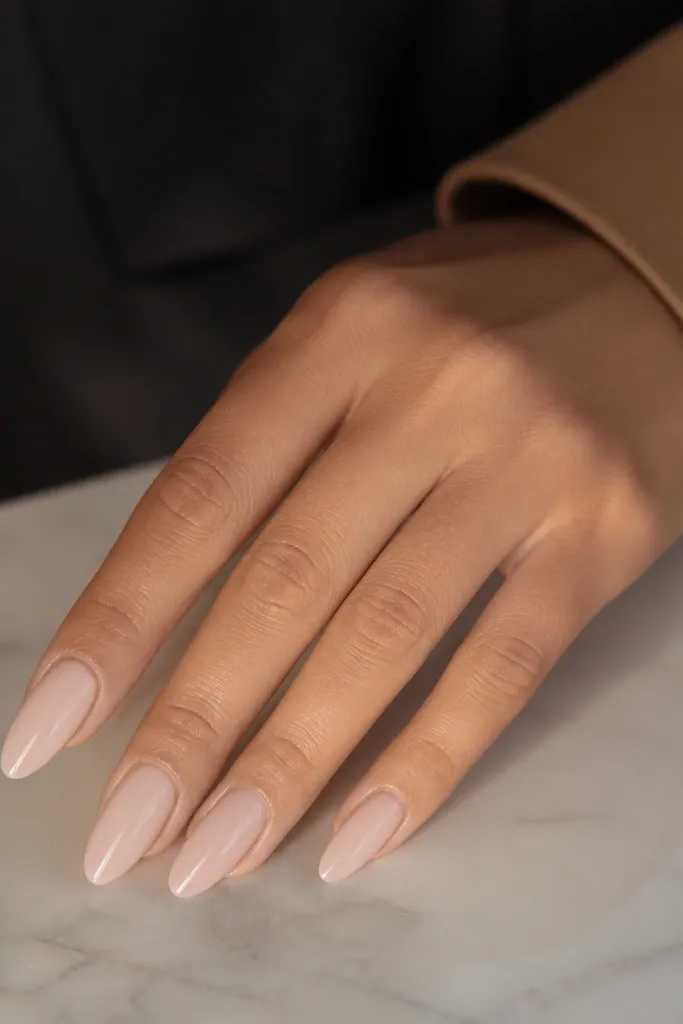
Start by buffing the surface lightly and pushing back the cuticle, then apply a sheer nude gel in thin layers. Cure each layer until it looks even but still natural, then place a strip of tip tape so the line stays centered. Paint a ultra-thin white line along the free edge, keeping it about 1 mm tall. Remove the tape, clean the edges with a liner brush dipped in gel cleanser, then seal with a glossy top coat for that glassy finish.
This is the Kylie-inspired version of French that doesn’t overwhelm short nails. Start with a sheer nude that matches your skin so your nail bed looks smooth and continuous. The micro white tips sit near the very edge of the nail, so the eye reads length instead of width. I’ve seen this work on fair, medium, and deep skin tones because the nude is the real anchor. For everyday wear and work settings, it looks polished without feeling loud.
Skip thisAvoid thick French tips — they shrink short nails and look bulky.
Editor's noteUse white gel that’s slightly creamy, not chalky, so the line stays smooth under the top coat.
2. Milky Pink Base with One Thin Center Line
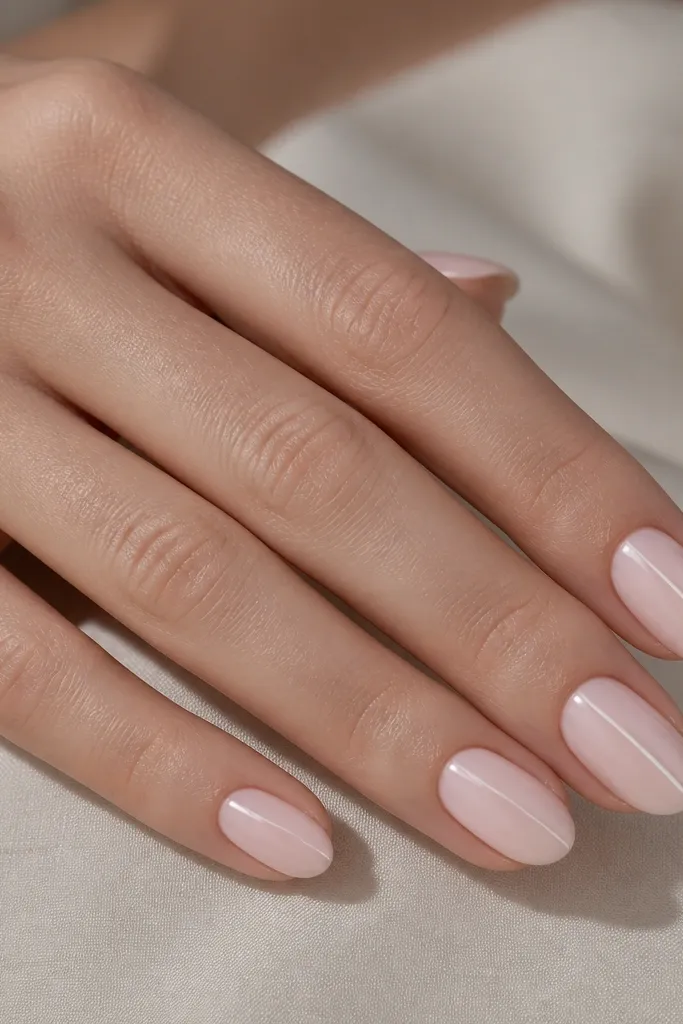
This design is minimalist but still looks intentional because the line pulls the eye vertically. Milky pink is the secret: it’s opaque enough to hide ridges, but soft enough to look like “your nails, but better.” The thin center line works on every skin tone because it’s just a highlight, not a full color block. On shorter nails, vertical details always read longer. It’s especially flattering if your nail beds are a bit flat or your nail shape grows wider at the sides.
Apply two thin coats of milky pink gel, curing each coat so the surface stays smooth. Use a stripping brush and a nude-brown or deep taupe gel to paint a single straight line down the center. Start the line about 1 mm below the cuticle so it doesn’t flood the cuticle area. Then cap the line and the full nail with a glossy top coat, making sure the line doesn’t get thicker during finishing.
If your line wobbles, stop and wipe the brush clean before continuing — gel lines look crooked even when they’re tiny.
Don’t add a second line or dots — two accents make it look like nail art, not minimalist chic.
3. Sheer Nude with Diagonal Micro Accent
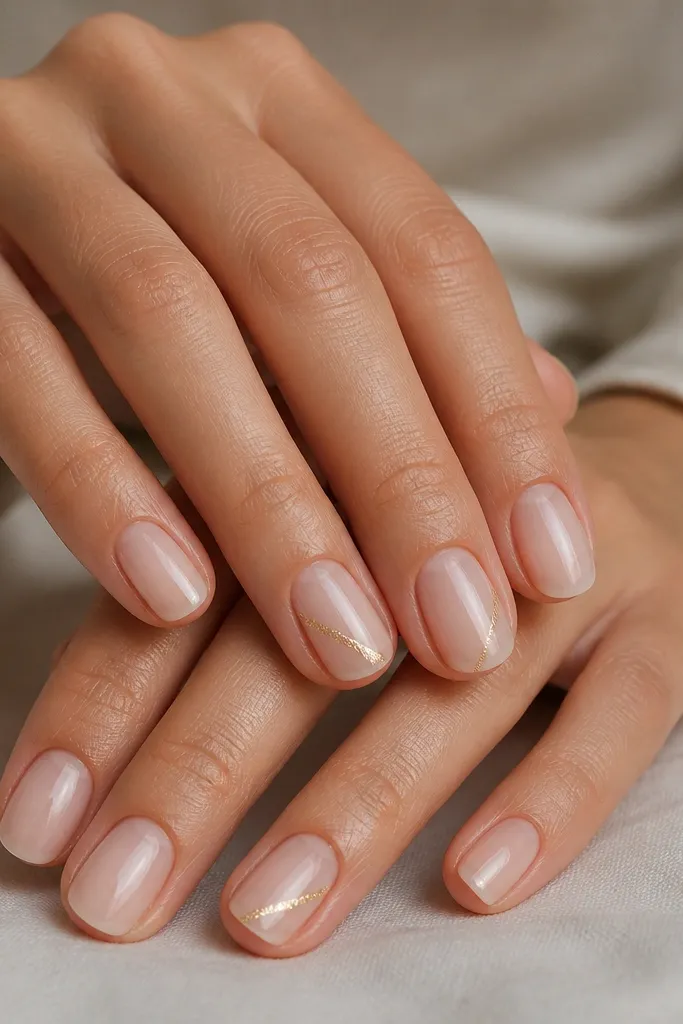
Start with a sheer nude that matches your undertone, then cure and topcoat lightly (you’ll do final topcoat at the end). Pick one nail per hand for the accent, or keep it to two nails total if you want it extra subtle. Paint a diagonal micro stripe about 2-3 mm long starting just under the tip and angling toward the center. Finish by sealing the whole set with a glossy top coat and wipe any shine off the stripe edges so it stays sharp.
Diagonal accents are my favorite trick for short nails because they create movement without adding bulk. The sheer nude keeps it Kylie-clean, and the tiny champagne gold looks expensive in sunlight. I like this for medium and deep skin tones because gold against a nude bed looks crisp and not washed out. It also works for fair skin as long as the nude isn’t too cool. This is a great “date night but still simple” set.
Skip thisSkip chunky glitter — it catches on clothing and makes minimalist nails look messy.
Editor's noteUse a gold gel with fine shimmer so the stripe stays thin and looks like foil, not glitter.
4. Creamy Nude with Tiny Cuticle Heart
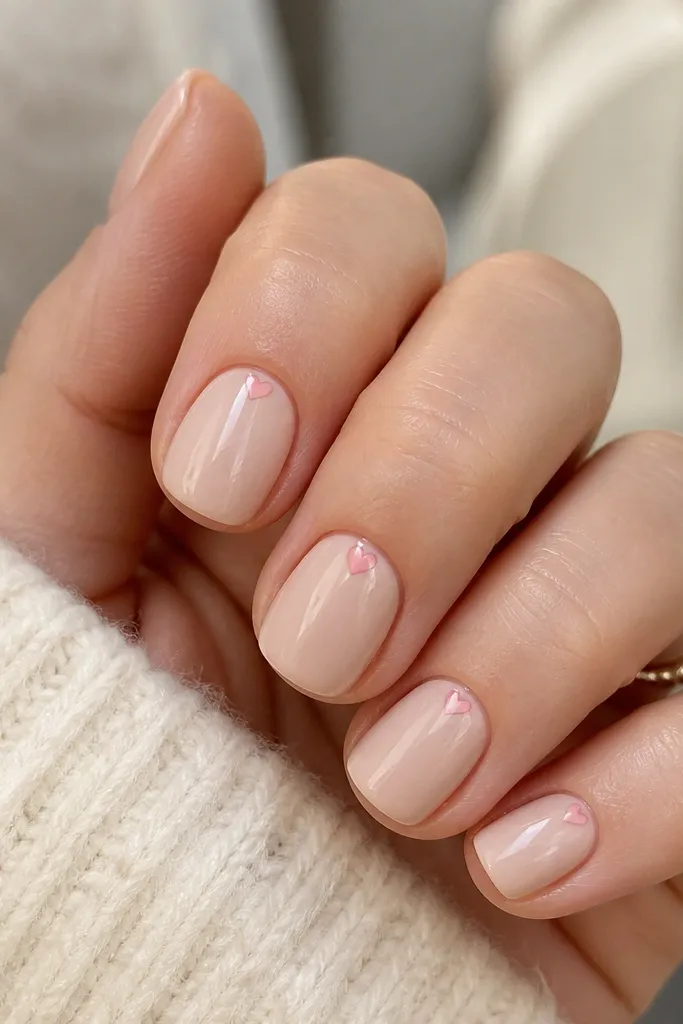
Apply creamy nude gel in two thin coats, curing until it’s smooth. With a fine detail brush, place a tiny heart right at the cuticle on two to four nails, not all ten. Use blush pink gel and paint two small curves meeting at a point, then add a small dot highlight if you want a softer look. Cure, then apply glossy top coat, wiping the brush clean before touching the heart so it doesn’t smear.
A micro heart near the cuticle gives the nails a sweet vibe without turning them into cartoon nails. Keeping the heart small is what makes it look Kylie-modern: you get the charm but it stays refined. Creamy nude hides staining and makes the heart look clean and intentional. This looks best on nails that are slightly wider because the heart sits high and draws attention upward. It’s cute for birthdays, but it also works for everyday if you keep the palette soft.
Skip thisDon’t put hearts in the middle of the nail — that’s where it starts looking juvenile.
Editor's notePractice the heart shape on a fake nail first — a 1 mm difference changes the whole look.
5. Nude Base with One Glossy Taupe Stripe
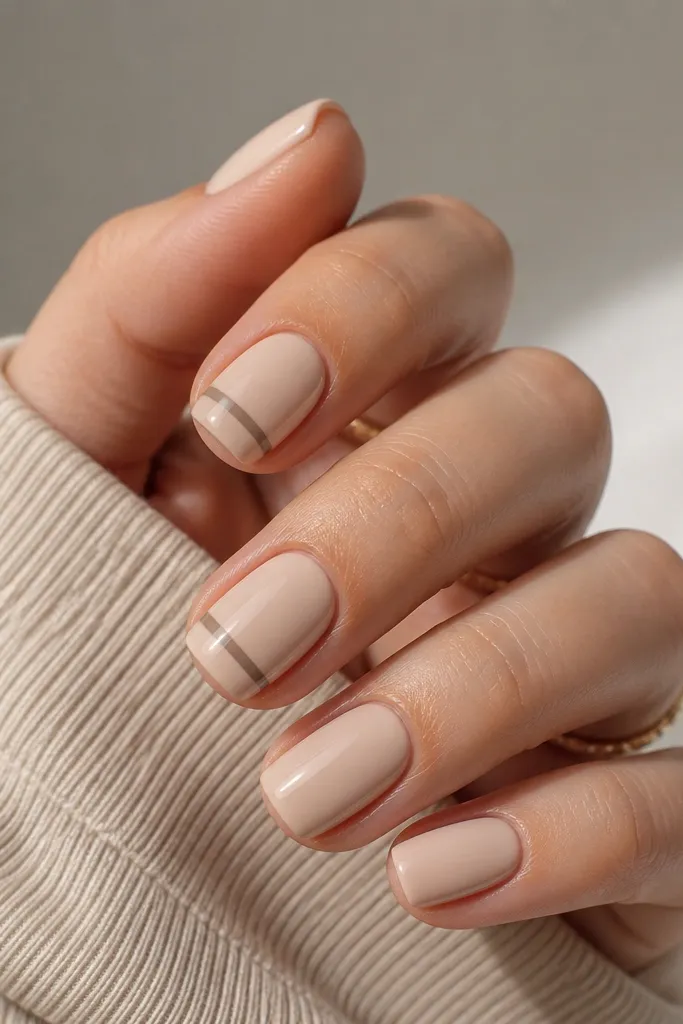
Paint a nude beige base in two coats and cure fully. On two accent nails, place a thin taupe stripe about 1 mm below the free edge, using striping tape as a guide. Paint over the tape lightly, cure, then remove the tape carefully while the gel is still in its uncured stage only if you use peel-friendly gel (otherwise just cure and remove after). Finish with glossy top coat on every nail so the stripe looks like it’s under glass.
Horizontal stripes can shorten nails if they’re wide, but a thin stripe near the tip reads like a design “frame.” The nude beige makes the taupe look grounded instead of harsh. I like this when you want something minimalist but not boring, because it’s just one line and it looks styled in photos. It’s flattering on hands with long fingers because it adds balance, and it’s also great if your nails have slight discoloration — the nude covers it. Keep it to two nails for the most expensive-looking effect.
Skip thisAvoid thick stripes — they make short nails look cut off.
Editor's noteIf you don’t have tape, use a credit card edge as a straight guide for the brush.
6. Sheer Nude with Tiny Silver Line at the Edge
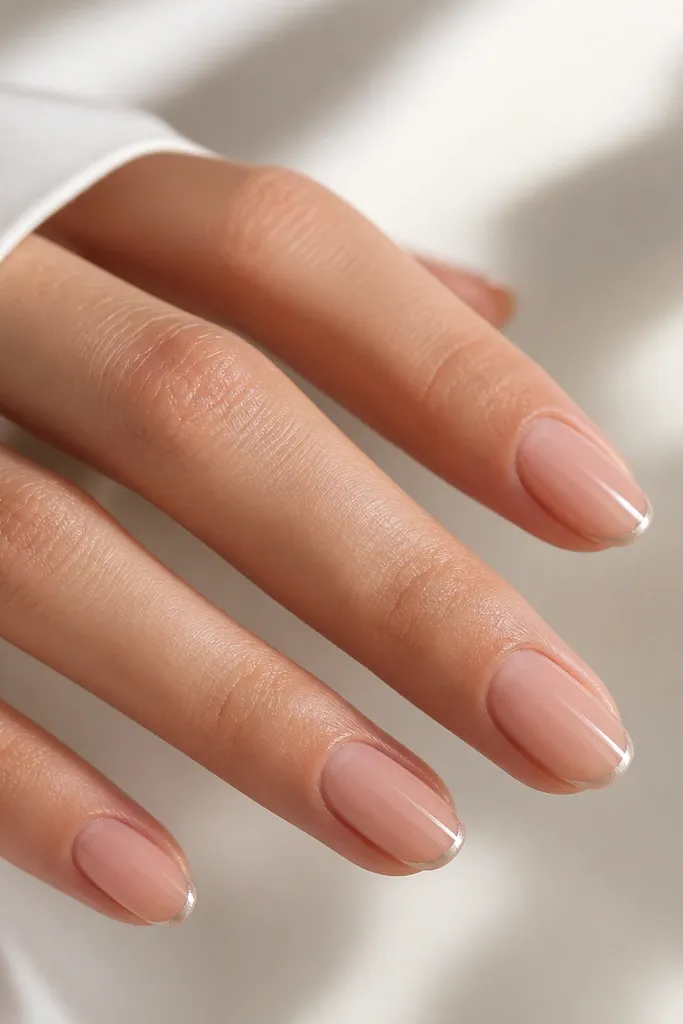
This is a trick I use when someone wants “Kylie but not too much.” The silver line is thin enough that it doesn’t compete with the nude, but it catches light like jewelry. It looks great on cool undertones, and it still works on warm skin tones if your nude is neutral-beige. The edge placement is what makes it read luxe — it frames the nail rather than covering it. It also photographs well because the metallic line flashes without glitter fallout.
Start with a neutral sheer nude gel and cure in thin coats. Use a liner brush to paint a metallic silver line along the very edge of the tip — think 0.5 to 1 mm tall. Keep your line consistent across nails by measuring the same starting point from the center outward. Clean the edges, then apply glossy top coat twice if your metallic line needs extra sealing so it stays smooth.
Seal with a slightly thicker top coat only over the silver line area so it stays ultra-smooth.
Skip silver foil chunks — they snag and ruin the sleek look.
7. Milky Nude with Negative Space Half-Moon
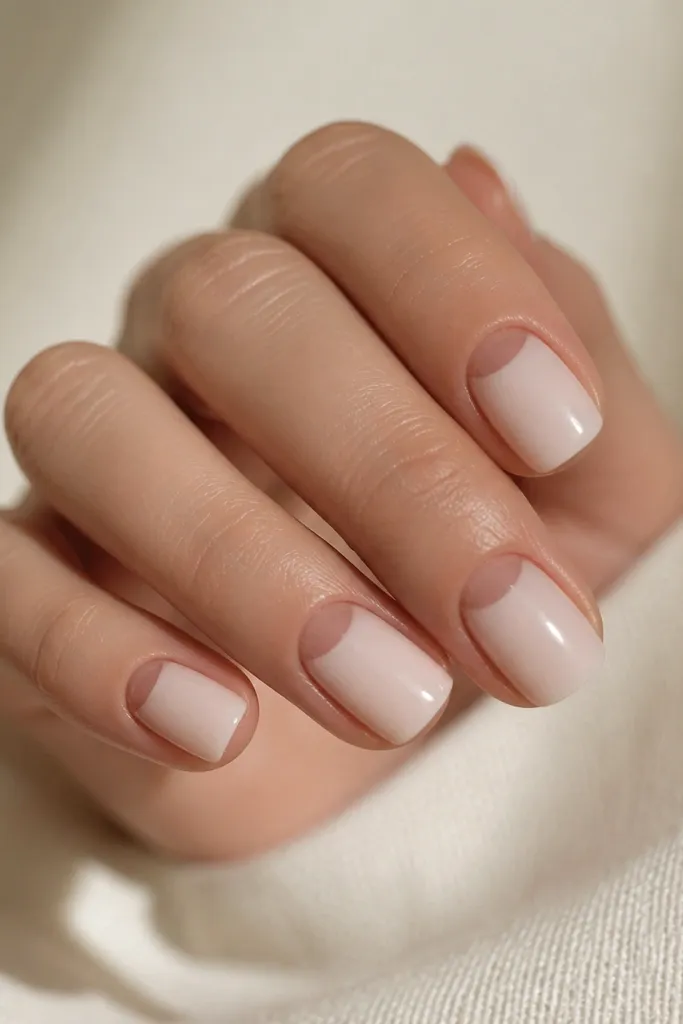
Negative space half-moons make short nails look designed and longer because the eye sees a clean cut near the cuticle. A milky nude keeps the look soft and Kylie-like, while the clear half-moon adds that modern minimal contrast. This is flattering if you have a natural cuticle area you like — the design highlights the shape you already have. It also looks good on nails that grow unevenly because the half-moon gives structure. Great for office days and clean outfits.
Apply a milky nude base, but leave the cuticle area unpainted by using a half-moon stencil or a small piece of tape. Cure the nude, then carefully fill the rest of the nail up to the tip without touching the clear area. Clean the border with a brush dipped in gel cleanser to keep the half-moon edge razor-sharp. Finish with glossy top coat, and cap the free edge so it doesn’t lift.
If your nails have ridges, use a thicker milky layer only on the center and blend outward so the half-moon stays crisp.
Don’t make the half-moon too big — a wide clear area makes short nails look bare and uneven.
8. Clear Jelly Top Coat with Nude Underglow
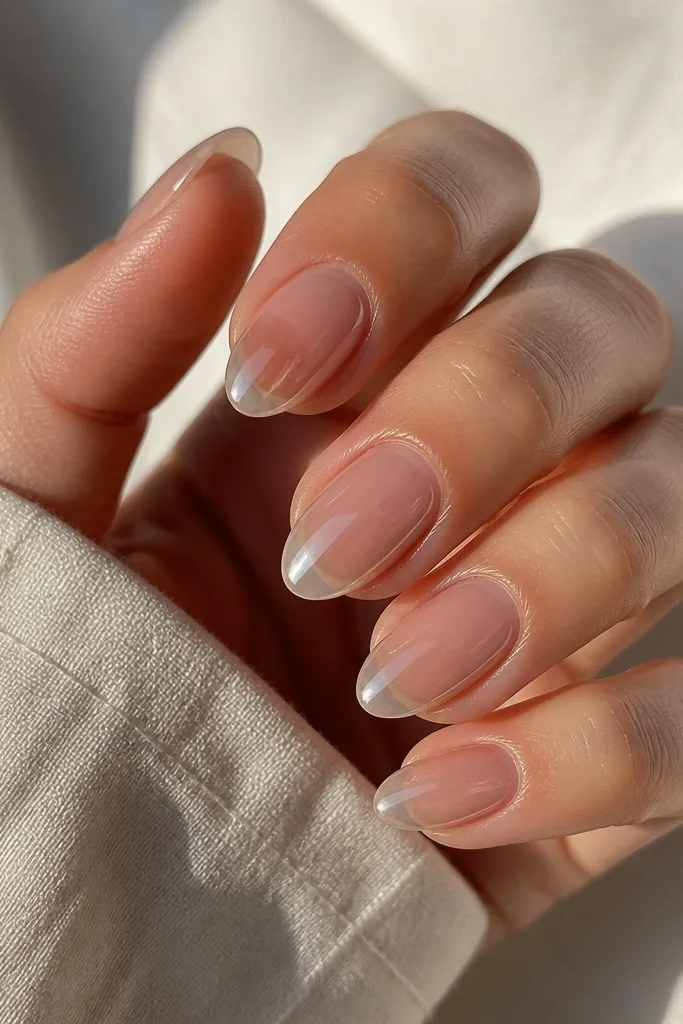
Start with a sheer nude gel underlayer in one to two thin coats and cure. Then apply a clear jelly gel top coat, building it just enough to level the surface without turning milky. Cure fully, then wipe for tackiness if your system requires it. Finish with a glossy top coat or a second jelly coat if you want maximum glass shine, then cap the tip so it stays smooth.
This look looks expensive because it has depth, not because of art. The nude underlayer gives warmth and coverage, while the clear jelly top makes it look like a gel manicure with a wet shine. I’ve worn this on my own hands when my nails are slightly uneven at the edges — the jelly smooths the look visually. It flatters most skin tones because the nude is beneath, not painted over. It’s also super forgiving if you’re growing your nails out but want a Kylie-style short set.
Skip thisAvoid using a fully opaque nude — you lose the jelly depth that makes this look couture.
Editor's noteKeep jelly coats thin; thick jelly can look cloudy and cheap at the edges.
9. Bare Nude with One Tiny Rhinestone at the Tip
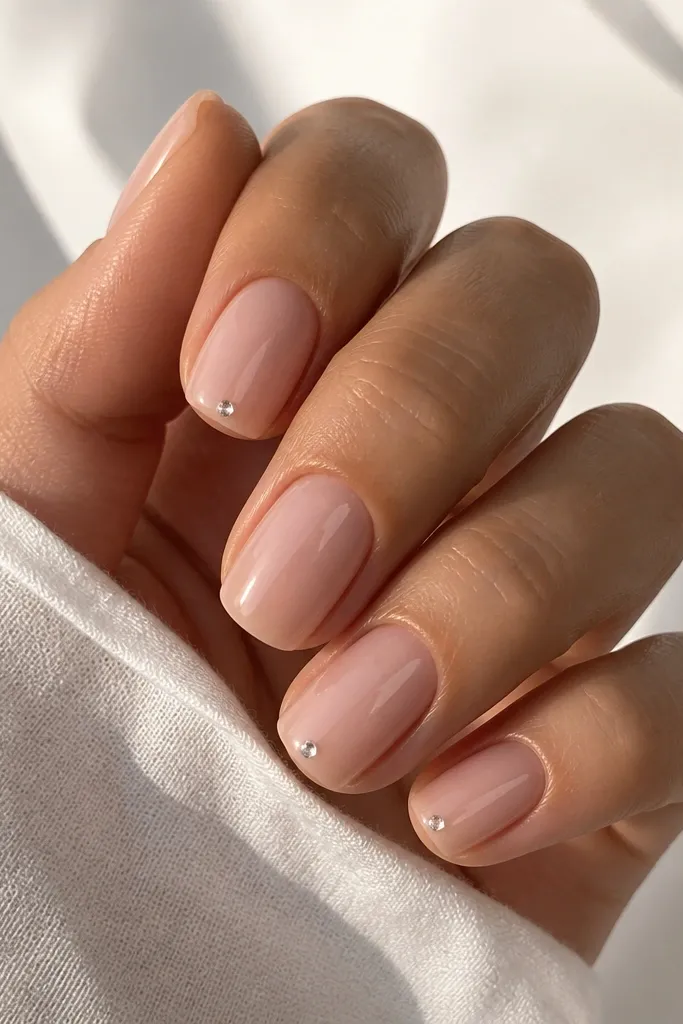
A single rhinestone is the minimalist shortcut that still looks high-end, because it’s light-catching but controlled. Bare nude keeps it from looking like a party set. I like placing the stone near the tip center because it draws the eye outward and makes the nail look longer. This works best when your nude is sheer and even, so the stone sits on a smooth background. It’s flattering on short nails that feel too plain and on hands that want a little sparkle without changing your outfit.
Apply bare nude gel in two coats and cure. On two accent nails, use a dotting tool to place a tiny amount of clear gel where the rhinestone will sit. Set the rhinestone at the center of the tip, about 1-2 mm from the edge, and press gently so it doesn’t float. Cure, then apply top coat carefully around the stone so it stays secure and doesn’t snag.
Choose a flat-back rhinestone, not the pointy kind — flat backs sit smoother on gel.
Don’t add multiple stones per nail; that turns it into “cluster” nail art fast.
10. Soft Taupe Micro Ombré Tips
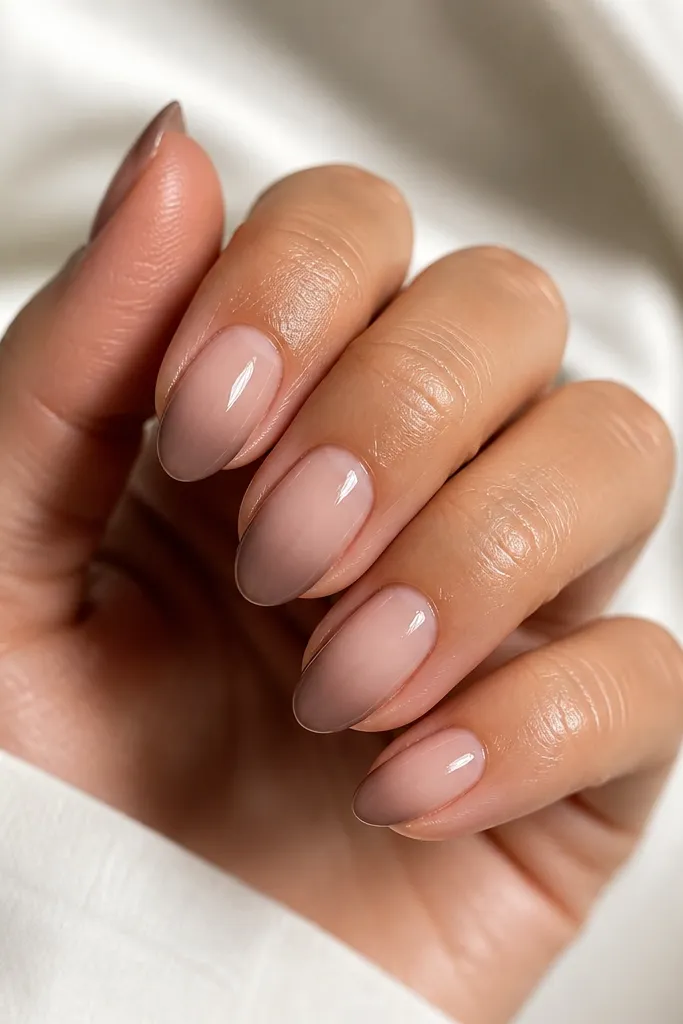
Start with a sheer nude base and cure, then sponge a tiny amount of taupe gel at the very tip. Blend downward just 1-2 mm using a damp makeup sponge, cleaning up the edges with a brush. Cure, then repeat one more thin layer until the fade looks even. Finish with glossy top coat and cap the free edge so the sponge texture doesn’t lift.
Micro ombré is one of the cleanest ways to add Kylie energy without making short nails look grown-out. The fade begins close to the tip, so you get length but no harsh color blocking. I use a soft taupe because it looks sophisticated on every undertone and avoids the “muddy brown” problem. This is flattering if you have short, wide nails because the gradient softens the edges visually. It’s also a great choice for neutral outfits and fall-winter looks.
Skip thisAvoid dark ombré tips that reach mid-nail — they make short nails look shorter.
Editor's noteUse less product than you think — micro ombré should whisper, not shout.
11. Cream French with Negative Space Cuticle V
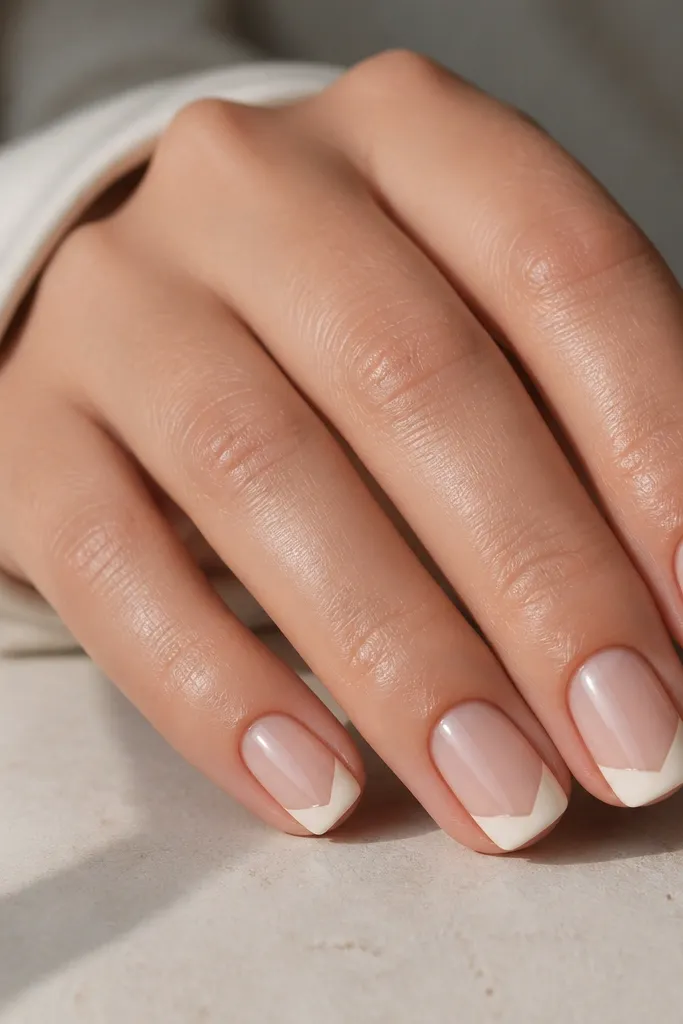
This design looks chic because it combines two clean shapes: a French tip and a negative-space V that guides the eye upward. The cream French is gentler than bright white, so it feels modern and wearable. The negative V is small, so it doesn’t look like a dramatic “V cut” extension. I like it on hands with softer nail beds because the V adds structure and makes the nail look more intentional. It’s a strong pick for events where you want your nails to look styled in photos.
Apply a sheer nude base and cure. For the V, place a thin strip of tape at the center of the cuticle to form a V gap, then paint the cream French around it. Remove the tape while the gel is still workable or after curing based on your system, then clean the V edges with a liner brush. Seal with glossy top coat and ensure the free edge is fully capped so the French line stays crisp.
If your tape pulls at gel, use a tack-free base layer first so it releases cleanly.
Avoid big cuticle gaps — oversized negative space makes short nails look unfinished.
12. Nude Base with Micro Chrome Halo
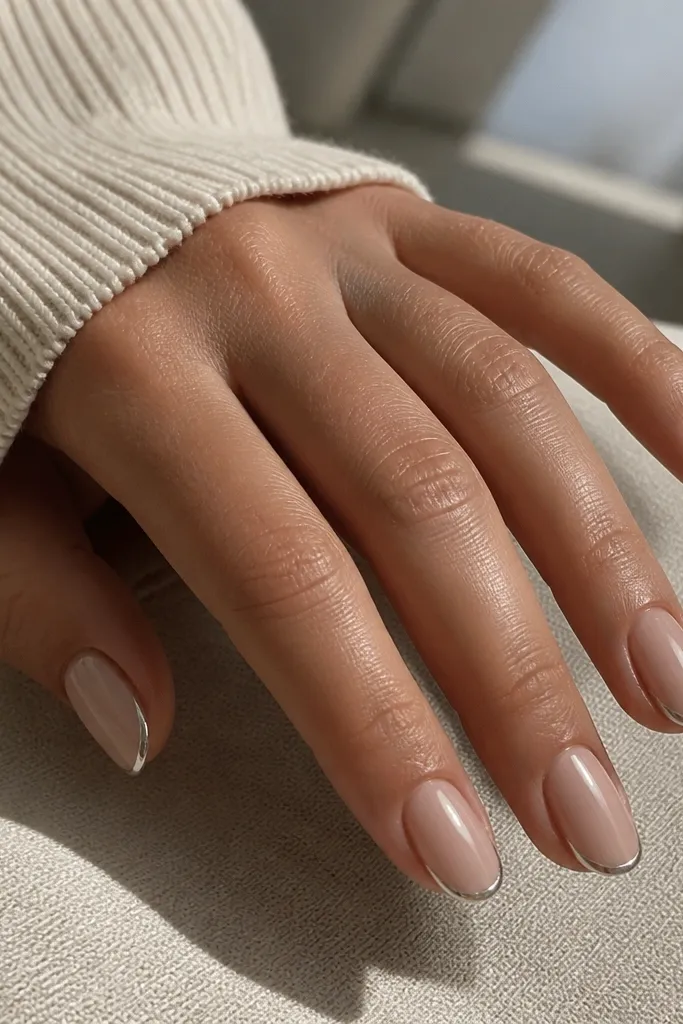
Apply nude beige gel and cure, then wipe tack if your chrome system needs it. Use a thin striping brush to apply a small band of chrome gel around the tip edge, leaving the center untouched. Press chrome powder lightly onto the band, then buff off excess so it stays thin. Seal with a high-gloss top coat in one or two layers, and cap the edges so the chrome doesn’t wear unevenly.
Chrome halos look expensive because they reflect light in a controlled ring. On short nails, keep it micro — the halo should be a thin frame, not a full chrome tip. Nude beige is the best partner here because it keeps the chrome from looking too icy. This style flatters hands with warm undertones because the nude adds warmth while the chrome adds that “Kylie mirror” feel. It’s perfect when you want a minimalist set that still looks like you tried.
Skip thisDon’t over-apply chrome powder; thick chrome turns minimalist into costume.
Editor's noteWork on one hand at a time so the chrome gel doesn’t dry before you apply powder.
13. Sheer Nude with Tiny Star on One Nail
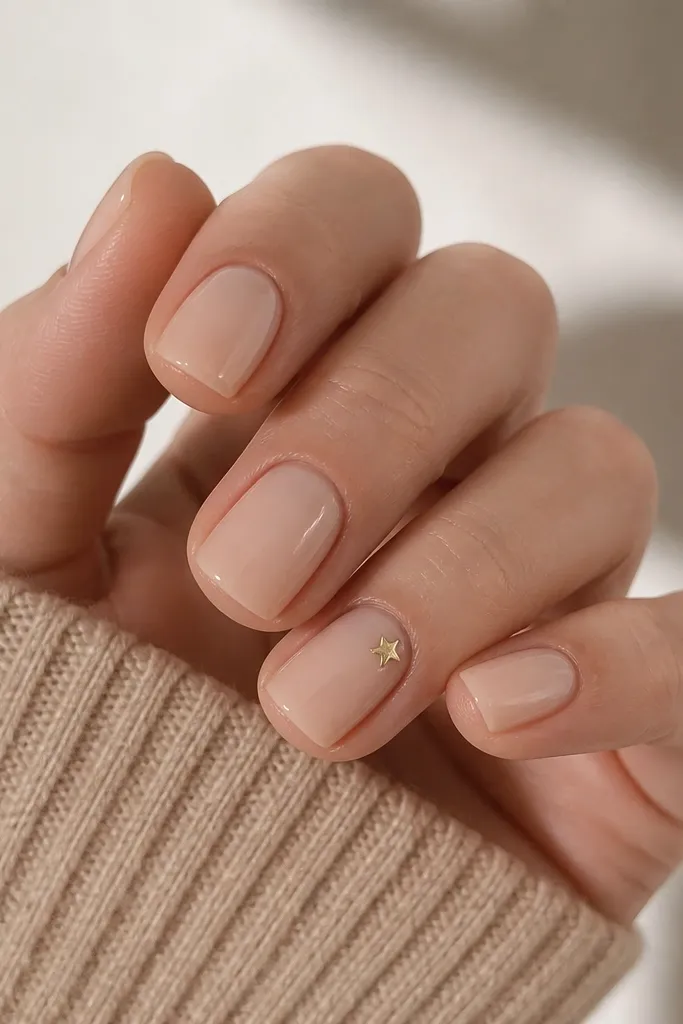
A single tiny star gives personality while staying minimalist because it’s placed high and small. The sheer nude makes everything look clean, and the pale gold star looks like jewelry instead of glitter. I like this on medium and deep skin tones because gold pops without needing bright colors. On fair skin, use a softer gold so it doesn’t look too yellow. This is an easy set for weekends and photos where you want a little sparkle without changing your whole palette.
Paint sheer nude gel in two coats and cure. Choose one accent nail per hand and use a fine detail brush to paint a micro five-point star about 2-3 mm wide near the cuticle line. Let the star dry slightly, then apply a thin layer of gold gel to sharpen the points if needed. Cure and finish with glossy top coat over every nail, keeping the star sealed so it doesn’t catch on hair.
Use a liner brush, not a dotting tool, for star points — dots make lopsided stars.
Avoid placing the star on every nail — it stops reading as chic.
14. Milky Pink with One Side Micro Line
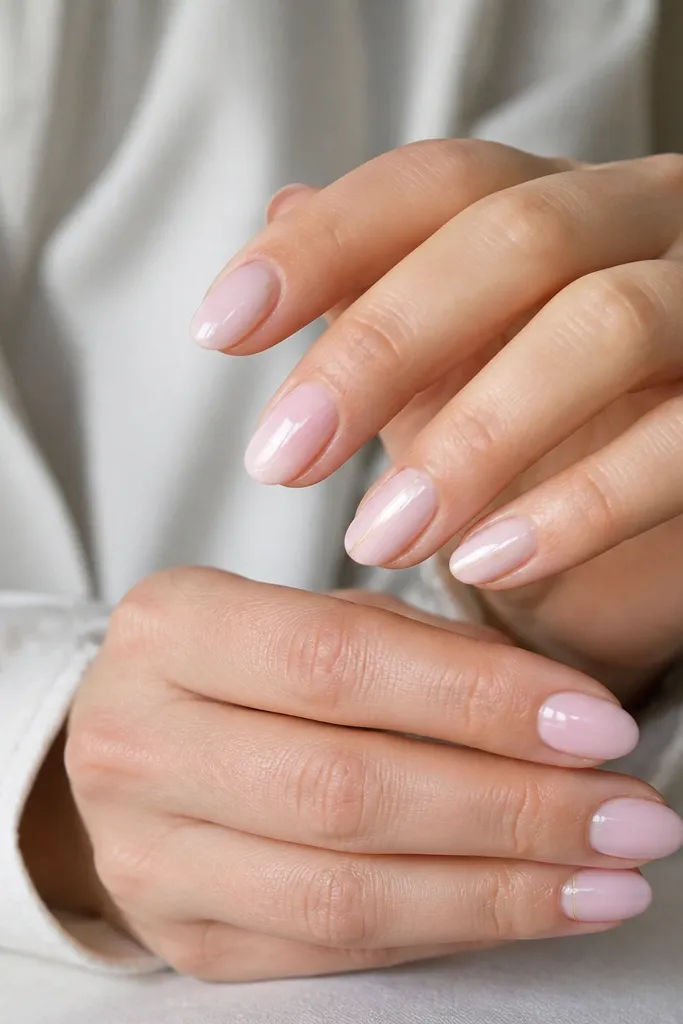
Side micro lines look sleek because they mimic the way light tracks along a curved surface. Milky pink gives the nails that soft Kylie base, and the one-side line adds structure without filling space. This is flattering if your nails are slightly uneven in shape because the line draws attention to the sidewall line you want to emphasize. I’ve used this on short nails that feel too blunt — the side line makes them look more tapered. It’s also great for people who want minimalist nails but don’t like tiny symbols.
Apply milky pink gel in two thin coats and cure until smooth. Pick one nail per hand for the accent, then paint a micro line about 0.5-1 mm wide along one sidewall, starting around mid-nail and stopping 1-2 mm from the tip. Use a neutral taupe or soft espresso gel so it doesn’t look neon. Cure, then apply glossy top coat and cap the tip carefully so the line stays crisp.
Keep your line straight by resting your hand on a table and moving your brush, not your wrist.
Don’t make the line too close to the edge — if it touches the free edge, it looks like a chip.
15. Nude Base with Micro Beaded Cuticle Detail
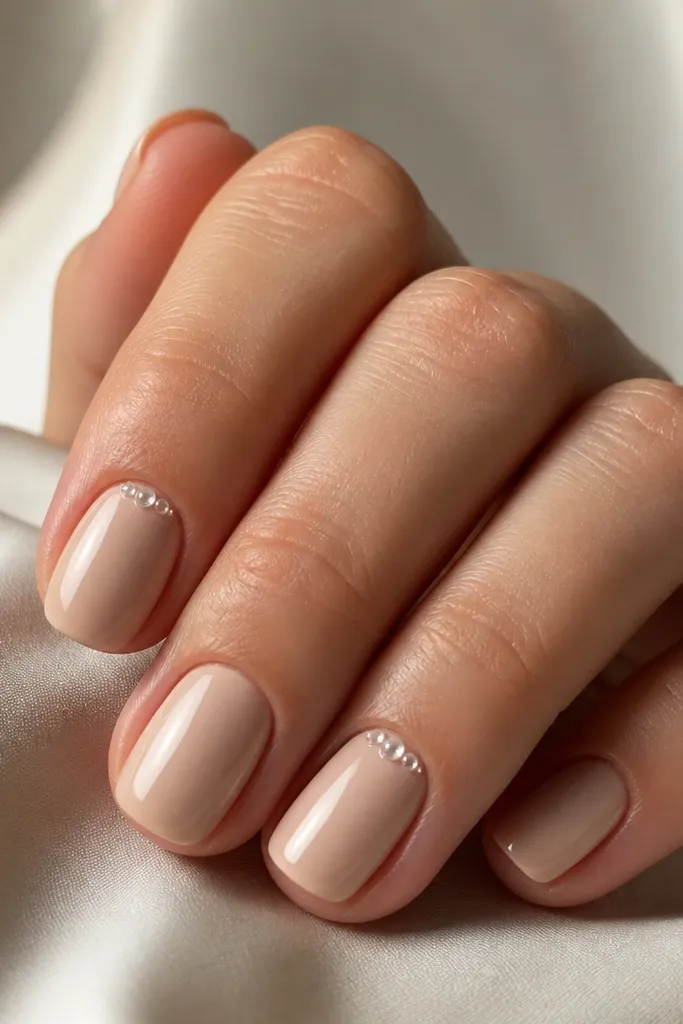
Apply nude beige gel in two coats and cure. On two accent nails, place three small dots of clear gel right along the cuticle curve, using a dotting tool — dots should be about the size of a poppy seed. Cure, then lightly topcoat around the dots but don’t smear them; a careful brush keeps them round. Finish with glossy top coat over the whole nail and cap the edges so the detail stays smooth.
Beaded cuticle details feel expensive when they’re tiny and spaced evenly. The nude beige keeps it classy, and the clear dots catch light like tiny pearls without turning into a full rhinestone set. I like this look for hands that have good cuticle shape because it highlights the natural curve. It also flatters short nails because the detail sits near the top where the eye naturally starts. Best for events where you want something delicate that still shows up in pictures.
Skip thisSkip large pearls; big beads make short nails look heavy.
Editor's noteIf your dots spread, chill your gel bottle in cool water for a minute so it thickens slightly.