1. Milky Nude Almond with Liquid Chrome Edge
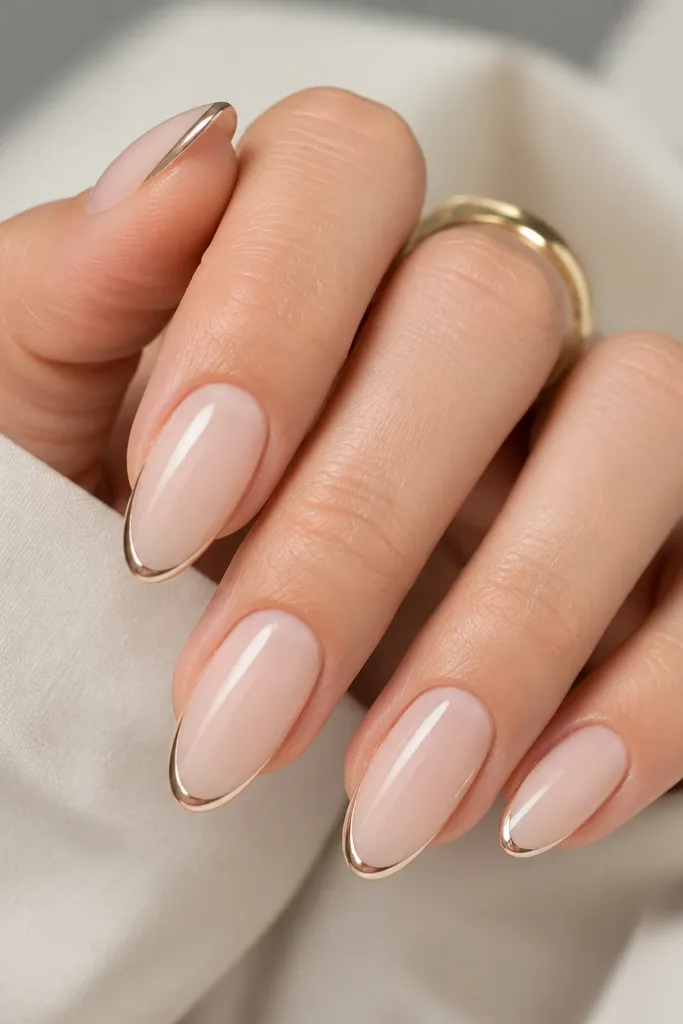
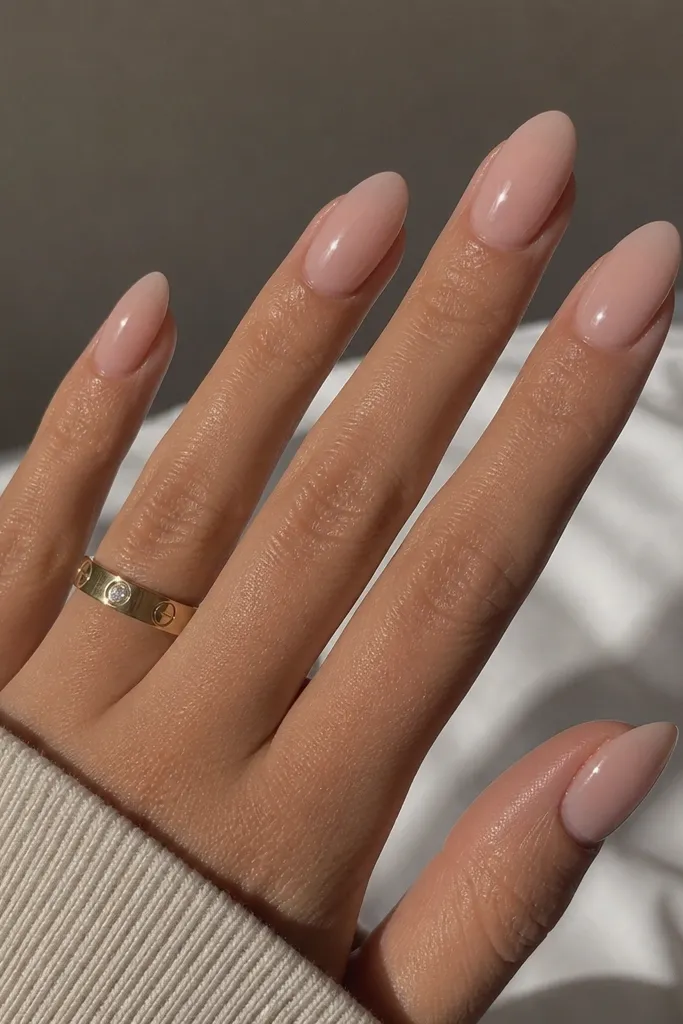
This is the “walk past a mirror and it looks like designer nails” version of the Kylie jenner nails aesthetic. The milky nude makes your nail bed look brighter and longer, while the liquid chrome edge adds that sharp, camera-ready contrast without taking over the whole nail. I’ve seen it look best on fair to medium skin tones, but deeper tones also work if you choose a slightly rosy-mauve milky base instead of beige. The shine matters here — liquid chrome gives a glassy glow that reads luxe in daylight and flash. Keep the chrome line thin so it frames your tip rather than turning into a thick, heavy layer.
Start by prepping and pushing back the cuticle, then buff lightly so the surface is not shiny. Apply a milky nude builder gel or gel polish in two thin coats, curing fully each time. Next, paint a super thin chrome strip at the very edge of the nail — I like it from 1 mm from the tip toward the center, then feather it slightly so it looks like it melts into the base. Add one coat of glossy top coat, and then seal the free edge with a final micro-thin layer. Finish by wiping tacky residue carefully so the chrome stays mirror-smooth.
If your chrome looks patchy, cure the base longer and keep the chrome strip narrow. Too wide and it turns from “edge glow” into “metal nail.”
Avoid chunky glitter or thick chrome overlays — they lift and make the set look rough fast.
2. Chocolate Brown Gloss with Tiny Gold Dot Cuticle
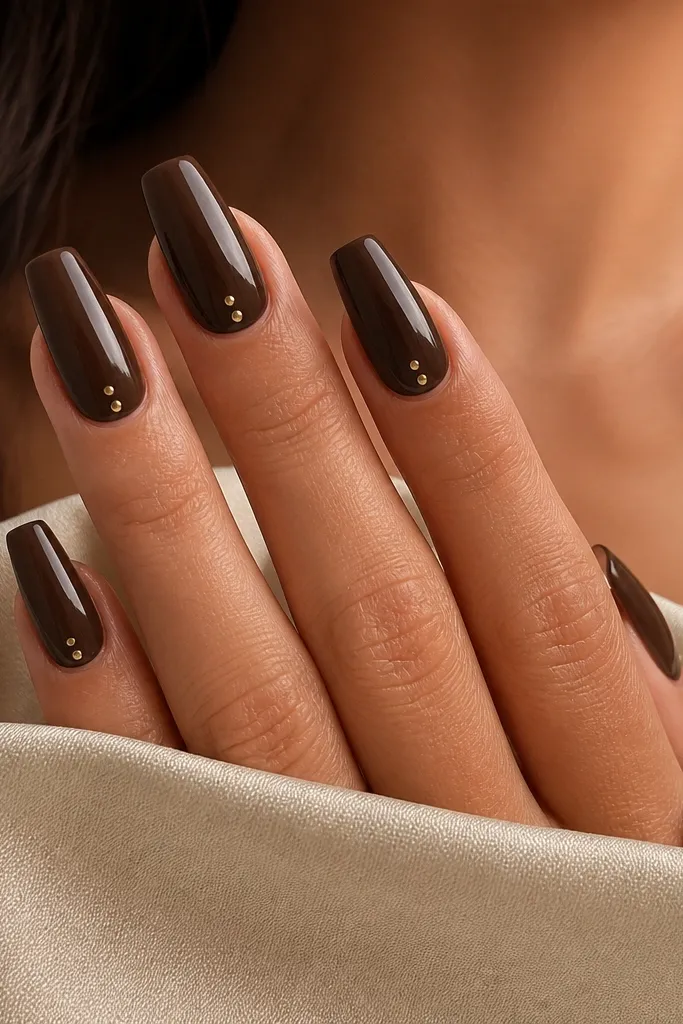
This one gives that Kylie contrast vibe without needing long nails. The chocolate brown is deep and flattering, and the tiny gold dots pull focus right where your nail bed starts, which makes your nails look more sculpted. I love it on medium to deep skin tones because the brown looks rich instead of muddy. Fair skin looks amazing too if you choose a slightly warm espresso brown with a hint of red-brown. The dots should be small and placed sparingly, because this look wins on cleanliness and shine.
Editor's noteUse a dotting tool that’s clean and dry — oily tools smear gold and make the dots look like blobs.
Start with a glossy brown gel — I use a medium-dark chocolate in two thin coats to avoid streaks. Cure each coat, then wipe any residue so you have a smooth surface for placement. With a dotting tool or a tiny liner brush, place one micro gold dot on each nail right at the cuticle line, then add a second dot only on the ring finger for a little variation. Let it set, then top coat over everything in two thin layers, sealing the sidewalls. Finish by brushing top coat around the dot area so it looks embedded, not sitting on top.
Skip thisDon’t place the dots too low or too many; more than two makes it look like random nail art instead of intentional styling.
3. Sheer Rose Jelly with White Micro-French
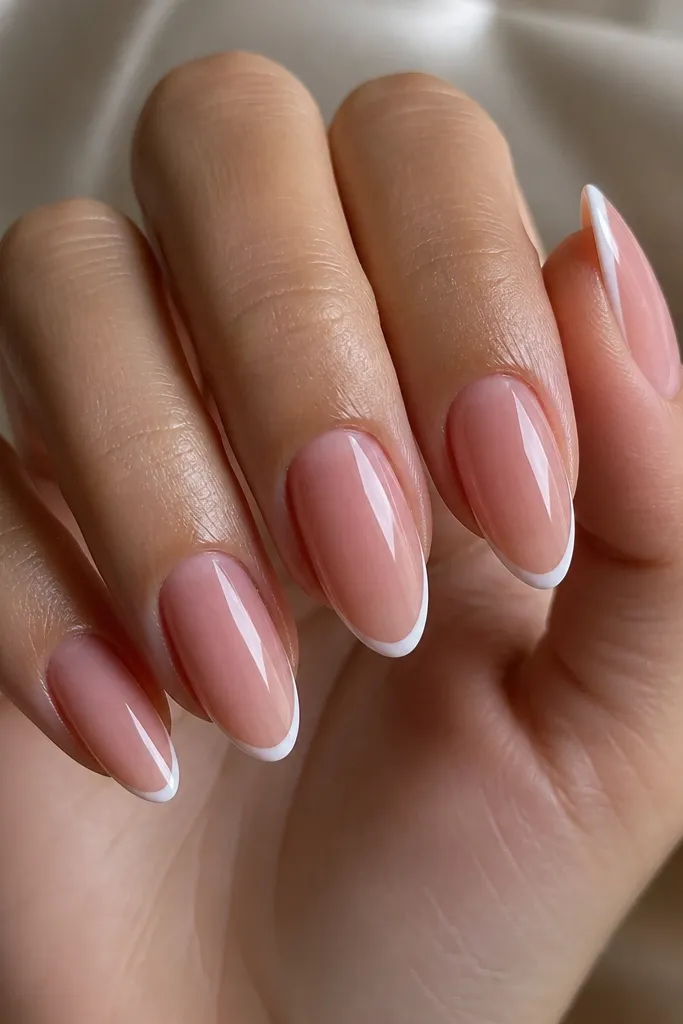
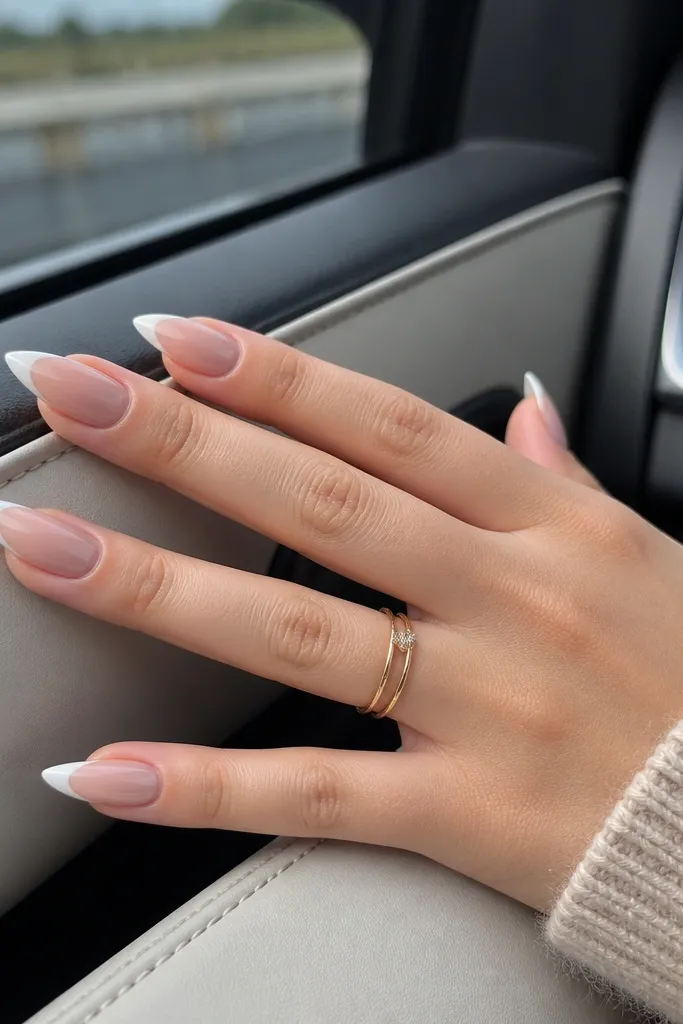
This is a cleaner take on Kylie jenner nails aesthetic because it uses the nail’s natural depth instead of heavy opacity. The sheer rose jelly base gives you that soft, youthful glow, and the micro-French keeps the look sharp and modern. This flatters almost everyone because it doesn’t fight your undertone — you can go cool pink or warm rose depending on your skin. It also works when your nails are short, since the thin line visually stretches the nail without adding bulk. The secret is how thin the French line is and how glossy the jelly base stays.
Editor's noteIf your French line wobbles, place a small amount of white on the brush, then touch the center first and drag outward lightly.
Start by applying a sheer rose jelly base in two thin coats, keeping it slightly translucent at first so you can build evenly. Cure each coat until it’s fully set, then shape the French line using a striping brush. Paint a micro white curve at the tip — keep it about 1 mm thick, and stop the line before it hits the corners so it stays crisp. Cure again, then apply a glossy top coat in two passes for a jelly-glass finish. Seal the free edge with top coat, especially if you chip at the tip.
Skip thisAvoid opaque white blobs — thick French makes the set look older and can look bulky on short nails.
4. Blackened Teal Velvet with Nude Side Fade
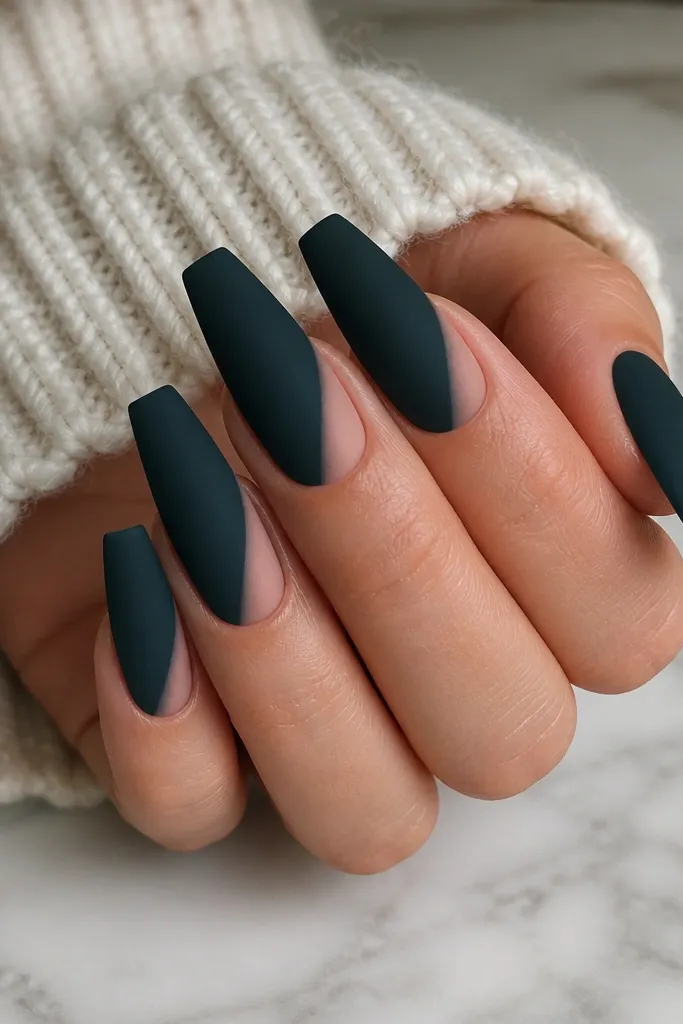
This one looks editorial and still wearable. The blackened teal velvet gives you that deep, dramatic color that reads luxe, while the nude side fade adds the Kylie-style “clean framing” effect without needing rhinestones. I like it most on medium to deep skin tones because the teal pops, but fair skin looks great with a cooler nude fade (pink-beige) so it doesn’t turn yellow. The velvet finish also hides tiny surface imperfections better than mirror chrome. It’s a strong choice for nights out or photos because the velvet texture catches light differently than glossy polish.
Start with a blackened teal gel polish base and cure it solid. Apply velvet powder or velvet top technique according to your system, then tap off excess so the surface stays even. For the nude side fade, use a sheer nude gel and paint a narrow diagonal stripe starting around the middle of the nail, fading toward the tip. Cure and then apply a final matte top only on the teal area, leaving the nude stripe slightly more satin so it reads dimensional. Clean up the edges with a small brush dampened in cleanser, then wipe and final cure.
Keep the nude fade width under 1.5 mm — wide nude strips make the look feel messy fast.
Don’t mix glossy top over velvet; it turns the texture flat and kills the plush effect.
5. Pearl White Gloss with One Tiny Gem at the Cuticle
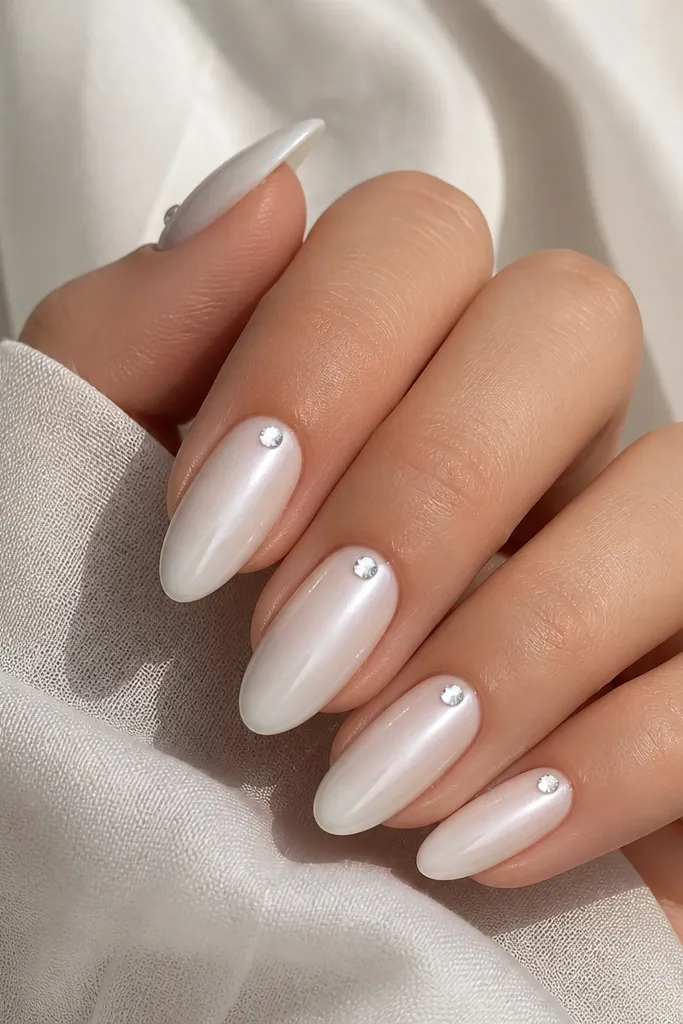
Pearl white is the easiest way to get that Kylie brightness without using loud colors. The glossy finish makes it look expensive, and the single tiny gem at the cuticle gives the “high maintenance, but minimal” vibe. This design is flattering for every skin tone because pearl white reflects light rather than sitting flat like pure white. I’ve used it for weddings, birthdays, and just-for-yourself weeks — it always looks fresh in photos. The trick is keeping the gem small and centered so it looks intentional, not crowded.
Editor's noteUse a gem that’s flat on the bottom; round gems can lift and catch hair.
Start by applying a pearl white gel polish in two thin coats, making sure it’s even across the nail bed. Cure, then place the gem using a dot of clear gel or gem glue right at the cuticle center — press gently so it sits flush. Cure again carefully so the gem doesn’t pop up. Seal with top coat around the gem first, then full top coat over the entire nail in one smooth layer. After curing, check the top for snag points and file lightly at the edges only.
Skip thisAvoid placing gems on multiple nails in a dense pattern — one gem looks chic, a cluster looks costume.
6. Nude Chrome Tips on Short Almond (No Full Chrome)
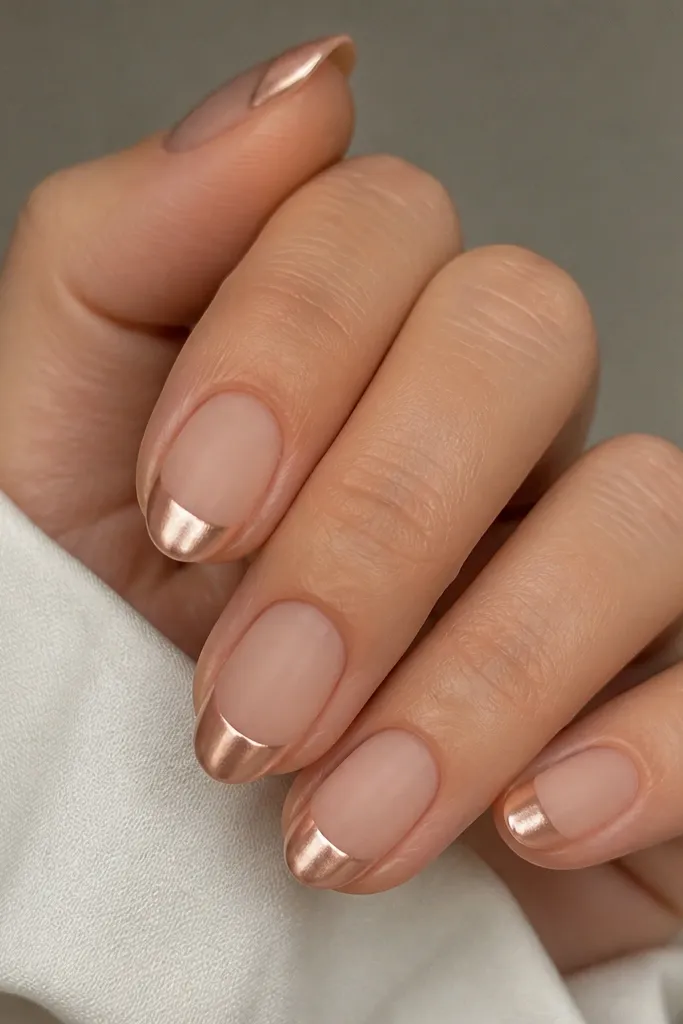
If your nails are short, full chrome can look heavy. This look keeps the chrome only at the tips, so your nails still look longer and lighter. The nude base can be satin or slightly less reflective, which makes the chrome tip feel intentional and modern. It’s a great pick for fair and neutral undertones because the chrome stays soft instead of turning icy. For deeper skin tones, choose a nude chrome that leans warm (champagne-beige) so it doesn’t look gray. The boundary line should be crisp — that clean edge is what reads like “Kylie nails.”
Start by applying a nude base gel — I like a milky nude in two thin coats, then cure. If you want the base to look satin, use a matte top on the base only and cure it. Next, apply nude-tinted chrome only on the tip area — about 2-3 mm for short almond — and keep the line straight across the width. Cure or set the chrome as your system requires, then add glossy top coat only over the chrome tip. Clean up the cuticle edge with a small brush and cleanser so the boundary stays sharp.
File the tip edge lightly before chrome so the reflective layer looks smooth, not gritty.
Avoid blending chrome into the base with heavy top coat — it smears and looks cloudy.
7. Hot Pink Micro-Glitter Accent on Clear Jelly Base
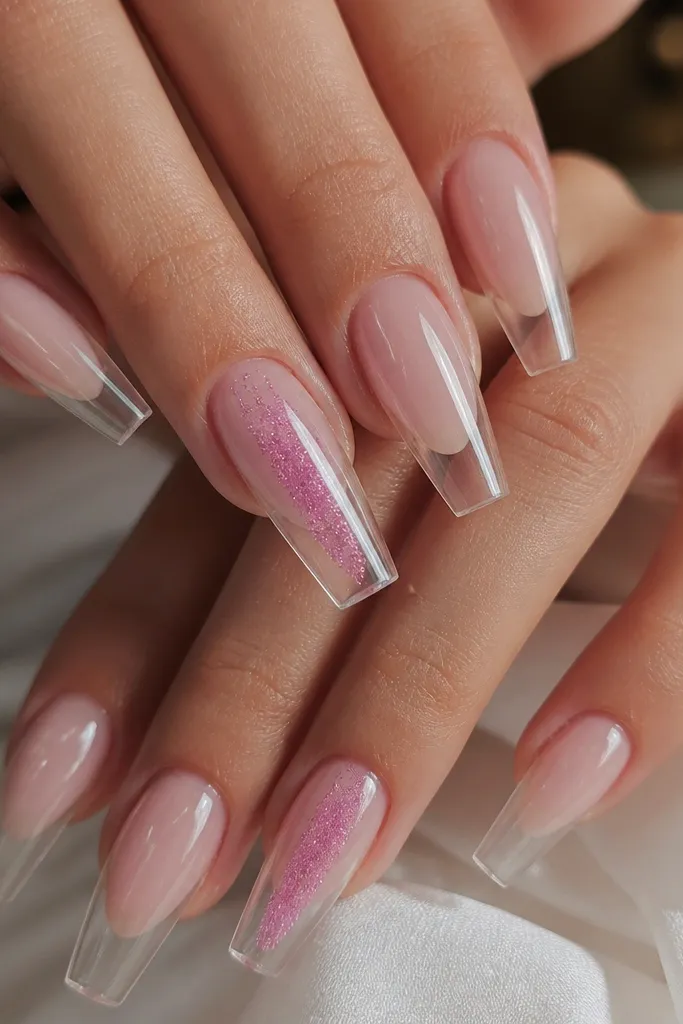
This one is playful but still clean, and it’s exactly the kind of “Kylie energy” that looks good with casual outfits. The clear jelly base keeps everything light and glossy, while the hot pink micro-glitter accent gives you a pop without covering the whole nail. I like it for medium skin tones because the clear base looks fresh and the pink pops without looking neon. Fair skin can go slightly softer with a fuchsia-pink glitter, and deep skin tones look great with a bright magenta. The micro-glitter matters — fine glitter sits flat and doesn’t snag.
Start with a clear jelly builder or clear gel polish, then cure. Apply a thin layer of top coat to smooth the surface so glitter placement looks crisp. On the accent nails, paint a narrow hot pink strip (about 3 mm wide) using a sticky gel base, then sprinkle or press micro-glitter into the strip. Tap off excess and cure firmly. Finish with two layers of glossy top coat, making sure the glitter strip is fully sealed so it feels smooth when you run your finger over it.
Use less glitter than you think — you want a concentrated strip, not a full nail glitter coating.
Avoid chunky glitter; it leaves texture that catches hair and makes the set feel rough.
8. Taupe Nude with Double Thin Gold Bar Lines
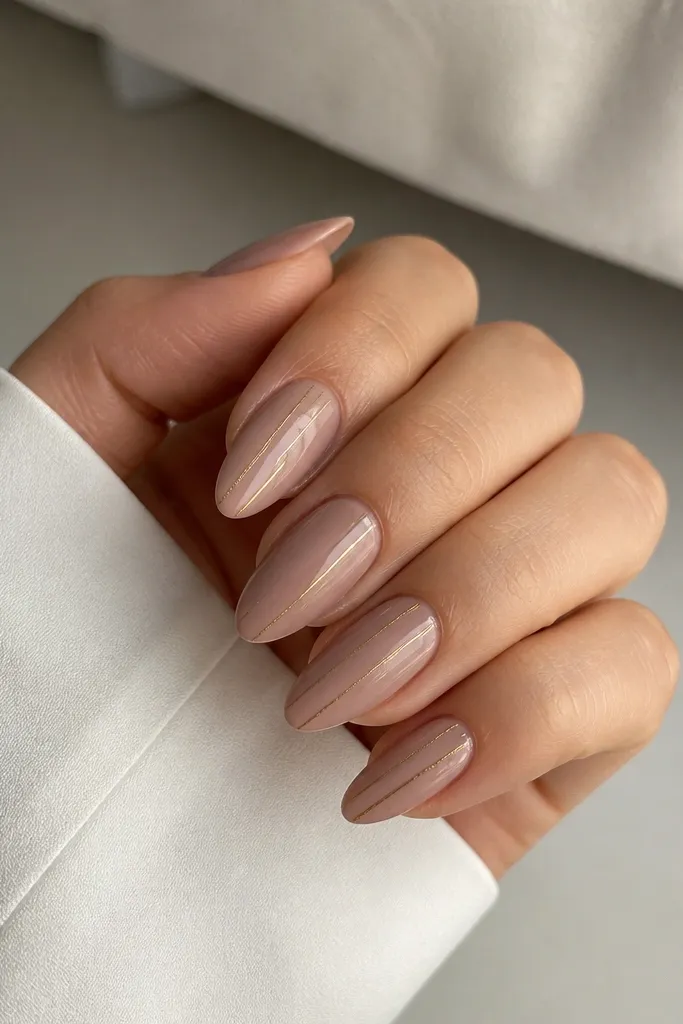
This is the “clean luxury” version of Kylie jenner nails aesthetic, and it looks especially good on longer almond or coffin because the lines elongate the nail. Taupe nude is flattering because it’s neutral — it doesn’t pull too pink or too yellow. The gold bars add that celebrity detail without needing rhinestones. I’ve done this on both cool and warm undertones by adjusting the taupe: more beige taupe for warm skin, more pinky taupe for cool skin. The double-line look is intentional; it creates a graphic effect that still feels feminine.
Editor's noteIf your lines curve, anchor the first line with striping tape, then draw the second line using it as your spacing guide.
Start with a taupe nude gel polish in two thin coats, cure fully, then wipe tacky residue. Use striping tape or a gold line gel with a fine brush to create two vertical lines — keep them about 0.5-1 mm thick and spaced evenly. Place the lines so they start around 1 mm below the cuticle and end about 1-2 mm before the tip. Cure, then apply a high-gloss top coat in one direction to smooth the lines. If you used tape, remove it carefully before curing the final top coat.
Skip thisAvoid thick gold paint; it looks like a sticker and can lift at the edges.
9. White Marble Swirls on Clear Nude Base
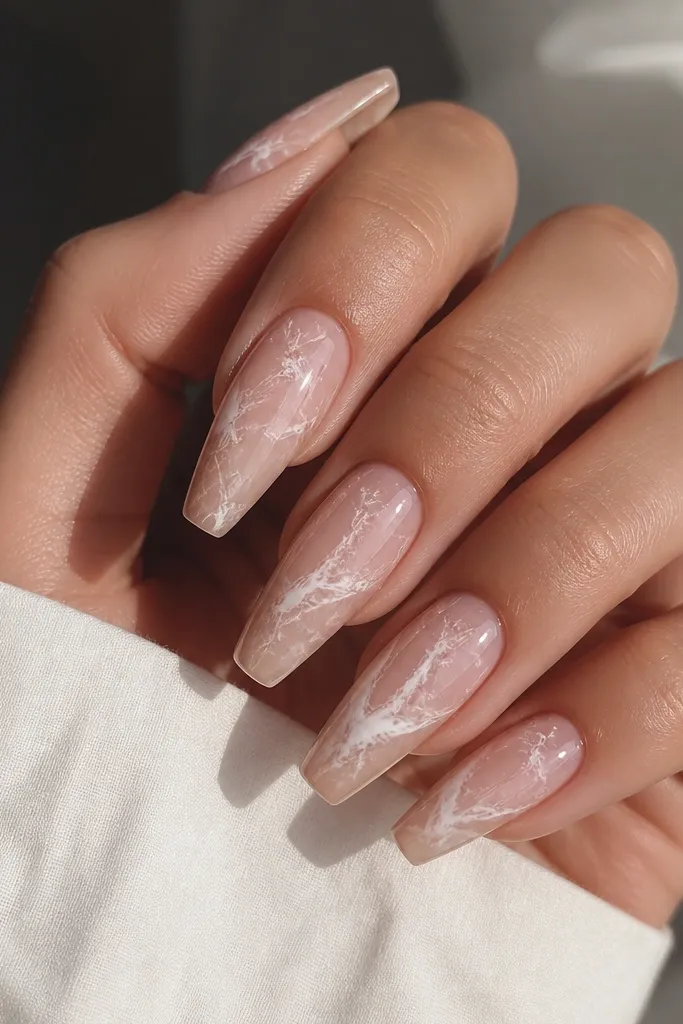
Marble nails can go cheesy fast, but this version stays Kylie-clean because the base is clear nude and the white swirls are controlled. The translucency makes the marble look like it’s under glass, and that’s what photographs well. This suits almost any skin tone because the base is sheer — it doesn’t fight your natural undertone. I like it most on medium-long coffin because there’s enough surface for the swirls to breathe. Keep the swirls thin and varied, not thick and uniform, or it turns into a sticker pattern.
Start by applying a clear nude gel polish in two thin coats, curing each time. Mix or use a white gel that’s slightly fluid, then place small droplets on a palette. With a marbling tool or toothpick, drag the white through the clear nude in thin lines, creating swirls that cluster near the center. Cure, then add a glossy top coat in two layers to “glass” the marble and smooth the swirls. Seal the free edge with top coat and check for any raised areas before final cure.
Practice one nail on a form first — marble looks right when the white lines are uneven in thickness.
Avoid big, solid white blocks; they look like paint and lose the under-glass effect.
10. Black French Tips with Sheer Pink Base
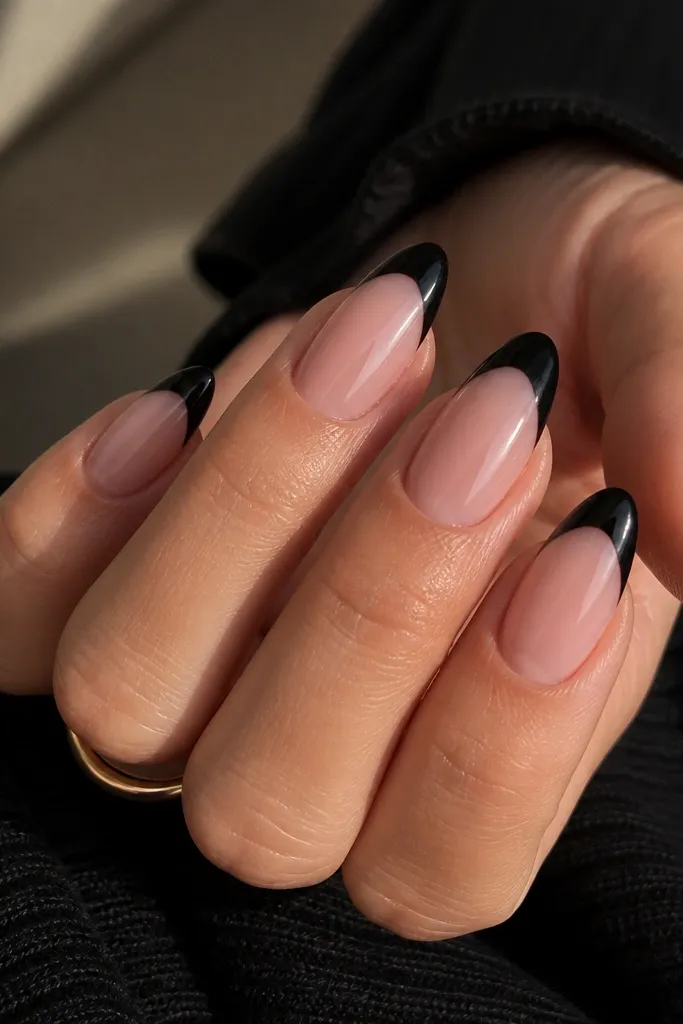
Bold black French is one of the fastest ways to get that Kylie jenner nails aesthetic because the contrast looks styled even when your nails are simple. The sheer pink base keeps it flattering and wearable, while the black tips add edge without turning the whole set dark. I love this on fair to medium skin because it makes the nail bed look clean and bright, but deeper skin tones also work with a sheer rose-pink base instead of a pale nude. The French curve needs to be crisp; that sharp line is what makes it look salon-done. This is also a great choice if you want something that lasts — the base stays sheer and hides minor growth.
Start by applying a sheer pink gel in two thin coats, curing fully. Use a French tip brush to paint a black curve at the tip — keep the thickness around 1-1.5 mm and stop the black before it hits the sidewalls too far. Cure, then clean up any edge smudges with a small brush and cleanser. Apply a glossy top coat in two layers, sealing the free edge. If you want extra crispness, do a second black micro-pass only where the curve needs reinforcement, then cure again.
For a perfect curve, anchor the brush at the center first, then glide to each side in one smooth motion.
Avoid thick black tips that touch the nail bed — it makes the nails look shorter and heavier.