1. Micro French Stripe with Centered Black Cat Eye Glow
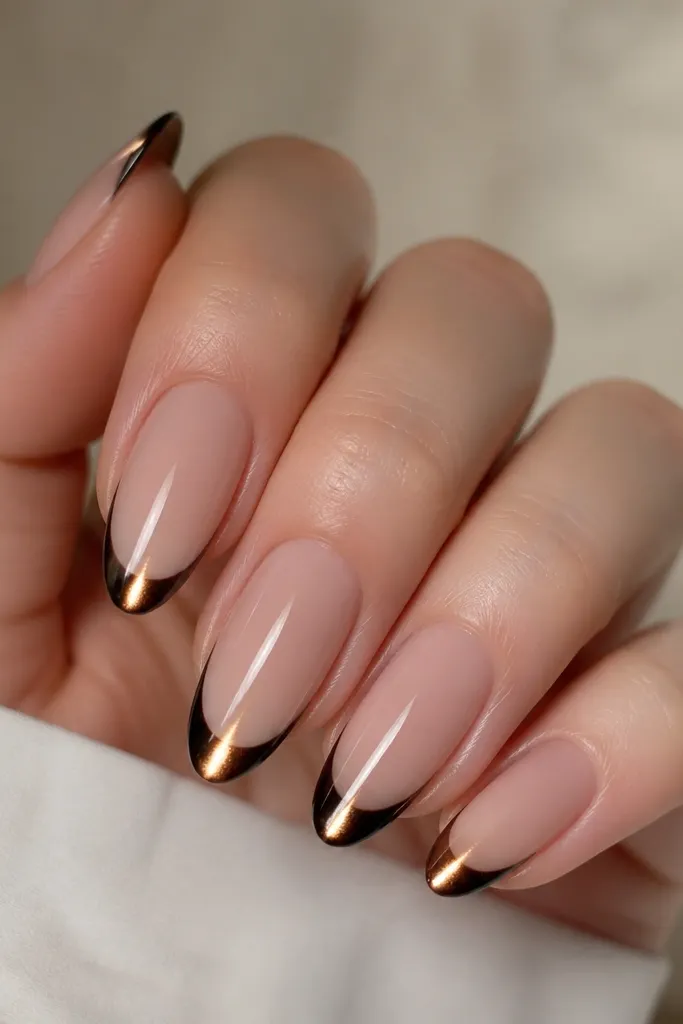
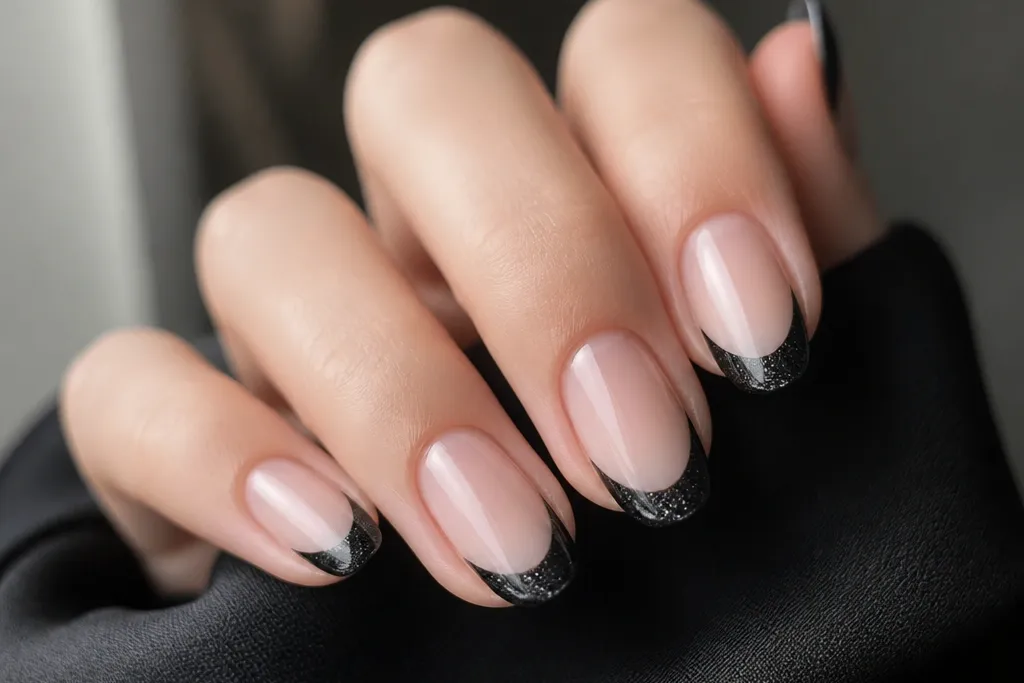
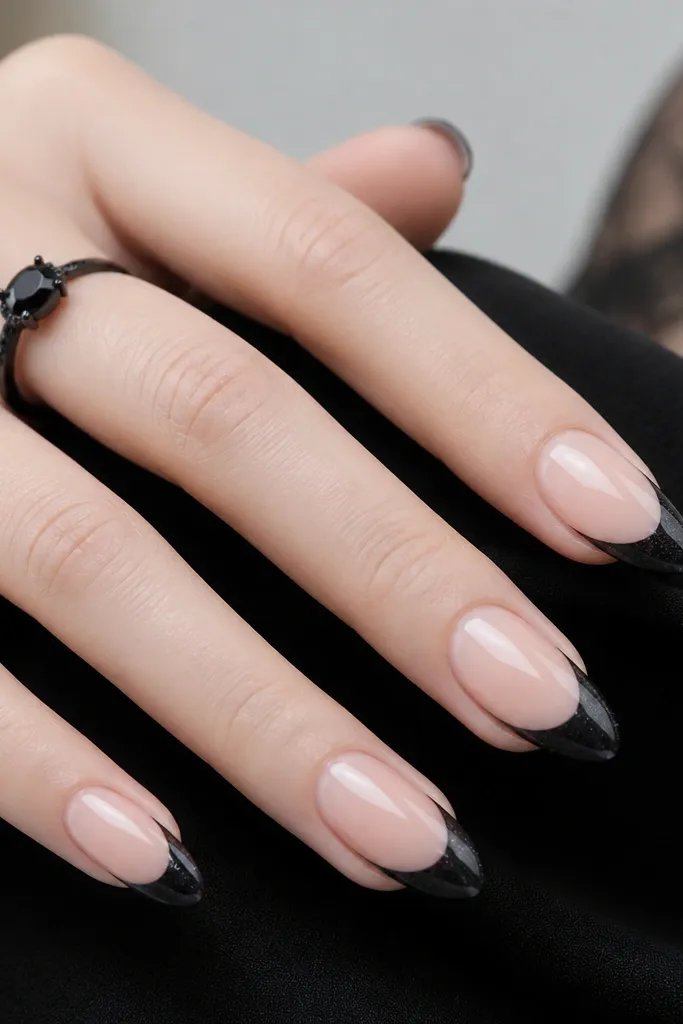
This is the version I reach for when someone wants bold but still wearable. The sheer nude base keeps the nail length looking longer, while the black French tip stays narrow so it doesn’t overwhelm short nail beds. The cat-eye stripe sits dead center in the black area, so it reads like a highlight rather than a smudge. It looks best on medium to almond shapes and hands with slightly flatter nail plates because the center stripe visually lifts the look upward. For skin tones, it flatters everything — cool, warm, and deep — because the nude base is neutral and the black does the drama.
Start by applying a sheer nude base gel in a thin coat, then cure fully. Paint the French tip using a liner brush or thin gel liner, keeping the tip width around 1.5 mm and the smile line smooth. Apply black cat eye gel over the French tip area only, then bring your magnet close and pull the stripe to the center — hold for the exact moment your gel says (I use 10-15 seconds before curing). Cure, then clean the edge with a lint-free wipe and finish with a glossy topcoat that caps the free edge. Finally, add one more thin topcoat if the stripe looks slightly flat under the first coat.
If your stripe shifts left or right, rotate your hand slightly and re-center the magnet before you cure — don’t move the nail after the gel starts to thicken.
Skipping a thin base and going straight to thick black makes the French line look chunky and the stripe harder to control.
2. Classic French with Thick Black Cat Eye Half-Moon Tip
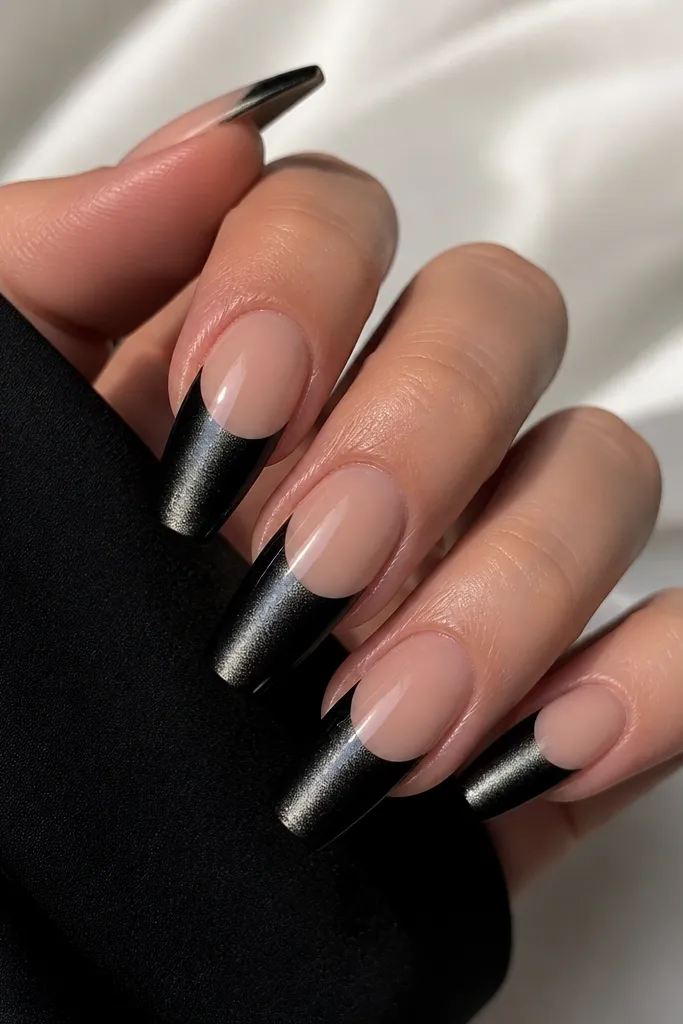
Apply a nude builder gel base, cure, and shape the nail tip. Map the French smile line with a French guide or by placing a stencil lightly, then build the black French tip in two thin layers so the edge stays sharp. After the black tip base is set, apply cat eye gel over the entire black French area — you want the pigment to cover the curve fully. Hold the magnet straight above the center of the nail for 10-20 seconds, then cure. Wipe off tacky residue, clean up the sidewalls, and cap with a glossy topcoat, pressing firmly along the free edge.
This set looks like you planned it on paper — crisp smile line, strong black mass, and that cat-eye beam that grabs attention. The thick French tip gives you more pigment area, so the magnetic stripe looks brighter and more dramatic, especially under sunlight or flash. I like this on coffin or long almond because the black mass can handle the width without collapsing the shape. On hands with slender fingers, it reads sleek; on wider nails, keep the French smile line a touch higher to avoid making the nail look too short. It pairs beautifully with silver rings because the cat-eye highlight mimics metal shine.
Skip thisPainting the thick French in one go often creates overflow at the sidewalls, which makes the cat-eye stripe look muddy.
Editor's noteUse two thin layers for the thick French so the gel doesn’t flood the corners and blur your smile line after curing.
3. Black Cat Eye French with Negative Space Side V Cuts
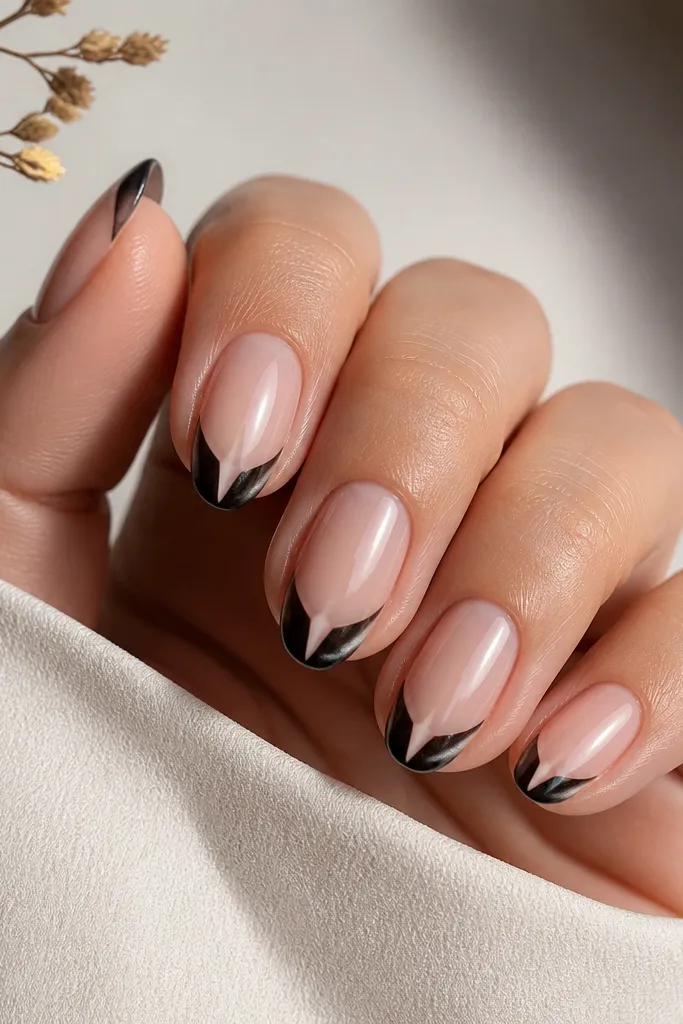
Negative space makes black cat eye feel modern instead of heavy. Those side V cuts keep the eye traveling upward, so the nails look longer and more angular. The cat-eye stripe stays in the center, and the negative space makes it pop even more because there’s less black surface competing for attention. I love this on shorter almond or squoval nails because it sharpens the overall silhouette. If your nail plate is wider, the V shapes give the illusion of slimmer sidewalls. It also looks great with matte black accents on rings or bracelets because the nude areas keep everything clean.
Start with a nude base gel and cure. Use a thin brush to outline the V shapes at both sides of the smile line, leaving the center area open for the cat-eye stripe. Build the black French tip from the center outward, keeping the smile line crisp and the V edges razor straight. Apply cat eye gel only where the black sits, then magnetize with the magnet held above the center for 10-15 seconds. Cure, then topcoat glossy over everything, making sure the topcoat doesn’t pool into the negative space edges.
After magnet curing, use a small detail brush dipped in alcohol to clean around the V edges before topcoat.
Filling the negative space with black gel by accident makes the design disappear and looks like a rushed French tip.
4. Over-the-Edge Cat Eye French on Extra-Long Coffin
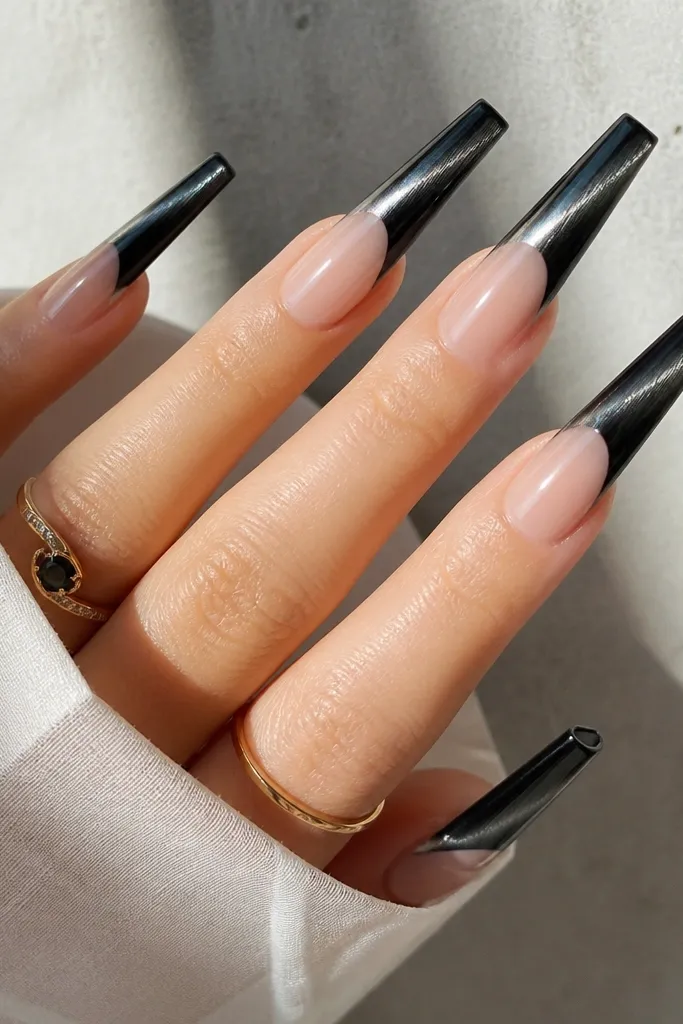
When you want that “wow” look, wrapping the French edge slightly over the side is what sells it. On extra-long coffin nails, the side wrap catches light as you move, and the cat-eye stripe reads like a beam coming off the nail. This version is dramatic and best for events, photos, and anyone who wears bold jewelry. It flatters long fingers and hands with clean cuticles because the shape stays sharp. For shorter hands, it still works, but you need a thinner tip and less side wrap so it doesn’t overpower the nail.
Prep and base coat, then cure. Build the French tip with a thick black gel, but leave the smile line slightly narrower than you think — about 1.5 mm on each side for long coffin. With a second gel layer, extend the black just a tiny bit over the sidewalls, less than 0.5 mm. Apply cat eye gel across the black tip area, then magnetize straight down at the center while keeping the nail flat — hold 10-20 seconds. Cure and then apply glossy topcoat, cap the tip edge, and do one extra sidewall swipe so the wrap doesn’t peel.
If you see the magnet stripe leaning, lower the magnet closer to the surface — the stripe tightens when the magnet is nearer.
Overdoing side wrap too thick makes the nail look bulky and can lift at the corners.
5. Matte Black Cat Eye French with Glossy Stripe Accent
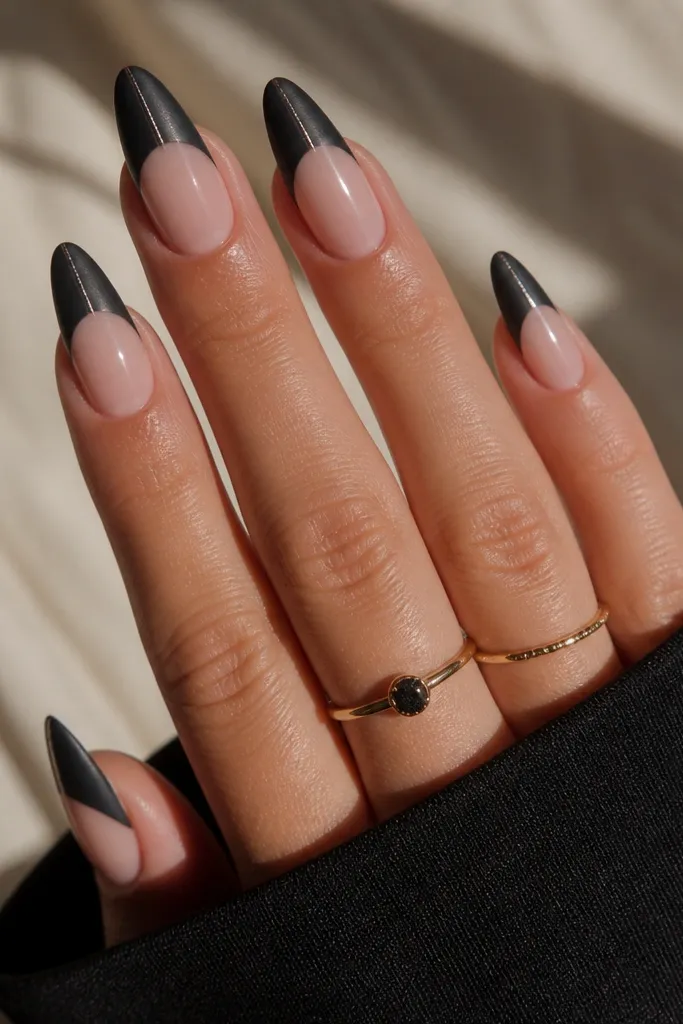
This combo looks expensive because it mixes textures on purpose. The matte black French tip hides fingerprints and looks smooth, while the glossy cat-eye stripe catches light like a highlight on a dark stone. I use this when someone wants mystery without the “wet nail” look. It’s flattering on almond and squoval shapes because the matte finish makes the outline look crisp. On deeper skin tones, the contrast is extra striking; on fair skin, it still reads clean because the nude base separates everything. It’s also great for workdays since matte hides minor wear better than high gloss.
Start with a nude base gel and cure. Build the French tip in black gel and cure. Apply cat eye gel over the French tip area, magnetize to center the stripe, then cure. Now, apply a matte topcoat over the whole nail — cure it fully, then use a fine brush to paint a tiny glossy topcoat only along the center stripe. Cure again and wipe any residue so the stripe stays glassy while the rest stays matte.
Use a striping brush for the glossy stripe so it stays razor-thin and centered.
Putting matte topcoat over the entire cat-eye stripe turns the beam dull and kills the effect.
6. Black Cat Eye French with Gold Foil Micro Arc
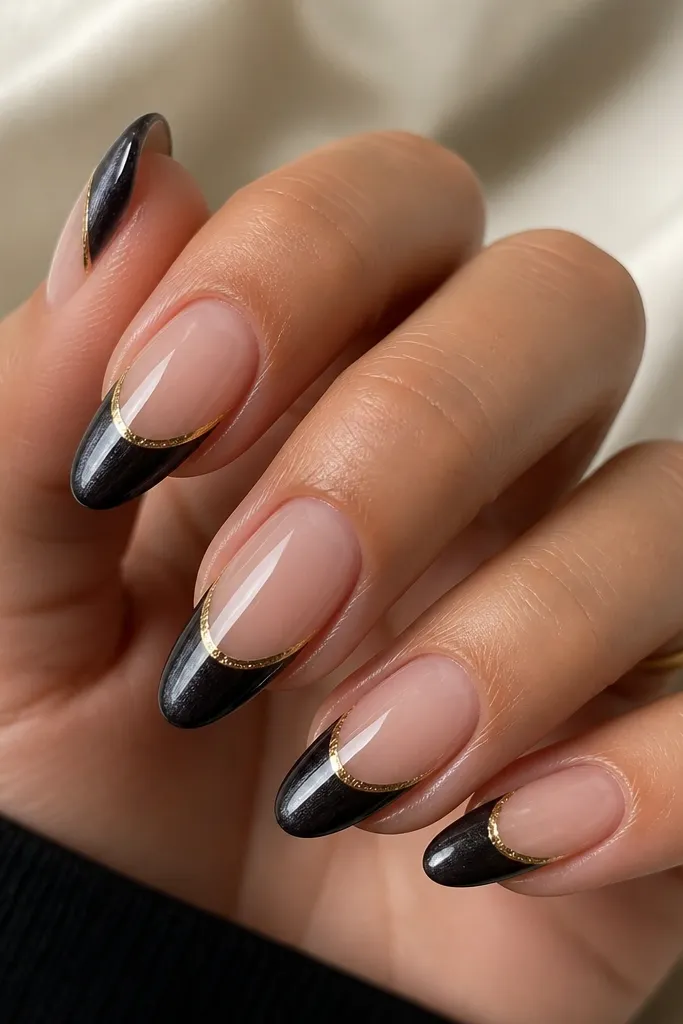
Gold foil makes black cat eye feel like a night-out manicure instead of a basic monochrome set. The micro arc under the smile line gives a frame effect, so your eye reads from gold to stripe to nude base. I like this on medium almond and long squoval because the curve of the French tip matches the arc. It flatters warm undertones and looks stunning with gold jewelry, but it’s not limited — silver rings still look sharp because the black stripe does the contrast work. If your nails are slightly uneven, the foil arc draws attention away from tiny surface bumps.
Apply nude base, cure, then build the black French tip with a clean smile line. After the black is set, apply cat eye gel only on the French tip area and magnetize to pull the stripe to the center for 10-15 seconds. Cure and wipe. Tear tiny pieces of gold foil and place them in a thin arc right under the smile line while the surface is tacky (or use a small amount of foil gel). Press lightly, then seal with glossy topcoat, making sure the foil edges are fully covered.
Gold foil sticks better when you press with a silicone tool instead of a brush — you get flatter, cleaner edges.
Using too much foil makes the arc look thick and hides the cat-eye stripe.
7. Black Cat Eye French with Tiny Crystal Bezel at the Tip Center
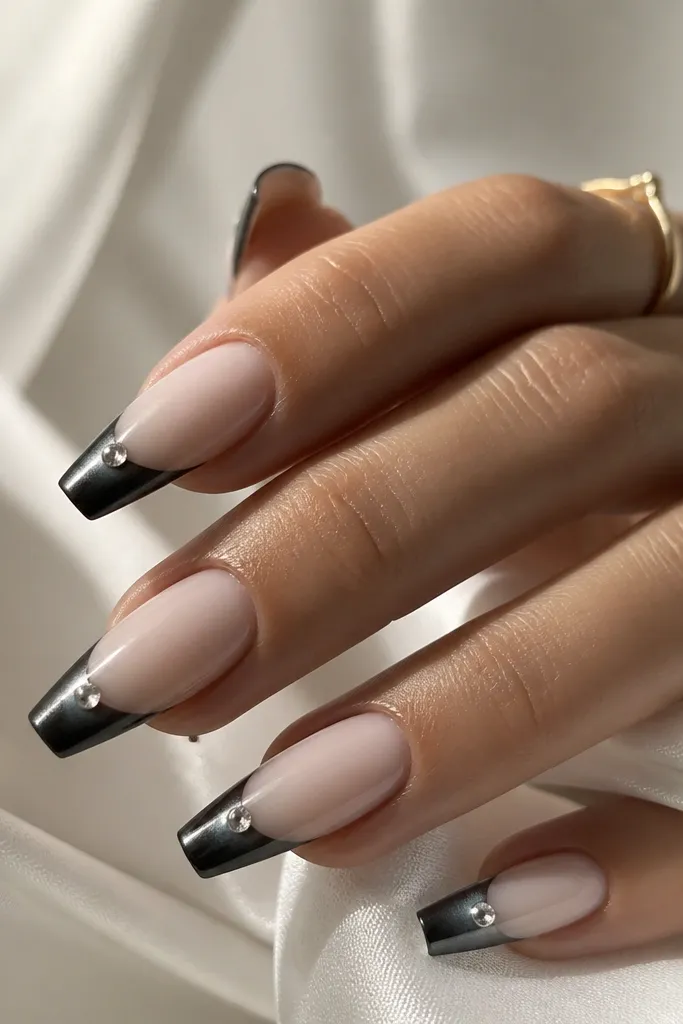
Adding one crystal at the tip center makes the cat-eye stripe look intentional, like it’s pointing to a light source. I use a small clear crystal because it reflects every shade in black polish, not because it’s flashy for its own sake. This works best on long almond or coffin where the tip has room for the bezel without looking cramped. It flatters hands with longer fingers and clean nail beds, but you can adapt it to shorter nails with a smaller crystal and a narrower French tip. For everyday wear, keep the stone small — big stones snag on coats and bags.
Start with a nude base and cure. Create your black French tip with a smooth smile line, then apply black cat eye gel over the French area and magnetize to center the stripe for 10-20 seconds. Cure and wipe. Place a single tiny crystal (2-3 mm) at the exact center point of the tip, using gel as adhesive, then cure. Finish with glossy topcoat around the crystal, and do a careful cap over the tip so the crystal base is sealed.
Set the crystal after magnet curing so the stone doesn’t interfere with the stripe placement.
Cementing the crystal before you finish the cat-eye gel can distort the stripe and make the placement look off.
8. Black Cat Eye French with Red Micro Outline for a Sharp Contrast
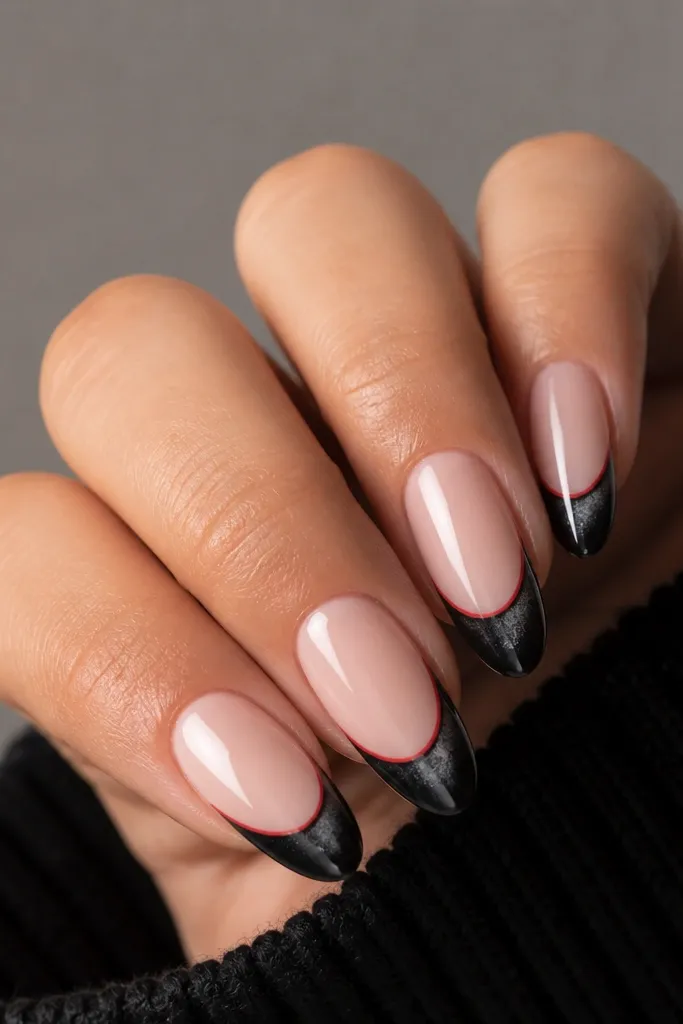
Red micro outline turns the French smile line into a graphic detail. The cat-eye stripe stays the star, but the red edge makes the whole set feel sharper and more intentional, like eyeliner on a dramatic eye. I like this on almond and squoval because the curve looks clean and the red line stays visible without swallowing the nail. On fair skin, the red reads bright and crisp; on deeper skin tones, it reads warm and punchy. It’s also a great choice if you want black nails but you get bored with plain black.
Apply nude base and cure. Build the black French tip first, then apply cat eye gel over that black area and magnetize to center the stripe for 10-15 seconds. Cure, wipe, and then use a red gel liner to trace a thin line right along the smile curve — just 0.5 mm thick. Cure again. Finish with glossy topcoat, and use a flat brush to smooth the red line so it doesn’t catch on fabric.
Use red gel liner, not red acrylic paint, because gel levels and stays crisp after topcoat.
Thick red outlining makes the French look like a sticker and hides the cat-eye glow.
9. Black Cat Eye French with Shimmer Black Jelly Base
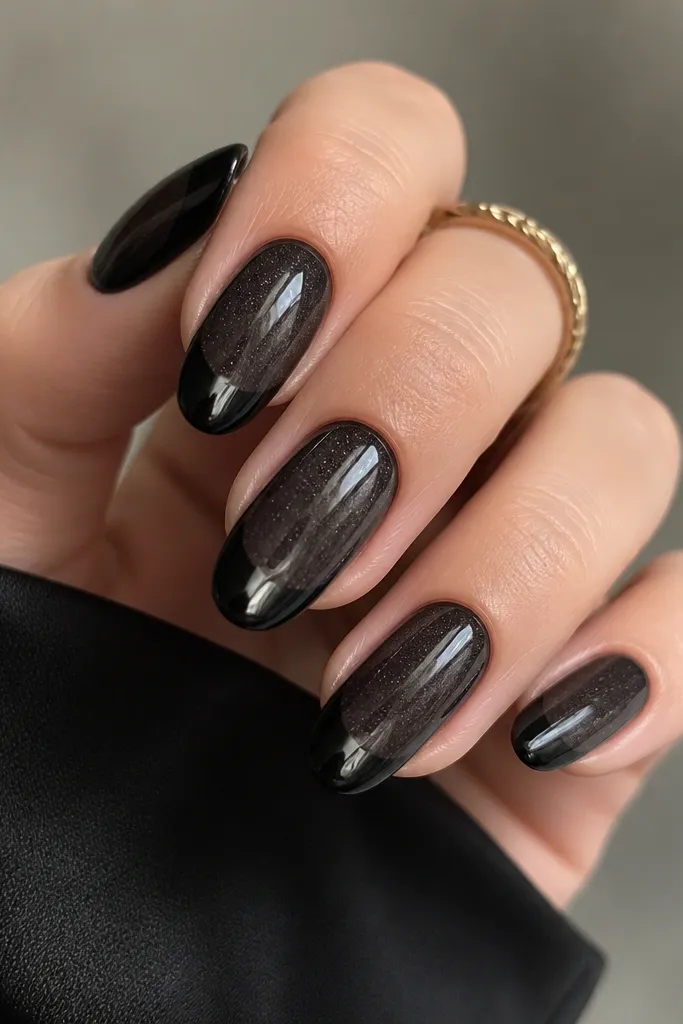
This look is for when you want the cat-eye glow to feel like it’s inside the nail, not sitting on top. The shimmer black jelly base adds depth under the French tip, so the stripe looks brighter because it has a darker, sparkly environment. I like it on oval and almond shapes because the jelly base makes the nail look smooth and rounded. It flatters most skin tones since the base is sheer and the black tip still anchors the design. For someone who hates high-contrast nude bases, this gives you drama without looking too stark.
Start by applying a sheer black jelly base gel in a thin coat and cure. Build the French tip in deeper black gel, keeping the smile line neat and the tip width around 1.5 to 2 mm. Apply cat eye gel over the French tip area only, then magnetize to pull the stripe to the center for 10-20 seconds before curing. Wipe and topcoat with a high-gloss topcoat in two thin layers if you want maximum glass effect. Cap every edge so the jelly base doesn’t chip at the corners.
If your jelly base is too opaque, reduce the thickness — you want it to look like depth, not another layer of black paint.
Using regular black opaque base under cat eye makes the stripe look flat and less luminous.
10. Black Cat Eye French with Aurora Blue Edge Reflection
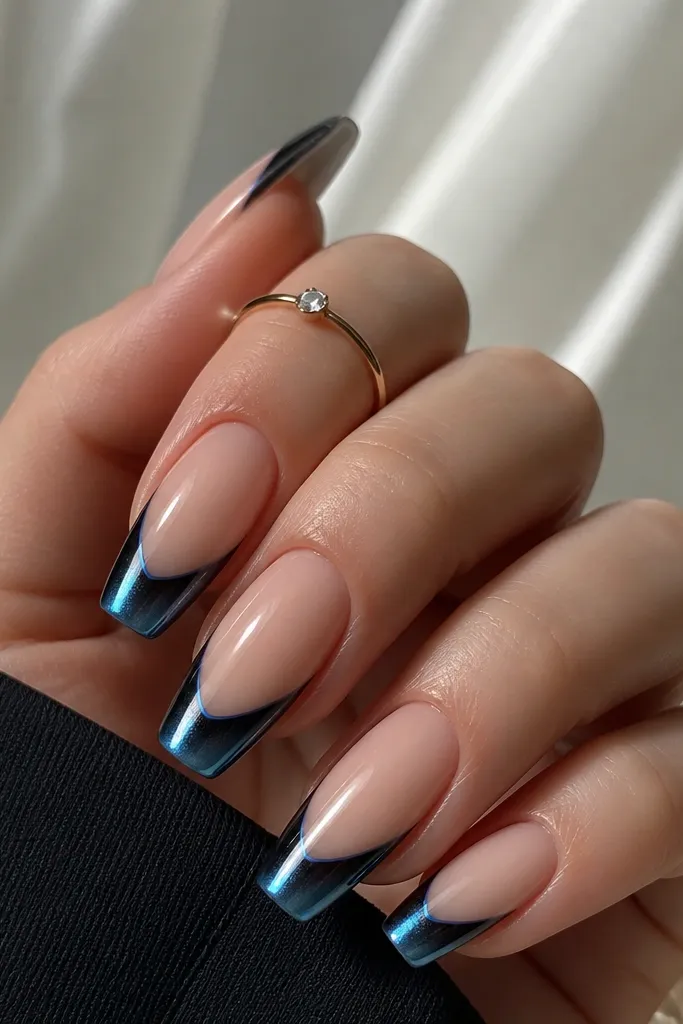
Prep and apply nude base, cure. Build the black French tip with gel liner, keeping the smile line crisp and the tip width around 1.5 mm. Apply cat eye gel on the black portion and magnetize straight above center for 10-15 seconds, then cure. After curing, paint a super thin line of aurora blue gel or holographic chrome gel right at the very edge of the French tip (the top border of the smile line). Cure and seal with glossy topcoat, pressing the brush along the blue edge so it doesn’t lift.
This set feels mysterious because the blue reflection looks like something you’d see at the edge of a camera flash. The cat-eye stripe stays black-centered and bright, while the thin aurora blue edge adds a cool glow at the smile line. I recommend this for longer nails and nights out, especially if you wear blue eyeshadow or cool-toned jewelry. It flatters fair to medium skin tones the most because the cool blue pops, but it still works on deeper tones if the blue is true holographic rather than dusty. The key is keeping the blue line thin so it doesn’t compete with the stripe.
Skip thisCovering the whole French tip in blue chrome turns the cat-eye stripe into a background effect.
Editor's noteUse a small amount of aurora gel — one swipe is enough — so it stays reflective instead of thick and dull.