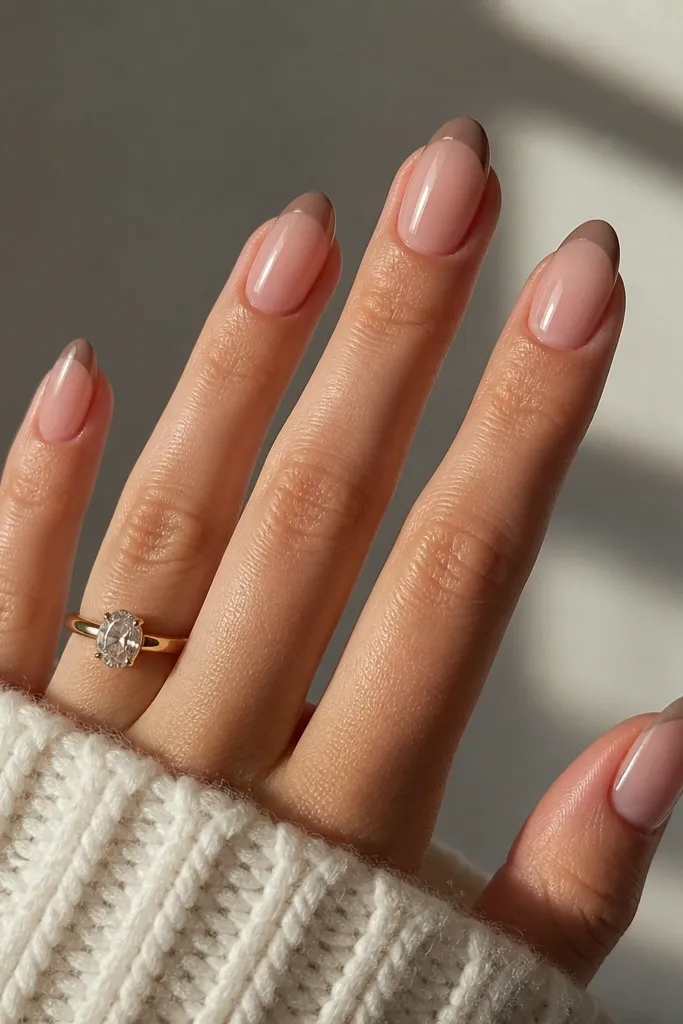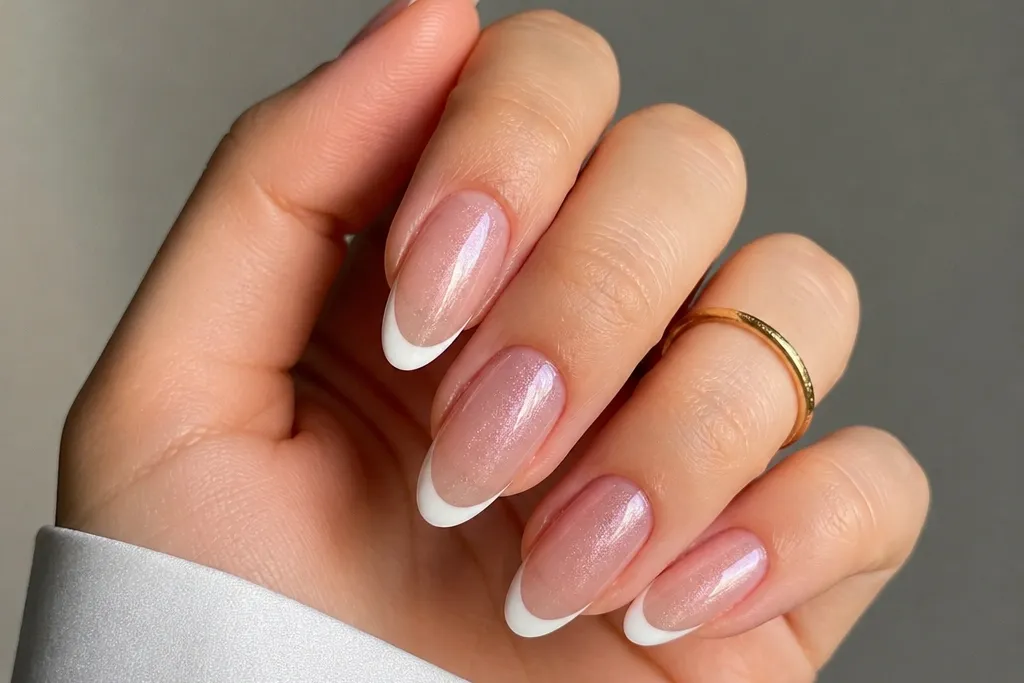
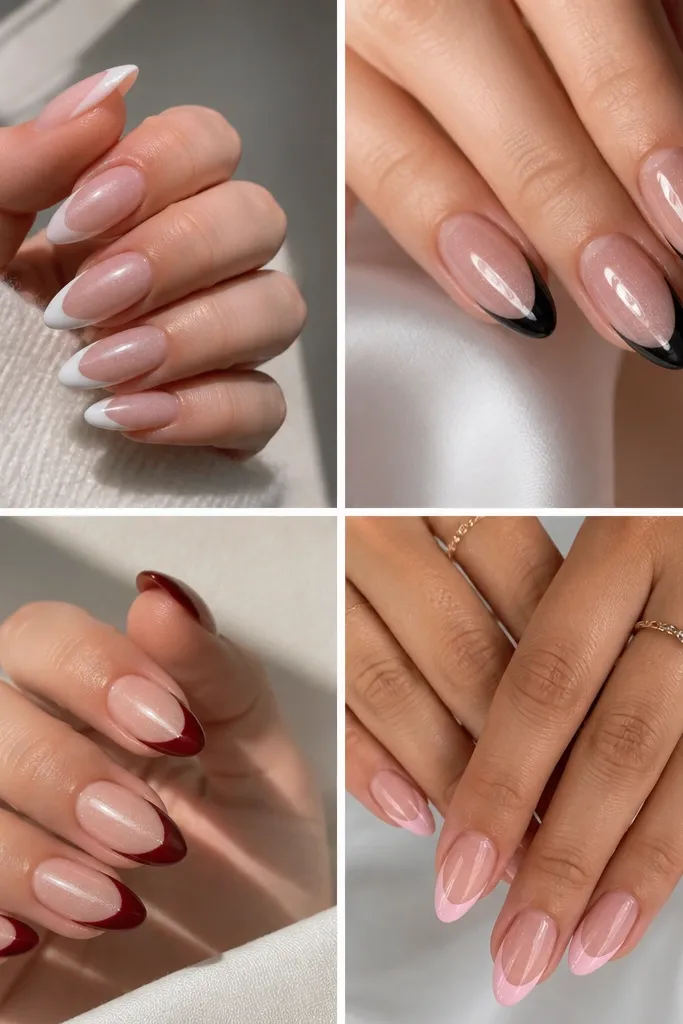
1. Smoky Taupe Cat Eye with Micro French Tips
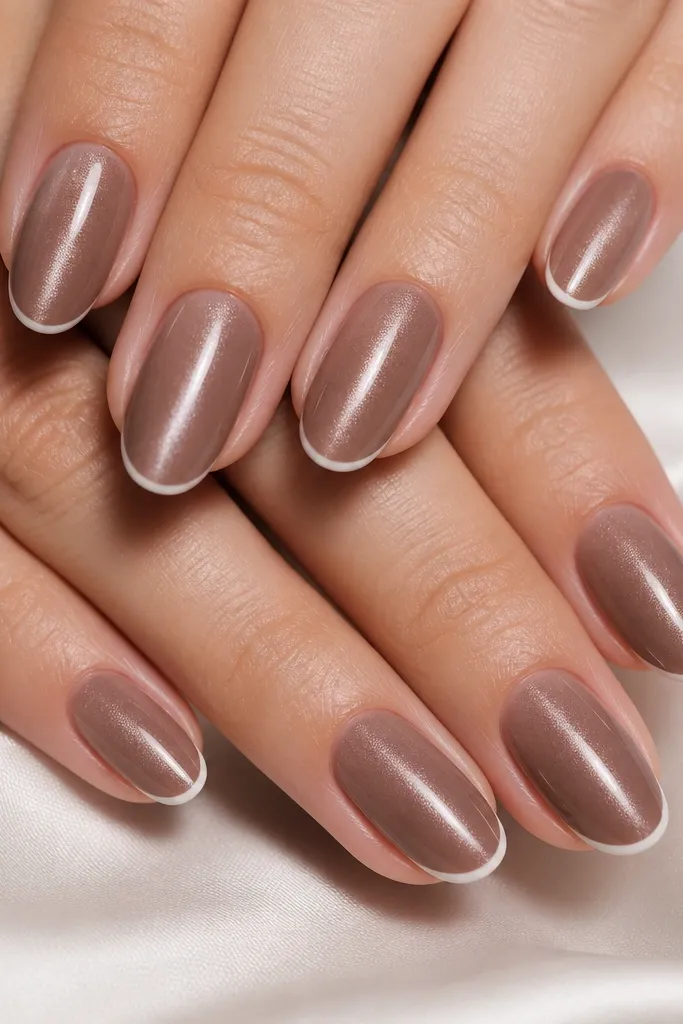
This one flatters a lot of hands because the smoky taupe keeps the magnetic stripe calm instead of stark. On light to medium skin tones, the taupe reads classy and not ghostly; on deeper skin tones, it looks like expensive stone. The micro french tip is the low maintenance part — it’s basically a clean outline, so if you get a tiny chip, it’s less noticeable than a wide tip. I like it for office days and photos because the stripe catches light without stealing the whole look.
Start with a nude-taupe cat eye gel on all nails, then magnetize so the stripe sits centered from cuticle to tip. Cure fully. With a fine liner brush, paint only the outer edge of the french tip in a thin white gel line, keeping it under 1 mm wide. Cure again, then apply a glossy top coat in a single smooth pass. Finally, cap the free edge lightly so the tips don’t peel.
Editor's noteIf your french line gets shaky, pull it from the side wall inward — don’t try to draw across the whole tip in one motion.
Skip thisAvoid thick french tips on top of magnetic bases — they show chips fast.
2. Champagne Gold Cat Eye with Creamy French Smile Line
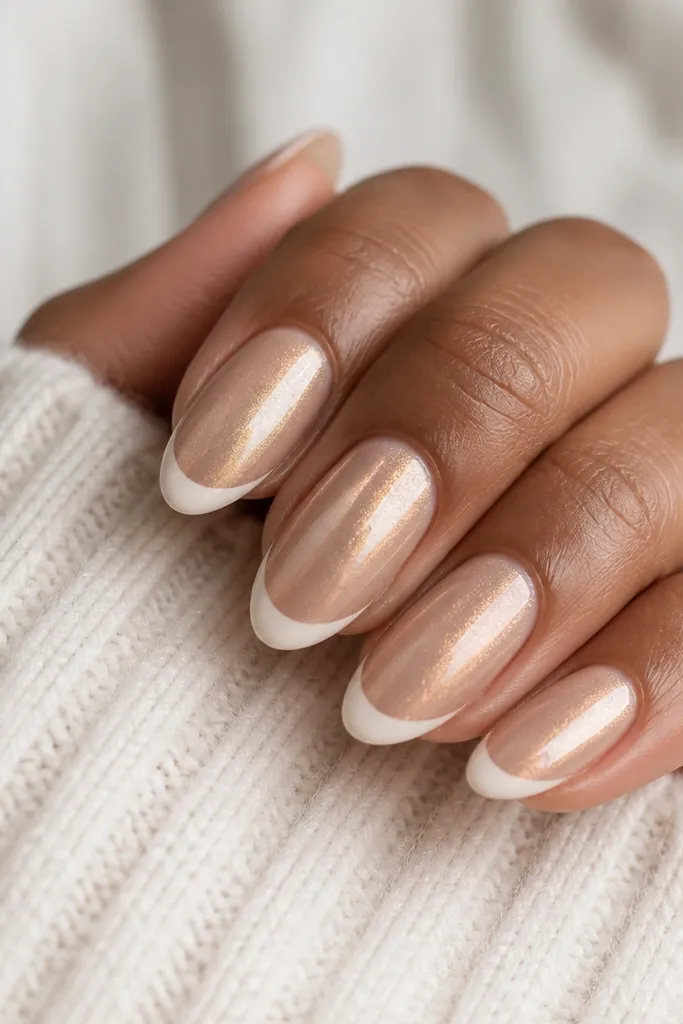
Warm champagne is the shade that makes cat eye look like jewelry instead of nail polish. This is flattering if you wear gold rings a lot — the stripe matches that warm metal tone. The creamy french smile line looks softer than bright white, which is why it stays pretty as nails grow out. It also looks great on shorter nails because the curve reads intentional rather than crowded.
Apply champagne cat-eye gel as your base layer and magnetize to create a bright gold stripe. Cure. For the french tip, use a creamy off-white gel and paint a smile curve that hits the sidewalls but stays narrow — think about 1-2 mm from the nail edge. Use the brush to taper the center slightly thinner so it looks like a lifted highlight. Cure, then add a glossy top coat and cap the tips.
Editor's noteFor extra polish, wipe your brush on a lint-free pad after every 2-3 nails so the line stays smooth.
Skip thisAvoid pure bright white on warm bases if you want low maintenance — it can look stark at the growth line.
3. Black Cherry Cat Eye with Rose French Tips
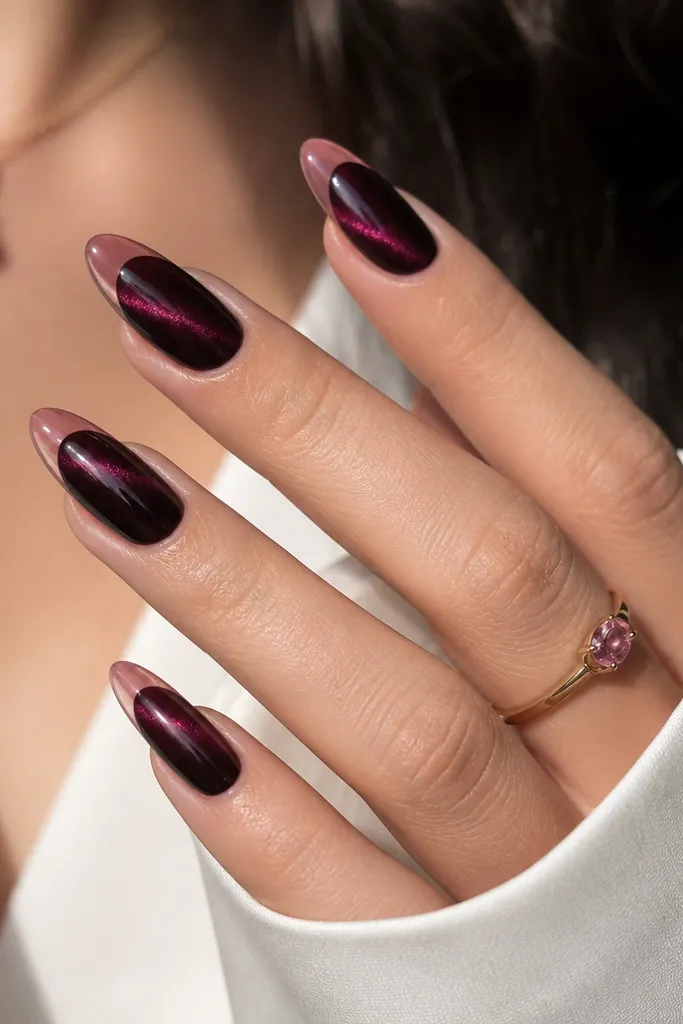
Black cherry cat eye is moody and flattering on almost every skin tone because the undertone shifts with light. The magnetic stripe goes purple-magenta, which makes your nails look like they’re glowing from within. The rose french tips are semi-sheer, so they blend if you get a small chip — it doesn’t look like a hard break. I wear this when I want a date-night manicure that still looks clean at day 10.
Paint black cherry cat-eye gel on all nails and magnetize for a single stripe that runs straight down the center. Cure thoroughly. Mix or choose a rose pink gel that’s slightly translucent; paint the french tip as a thin band, keeping opacity lower at the center. Build to full coverage only at the outer edge so it looks like a soft frame. Cure, then top coat glossy and seal the free edge with a thin swipe.
Editor's noteIf the rose tip looks too see-through, add a second thin layer only to the tip line, not the whole nail.
Skip thisAvoid fully opaque bright red french tips over dark cat eye — the contrast makes chips obvious.
4. Icy Blue Cat Eye with Clear French Edges
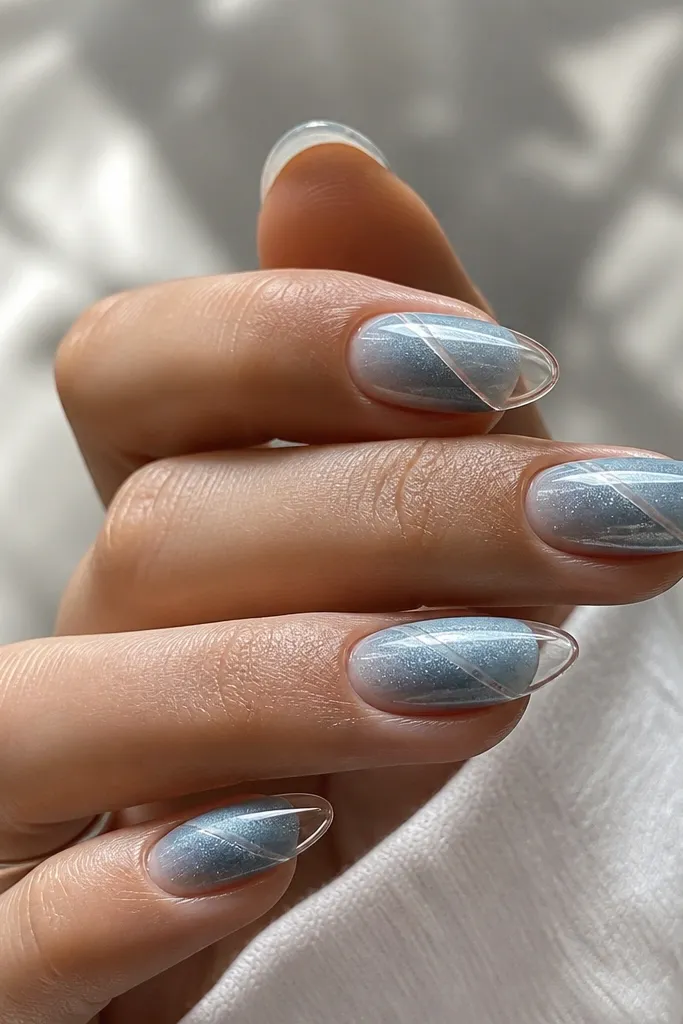
This design looks like winter glass and it’s genuinely low maintenance because the tips are clear. Even if the boundary softens with growth, it still reads intentional. The icy blue stripe is best on light skin tones and looks stunning on fair-to-medium hands; on deeper skin tones, it still pops, but it looks best with shorter nails so the cool tone stays clean. The clear french edge also makes your nail shape look longer without needing a thick white line.
Apply icy blue cat-eye gel and magnetize so the stripe looks like a frozen streak. Cure. Instead of painting white, use a clear builder gel or clear gel polish to create only the french boundary: paint a thin outline along the outer edge and a short curve at the tip. Keep it consistent on each nail so the outline looks like a frame. Cure, then apply glossy top coat across the whole nail to unify the finish.
Editor's noteUse a gel that self-levels well for the clear outline so you don’t get ridges at the edge.
Skip thisAvoid matte top coat here — it kills the glassy look and makes the boundary look blunt.
5. Emerald Cat Eye with Gold French Micro-Leaf Tips
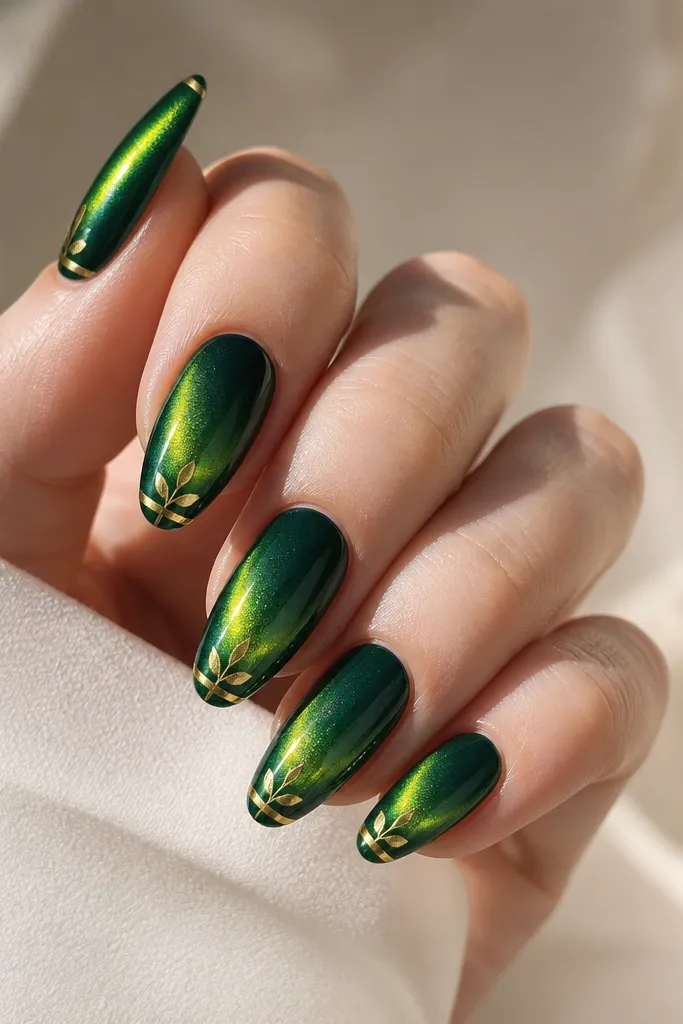
Emerald cat eye looks expensive, and the gold french micro-leaf detail makes it feel festive without being busy. This flatters olive and medium skin tones especially because the green and gold balance each other. The cat-eye stripe stays the star, while the gold tips add sparkle only at the edge. Micro-leaf accents are easier to maintain than full nail art because there are fewer painted points that can chip.
Paint emerald cat-eye gel on all nails and magnetize for a stripe that leans slightly toward one side for drama. Cure. Add a thin gold gel line for the french tip — keep it under 1 mm wide. Before curing the gold, tap tiny micro-leaf decals or place small leaf-shaped gold foil at the outer corners of the tip only. Cure, then top coat glossy and cap the free edge lightly.
If you’re doing foil, press it with a silicone tool for 2-3 seconds so it bonds flat.
Avoid adding leaves across the whole tip — corners only look intentional and survive wear better.
6. Lavender Smoke Cat Eye with White V-French Tips
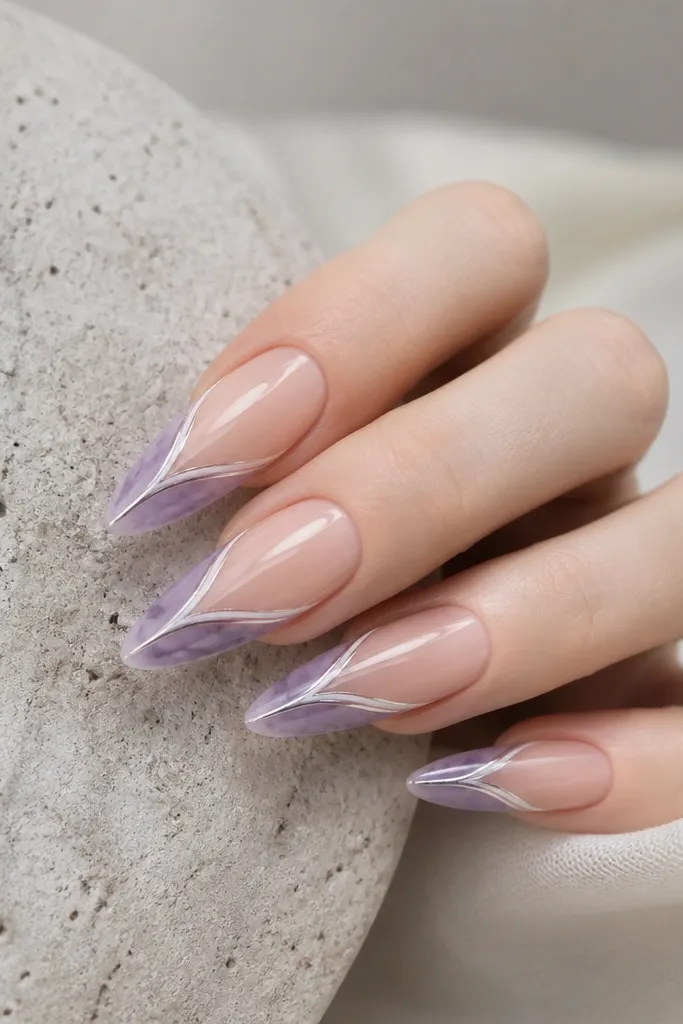
V-french tips are crisp and they elongate the nail without needing a wide white arc. Lavender smoke cat eye gives a soft, romantic look, and the silver-lilac stripe keeps it from looking flat. This design is flattering on short to medium nails because the V pulls the eye toward the center. I like it for spring events and also for people who want something different from the classic smile french.
Apply lavender smoke cat-eye gel and magnetize so the stripe stays centered. Cure. For the V-french, paint a thin white line starting at the outer corners of the tip and meeting at the center point, forming a clean V. Leave a small gap of nude between the V and the side edges so it looks sharp instead of crowded. Cure, then apply glossy top coat and cap the tip point carefully.
Practice the V on one nail first — the center point is where most people wobble.
Avoid wide V-french lines — they thicken the look and chips show faster.
7. Nude Rosé Cat Eye with Two-Tone French Tips
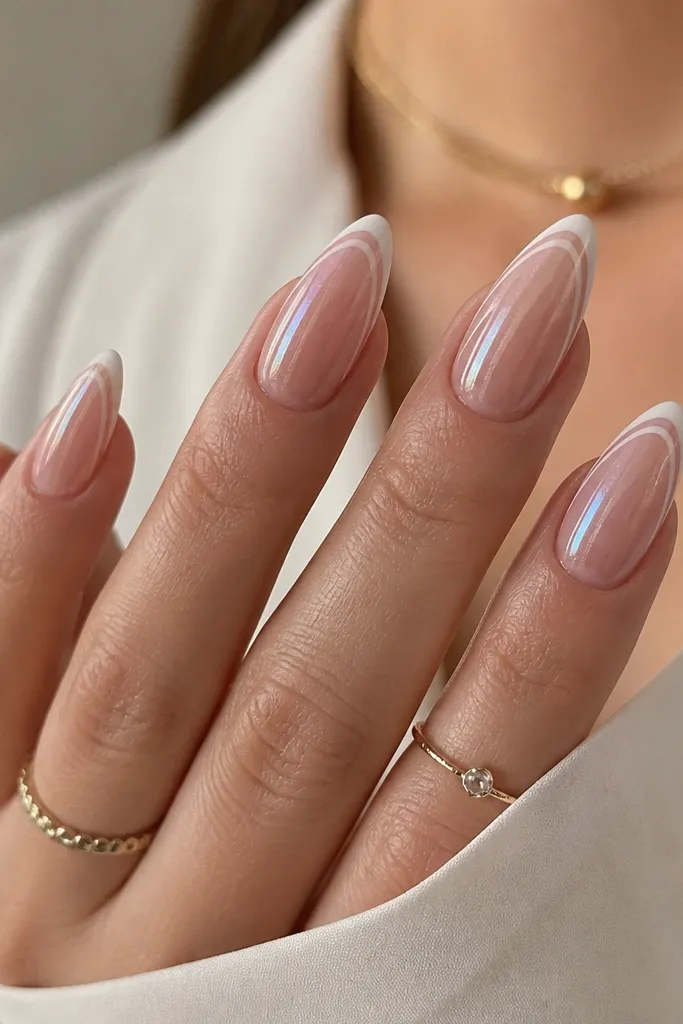
This is my go-to when someone wants cat eye but hates loud colors. The nude rosé base looks natural, and the fine pink stripe gives that 'my nails look smooth' effect in photos. Two-tone french tips make the edge look designed even when you’re not adding art. It’s flattering on all skin tones because the base stays close to natural, and the white outer edge gives structure.
Paint nude rosé cat-eye gel and magnetize for a thin stripe that sits dead-center. Cure. Then paint a pale pink french band first, about 1 mm from the tip edge inward, leaving the very outer edge bare. Cure. Add a second thin white line right at the outer edge to create the 'frame' effect. Cure again, then top coat glossy and seal the free edge.
Keep the pale pink band slightly translucent — it reads softer and grows out cleaner.
Avoid painting both tones thick — a chunky edge turns low maintenance into constant touch-ups.
8. Ocean Teal Cat Eye with White Side French Lines
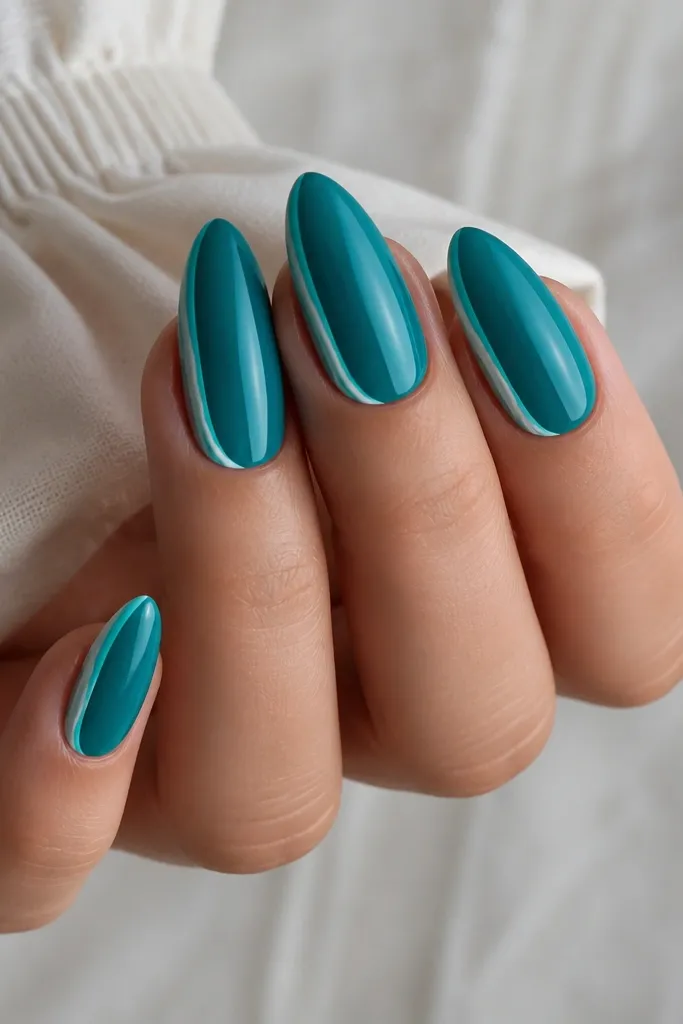
Side french lines are sneaky-low-maintenance. Chips happen at the tip, but side lines stay looking intentional even if the very end wears down. Ocean teal cat eye gives a bright aqua stripe that looks great with summer outfits and silver jewelry. This works especially well on medium to long nails, but you can also do it on shorter nails if the side lines are thin and start higher up.
Apply ocean teal cat-eye gel and magnetize so the stripe is strong and centered. Cure. Use white gel to draw two thin side lines that start about 1-2 mm below the tip on each side and taper slightly as they reach the edge. Keep the lines symmetrical nail-to-nail. Cure, then top coat glossy and cap the tip lightly so the side lines stay crisp.
Editor's noteUse the nail’s natural sidewall curve as your guide so the lines follow your shape.
Skip thisAvoid starting the side lines too low — they get eaten by tip wear and look messy.
9. Burgundy Cat Eye with Matte French Edge and Glossy Stripe
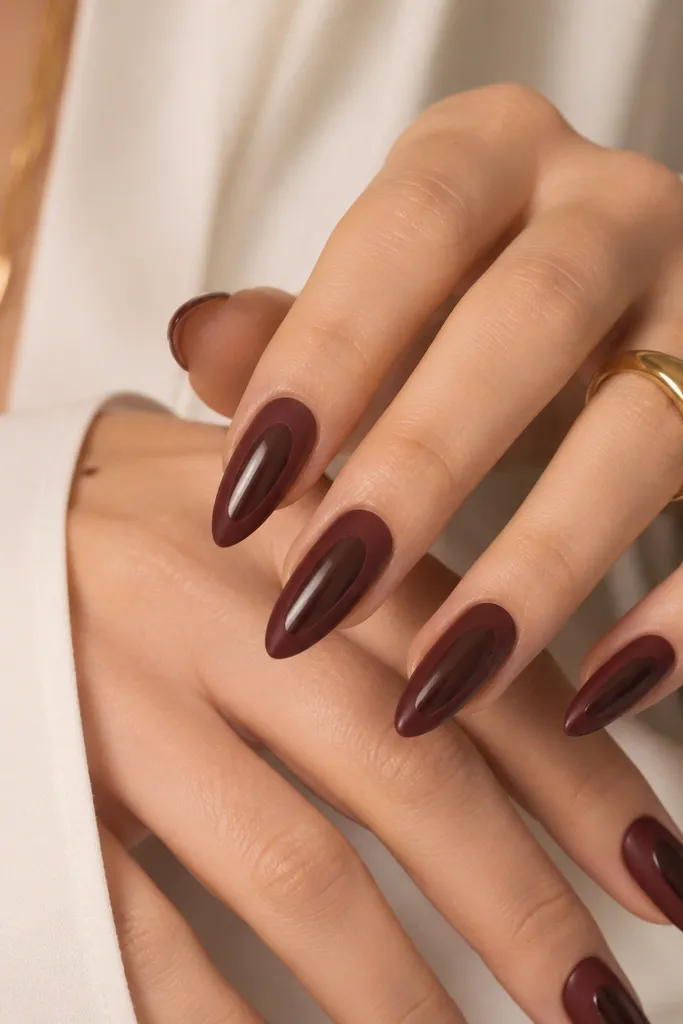
This one looks like salon work because the texture contrast is the whole point. Burgundy cat eye is rich without being too bright, and the stripe catches light even when the tips are matte. Matte french edges hide small imperfections because texture is forgiving — the boundary looks softer. It’s flattering on hands with shorter nail beds because matte draws attention to shape, not length.
Paint burgundy cat-eye gel and magnetize for a strong wine stripe. Cure. Add a french tip by painting a thin matte-friendly wine layer at the outer edge only, keeping it about 1 mm wide. Cure. Now do your finish in two parts: apply glossy top coat only over the cat-eye stripe area and then apply matte top coat over the french edge. Cure both finishes per the product directions.
Editor's noteBrush the matte top coat only on the tip area, then stop — dragging it over the stripe kills the contrast.
Skip thisAvoid full matte over the entire nail — you lose the cat eye effect and it looks flat.
10. Soft Black Cat Eye with Silver French Outline
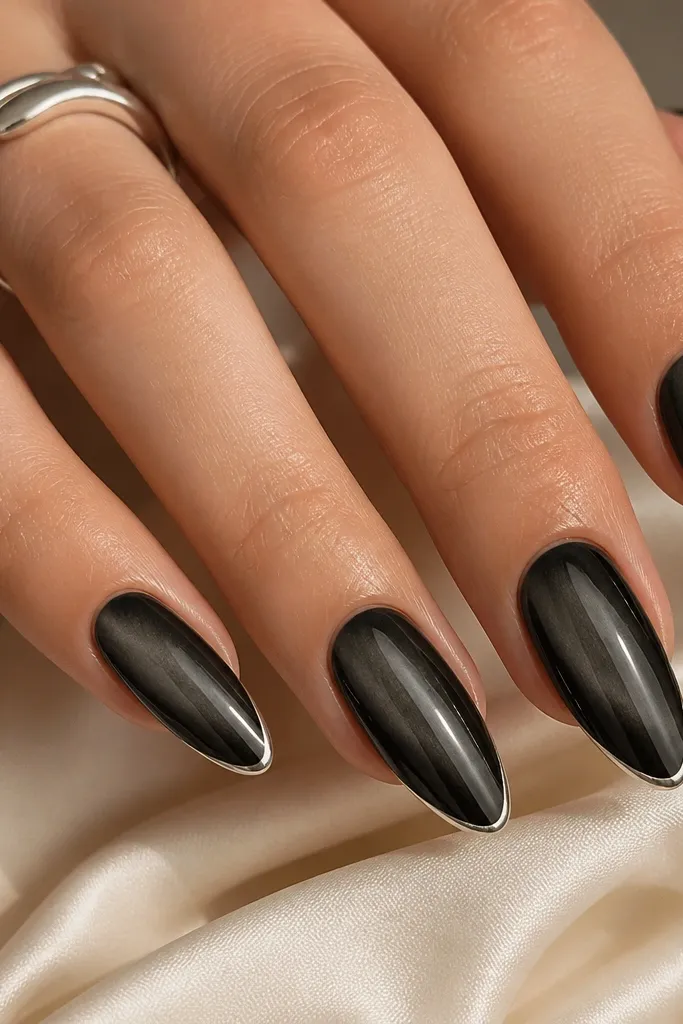
Soft black cat eye looks sleek, and the graphite stripe is easier to pull off than bright blues or greens. The silver french outline is the low maintenance magic because there’s no thick white area to chip. This style looks great on cool-toned skin and also on warm-toned hands if you wear silver jewelry, because the outline matches that metal. It’s my pick for everyday wear when you still want the 'wow' from the magnetic stripe.
Apply soft black cat-eye gel and magnetize so the stripe is smoky and centered. Cure. For the french, use silver gel and paint only an outline along the outer edge of the tip — keep it thin like a line drawn with a marker. Do not fill the tip; leave the center nude/black so it stays airy. Cure, then seal with a glossy top coat that smooths the outline and caps the free edge.
If the silver line looks thick, wipe your brush and go back with a lighter touch instead of adding more product.
Avoid metallic powder on top of cat eye without gel top coat — it can lift at the edges.