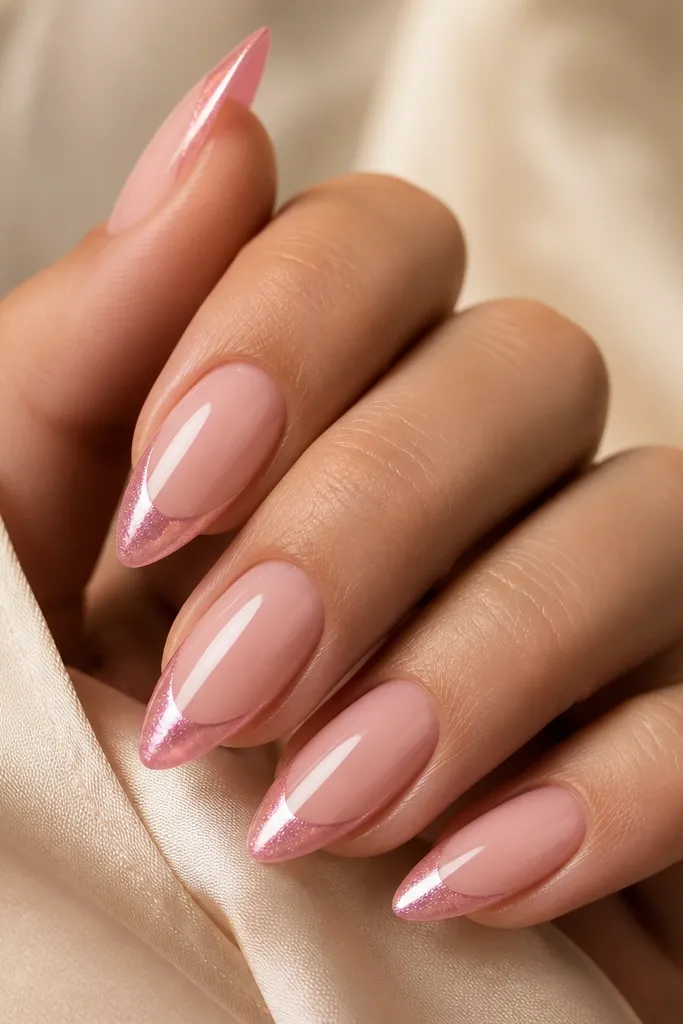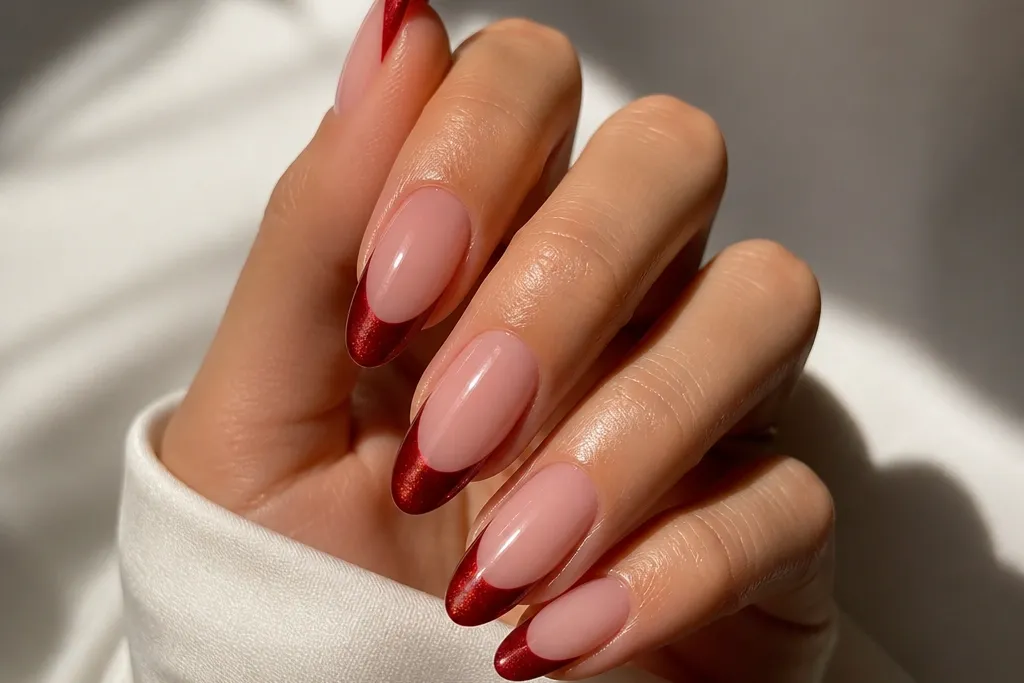
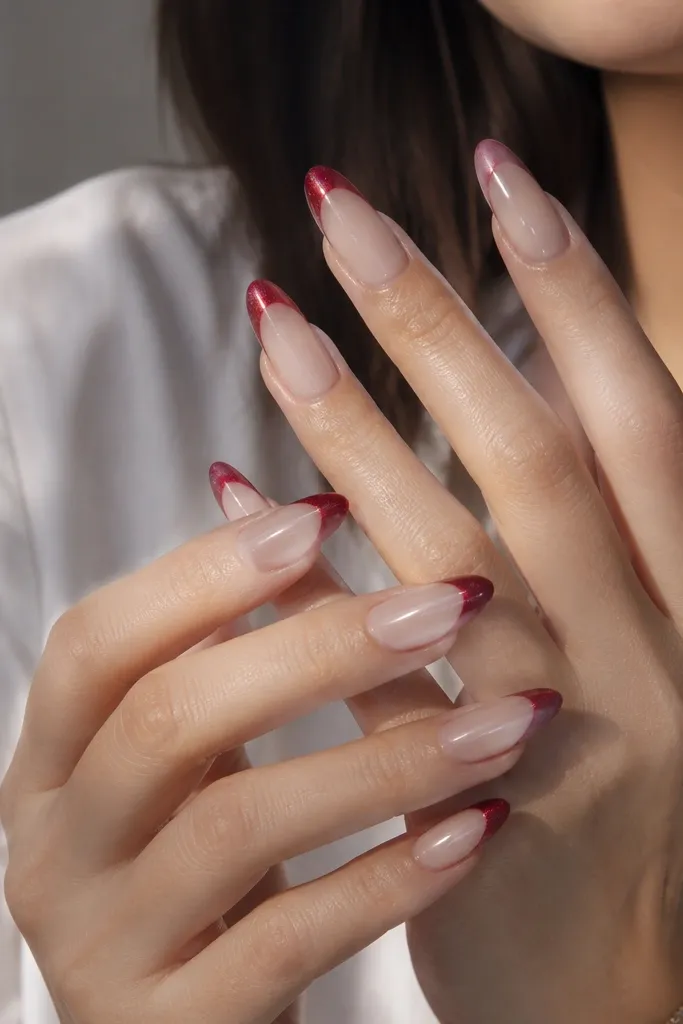
1. Cozy Cherry Cat-Eye French Tips with Milky Rose Base
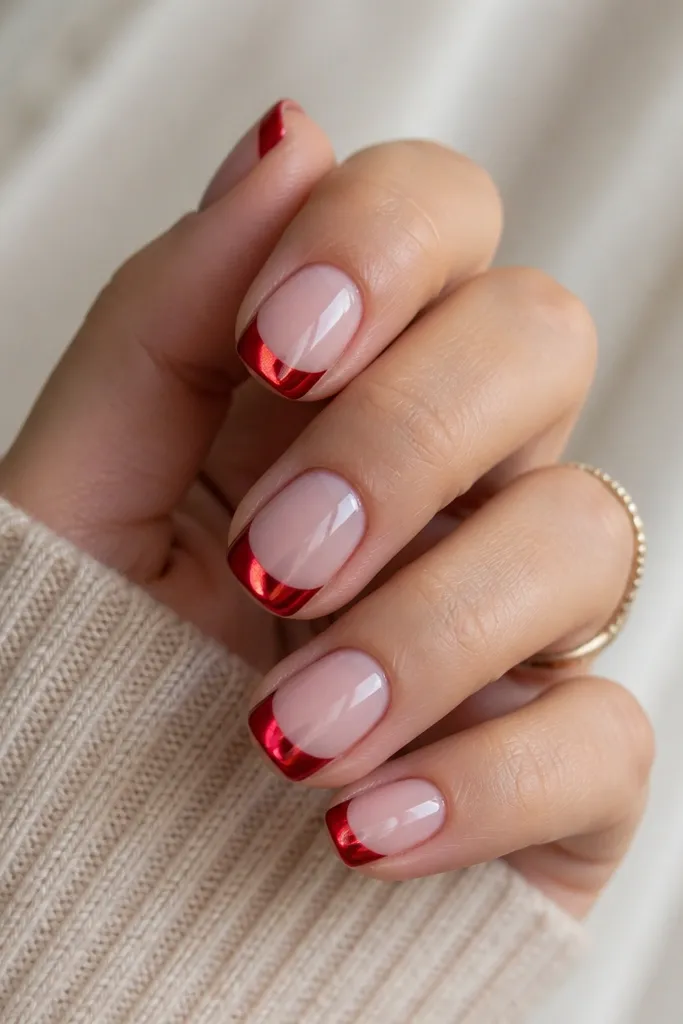
This set is the one I reach for when I want red that feels warm instead of loud. The milky rose base looks soft against the skin, and it makes the cherry cat-eye stripe look brighter because it has a pale background to reflect off. The French line is a smooth curve, not a thick band, so the nails look neat even when they’re short. It flatters most skin tones, especially fair to light-medium, because the cherry stays crisp rather than turning muddy indoors.
Start by prepping the nails and applying a milky rose base coat in a thin layer. Cure, then place French tips: use a thin nail art brush to sketch the curve where the tip starts, then fill the red only inside that guide. Apply a red cat-eye polish over the tip area, then immediately hold the magnet straight over the center of each nail for 10 to 20 seconds. Finish with a high-gloss top coat in a thin sweep from base to tip so the cat-eye stripe stays sharp. Keep the tip width around 2-3 mm on short nails so the stripe looks centered.
If the stripe looks fuzzy, your magnet was pulled too late. Practice on one nail and watch for the shimmer tightening before you magnetize.
Avoid thick base layers — they make the French edge look bumpy after top coat.
2. Wine Red Cat-Eye French with Sheer Nude Half-Moon Fade
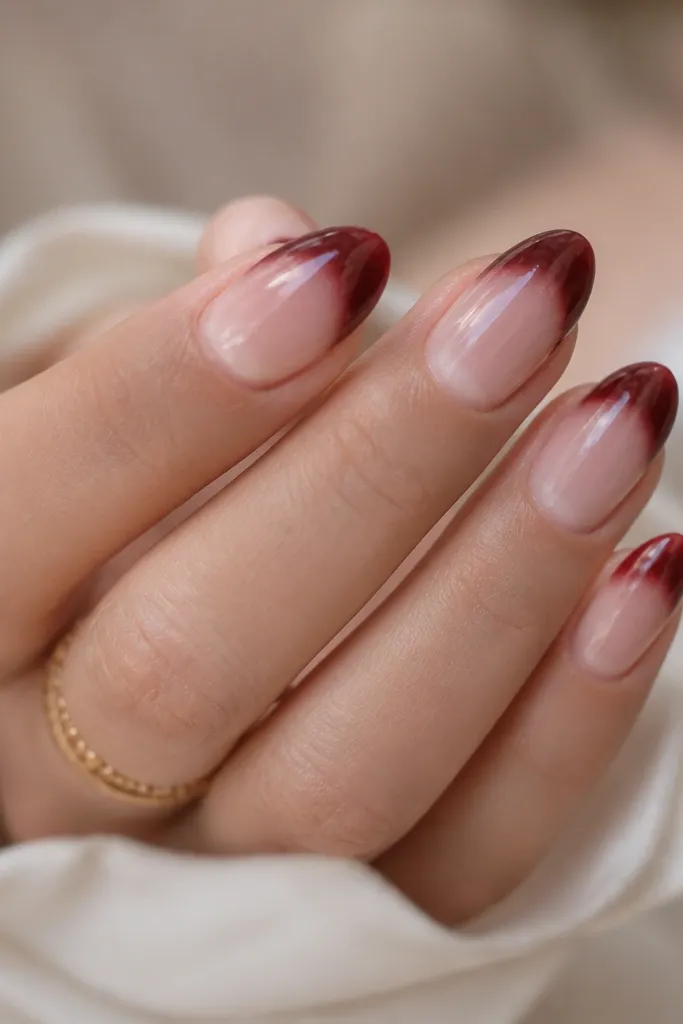
Wine red looks expensive fast, and the cat-eye stripe gives it that “glossy liquid” look. The sheer nude base keeps it cozy because the nail still looks like your nail color, just upgraded. I like the half-moon fade effect because it gives a little depth at the cuticle without adding extra designs. This set flatters medium to deep skin tones especially well, because wine stays readable and doesn’t look flat in warm lighting.
Apply a sheer nude builder base or sheer polish, then cure. For the French, start your wine tip about 1-2 mm above the natural nail edge line so it doesn’t look like a thick cap. Use a damp sponge or a small liner brush to soften the French boundary slightly — you want a gentle fade, not a full ombre. Paint the wine cat-eye polish on the tip only, magnetize with the stripe centered, and hold the magnet steady for about 15 seconds. Seal with a glossy top coat, focusing extra on the free edge so it stays smooth.
Use a smaller magnet head if your stripe is too wide; you want a narrow beam down the center.
Don’t blend the French boundary all the way into the cuticle — it turns into a muddy ombre.
3. Brick Red Cat-Eye French Tips with Warm Nude Base
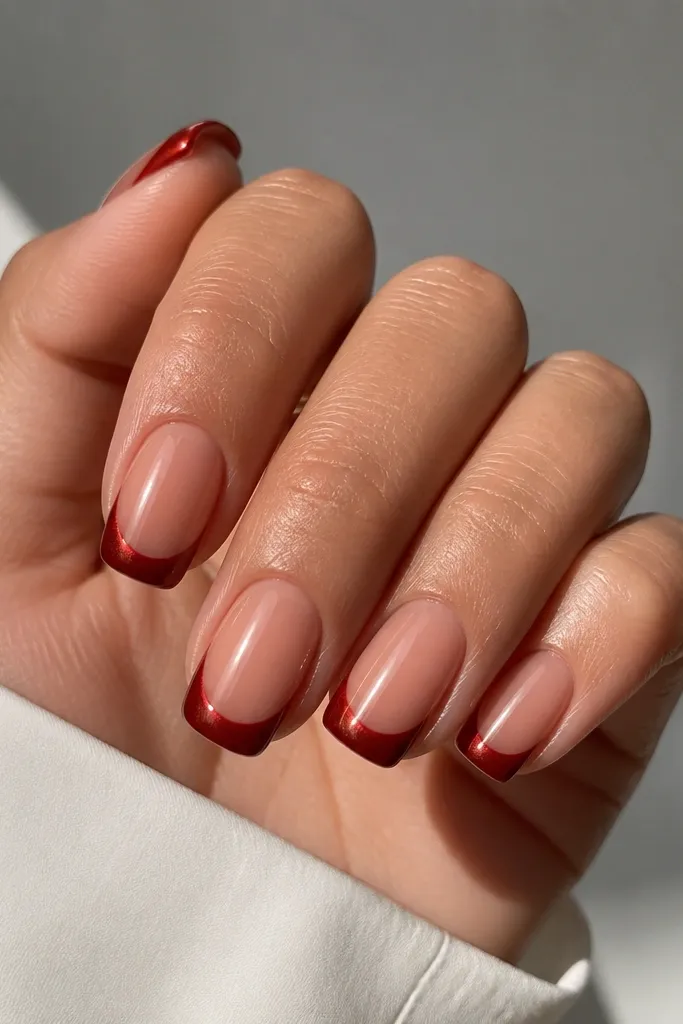
Start with a warm nude base and cure. Map your French tips with tape or a French guide strip so the curve matches on every nail. Paint brick red cat-eye polish on the tip area, and keep your brush strokes tight so the stripe forms cleanly. Magnetize right away with the magnet held directly over the center — hold 10-20 seconds until the stripe looks locked in. Finish with two thin layers of top coat if your cat-eye polish is prone to dulling; cure between layers.
Brick red is my go-to for a cozy “fall red” vibe without going too dark. The warm nude base makes it look flattering and wearable, especially on hands with warmer undertones. The cat-eye stripe is narrow here, which keeps the nails looking clean and lengthening rather than busy. This set is great for everyday wear because it still looks polished when the cat-eye shifts under daylight.
Skip thisAvoid using a sheer white base — it can make brick red look rusty instead of cozy.
Editor's noteWhen using guide strips, press only at the edge of the tape so you don’t pull up polish and create a jagged line.
4. Classic Red Cat-Eye French with Clear Jelly Base
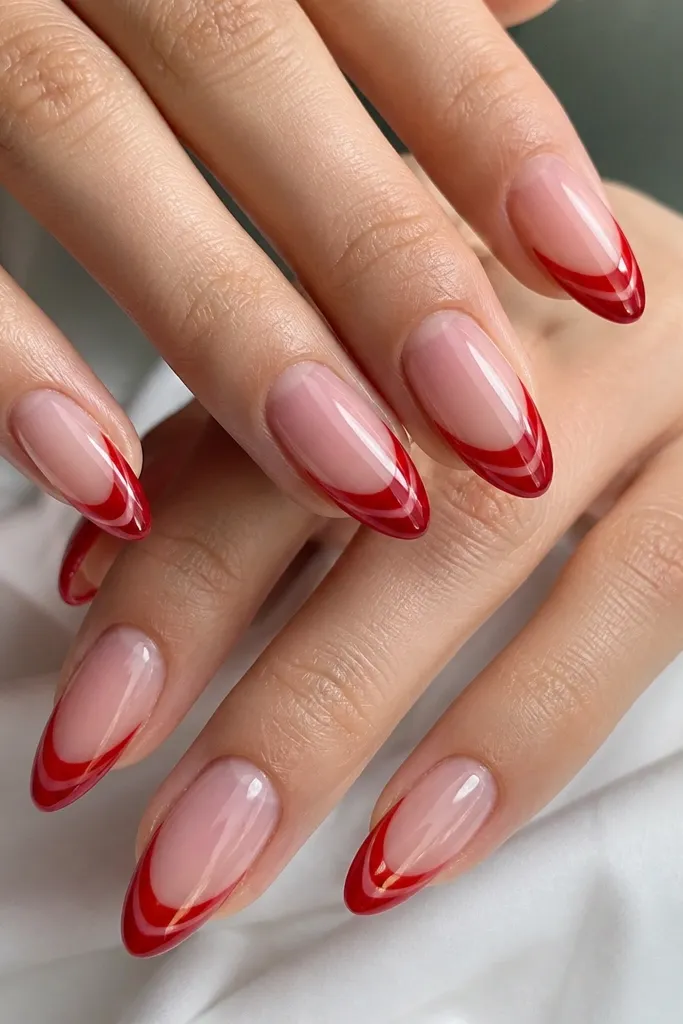
Apply a clear jelly base in thin coats, curing fully so it stays glassy. Place classic French tips by using a liner brush to create the curve, then fill with classic red cat-eye polish. Magnetize each nail after painting the tip, holding the magnet over the center for about 15 seconds. If the stripe shifts too far, wipe the magnet area clean and magnetize again on the next nail — contamination makes stripes wander. Seal with a gel top coat, and cap the free edge so the tip doesn’t chip at the edge.
A jelly base makes the whole set feel fresh and cozy because it looks like your nails, just glossy and smooth. The classic red is clean and straightforward, and the cat-eye stripe adds that “spark caught in glass” effect. Almond nails show off this stripe best because the vertical beam elongates the nail. This looks flattering on most skin tones, and it’s especially good if your nails are naturally thin — jelly bases visually strengthen without heaviness.
Skip thisDon’t overwork the red while it’s wet; extra brush strokes blur the stripe.
Editor's noteUse a lint-free wipe after curing the jelly to remove any tacky haze so the red boundary stays crisp.
5. Deep Scarlet Cat-Eye French with Nude Pink Cuticle Frame
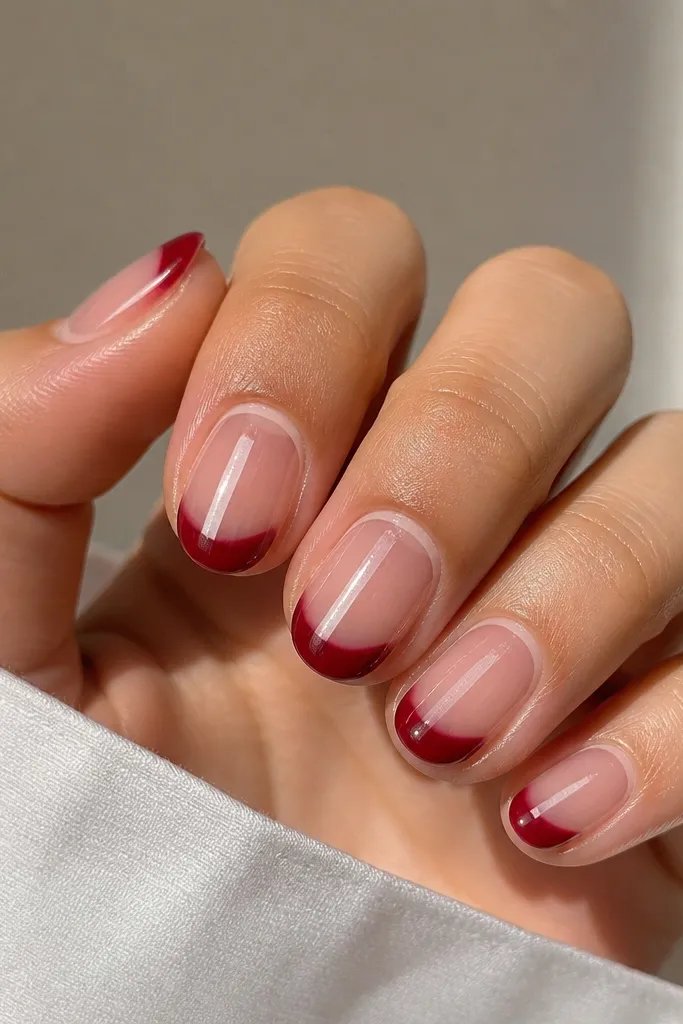
Start with a sheer nude base, leaving the cuticle area slightly clearer. With a nude pink polish, paint a thin crescent around the cuticle — about 1 mm wide — and cure. Then paint deep scarlet French tips on the upper third of the nail, keeping the curve smooth. Apply deep scarlet cat-eye polish only on the tip, magnetize straight down the center for 10-20 seconds, and avoid touching the stripe area with your brush. Finish with top coat, but keep it thin so the cat-eye line stays crisp.
This one looks cozy because it frames the cuticle instead of painting the whole base opaque. The deep scarlet tip gives drama, but the nude pink frame keeps it soft and wearable. I like it on short rounds because the cuticle frame visually lifts the nail and makes the French curve look intentional. It flatters hands where the nail bed is shorter because the frame draws attention upward, while the cat-eye stripe adds vertical focus.
Skip thisAvoid painting the cuticle frame too thick; it can look like a band-aid.
Editor's noteIf your cuticle frame looks uneven, use a tiny amount of polish on the brush and drag it in one direction only.
6. Red Chrome Cat-Eye French with Rose Quartz Base
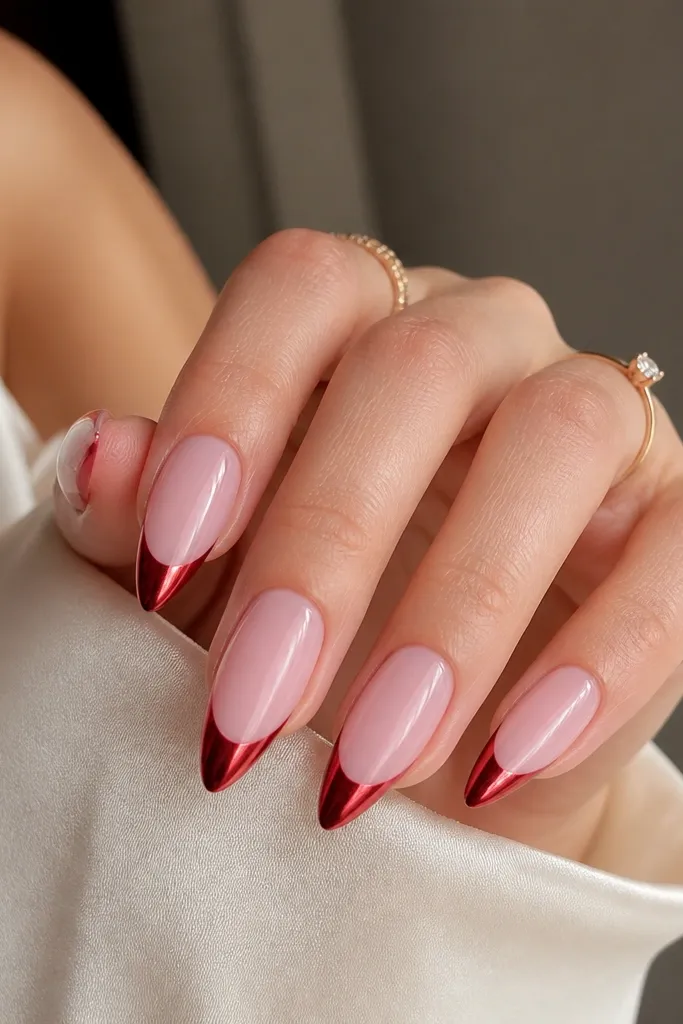
Apply a rose quartz milky base and cure. Map a French curve that takes up about 1/4 of the nail length, then paint red chrome cat-eye polish on just that tip area. Magnetize with steady pressure straight over the center; hold for 10-15 seconds so the chrome beam stays narrow. Let it level for a minute before top coat so you don’t smear the metallic. Use a smooth, non-wrinkling gel top coat and cap the edges carefully, especially on stilettos.
Chrome cat-eye is the “special occasion but still cozy” option. The rose quartz base softens the metallic punch so it doesn’t look like straight-up disco. On stiletto nails, the centered chrome beam pulls the eye lengthwise, so your fingers look slimmer in photos. This set is best for fair to medium skin tones because the rose base keeps the red warm rather than harsh.
Skip thisAvoid matte top coat; chrome cat-eye needs gloss to read as a beam.
Editor's noteUse a magnet that’s clean and dry — chrome cat-eye is sensitive and can dull if the magnet has residue.
7. Cranberry Red Cat-Eye French with Peachy Nude Base and Micro-Gloss
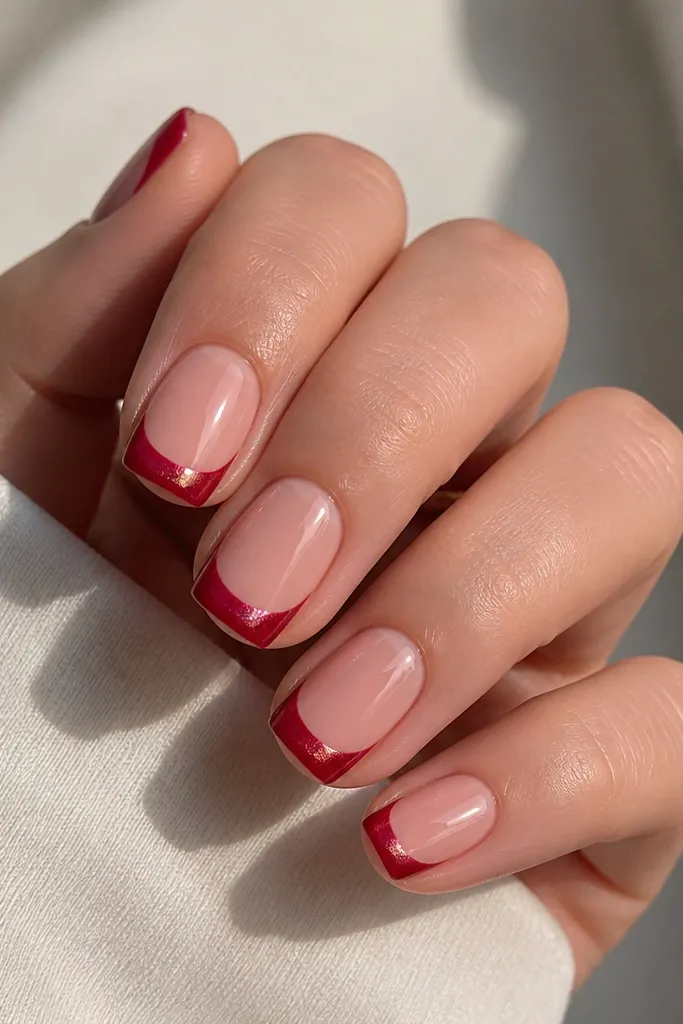
Cranberry red sits in that sweet spot between classic red and wine, and it reads cozy because it’s not neon. The peachy nude base adds warmth that makes cranberry look like it belongs to your skin. The key here is the micro-gloss finish: the nails look smooth and “just done,” not thick or rubbery. This set works well if you want cat-eye that still looks elegant at the office and in daylight.
Start with a peachy nude base, cure, then do a thin line guide for the French tips. Keep the guide line slightly thinner than you think — about 1 mm — so the filled red doesn’t overtake the nail. Paint cranberry cat-eye polish on the tip only, then magnetize centered and hold for about 15 seconds. After cure, apply a single thin top coat layer first, cure, then do a second thin gloss layer if the surface feels bumpy. Make sure the tip edges are capped so the cranberry stays intact longer.
If the French line looks too thick, clean the edge with a small brush dipped in remover right after magnetizing.
Don’t apply top coat too early; it can flatten the stripe look.
8. Cherry Red Cat-Eye French with Negative Space Side Stripes
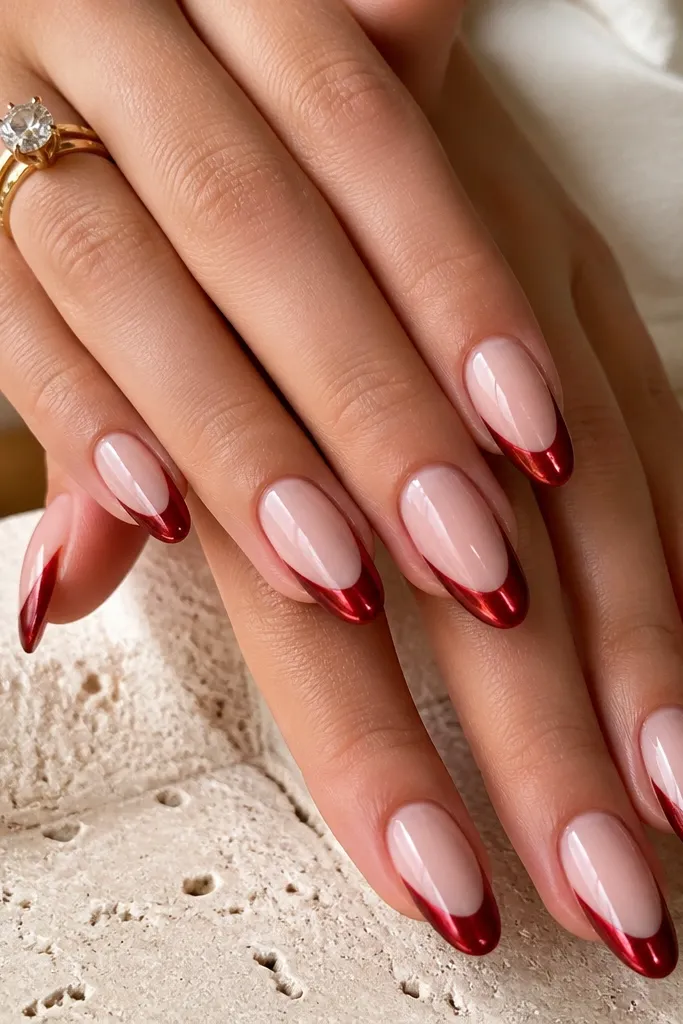
Negative space makes this set look modern and still cozy because the nude areas soften the red. The cat-eye stripe stays the hero, and the side negative gaps create a slimming effect on the nail shape. I like this for medium almonds because the negative space keeps the design from feeling heavy. It flatters a wide range of skin tones since the main color stays cherry red, while the nude balances it.
Apply a milky nude base and cure. Use striping tape to create two thin negative gaps on each side near the French curve — about 1 mm wide. Paint cherry red cat-eye polish across the tip area between the tape edges, then magnetize with the magnet held over the center for 10-20 seconds. Remove the tape while the polish is still slightly tacky so the edges stay crisp. Seal with top coat, making sure it flows over the French curve without flooding into the negative space.
Press tape down lightly and remove it slowly — pulling fast can lift gel and create jagged lines.
Avoid thick negative gaps; they make the French look like it’s missing polish.
9. Red Cat-Eye French with Satin Matte Nude Base and Glossy Tips
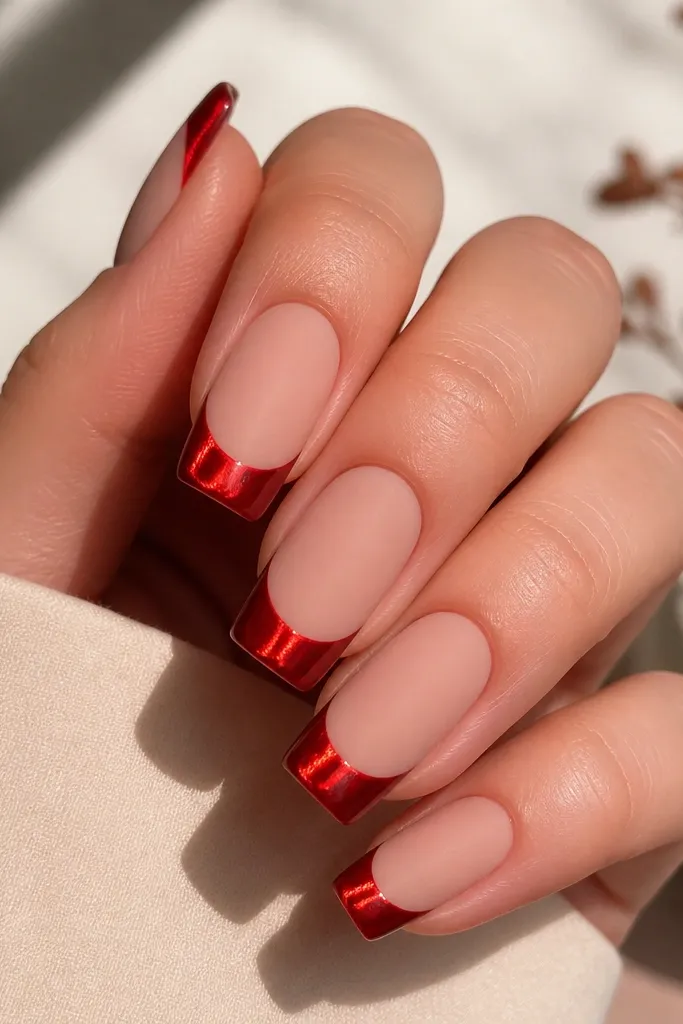
This combo feels cozy because matte nude tones down the shine, then the glossy cat-eye tips bring the drama back where you want it. The red reads rich without looking too shiny on the base, and the cat-eye stripe still pops because it’s on the glossy surface. Coffin nails work well because the shape gives enough nail real estate for the French curve to sit cleanly. This is a great choice if you want something different from the usual all-gloss set.
Start with a satin matte nude base, cure it, then do French tips by painting a clean red cat-eye curve only on the upper third. Magnetize the cat-eye stripe centered for 10-20 seconds right after application. Skip matte top coat on the red — use glossy top coat only on the tips and seal the free edge. If you want extra contrast, apply matte top coat to the nude base after curing the red, keeping the matte away from the French area. Check your stripe after the glossy top coat; it should look like a smooth beam, not a grainy shimmer.
Use two top coats: matte on nude, glossy on tips. Mixing them blurs the contrast.
Avoid brushing glossy top coat over the matte base — it turns shiny patches.
10. Classic Red Cat-Eye French with Gold Micro-Line Accent
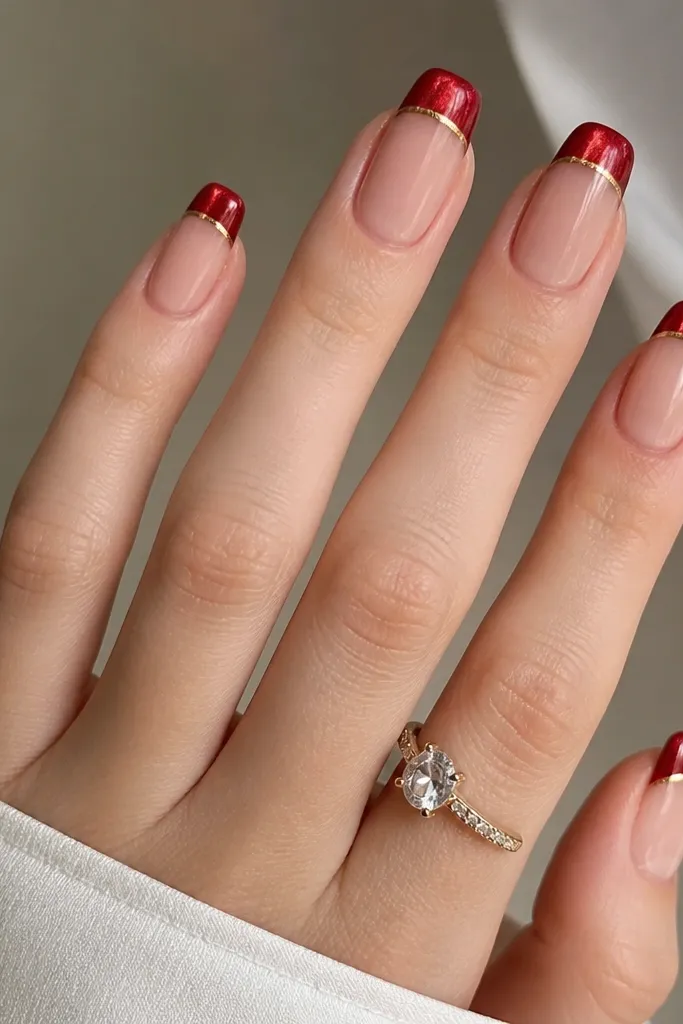
Apply a sheer nude base and cure. Paint classic red cat-eye French tips, magnetize centered for 10-20 seconds, then cure. With a fine liner brush, draw a single thin gold line exactly where the French boundary meets the nude — do not drag it into the red too much. Seal with top coat, but brush gently along the gold line so it stays crisp. Keep the gold line thickness like a hair strand so it reads as micro-detail, not a chunky stripe.
Gold micro-line detail makes the French boundary look intentional, and it keeps the set cozy by staying minimal. The classic red cat-eye stripe is still the main attraction, and the gold line gives a warm highlight that looks great in fall and winter lighting. I like this on medium squovals because the boundary line visually cleans up the curve. It flatters most skin tones, especially if you wear gold jewelry since the warm tones match.
Skip thisAvoid thick gold lines; they make the set look like nail wrap stickers.
Editor's noteIf you mess up the gold line, wipe the liner brush and fix the line before top coat. Once top coat is on, it’s harder to clean edges.