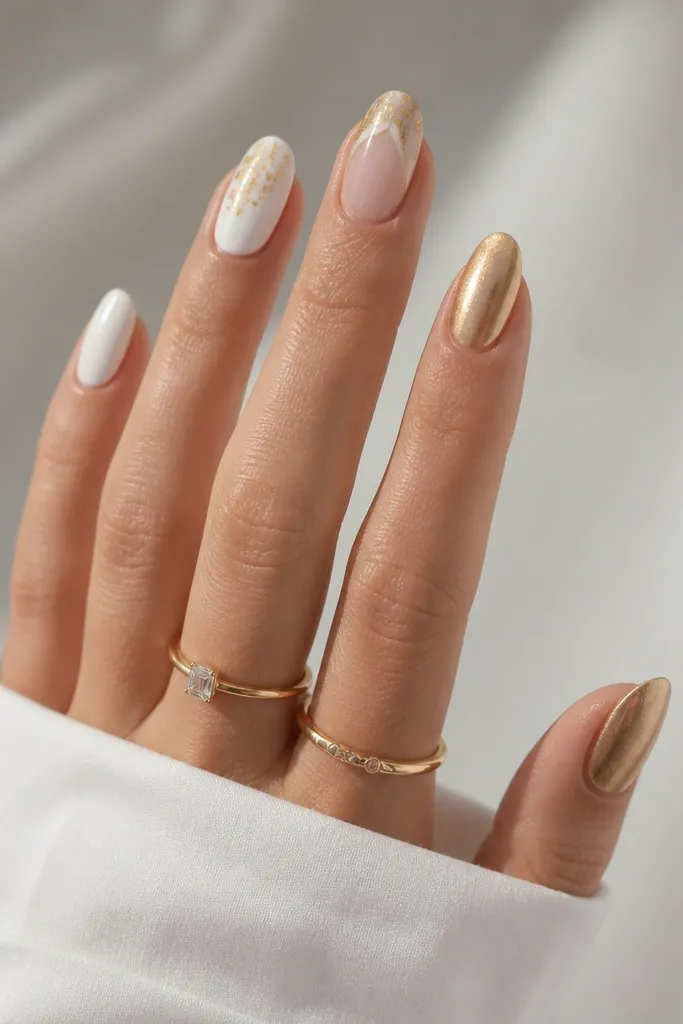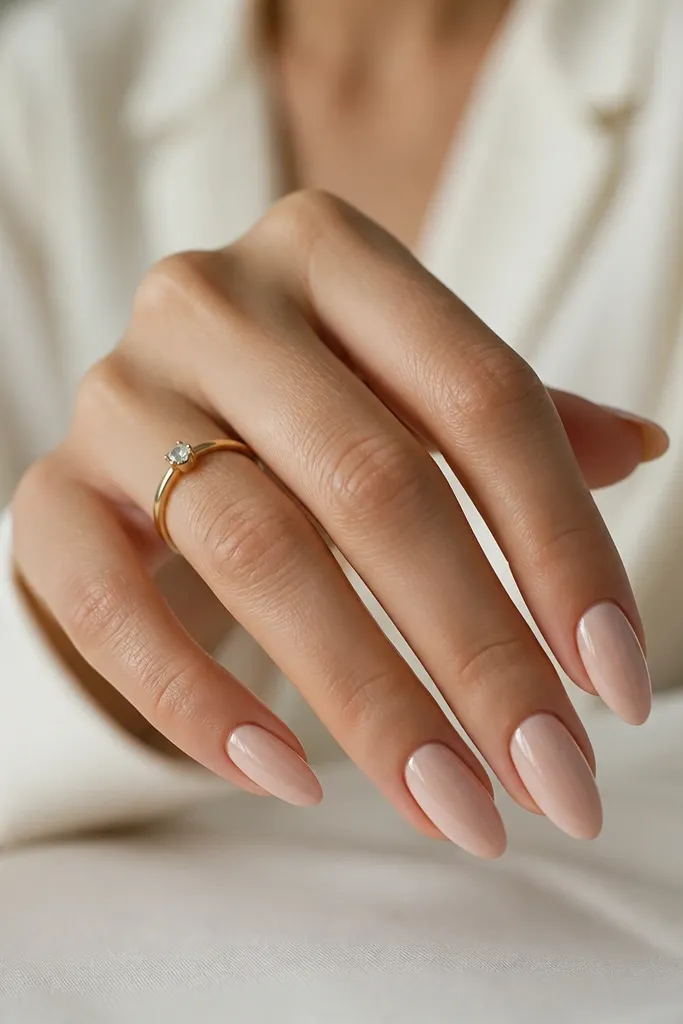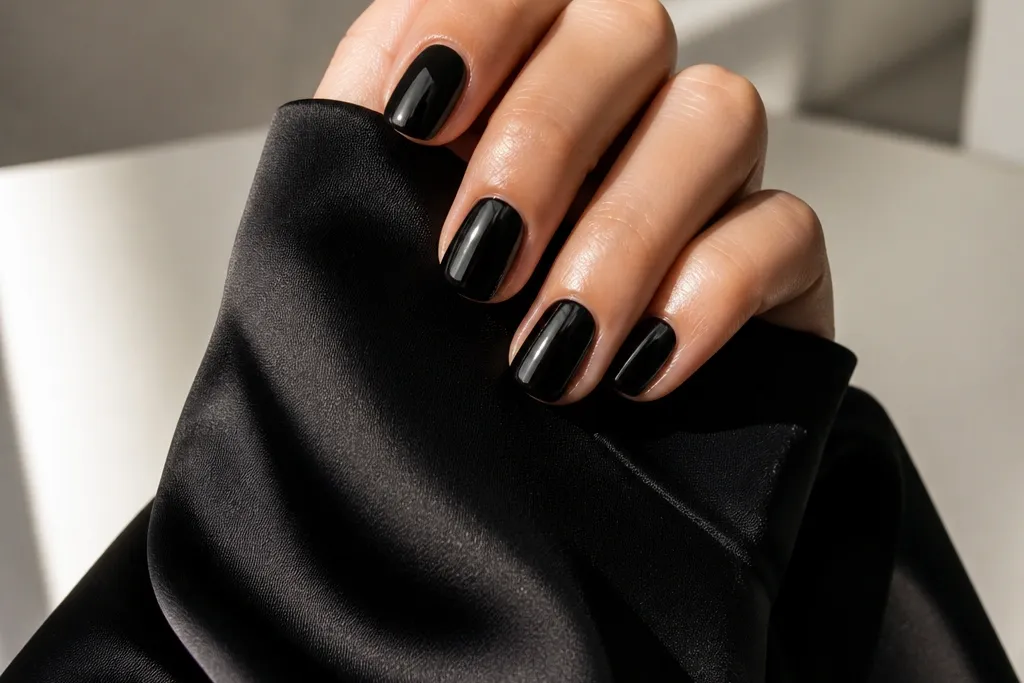
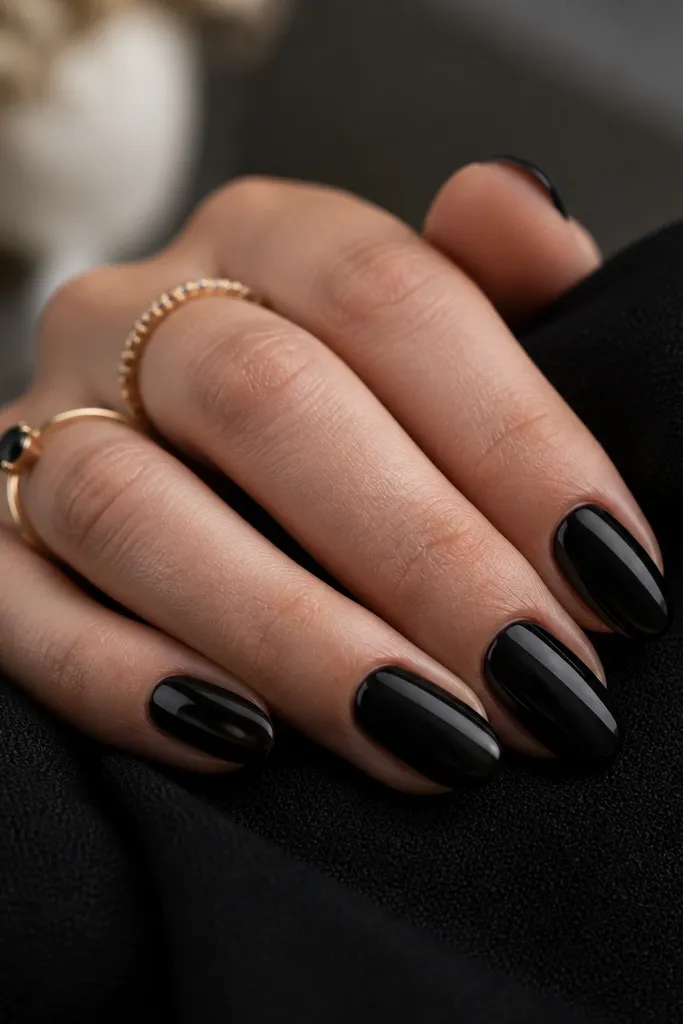
1. Glossy Black Squoval with Micro-Gold Cuticle Crescent
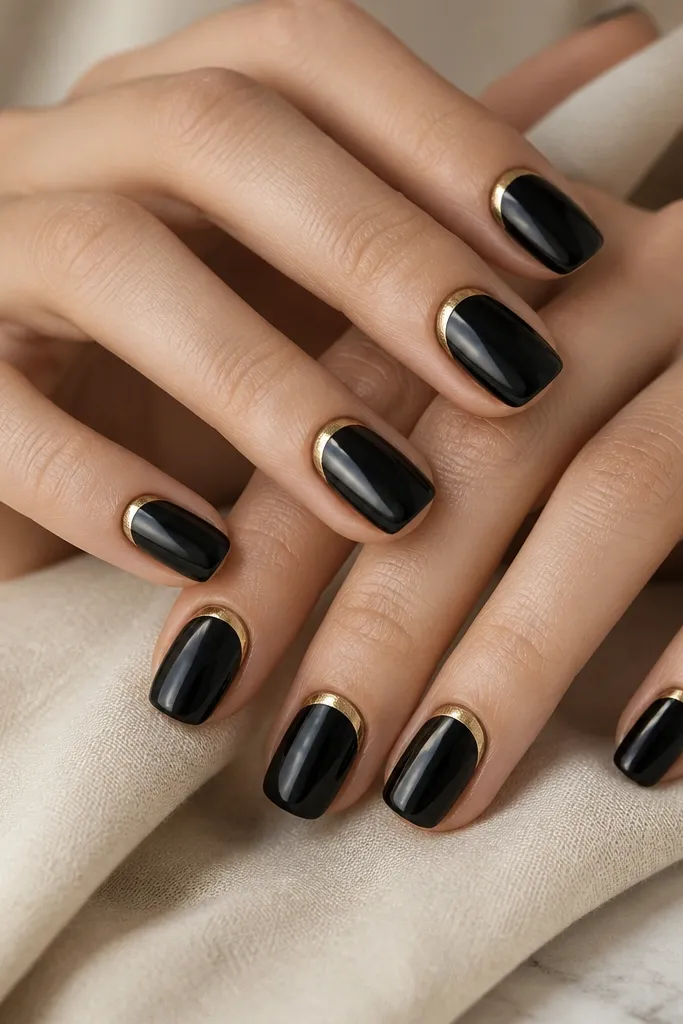
I love this one because it makes black feel intentional instead of heavy. The nails are squoval, so the sides soften and the glossy surface catches light — that combo makes black look neat on shorter beds. The gold crescent is tiny and placed right where the cuticle meets the nail, which visually lifts the whole hand. This is perfect for warm or neutral skin tones, and it also works if you wear gold jewelry a lot. You get a “luxury” vibe with one small detail, and you keep the rest clean.
Editor's noteUse a makeup sponge to lightly pat gold tape placement — it helps the tape sit flat without bubbles.
Start by pushing back your cuticles and wiping the nail with acetone or nail prep so the black doesn’t lift. Paint two thin coats of opaque black cream, letting each coat dry fully, then seal with a glossy top coat. Cut a small strip of gold striping tape and place it as a half-moon at the cuticle — press it lightly so it follows the nail curve. Carefully remove the tape while it’s still tacky so the edge stays sharp. Finish with one more thin glossy top coat over the gold to lock it in.
Skip thisDon’t run the gold crescent too wide — if it hits the sidewalls, the look turns chunky fast.
2. Black Jelly Almond with Clear Negative-Space Center Line
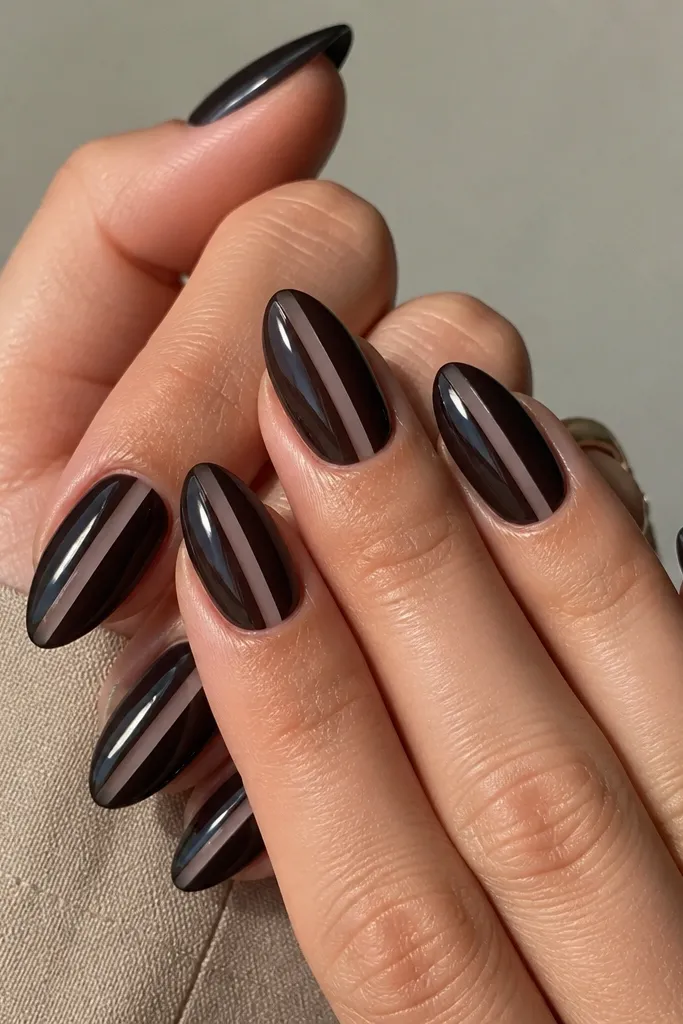
This is the black manicure I use when I want my nails to look longer without adding bulk. The almond shape elongates, and the clear line breaks up the darkness so your nail bed doesn’t disappear into solid black. A jelly black is key here because it stays glossy and dimensional even with thin coats. The negative space line looks best when it’s straight and centered — it flatters most skin tones and looks especially good on hands with shorter nail beds. It also looks clean enough for work but still feels fashion-forward.
Editor's noteIf your line wanders, re-center it with a tiny brush dipped in acetone right after removing the tape.
Start by applying a clear base coat, then place a thin strip of striping tape down the center of each nail. Paint 2-3 thin coats of black jelly, making sure you don’t flood under the tape edges. Let it dry between coats so the jelly doesn’t pool. Remove the tape carefully once the last coat is set but still not fully cured hard. Seal with a thick glossy top coat to smooth the stripe edges and make the whole nail look glassy.
Skip thisSkip thick coats — jelly plus thickness makes the clear stripe look cloudy instead of crisp.
3. Matte Black with Glossy Black Split-Stripe at the Tip
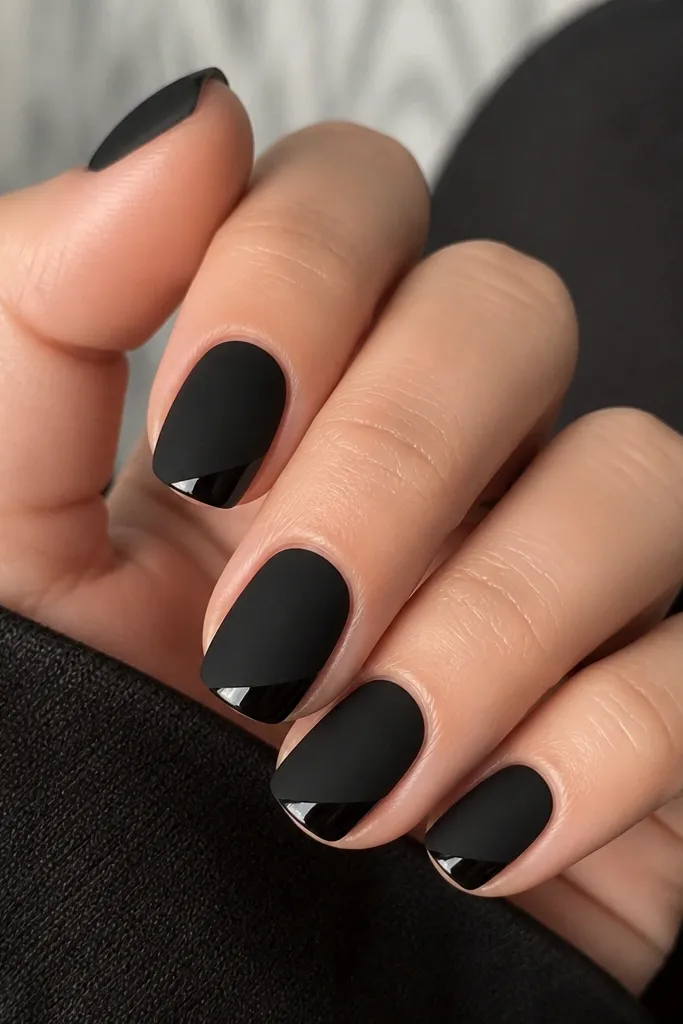
Matte black can look classy or boring depending on the edge detail, and this one fixes it with a glossy tip stripe. The matte finish makes black look designer and hides minor nail texture, which helps if your nails aren’t perfectly smooth. The glossy split stripe adds contrast, and because it sits at the tip, it visually sharpens the shape. I like this for cooler skin tones and for anyone who wears silver jewelry; the contrast looks crisp in photos. It also works for short nails because the design is compact and controlled.
Editor's notePull the tape off in one smooth motion — slow peeling drags matte and makes the line look fuzzy.
Paint two thin coats of opaque black cream, then apply a matte top coat. Let the matte fully set so it doesn’t smear when you work. Use striping tape to create a diagonal section at the tip on each nail — press the tape down firmly along the edge. Paint that taped section with regular glossy black (or just go over with a glossy top coat if your black is already opaque), then remove the tape while it’s tacky. Finish by sealing the whole nail with matte top coat again, leaving only the taped stripe glossy.
Skip thisDon’t put glossy/matte stripes too close to the center — it starts to look like random tape marks.
4. Black Chrome Tips with Clear Glass Base
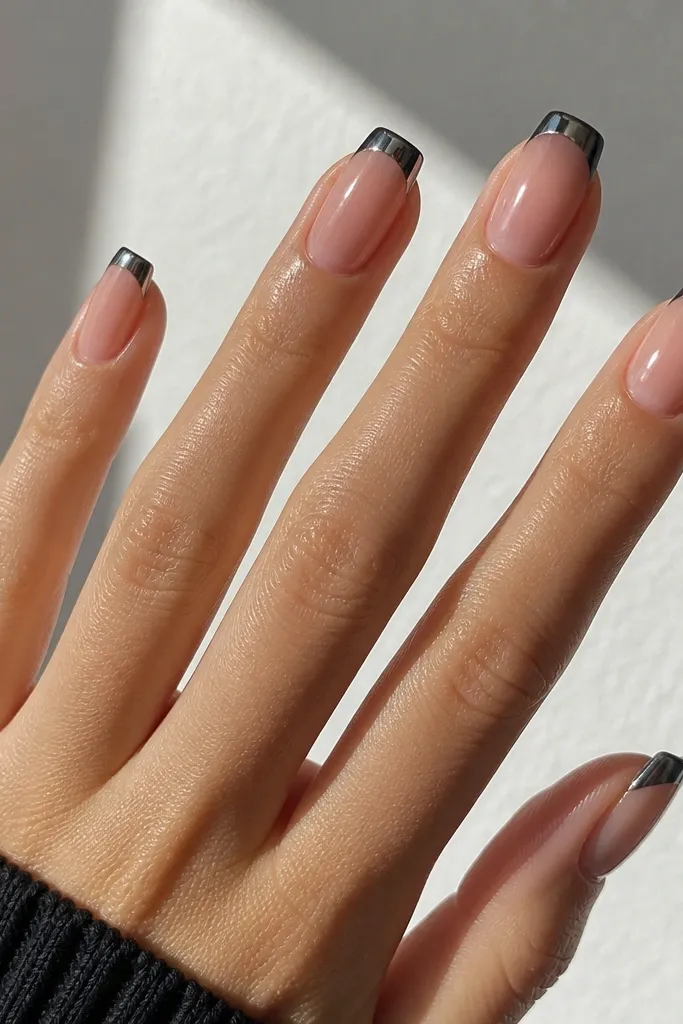
If you want “expensive” without complicated art, black chrome tips are the quickest route. The clear/glass base keeps it light, so black only shows where it matters — at the tip. Chrome reflects like jewelry, and that makes the manicure look polished even if your hands are busy. This flatters many skin tones because the base doesn’t fight with your undertone. I especially like it on shorter nails because the clean tip line visually extends the nail without adding length.
Editor's noteUse a makeup brush for chrome removal — it keeps the shine intact.
Start with a hydrated clear base (clear builder gel or a sheer glossy base coat) and cure it. Create a French guide using a strip of tape — place it so the tip line is slightly above where your free edge ends. Apply black chrome powder over a black tacky layer only at the tip, then buff gently so the chrome turns mirror-smooth. Remove the tape for a crisp edge and wipe away excess with a dry lint-free wipe. Seal with a thin non-smearing top coat that won’t dull chrome.
Skip thisDon’t over-topcoat chrome — heavy top coat kills the mirror effect.
5. Black Lace Accent Using Thin Black Striping Tape
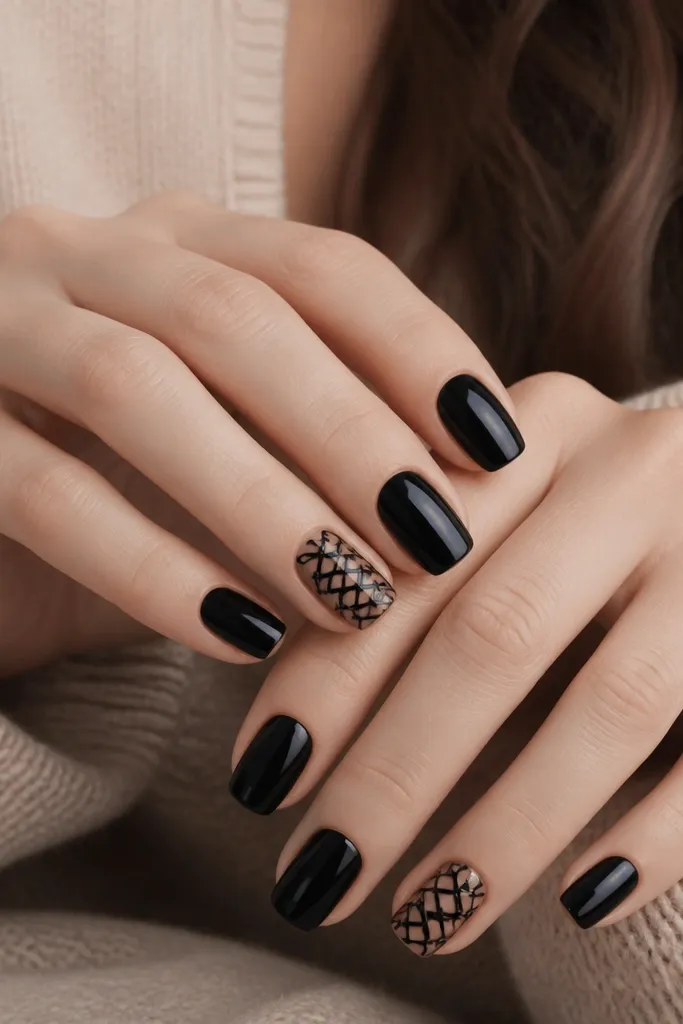
Lace patterns can look delicate or messy, and tape makes it look delicate fast. I do lace only on one or two nails so it stays classy and doesn’t turn costume-y. The lace is built from thin striping tape lines, which gives you consistent spacing and clean corners that freehand can’t match on a budget. This looks best on medium to longer nail beds, but it still works on squoval if you keep the lace small. It flatters both warm and cool skin tones because the pattern is purely black — it reads as texture, not color clash.
Paint all nails with two thin coats of glossy black and cure/dry fully. Pick one accent nail and apply a clear tack layer or a thin glossy base so tape sticks. Use thin striping tape to form a vertical spine down the center, then add short diagonal segments to create small diamonds. Fill in a few loop shapes by making tiny V and X crosses, keeping the pattern within the middle third of the nail. Finish with a glossy top coat, making sure it flows over the tape edges without flooding.
Keep lace lines thicker than you think — super-thin tape can lift at the corners.
Don’t lace the entire nail — full coverage makes black lace look like a smudge.
6. Black Marble with White Micro-Speckles on One Nail
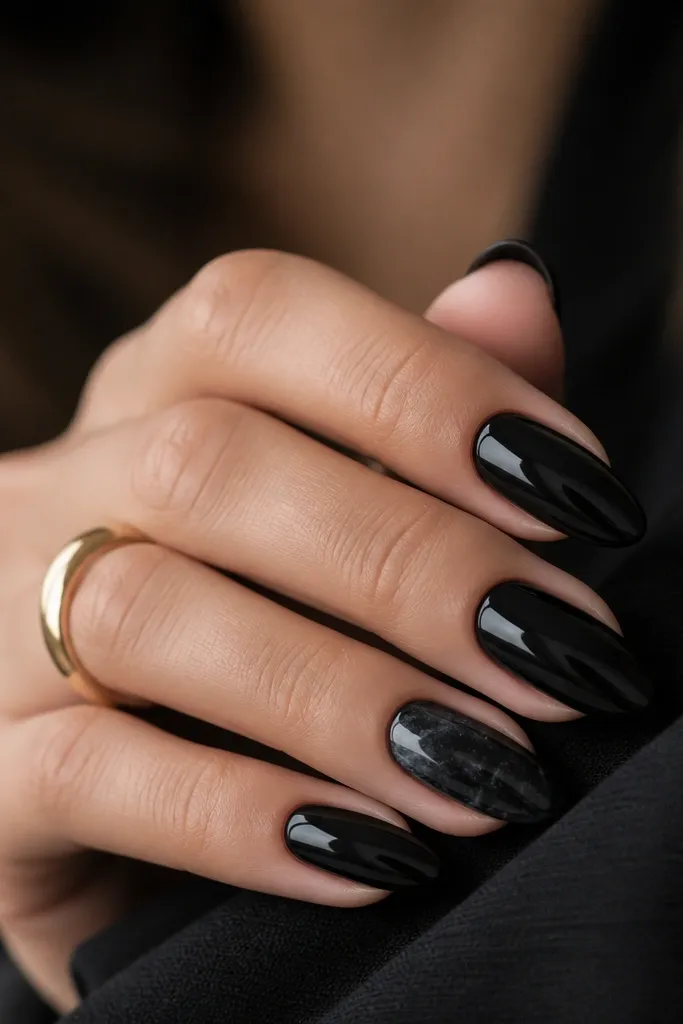
Marble is usually expensive-looking, but the trick is keeping it small and controlled. I only marble one nail because marble has visual weight, and too many marbled nails can feel busy. The speckles add realism and make the marble feel like stone instead of paint splatter. This works on almost any skin tone because you’re using black, grey, and white — no surprise colors. It also holds up well for events and photos because the glossy top coat makes the swirls catch light.
Editor's noteUse toothpick-like pressure for speckles — if you press hard, the dots turn into blobs.
Paint all nails two thin coats of glossy black and cure fully. On the accent nail, apply a base coat of black and then a thin layer of white gel polish in tiny drops. Use a small dot tool or thin brush to drag the white into short swirls, keeping the movement light so you still see black underneath. Add a few micro-speckles by tapping a white dot onto the surface with a very small brush tip. Seal with a thick glossy top coat, then cure/dry until fully clear and smooth.
Skip thisSkip over-mixing — too many passes blend marble into flat grey.
7. Black and Silver Foil Half-Moon at the Sidewalls
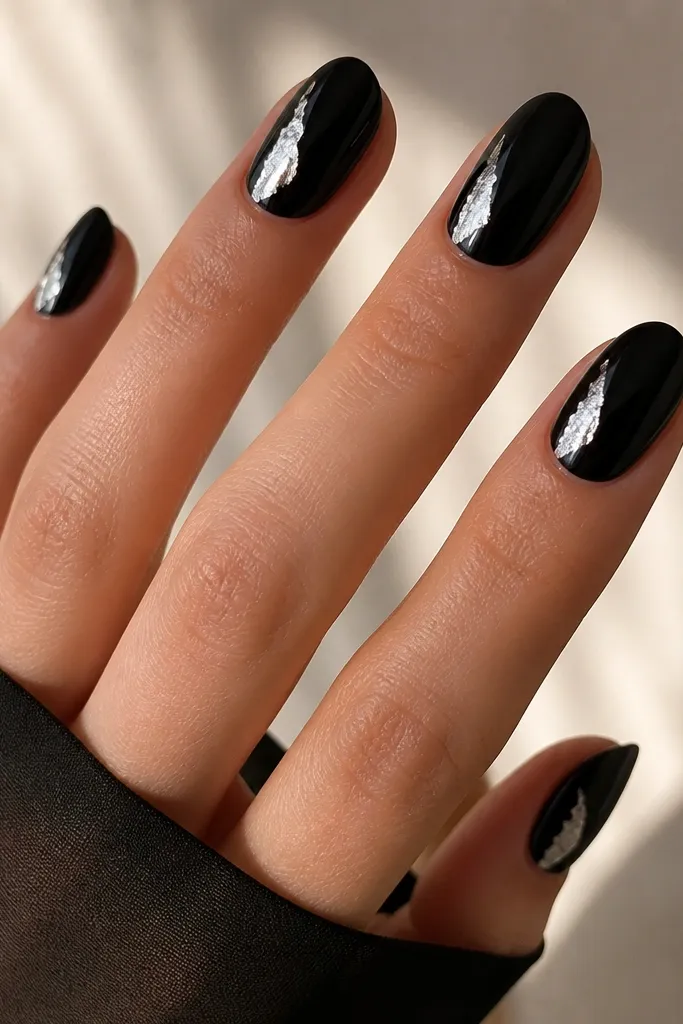
Sidewall placement looks more modern than a cuticle half-moon, and it’s why I keep coming back to this. Silver foil against black gives a jewelry-like flash without needing gems. The half-moon shape on the side creates a slimming effect, so the nail looks more elegant and less wide. This flatters hands with broader nail beds because it pulls attention to the center. It’s also great for nights out since foil reads bright under flash.
Start with two thin coats of glossy black and cure/dry. Lightly buff the surface so foil grips, then apply a small amount of foil adhesive or tacky layer to the sidewall area where you want the half-moon. Rip silver foil into small irregular pieces, then press gently at the adhesive spot, shaping the foil into a curved half-moon. Tap off excess with a dry brush so the edge stays clean. Finish with a glossy top coat only over the foil area so you don’t smear it and dull the reflections.
Position the foil slightly higher than mid-nail; it makes the hand look more lifted.
Don’t cover the whole sidewall — full foil makes black look like it’s peeling.
8. Black Gradient Fade with Clear Tips (Reverse Ombre)
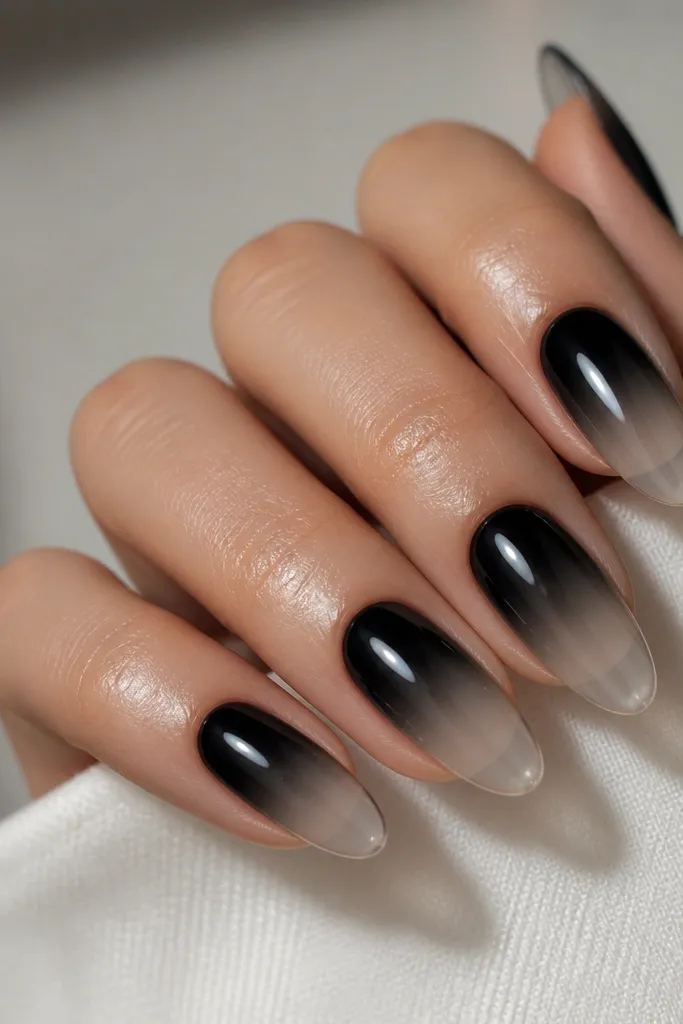
This is a black manicure that feels light instead of heavy, because the darkest part is near the cuticle and the tip stays clear. The gradient creates dimension, and clear tips make your nails look longer. I do this most when I’m wearing black outfits but don’t want my nails to look too intense. It works across skin tones because it follows the natural nail shape — no big blocks of color. If your nails are short, reverse ombre is the easiest way to keep them looking airy.
Apply a clear base coat and cure/dry. Sponge a small amount of black gel polish near the cuticle, then blend it downward with a makeup sponge using light dabs. Keep the sponge work close to the cuticle and stop before the last third of the nail so the tip stays clear. Add one more thin black layer if you want more depth, then cure fully. Seal with a glossy top coat that levels the gradient so it looks smooth, not speckled.
Use a fresh sponge section for each nail so the gradient stays even and clean.
Don’t blend all the way to the tip — that turns reverse ombre into muddy grey.
9. Elegant Black French with Ultra-Thin White Outline
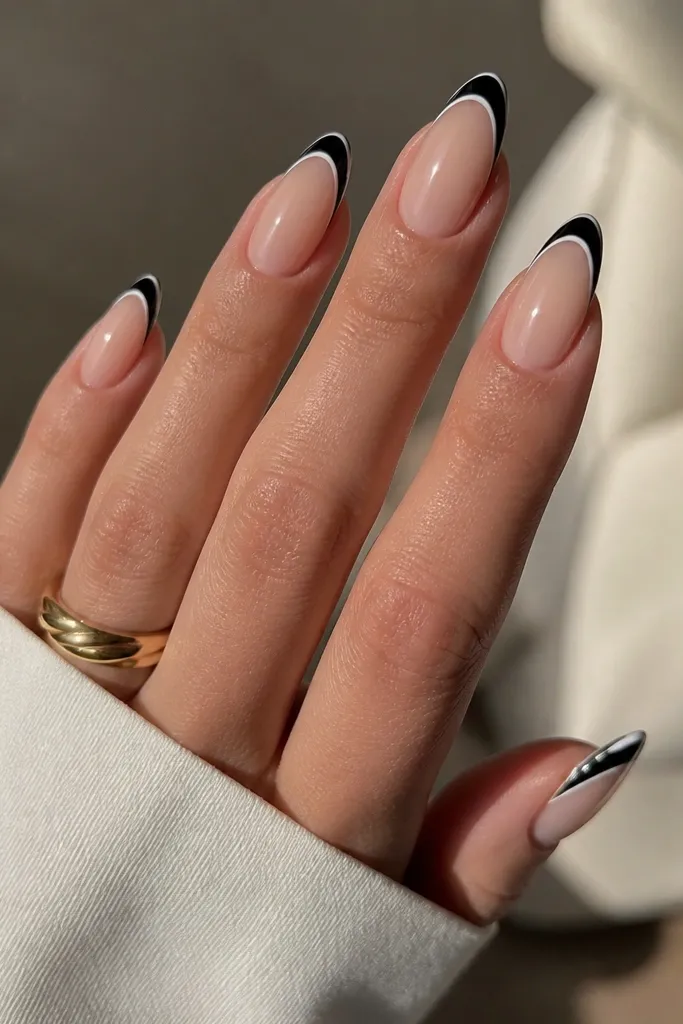
French tips make nails look polished, and adding a thin white outline keeps black from feeling too stark. The nude base keeps the hand bright, while the black tip gives that classy contrast. The white border is what makes it look elevated instead of basic — it frames the black and makes the tip look sharper. I like this on almond or squoval shapes because the curved tip line stays elegant. It’s a great option for weddings, office days, and any time you want “clean luxe” without gems.
Editor's noteIf your white line wobbles, wipe the brush on a lint-free pad and re-stamp the line lightly.
Start with a nude base that matches your skin tone or a sheer pink gel, then cure. Use French tape to create the tip line slightly above your natural free edge. Paint the tip with opaque black in two thin coats for smooth coverage. Once it’s dry, remove the tape and apply a tiny line of white gel around the black edge using a liner brush or stripping brush. Cure, then top coat everything glossy to seal the outline.
Skip thisDon’t use thick white — it should look like a border, not a second French.
10. Black Glossy Nails with Tiny Crystal Dot at the Cuticle Corner
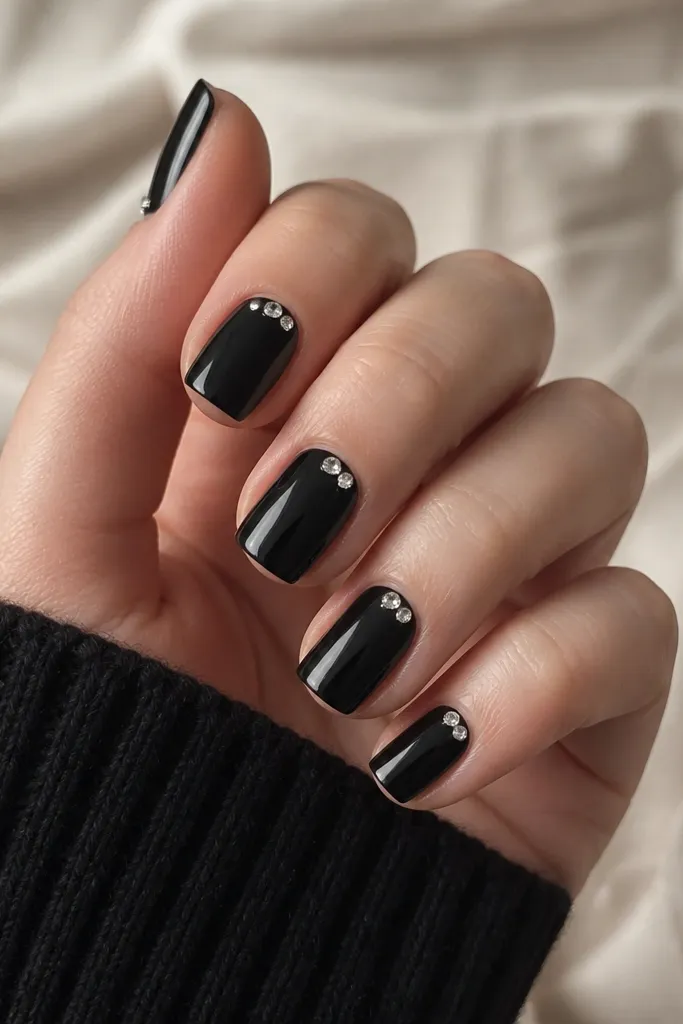
This is my go-to for when you want sparkle that still reads classy. One micro crystal at the cuticle corner looks like jewelry on your nail — small enough to feel grown-up, bright enough for photos. The black background makes the crystal pop, and the cuticle placement keeps the sparkle close to the hand so it looks intentional. This works on all skin tones, but it’s especially pretty if you wear rings on that same hand because the sparkle echoes your jewelry. It also suits short nails because the detail is tiny and doesn’t take up space.
Editor's noteUse a matte top coat on the rest of the nail only if you want the crystal to look extra sharp; otherwise keep it glossy for maximum shine.
Paint two thin coats of glossy black and cure/dry completely. Apply a small dab of clear gel at the cuticle corner area you want the crystal — use less than you think. Place the crystal with tweezers or a dotting tool, then press gently so it sits flat. Cure it until fully set, then apply a top coat carefully around the crystal to avoid flooding the edges. Finish with one more thin top coat if you need extra smoothness over the stone.
Skip thisDon’t place crystals near the center of the nail — it looks like a sticker instead of a detail.