1. Champagne Nude with Micro-Glitter Cuticle
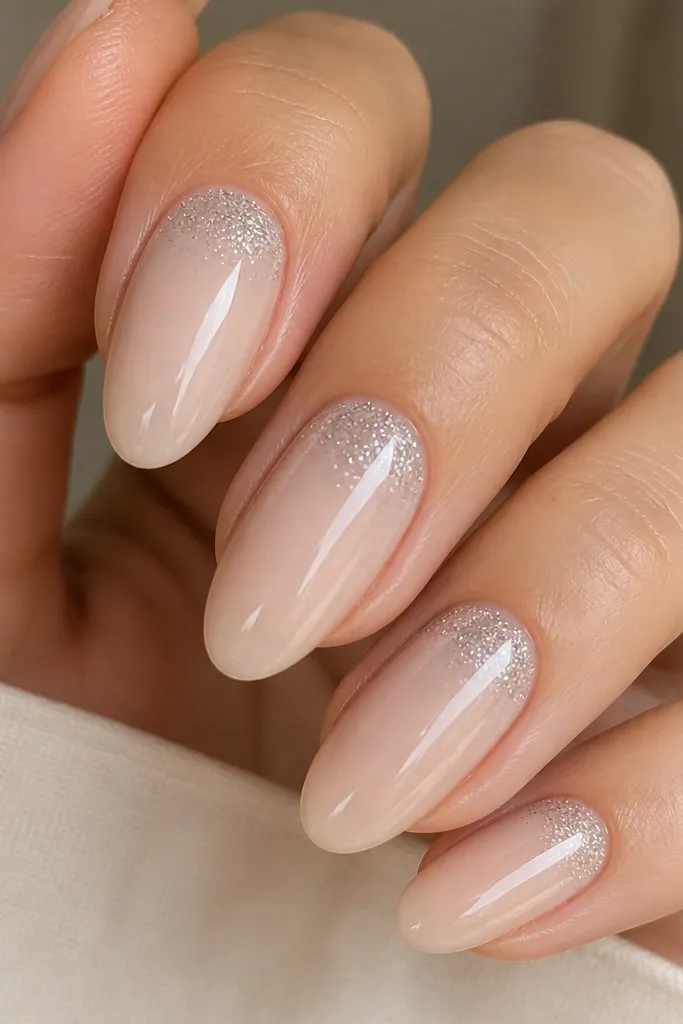
This look works because it keeps the nail mostly sheer, so your almond shape reads clean and long. The champagne nude has a warm base that flatters yellow undertones and golden jewelry, and it looks especially good on short-to-medium nail beds. The micro-glitter sits right at the cuticle where the eye expects sparkle, so it feels classy instead of party. I like this for workdays because it looks “done” without feeling loud. Pair it with one ring and a simple bracelet — the glitter catches light when you move.
Start by applying a sheer champagne nude base in two thin coats, curing fully between coats if you’re using gel. With a small liner brush or a dotting tool, place micro-glitter at the cuticle line on each nail, staying 0.5-1 mm away from the edges. Tap off any extra glitter so it doesn’t flood the sides of the almond. Cap the glitter area with a thin clear layer, then finish with a glossy top coat and cure or air-dry as needed.
Editor's noteIf your glitter clumps, mix it with a drop of clear gel polish on a palette before applying.
Skip thisAvoid putting glitter in the middle of the nail — it turns into “sparkly dust” instead of a refined cuticle glow.
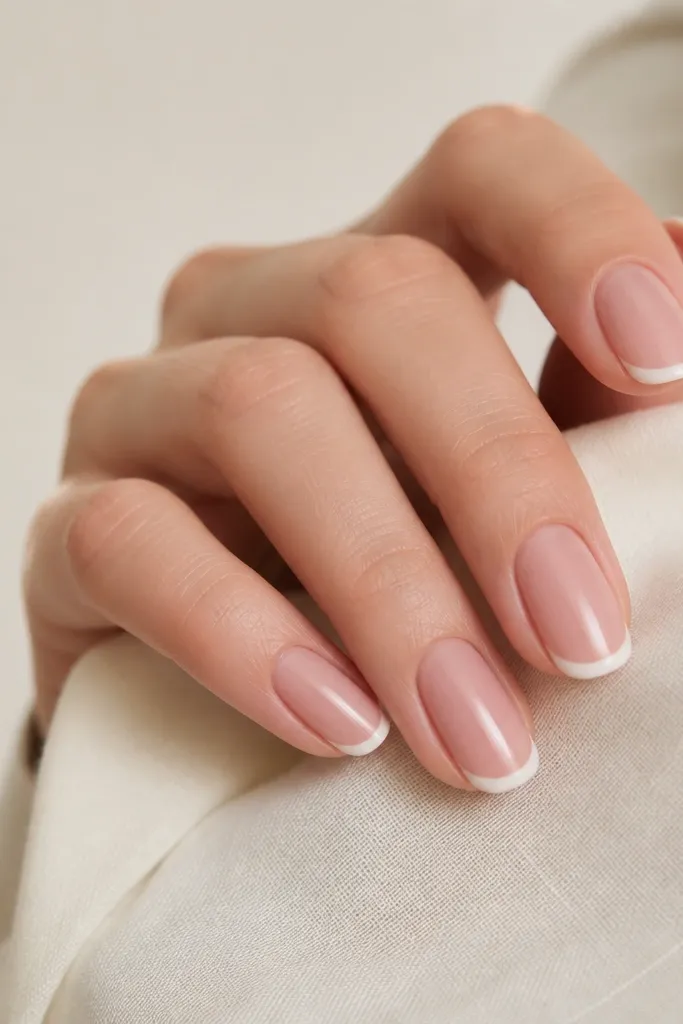
2. Classic White French on Soft Almond
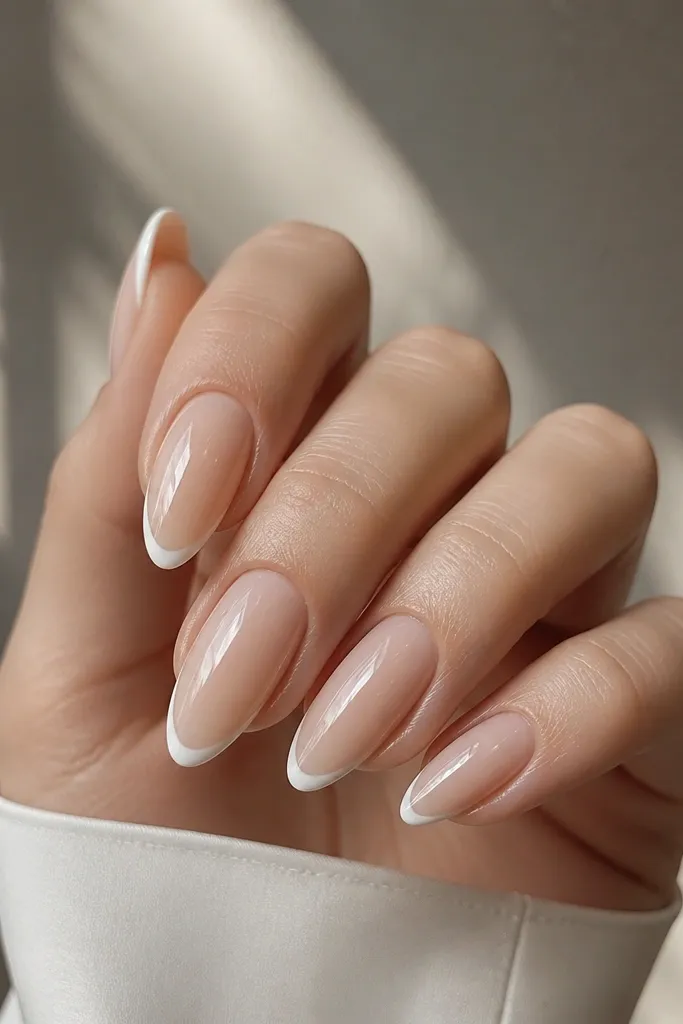
A French tip is classy because it outlines the almond shape and makes your fingers look tidy. The key is keeping the French line narrow, not thick, so the taper stays elegant. This design flatters most skin tones because the base is sheer nude and the white is bright but controlled. It looks especially good when your nails are medium-length and your nail bed shows a bit of natural shape. For events, this is the “always works” option when you want clean photos.
Apply a sheer nude base in two coats and let it level out. Use striping tape or a French stencil to mark the smile line, then paint a thin band of white along the tip, keeping it about 1-2 mm thick. Remove the tape while the polish is still slightly tacky so the edge stays sharp. Clean the sides with a brush dipped in remover, then seal with a high-shine top coat.
Make your smile line slightly higher on the sides — it makes the almond look more symmetrical.
Skip a cloudy white — if your white polish is streaky, use a gel white or add a third thin coat.
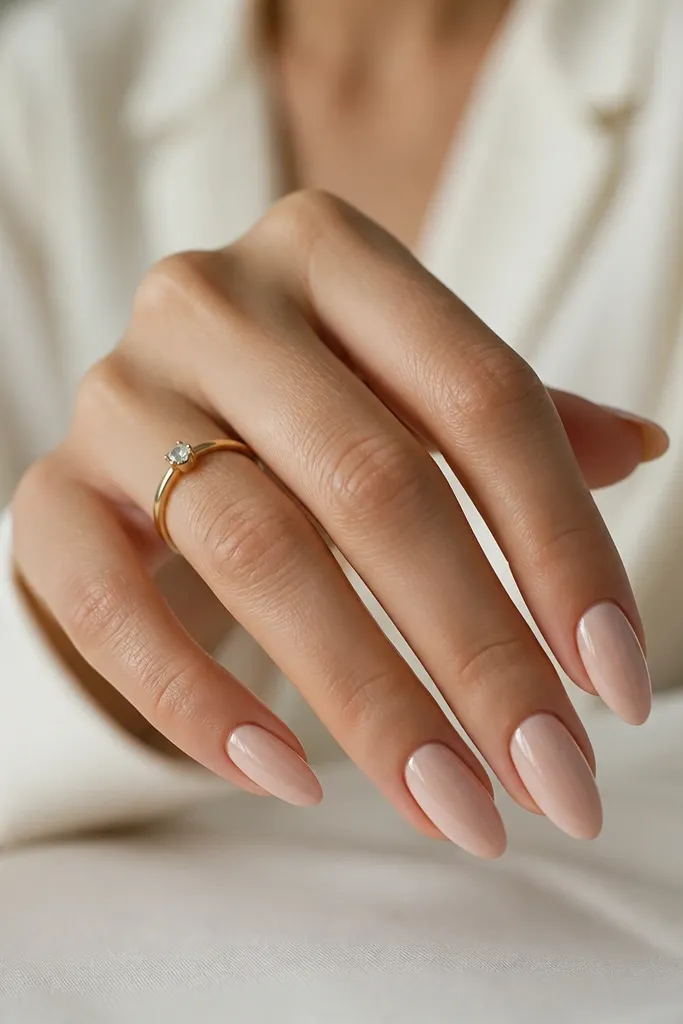
3. Rosy Nude Almond with Tiny Rhinestone Dot
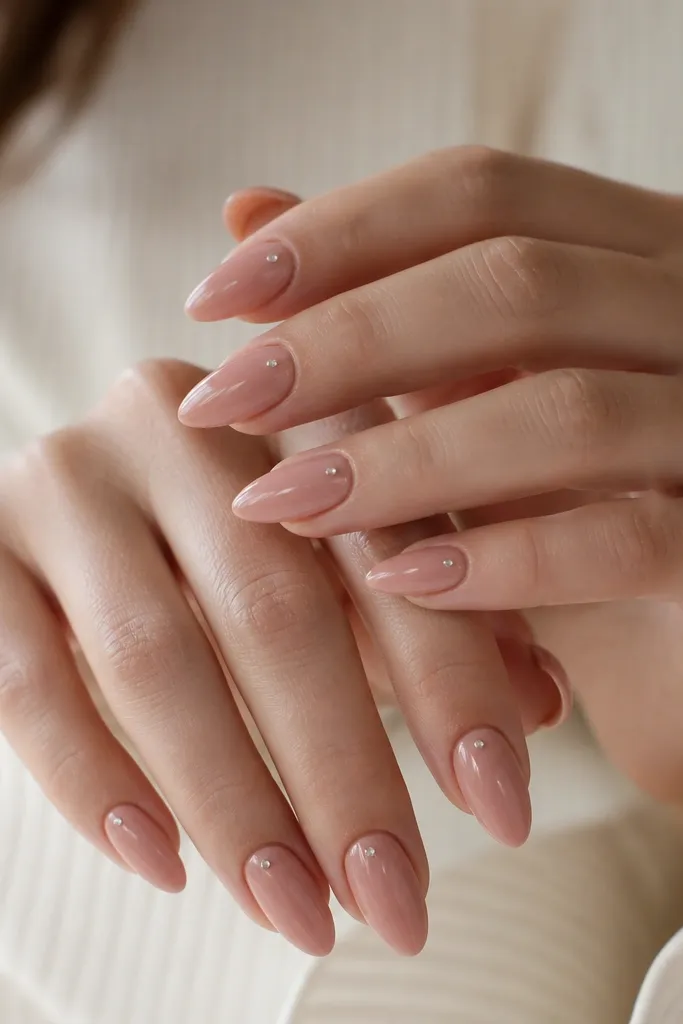
This is the kind of “quiet luxury” look that still gets compliments because it has one sharp detail. The rosy nude flatters cool undertones and makes your nails look fresh instead of washed out. The rhinestone dot near the cuticle adds sparkle without turning the whole nail into bling. I like it for dates, weddings, and bridal showers because it reads polished even with minimal jewelry. It also looks great on shorter almond nails since the detail sits high and draws the eye upward.
Start with a rosy nude gel in two thin coats, then cure until fully set. Place a single tiny clear rhinestone on each nail using tweezers, positioning it about 1 mm above the cuticle line and slightly toward the sidewall. Press gently so it sits flat, then apply a thin clear gel over and around the stone so it’s fully sealed. Finish with two layers of glossy top coat, curing each time.
Editor's noteUse a rhinestone that’s 1.0-1.5 mm wide so it doesn’t snag your hair or snag on fabric.
Skip thisAvoid placing the stone in the center of the nail — it looks heavier and less classy on almond.
4. Mocha Taupe Gradient Almond
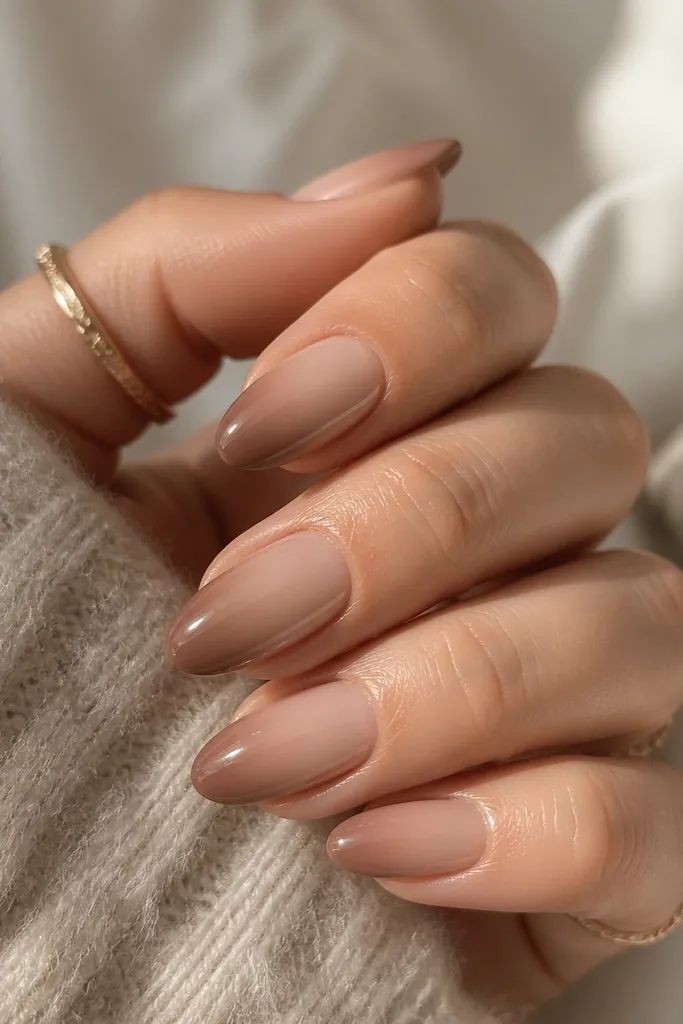
A gradient looks expensive when it’s smooth and controlled, and almond shape makes the fade look intentional. The mocha taupe is neutral enough for everyday but still looks sophisticated because it has depth, not just flat brown. This flatters medium to deep skin tones especially well, and it also looks good on fair skin when the nude base is rosy instead of yellow. I’ve worn this style when I wanted something “different” from plain nude, and it still matched everything in my closet. It’s also forgiving because the fade hides minor brush lines.
Apply a sheer nude base in two coats and cure. Sponge-paint a thin strip of mocha taupe at the tip, then blend upward with a makeup sponge using light taps, keeping the center lighter. Add a second sponge pass if you want more contrast, but stop before it looks banded. Clean the sides with a brush, then seal with a glossy top coat and cure fully.
Editor's noteUse a small makeup sponge and wipe it on paper towel between passes so you don’t over-load the gradient.
Skip thisAvoid harsh lines at the transition — that’s what makes gradients look amateur.
5. Black Micro-Line Half-Moon
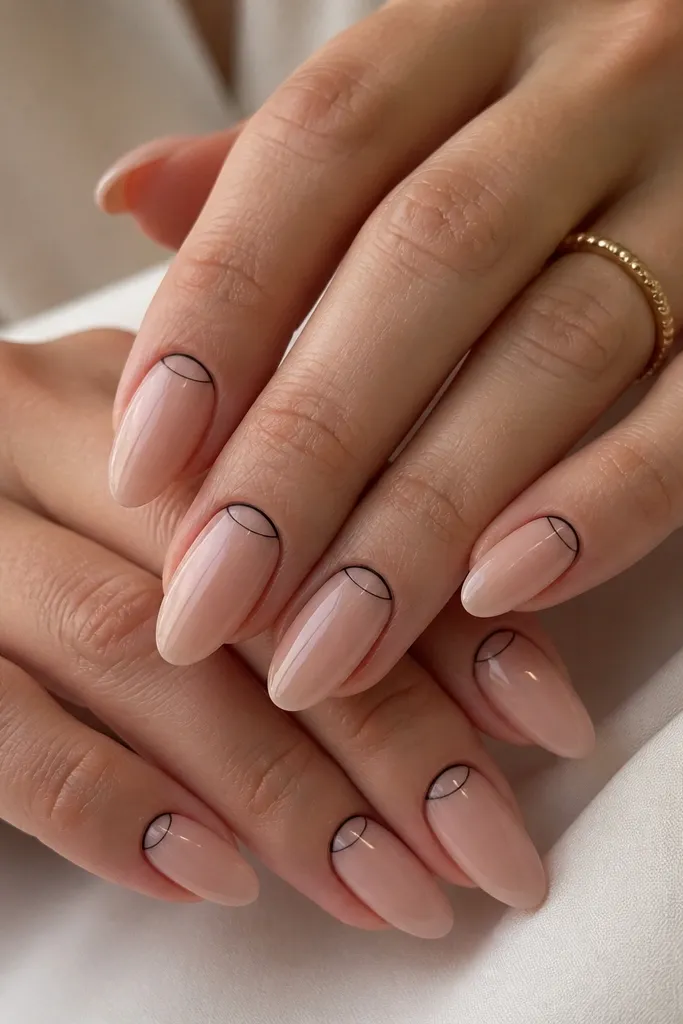
This half-moon micro-line is classy because it’s graphic but minimal. A sheer nude base keeps it wearable, and the black line gives contrast that still looks neat on almond. It’s flattering on most skin tones, but it’s extra good if you like silver jewelry — the black + nude combo makes your rings pop. I’ve used this design for nights out when I didn’t want full nail art. It also grows out nicely because the design sits at the cuticle and stays intentional.
Paint a sheer nude base and cure to full tack-free. Using a thin liner brush, draw a small black half-moon line following your cuticle curve, staying 0.5 mm away from the side edges. Let it dry enough to avoid smearing, then add a second pass if the line needs more opacity. Finish with a glossy top coat, and cap the line edges so it doesn’t catch.
If your line wobbles, clean it with a small brush dipped in remover before it sets.
Don’t make the half-moon thick — thick lines look like nail tape and lose the classy effect.
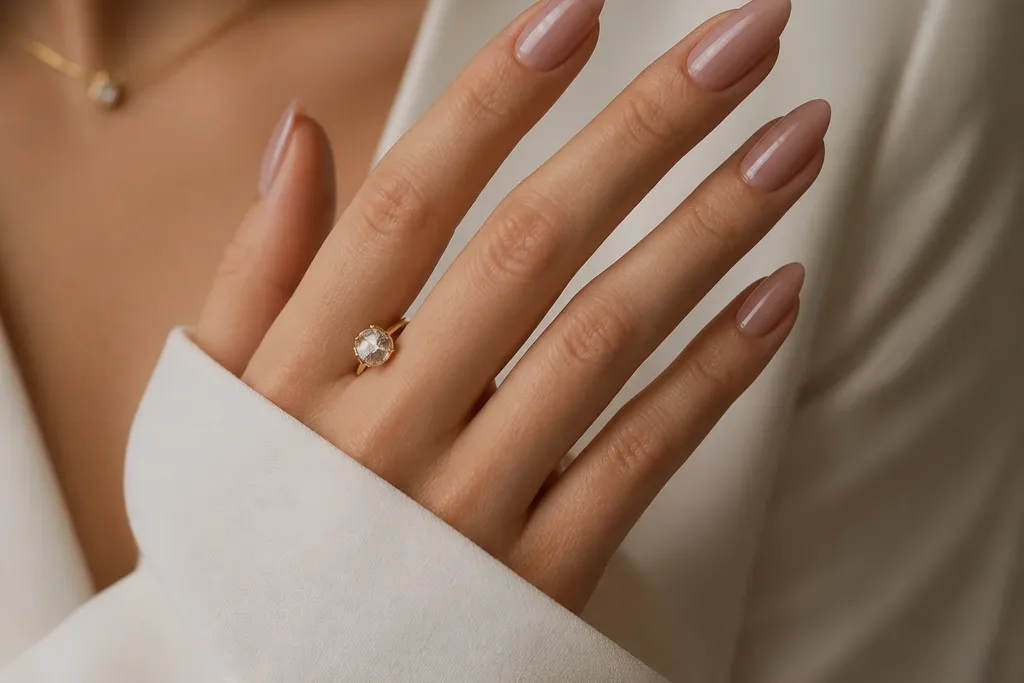
6. Pearl Sheer Nude with Soft Pink Underlayer
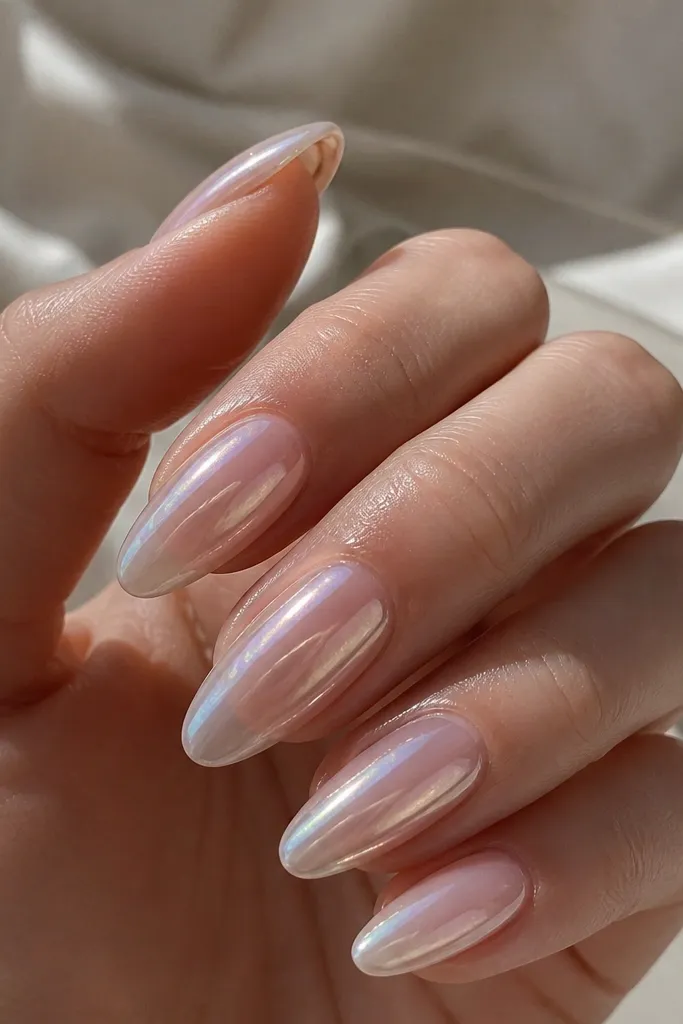
This look flatters because it blends warmth and glow without looking glittery or chunky. The soft pink underlayer gives a healthy tone, while the pearl top finish creates that lit-from-within shine. It’s a great choice if you want something feminine but not overly decorated. I’ve done this for clients who hate glitter and still want their nails to look special in photos. It works on fair through deep skin tones because the pearl adjusts visually to your undertone.
Apply a sheer soft pink base in one to two thin coats and cure. Then sponge or brush on a pearl sheer layer, keeping it translucent so your pink still shows slightly at the center. Add a second pearl layer only if you want more brightness, then cap with a high-gloss top coat. Clean the cuticle edges with a fine brush so the pearl stays crisp.
Editor's noteChoose a pearl polish that’s more “milky” than sparkly for a classy look.
Skip thisAvoid opaque white pearl — it can look chalky on almond.
7. Deep Burgundy Almond with Glossy High-Edge
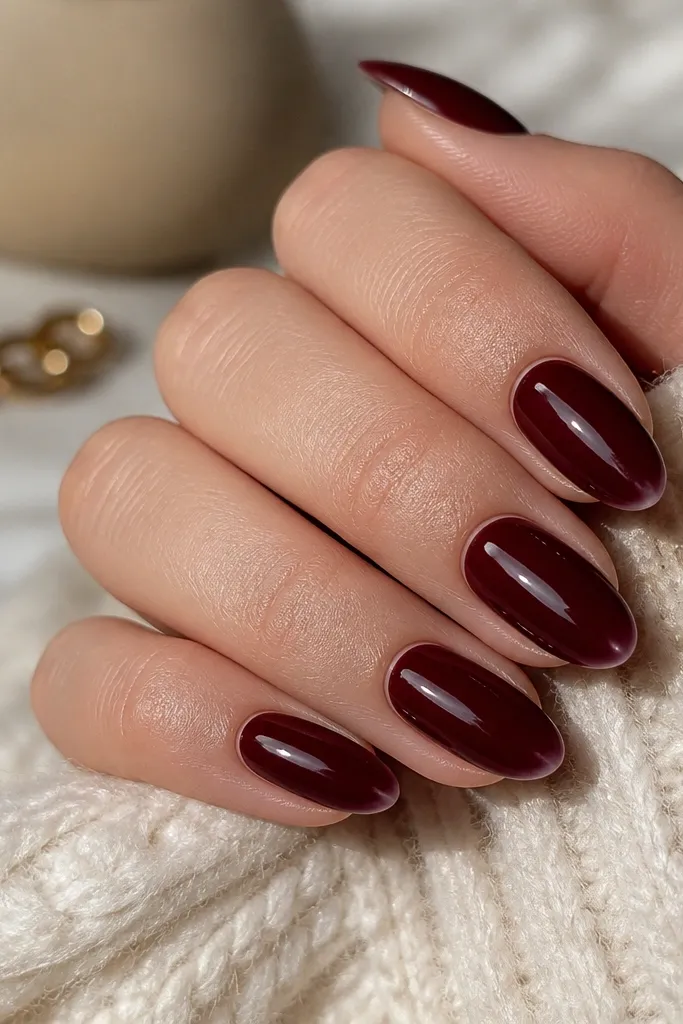
A deep burgundy looks classy because it’s bold without being neon. The color has enough warmth to look expensive against both fair and deeper skin tones, especially when your nails are almond-shaped and neatly filed. This style is great for fall, holiday parties, and even winter — it matches coats, boots, and gold accents. I’ve found it looks best when you keep the cuticle line clean and the surface mirror-smooth. If you love a single-color manicure but want it to look “done,” this is the one.
Prep the nail, then apply a burgundy base in two thin coats, curing between coats if using gel. Use a third ultra-thin coat only if you need full coverage, and keep it even from sidewall to sidewall. After curing, wipe with cleanser if your gel has a tack layer and shape the almond edges gently with a fine file. Finish with a thick glossy top coat, then cure again for that glass shine.
Editor's notePaint a slightly thicker line at the center of the nail and smooth it outward for a smoother reflection.
Skip thisAvoid streaky coverage — burgundy shows brush marks more than nude shades.
8. Blush Nude Almond with Gold Foil Tip
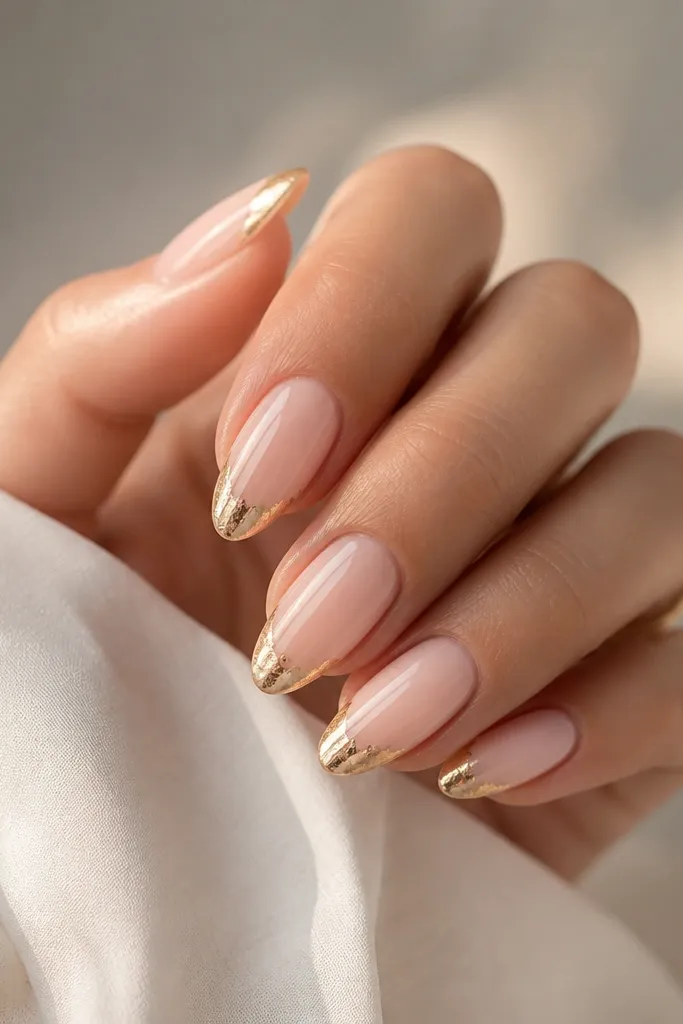
Gold foil at the tip looks classy because it’s concentrated where the almond tapers, so it adds shine without taking over the whole nail. A blush nude base works for warm and neutral undertones, and it makes the gold look more wearable than bright yellow. This is the manicure I grab when I need something for a birthday dinner or a holiday event but don’t want heavy rhinestones. It also photographs well because the foil flashes in different angles. The key is using tiny pieces and keeping them only at the free edge.
Start with a blush nude gel base and cure. Apply a thin layer of clear gel to the last 2-3 mm of the nail tip and dab on gold foil pieces, pressing gently with a silicone tool. Leave some negative space so the foil looks airy, not pasted-on. Seal with two layers of glossy top coat, curing each layer so the foil doesn’t lift at the edges.
Editor's notePress the foil with a dry cotton swab first — it helps it stick without smearing.
Skip thisAvoid covering the entire tip — it turns into a solid gold cap that looks heavy.
9. Soft Grey Almond with Matte Cuticle Stripe
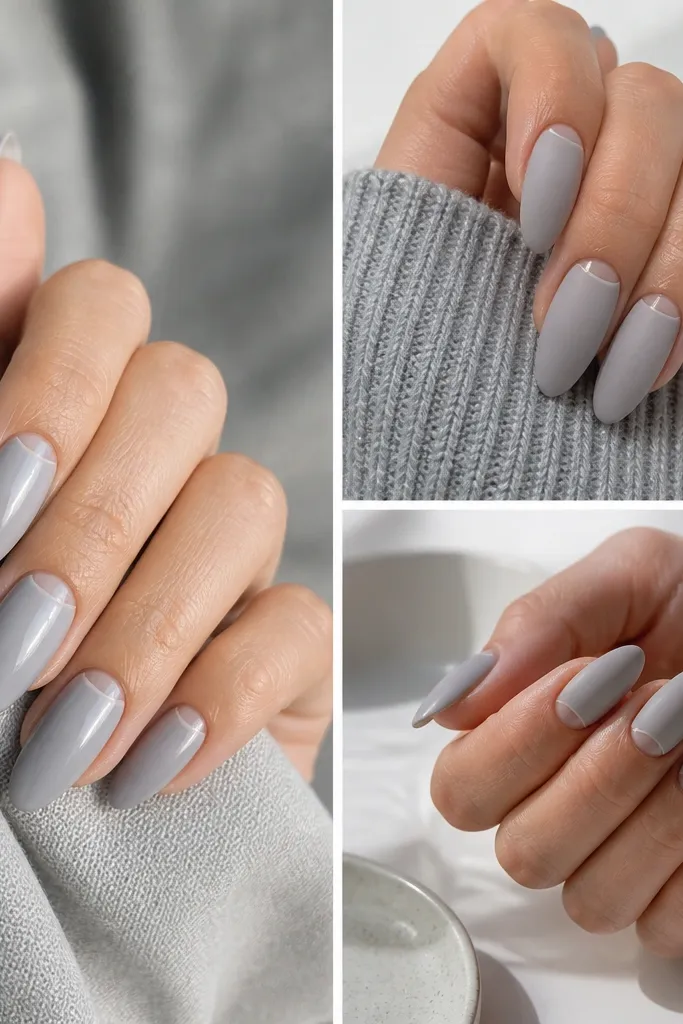
The contrast between matte and gloss reads classy because it adds texture without clutter. Soft grey is modern and flattering when it’s paired with a clean almond shape and a sheer base feel. I like this for people who want something neutral that still looks fashion-forward. It also works well if you wear lots of black, navy, or silver jewelry. The stripe at the cuticle is the detail that makes it feel intentional instead of plain grey.
Paint a soft grey polish or gel over the whole nail in two thin coats and cure. Apply a small strip of cuticle-adjacent product using a thin brush, then choose matte top coat just on that stripe if you want the contrast effect. If you’re doing it in one system, paint everything glossy first, then apply matte top coat only to the cuticle stripe area. Finish by sealing the rest with glossy top coat so you don’t get a flat, dull look.
Editor's noteUse matte top coat sparingly — too much matte can make almond nails look dry.
Skip thisAvoid uneven matte patches — they show your brush pressure and look messy.
10. Nude Almond with Silver Chrome Halo
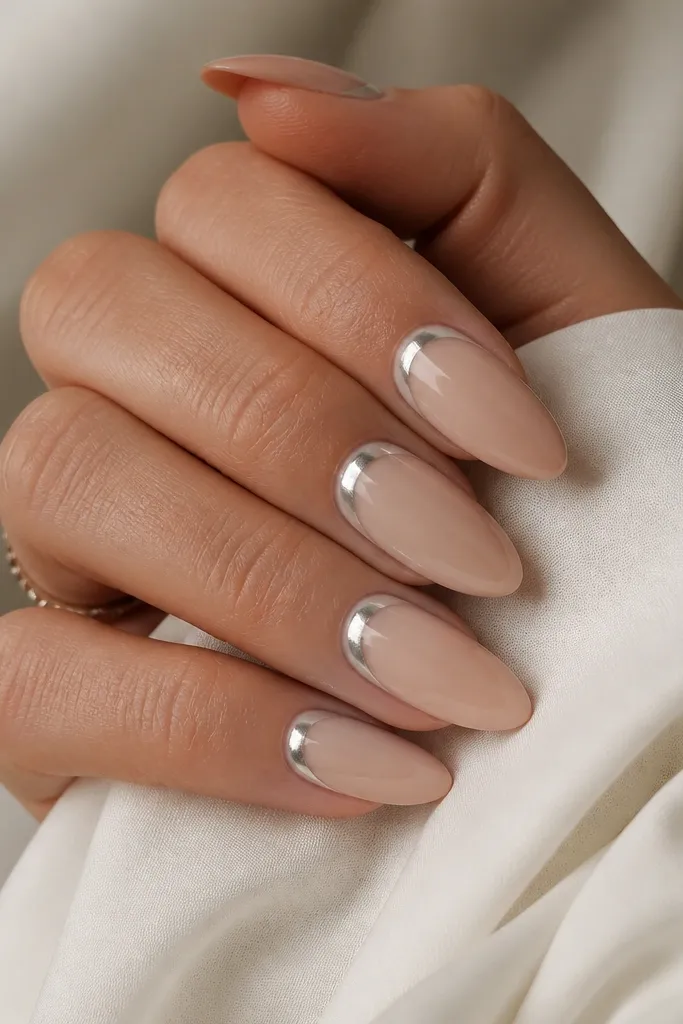
Chrome around the cuticle gives a clean “halo” effect that looks fancy while staying beginner-friendly. The nude base keeps it soft, and the silver chrome adds crisp shine that looks great with cool-toned jewelry. This manicure is flattering because it visually lengthens the nail bed — the halo sits high and draws the eye up. I’ve done this for clients who want glam but can’t handle detailed art. It’s also great for parties because the chrome catches flash photography beautifully.
Apply a sheer nude base and cure. Add a small amount of chrome gel or tacky layer right around the cuticle area, not touching the side walls. Press silver chrome powder over the tack using an applicator or sponge, then buff off excess so only a halo remains. Seal with a gel top coat that is compatible with chrome, and cure thoroughly to lock it in.
Editor's noteKeep the halo thin — a wide chrome ring looks like a thick band instead of a classy frame.
Skip thisAvoid getting chrome on the nail surface outside the halo — it looks dusty and less refined.
11. Classic Nude Almond with Tiny Black French Tips
Black French tips look sharp and classy when the line is thin. The nude base keeps it wearable, and the black tip makes your almond taper look intentional rather than plain. This one flatters most skin tones, especially if you wear black eyeliner, dark lipstick, or silver hoops. I like it for everyday because it looks crisp even when your nails grow out a little. The almond shape makes the tips look longer and more refined than on square nails.
Apply sheer nude base in two coats and cure. Use French tape or a steady hand with a liner brush to paint a thin black line at the tip, keeping it about 1 mm wide. Clean the edges with a small brush dipped in remover. Add top coat in two thin layers so the black line stays crisp and doesn’t blur.
If your black looks grey, do two thin layers instead of one thick coat.
Avoid thick black tips — they can make almond nails look stubby.
12. Iced Mauve Almond with Silver Side Lines
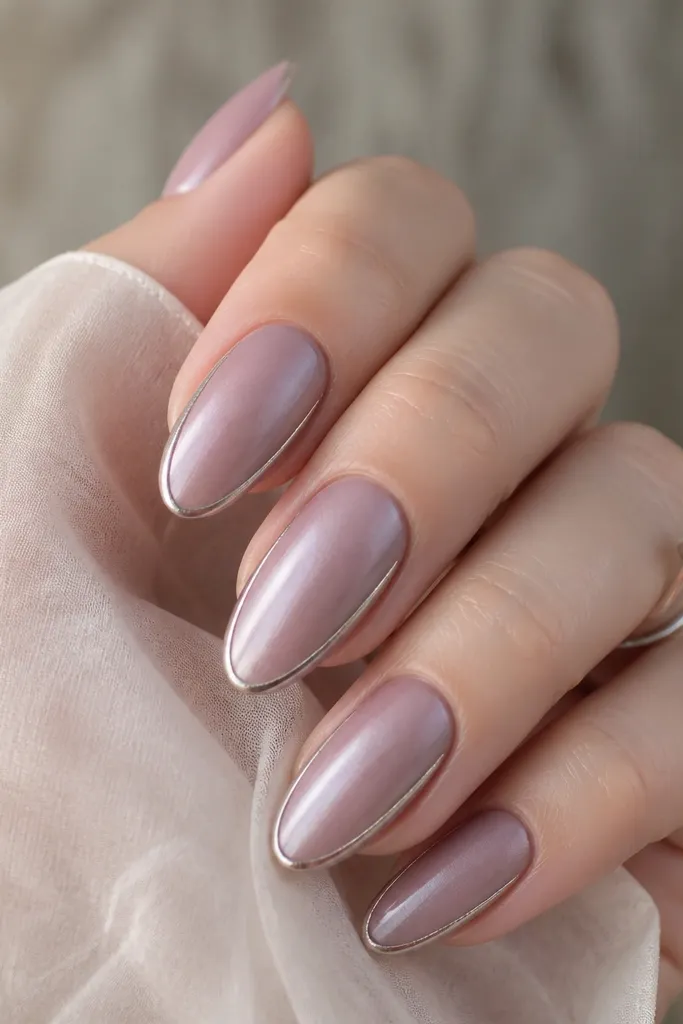
This design is classy because the lines are narrow and they follow the natural almond taper. Iced mauve has a cool, gentle tone that looks good on fair and medium skin, and it also flatters deeper skin when the base is semi-sheer. The silver side lines add structure, which makes the nails look more “designed” even if you’re doing them at home. This is a great pick for spring events or when you want something cooler than nude pink. It also works with both minimal and statement outfits because the shimmer is subtle.
Start with an iced mauve base in two thin coats and cure for a smooth surface. With a fine striping brush, draw a silver line on the left side of the nail starting about halfway up and stopping near the tip, staying 0.5 mm away from the edge. Repeat on the right side, then add a small dot of clear gel at each line end to keep them from lifting. Finish with a glossy top coat so the lines look sharp and not matte.
Use painter’s tape as a guide for the line spacing on your first two nails, then go freehand.
Avoid thick striping — wide lines make the manicure look like nail tape art.
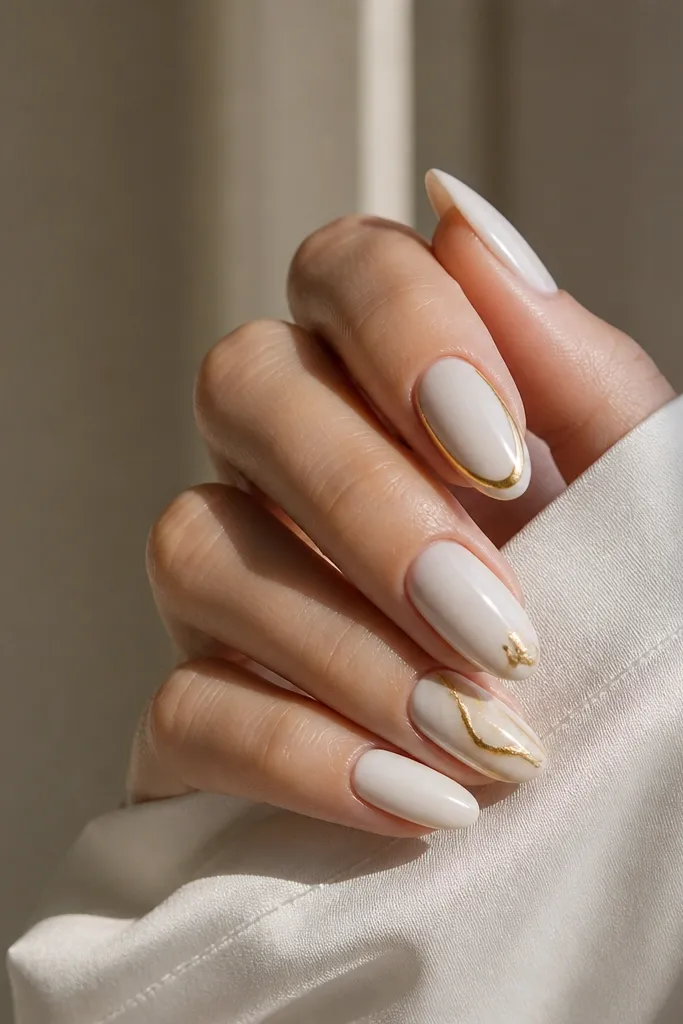
13. Sheer Nude Almond with Nude Marble Accent
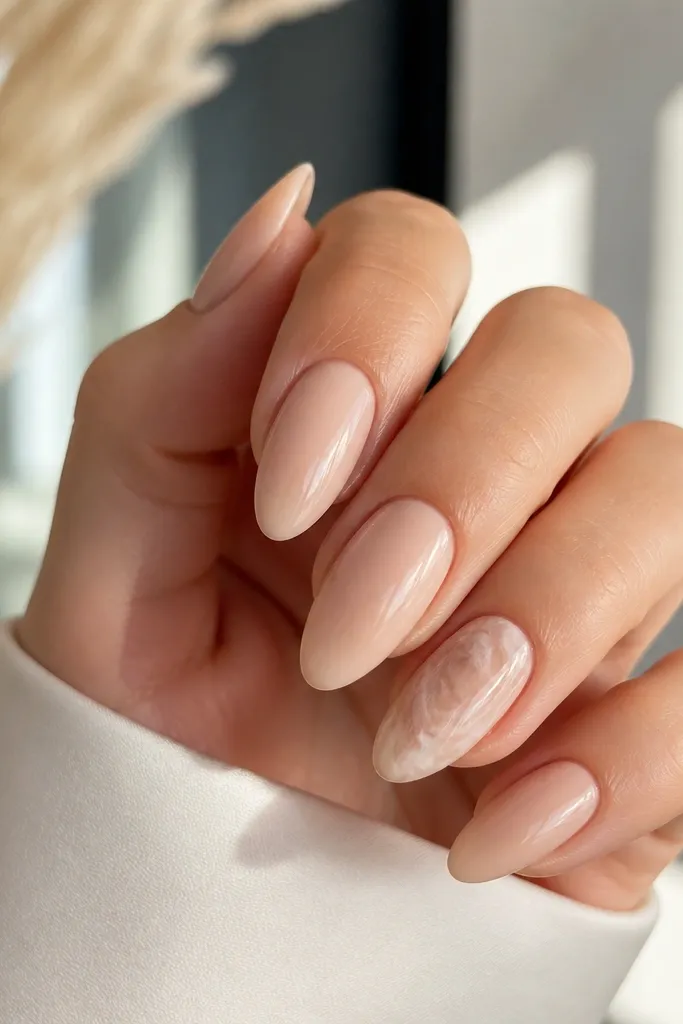
Marble looks classy when it’s subtle and limited to one or two accent nails. This sheer nude base keeps everything clean, and the nude marble stays in the same color family so it doesn’t look busy. I like marble in beige and taupe on almond because the swirls mimic the natural curve of the shape. It flatters any skin tone because it doesn’t lean too pink or too orange — it’s neutral. This is a good choice if you want something “styled” but you still want it to look office-appropriate.
Apply sheer nude gel to all nails in two thin coats and cure. On one or two accent nails, add a thin layer of clear gel, then drop small dots of taupe and beige gel polish and swirl them gently with a toothpick. Keep the marble lines soft and airy, and avoid bold black. Seal the accent nail with a glossy top coat, and keep the other nails glossy and smooth.
Editor's noteMarble looks best when the swirls are uneven — perfect loops look like stickers.
Skip thisAvoid using black marble colors — it turns the manicure into a heavy, high-contrast look.
14. Satin Nude Almond with Rose-Gold Line at the Tip
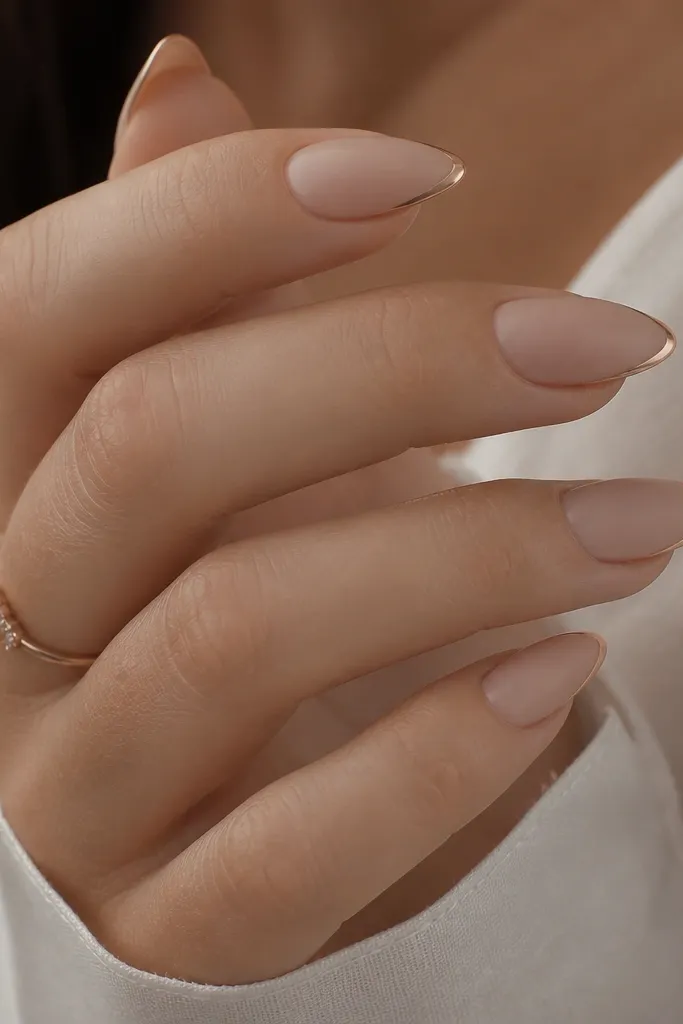
Satin nude feels classy because it looks soft and velvety instead of shiny. The rose-gold line at the tip adds just enough sparkle to keep it from looking plain. This works on warm and neutral undertones because rose-gold pairs naturally with peachy nudes. The contrast between satin and metallic line also makes the almond shape look sharper, especially if you file the tip evenly. I like this for brunch, date nights, and any day you want your nails to look “expensive” without looking loud.
Apply a nude base and cure, then top with a satin top coat to remove the mirror shine. Use a striping brush to paint a thin rose-gold line right at the tip edge, about 0.5-1 mm inside the free edge. Add a second thin rose-gold pass only if the line isn’t opaque enough. Seal with a glossy top coat over just the rose-gold line so it stays reflective, leaving the rest satin.
Keep the rose-gold line centered — a slightly off-center line makes almond nails look uneven.
Avoid full glossy over satin — it loses the velvety classy effect.
15. Clear Jelly Almond with Pink Heart Accent
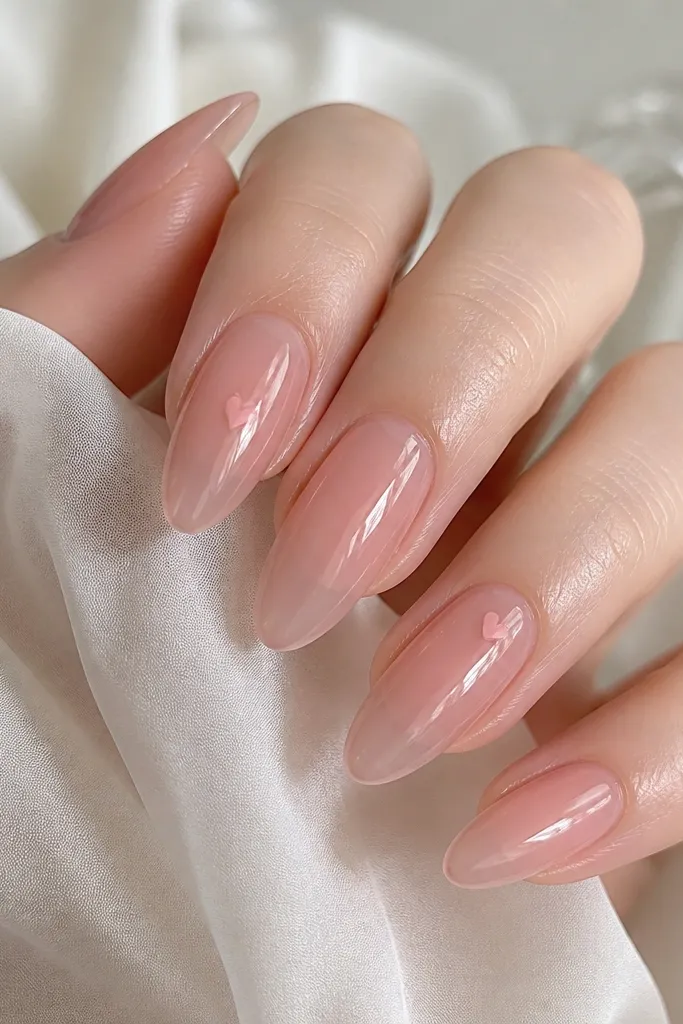
Clear jelly nails look fresh and classy when the color is light and the art is tiny. The translucent pink tint makes your nails look healthy, and it flatters a wide range of skin tones because it mimics your natural nail. A small heart near the cuticle keeps the design sweet but grown-up, since it’s placed high and doesn’t cover the whole nail. I like this for Valentine season that still feels wearable for normal days. It also grows out nicely because the base is sheer.
Apply a clear or jelly-pink base in two thin layers and cure. On one accent nail, place a small heart using a heart stamp or a dotting tool and liner brush, keeping it about 1-2 mm wide and sitting near the cuticle. Add a second thin layer of jelly over the heart so it looks embedded, then cure. Finish with a glossy top coat for that thick jelly shine.
If freehand hearts are hard, use a heart nail art sticker and seal it under gel so it doesn’t lift.
Avoid big hearts in the center — they look cartoonish on almond.