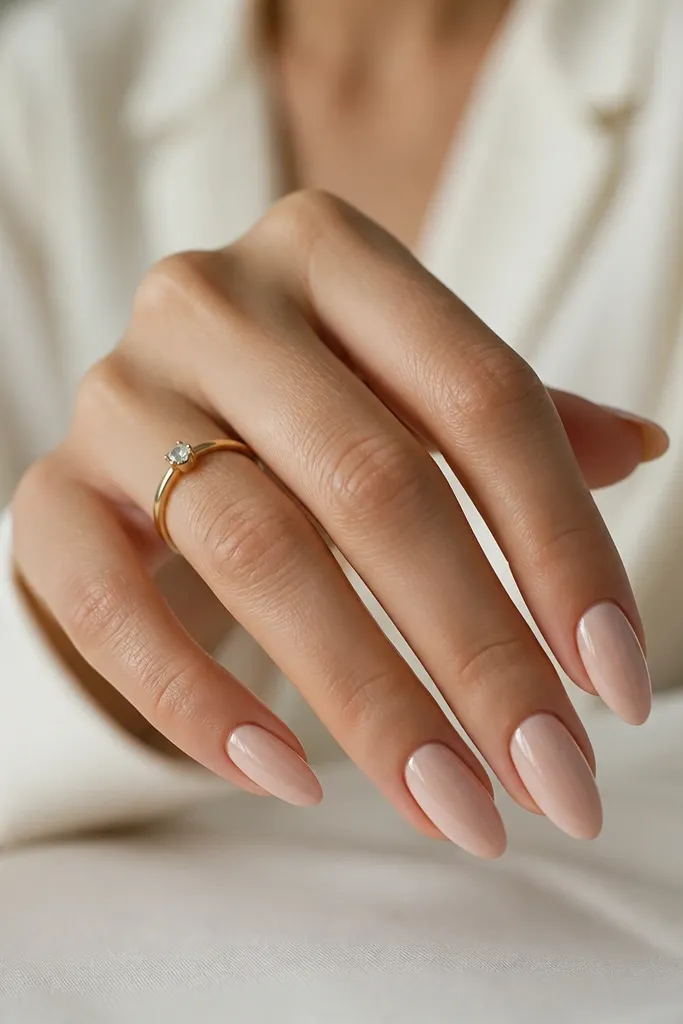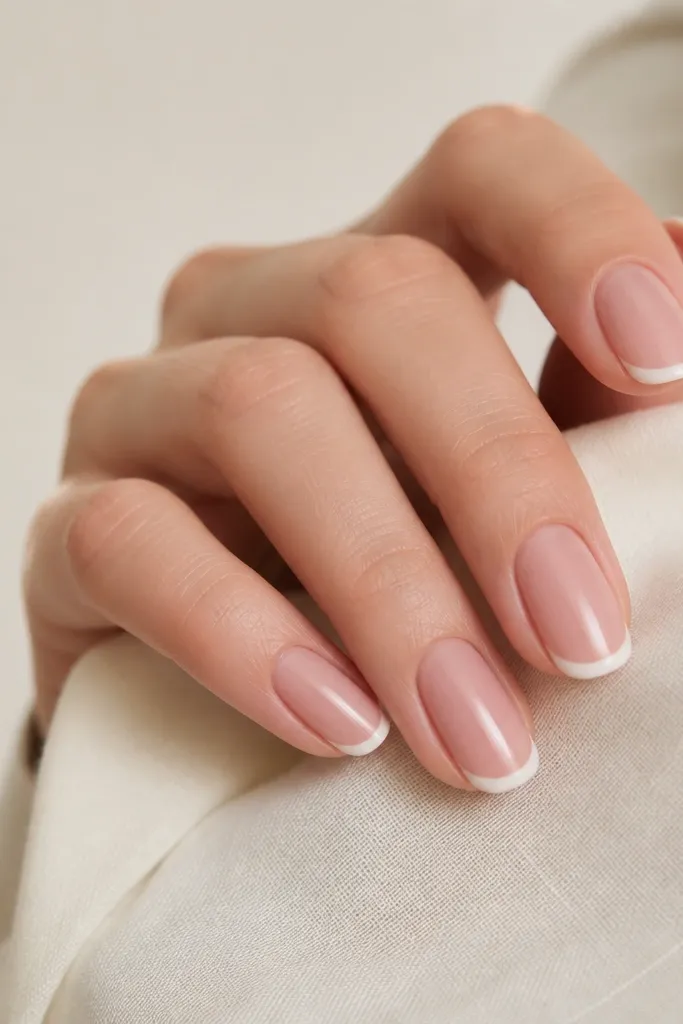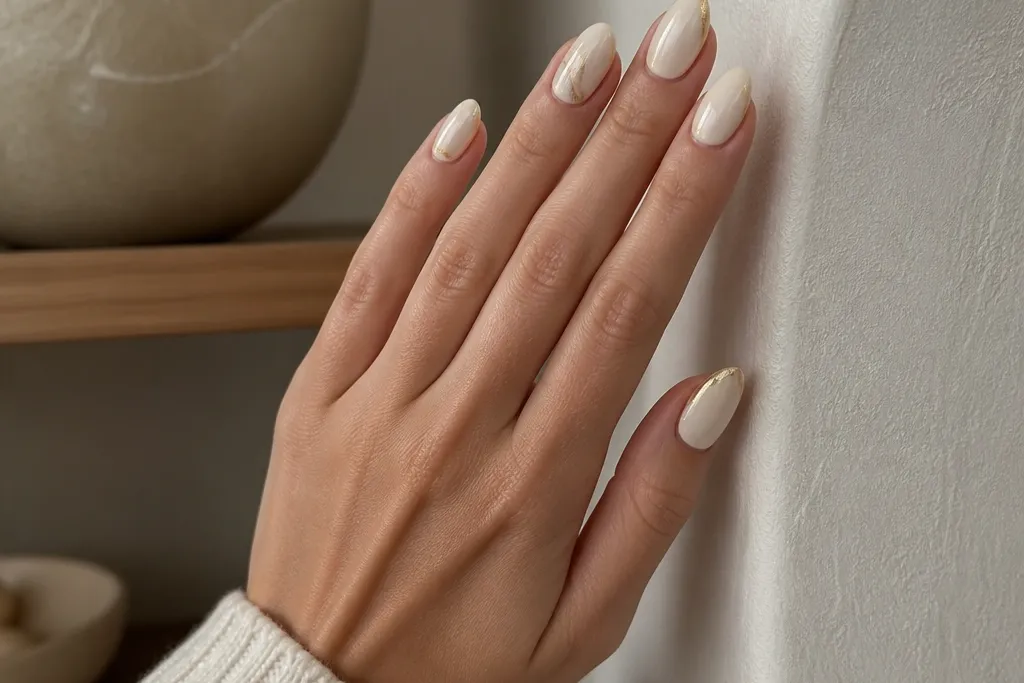
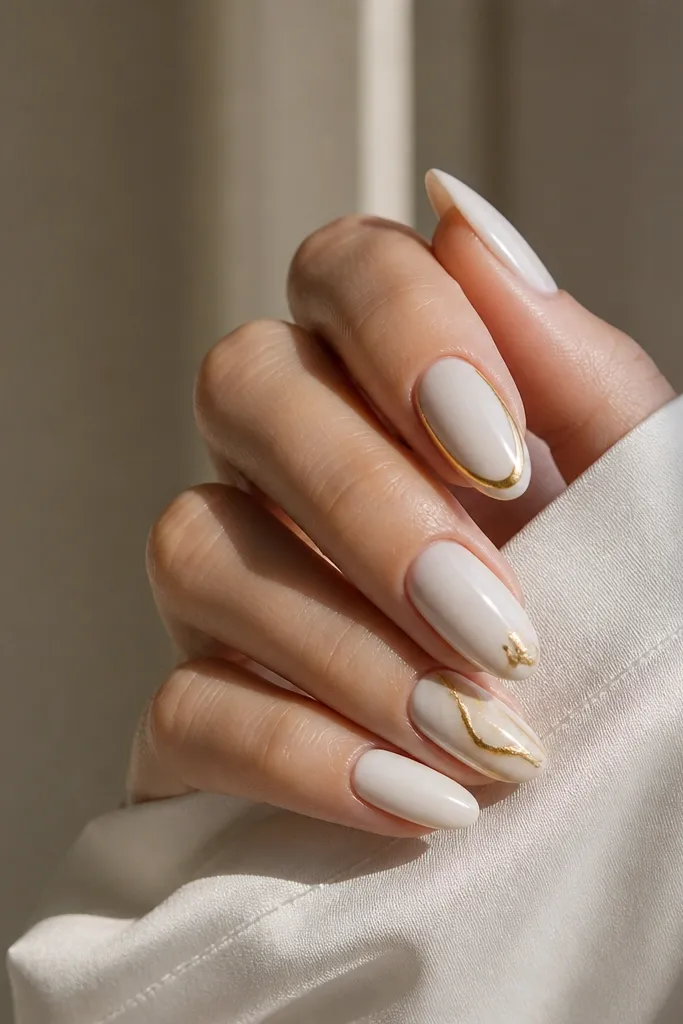
1. Milky White Almond with a Thin Gold Arc French
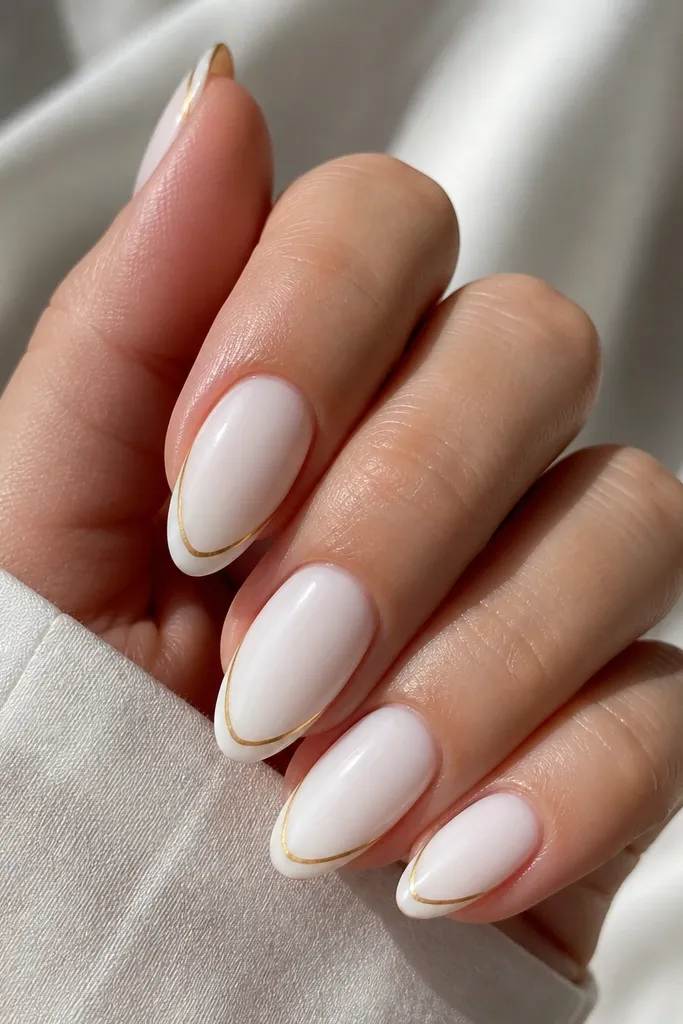
This is the cleanest white-and-gold combo for small spaces because it creates a “tip highlight” instead of covering the whole nail. The milky white is opaque enough to look smooth, but it’s not stark, so it doesn’t overpower short nail beds. The gold arc is narrow, so it reads like jewelry wrapping the almond tip. I’ve worn this on hands with shorter cuticles and it still looks polished because the gold stays thin and the white stays bright.
Editor's noteIf your gold looks too bold, use striping tape first and paint the gold over it lightly — you can always add a second pass.
Start with a milky white gel base in two thin coats, curing between each coat. Use a striping brush or a striping tape to place the gold arc — keep it about 1 to 1.5 mm wide at the thickest point. Leave the cuticle area untouched so you keep breathing room. Cap the free edge with a glossy top coat, then wipe tacky residue if your system needs it.
Skip thisSkipping a narrow gold arc and going wide makes short almond nails look “filled in” and smaller.
2. Pearl White Almond with Gold Foil Crescent at the Cuticle
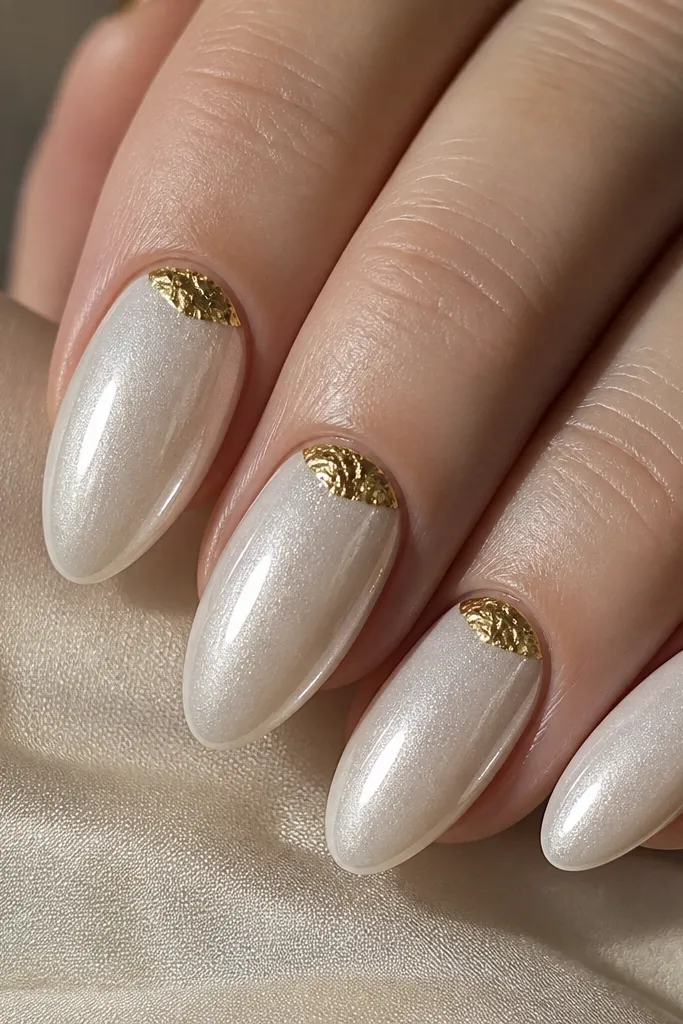
Gold at the cuticle works because it frames the nail start without covering the whole length. Pearl white reflects light in a gentle way, which makes the almond shape feel longer, especially on fair to medium skin tones. The gold foil crescent is intentionally uneven, so it looks like real jewelry rather than a printed pattern. This one flatters hands that look better with subtle sparkle than heavy art.
Editor's noteUse a matte foil top coat only if you hate fingerprints — otherwise glossy makes the pearl white pop under indoor light.
Apply a pearl white gel base in two coats for an even glow. Tear or cut small pieces of gold foil so each piece is about the width of your cuticle half-moon. Press foil onto a tacky layer (or foil gel) right at the cuticle, then seal quickly with a thin top coat to lock it in. Keep foil only on one side of the cuticle crescent if your nails are narrow.
Skip thisPlacing foil too far down the nail makes the design feel bulky on small nail beds.
3. Sheer Frost White Almond with a Single Side Gold Line
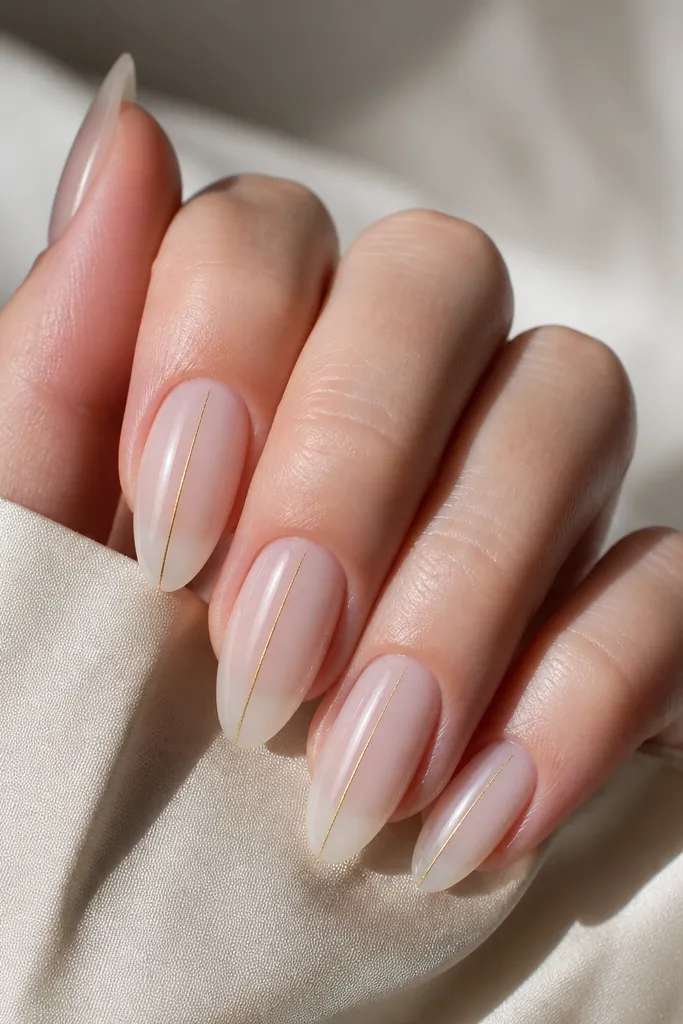
This design is built for “small space” hands because the white is airy and the gold is one controlled element. The sheer frost effect makes the nail look like it has more length, since the base doesn’t block the view of your natural nail bed. A single side line also gives a slimming look — it pulls the eye upward along one edge. I’ve used this when my hands look dry and the nail bed looks uneven, and it still looks clean.
Start by prepping and then applying a sheer frosted white gel — keep it thin so you get that glassy, translucent look. Cure fully. Paint or stripe a single gold line using a liner brush; keep it centered on the sidewall, not drifting toward the cuticle. Seal with glossy top coat, paying extra attention to the free edge so the line doesn’t chip.
If your gold line wobbles, wipe the brush on a lint-free pad and restart on one nail at a time — don’t try to correct a streak.
Using an opaque white base with this pattern makes it feel heavy and short.
4. White Gloss Almond with Gold Micro-Dots in a Diagonal
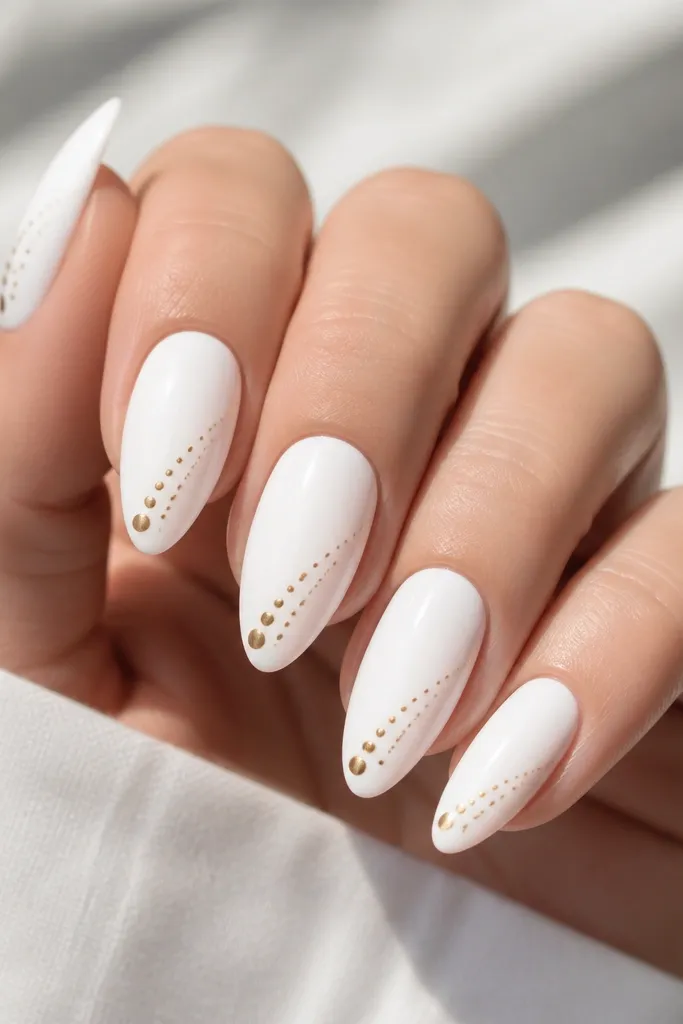
Micro-dots are underrated for small spaces because you can control density. Bright white gives that crisp, feminine backdrop, while the gold dots act like tiny beads guiding your eye upward. The diagonal placement makes the nail feel longer without covering it in a graphic block. This looks great on medium skin tones because the white pops, and the gold dots add warmth.
Editor's noteKeep the dot size consistent by loading the brush once, then tapping lightly — don’t keep dipping the tool mid-nail.
Paint a bright glossy white in two coats, making sure the second coat covers any streaks. With a dotting tool (or a needle-like detail brush), place 6 to 8 gold dots in a diagonal line per nail. Start the diagonal slightly above the center of the nail and end the last dot within 1 to 2 mm of the tip edge. Leave the rest of the nail plain white, then seal with a thick glossy top coat.
Skip thisOvercrowding the dots turns it into a gold speckle blob and kills the length effect.
5. Matte White Almond with Gold Leaf Tips
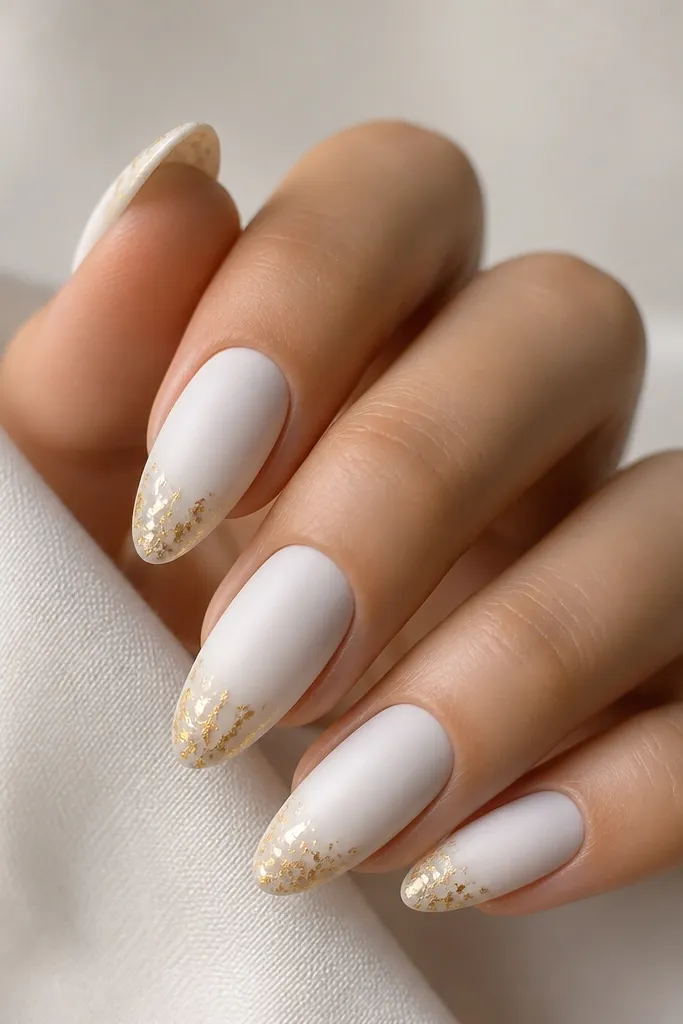
Matte white makes gold leaf look softer and more couture, and it’s perfect when you want the design to look intentional instead of shiny. The gold sits only at the tip, so short almond nails still read as almond, not as a full gold block. Matte also hides minor surface imperfections better than high-gloss. I wore this to a wedding where the lighting was harsh, and the matte kept the gold from reflecting too aggressively.
Apply a matte white gel base in two coats, cure, then skip glossy top coat for now. Place small gold leaf flakes along the tip edge — about 2 to 3 mm wide — and press lightly so they stick. Seal with a matte top coat or a satin top coat that won’t crush the leaf. Clean up the edges with a brush dipped in gel cleanser before curing.
If your leaf lifts, dab a tiny bit of foil gel under the flake and seal immediately with top coat.
Adding gold leaf across the entire nail makes matte white look dusty and the gold look messy.
6. White Marble Almond with a Thin Gold Vein
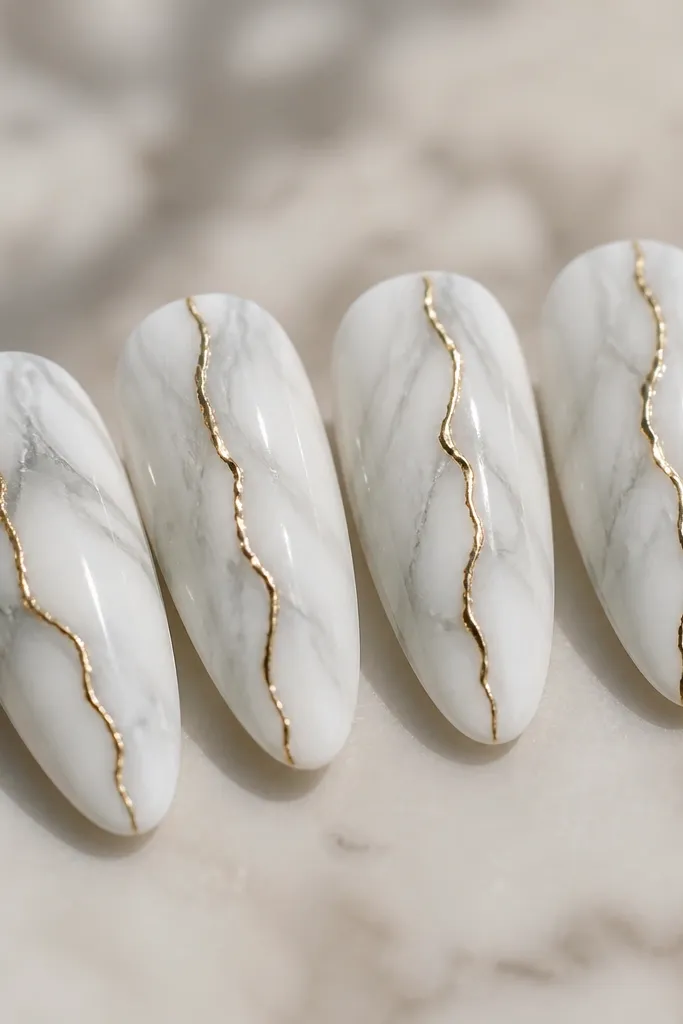
Marble sounds busy, but when you keep the vein thin it becomes elegant and space-friendly. The white marble here is mostly white with subtle movement, so it doesn’t shrink the nail visually. The gold vein gives a “one focal line” effect that keeps the eye moving upward. This works especially well when you want something more interesting than a plain French tip but still want it neat on short almond nails.
Editor's noteUse a strip of clear tape to steady your hand while drawing the gold vein — it keeps the line straight over short nails.
Start with a white base gel, then add marble movement using a very light gray-white gel — thin swirls, not thick patches. With a liner brush, paint a thin gold vein from near the cuticle line to the tip center, leaving a little marble visible around it. Keep the gold line about 0.5 to 0.8 mm wide. Seal with glossy top coat, and cap the tip so the gold vein feels smooth.
Skip thisHeavy gray marble or a thick gold vein makes the whole nail look crowded.
7. White Ombré Almond with Gold Half-Moon at the Tip
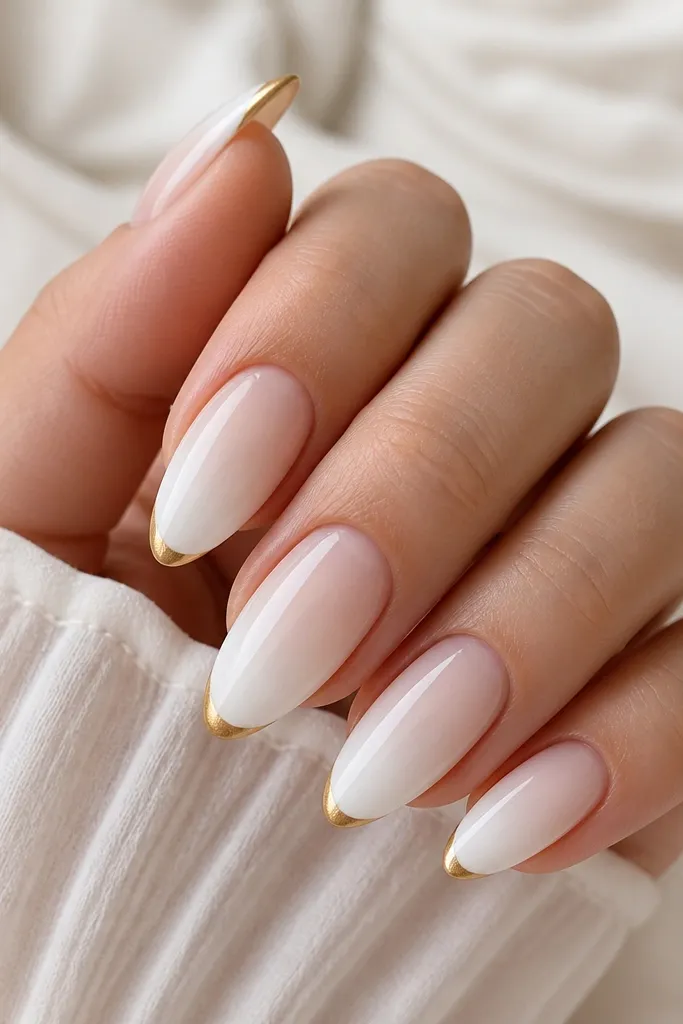
Ombré creates length because the color fades upward instead of stopping abruptly. The half-moon gold at the tip gives a classy jewelry detail without taking over the nail. The fade stays feminine and smooth, and the gold sits only at the end where it naturally highlights shape. I like this for days when you want “done” nails but you don’t want crisp linework.
Apply a sheer base first, then sponge white gel for the ombré. Keep the darkest white concentrated within the top 3 mm of the nail, blending downward with a clean makeup sponge. After curing, add a small gold half-moon at the tip edge using a thin brush or a pre-made half-moon stencil. Seal with glossy top coat and check the tip for any roughness from the sponge.
Blend in fewer layers — two good thin sponge layers look smoother than five thick ones.
A harsh ombré line makes short nails look like the color stops too early.
8. White Chrome Almond with Gold Micro-Studs Near the Tip
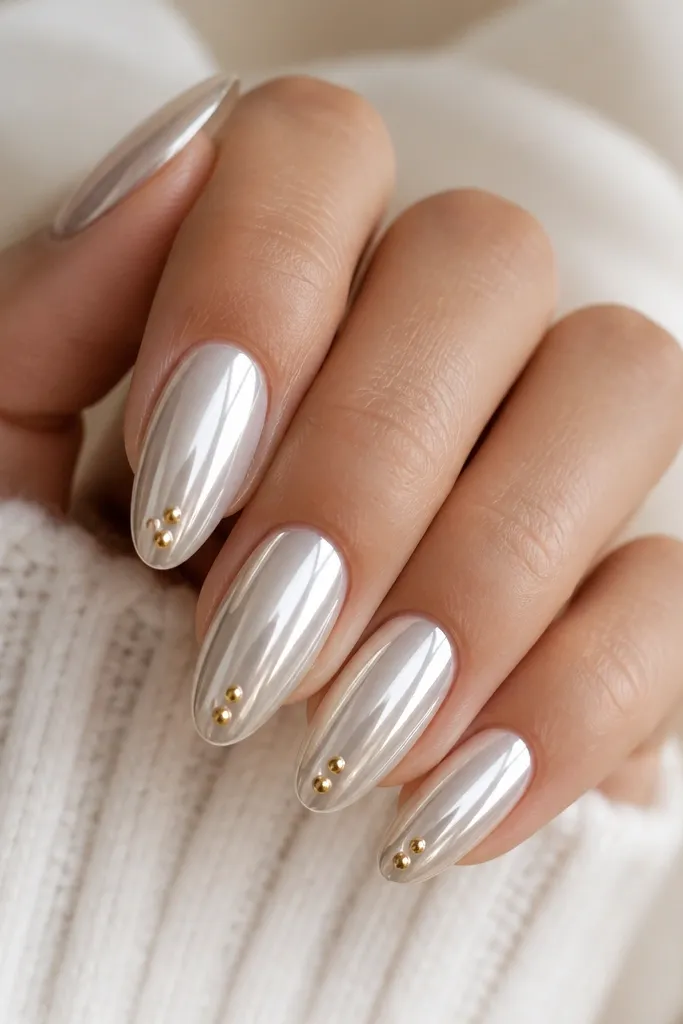
Chrome white makes the gold look brighter because the surface reflects light evenly. Micro-studs are small enough to feel classy, not bulky, which matters on small nail beds. Placing the studs near the tip keeps the nail’s lower area clean and airy. This is my pick for nights out because the chrome catches flash photos without needing a full pattern.
Editor's notePress the studs gently with a dotting tool so they sit flat and don’t snag on hair.
Start with a white chrome base system or a sticky gel layer designed for chrome. Apply chrome powder in a thin, even coat and buff lightly for a smooth mirror effect. Add 2 to 3 micro studs near the top 2 to 3 mm — keep them close together so it reads like one accent. Finish with a glossy chrome-safe top coat if your system allows it, or a thin seal layer that won’t dull the shine.
Skip thisPutting studs too low makes the nail feel heavy and short.
9. White Base with Gold Outline Almond Shape
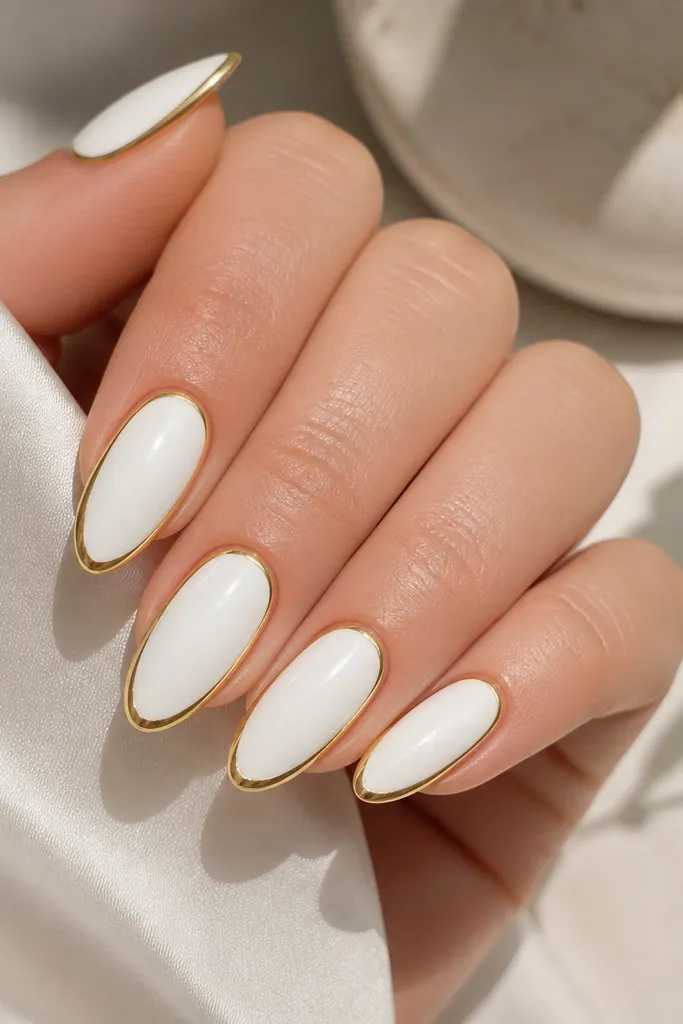
Outlining is a cheat code for small spaces because it defines the almond shape without painting the whole nail. The white base gives a smooth, classic feminine look, and the gold outline adds dimension like a frame. This also works great when your nails are slightly uneven — the outline draws attention to shape instead of minor surface differences. If you like minimal art but still want something that looks “styled,” this is it.
Paint a solid white base in two coats and cure well. With striping tape or a fine liner brush, trace the almond outline: one line down each side and a thin line at the tip edge. Keep the outline about 0.5 to 1 mm away from the sidewalls so it looks crisp. Seal with glossy top coat, and remove tape carefully after the gold is set but before final cure if your method needs it.
Use a liner brush with a short bristle — long bristles wander on small nails.
Letting the outline touch the cuticle creates a messy frame that looks crowded.
10. Half-White Half-Sheer Almond with Gold Vertical Divider
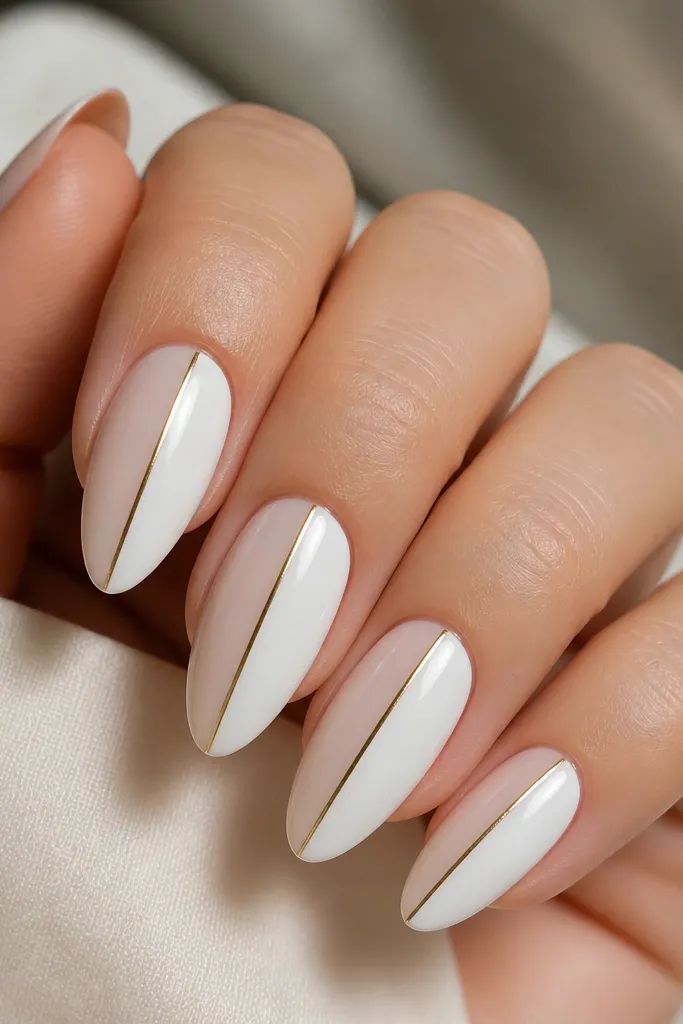
This split design is flattering because it adds structure and makes the nail look wider at the right spot, which balances narrow nail beds. The sheer side blends into your natural nail tone, so it doesn’t feel like you’re wearing a full white block. The gold divider acts like a crisp line that keeps the split from looking accidental. I’ve done this for clients who hate full white nails and it always gets compliments.
Start with a sheer nude base on half the nail — use a thin brush and tape the other half if you’re new to clean edges. Apply solid white gel on the other half, keeping it opaque and smooth. Add a thin gold vertical line exactly where the two halves meet, about 0.5 to 0.8 mm wide. Remove tape, then cap the whole nail with glossy top coat.
If you can, use a flexible nail form of tape to follow your almond curve instead of straight tape.
Freehanding the divider without a guide makes the split look crooked and cheap.
11. White Floral Negative Space Almond with Gold Stem
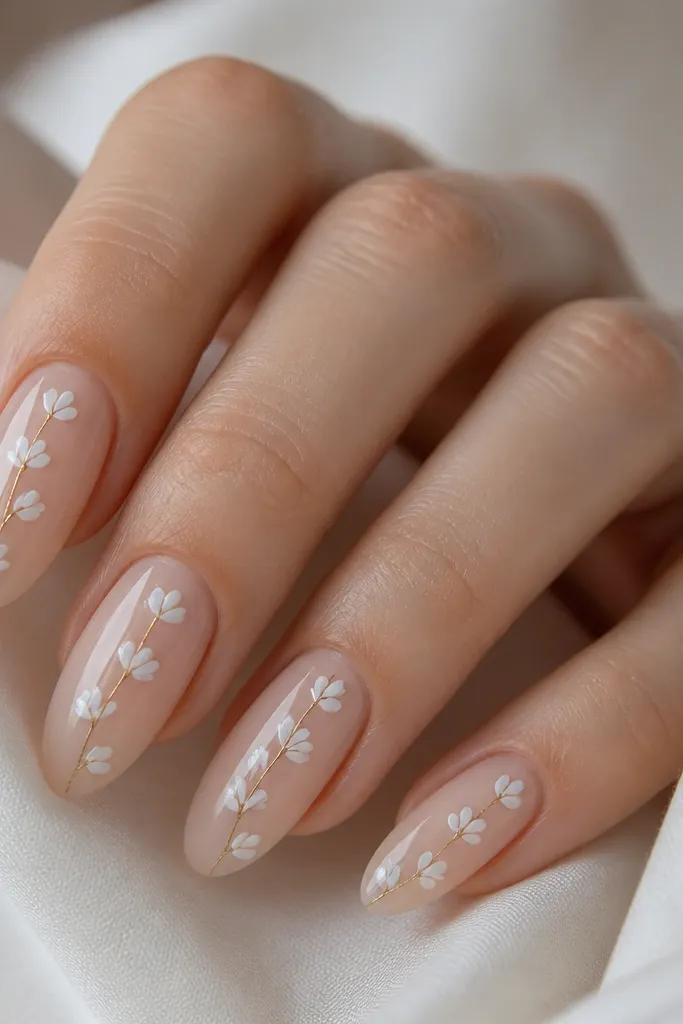
Negative space florals look classy on small nail beds because you’re not filling the whole surface. The sheer nude base keeps your hand looking light, while the white floral line art adds femininity without heavy coverage. A gold stem gives the design a clean direction — your eye travels upward. This style flatters most skin tones because nude acts like a bridge between nail and skin, so the white doesn’t overpower.
Apply a sheer nude base in one or two thin layers and cure. With a fine detail brush, paint small white flower outlines on one side of the nail — keep petals simple and small. Draw a thin gold stem from near the cuticle to just before the tip, then connect the flower outlines to it. Seal with glossy top coat, and avoid flooding the negative space with thick gel.
Make the flowers asymmetrical — one slightly smaller than the other looks more natural and less “sticker.”
Filling the nude base with opaque white turns negative space into a crowded block.
12. White and Gold Half-Tip Marble Combo
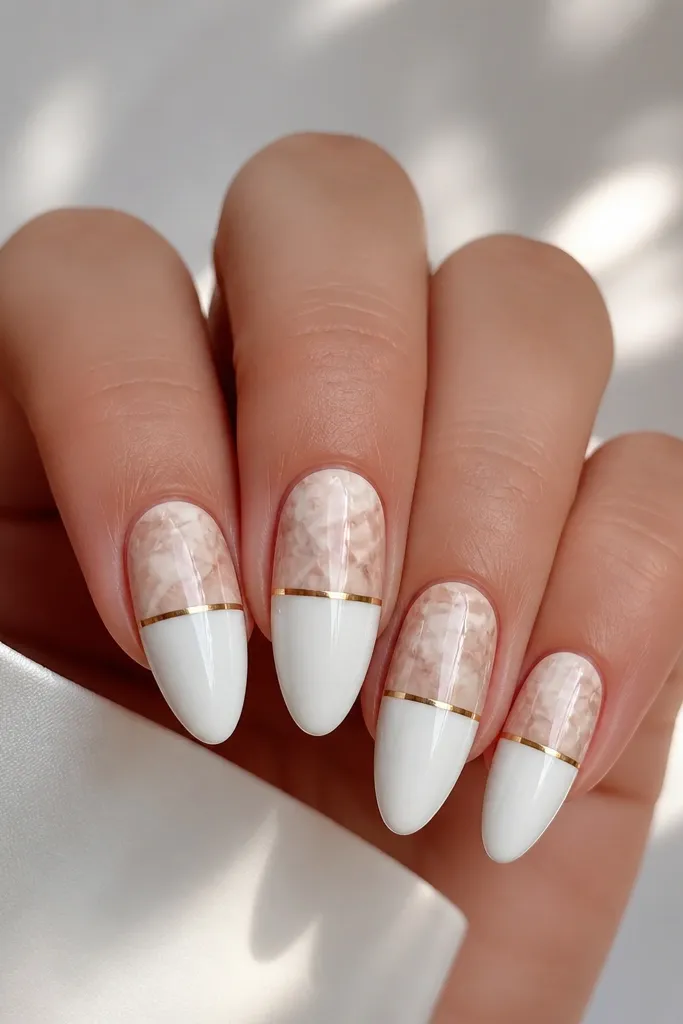
This one is great when you want a pattern but you also want it controlled. The half-tip marble adds interest only at the top, so the nail still looks neat on smaller lengths. The thin horizontal gold line acts like a divider belt, which helps the design look intentional instead of random. I like it on medium and deeper skin tones because the white base brightens without washing you out.
Start with solid white gel on the lower half of the nail, leaving the top half for marble. Create marble on the top half using a white base with faint gray-white swirls. Add a thin gold horizontal line across the exact boundary between the two sections using a striping brush. Keep the line straight and about 0.5 to 1 mm wide, then seal with glossy top coat.
Use tape as a temporary line guide for the boundary — remove it before the gold cures fully if your gel system needs that timing.
A thick gold divider makes the nail look shorter and heavier.
13. Reverse French White with Gold Side Corners
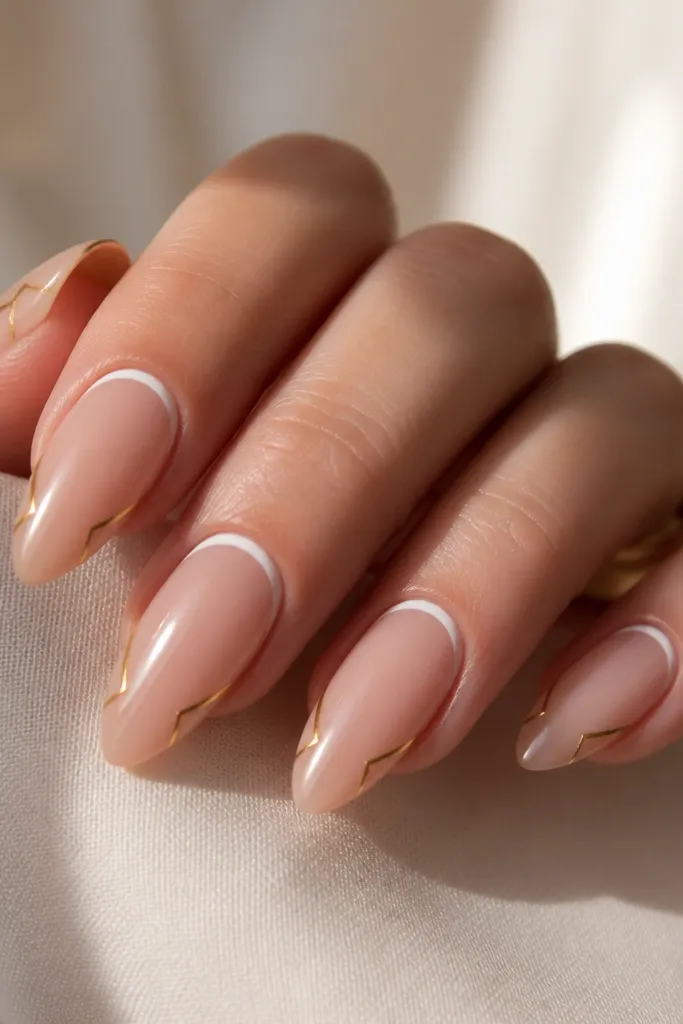
Reverse French makes nails look longer because the main color sits near the cuticle instead of the tip. On small spaces, that shift matters. The gold side corners add a sharp, classy frame without covering the center, so the nail still feels airy. This design flatters hands that look better with a clean cuticle line and people who hate bold tip art.
Editor's noteIf your cuticle line is hard to keep crisp, use a striping tape curved to your nail shape as a guide for the white curve.
Apply a sheer nude base and cure. Paint a thin white reverse French curve right at the cuticle line, keeping it narrow and smooth. Add small gold corner accents on each side, angled toward the tip — place them around the middle third of the nail. Seal with glossy top coat and cap the edges so the reverse French line doesn’t lift.
Skip thisPutting gold too close to the cuticle makes it look like a grown-out mess.
14. White Sleek Base with Gold Halo Around the Tip
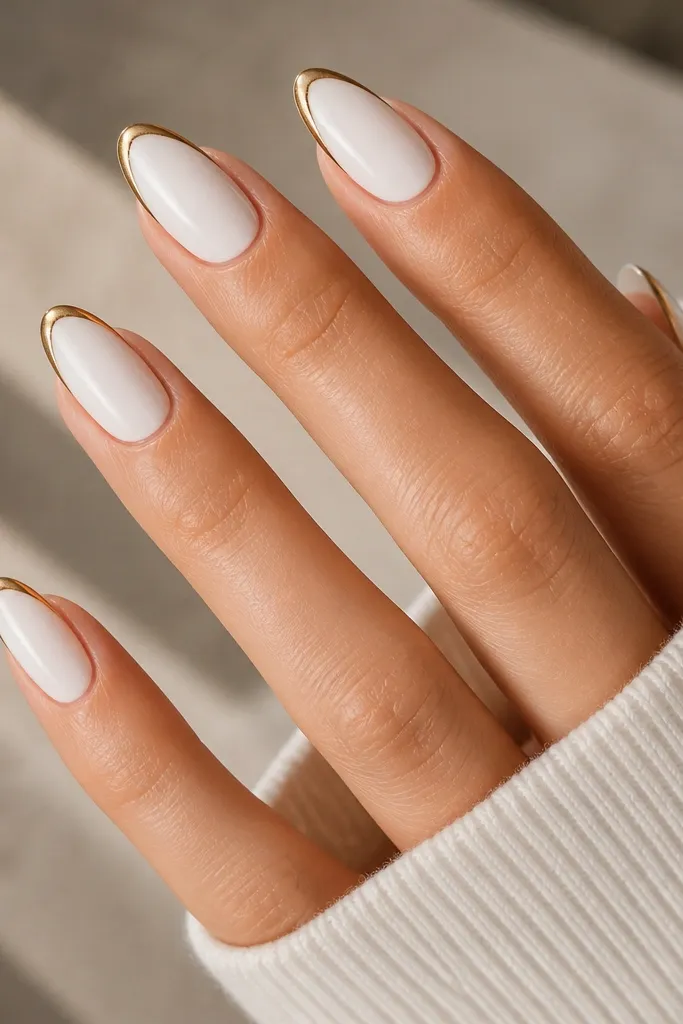
A halo ring at the tip gives a “jewelry set” look while staying minimal, and that’s exactly why it works in a small space. The white base is smooth and reflective, so the gold reads crisp instead of dull. Because the gold is even and thin, it doesn’t crowd the almond outline. I’ve worn this to office events where I wanted polish without loud decals, and it still photographed beautifully.
Editor's noteIf your halo ring gets too thick, remove excess gold with a clean liner brush before curing.
Paint a glossy white base in two coats and cure fully. Use a thin striping brush to draw a ring around the tip edge, leaving the center of the tip white. Keep the gold ring width around 0.5 to 0.8 mm and stop the ring before it touches the sidewalls too much. Finish with glossy top coat and wipe clean so the gold stays sharp.
Skip thisMaking the halo ring uneven or too wide turns it into a thick border that shortens the nail visually.
15. Porcelain White Almond with Gold Chain-Link Half-Wrap
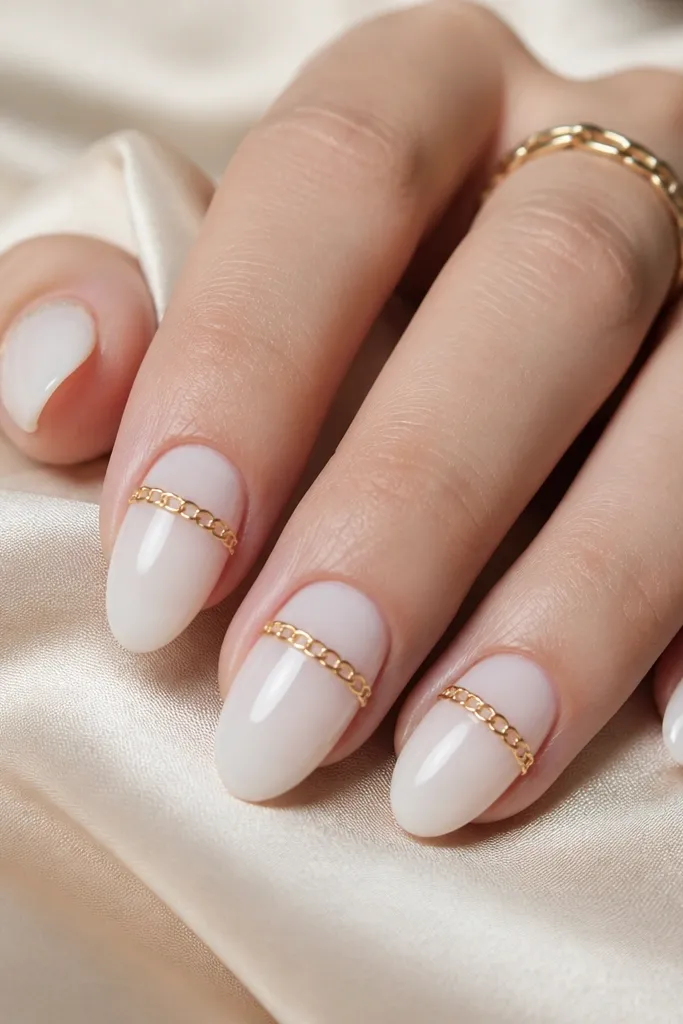
This look is classy because the white reads like porcelain, not chalky, and the gold detail looks like jewelry instead of nail art stickers. I’ve done it for dinners where I wanted something “put together” without full gold tips, and the half-wrap keeps it from getting heavy. The chain-link pattern also gives motion — the light hits each link differently as your hand moves. It works especially well on almond shapes because the sidewalls are smooth enough to make the wrap look intentional. If you want white and gold for a small space style — short nails, narrow nail beds, or small hands — the half-wrap keeps the design focused and clean.
Editor's noteIf your chain links lift at the edges, file the top of the links lightly with a 180-grit buffer before the final gel cap. That tiny roughing step helps the clear gel grip instead of sliding.
Start with a milky white base that looks like glass under light. I use a porcelain white gel (opaque in two thin layers) and cure each layer fully, then add a glossy top coat before any gold goes on. Apply a thin strip of gold chain-link nail strip or individual link charms to one side of the nail, halfway across the nail width. Press the chain into tacky base gel, then cap it with a clear gel so the edges feel smooth when you run your finger over it. Stop the chain at the same height on every nail so the set looks balanced. For extra polish, add a second clear gel layer only over the chain area to lock it down without flooding the cuticle line.
Skip thisAvoid using a matte top coat on the porcelain base — it makes the white look dusty and the gold chain looks dull.