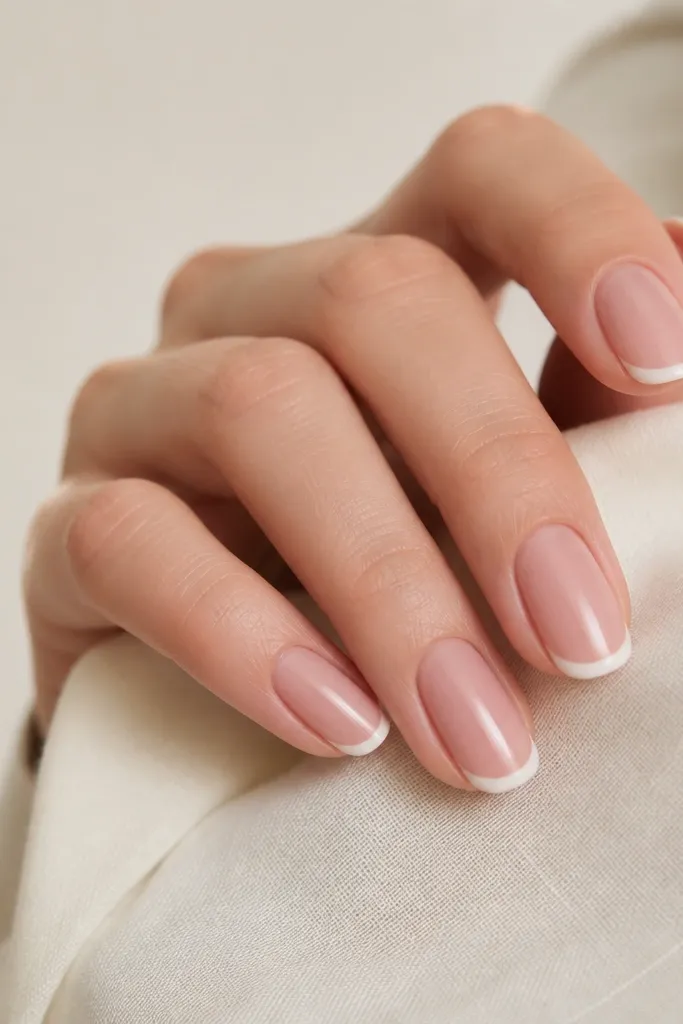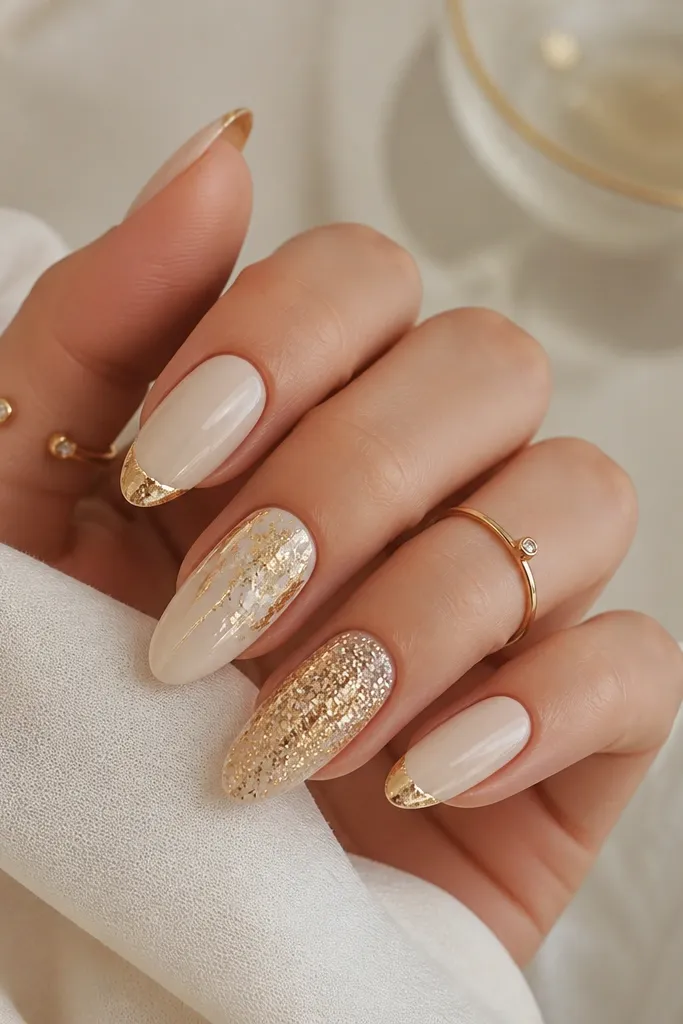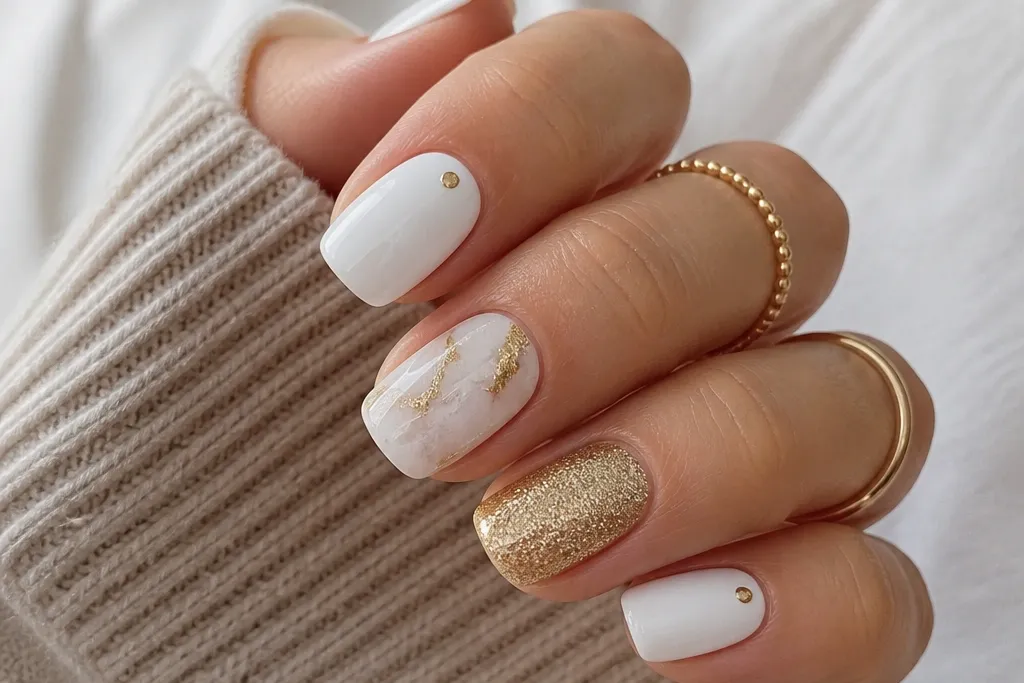

1. Micro French with Gold Foil Corner
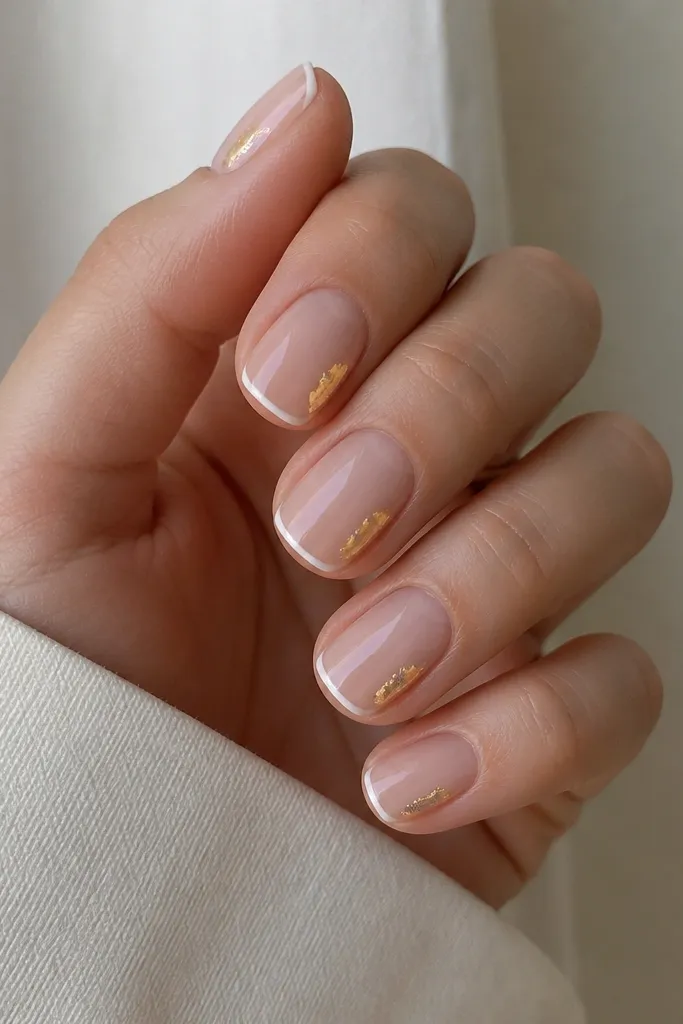
This one is my go-to when someone wants “salon nails” but doesn’t want heavy gold. You start with a super thin French line so the white looks sharp, not chunky. Then you add a tiny gold foil corner on the outer edge, which catches light without covering the whole nail. It flatters short to medium nails because the gold is placed where your eye already lands — the nail still reads long and clean. It also looks great on warm and neutral skin tones because the white stays bright and the gold warms everything up.
Start by applying a base coat and then paint two thin coats of white only on the micro French tips, keeping the curve tight and the line narrow (think 1 mm at most). Cure fully if you’re using gel, or let each coat dry until it’s not tacky if you’re using regular polish. After that, dab small pieces of gold foil on just the outer corner of each nail — press lightly, then lift to reveal crisp edges. Finish with a glossy topcoat over the whole nail so the foil won’t snag.
If your foil keeps sliding, use a tiny amount of foil glue on the corner and let it go tacky before you press the foil.
Avoid a thick French line — wide white tips make the gold look like an afterthought and the whole set reads cheap.
2. White Base with Gold Center Stripe (Strip Tape)
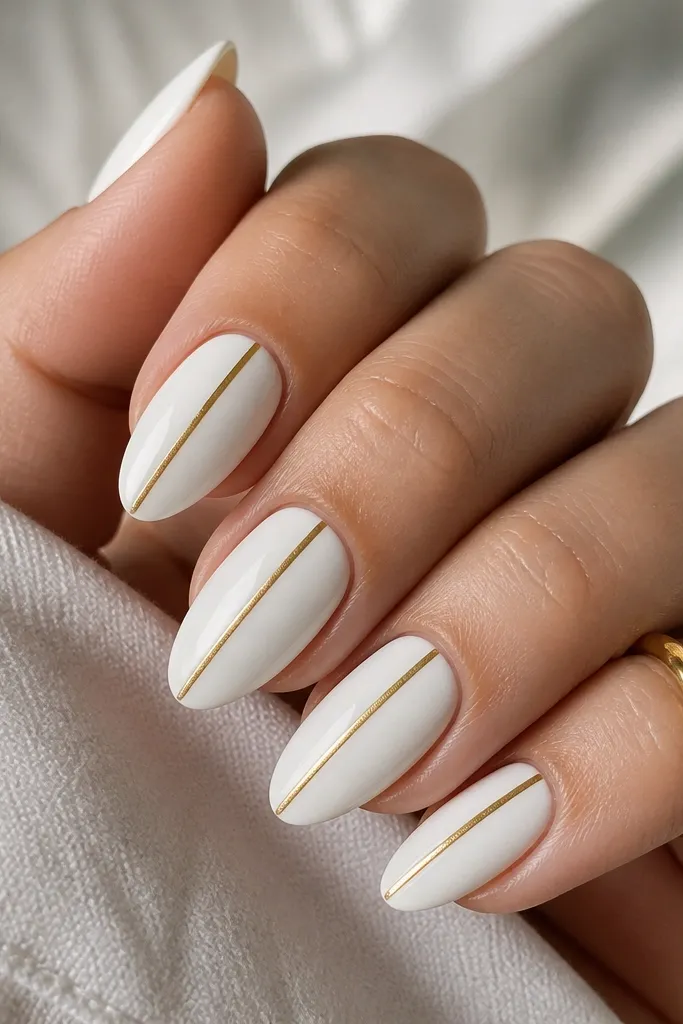
This design looks expensive because it’s clean geometry. A solid opaque white base gives you that crisp “porcelain” look, and the one center line of gold makes it feel intentional instead of busy. The center stripe lengthens the nail visually, which is why it works so well on shorter shapes and wider nail beds. On fair skin it looks bright and modern; on deeper skin it still pops because the white is opaque and the gold reflects warmth. I love it for office days and weddings because it reads polished even if you’re not doing rhinestones.
Paint two thin coats of opaque white, then let it dry fully or cure it. Cut a strip of gold strip tape to match each nail length and press it straight down the center, starting a hair’s breadth away from the cuticle so it doesn’t flood your skin. Press firmly with a silicone tool so the tape edges seal. Remove excess tape at the tip line, then seal everything with two coats of glossy topcoat.
Editor's noteUse a small piece of tape as a guide on your first nail so you can repeat the stripe angle on every finger.
Skip thisDon’t angle the stripe — a tilted center line makes the set look messy, especially on camera.
3. Gold Half-Moon Cuticle with Soft White Wash
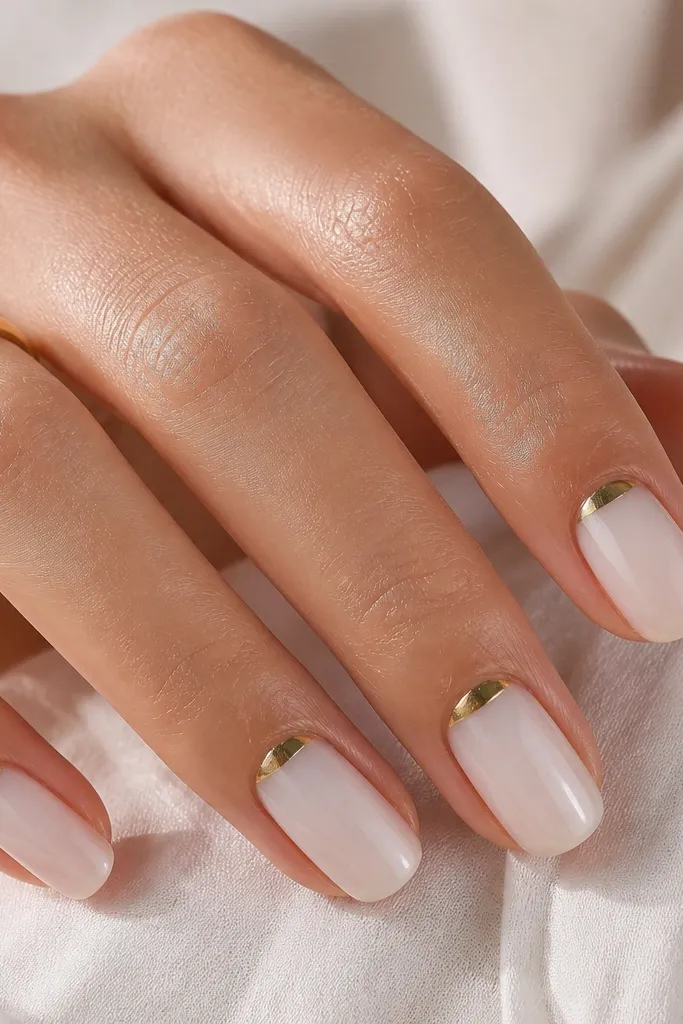
This one is elegant and forgiving because the white wash is not a full opaque cover. You get brightness from white over the nude, while the gold half-moon at the cuticle adds that “designer manicure” detail without taking over the nail. It flatters hands with dry cuticles because the gold sits right where your eye focuses and the nude base blends any tiny unevenness. It also looks great on all skin tones because the base is neutral and the gold warms the look. I wear this when I want something chic but low-maintenance.
Start with a nude or sheer pink base coat. Then sponge a light white wash over the top (using a small makeup sponge) so the white looks like a soft layer, not streaks. Cure or dry it, then use a fine brush to paint a crisp gold half-moon at the cuticle, leaving a tiny gap for a clean border. Seal with glossy topcoat to smooth the sponge texture.
If your half-moon gets messy, clean the edge with a cotton swab dipped in remover right after painting.
Skip full opaque white if you’re using a sponge — it turns chalky fast and loses the soft effect.
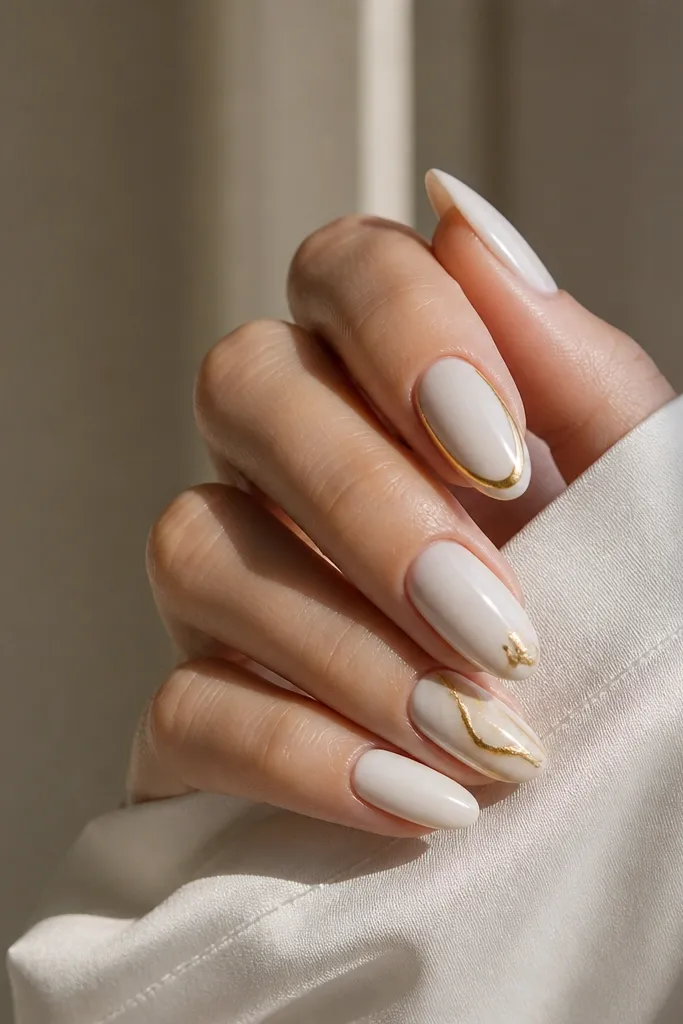
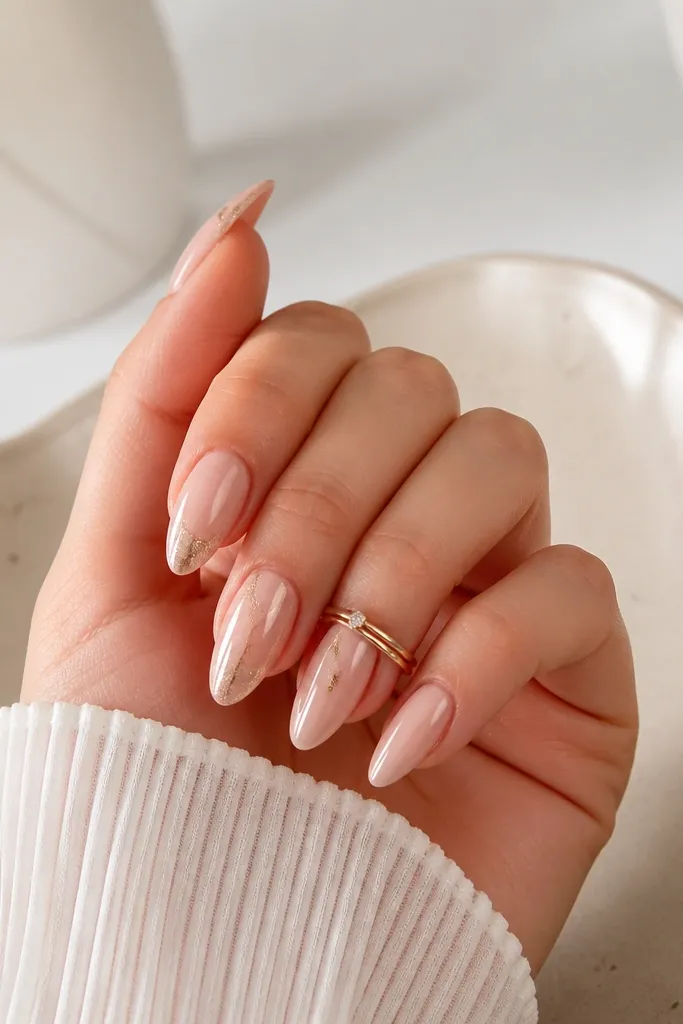
4. White Marble with Foil Leaf Veins
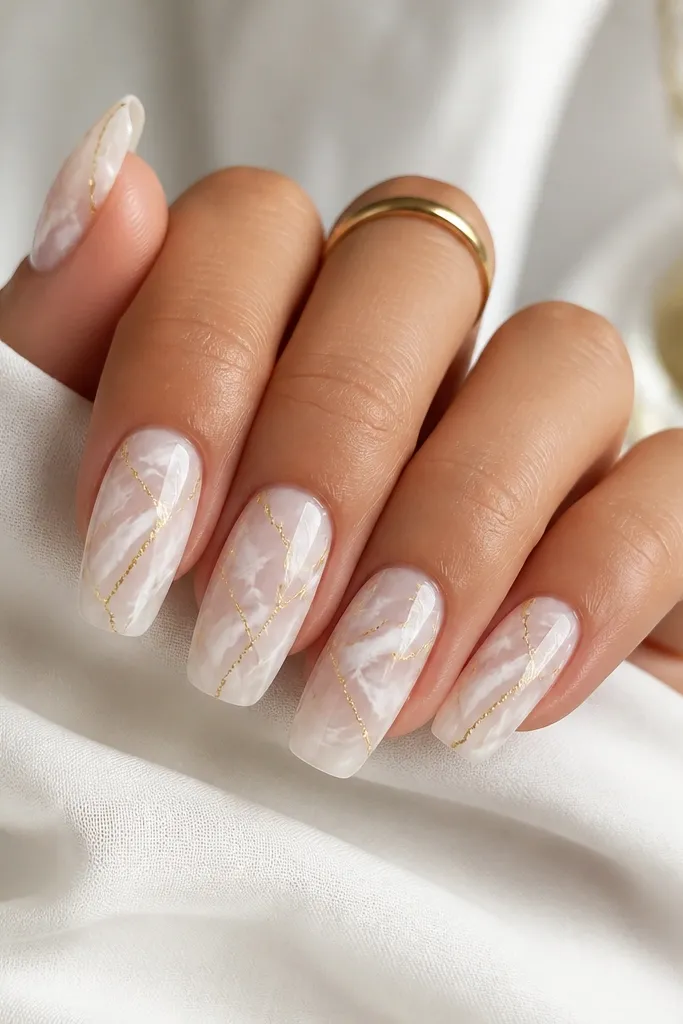
Marble nails look expensive when the white is layered and the gold follows the “vein” direction. I use a milky white base first, then drag darker white through it with a thin brush so it looks like stone, not blobs. The gold foil leaf veins add movement because the foil has irregular edges that mimic natural mineral highlights. This is flattering on long nails and on medium nails when you keep the marble veins thin. It looks stunning on cool undertones because the white stays crisp, and the gold warms it just enough.
Apply a milky white base in two thin coats and cure or dry fully. Create marble by adding a few small dots of thicker white on top, then swirl and drag them with a fine detail brush or a toothpick in random directions. Dab gold foil on top of the marble where you want highlights, pressing lightly so it transfers in thin islands. Finish with glossy topcoat, then wait a full hour before washing dishes so the pattern stays smooth.
Editor's noteUse a toothpick for the marble dragging — it gives you hairline veins instead of wide streaks.
Skip thisDon’t over-layer marble — too many swirls turn it into a muddy white mess.
5. Matte White Nails with Gold Outline Tips
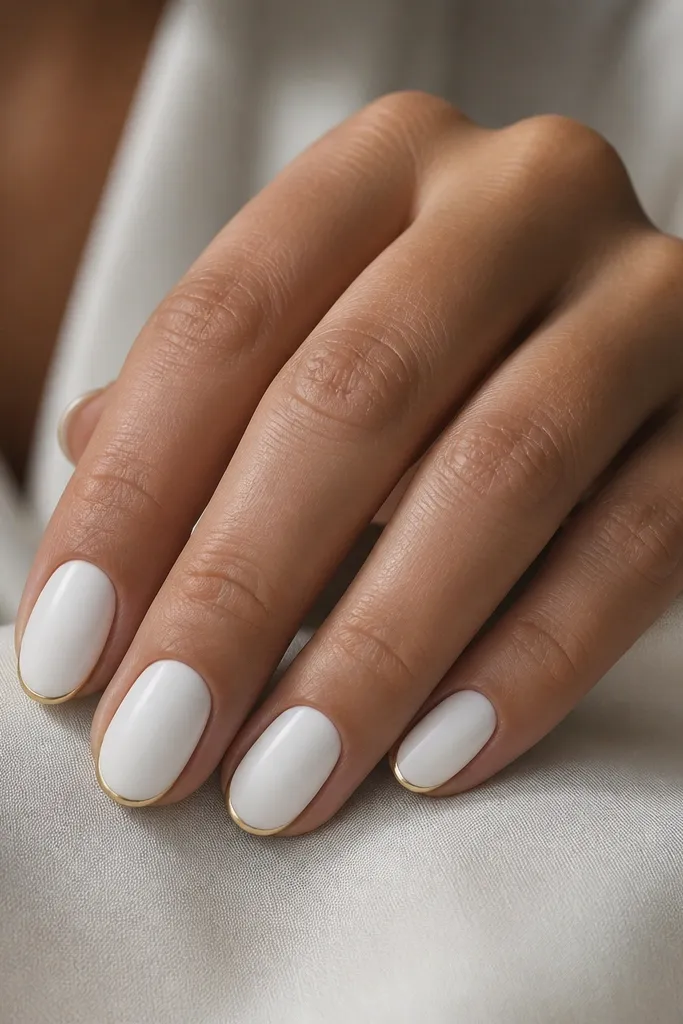
Matte white instantly makes gold look more luxe because the gold is the only shiny element. This design is simple, but it looks high-end because the gold outline is thin and precise. It flatters short nails because the outline follows the nail edge and keeps the tip from looking blunt. On any skin tone, matte white is clean and modern, and the gold line adds just enough warmth. I also like it for winter — it looks like jewelry on your fingertips.
Paint two thin coats of opaque white and cure/dry fully. Apply a matte topcoat to lock in the finish. Use striping tape or a tiny detail brush to draw a thin gold outline along the tip edge, leaving a small white gap so the line looks crisp. Seal with a glossy topcoat only over the gold line if you want it to stay shiny, or skip sealing if your gold polish already has enough topcoat.
For the clean outline, stick striping tape first, paint gold over it, then remove the tape while the gold is still slightly wet.
Don’t cover the whole nail with glossy topcoat — it kills the matte-jewelry look.
6. White Gel Gloss with Gold Chrome Half-Moon
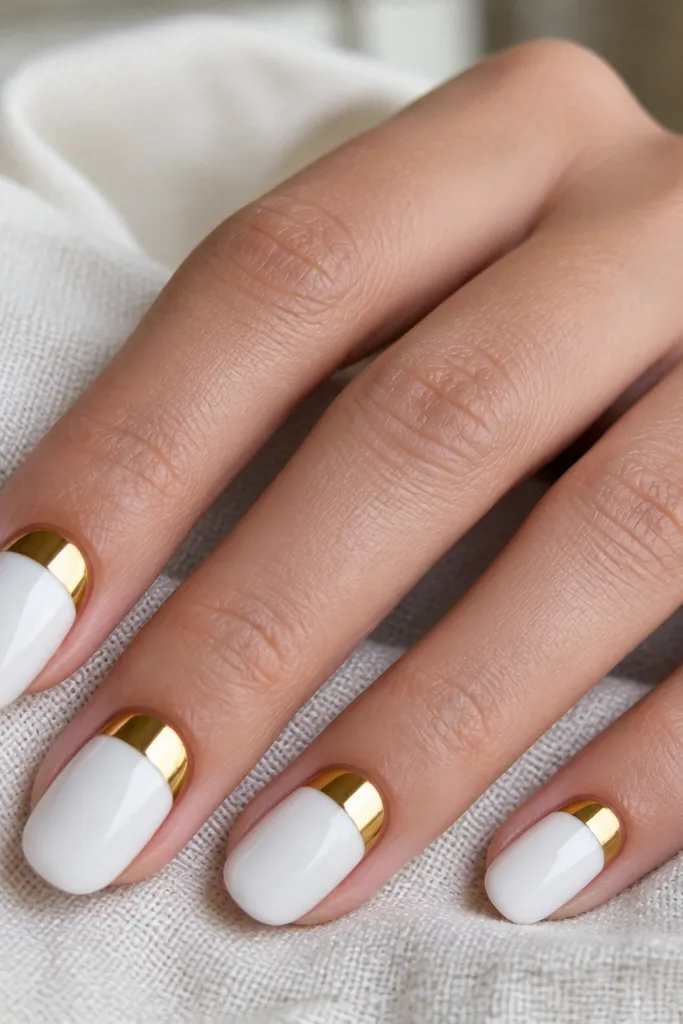
Chrome at the cuticle is a fast way to look like you paid more. The half-moon shape keeps it tidy, and the mirror finish reflects light in a way loose glitter never will. I use this on people who want “glam” but still want a neutral palette. It flatters medium almond and short oval because the half-moon frames the nail bed without making it look crowded. It also works on every skin tone because the chrome has both yellow and reflective neutral tones.
Apply a glossy white gel in two thin coats and cure each coat properly. Wipe with gel cleanser if your gel leaves tacky residue. Add a small amount of tacky base or gel at the cuticle half-moon area (about one-third of the nail width), then press gold chrome powder into that area with an applicator sponge. Brush off excess chrome, then seal with a glossy topcoat that doesn’t dull the chrome (use a thin first coat, cure, then a second coat).
Do the chrome right before topcoat so it doesn’t dry out or lose adhesion.
Don’t rub chrome hard — it smears and you lose that crisp mirror edge.
7. Gold Dotted Confetti on White (Dotting Tool)
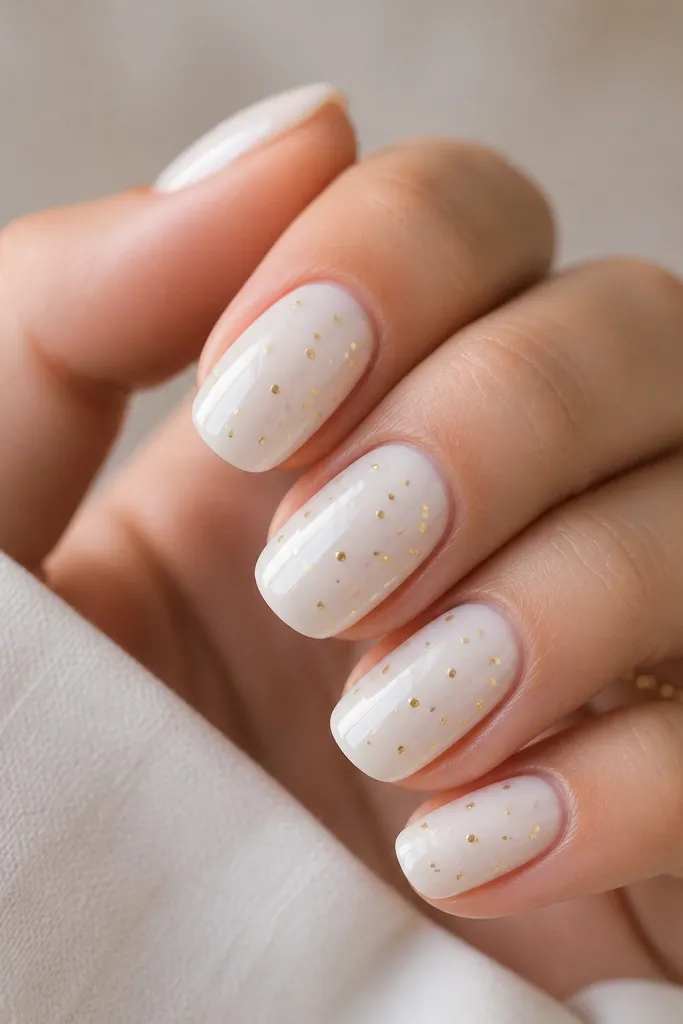
This is the fun, party version that still reads chic because the dots are tiny and the white is clean. Gold dots catch light in small flashes, so the manicure looks expensive when it moves. It’s flattering on short nails because the dots don’t take up much real estate, and the white base keeps everything bright. If your hands run warm-toned, the gold dots add brightness without clashing. I also like this for birthdays and holiday dinners because it looks playful without going full rainbow.
Start with two thin coats of opaque white and cure/dry completely. Dip a dotting tool into gold foil gel, gold acrylic paint, or metallic nail polish, then place small dots starting around the center of each nail. Keep dot sizes consistent by cleaning the tool between nails. Finish with glossy topcoat, and if you used foil gel, use a slightly thicker topcoat around the dots to smooth the texture.
Use a toothpick to place the first few dots, then switch to the dotting tool for the rest so your spacing gets steady.
Avoid big dots — larger circles turn into blobs and look less intentional.
8. White and Gold Bezel Frames (Rhinestone Alternative)
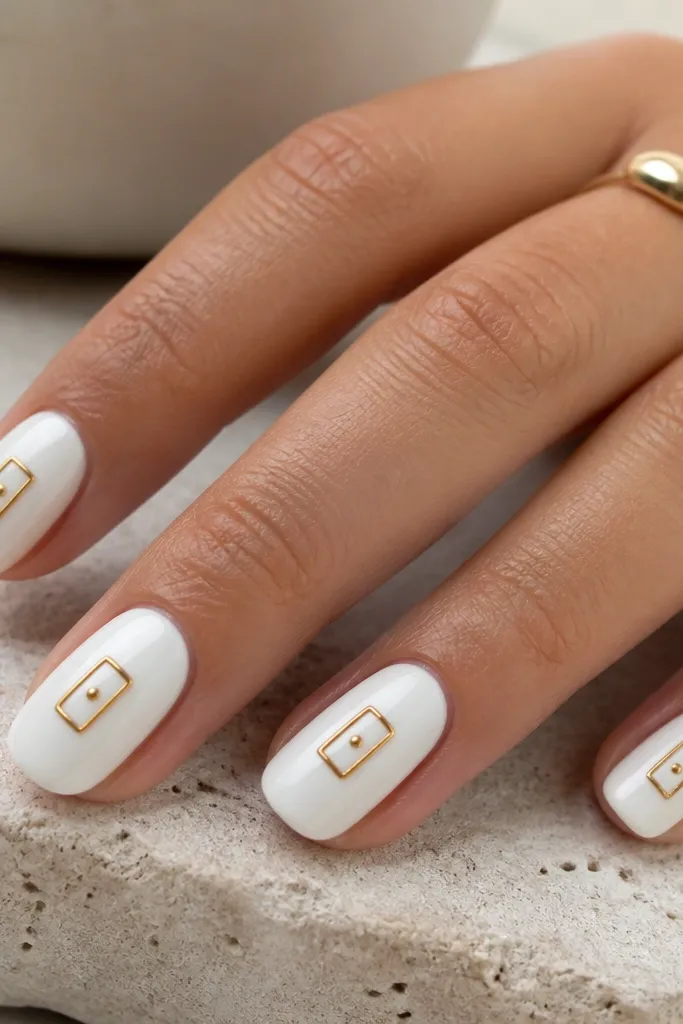
Frames look expensive because they mimic jewelry settings without needing a pile of crystals. You get the white background to keep it crisp, and the gold “bezel” lines create structure. This flatters shorter nails because the frame sits in the middle and doesn’t crowd the cuticle. It also works for people who hate rhinestone texture snagging on sweaters or bags. On deeper skin tones, the white looks bright and the gold frames look like metal hardware.
Paint two thin coats of glossy white and cure/dry. Use striping tape to outline a small rectangle centered on the nail, about the width of a pea — not bigger. Paint the inside edges with metallic gold polish or gold gel, then remove the tape while it’s still wet or immediately after curing. Add a tiny gold dot in the center with a dotting tool, then seal with glossy topcoat in two thin layers.
Make the frame slightly wider at the top edge — it looks more like a real bezel when light hits it.
Don’t use thick gold paint for the frame lines — it drips and makes the rectangle look uneven.
9. White Tips with Gold Leaf Placement (Asymmetrical)
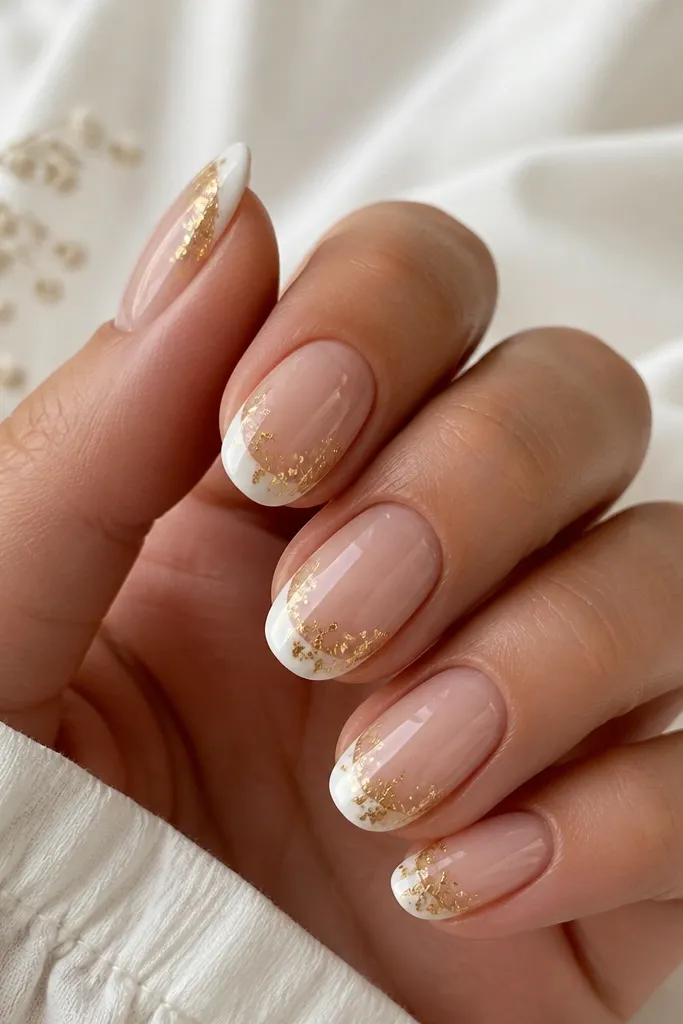
Asymmetry is what makes this feel editorial instead of basic French. The top-third white tip is bold, and the gold leaf on one side gives you that “caught the light” effect. It works best on medium almond and squoval because the curve of the tip looks smooth and the gold has room to sit. It’s flattering for hands with shorter nail beds because the white tip pushes the visual length upward. I like this for photos because the gold leaf looks different in every frame.
Prep and base coat, then paint a smooth white tip covering about one-third of the nail. Use a thin brush to keep the curve clean and avoid flooding the sides. After the white is cured or fully dry, press gold leaf on only one side of the tip — outer corner or just off-center looks best. Seal with glossy topcoat, then do one extra topcoat around the leaf edges so it stays snag-free.
Trim the gold leaf into smaller pieces before you apply it so the placement stays sharp.
Avoid symmetrical gold leaf placement on every nail — it starts to look like a sticker sheet.
10. White Ombre with Gold Edge Fade
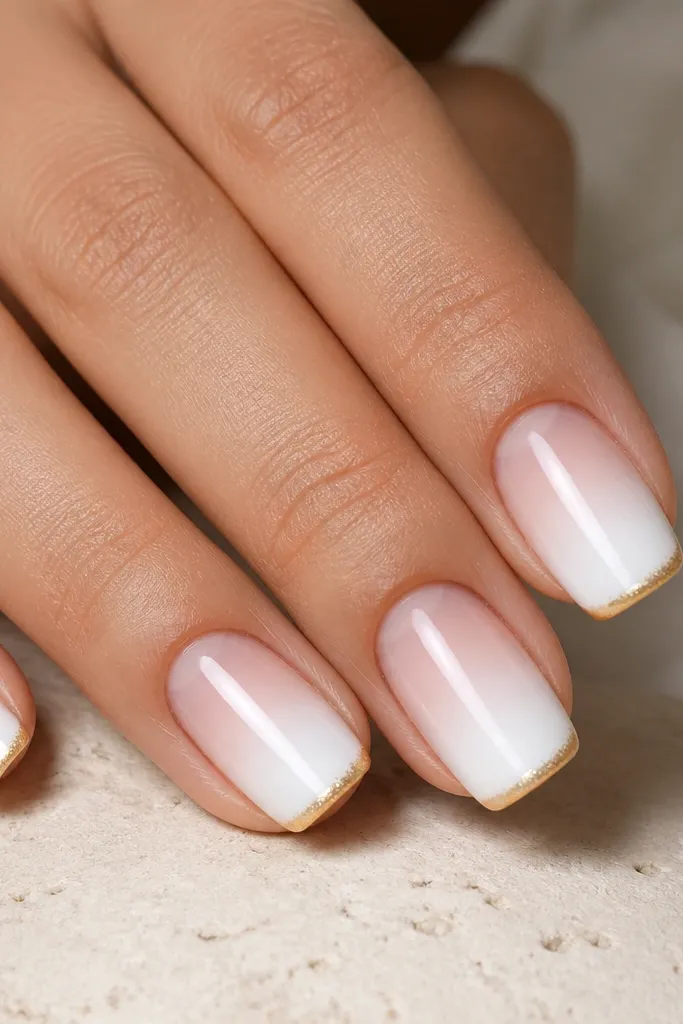
Ombre makes nails look custom because the gradient smooths out any unevenness in nail shape. The white-to-sheer transition keeps the look light, and the gold edge fade adds a luxe finish without covering the whole nail. This is flattering on most nail lengths, especially if your nails are slightly uneven — the gradient hides it. The gold edge is best for neutral skin tones and warm undertones because it warms the white without making it look yellow. It’s also a good choice for beginners because you’re blending, not drawing perfect lines.
Paint a sheer base or nude underlayer, then sponge on a white ombre from mid-nail to tip. Use a makeup sponge and do 3 light passes so the fade stays smooth and translucent near the cuticle. Let it dry/cure, then take a tiny striping brush and paint a thin gold line right along the tip edge. Drag the gold line slightly into the white with the brush tip so it fades instead of sitting as a hard stripe. Finish with glossy topcoat.
Wipe the brush on a paper towel first — it keeps the gold from turning into a thick band.
Don’t sponge too hard — heavy pressure creates patchy ombre that looks homemade.