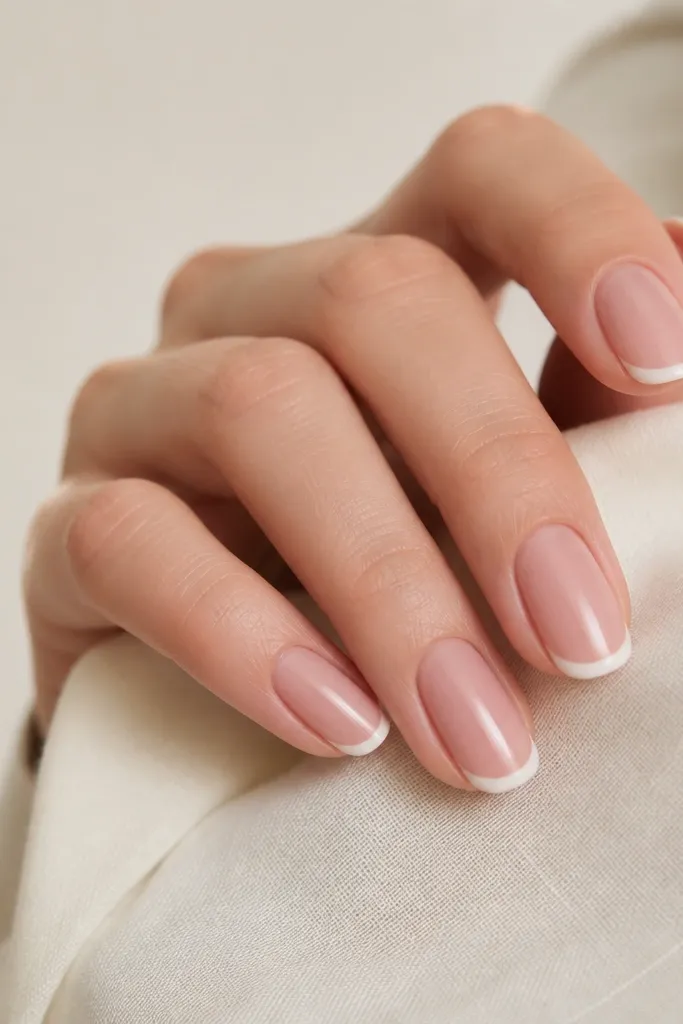
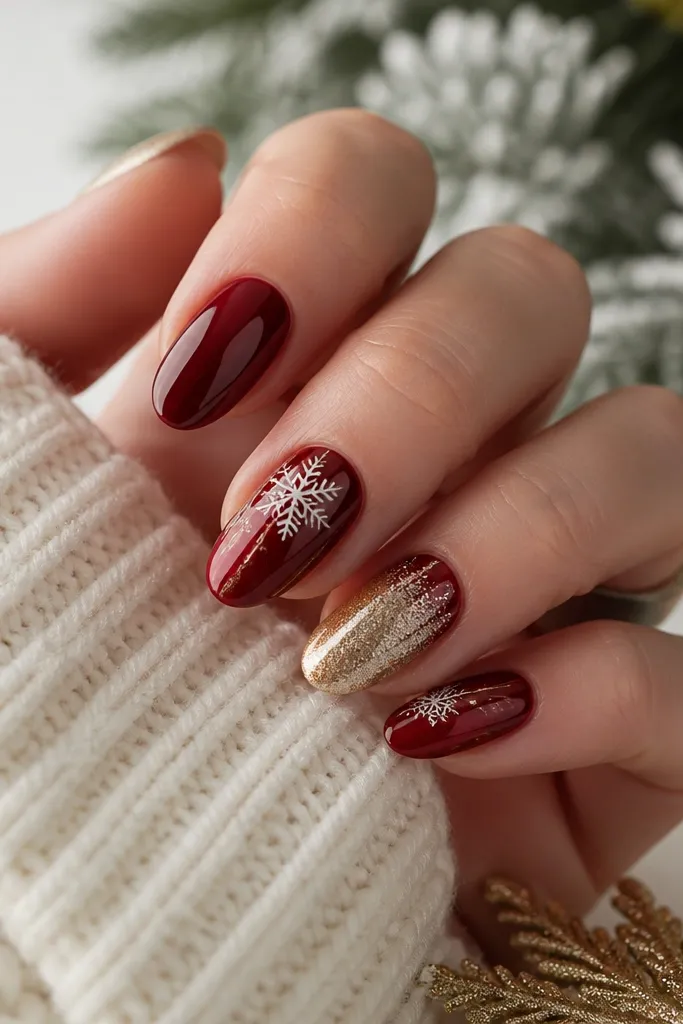
1. Cranberry Red French with Tiny Silver Tips
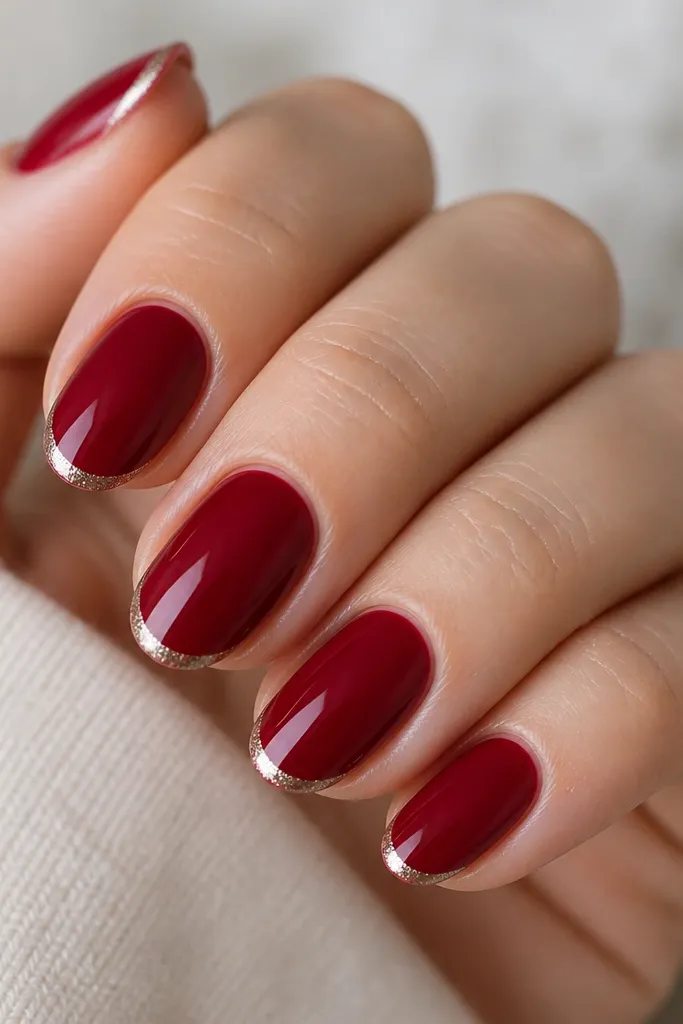
This look is classy because it reads like a manicure first and Christmas second. The cranberry red has enough depth that it doesn’t look bright or childish, and the tiny silver tips catch light in a photo without turning into glitter everywhere. It flatters most skin tones because the red is balanced — it doesn’t lean orange or neon. On short almond or squoval nails, the French line makes fingers look longer without needing big art.
Start by prepping your nails and pushing back cuticles, then apply a gel base coat and cure. Paint two smooth coats of cranberry red, keeping the edge thin and even. Once cured, use a fine striping brush to draw a thin French arc at the tip and cure. Add micro silver shimmer only in that arc — press lightly so it stays concentrated at the edge — then seal with a glossy top coat and cure fully.
Editor's noteWipe your brush with a lint-free pad between red and silver so the French line stays razor-sharp.
Skip thisSkipping a clean French line makes the set look like smudged polish under flash.
2. Forest Green Velvet Base with One Matte Star Nail
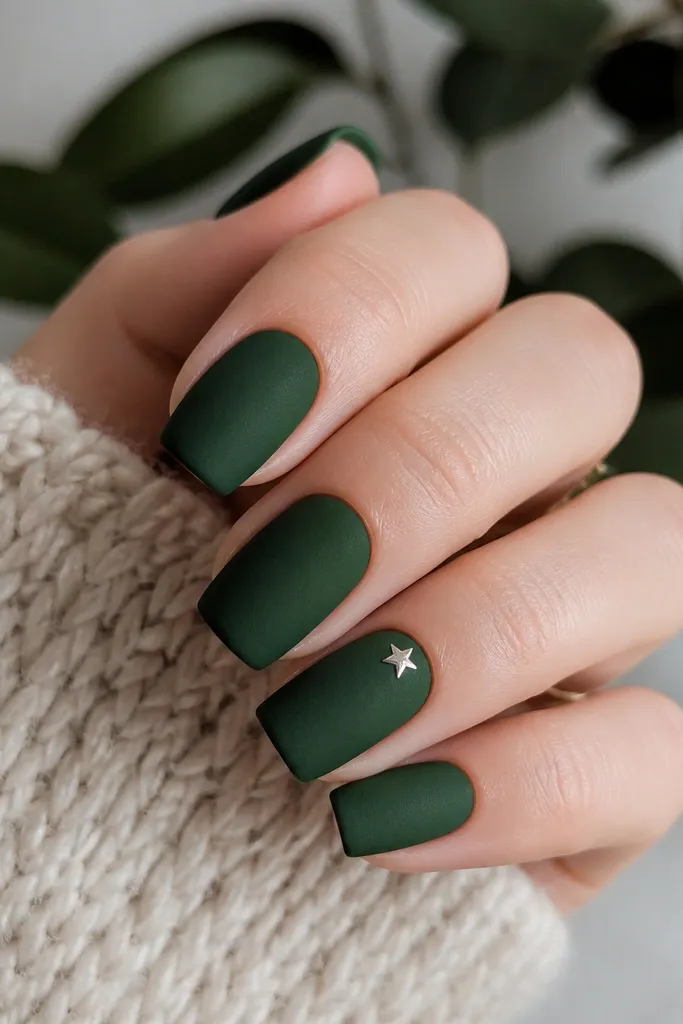
Forest green looks grown-up on everyone because it’s dark without being black. A velvety matte finish hides minor texture and makes the color feel rich, while the single star gives you that holiday wink without overdoing it. I like this on medium squoval because the matte finish already adds softness. Cool and neutral skin tones look especially crisp against forest green, and warm tones still work because the green reads deep, not icy.
Apply base coat and cure, then paint two coats of forest green with a matte or velvet-effect gel and cure each layer. Leave one nail glossy for the accent if you want the star to pop, otherwise keep it matte for a more subtle look. Use a dotting tool or a small nail art brush to place a five-point silver star near the upper third of the accent nail. Finish with matte top coat on the green nails and a thinner top coat on the star nail so the star doesn’t get dulled too much.
Editor's noteIf your matte top coat dries streaky, stir gently (don’t shake) and apply in thin coats.
Skip thisPutting stars on every nail makes it look like costume glitter instead of a manicure.
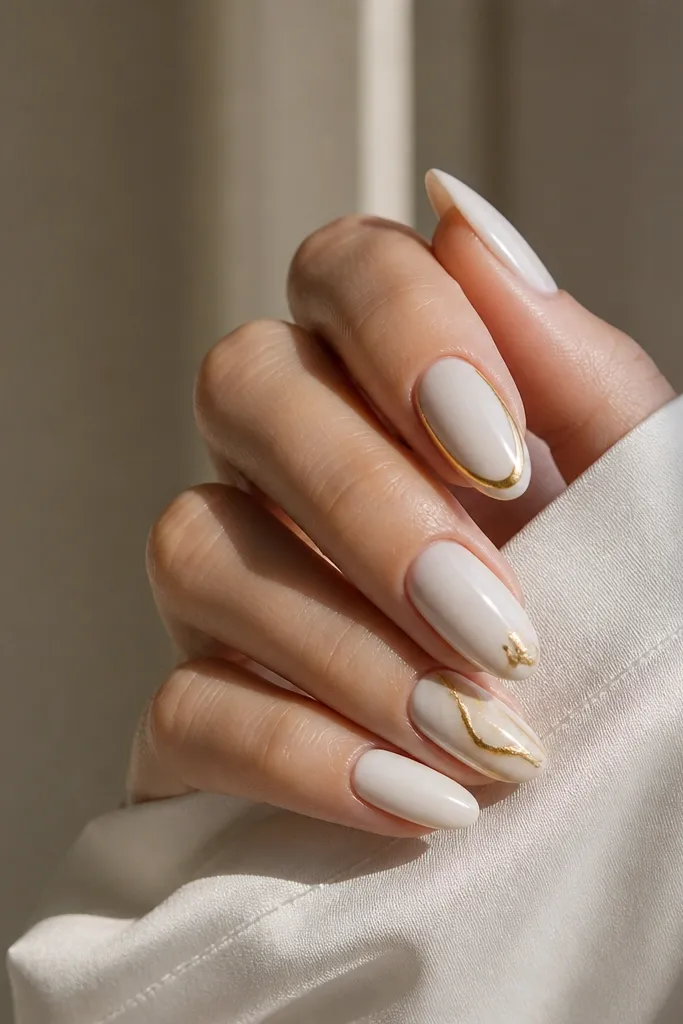
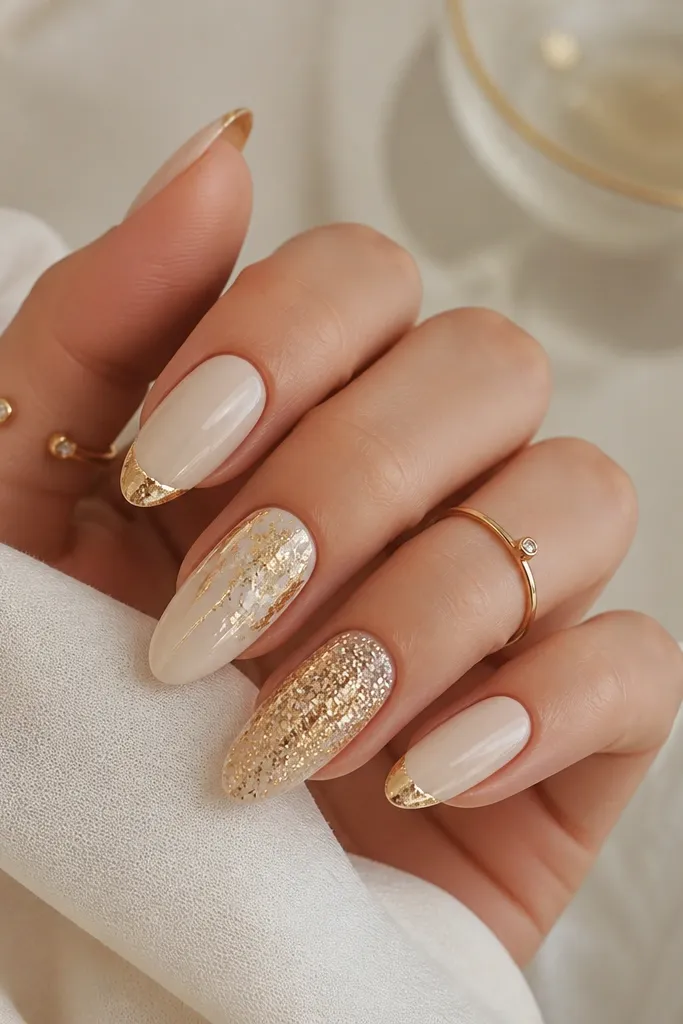
3. Champagne Nude with Gold Foil Half-Moons
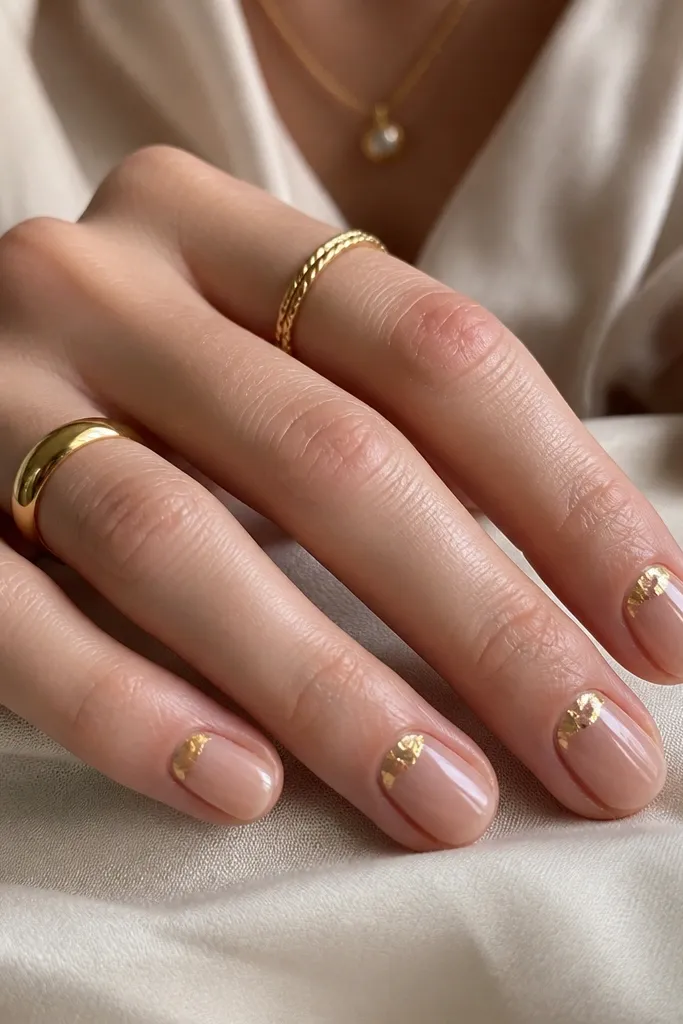
This is the “classy holiday” set I reach for when I want something elegant but still festive. The champagne nude gives a smooth, flattering tone, and the gold half-moon near the cuticle makes your nails look intentional and slightly dressed up. Gold foil is forgiving because it hides tiny placement imperfections and still looks luxe. It works great for hands that feel dry — the sheer nude makes the skin look brighter, and the foil draws the eye upward.
Start with a sheer nude base (two thin coats so it stays airy) and cure each coat. Use a small sponge or a gold foil transfer sheet to press foil only into the cuticle crescent area — aim for a clean half-moon, not a full circle. Seal the foil with a foil-safe top coat in a thin layer, then cure. If you want extra shine, add a second glossy top coat after the first one is cured.
Keep the half-moon slightly off-center on one or two nails — it looks more natural than perfectly identical crescents.
Overloading foil so it spreads onto the nude turns the look from “intentional” to “messy.”
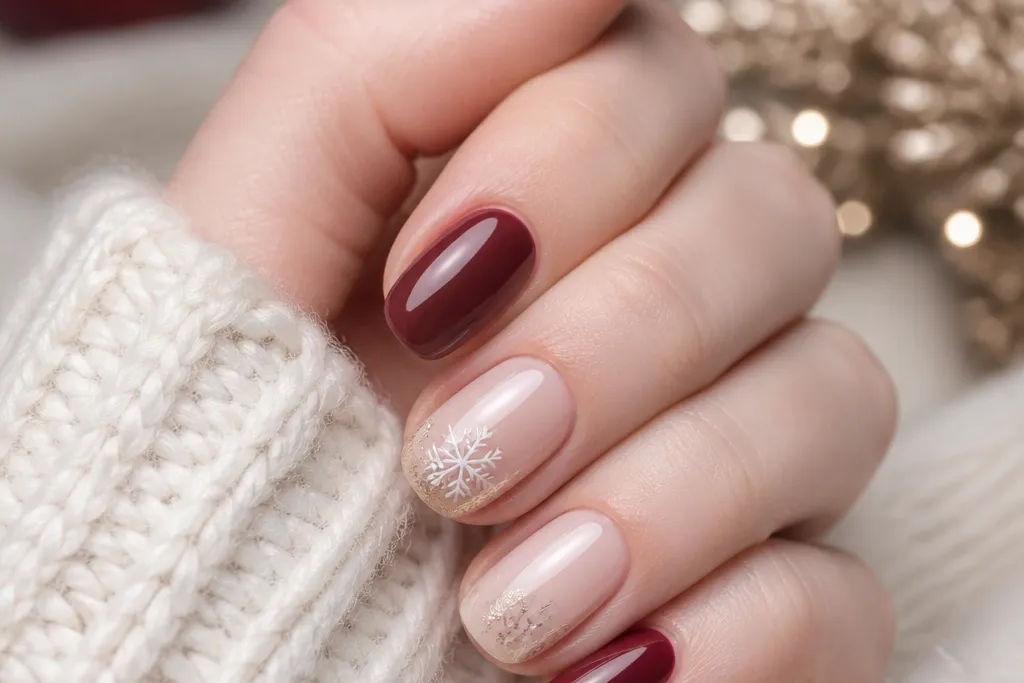
4. Icy Silver Shimmer Ombré with Clear Negative Space
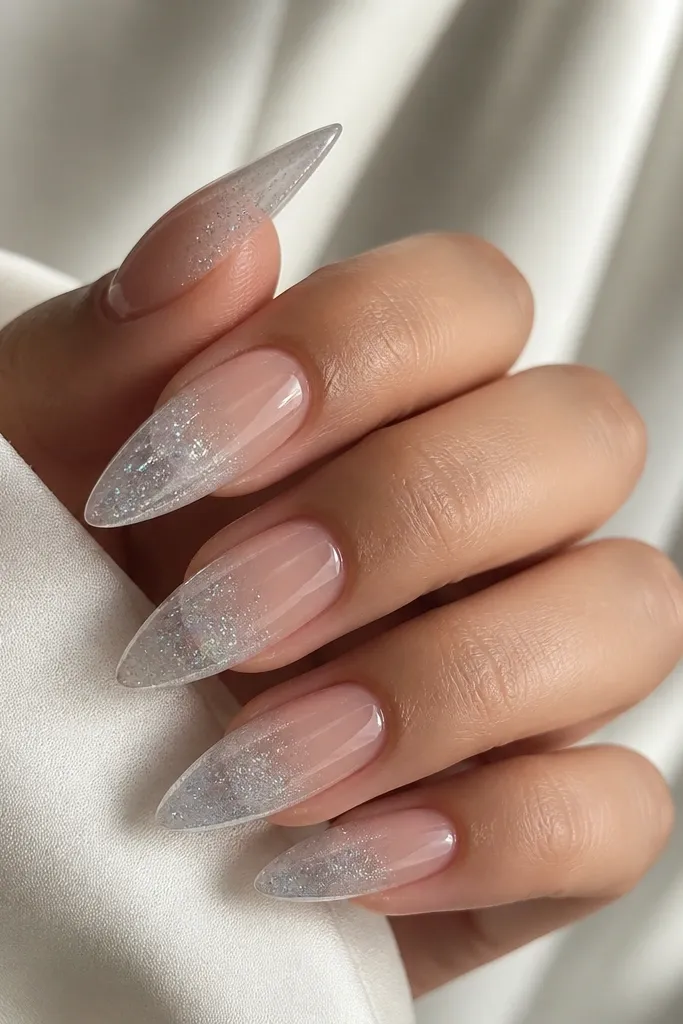
This design feels expensive because it uses breathing room. The clear negative space keeps it light, while the icy silver ombré gives that winter glow without turning your nails into full glitter blocks. It flatters short nails because the fade makes the tip look longer, and it looks great on both cool and warm skin tones since silver works as a neutral highlight. In photos, the shimmer reads like snow sparkle instead of rough glitter.
Apply a clear or sheer base coat and cure, leaving the center area transparent. Sponge on icy silver shimmer starting at the tip and blending upward about one-third of the nail, curing after you get the coverage you want. If you need more intensity, add a second thin ombré layer and cure again. Finish with a glossy top coat, and seal the free edge so the shimmer doesn’t lift.
Use a makeup sponge with minimal product — you want a foggy fade, not a thick stripe.
Filling the whole nail with shimmer — it kills the airy, classy effect.
5. Red and Gold Pinstripe Diagonal Accent on Nude
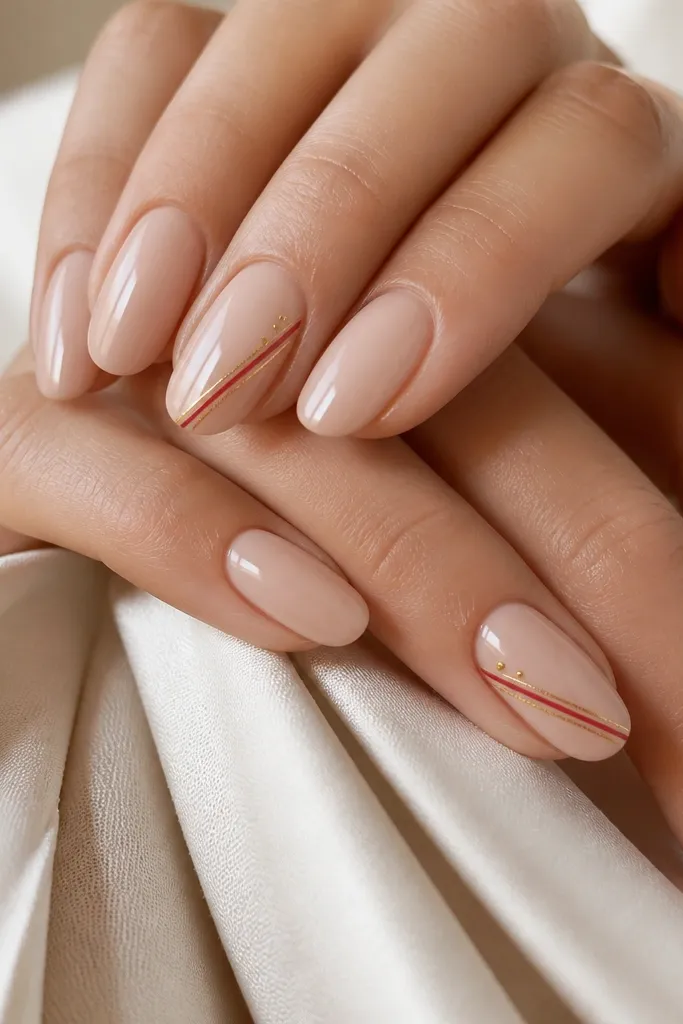
Pinstripes look classy when they’re thin and placed with intention. A glossy nude base makes the red and gold feel like jewelry, and the diagonal angle adds movement without turning into a full pattern. I like this for people who want holiday nails that still fit everyday outfits — it doesn’t scream “theme,” it reads “festive detail.” This flatters most skin tones because nude acts like a clean frame for the metal lines.
Paint all nails with a nude gel in two thin coats and cure. On accent nails, place a diagonal guide lightly with a striping brush and cure the red line first. Add a second thin gold line next to it while the red is fully cured, then place one or two tiny dot accents using a dotting tool. Top coat everything in glossy finish, and keep the pinstripes under a thin top coat so they stay crisp.
Editor's noteIf your stripes look shaky, rest your pinky on the table and pull the brush in one steady motion.
Skip thisThick stripes — they blur and look like marker lines.
6. Evergreen Swirl Tips with Micro Glitter Overcoat
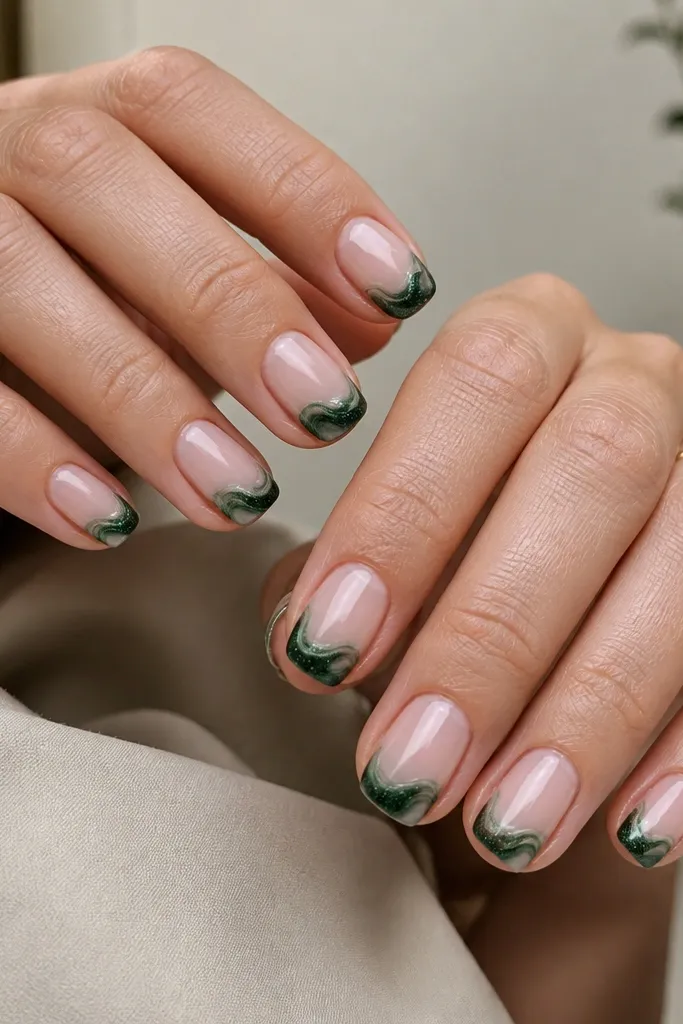
Swirl tips are festive without needing tiny snowflakes on every nail. Keeping the base sheer and letting the swirls live at the tip keeps the design elegant and not busy. Evergreen green gives a holiday feel that’s deeper than basic green polish, and the micro glitter over the swirl makes it look like it’s dusted with frost. This flatters hands that look better with clean negative space — it lengthens and keeps attention on the nails, not the cuticle.
Start with a sheer nude base and cure, then add two coats if you need opacity. Use a thin nail art brush to paint evergreen swirls only in the tip area, following the nail curve. While the swirl layer is cured, sprinkle or sponge micro glitter lightly over just the swirled sections and press gently. Seal with glossy top coat, dragging the top coat from cuticle to tip so the glitter is fully locked in.
Editor's noteWork with a small amount of glitter — you want frost texture, not a glitter cap.
Skip thisCovering the whole nail in glitter — it makes the nude base disappear.
7. Matte Nude with Red Candy Cane Stripe on One Nail Each Hand
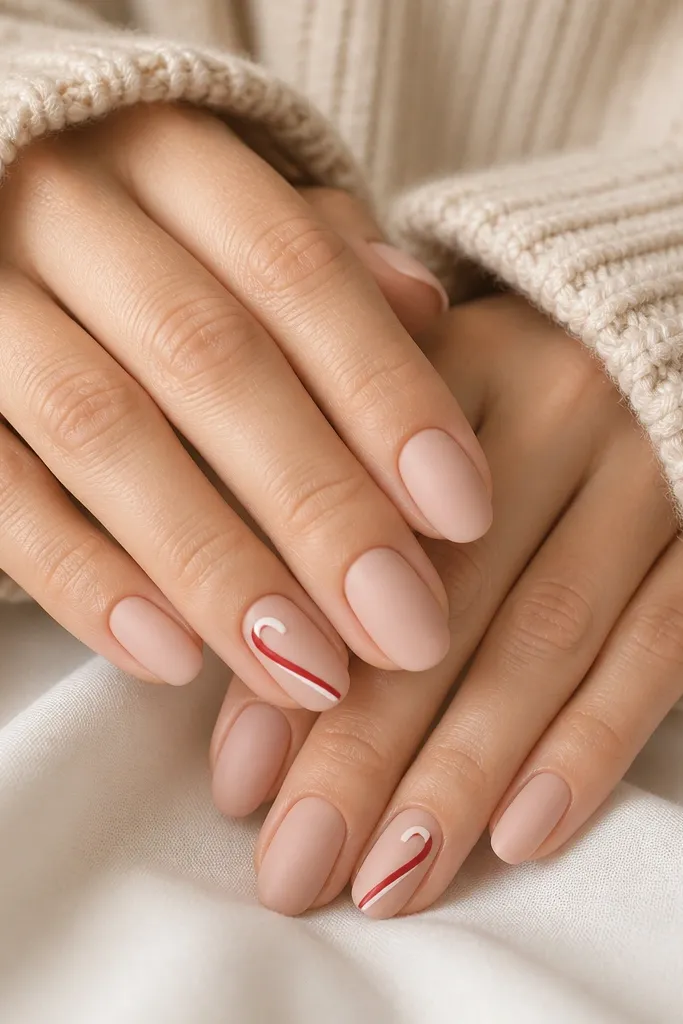
Candy cane nails can look childish if you do them on every nail. This version stays classy by using matte nude as the main look and putting the candy cane detail on just one nail per hand. The matte finish makes nude feel soft, and the red-and-white stripe reads like a clean graphic line. It flatters short to medium nails because the stripe draws the eye up. This is also a great option if you hate glitter but still want holiday energy.
Apply matte nude base in two thin coats and cure, then finish with a matte top coat. Choose one nail on each hand for the accent. Use a striping brush to paint a diagonal red stripe and cure, then add a thinner white stripe right next to it. Finish the candy cane hook at the tip with a small curved stroke, then top coat the accent nail with glossy top coat so the graphic detail pops.
Editor's noteIf your white polish is streaky, use a small amount on a palette and load the brush lightly.
Skip thisAdding bows, snowflakes, and multiple candy canes at once.
8. Black Cherry Gloss with Gold Dot Snowfall
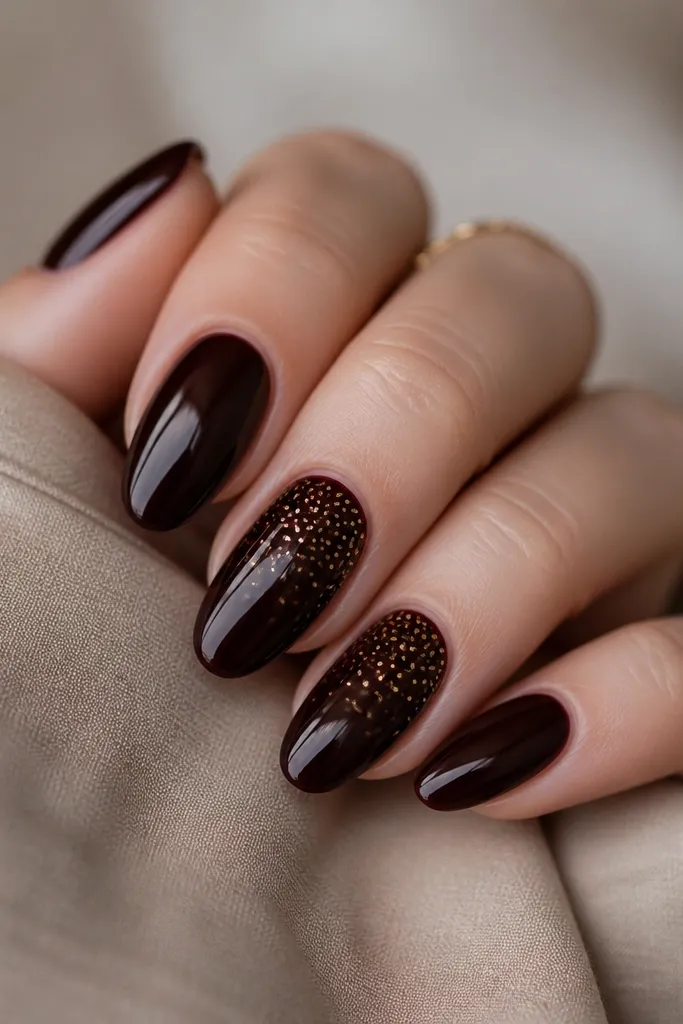
Black cherry gives you that holiday mood without going straight to green or red. The glossy finish makes the color look rich, and the gold dot snowfall adds a subtle celebration that still reads elegant. I like this on almond or squoval because the reflective surface flatters nail shape. It’s also forgiving on different skin tones because the dark cherry acts like a neutral — the gold dots bring warmth and sparkle without needing big art.
Paint all nails with black cherry gel in two coats, curing thoroughly. Pick two accent nails and add tiny gold dots using a dotting tool, placing more dots near the cuticle area and fewer near the tip. Keep the dots small — about the size of a pin head — and leave clear space between them so it doesn’t look like glitter. Seal with a glossy top coat, and run the brush gently over the dots to lock them in.
Use a piece of paper under your hand so you can see dot spacing and stop when it looks balanced.
Making the dots too big — it turns into chunky “confetti” instead of snowfall.
9. Green Chrome Half-Glaze on Clear Nails
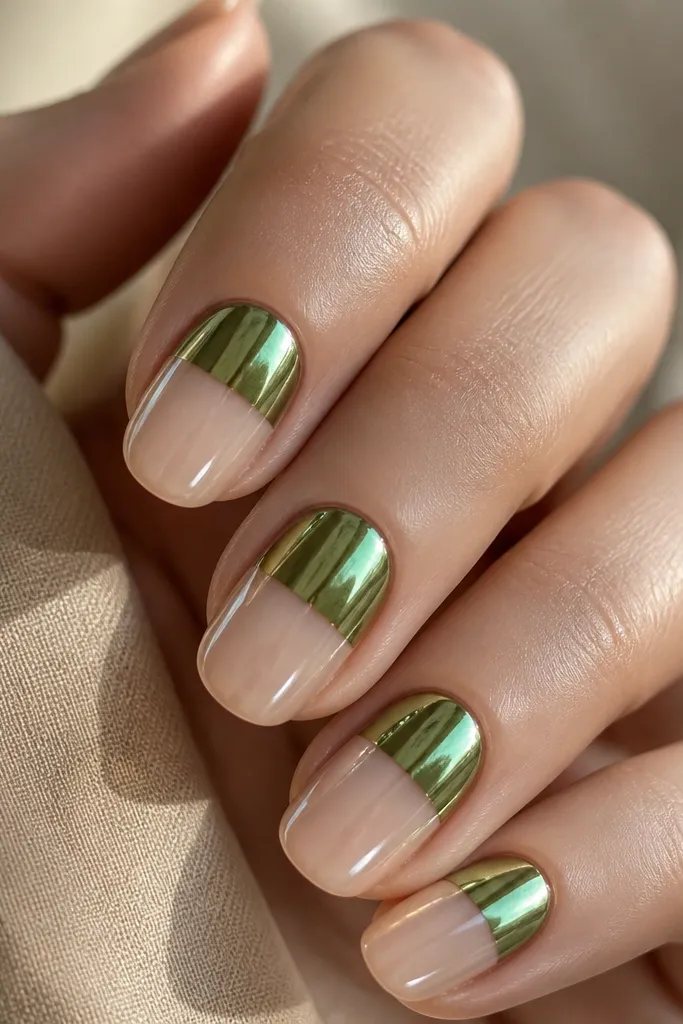
Chrome half-glaze looks classy because it’s graphic, not detailed. The clear base makes it feel modern, and the green chrome gives that holiday “glass ornament” look. It flatters hands that already have a nice nail bed because the clear area shows healthy shape. I’ve worn this to winter dinners and it always gets compliments because it catches light even when you’re not moving much. Silver-toned jewelry pairs well, and gold jewelry still works if your chrome leans emerald rather than neon.
Start with a clear base coat and cure, then add a thin layer of clear gel if you want extra thickness. Apply green chrome powder or chrome gel only to the top portion of the nail tip area, keeping a straight line where chrome ends. Use a sponge applicator or your finger in a glove to press the chrome evenly, then cure if your system requires curing. Seal with a high-gloss top coat that is compatible with chrome so it doesn’t dull the shine.
Editor's noteDo one nail at a time so the line stays sharp and you don’t accidentally blend chrome into the clear section.
Skip thisUsing a cloudy chrome — it looks gray instead of ornament-bright.
10. Soft Beige with Red Velvet Bow Accent
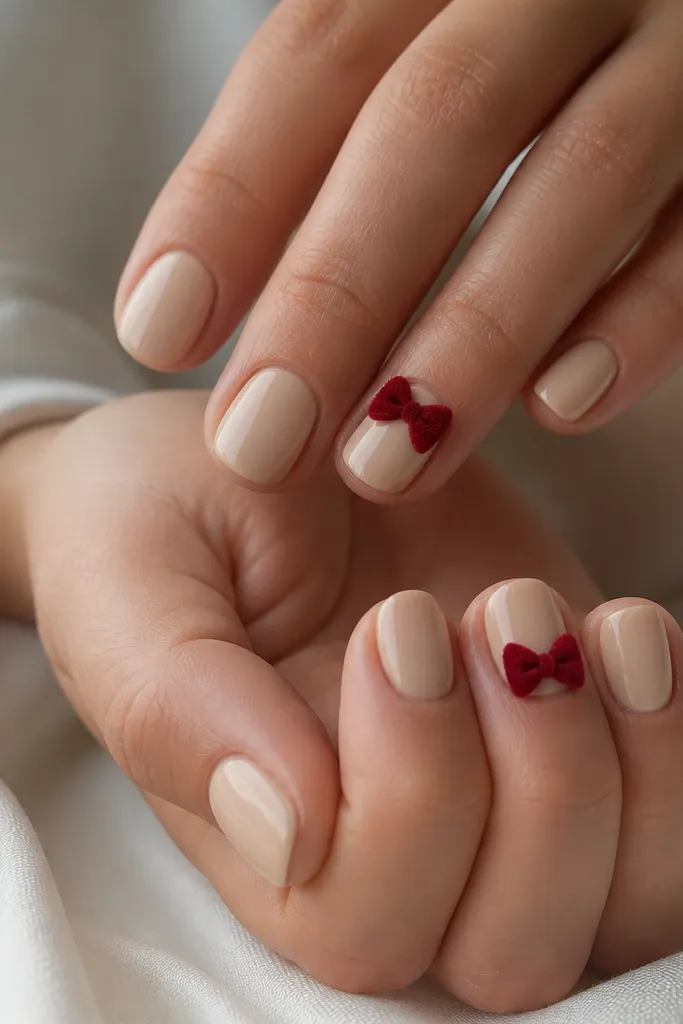
This set is for when you want “Christmas in a nice sweater” energy. The soft beige base looks clean and flattering, and the small red velvet bow gives a dimensional detail that feels gift-wrapped. Velvet-effect gel makes the bow look plush instead of flat, so it photographs better than regular nail stickers. This flatters hands that look best with neutral shades because it doesn’t pull attention away from your skin tone. If you like cute details but hate over-the-top art, this is the sweet spot.
Apply a soft beige gel base in two coats and cure, then top coat glossy for shine. Choose one accent nail per hand. Use a thin brush to sculpt the bow with red velvet-effect gel: paint one loop, cure, paint the second loop, cure, then add a tiny center knot and cure again. Finish with a glossy top coat on the other nails and a light top coat on the bow so it stays slightly soft-looking.
If you can, use a gel that holds shape well for the bow so the loops don’t slump.
Making the bow too large — it drags the manicure down and looks heavy.