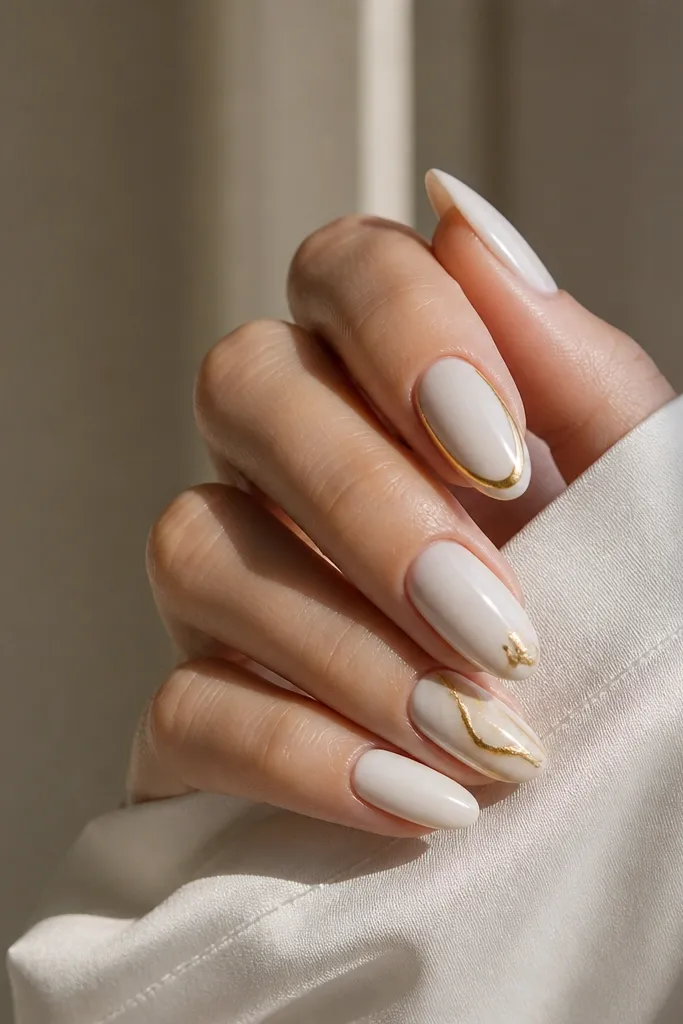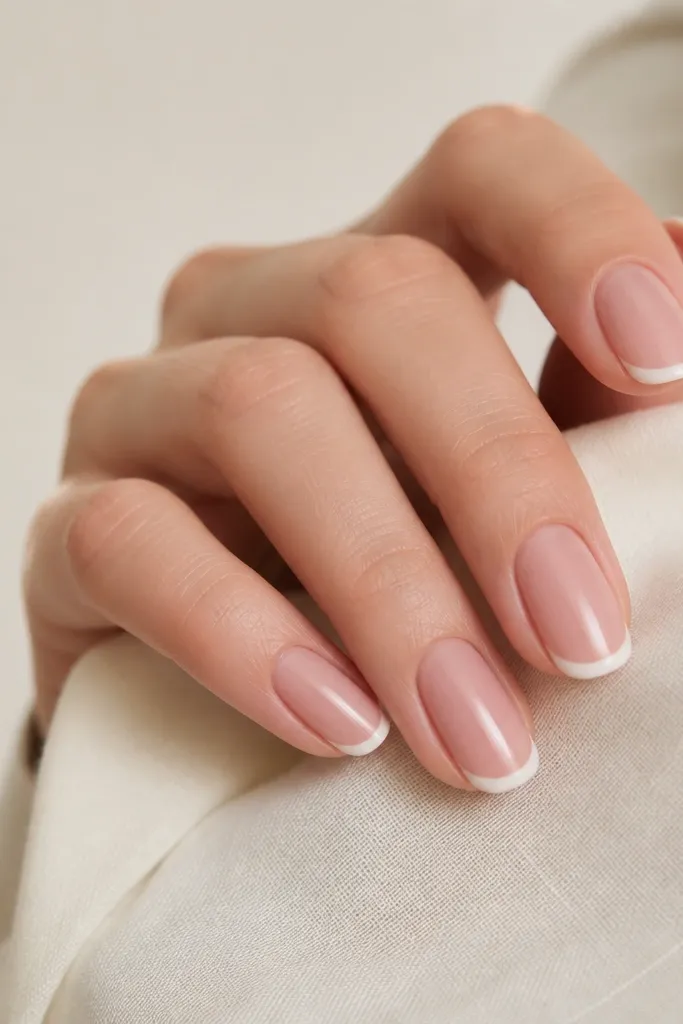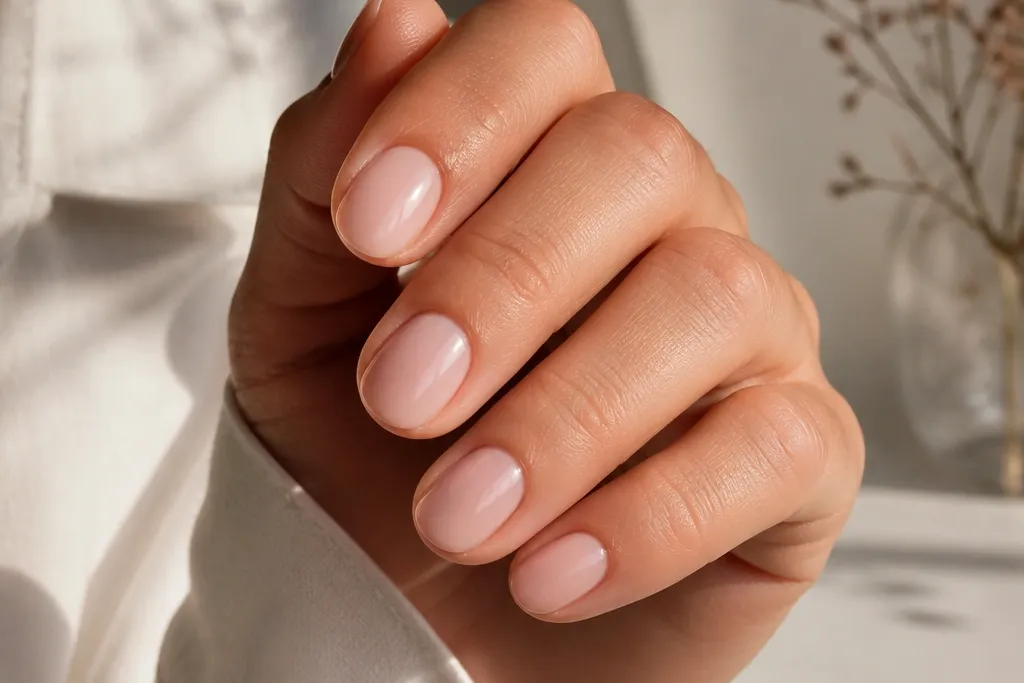
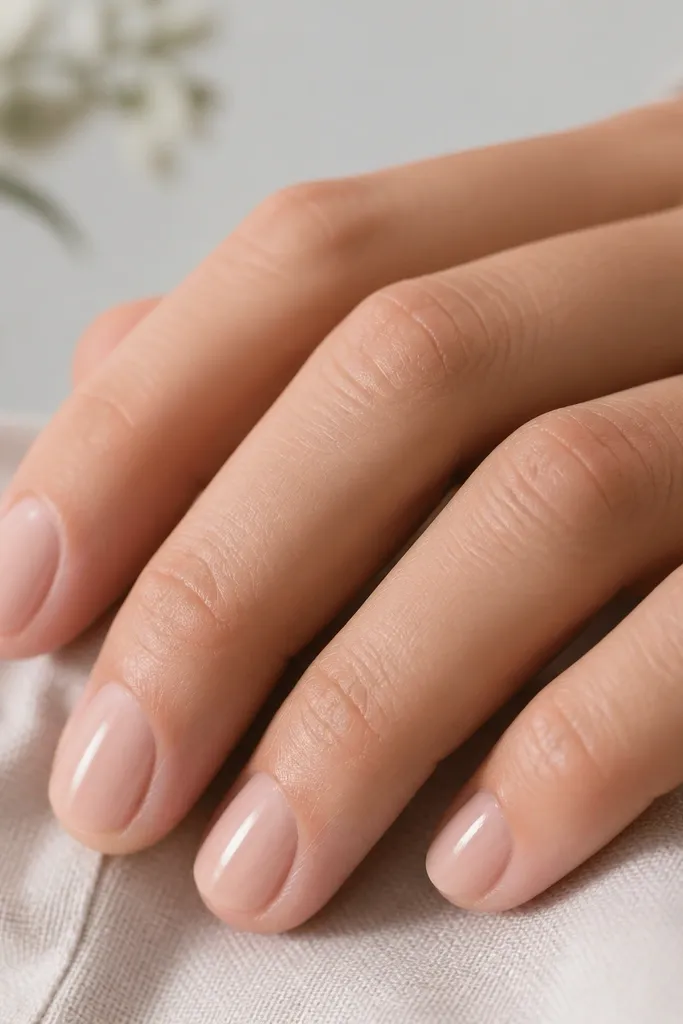
1. Milky Nude with a Single Thin Tip Line
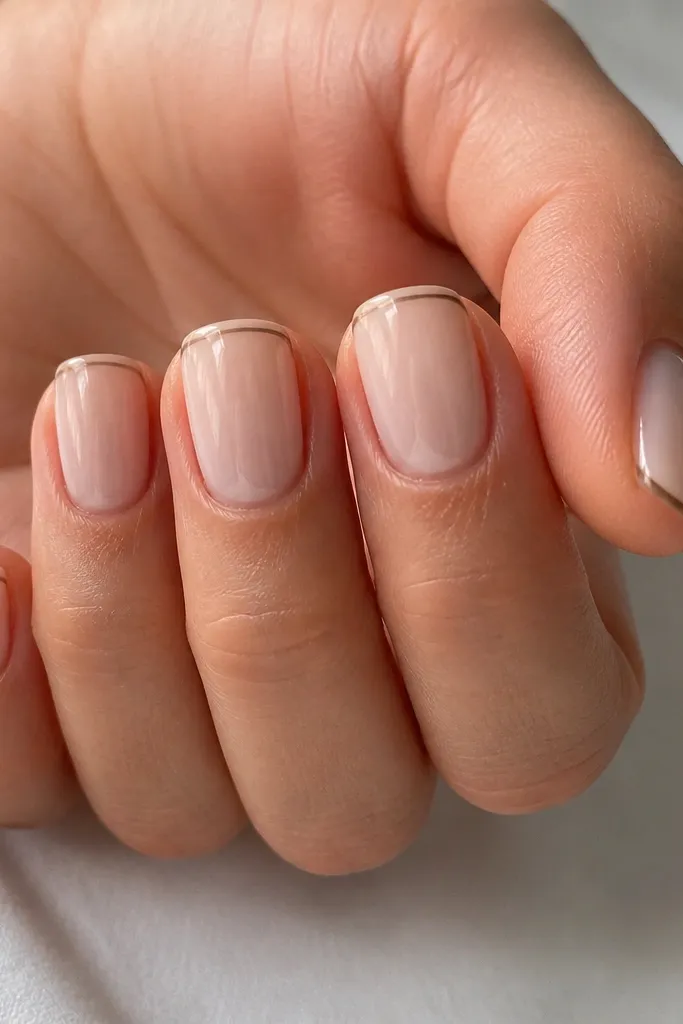
This look is classy because the base is soft and the accent is controlled. Use a milky nude polish that’s slightly opaque in 2 coats — it should look like your nail, just smoother and brighter. The thin tip line in dark taupe (not pure black) keeps it elegant instead of harsh. On warm skin tones, milky nudes with a peachy beige undertone look natural and flattering. On cool skin tones, go for a nude that leans pink-lilac and keep the tip line slightly gray-brown. It works for office days because it reads polished from a distance.
Start by pushing back cuticles gently after a warm shower, then buff the surface lightly so the polish doesn’t peel. Apply 1 coat of base coat, then 2 thin coats of milky nude, letting each coat dry fully. Dip a striping brush or the fine edge of a liner brush into dark taupe and draw one thin line exactly at the free edge — keep it centered and leave about 1 mm from each sidewall. Finish with a glossy top coat and cap the free edge on every nail.
If your line wobbles, wipe the brush and re-draw the line after the base coat is dry — don’t try to fix it on wet polish.
Avoid thick tip borders; they look like a costume version of a French tip.
2. Sheer Pink Base with Micro Dot Accent at the Cuticle
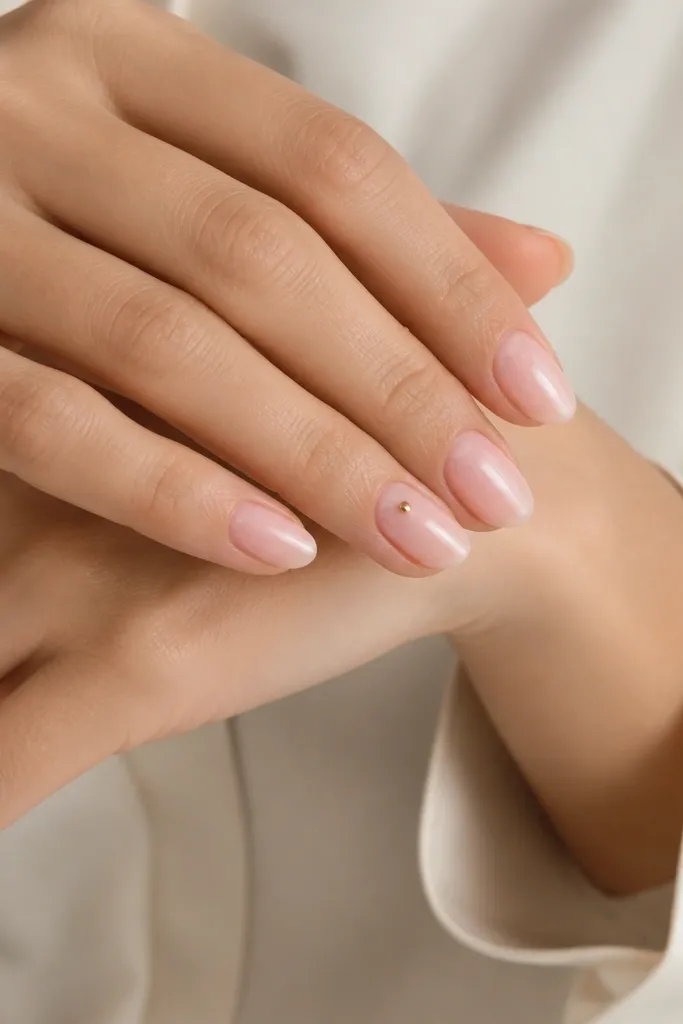
Micro dots look fancy because they mimic jewelry scale. Use a sheer pink that still shows a hint of nail line, then build it in 2 coats so it stays clean and not streaky. The dot should be small — like a pinhead — and placed near the cuticle on one or two nails only. Gold dot accents flatter most skin tones because gold sits well with both warm and cool undertones. If you want a softer vibe, use rose-gold instead of bright yellow gold. This design is great for beginners because you’re only placing one tiny point, not drawing lines.
Paint all nails with base coat and 2 coats of sheer pink, then let it dry until it’s tack-free. Use a dotting tool, or a bobby pin with the end sharpened, to pick up metallic gold polish. Place one micro dot on the accent nail about halfway between the cuticle and the middle of the nail, then press lightly so it sits flat. Seal with glossy top coat; apply extra top coat around the dot to keep it from catching on fabric.
Editor's noteUse a toothpick to nudge the dot into perfect center if it spreads before you top coat.
Skip thisSkip multiple dots on every nail; it turns classy into “busy” fast.
3. Chocolate Brown Half-Moon with Nude Everything Else
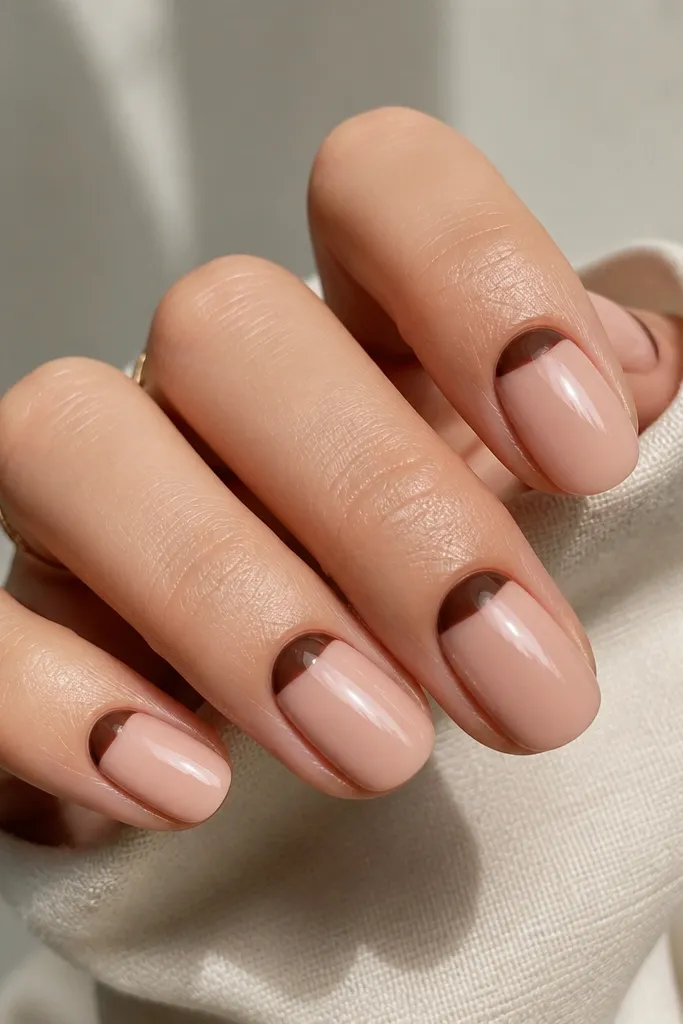
A half-moon at the cuticle is one of the simplest ways to make nails look designed. Start with a nude that’s close to your skin tone — I like beige-nude for warm tones and pink-nude for cool tones. The chocolate brown half-moon should match the undertone of your nude, not fight it. Brown accents look especially good on medium to deep skin tones, but they also look clean on fair skin when the nude base is not too gray. Keep the half-moon small and curved, like a neat shadow of the nail. This design reads elegant because the shape is geometric and tidy.
Apply base coat, then 2 coats of nude polish, and wait until it’s fully dry. Dip a small detail brush or sponge brush into chocolate brown and paint a curved half-moon that hugs the natural cuticle line. Keep it about 1/3 the width of the nail from the center and stop short of the side edges by around 1 mm. After it dries, clean any overage with a flat brush dipped in acetone. Finish with glossy top coat and cap the free edge.
Editor's noteIf you have trouble drawing the curve, use a cuticle stencil sticker for the first nail, then remove it and match the curve by eye.
Skip thisDon’t paint the half-moon too thick; chunky base shapes make the manicure look heavy.
4. One Nail Champagne Glitter Fade
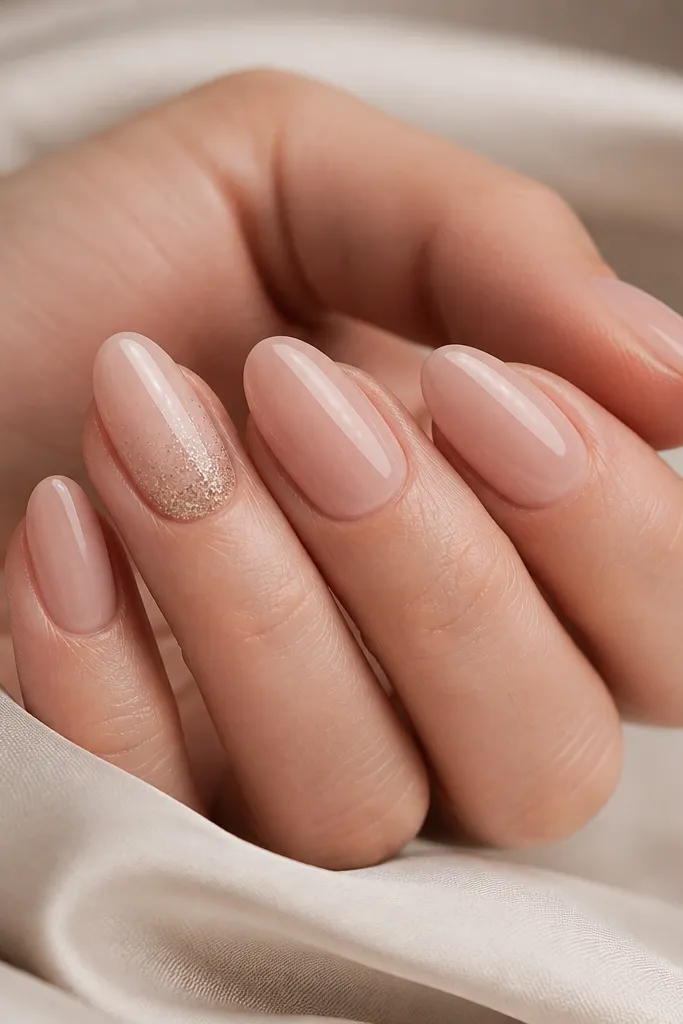
This is my go-to for when you want “classy but fun” without nail art. The base nails stay simple and wearable, while the accent nail adds light-catching sparkle that looks expensive in sunlight. Use champagne glitter that’s fine and not chunky — chunky glitter catches on sleeves and looks messy as it grows out. A fade looks elegant because it has motion and doesn’t create a hard block. This works on every skin tone because champagne sits in the gold family that flatters hands. It also hides small imperfections because glitter texture distracts the eye.
Start with base coat and 2 coats of nude polish, then add top coat lightly on the accent nail only after the base is dry. Tap a champagne glitter polish onto the accent nail starting at mid-nail, then blend upward with a clean makeup sponge by lightly pressing — don’t swipe. Add a second layer of glitter to the tip area to make it denser, keeping the fade smooth. Seal with a thick glossy top coat so the glitter doesn’t snag and the surface feels even.
Use a sponge for blending; a brush often leaves visible edges in glitter fades.
Avoid full glitter coverage on every nail — it reads party, not classy.
5. Classic Nude French with a Soft Rose Edge
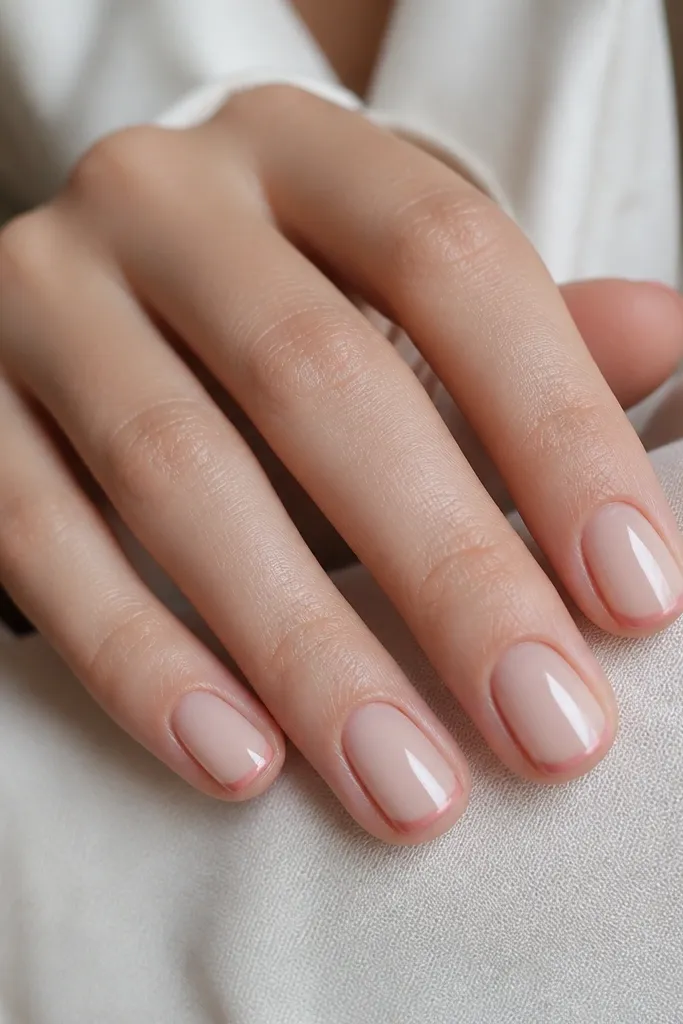
A French tip looks classy when the line is thin and the rose is soft. Instead of stark white, choose a soft rose edge that matches your natural lip or cheek tone. The nude base should be semi-opaque and even, so the tip line looks crisp against it. This is flattering because it elongates the nail without making it look overly “done.” For fair skin, rose French looks delicate; for medium and deep skin tones, it looks modern and still polished. Keep your smile line symmetrical — that’s where the elegance comes from.
Apply base coat, then 2 coats of nude polish, letting it dry between coats. Use French tip guides or freehand with a steady hand by placing the brush at the center of your smile line first. Paint a thin rose curve and connect it to the sides without touching the sidewalls. Clean up edges with a flat brush dipped in acetone, then apply glossy top coat and cap the tip edge.
Editor's noteIf you use guides, remove them while the polish is still slightly wet so the edge stays smooth.
Skip thisSkip thick French tips; they look like sticker nails.
6. Taupe Marble with One Swipe Vein on Two Nails
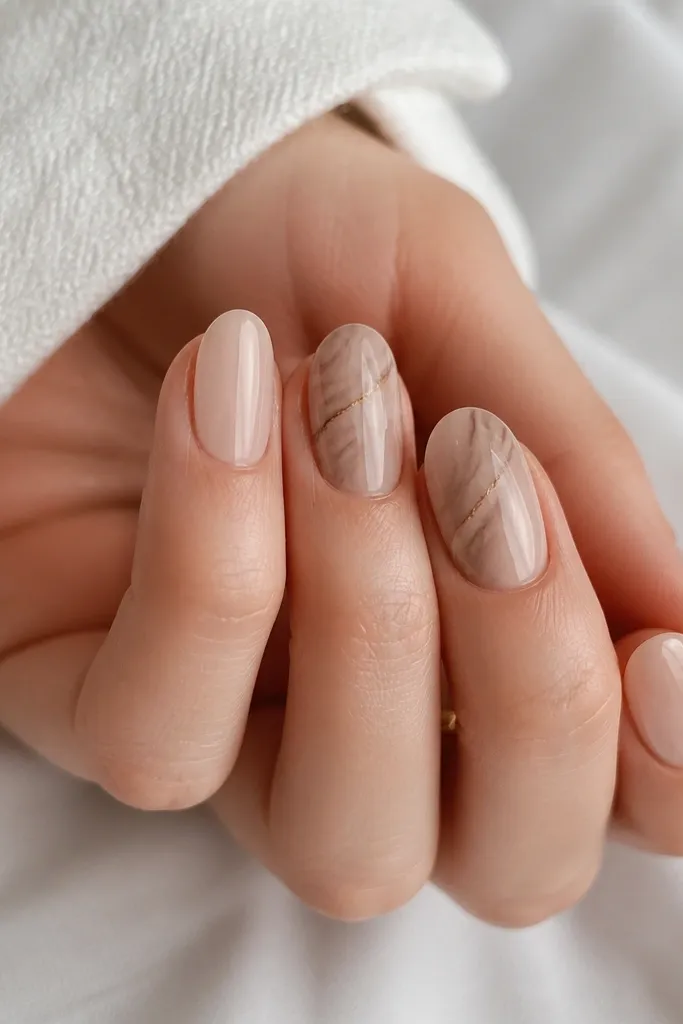
Marble can look expensive even when it’s basic. The secret is limiting it to two nails and keeping the pattern airy — marble should look like thin wisps, not heavy gray paint. Start with a milky nude base so the taupe lines look like they belong. Use a taupe polish that’s slightly warm, then add one lighter taupe vein line for depth. This flatters hands because it creates visual movement without harsh contrast. I like it for everyday because it looks styled, but it doesn’t scream for attention.
Paint all nails with 2 coats of milky nude and let them dry. For the accent nails, add a thin layer of clear top coat or a tacky base so the taupe polish spreads slightly. Use a toothpick to drag taupe into soft curves, then add one thinner swipe of a lighter taupe across the center. Finish with glossy top coat; keep the pattern light so it doesn’t pool at the cuticle.
Editor's notePractice on one nail first. Once you see how the taupe spreads on your base, the rest are easy.
Skip thisDon’t marble every nail; it turns into wallpaper on short nails.
7. Clear Gloss Top Coat over Nude with a Skinny Black-Brown Stripe
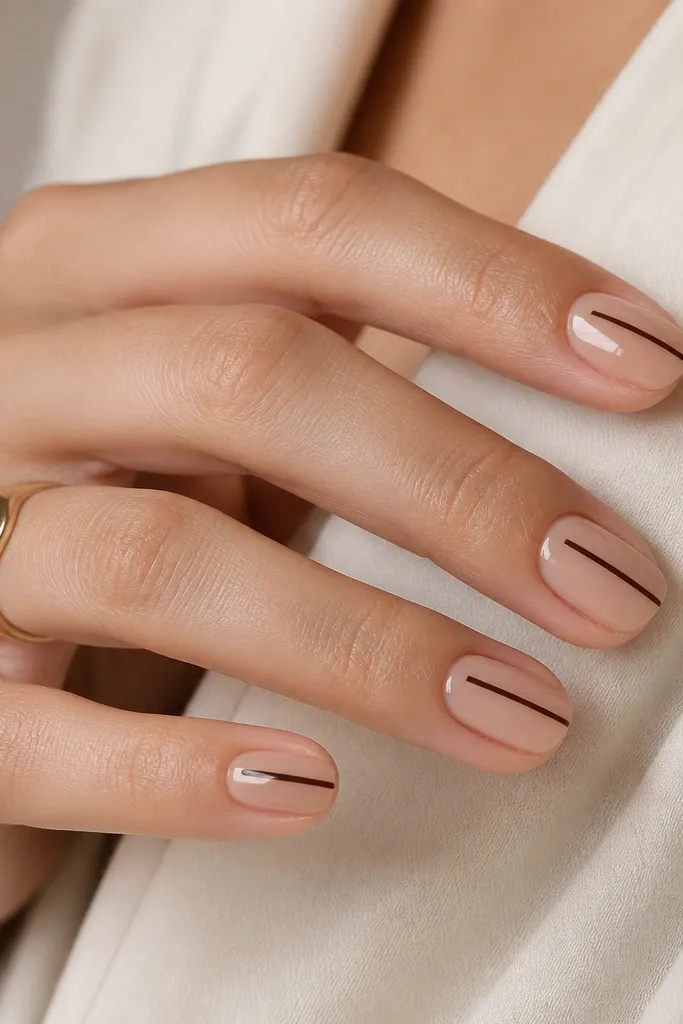
Vertical stripes make nails look longer, and a skinny stripe keeps it elegant. Use a nude base that’s slightly translucent — it makes the stripe look like it’s part of the nail, not sitting on top. Choose black-brown (not jet black) for a softer, more wearable contrast. This design works especially well on short nails because the stripe draws the eye down the center. For people with wider nail beds, the centered stripe makes the nail look more proportionate. It’s also great if you hate full French tips but still want that “finished” look.
Apply base coat and 2 coats of nude polish. Let it dry fully, then use a striping brush to paint one centered vertical stripe from just above the cuticle to the tip. Keep the stripe thickness consistent — think about the width of a strand of hair. Clean the edges with a small brush dipped in acetone for sharp lines. Finish with a thick glossy top coat so the stripe is sealed and the surface feels smooth.
If you have shaky hands, place a tiny dot where you want the stripe to start, then draw from the dot outward in one stroke.
Avoid multiple stripes; two or three lines look cartoonish fast.
8. Rose Nude with a Gold Foil Flake at the Tip Corner
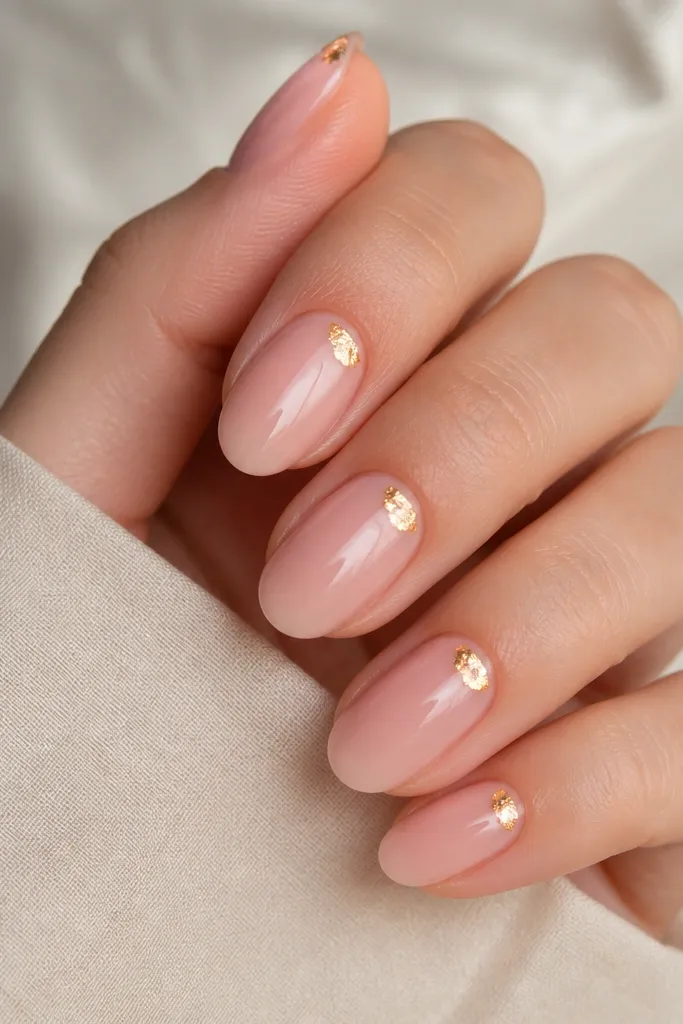
This is the kind of nail detail that looks like jewelry without needing a full design. The rose nude base keeps everything soft and wearable. Gold foil flakes at one tip corner add shine and shape, and because they’re irregular, they look natural rather than painted. This flatters hands because it adds a warm highlight near where light hits your nail when you move your fingers. On fair skin, it looks delicate; on deeper skin tones, it looks chic and intentional. It’s also beginner-friendly because the “imperfection” is part of the look.
Apply base coat and 2 coats of rose nude, then let it dry. Add a thin layer of tacky base coat or foil glue on the top corner of the tip — only a small spot. Press a small piece of gold foil flake onto that spot and tap off the excess. Seal with glossy top coat, using a brush to push top coat over the foil so it doesn’t lift. Keep the flakes similar size across nails so the set looks consistent.
Editor's noteUse smaller foil pieces than you think. Too big looks messy; small looks classy.
Skip thisDon’t put foil at both corners — it turns into glitter tips instead of a corner accent.
9. Creamy White with a Single Thin Side Line
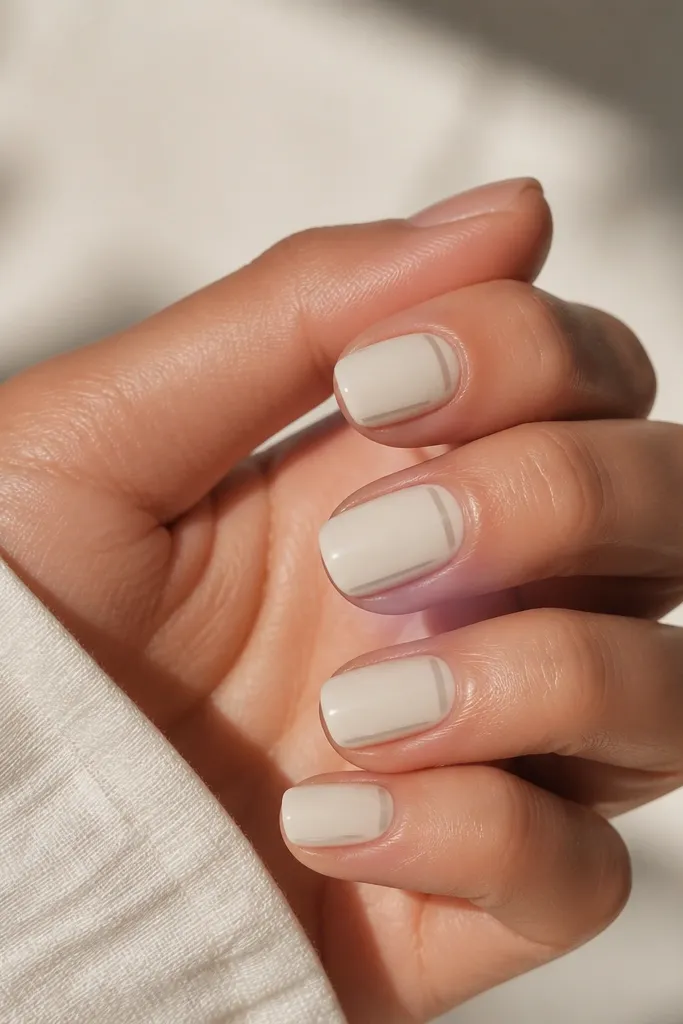
This look is minimal, but it still looks styled because the accent creates a frame. Creamy white is trickier than it sounds — you want a polish that covers evenly in 2 coats without streaks. The thin pale gray line should be drawn along one sidewall only, leaving the other side clean. Gray keeps it classy because it’s softer than black and doesn’t look harsh against white. This design flatters short nails because the side line adds structure without adding bulk. It also looks great on hands with warm or cool undertones since gray is neutral.
Start with base coat, then apply 2 coats of creamy white. Let it dry completely — white polish shows mistakes, so give it time. With a striping brush, paint a thin line along one sidewall, leaving about 1 mm from the edge so it doesn’t touch skin. Stop the line about 1-2 mm before the tip so the nail still looks smooth. Finish with glossy top coat and cap the free edge.
Editor's noteIf your white looks slightly streaky, do a third thin coat instead of rushing the dry time.
Skip thisAvoid thick lines; they turn this into a “stripe manicure” that looks less refined.
10. Nude Base with a Tiny V Cuticle Chevron on One Accent Nail
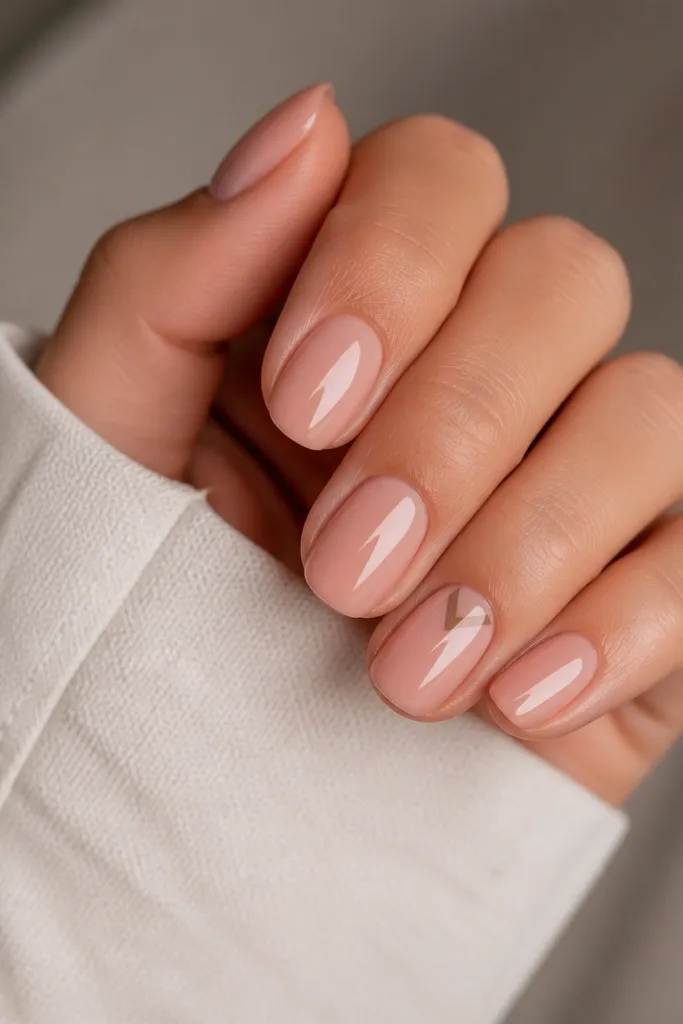
A tiny chevron near the cuticle is one of those details that reads “classy” because it’s geometric and small. Keep the chevron soft brown so it looks like a shadow, not a bold graphic. Use a nude base that matches your skin tone — beige-nude for warm, blush-nude for cool. This placement works because the V shape points upward and makes the nail look a little longer. I like this for everyday because it’s not flashy, but it still looks intentional up close. It also hides small nail ridges since the nude polish is smooth and the chevron is tiny.
Apply base coat and 2 coats of nude polish, then let it dry thoroughly. Choose one accent nail and add a small amount of soft brown polish at the cuticle area using a detail brush. Draw a V shape that meets in the center, with each arm about 2-3 mm long — keep it small. Clean the edges with a fine brush dipped in acetone so the chevron stays sharp. Seal with glossy top coat, adding a little extra around the chevron so it doesn’t snag.
Use the cuticle curve as your guide — the V should sit inside that curve, not over it.
Skip chevrons on every nail; one accent keeps it elegant.