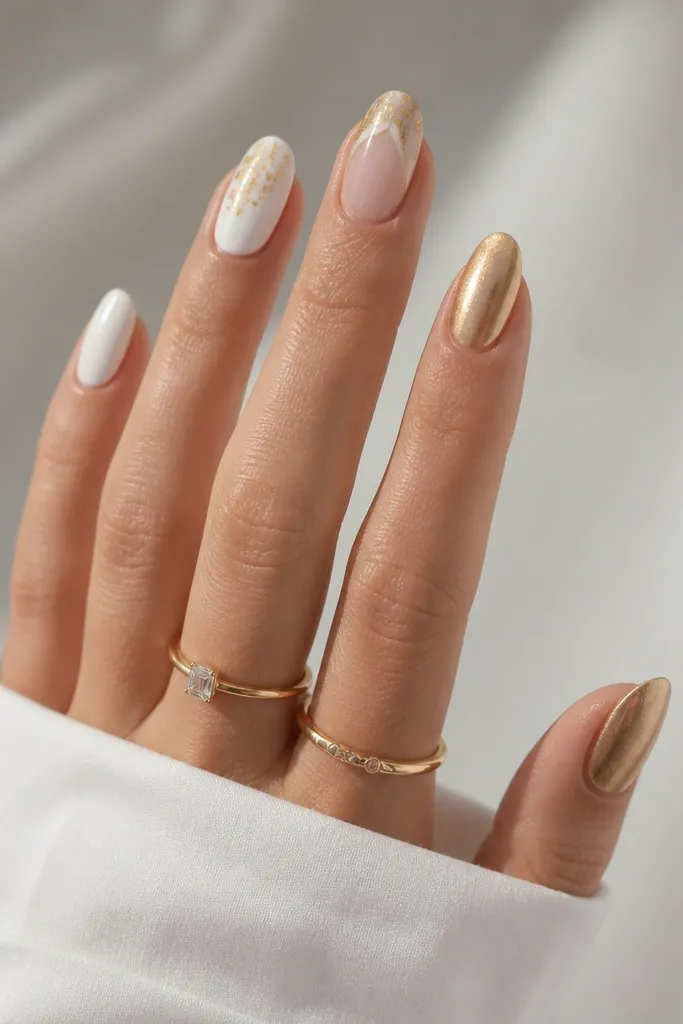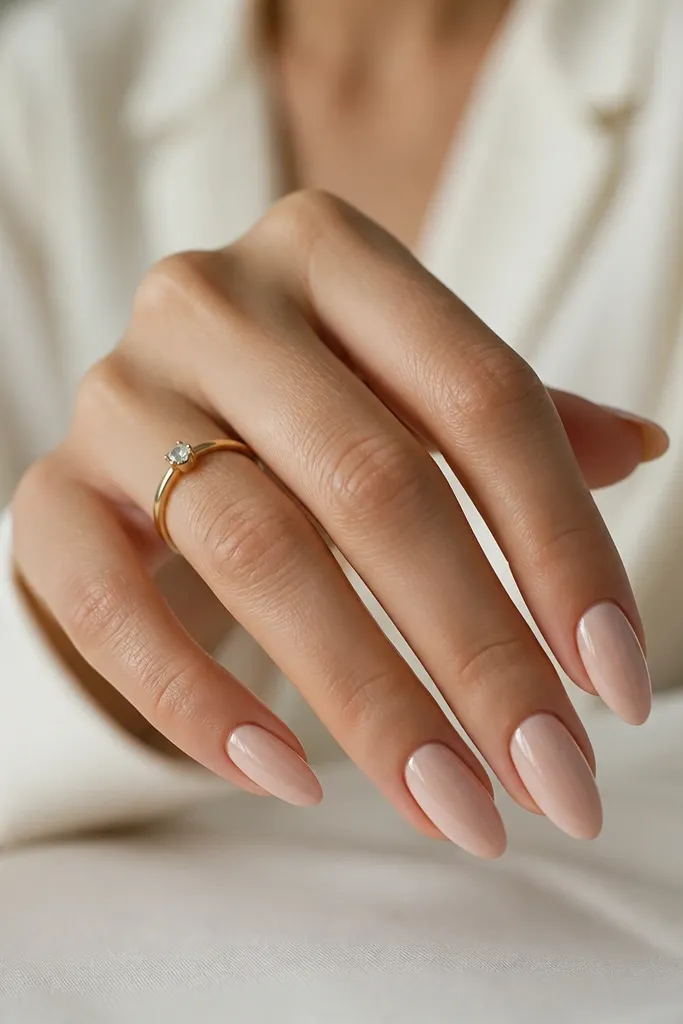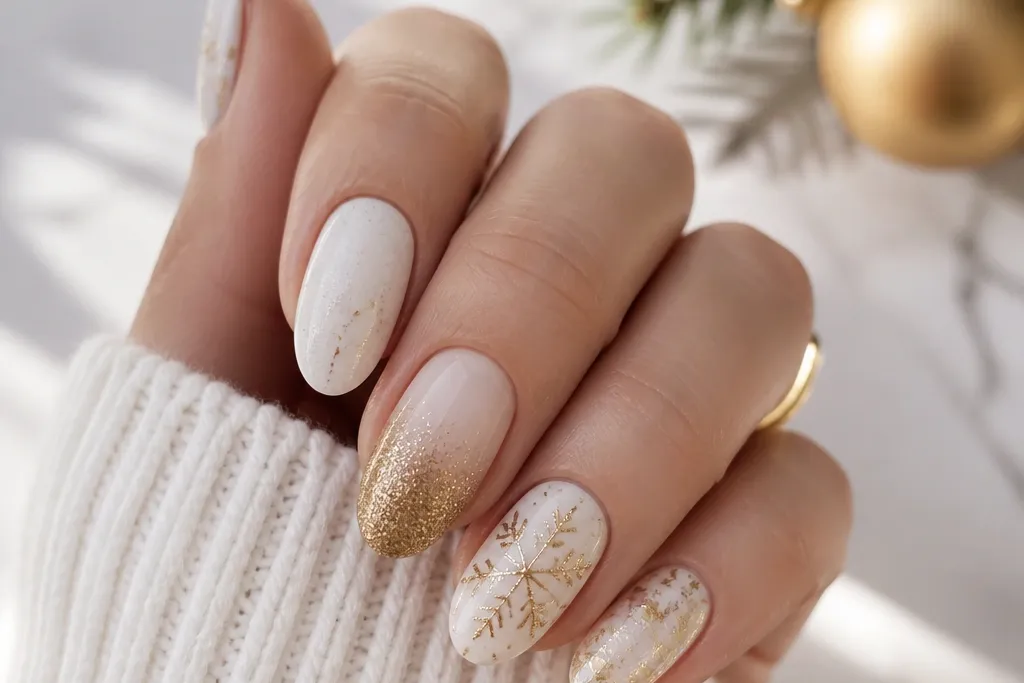
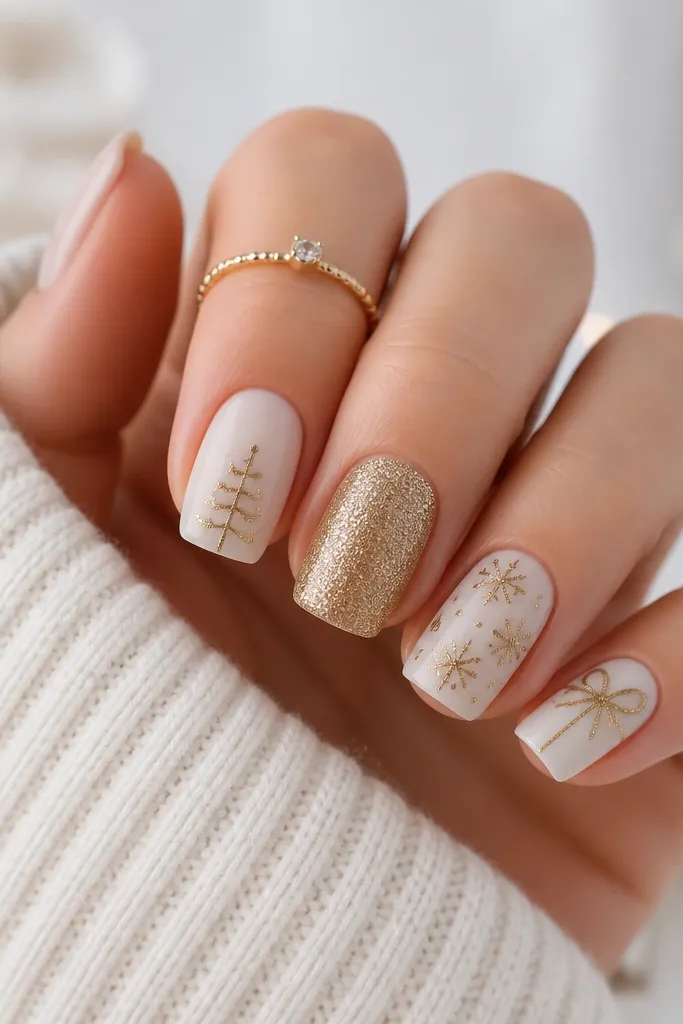
1. Milky White Base with Thin Gold Tip Line
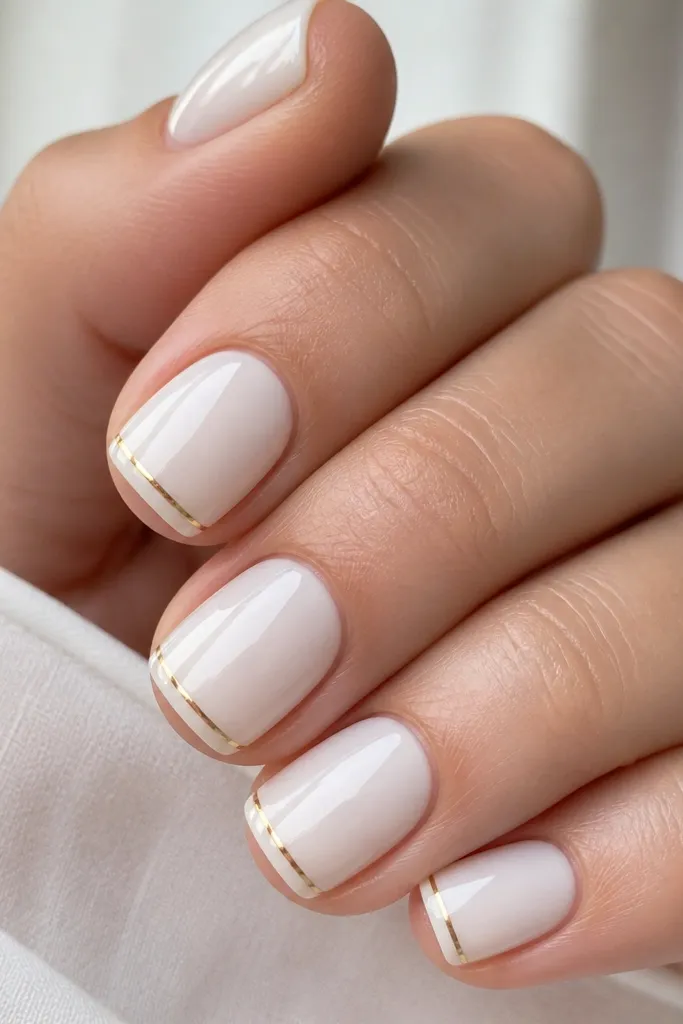
This is the cleanest renter-friendly Christmas look because it hides wear better than full gold tips. I use a milky white base (two coats) so it doesn’t look streaky when your nails grow. The gold line stays narrow, so it reads like jewelry instead of “holiday glitter stuck on.” It looks great on fair to deep skin tones because white brightens the nail bed and gold adds warmth. I like it most on short square or rounded nails because the line has somewhere to sit without smearing.
Editor's noteAfter the top coat cures, run a quick check along the sidewalls. If you see any hairline gaps, add a tiny extra top coat to seal them.
Start by pushing back cuticles and wiping nails with alcohol so the white doesn’t lift. Paint two thin coats of milky white, letting each coat fully dry or cure. Then, with a gel gold striping pen or a very fine brush, draw one straight line along the free edge — keep it about 1 mm thick. Finish with a glossy top coat and cap the free edge by dragging the brush over the tip. Let it cure fully before you touch anything wet.
Skip thisAvoid thick gold tips — they peel at the corners faster and look messy after a few days.
2. White Snowflake Accent on One Nail with Gold Dots
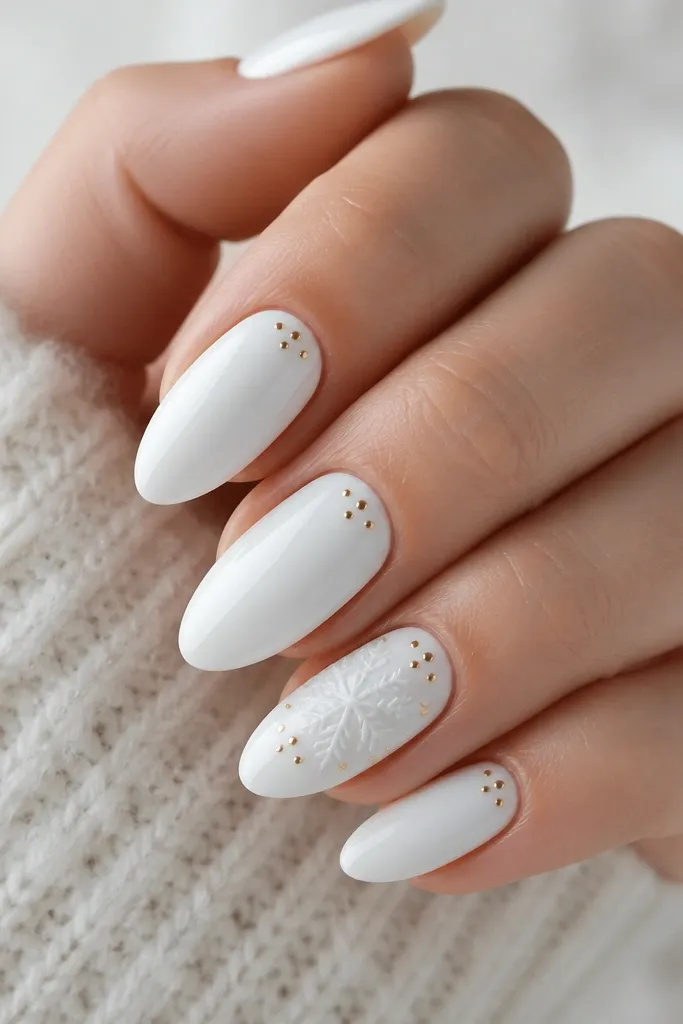
This look is festive without coating every nail in glitter. The base stays solid glossy white, which makes the snowflake drawing feel crisp. I place the snowflake on the ring finger because it becomes the focal point when you’re holding a mug or writing checks. Small gold dots near the cuticle mimic tiny ornaments and add warmth against the white. It flatters hands with longer nail beds and also works on shorter nails if you keep the snowflake small and high.
Paint all nails with two coats of glossy white polish, then let it dry completely. Use a dotting tool to place three to five tiny gold dots on the index and middle nails near the lower half of the nail bed. On the ring finger, use a fine liner brush to draw a simple snowflake: six branches with a tiny center circle, keeping lines thin. Add one gold dot at the outer tip of two branches for contrast. Seal everything with a top coat that levels the surface.
If you’re drawing freehand, practice the snowflake on a paper swatch first. The real trick is keeping the branch lines even thickness.
Don’t flood the snowflake with gold glitter; it blurs the lines and turns into a blob.
3. Gold Foil Half-Moon on the Cuticle with White Gloss
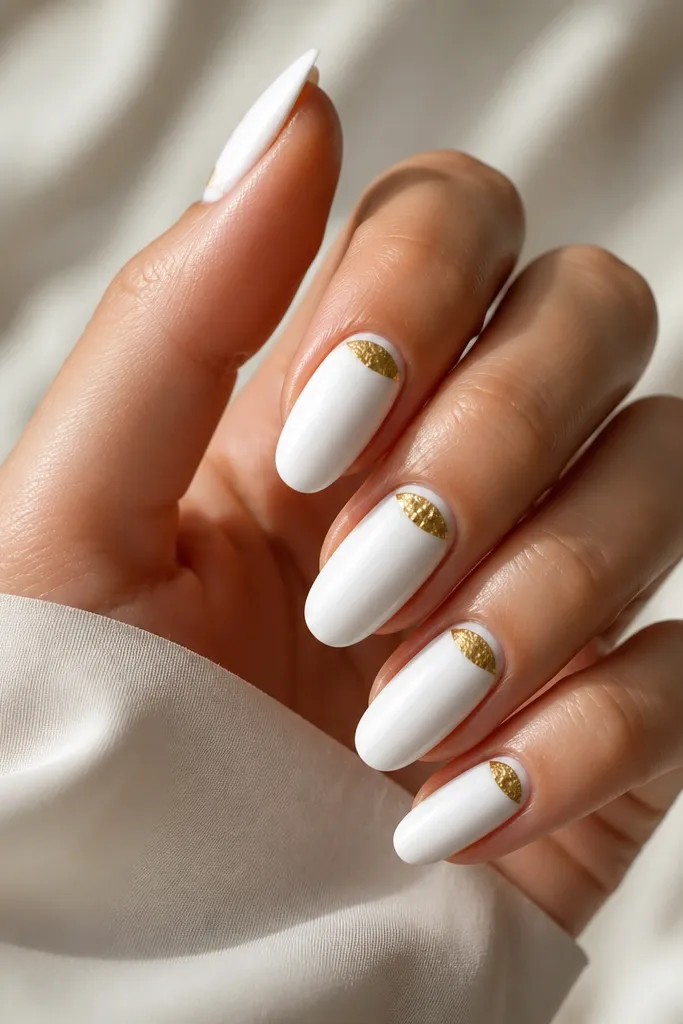
Gold foil half-moons look like jewelry and they don’t need a lot of surface area to look special. The foil catches light when you move your hands, and because it’s at the cuticle, it hides small chips better. I keep the white glossy and clean so the foil texture stands out. This design looks best on medium to longer rounded nails, but it also works on shorter nails if you keep the crescent small. It’s flattering on warmer and neutral skin tones because gold warms up the hand.
Editor's notePress the foil for 2-3 seconds per nail, then stop. Over-pressing can distort the crescent edges.
Start with a glossy white base using two even coats. If you want the foil to stick cleanly, apply a thin layer of tacky gel or foil glue where the half-moon will go. Use a small crescent-shaped piece of gold foil and press it gently at the cuticle area, stopping before it touches the skin. Leave a 1 mm white gap between foil and the nail edge for a crisp look. Finish with a top coat that covers the foil without smearing it.
Skip thisAvoid placing foil too close to the skin — it lifts and looks messy during removal.
4. White Candy Cane Stripes with Micro Gold Lines
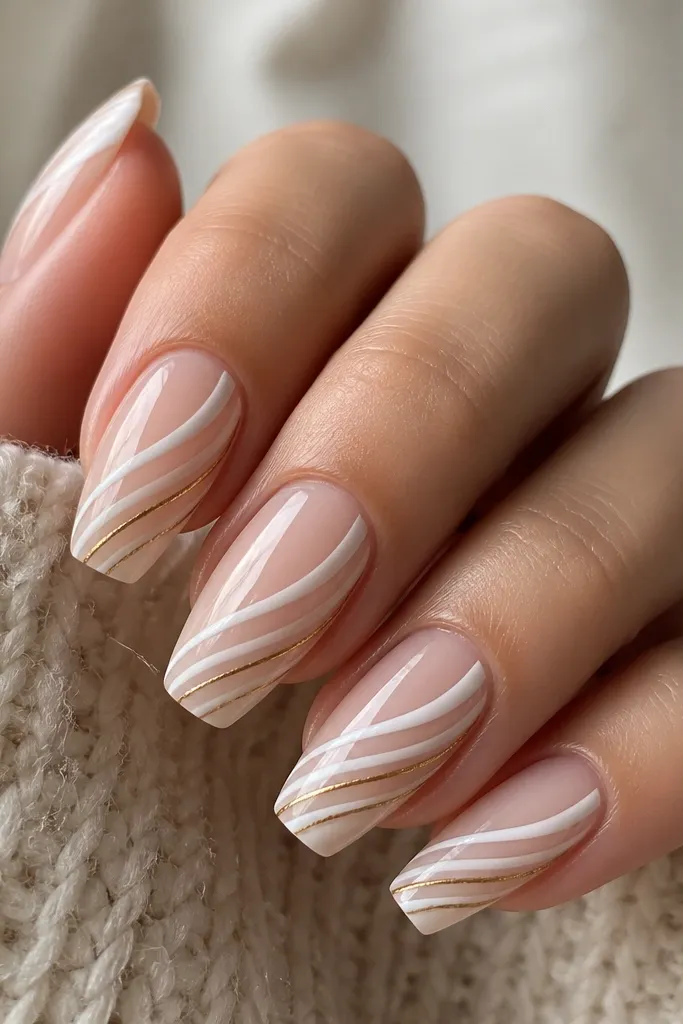
I’m bringing candy cane energy without the hassle of red, because white-and-gold feels more renter-proof and less likely to stain. The diagonal stripes create motion, and the micro gold lines act like “holiday trim.” This look is flattering on hands with slim fingers because diagonal stripes elongate. It also hides small imperfections because stripes distract the eye from tiny chips. I recommend it if you want a bold look that still feels clean and modern.
Editor's noteMeasure the stripe spacing with your nail width. If the stripes are consistent, the whole set looks intentional.
Apply a sheer nude base if you want the stripes to look like candy wrap; otherwise use white as the base. Paint diagonal white stripes with a striping brush, spacing them evenly and keeping edges crisp. Cure/dry fully, then add a micro gold line between two stripes using a gel pen. On the ring finger, keep the gold line slightly thicker for a focal nail. Seal with a glossy top coat and cap the tip.
Skip thisAvoid thick stripes — they take longer to dry and smear at the sidewalls.
5. White Marble Swirls with Gold Leaf Flecks
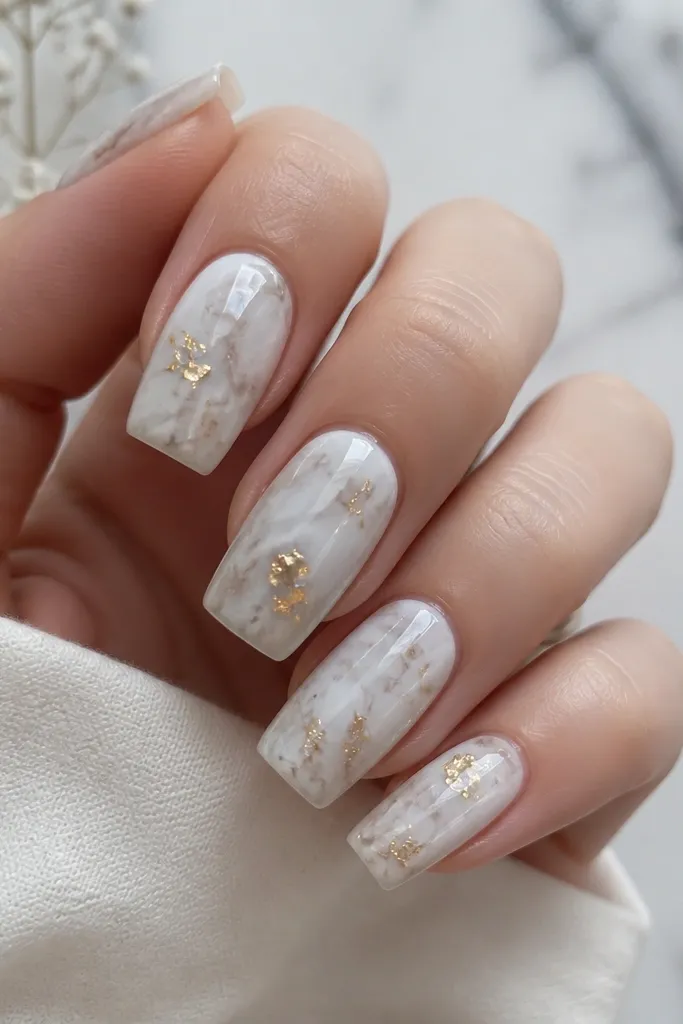
Marble nails look luxe because your eye reads depth, not flat color. I use milky white plus a whisper of cool gray-white for the swirl so it doesn’t turn into random scribbles. Gold leaf flecks are better than chunky glitter here; they look like natural specks. This set works well on both short and medium nails because the marble effect fills the surface evenly. It also looks great on any skin tone because the palette stays cool and bright.
Editor's noteUse less product than you think for marble. Too much gray turns it into a muddy beige.
Paint a base coat, then add two coats of milky white. For the marble, use a thin brush with a small amount of gray-white polish and drag swirls in random S-shapes, keeping them light and airy. Add gold leaf flecks by pressing tiny pieces into the wet tacky layer or into a thin gel patch. Keep flecks smaller near the cuticle and slightly larger near the center so the nail has depth. Finish with a glossy top coat and make sure the swirls are sealed.
Skip thisAvoid big gold flakes — they catch on fabric and lift faster.
6. White Bow Tie Accent with Gold Center Dot
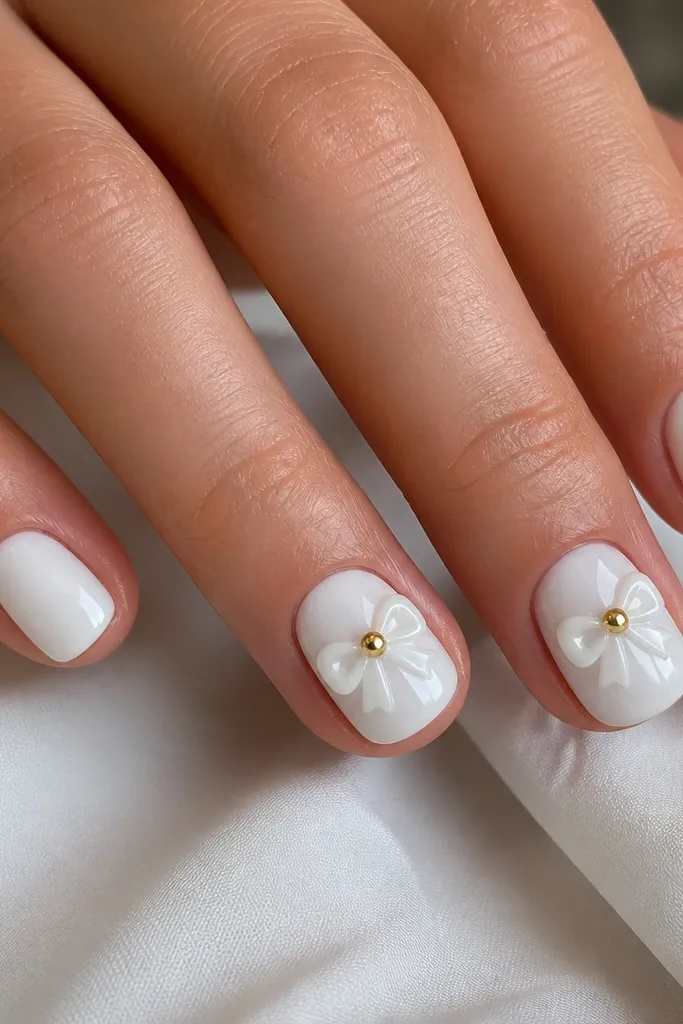
A bow tie looks adorable on nails because it’s small, centered, and instantly reads “holiday outfit.” I build it with white gel so the loops look slightly raised instead of painted flat. The gold center dot adds a finished, ornament-like detail without turning the nail into a glitter bomb. This design flatters hands with small nail beds because the bow sits in the middle area where your eye naturally lands. It’s also perfect for renters who want something cute that still wears well because there’s no edge-to-edge pattern.
Start with a glossy white base on all nails, two coats for full coverage. On the accent nails, place two small teardrop shapes of white gel where the bow loops will go, then shape them into loops with a toothpick or thin brush. Cure, then add a tiny raised center knot with a small dab of white gel. Finally, dot gold in the center with a gel pen or dotting tool. Seal with a top coat, but keep it slightly thicker over the bow for smoothness.
If you want the bow to look crisp, cure it in short bursts and check shape between cures.
Avoid placing the bow too close to the cuticle — it makes removal messy and can peel.
7. White Christmas Wreath Mini on Accent Nail
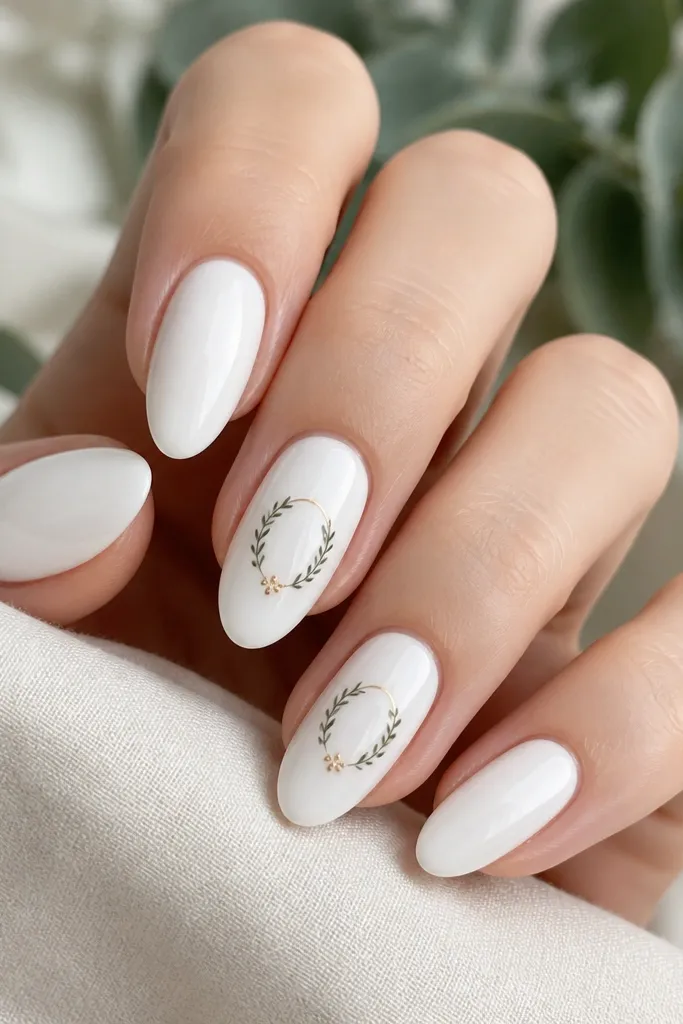
A mini wreath reads like Christmas decor but stays classy when it’s drawn small. I use thin linework so it looks like a charm rather than a sticker stuck on. The gold dots act like ornaments and keep the design from feeling flat against white. This works on short-to-medium nails because the wreath sits in the nail bed area and doesn’t fight the free edge. It also looks good on people who like holiday nails but hate heavy glitter.
Editor's noteUse a liner brush that’s slightly frayed at the tip. It makes thin branches look natural instead of perfectly uniform.
Paint all nails with two coats of glossy white. Choose one accent nail (ring finger is my go-to) and draw a wreath circle with a thin liner brush using white-on-top technique if you want a subtle look, or use light gray-white for visible branches. Add tiny gold dots inside the wreath as berries, spacing them evenly. Place one small gold arc at the top as a hanger. Finish with top coat and lightly cap the center so the linework stays smooth.
Skip thisAvoid covering the entire accent nail with wreath detail — it turns into clutter fast.
8. Gold Glitter Fade from Tip into White
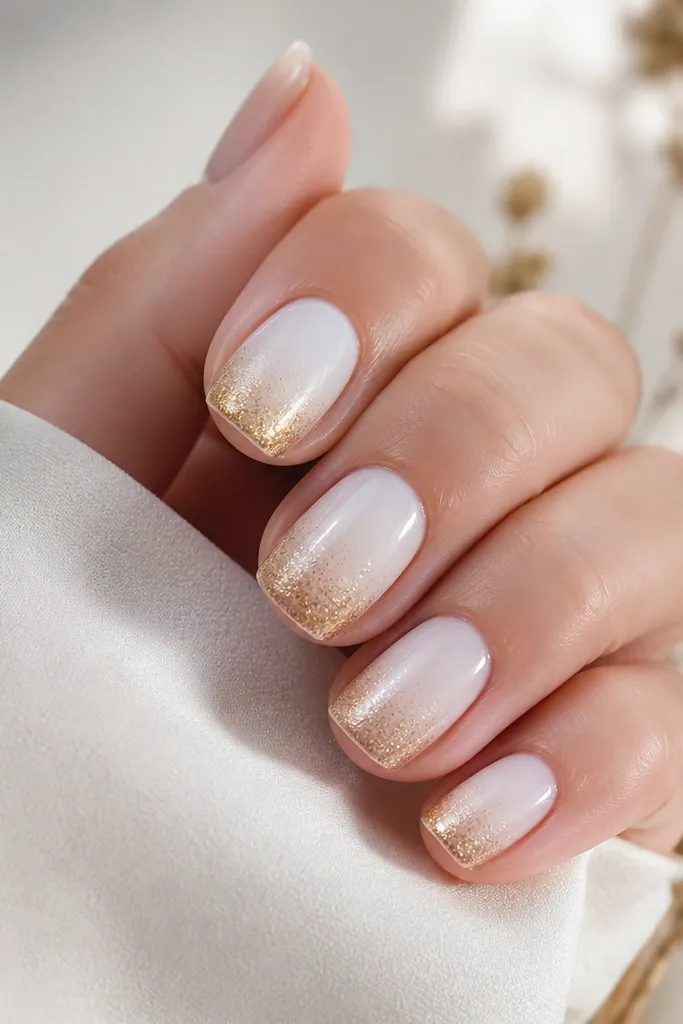
A gold glitter fade is forgiving because it blends, and that means grow-out looks softer. Fine glitter over white gives a “frosted ornament” feel without chunky texture. I keep the fade concentrated at the tip so it doesn’t look like glitter dust everywhere. This is flattering on short nails because the gradient lengthens the visual line from tip toward the center. It’s also the rental win: when it chips, it usually chips where glitter already is at the tip.
Editor's noteBlend with a light hand. One heavy press makes a hard line at the fade edge.
Start with two coats of milky white and let it dry fully. Choose fine gold glitter and mix it with a clear gel base (or use glitter gel). Apply glitter only at the free edge, then use a sponge to blend upward 1/3 of the nail so the top fades smoothly. Clean any stray glitter at the sides with a small brush dipped in remover. Seal with a thick glossy top coat to lock the glitter and smooth the surface.
Skip thisAvoid using chunky glitter — it catches on fabric and lifts at the first sign of snagging.
9. White Lace Pattern with Gold Thread Lines
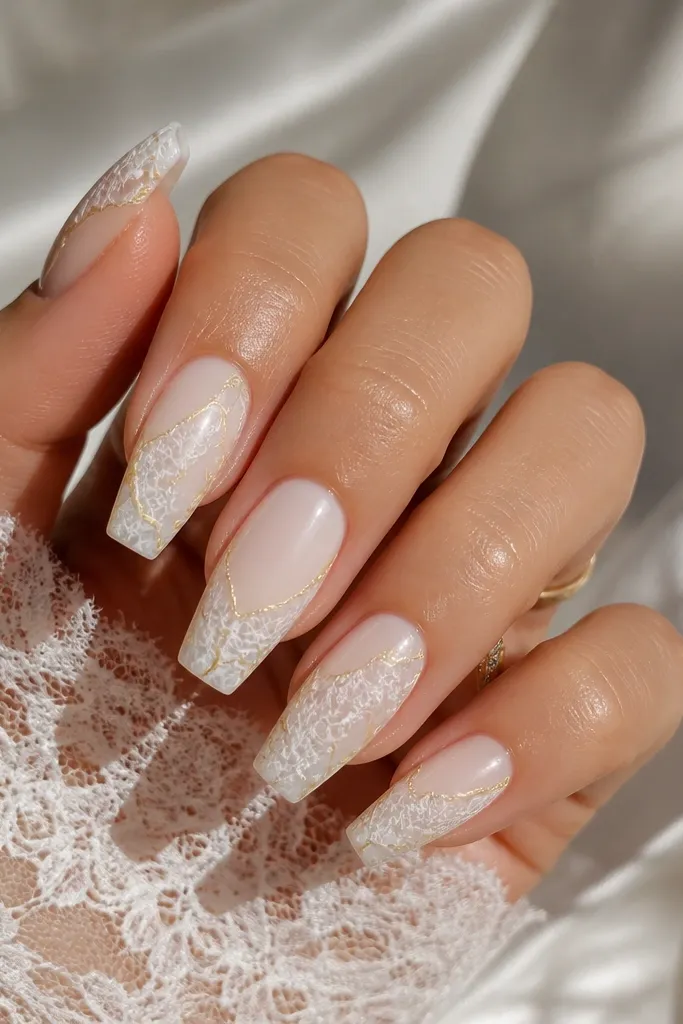
Lace nails look high-end because the pattern has negative space. For this, I use a sheer milky white base or a translucent white so the lace lines look like fabric, not paint. Gold thread lines go only along the strongest lace edges, which makes it look intentional. This design is flattering on medium to longer nails because lace needs room to breathe, but it still works on short nails if you keep the pattern centered. It pairs well with warm-toned jewelry because the gold reads like actual thread.
Editor's noteIf you don’t stamp, practice lace on one nail first. The pattern clicks once you keep your lines light and consistent.
Apply a sheer milky white base coat in two layers so it’s semi-opaque. Use a lace nail stamping plate or a thin brush to paint lace motifs: small loops and scallops near the sidewalls and toward the tip. Add thin gold lines with a gel pen along the outer edges of the lace pattern and one small gold line near the free edge. Keep gold minimal; it should outline, not fill. Finish with a glossy top coat that smooths the lace lines.
Skip thisAvoid thick lace paint. It makes the surface bumpy and ruins the “fabric” look.
10. White Half-Solid with Gold Side Accent (Reverse French)
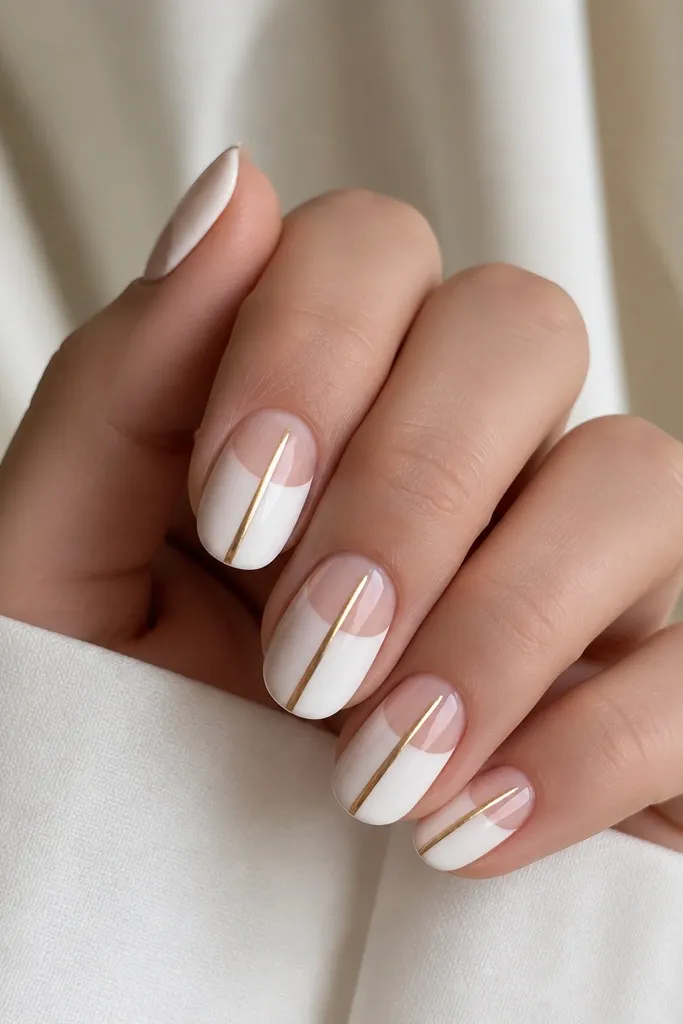
Reverse French designs grow out better because the line is already mid-nail. The half-and-half look also makes white feel more modern, not like plain polish. The gold side stripe adds a “bracelet” effect on the nail, and it’s easy to place accurately. I like this for renters because it hides wear: if a tip chips slightly, the design line still reads. It flatters most skin tones because the nude portion matches your natural nail bed color.
Editor's noteUse striping tape for the white boundary even if you’re steady-handed. It makes the set look salon-done.
Start with a sheer nude base or a nude gel that matches your skin. Paint the lower half of the nail in glossy white, using a striping tape to get a straight boundary — the white should start about 40% down from the cuticle. Remove tape once the white is set enough not to smear. Add a thin gold stripe along one side of the nail with gel pen, keeping it about 1 mm from the edge. Top coat everything and cap the tips.
Skip thisAvoid a wobbly boundary line — that’s what makes half-and-half look cheap.