1. Milky White Base with Micro Gold French on the Stiletto Tip
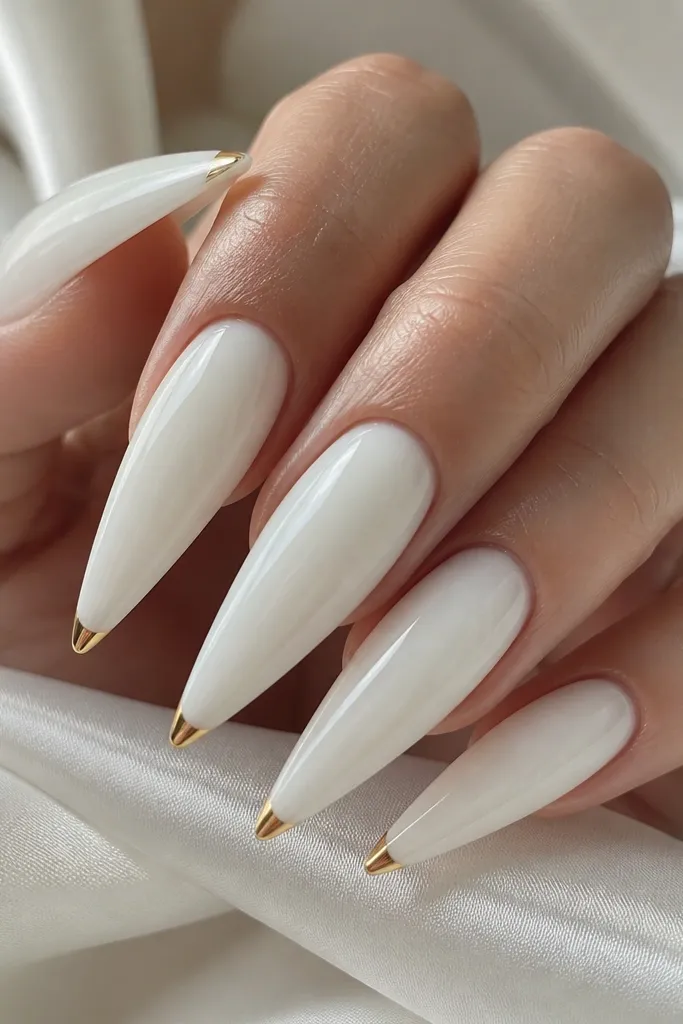
This look is my go-to when you want “bold glam” without turning the nails into thick block color. The base is milky white gel — not pure opaque white — because it stays smooth and doesn’t look dry on a sharp tip. The gold is a micro French line placed only at the extreme tip, so your nail still reads sleek. I’ve worn it on both fair and deeper skin tones; the milky white sits nicely against any undertone, while the gold adds warmth without overpowering. It’s especially flattering if your hands look a little shorter, because the thin gold band keeps the eye traveling to the point.
Start by shaping your stiletto tips and buffing the shine off your nail surface. Apply two thin coats of milky white gel, curing each coat until it’s fully set, then wipe the tack layer if your brand requires it. For the gold, place striping tape at the very tip edge so the line stays about 1.5 mm wide, then paint metallic gold gel over it and cure. Peel the tape while the gold is still fully cured so the edges stay sharp, then finish with a glossy top coat and seal under the free edge.
Editor's noteIf your gold line looks fuzzy, paint the first pass thinner — gold gel levels best when you cure it in thin layers.
Skip thisAvoid a wide French line; anything thicker than 2 mm makes stiletto look blunt.
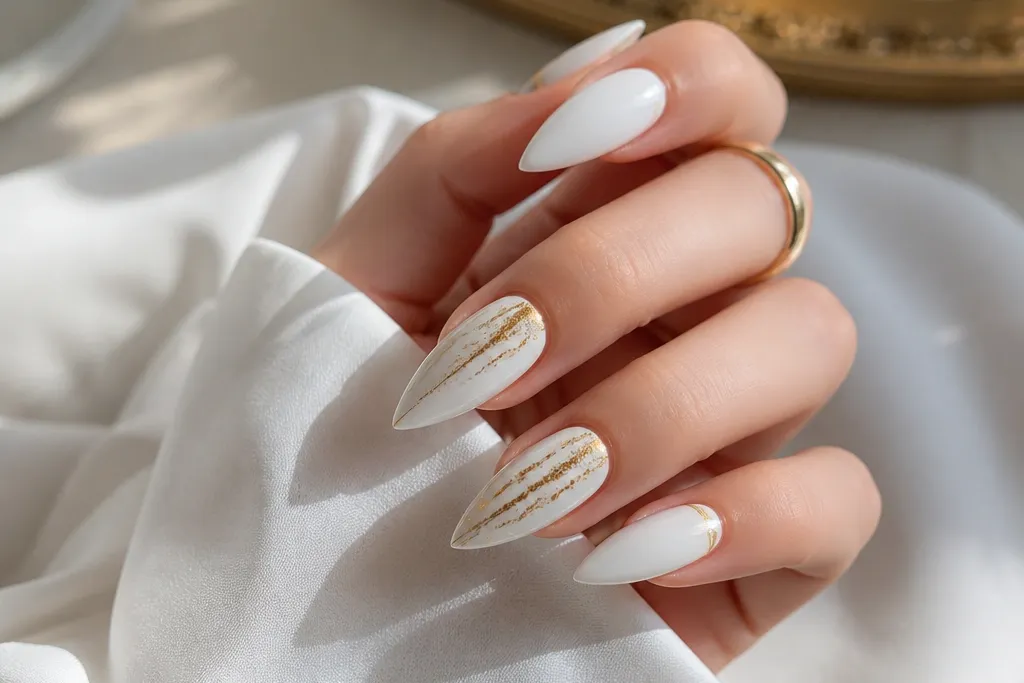
2. White Marble Panels with Gold Vein Crackle
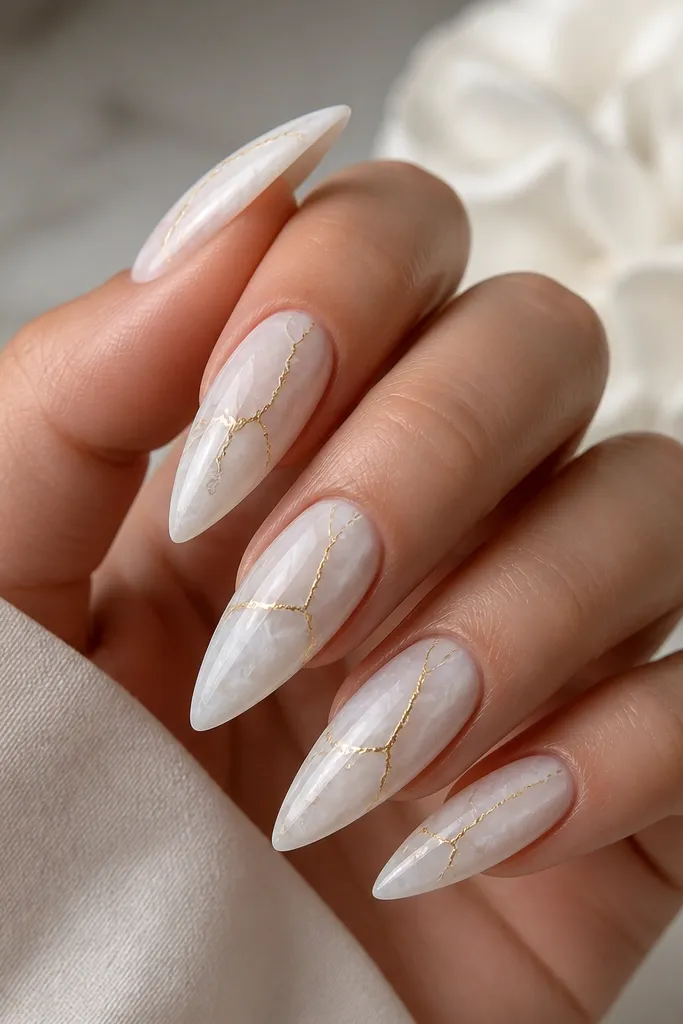
Marble on stiletto is dramatic, but only if you keep the veins thin. I do this with a semi-opaque white base and then add marble panels using a sponge or a small makeup brush so the pattern has movement. The gold vein crackle is drawn with a striping brush and metallic gold gel so it looks like light catching a crack, not glitter. This design flatters long slender nails because the veining naturally leads the eye to the tip. On medium to deep skin tones, the contrast between bright white and warm gold looks especially luxe in photos.
Apply a milky white base in two thin coats, curing fully and leaving it glossy. For marble, dab a slightly darker off-white (or diluted white) in irregular patches, then drag a few soft lines with a fine brush to create panel edges. Mix a tiny amount of gold chrome dust with clear gel or use gold gel straight if it’s opaque enough, then paint the “vein” cracks — start thicker at the center and taper toward the tip. Cure, then top coat with a high-gloss layer and cap the edges so the marble doesn’t look dusty.
Editor's noteDo one or two veins per nail instead of covering the whole surface — it keeps the look modern.
Skip thisSkip chunky crackle glitter; it sinks into the marble and makes the nail look textured in a cheap way.
3. Negative Space Crescent at the Cuticle with Gold Outline
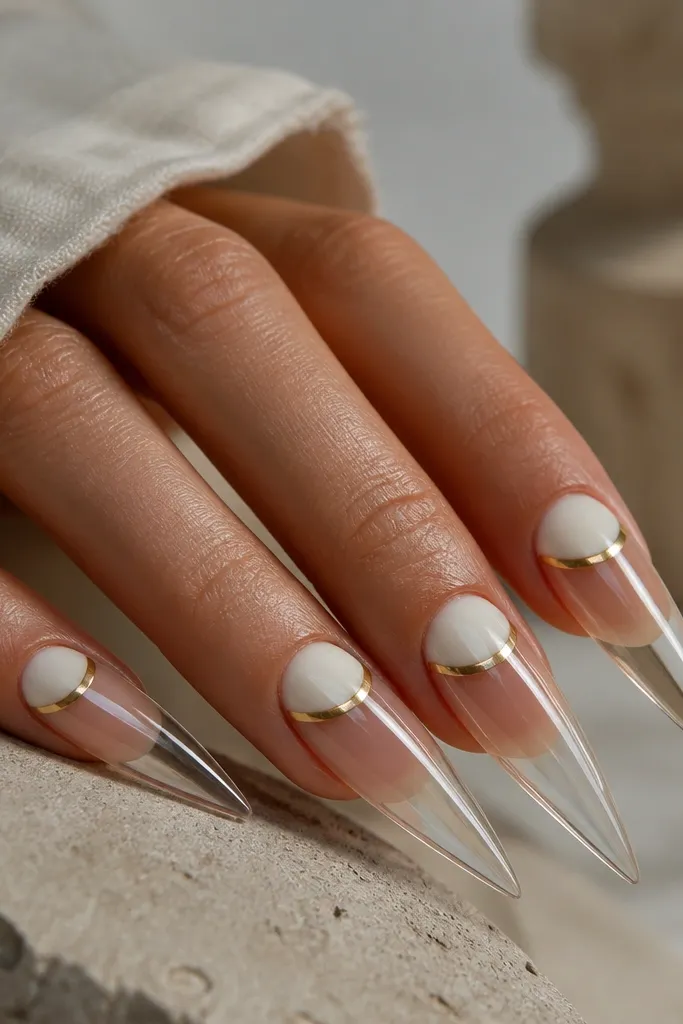
This is the cleanest way to make white and gold look modern on stiletto. The trick is leaving a clear negative space so the nail isn’t a full white block. I place a curved white panel at the cuticle area, then outline it with a thin gold line like a frame. It’s flattering because the negative space visually lightens the nail and makes the point look longer. I’ve worn it with both short stiletto tips and longer ones; the key is keeping the crescent small and crisp so it looks intentional.
Start with a clear builder gel or sheer nude base that matches your nail bed, then cure. Use a small curved brush to paint a white crescent starting just above the cuticle line, leaving a clean gap around the sides. Apply metallic gold gel along the crescent edge with a liner brush, keeping the line thin and steady, then cure. Finish with glossy top coat and cap the tip lightly so the gold stays sealed.
If your gold outline smears, place a tiny dot of gel at the curve first, cure 10-15 seconds, then finish the line and fully cure.
Don’t make the crescent too big; a wide cuticle panel makes the nail look short.
4. All-White Gloss with One Accent Nail in Gold Foil Half-Moon
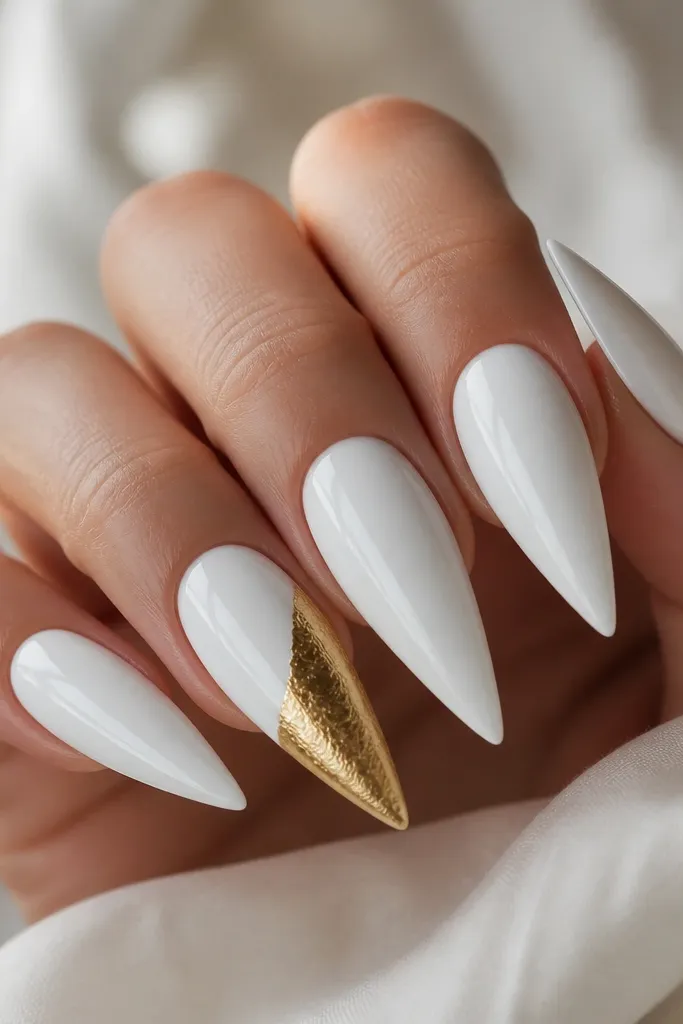
This look is bold because it’s simple. Four or five nails stay fully white and glossy, so your nails look clean and expensive in motion. The accent nail uses gold foil in a half-moon shape so the gold feels like a highlight, not a full repaint. Foil looks best when it’s uneven at the edges — it catches light and reads high-end. It flatters every skin tone because white is bright and gold warms it up, and the half-moon placement keeps the silhouette sharp.
Paint all nails with two thin coats of glossy white gel, curing between coats. For the accent nail, apply a sheer clear gel base, then press gold foil onto the center-to-tip area so it forms a half-moon curve. Use a silicone tool or foil applicator to press the edges, then seal with a thick clear top coat so the foil won’t lift. Keep the half-moon starting around the middle of the nail, not at the cuticle, so the stiletto still looks long.
Seal with two thinner top coats instead of one thick coat — it prevents foil edges from wrinkling.
Avoid covering the entire accent nail in foil; full foil can look heavy on stiletto.
5. White Chrome Fade from Mid-Nail into Gold Tip
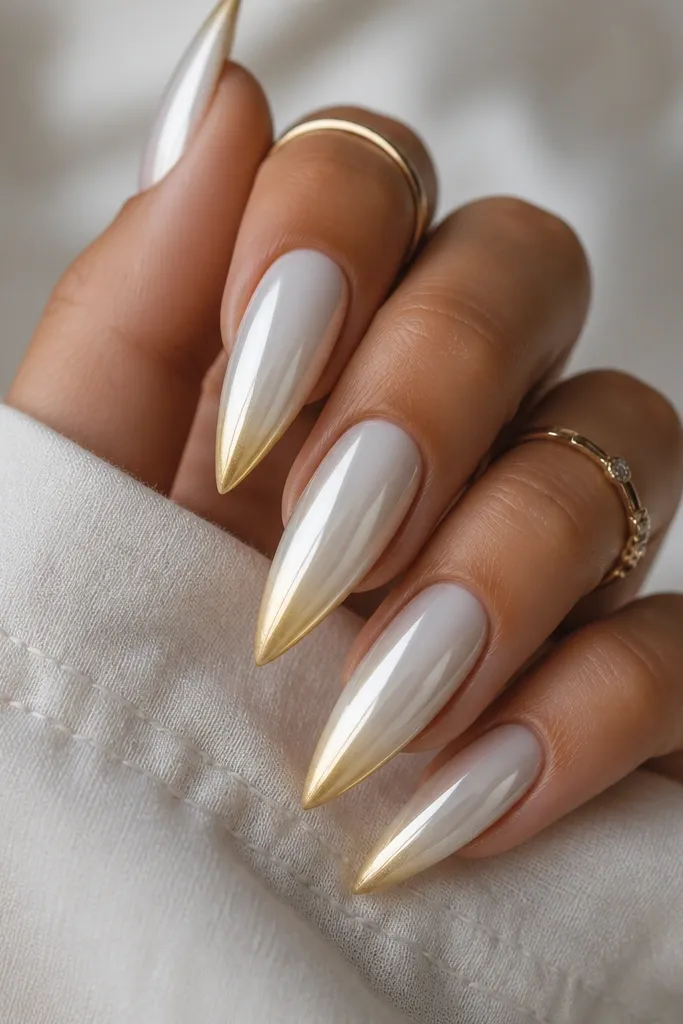
Chrome fades look modern because the finish changes with the light, not just the color. I start with a white chrome layer around the mid-nail, then blend it into gold chrome at the tip. The gradient has to be smooth — you don’t want a hard line, because that reads “sticker” instead of painted. This design looks amazing on stiletto because the taper makes the gradient feel intentional. It also flatters hands with warmer undertones since the gold is concentrated at the tip where light hits most.
Apply a white gel base and cure, then apply white chrome powder to the mid-nail area using a foam applicator. Wipe off excess gently so the gradient area stays clean. For the tip, apply gold chrome powder only from about one-third down to the end, then lightly blend the overlap with a clean applicator. Seal with a chrome-safe top coat and cap the free edge so the fade doesn’t dull after a few days.
Blend the overlap with a light touch — pressing too hard makes the colors mix muddy.
Skip regular matte top coat over chrome; it kills the shine and makes the fade look dull.
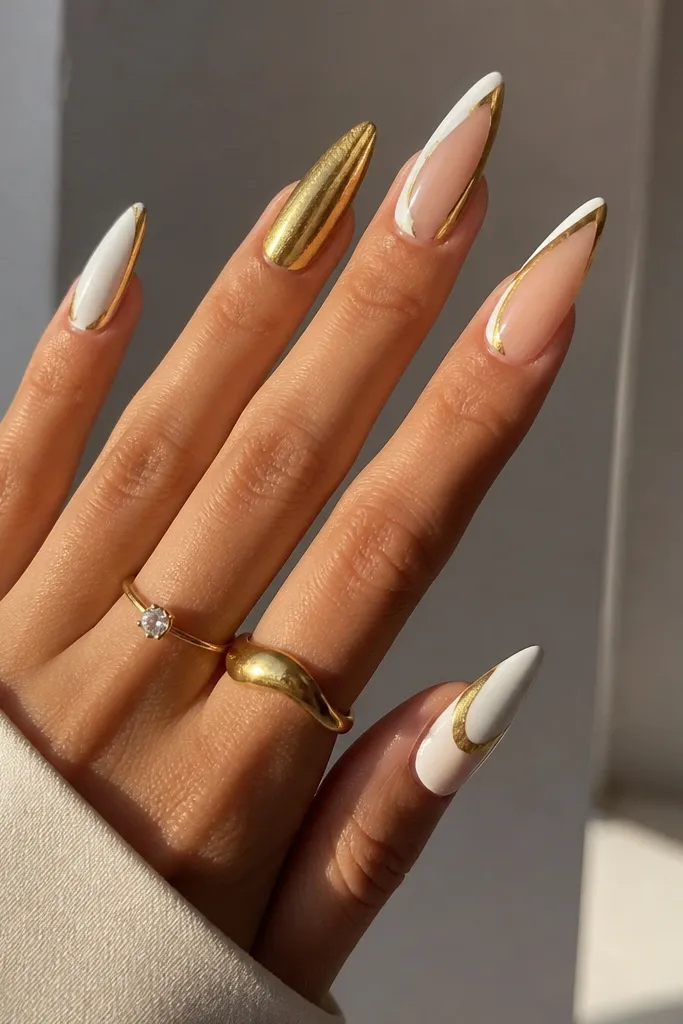
6. Bold Diagonal White Panel with Thin Gold Stripe
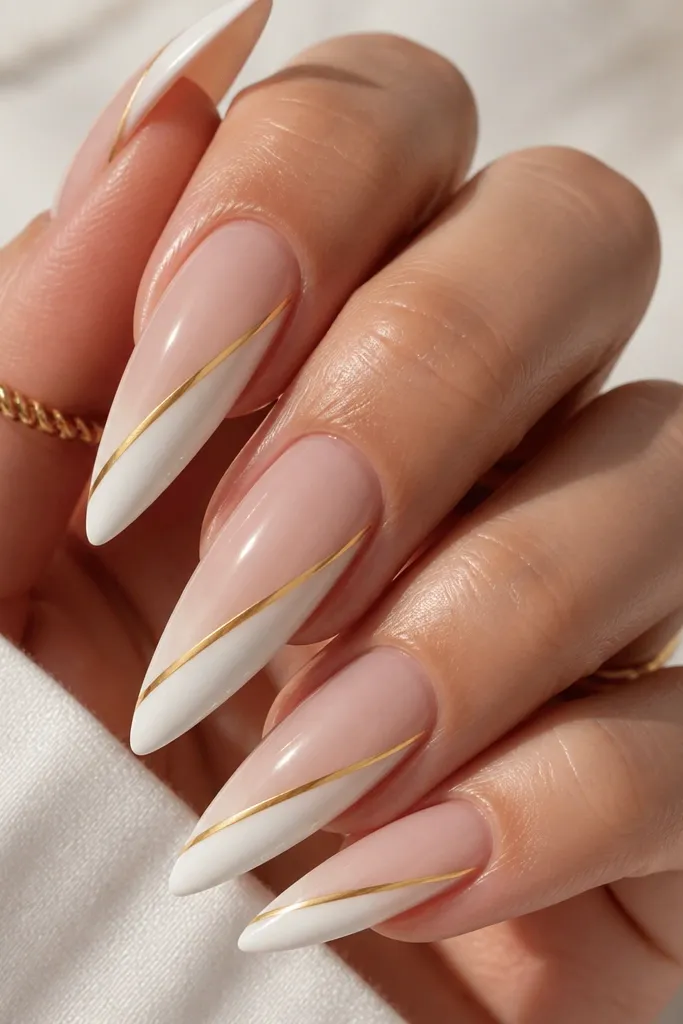
Diagonal panels make stiletto nails look sleek because they create motion. I paint a diagonal white panel on a clear or sheer base, leaving negative space so the nail still looks light. Then I add one thin gold stripe along the diagonal edge to frame it — the stripe is what turns it from graphic to glam. This style looks great on short-to-medium stiletto tips because the diagonal pulls the eye upward. On fair skin, it looks crisp and modern; on deeper skin tones, the clear base adds contrast so the white stays bright.
Start with a sheer builder gel or clear base and cure. Use striping tape to block a diagonal line so the white panel edges stay sharp, then paint milky white gel over the exposed area and cure. Remove the tape and paint a thin metallic gold gel stripe right along the diagonal border, keeping it narrow (about 1 mm). Finish with glossy top coat and cap the sides of the white panel so the tape line doesn’t lift.
Press the tape down with a cotton-free manicure wipe so paint doesn’t sneak under the edge.
Don’t use thick gold ribbon; it looks bulky against a diagonal panel.
7. White French Tips with Gold Micro Studs at the Edge
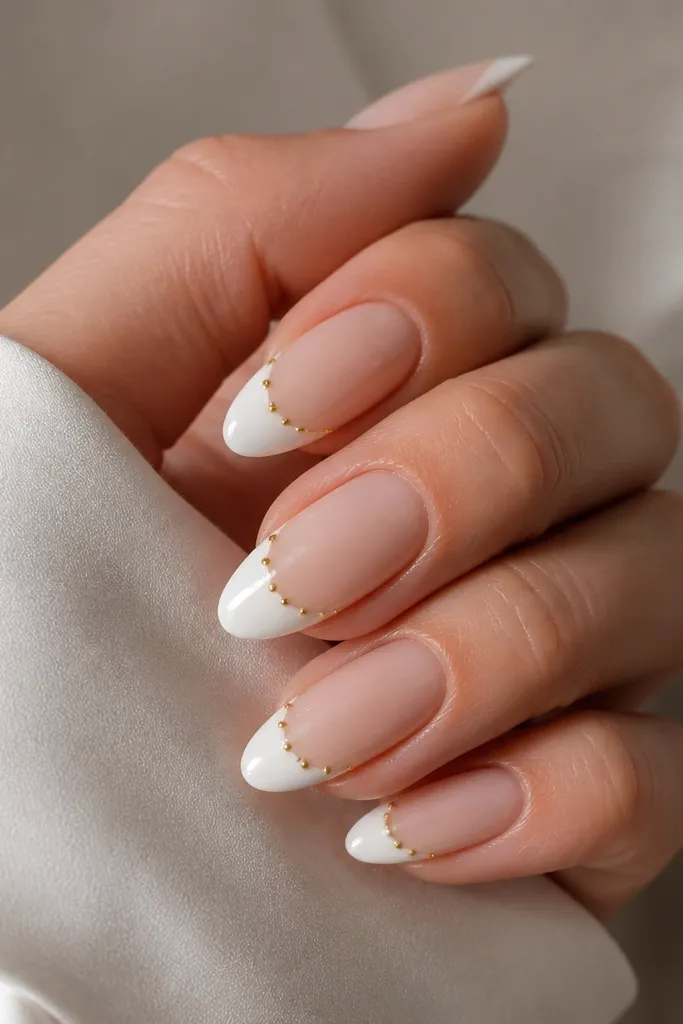
This one reads glam without going full bling. The base is sheer nude or clear nude, then you do a clean white French tip, which keeps the stiletto shape crisp. The gold micro studs sit right on the border between nude and white, like a stitched line. Because the studs are small, the look stays modern instead of party-clumpy. It’s flattering on hands that have a bit of natural nail growth because the nude base blends and the French line stays neat.
Apply sheer nude gel as your base and cure, leaving it smooth. Create the white French tip using a French guide or freehand with a thin brush, keeping the tip width narrow for stiletto. While the French gel is still workable (or use a thin line of tacky gel along the border), place gold micro studs with tweezers — space them evenly and keep them only on the border line. Cure, then seal with a glossy top coat and brush top coat over the studs to lock them down.
Use a matte-tipped tweezer grip so you don’t scratch the gold studs when you place them.
Avoid large studs; they catch on fabric and start popping off.
8. White and Gold Foil Confetti Behind a Clear Dome
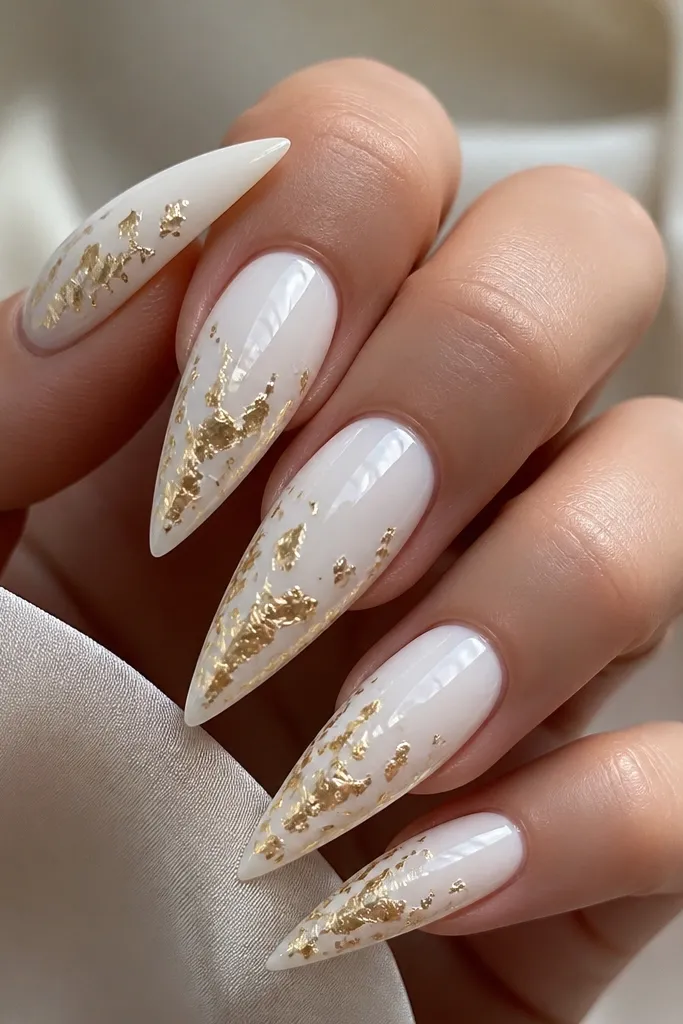
Confetti foil under a clear dome looks expensive because it stays smooth on top. I paint a solid white base, then place tiny gold foil pieces in clusters so they read like sparks, not a glitter sheet. The clear dome matters — it makes the foil look suspended and prevents rough texture. This design is gorgeous for nights out because it flashes when you move your hands. It flatters all skin tones, and it’s especially good if your nails have ridges, since the dome smooths the surface.
Start with a white gel base in two thin coats, curing fully. Apply a thin clear gel layer where you want the confetti, then press small pieces of gold foil into the tack — leave gaps so it looks airy. Build a clear dome over the whole nail with a thicker gel layer, then cure and shape the apex so the stiletto point stays sharp. Finish with glossy top coat and cap the tip so the dome doesn’t chip at the free edge.
Editor's noteKeep foil pieces small — larger flakes make the dome look lumpy and uneven.
Skip thisDon’t skip the dome layer; foil directly over top coat feels gritty and catches on hair.
9. White Gloss with Gold Outline Frame Around the Nail Edge
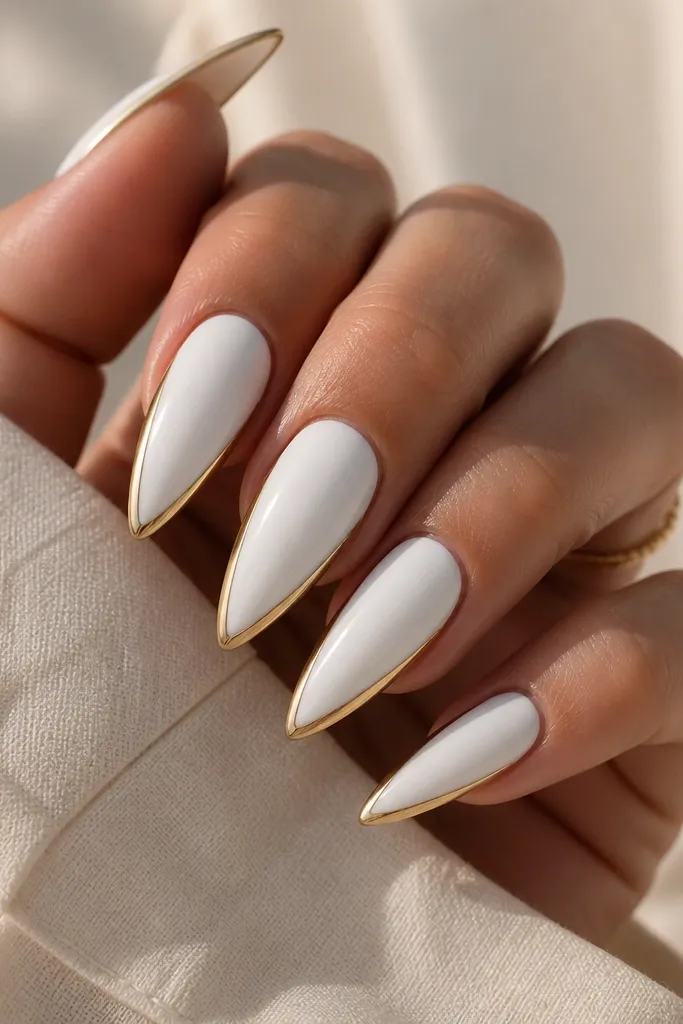
Framing the nail is a clean way to make white and gold feel architectural. The base stays solid milky white and glossy, so the nail looks smooth and bright. Then I outline the perimeter with thin gold gel so it looks like a border — you get glam without adding extra patterns across the nail. This is flattering because the outline follows the stiletto shape and makes the sides look sharper. It also works well for shorter stiletto tips since the frame visually defines the nail even when the point isn’t super long.
Paint two thin coats of glossy milky white gel and cure, then wipe tack if needed. Using a liner brush, paint a thin gold line along one sidewall from near the cuticle to the tip, then repeat on the other side. Connect the lines at the tip edge with a short gold arc, keeping the perimeter line about 1 mm thick. Clean up any uneven spots with a small brush dipped in gel cleanser, then cure and finish with glossy top coat and edge seal.
Outline one nail at a time so the gold gel stays workable and doesn’t drag while you’re still setting the brush line.
Avoid painting gold over uneven white edges; fix the white first or the frame will look crooked.
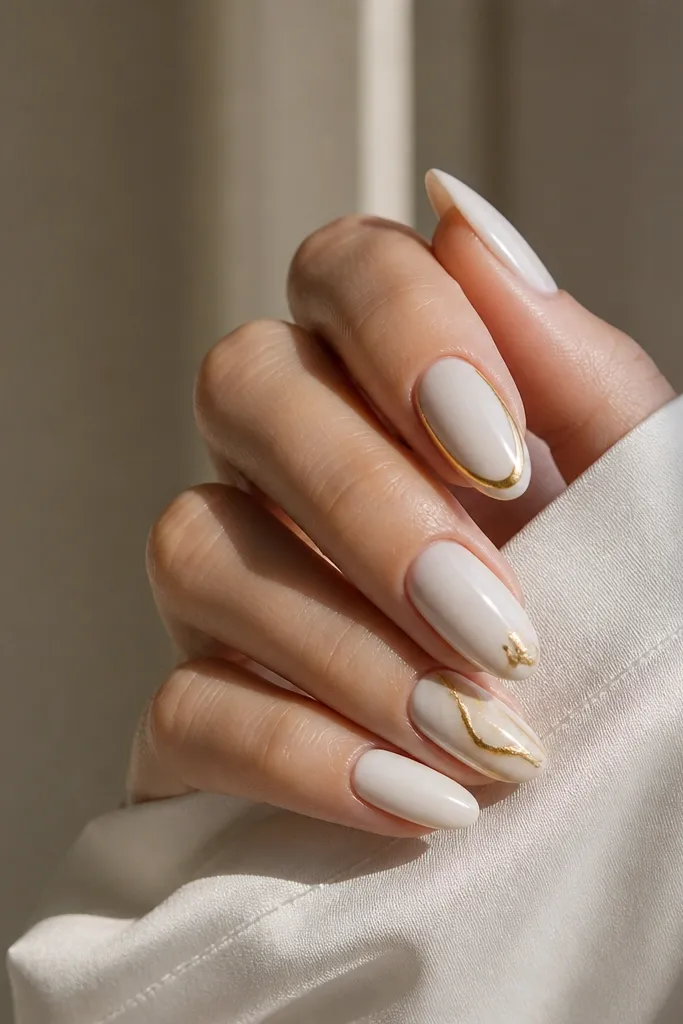
10. White Skittle Nails with Gold Accent Lines on Every Other Finger
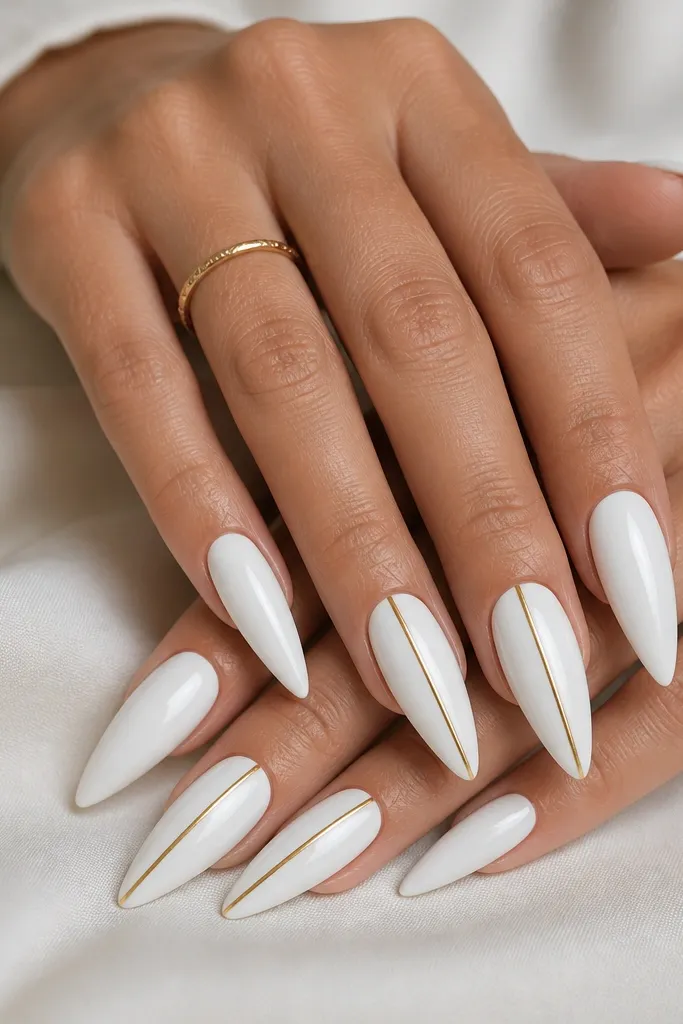
This is the easiest way to get that “modern set” look without making every nail identical. I keep most nails fully white for a clean base, then add a gold accent line on alternating nails so the set feels intentional. The gold line placement matters: I put it near the center for vertical lines, or angled to point toward the tip for diagonals. This looks great on hands where you want statement nails but still want them to match everything you wear — white does the heavy lifting, and gold gives the extra spark. It flatters different nail lengths because the white base unifies the look.
Start with milky white gel on all nails, two thin coats each, cured properly for full opacity. Choose two or three accent nails and decide your line direction — vertical center or a diagonal that points to the tip. For each accent nail, use striping tape to mark the line width (about 1-1.5 mm), paint metallic gold gel over the exposed strip, cure, then remove the tape. Finish every nail with the same glossy top coat and cap the tips so the gold lines don’t snag.
Editor's noteKeep the gold line height consistent across accent nails so the set looks designed, not random.
Skip thisDon’t add gold to every nail; spacing is what keeps the look modern.