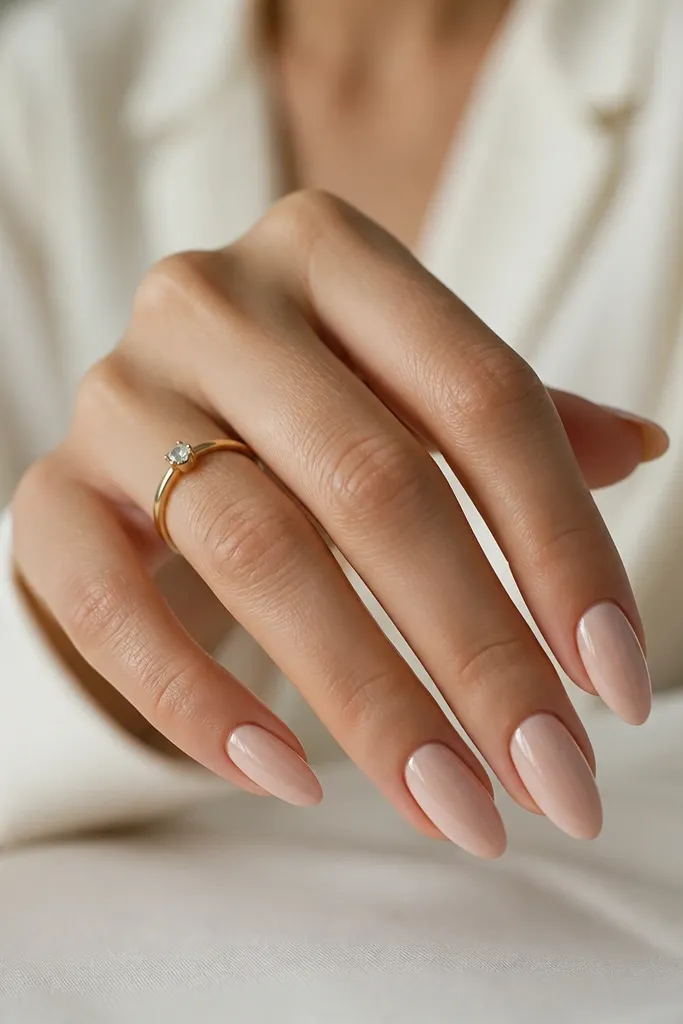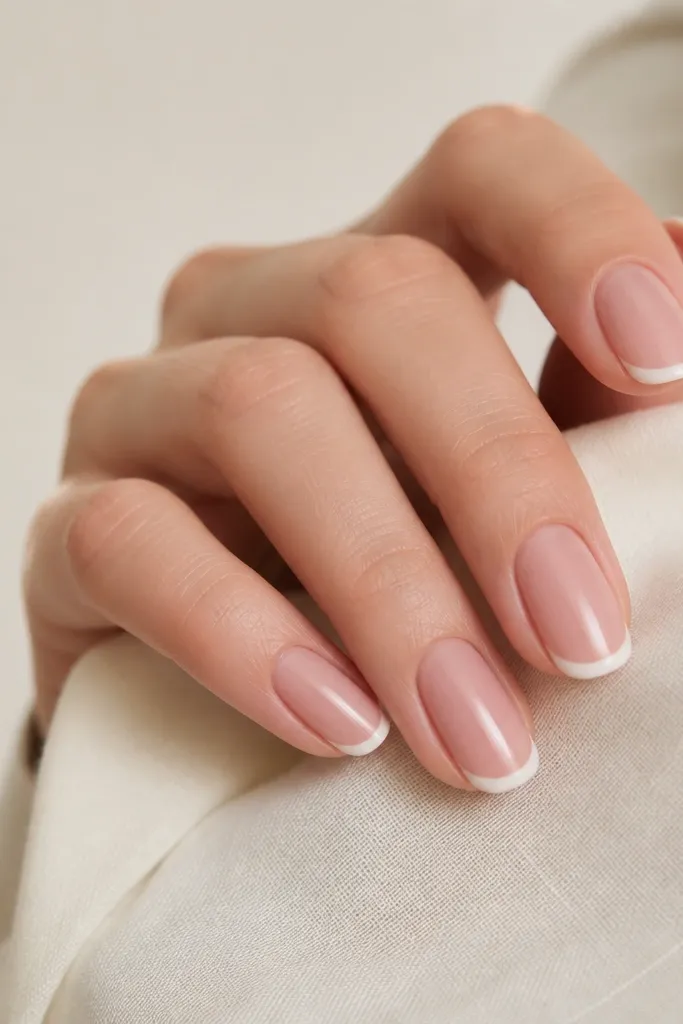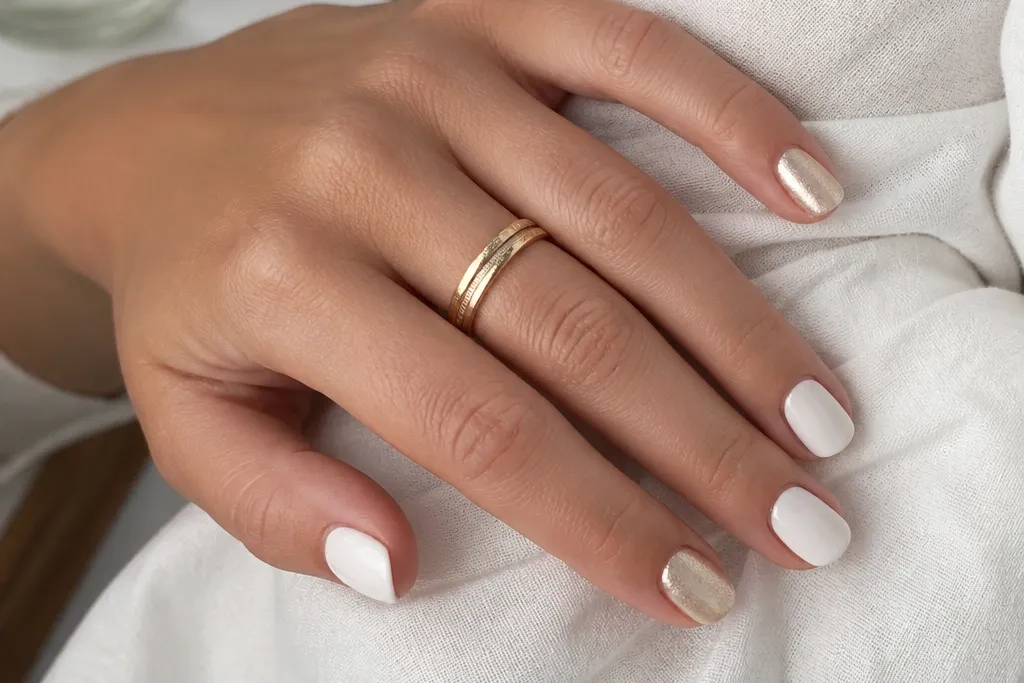
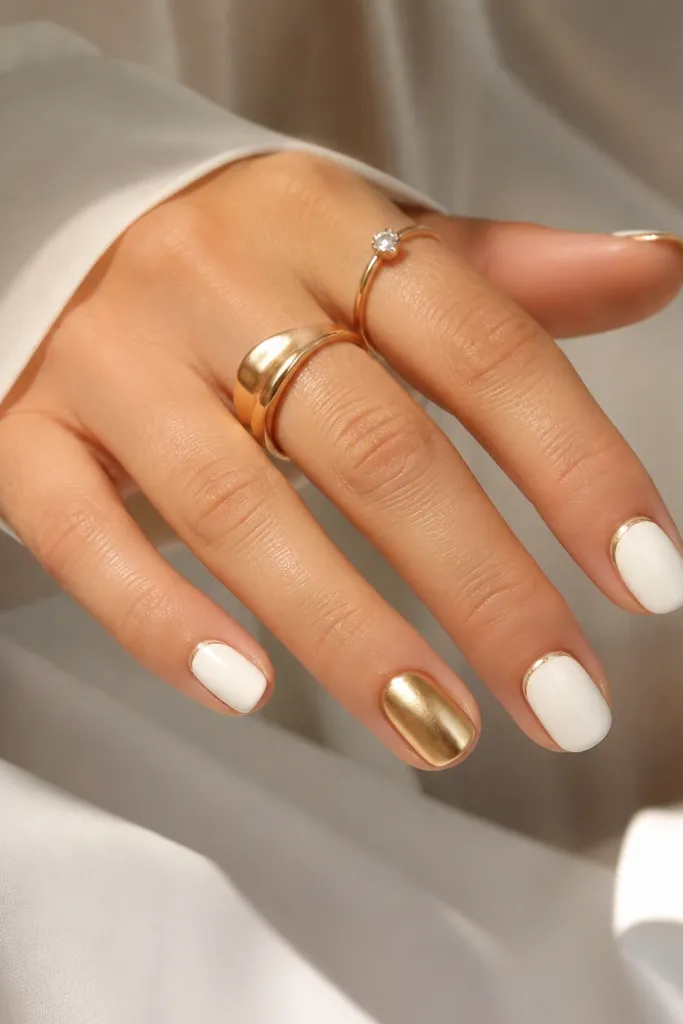
1. Micro French with crisp white tip and thin gold line
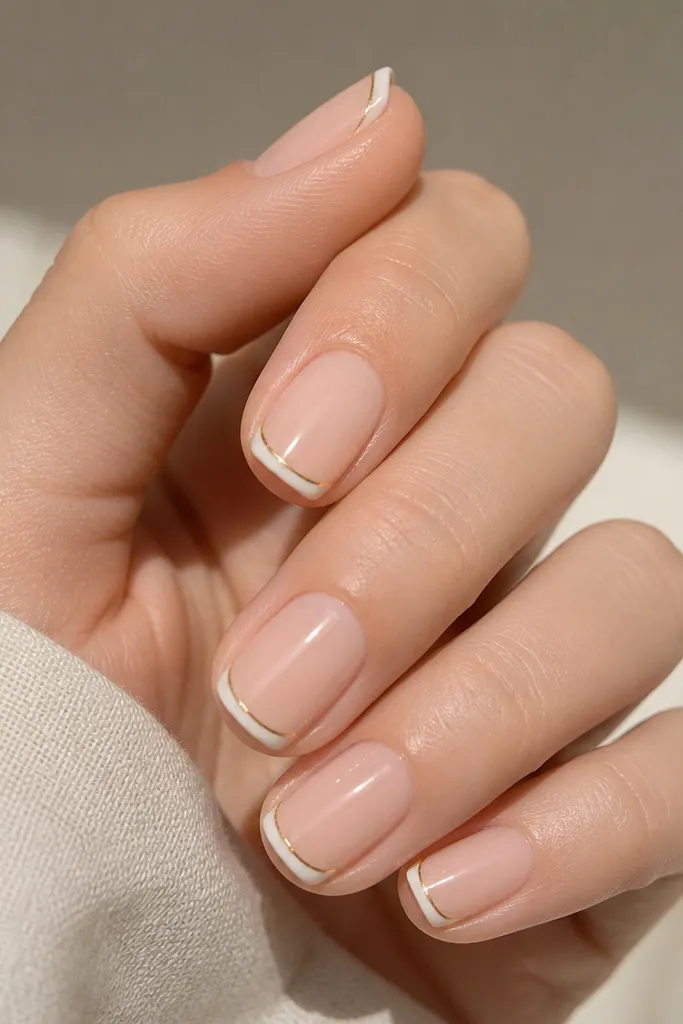
Start by shaping your nails squoval and lightly buffing the shine off the surface. Apply a sheer nude base, then cure. Paint a micro French using white gel, building it in two thin coats so the edge stays smooth. Place a thin strip of gold striping tape right below the white smile line, or paint a gold line with a liner brush and cure. Finish with a thick glossy top coat, especially over the tape edges so nothing catches.
This look works because it keeps the white confined to the tip area, where short nails can still look longer without overpainting. The white tip is tiny — about 1.5 to 2 mm from the edge — so the nail bed stays visible. The gold line is a narrow strip right under the white smile, which makes the whole set feel like jewelry on small nails. I’ve worn this with both cool and warm skin tones; the nude base keeps it flattering, and the gold warms up the contrast. For everyday wear, this reads clean, not flashy, even in bright office light.
Skip thisDon’t make the white tip too wide — it makes short nails look shorter.
Editor's noteIf your French smile line wobbles, use a small strip of tape as a guide for the first pass, then remove it before curing.
2. White half-moon cuticle with gold foil specks
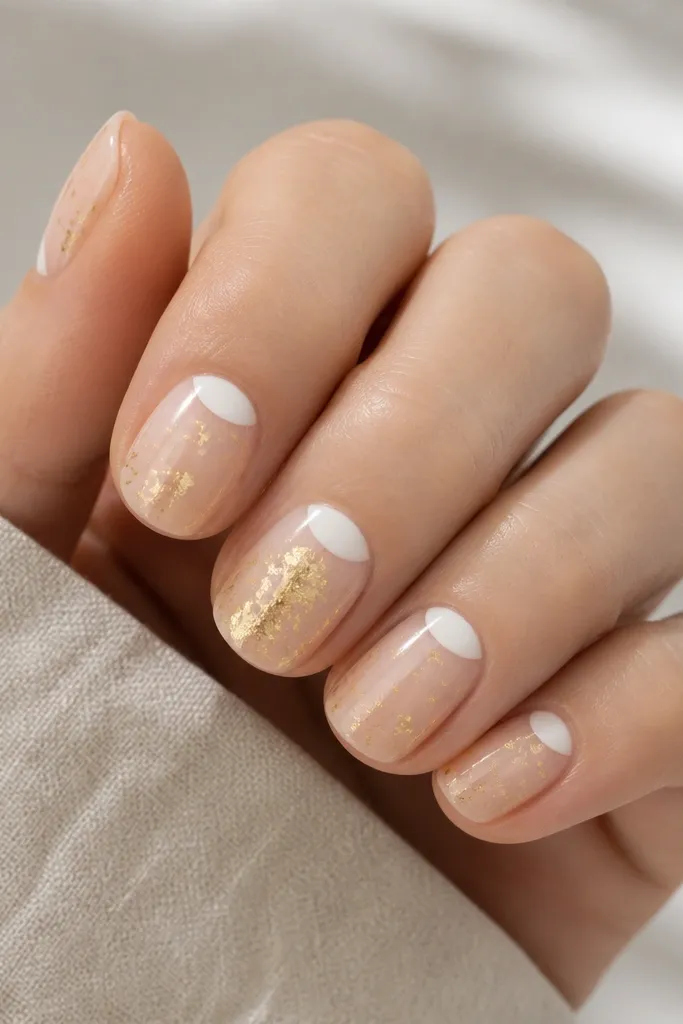
Start with a sheer nude base and cure fully. Use a small liner brush to paint a rounded half-moon in opaque white right at the cuticle, keeping it centered and uniform across nails. While the white is tacky, press tiny gold foil flecks into place with a silicone tool, then cure. If you want more control, place fewer flecks and spread them with a dotting tool so they don’t clump. Seal everything with a glossy top coat in two layers, one thin pass to lock foil down and one thicker for shine.
The half-moon near the cuticle is the cheat code for short nails because it draws the eye upward. Your white shape should hug the cuticle line but not spill onto skin, usually leaving a 0.5 mm gap so it looks intentional. Gold foil specks add dimension without adding length, and they look best when the foil is irregular and sealed under gel. This style flatters medium to deep skin tones because the nude base creates a smooth contrast, and the white reads bright. It also works for casual and date nights since it looks “designed,” not like random glitter.
Skip thisAvoid placing gold directly over the cuticle line — it can look messy and lift sooner.
Editor's notePress the foil with a dry silicone tool so it picks up cleanly instead of smearing.
3. Gold frame around a white negative-space center
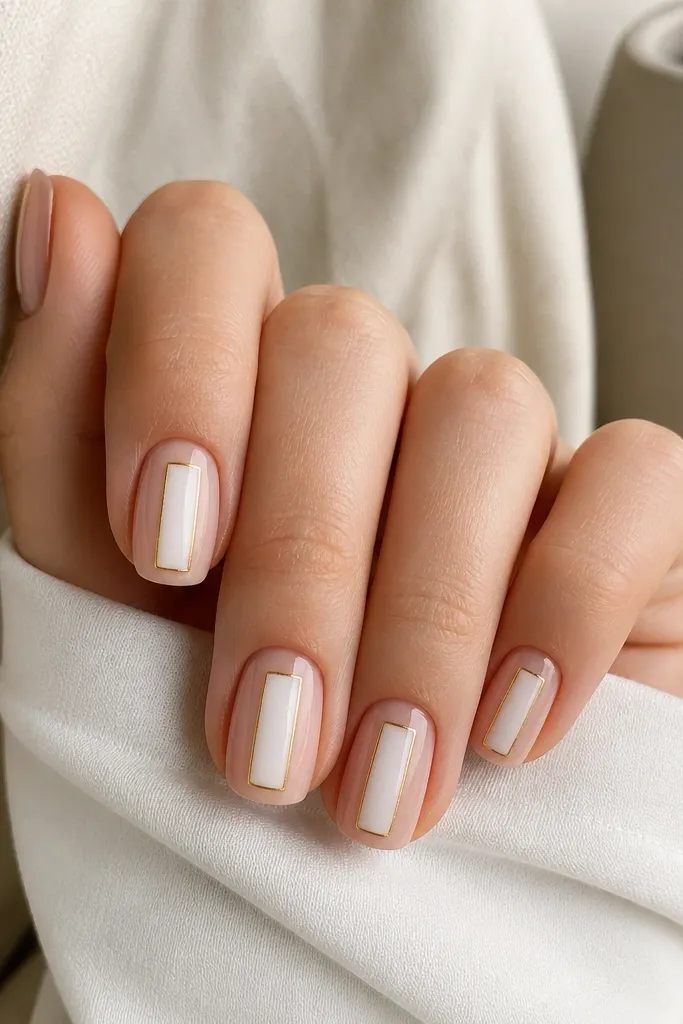
Apply a sheer nude base and cure. Paint a vertical white panel in the center, leaving equal negative space on both sides; aim for about 2.5 to 3 mm wide depending on your nail width. Outline the panel with gold striping tape or gold gel, keeping lines crisp and squared off at the top and bottom. Add a tiny dot of gold at the lower corners to sharpen the frame. Cure and finish with a glossy top coat that smooths the edges of the frame.
This design makes short nails look longer because the white panel is vertical. The negative space on both sides keeps the nail from feeling bulky, and the gold frame adds that clean, architectural finish. I’ve found this works especially well when your nails are slightly wider at the free edge — the frame visually narrows them. On fair skin, the nude base keeps it soft; on deeper skin, the nude still reads polished and the white pops. The gold outline is thin enough to feel chic rather than heavy.
Skip thisDon’t fill the entire nail with white — the negative space is what makes it look lengthening.
Editor's noteMeasure the center panel width by eye using your nail as the ruler — consistency matters more than exact millimeters.
4. White marble streaks with micro gold flecks
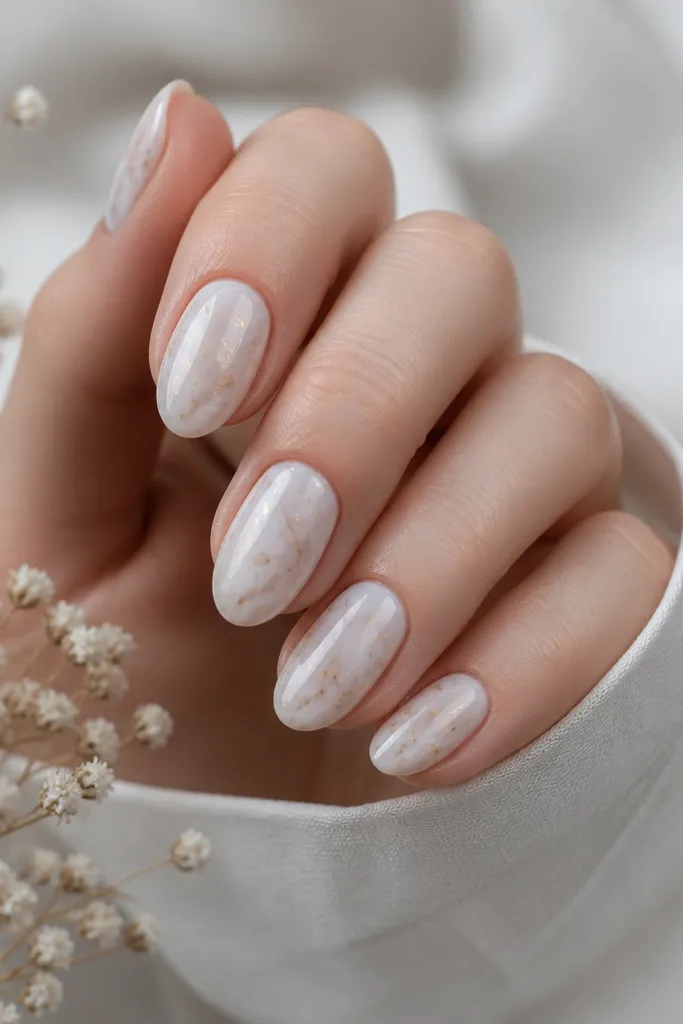
Start with a milky white base gel (two thin coats). With a detail brush, drag a tiny amount of gray or taupe gel to create 2 to 3 thin streaks per nail, then feather the edges lightly. While tacky, dab micro gold flakes near the center and tip, keeping them sparse. Cure and wipe with cleanser if needed. Finish with a glossy top coat, then check the surface under a lamp for any raised foil spots and smooth with a second top coat.
Marble looks good on short nails because the movement breaks up the flatness of a single color. Use a milky white base so it stays bright, then add thin grayish streaks so the marble doesn’t turn into pure chalk. Micro gold flecks are the finishing touch — they catch light as you move, but they don’t cover the whole nail. I’ve worn this set in winter and it still reads fresh because the white is creamy, not opaque-cake. It also flatters hands with a bit of texture because the streaks draw attention away from surface lines.
Skip thisDon’t add big gold chunks — on short nails they feel heavy and dated.
Editor's noteUse a barely-wet brush for marble streaks so you get hairline movement instead of thick swirls.
5. White glossy block tip with diagonal gold accent
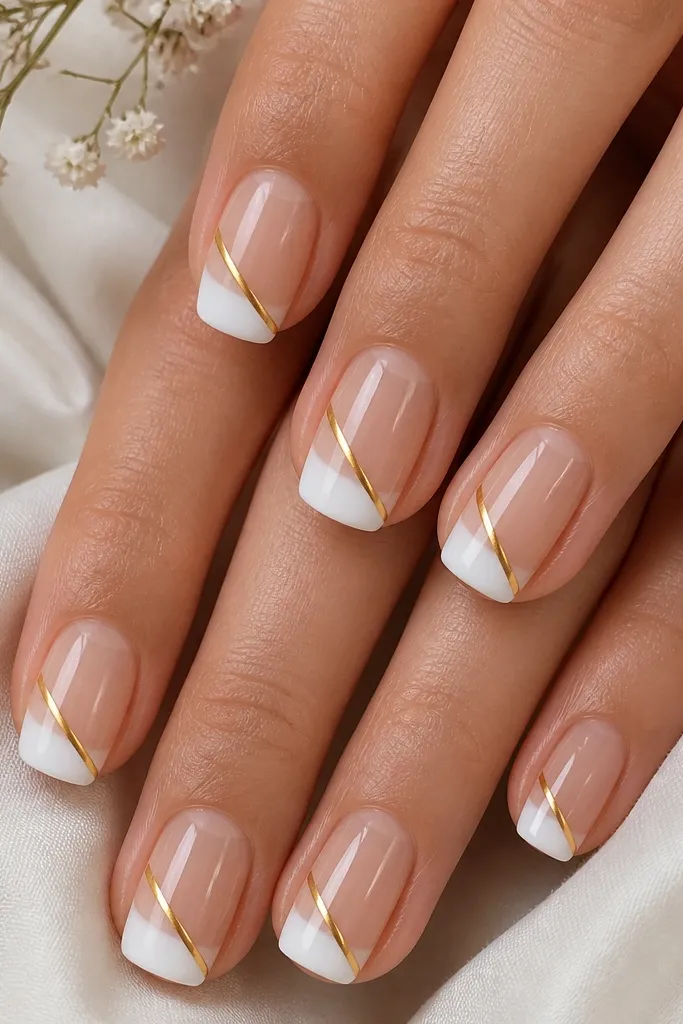
Prep and apply a sheer nude base, cure. Paint a full opaque white block at the tip, keeping it rectangular and consistent across nails; do two thin coats. For the diagonal accent, place a strip of gold tape diagonally from around 1/3 up the nail toward the corner of the white tip, then cure. If you prefer painting, use a liner brush and draw a single diagonal line, keeping it thin. Add one thick glossy top coat to seal the tape and make the white look glassy.
A white block tip makes short nails look sharp because it creates a clean “edge” at the end. The diagonal gold accent keeps it from looking like basic French tips and adds that fashion detail without extending length. I like this for people who want something bold but still practical for work — the gold line is small enough to pass in casual settings. It also looks great on hands with shorter nail beds because the white block visually balances the proportions. The glossy finish is non-negotiable here; it makes the edges look crisp.
Skip thisDon’t make the white block uneven on one side — that’s what makes it look homemade.
Editor's noteBefore curing, check the diagonal line from the side angle — if it’s crooked, fix it while tacky.
6. White dots gradient from cuticle to tip with gold outline
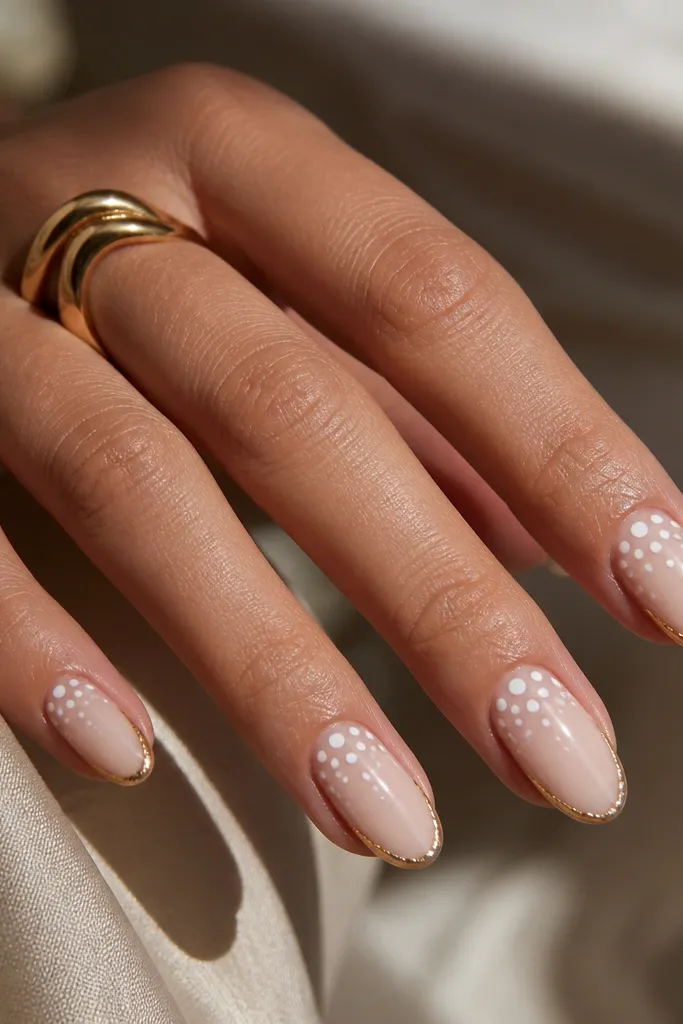
Start with a sheer nude base and cure. Using a dotting tool, place 4 to 6 white dots starting near the cuticle — bigger at the top and smaller as you move down. Keep them in a loose diagonal so the gradient feels intentional. Outline the nail perimeter with thin gold striping tape, or paint a delicate gold line along the sides and cure. Seal with a glossy top coat in two layers if the dots feel raised.
Dot gradients are small-space friendly because they create movement without covering the whole nail. Larger dots near the cuticle make the nail look fuller at the top, and the smaller dots toward the tip prevent it from feeling crowded. The gold outline adds a clean boundary, so the dots don’t look like random stickers. This set flatters almost everyone because the nude base is neutral and the white dots read bright without needing extra length. I’ve worn this for brunch and it still looks neat after a week because the outline helps hide minor growth.
Skip thisAvoid thick gold outlining — heavy borders make short nails look boxed in.
Editor's noteIf dots smear, clean your dotting tool between nails so you get crisp circles.
7. White swirled French with gold swoop over the center
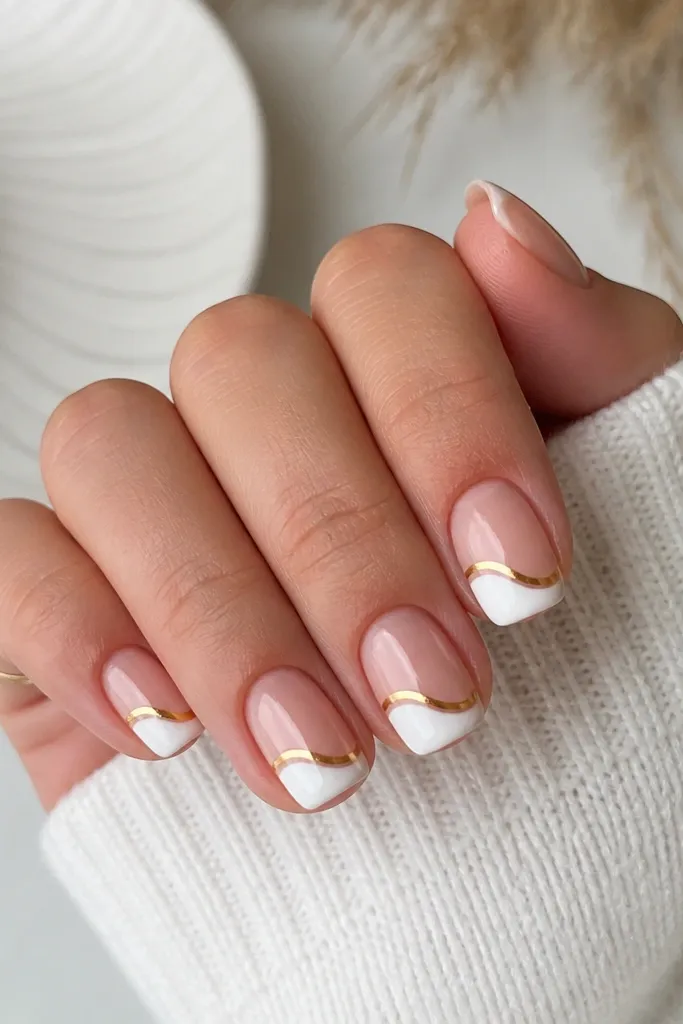
Apply nude base gel and cure. Paint the French tip with white gel in a curved smile line, not a straight one; keep it thin at the ends so it doesn’t widen. For the gold swoop, use gold gel with a liner brush and draw a single smooth curve from the middle toward the wave peak, then cure. Make the swoop about as wide as a thin hairline so it stays chic. Finish with a thick top coat that smooths the wave edges.
This is a “French, but make it artsy” set. The wavy white tip keeps the design from looking like a basic manicure, and it still elongates because the tip is controlled. The gold swoop over the center ties the wave together and gives you that movement you want without adding glitter. I like it for short nails because the gold line is placed where your eye naturally travels — center — so it reads clean even from a distance. It works for both warm and cool skin tones since the nude base keeps the contrast balanced.
Skip thisDon’t add gold on every nail with the same thickness — variation looks intentional.
Editor's notePractice the swoop on a nail tip or scrap form first — your curve speed matters.
8. One accent nail: white crosshatch with gold foil edges
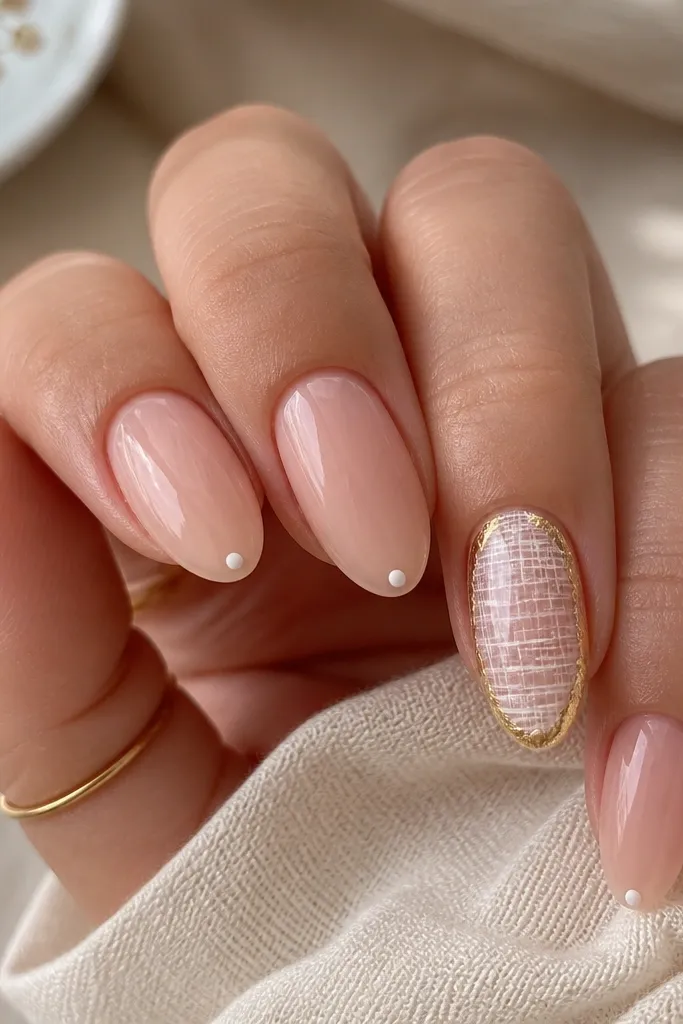
Paint all nails with sheer nude base and cure. Add a tiny white dot or mini line at the tip on non-accent nails, then cure. On the accent nail, paint a semi-opaque white base layer, then use a thin liner brush to draw diagonal lines and a second set crossing them for a grid. While tacky, press gold foil pieces along the perimeter of the accent nail. Seal with a glossy top coat, and do a second top coat on the accent nail so the foil doesn’t snag.
This design is practical because you get one “wow” nail while keeping the rest simple enough for daily life. The crosshatch on the accent nail looks like fabric texture, and it’s bright because it’s white-on-nude instead of fully opaque white. Gold foil at the edges makes the accent nail look framed, not random. I like it for short nails because crosshatch lines add interest without needing length. It also photographs well because the gold catches light at the edges, not in the middle.
Skip thisAvoid big foil coverage on the accent nail center — it flattens the crosshatch detail.
Editor's noteKeep the crosshatch lines thin — thick grid lines turn into chunky stripes on short nails.
9. White cat-eye base with gold magnetic shimmer line
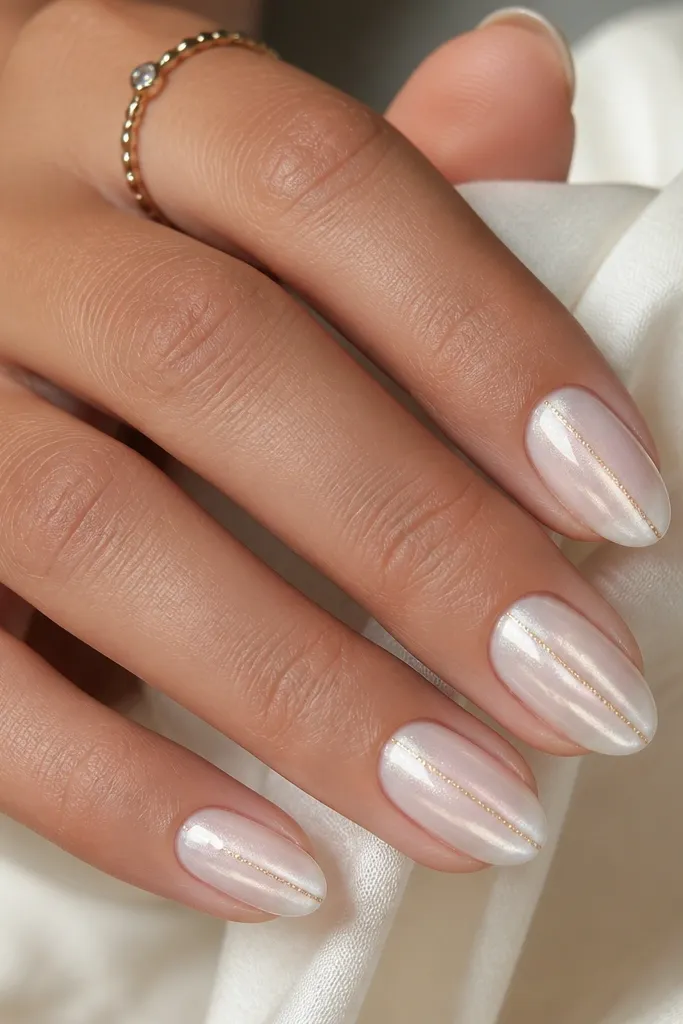
Start with a white cat-eye gel base. Apply in two thin coats, curing each coat. Use the magnet right after applying the second coat so the gold shimmer line forms in the center; hold the magnet steady for the full recommended time. If your magnet pulls the line too far, adjust the magnet position slightly and reapply the top coat only after curing. Finish with a glossy top coat that keeps the cat-eye smooth and prevents the shimmer from looking dry.
Cat-eye polish looks luxe on short nails because the light shift creates depth without extra length. The base is milky white so the glow stays bright, and the gold magnetic line reads like a thin highlight. I’ve found this set wears well because the cat-eye effect hides minor growth lines — the light movement distracts from small imperfections. It flatters hands with shorter nail beds because the vertical line pulls the eye upward. Gold also plays nicely with both fair and deeper skin tones when the base is creamy instead of stark white.
Skip thisDon’t overwork the magnet — too much moving makes the line look fuzzy.
Editor's noteUse the magnet over a flat surface so your line stays straight across the nail.
10. White lace pattern with gold micro dots at intersections
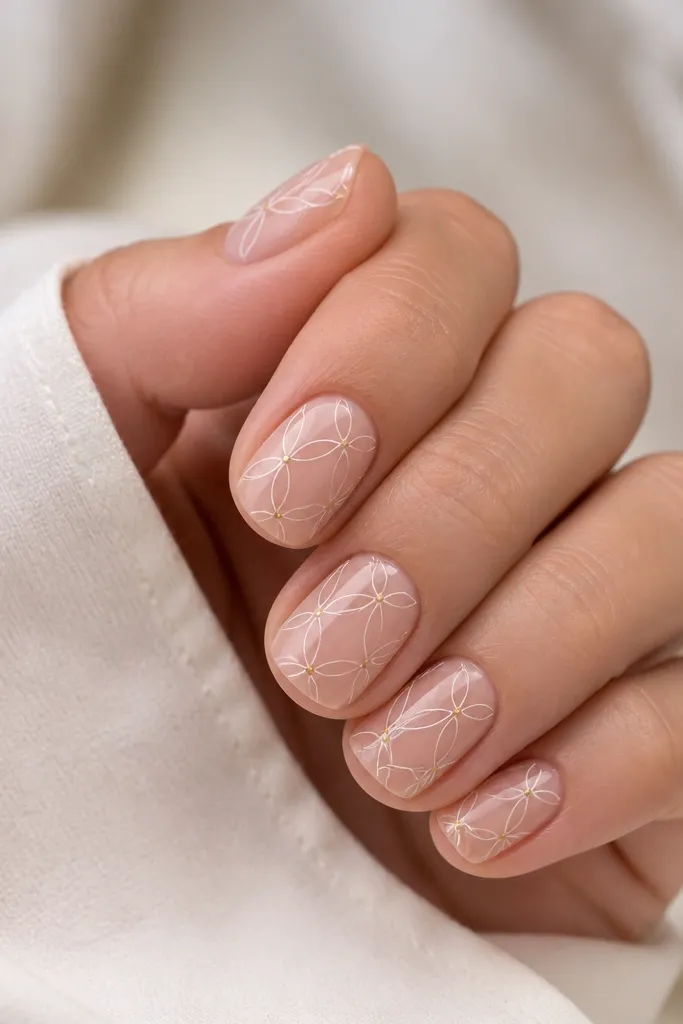
Apply sheer nude base and cure. Paint a thin layer of white gel on the lace pattern lines using a lace stencil or a stamping plate if you’re comfortable with stamping; either way, keep the lines thin. If you hand-paint, work in small sections and cure frequently so the lines don’t smear. Add gold micro dots with a dotting tool at the intersections, then cure. Seal with a glossy top coat, and cap the free edge so the lace lines stay smooth as your nails grow.
Lace patterns look delicate, but on short nails they need tight spacing so they don’t blur. The white lace lines sit on a sheer base, so you keep a light, airy look instead of a heavy white block. Gold micro dots at intersections act like “knots” in the lace, which makes the design feel intentional and not like random glitter. I like this for weddings or events because it looks soft but still styled. It also flatters different skin tones because the nude base adjusts to your hand, and the white stays crisp.
Skip thisAvoid placing gold dots too close together — clusters make the lace look heavy.
Editor's noteIf your lace looks thick, thin your white gel with a gel medium so the lines stay airy.
11. White outline flowers with gold centers (two nails)
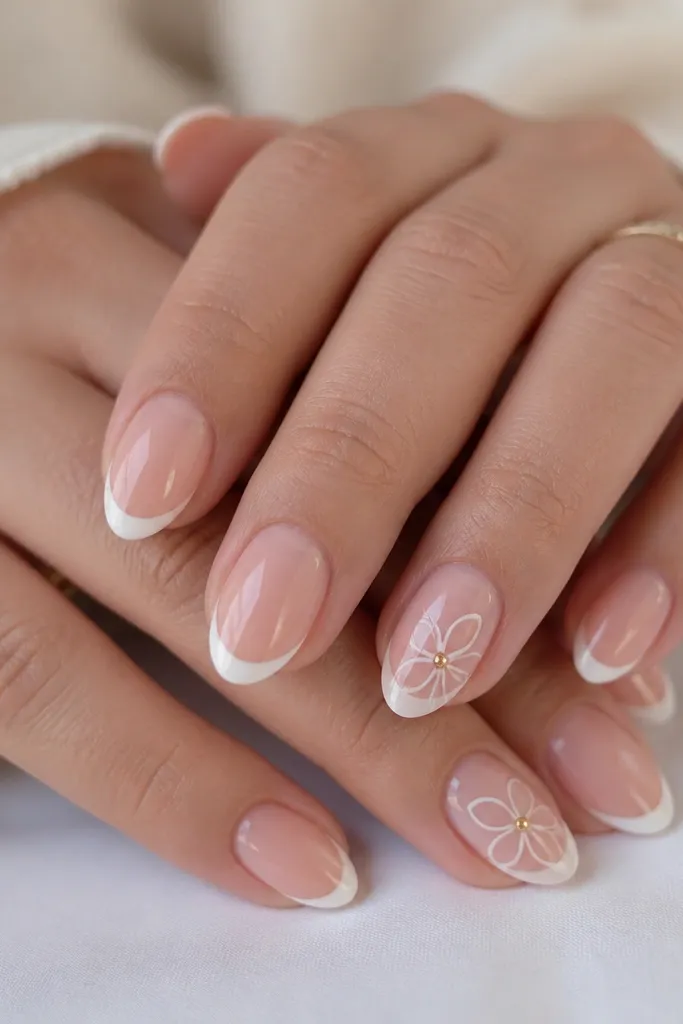
Start with a sheer nude base and cure. Add a micro French in white on all nails, keeping the tips thin. On two accent nails, place a small flower outline with a detail brush near the outer side of the nail (not the cuticle). Paint the flower center as a perfect small gold dot using gold gel or a gold dotting paste, then cure. Top coat all nails twice if the flower lines feel raised.
Outline flowers are great for short nails because they use line work instead of full coverage. The white outlines keep things clean, and gold centers add a focal point that looks like tiny rings. I like doing only two accent nails because it keeps the set practical and makes the flowers feel special. This looks good on fair to medium skin tones because the nude base keeps the contrast soft; on deeper skin tones it still works because the white lines are bright and the gold pops. It’s also a nice option if you want something cute without full-on glitter.
Skip thisDon’t put flowers on every nail — short nails need breathing room.
Editor's noteUse a dotting tool for the gold center so it stays round and even.
12. White glossy swirl tips with gold foil half-coverage
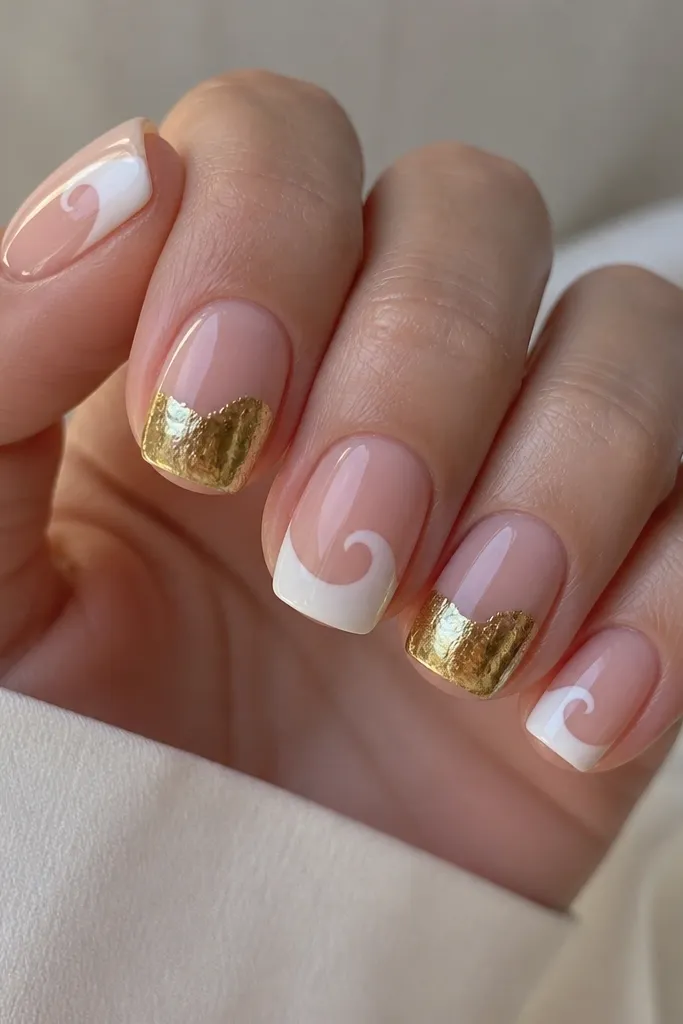
Apply sheer nude base and cure. Paint white swirl tips using a detail brush — start at the tip edge and curl inward, leaving nude sections between swirls so it doesn’t become a solid blob. On two selected nails, press gold foil flakes onto the lower half of the nail, leaving a clean curved boundary where nude shows. Seal foil with a thin gel layer, cure, then add a glossy top coat over everything. Make sure the swirl edges are fully capped with top coat so they feel smooth.
This set mixes two textures: smooth glossy white and irregular gold foil. The swirl tips keep the design playful and prevent the white from looking flat. The gold foil half-coverage gives you that high-contrast look that still reads neat on short nails because the foil edge is curved and controlled. I like it for nights out because the foil catches light across the nail surface. It also flatters hands with shorter nails because the foil lower half balances the swirl at the tip, so the nail doesn’t look top-heavy.
Skip thisAvoid straight foil edges on short nails — they look harsh and cut the nail visually.
Editor's notePress foil in small sections rather than one big press so the curved edge stays clean.
13. White and gold stacked rectangles at the tip
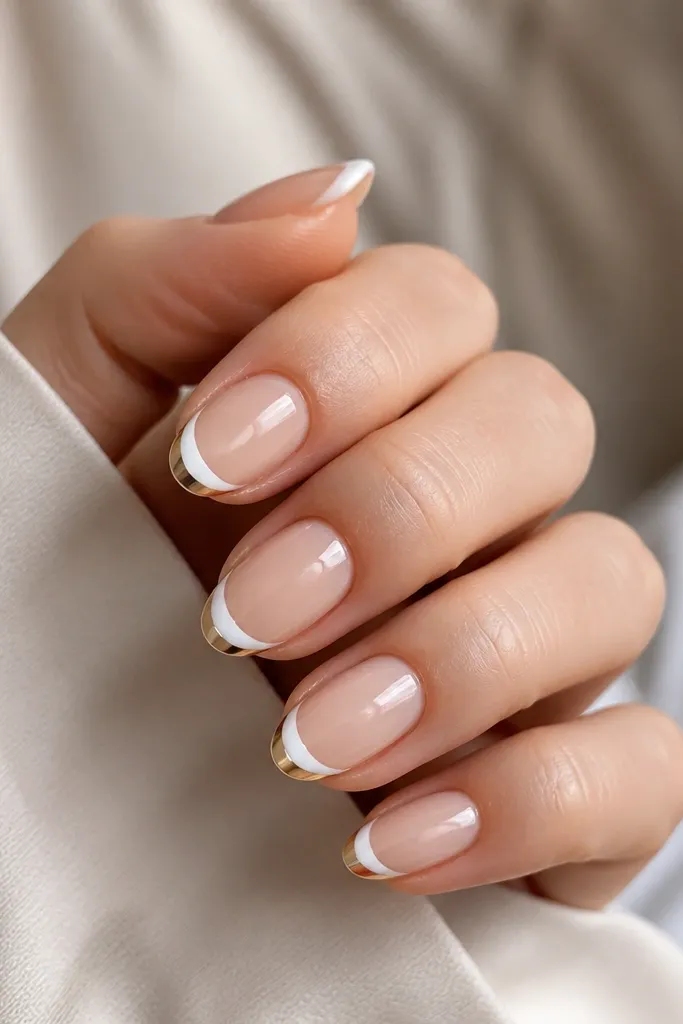
Apply nude base and cure. Paint a narrow white rectangle at the tip, about 2 mm tall, in two thin coats. For the gold layer, either use a strip of gold tape cut into a tiny rectangle and place it right under the white block, or paint a thin gold rectangle with a liner brush. Keep both rectangles centered and aligned. Cure and then apply a thick glossy top coat to cap the edges and smooth the transition between shapes.
Stacked rectangles look modern and they’re perfect for short nails because the shapes are controlled and geometric. The top white block is thin, so it doesn’t overwhelm the nail bed, while the gold rectangle underneath adds that clean separation line. I’ve done this for clients who want “clean but not boring” and it always reads intentional. On warm skin tones, the gold looks like jewelry; on cooler skin tones, the white stays bright and the gold keeps the set from looking sterile. It’s also easy to keep neat during wear because the design is at the tip where you can hide small growth.
Skip thisAvoid uneven rectangle heights — asymmetry makes it look like a sticker stuck on.
Editor's noteCut gold tape with a craft blade on a firm surface so your rectangle edges stay sharp.
14. White ombre base with gold half-moon stripe
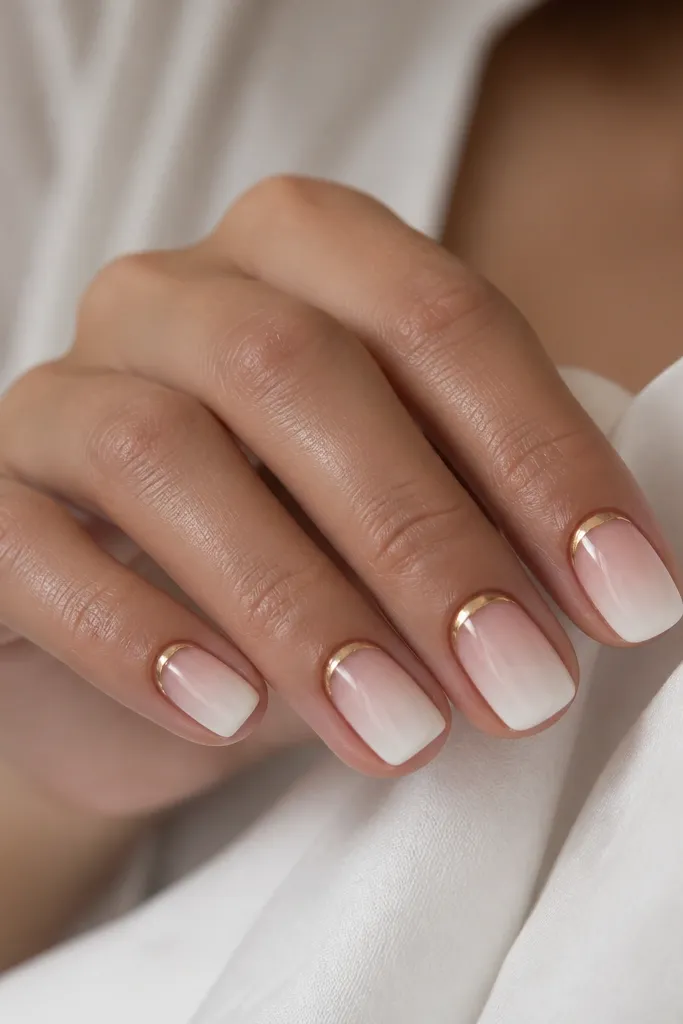
Start with a nude base and cure. Sponge on white ombre starting from the tip edge, blending downward with a makeup sponge or ombre brush; do it in two layers so the fade is smooth. Cure after each layer. Apply a thin gold striping tape or paint a gold half-moon stripe right at the cuticle curve, leaving a tiny gap from the skin. Cure and finish with a glossy top coat, paying extra attention to the center where ombre can look rough if you don’t cap it well.
Ombre looks good on short nails when it’s soft and gradual, because it creates a smooth visual flow instead of a hard line. Here, white is strongest at the tip and fades into nude, which visually lengthens without needing extra nail. The gold half-moon stripe at the cuticle acts like a frame, pulling the design together and adding warmth. I like this on hands with slightly dry cuticles because the gold stripe draws attention upward and makes the edges look intentional. It also works for everyday wear because the palette stays calm and the gold is minimal.
Skip thisAvoid harsh sponge lines — they make ombre look patchy on short nails.
Editor's noteUse a small angled ombre brush so you don’t flood the fade area with too much white.
15. White tiny bows with gold dots on accent nails
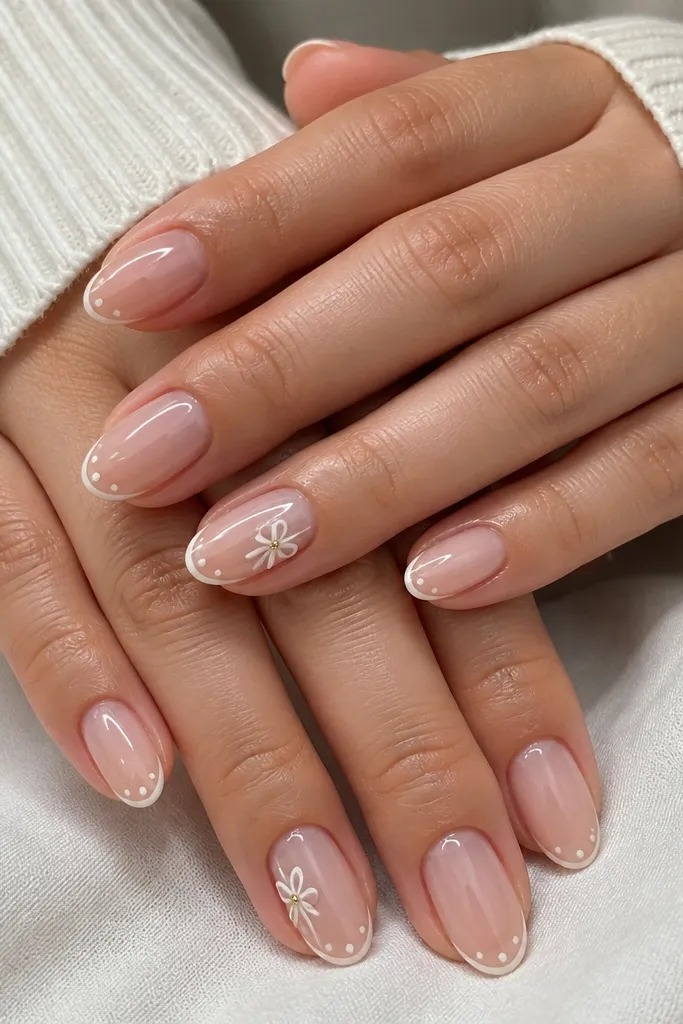
Paint all nails with a sheer nude base and cure. Add a small white micro accent at the tip on most nails, like a 1 mm line or dot. On two accent nails, use a nail-art brush to draw a small bow: two curved loops and a tiny knot in the middle, all in opaque white. Place two tiny gold dots on the knot area using a dotting tool, then cure. Seal with glossy top coat and cap the bow edges with a careful top coat pass.
Tiny bows look cute, but they only work on short nails when they’re small and placed off-center. White bows near the side of the nail keep the design from crowding the cuticle and keep the nail looking neat. Gold dots in the center add a “button” detail that makes the bow look finished. I’ve done this for people who want something playful but still clean enough for work, because the rest of the nails can stay minimal. The nude base makes it flattering across skin tones, and the white stays crisp so the bow shape reads clearly.
Skip thisAvoid big bow shapes — on short nails they look cartoonish fast.
Editor's noteIf your bow lines spread, let the white gel sit for 10-15 seconds to thicken slightly before you place the next line.