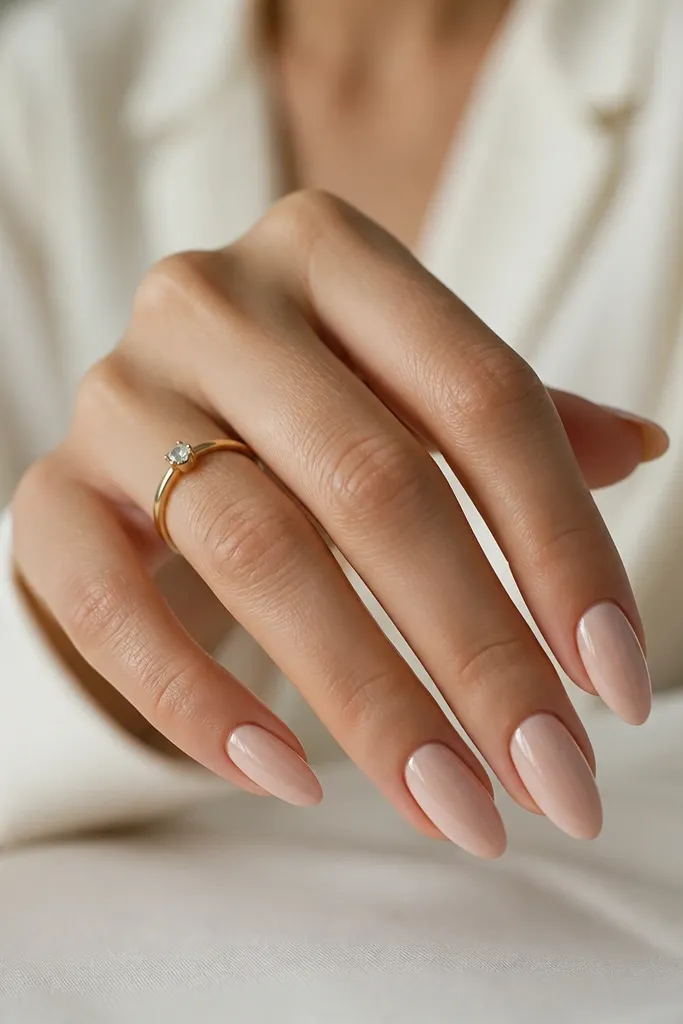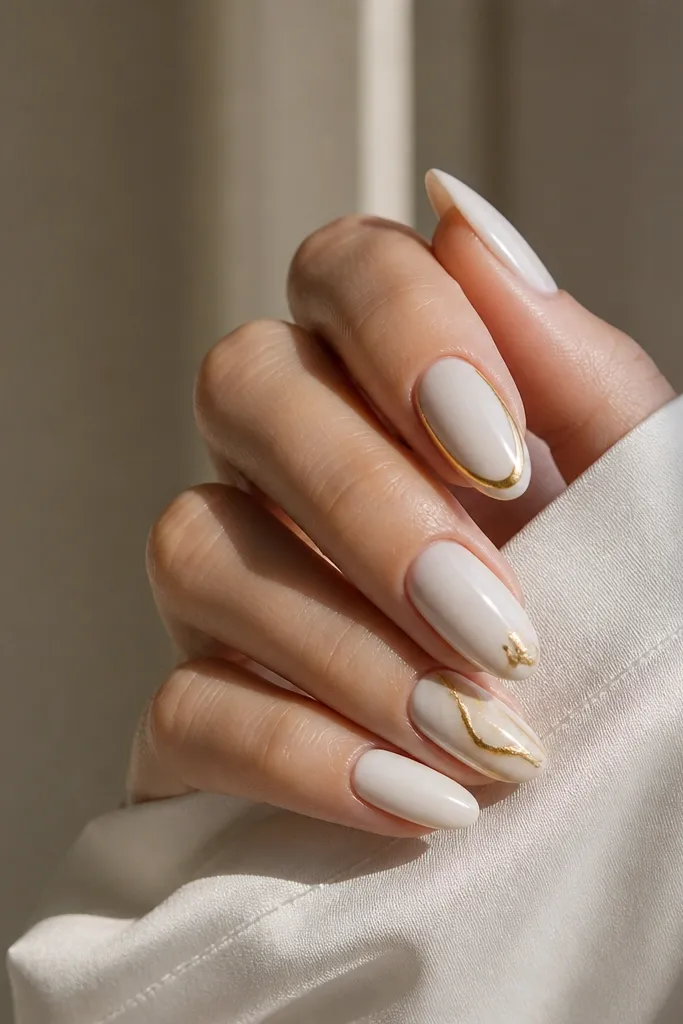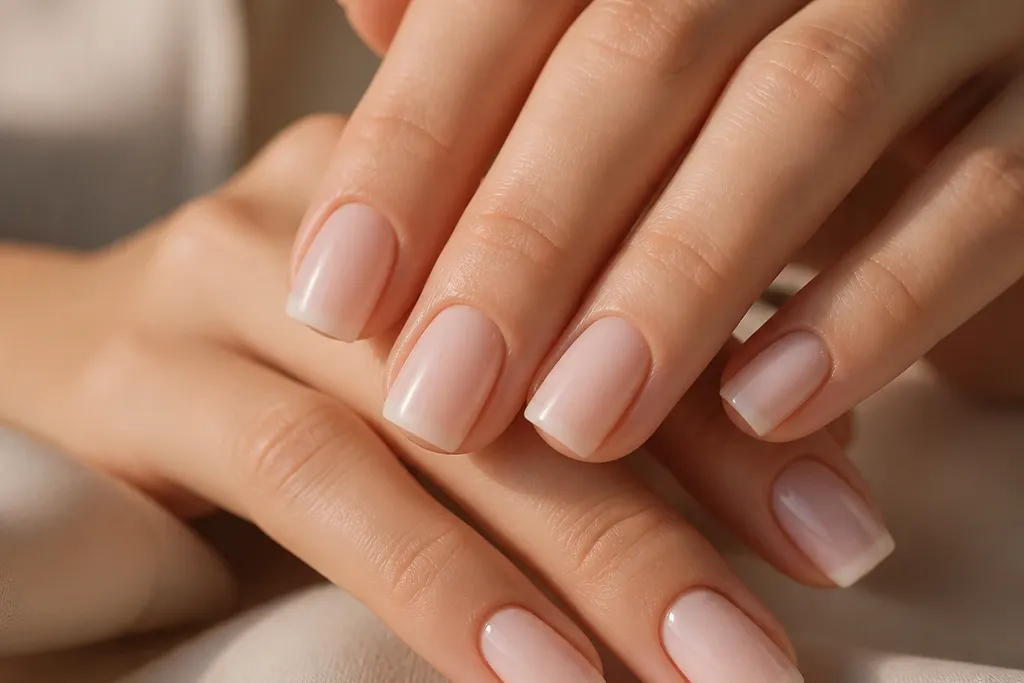
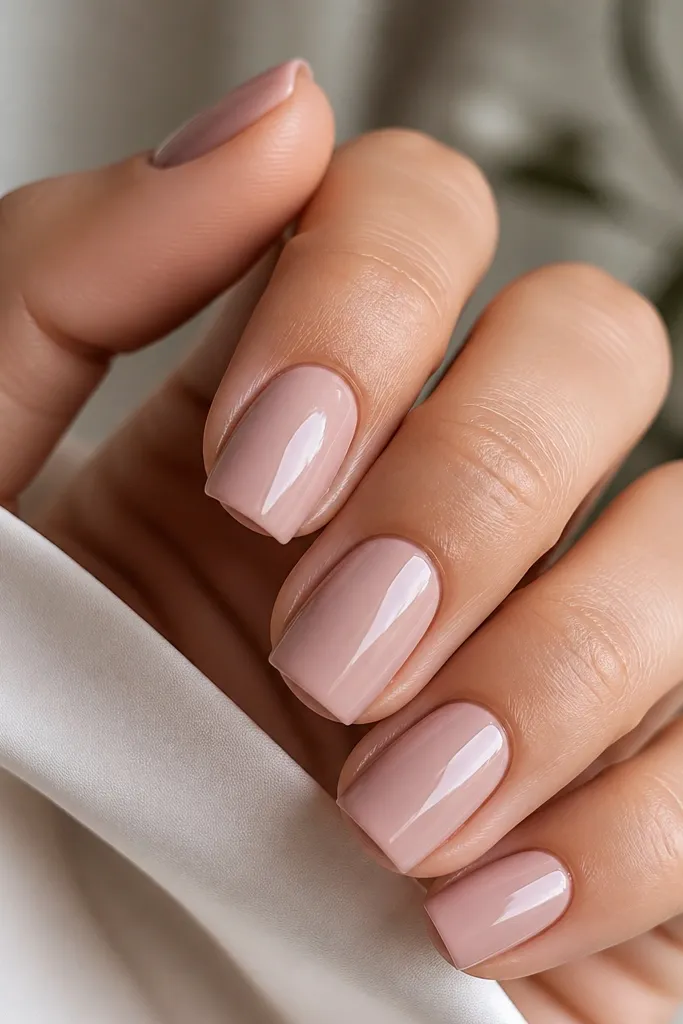
1. Milky Nude Square with Micro-White French
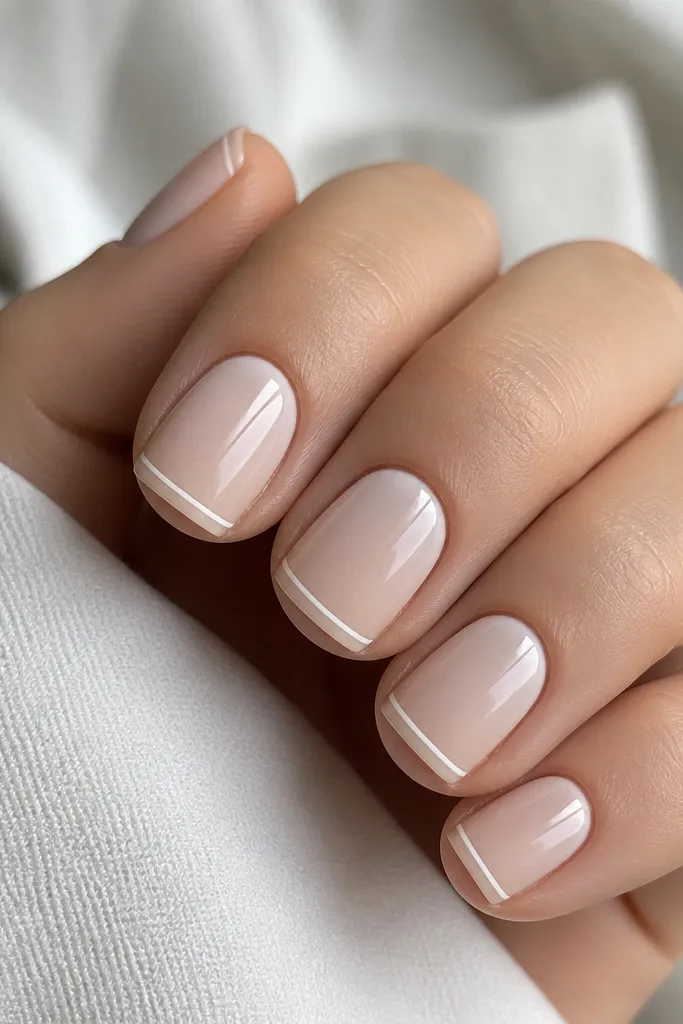
This is the manicure I reach for when I want “clean and classy” without drawing attention to length. The milky nude is opaque enough to hide ridges but still looks light on the hand, and it flatters most skin tones because it sits close to your natural nail color. The micro-white French keeps the square shape looking intentional instead of heavy. Glossy top coat makes the white line feel sharper, like it was done with a striping brush.
Start by prepping the nail and pushing cuticles back, then buff the surface lightly so the nude doesn’t streak. Paint two thin coats of milky nude, letting each coat dry fully. Use a striping brush or a French guide to paint a super thin white line right at the free edge, then cap the tip with a final thin layer of nude to keep it smooth. Finally, seal with a glossy top coat and run it along the sidewalls of each square corner.
Editor's noteIf your French line wobbles, touch it up with a small flat brush dipped in remover — clean edges make this look high-end.
Skip thisAvoid thick white tips — they make square nails look bulky and older.
2. Blush Rose Square with One Accent Nail Pearl Dot
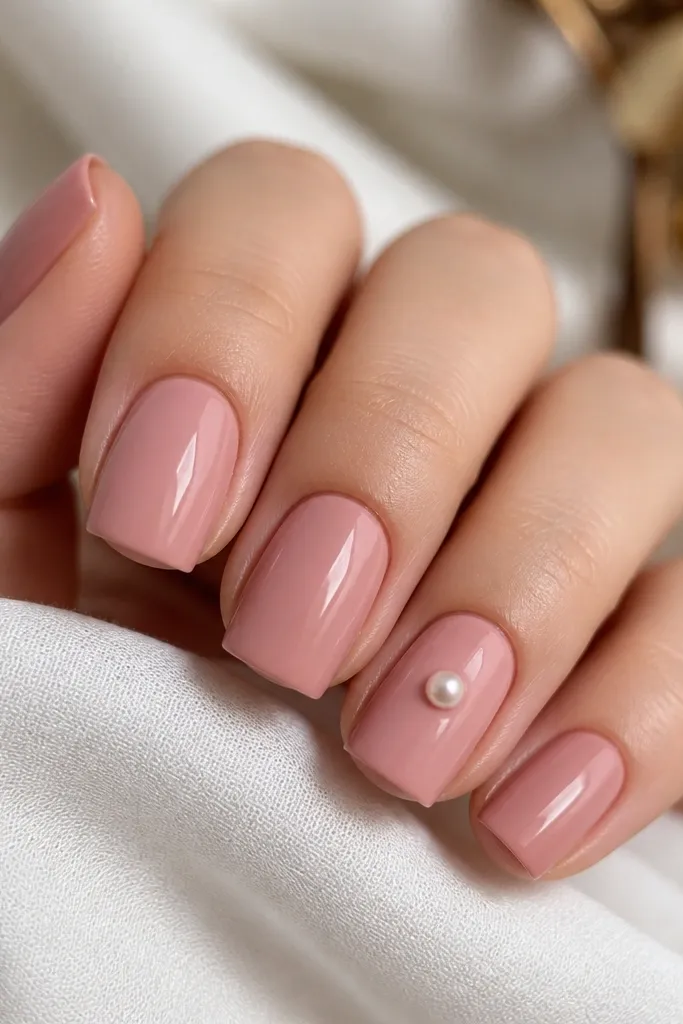
A blush rose base looks modern because it reads romantic but not childish. I like this shade for fair to medium skin tones because it blends like skin while still giving you contrast at the edges. The single pearl dot adds just enough detail for date nights, but it stays classy because it’s one tiny focal point. On square nails, the dot sits neatly on the flat top surface and catches light without looking scattered.
Paint two coats of blush rose, keeping the first coat slightly sheer to avoid streaks, then build with the second coat for full opacity. On the ring finger only, add a tiny pearl dot using either a dotting tool with gel and cure or a small adhesive pearl (press gently). Place the dot about halfway between the cuticle and the tip, centered. Seal everything with a glossy top coat, and be careful not to flood the dot so it keeps a crisp, raised shine.
Editor's noteUse a dotting tool with a very small tip; oversized dots turn this from classy to costume quickly.
Skip thisSkip multiple rhinestones — more than one accent starts looking busy on square tips.
3. Espresso Brown Square with Clear Glossy Tip Cap
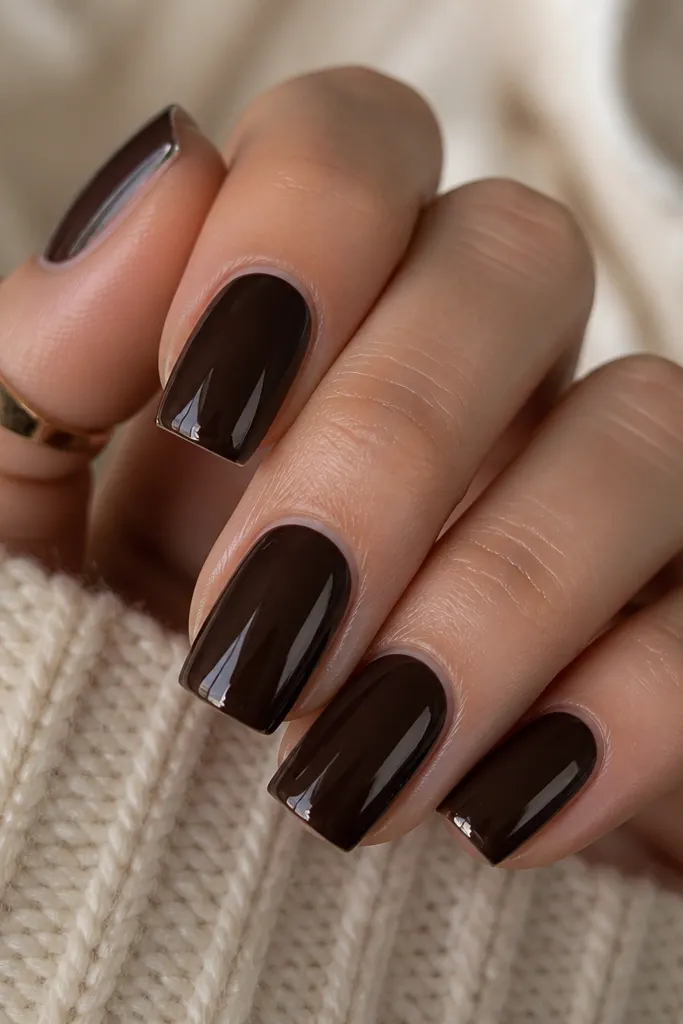
Deep brown looks expensive on square nails because the flat top shows off the shine and the dark color makes your nail beds look longer. This shade flatters medium to deep skin tones especially well, but fair skin can wear it too if the brown is rich and not too red. The clear tip cap gives a “freshly gel’d” finish and adds a modern, high-fashion texture contrast. I’ve done this for winter events and it always gets compliments because it looks deliberate, not random.
Apply a base coat, then paint two coats of espresso brown, keeping the color fully even on the flat top. Let it cure or dry completely. Add a thin layer of clear gel or clear polish only at the free edge, then gently blend it down the sides so it doesn’t look like a sticker line. Finish with glossy top coat over the whole nail for a uniform shine and a sealed edge.
Editor's noteKeep the clear cap narrow (about 1 mm) so the espresso stays the star.
Skip thisDon’t use patchy brown — streaky espresso makes the manicure look like it’s wearing off.
4. Icy Taupe Square with Side-Sweep Nude Line
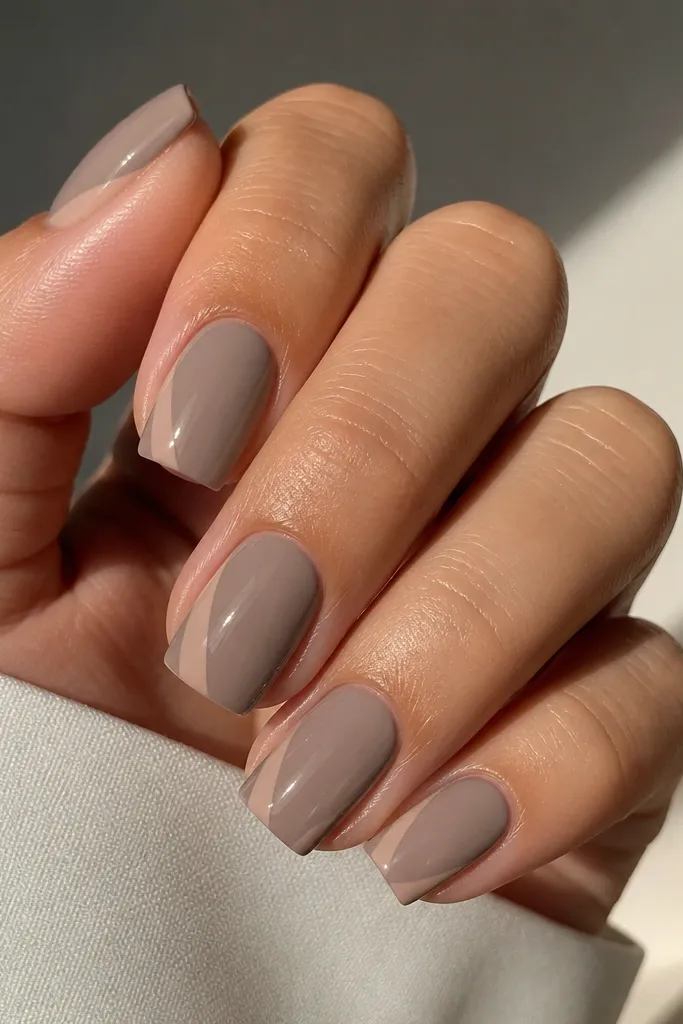
This design is modern because it uses one simple diagonal line to break up the color block. Icy taupe is flattering for cool undertones and makes hands look calmer and more polished than gray that’s too dark. The nude line softens the look and keeps it classy, not edgy. On square nails, the diagonal line looks sharp because the flat top gives the line a clean surface to sit on.
Paint two coats of icy taupe and ensure it fully covers the nail plate to avoid thin-looking spots. Choose a nude polish that matches your skin undertone — if you’re cool, go for pink-beige; if you’re warm, go for peach-beige. With a striping brush, draw the diagonal line starting near the lower sidewall and aiming toward the center, then stop before the free edge. Seal with glossy top coat, and run a thin layer over the line so it doesn’t catch on fabric.
Editor's noteIf you’re steady with freehand, do it in one confident stroke. If not, lightly mark the start and end points with a toothpick first.
Skip thisAvoid thick lines — they make taupe look blunt and less “modern classy.”
5. Classic Black Square with One Thin Gold Ring Line
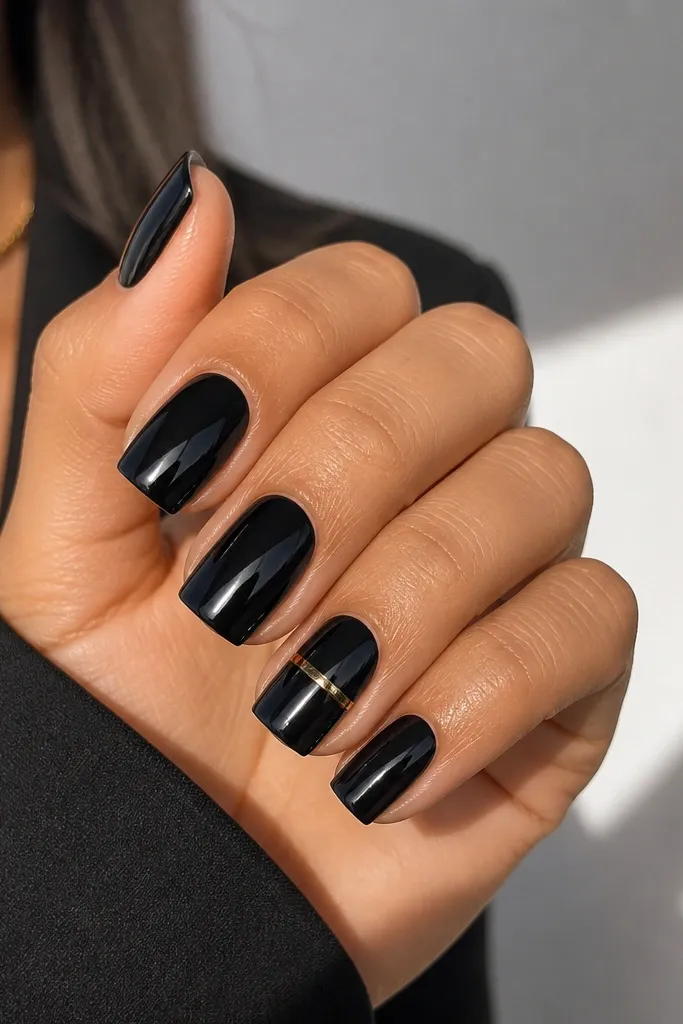
Black nails can look classy instead of harsh when you keep the design minimal and the finish super glossy. This shade works across skin tones because the contrast makes the nail bed look longer. The gold ring line feels like jewelry — clean and intentional — and it reads modern when it’s thin and placed consistently. I wear this to dinners and events because it looks styled even with a simple outfit.
Apply base coat, then paint two glossy coats of black, making sure the color is even across the flat top. On the ring finger, place a thin gold line using striping tape or a fine liner brush. If using tape, apply it as a curve around the middle of the nail, leaving a small gap from the cuticle and side edges. Remove the tape carefully, then seal with glossy top coat so the gold line is locked in.
Use gold foil gel for the cleanest metallic edge; it looks sharper than loose glitter.
Skip chunky gold flakes — they catch on hair and make the manicure feel rough.
6. Creamy White Square with Sheer Pink Cuticle Halo
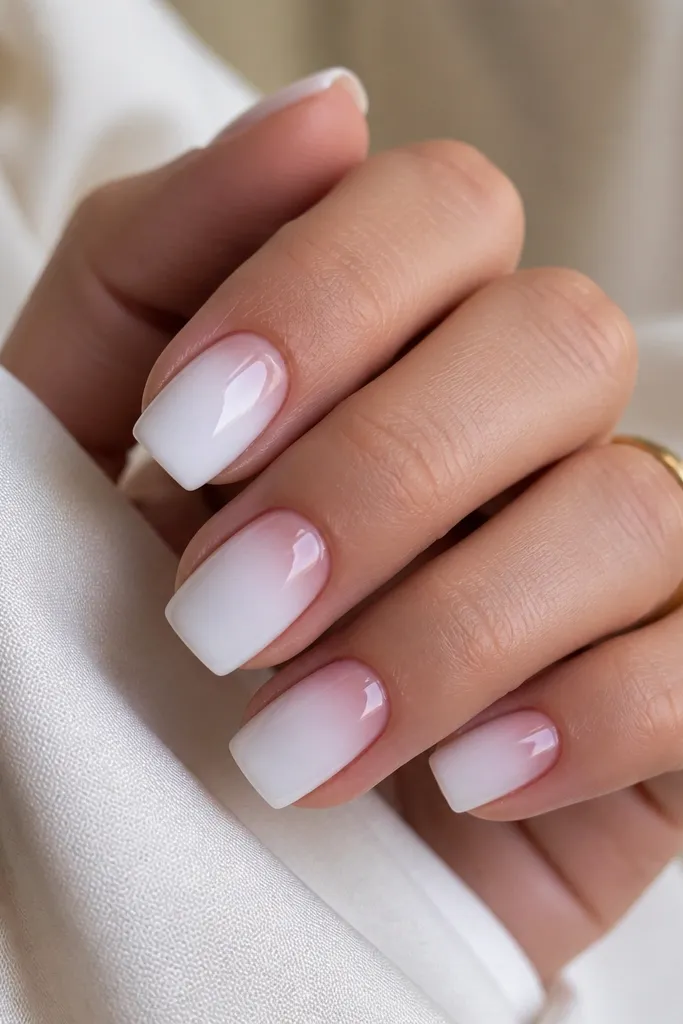
Creamy white is hard to wear if it’s too stark, but a warm creamy white plus a sheer pink halo looks soft and expensive. The halo at the cuticle makes the manicure look lifted and flattering because it visually extends the nail bed upward. This works great on short-to-medium square nails and looks good on fair through deep skin tones as long as the pink halo matches your undertone. I’ve done this on bridesmaids and it photographs beautifully without looking yellow or chalky.
Paint two coats of creamy white, keeping the first coat thin so it doesn’t turn streaky. For the halo, use a sheer pink gel or sheer pink polish and dab it near the cuticle, then blend outward with a clean brush so the edge fades. Cure if using gel, then add a final glossy top coat. Keep the halo away from the sidewalls so square corners stay crisp and clean.
Editor's noteIf your white looks too bright, mix a tiny amount of milky nude into the white on your palette for a warmer tone.
Skip thisAvoid full opaque pink at the cuticle — it turns into a heavy “half-moon” instead of a gentle halo.
7. Rose Mauve Square with Matte Top and Glossy Cuticle Accent
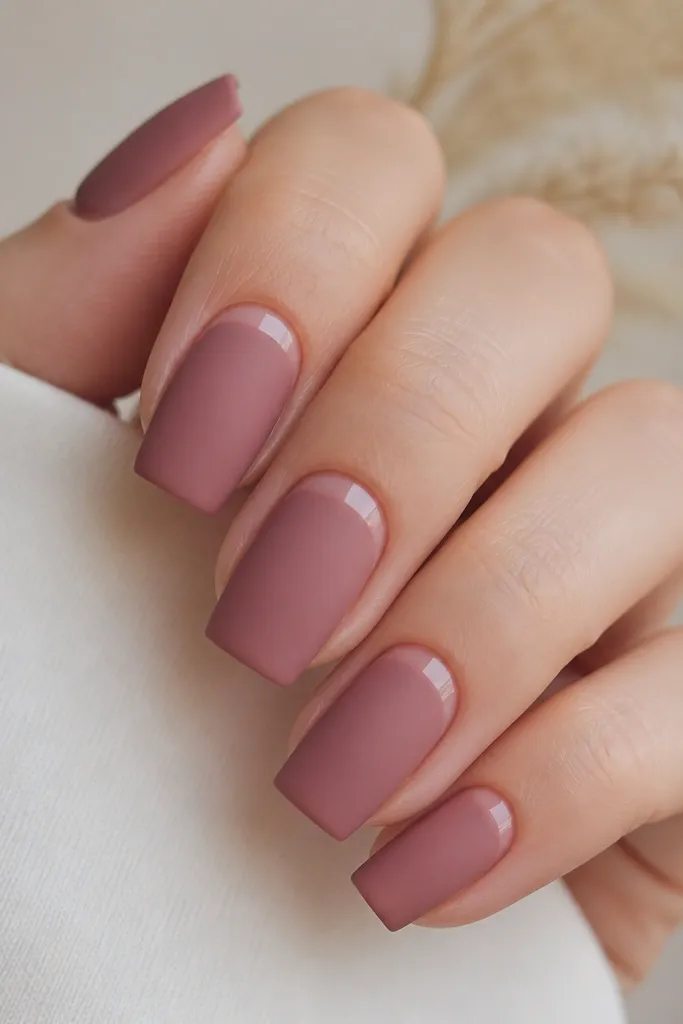
Matte makes square nails look modern, but only if you keep the color creamy. Rose mauve is flattering because it sits between pink and taupe, which works for cool and neutral undertones. The glossy cuticle accent adds contrast and makes your hands look more groomed, like the manicure has depth. I like this for everyday wear because matte hides tiny surface imperfections better than high-gloss.
Start with a smooth base coat, then apply two coats of rose mauve. Cure or dry fully, then apply matte top coat over the entire nail. Before curing the matte top, paint a thin glossy strip around the cuticle with clear gel or a glossy pale pink, then cure again. Cap the strip lightly so it doesn’t smear into the matte area.
Editor's noteUse a tiny striping brush for the cuticle shine band. Keep it thin — a thick band looks like a mistake.
Skip thisAvoid matte over thick glitter — it can dull unevenly and look patchy.
8. Jewel Emerald Square with Clear Negative Space Half-Moon
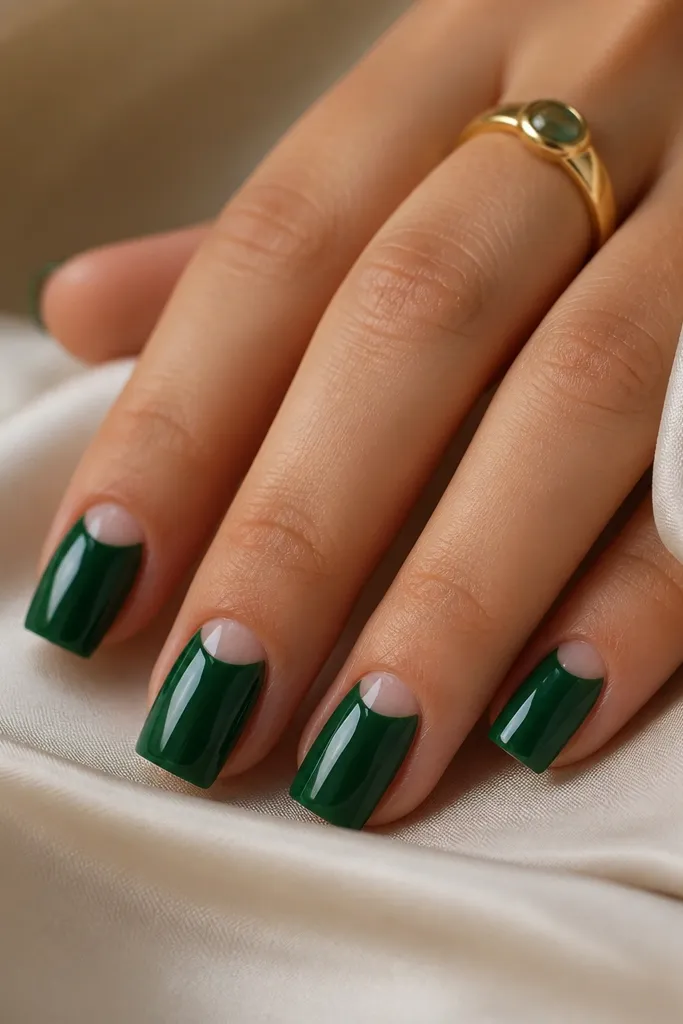
Emerald looks rich without needing extra decoration when you keep the design clean. The clear half-moon creates a modern “negative space” vibe and helps the manicure grow out better because the boundary is intentional. This shade flatters many skin tones, especially medium to deep, but it also looks striking on fair skin. Square nails make the half-moon look structured because the flat top emphasizes the shape.
Apply base coat, then use a half-moon stencil or striping tape to mask the cuticle area. Paint two even coats of jewel emerald, making sure the color reaches the masked edge cleanly. Remove the stencil while the last coat is still slightly tacky (if gel, cure after removing) for the sharpest line. Finish with glossy top coat across the full nail, keeping the clear half-moon untouched so it stays transparent.
Editor's noteUse thin tape and press it firmly at the corners — gaps make the half-moon look messy.
Skip thisSkip thick green near the cuticle if you want the line to stay crisp as your nails grow.
9. Satin Champagne Square with Thin Nude Outline
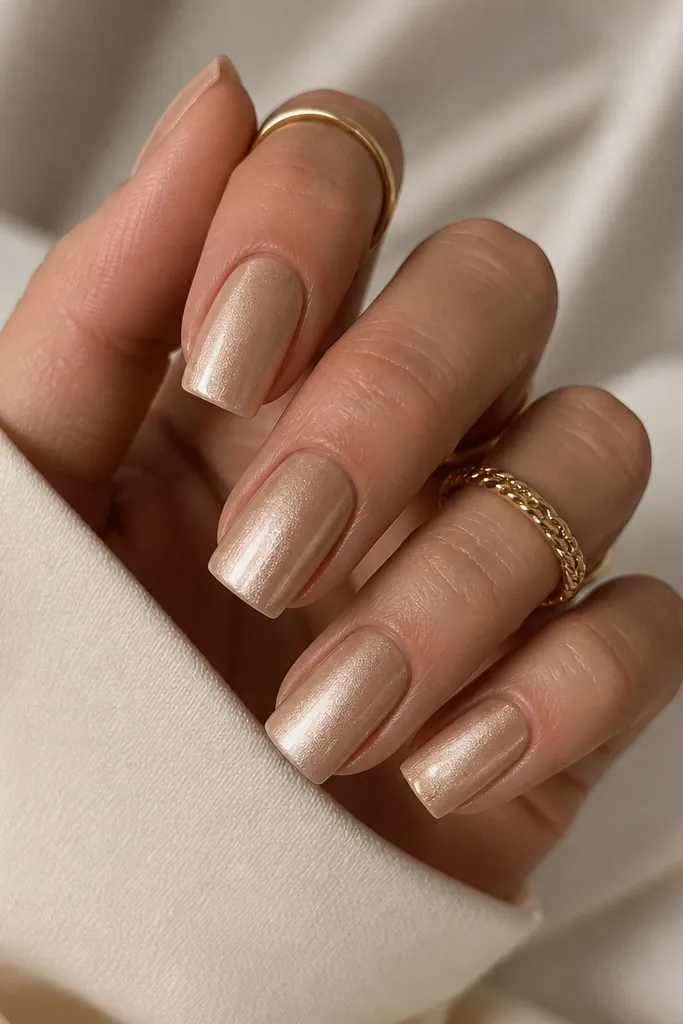
Champagne with a satin finish looks classy because it gives light without looking sparkly or loud. The thin nude outline makes the square shape look even cleaner by defining the edges. I love this on medium skin tones and tan skin because it warms up your hands without turning orange. It also works for short nails because the outline tricks the eye into making the nail look more evenly shaped.
Paint two coats of satin champagne, letting the first coat build the color and the second coat even it out. For the outline, use a nude polish or gel that matches your skin undertone and apply it as a thin border along both sidewalls. Add a tiny curved line at the top corners to connect the side borders, like a frame. Seal with a satin or soft-gloss top coat — if you go full glossy, the satin look disappears.
Editor's noteIf your outline gets too thick, clean it up with a flat brush dipped in remover before top coat.
Skip thisAvoid chunky shimmer — satin champagne should look smooth, not gritty.
10. Mocha Nude Square with One Vertical Pearl Stripe
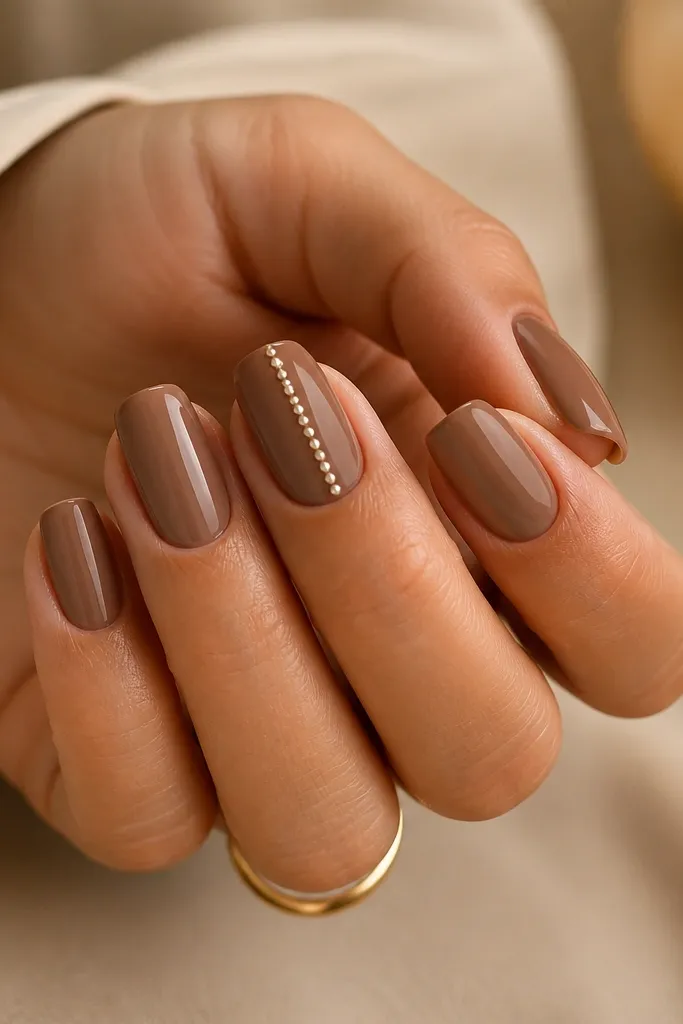
Warm mocha nude is the sweet spot when you want “classy modern” but still earthy. It flatters warm undertones and makes your nail beds look fuller without going too dark. The vertical pearl stripe is a trick I use when I want a longer-looking nail: the eye follows the line. Keeping it on only one accent nail keeps the set elegant instead of busy.
Apply two coats of mocha nude, keeping the color slightly translucent at the first coat and full coverage at the second. On one nail only (middle finger looks best), place tiny pearls or pearl dots in a straight vertical line centered on the nail. Use a dotting tool and gel adhesive if you want control, then cure. Finish with glossy top coat over everything, and cap the pearl stripe gently so it doesn’t snag.
Editor's notePlace the stripe about one third away from the sidewalls so it looks centered on the square top.
Skip thisSkip random pearl placement — vertical alignment is what makes it look intentional.
11. Classic Nude Pink Square with Tiny Black Dot Cluster
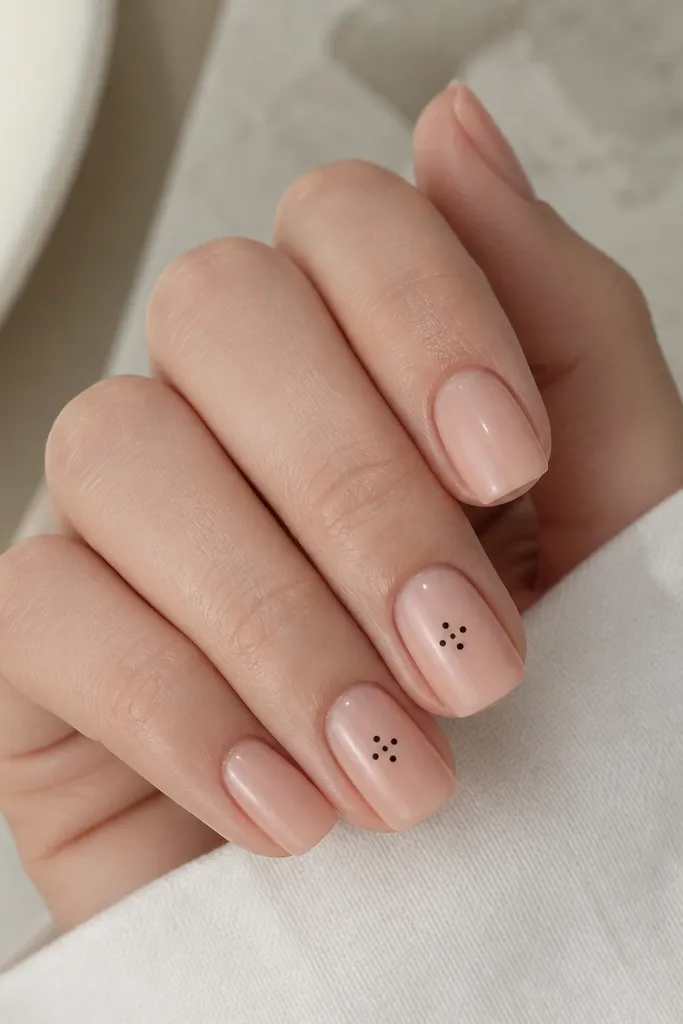
This is a simple pattern that reads modern because the contrast is controlled. A classic nude pink base keeps it polished, and the tiny black dots feel graphic without being harsh. I like this for fair to medium skin tones because the nude pink brightens the hand, and the dots add just enough edge for a night out. Square nails make the dot cluster look crisp because the flat top doesn’t blur the placement.
Paint two thin coats of nude pink and let it dry fully so the dots don’t spread. Using a dotting tool, place three to four black dots close together on the center of one nail, then repeat on one more accent nail if you want symmetry. Keep the cluster small — about the width of a pea — and leave clear space around it. Seal with a glossy top coat, and cap the dots so they look embedded instead of sitting on top.
Editor's noteIf your dots smear, wait until the base is fully dry and then add dots with gel polish for better control.
Skip thisAvoid big dots — they look like nail art stickers rather than a refined detail.
12. Glazed Lavender Square with Clear Jelly Top
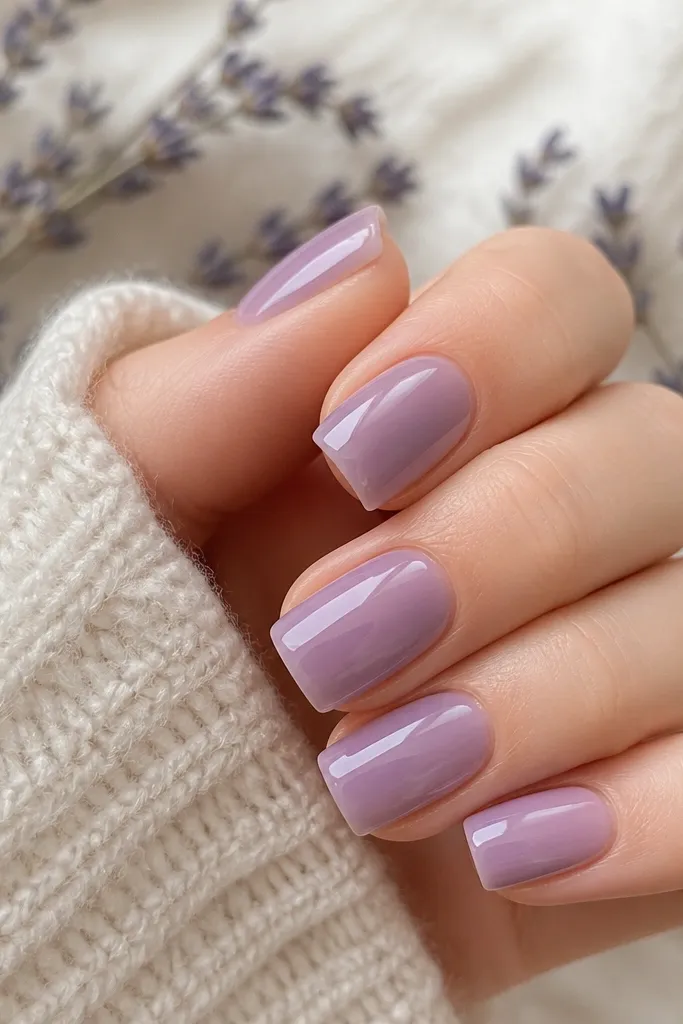
Glazed lavender is one of those colors that looks trendy without trying too hard. The “jelly top” effect makes the lavender look like it’s suspended under glass, which looks premium in person and in photos. This shade flatters cool undertones and also looks great on neutral skin when the lavender is not too blue. Square nails help because the flat top makes the glassy layer reflect evenly.
Apply base coat, then paint two coats of lavender polish or gel, aiming for an even, opaque layer. Leave it glossy but not too thick. Add a clear jelly layer over the whole nail, focusing on the center and smoothing outward to avoid bubbles. Cure fully, then add a final thin glossy top coat only if needed for extra shine and edge sealing.
Use a slightly thicker clear jelly than your normal top coat so the “depth” shows.
Avoid watery lavender — it creates patchy coverage that ruins the glazed look.
13. Deep Navy Square with Silver Micro-Line at the Tip
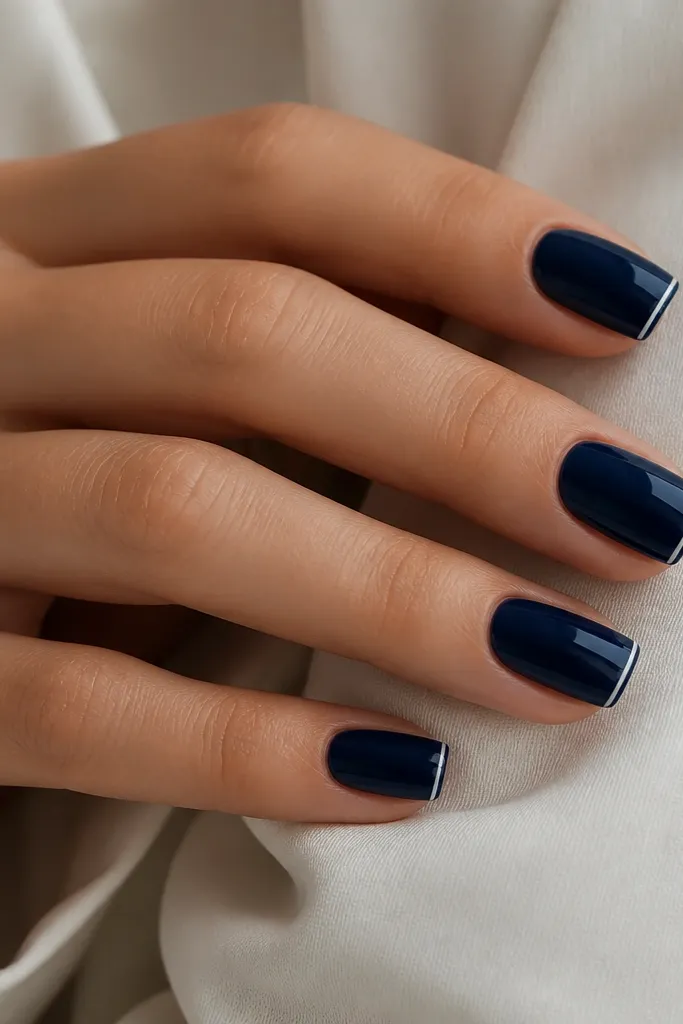
Deep navy is classy because it reads like black but shows color in the light. The silver micro-line at the tip feels minimal and modern, like a manicure version of a tailored outfit. This looks especially good on cool undertones and on people who wear silver jewelry, but it still works with gold if your navy is true blue. Square nails make the micro-line look clean because it follows a defined free edge.
Paint two even coats of deep navy and let it cure or dry completely. With a striping brush, draw a single micro-line along the free edge, staying centered so it doesn’t drift into the side corners. If you’re nervous, use a thin guide strip of tape just for the first pass, then remove it and refine by hand. Seal with glossy top coat, and cap the very tip so the silver line doesn’t lift.
Keep the line thickness thinner than a bookmark edge — if it’s too wide, it turns into a chunky French tip.
Avoid dull silver that looks gray — use bright metallic so it reads crisp.
14. Classic Red Square with Subtle Glossy Cuticle V
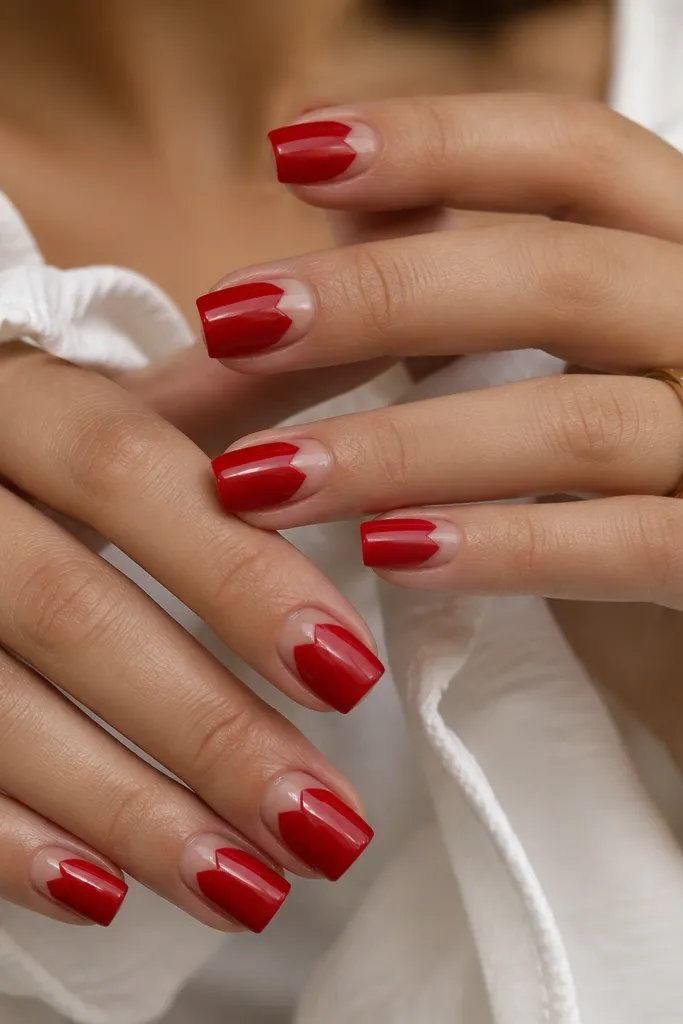
Classic red looks instantly polished, and the tiny glossy cuticle V keeps it from feeling like a basic manicure. The negative space around the V makes the nail look longer and more structured, which is exactly what you want with square tips. I’ve worn this with both warm and cool outfits — it works because the red stays true and the accent is small. The glossy V also makes your cuticle area look more intentional instead of dry.
Start with a base coat, then apply two coats of classic red, keeping the red fully opaque with no streaks. For the V, use a thin liner brush and draw a small V shape at the center of the cuticle area, leaving a gap where you want negative space. Fill the V with clear gel or a glossy nude gel, then cure. Finish with glossy top coat over the whole nail and make sure the cuticle accent is sealed at the edges.
If your V looks uneven, wipe the brush and fix the line while the gel is still tacky before curing.
Avoid a wide V — it turns into a half-moon that looks dated on square nails.
15. Sheer Nude Jelly Square with Tiny Gold Foil Specks
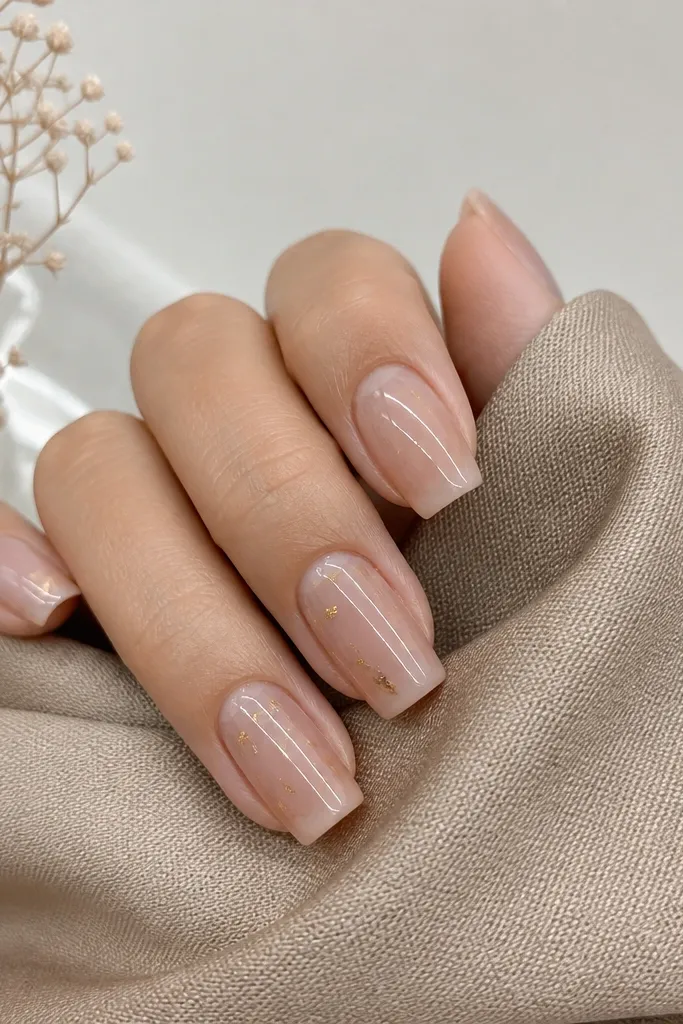
Sheer nude jelly is the easiest way to get that modern, expensive look while still letting your natural nail bed show through. It flatters almost everyone because the base is close to skin tone, and the jelly effect smooths the look of ridges. The tiny gold specks add light like jewelry, but they stay classy because they’re sparse and fine. On square nails, the semi-transparent base makes the edges look clean and the corners look softer.
Apply a sheer nude jelly base — two thin coats — until it looks evenly glowing but still translucent. For accent nails, press tiny pieces of gold foil into the jelly while it’s tacky, then cure. Avoid piling foil in one spot; keep it scattered with a light touch. Finish with glossy top coat to lock in the specks and seal the sides of the square corners.
Editor's noteUse a small makeup sponge to press foil gently so it doesn’t smear into streaks.
Skip thisSkip big glitter chunks — they sink into jelly unevenly and look messy.