1. Ink Navy Base with Honey Tortoise Veins
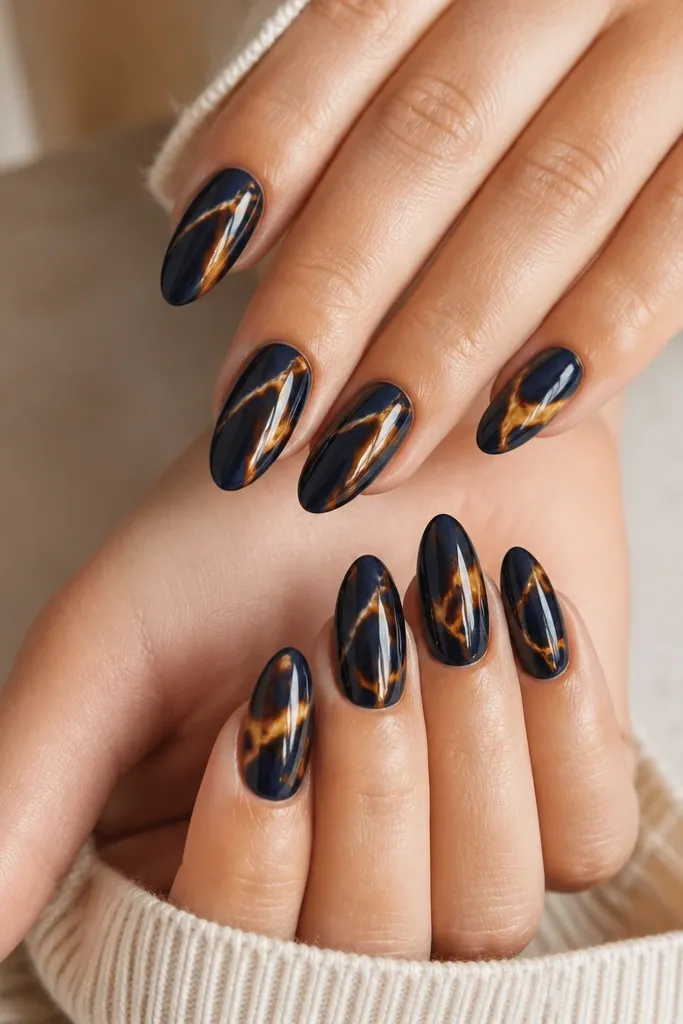
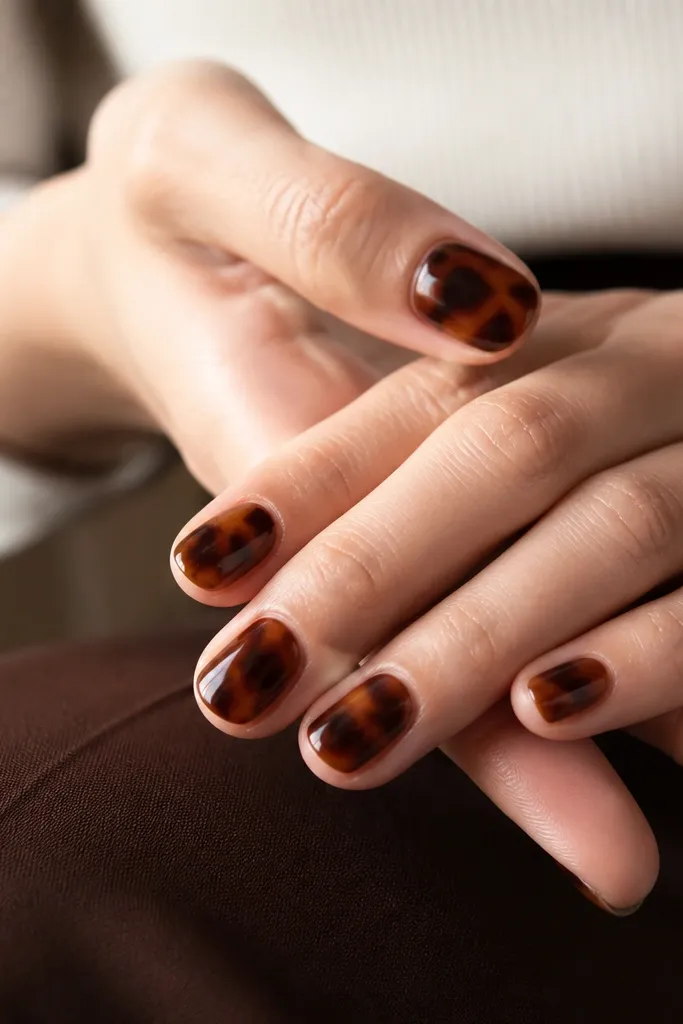
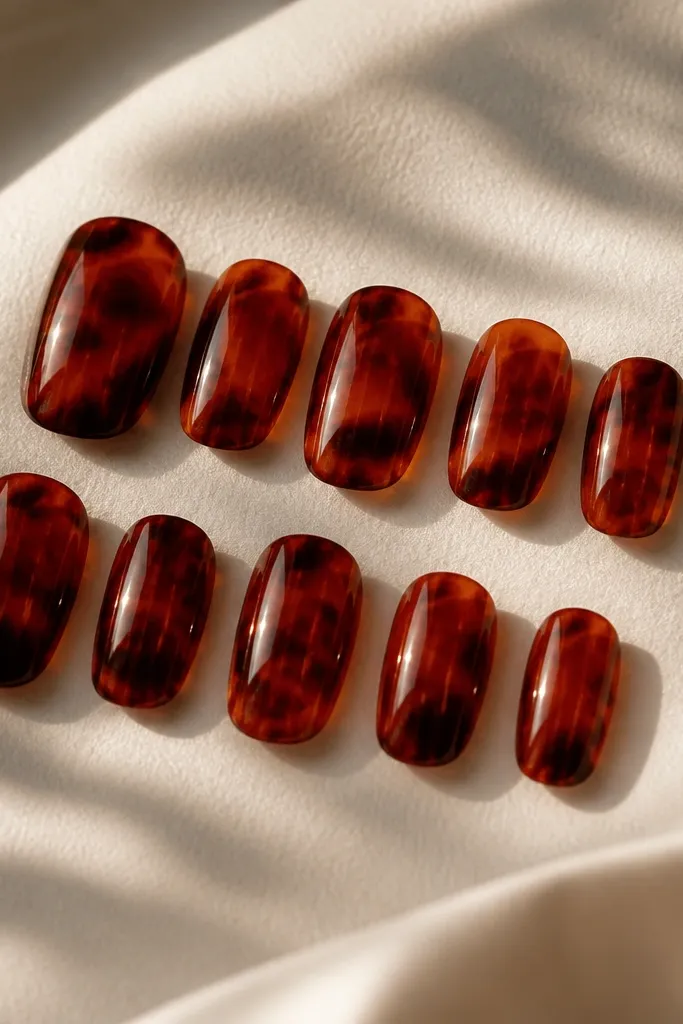
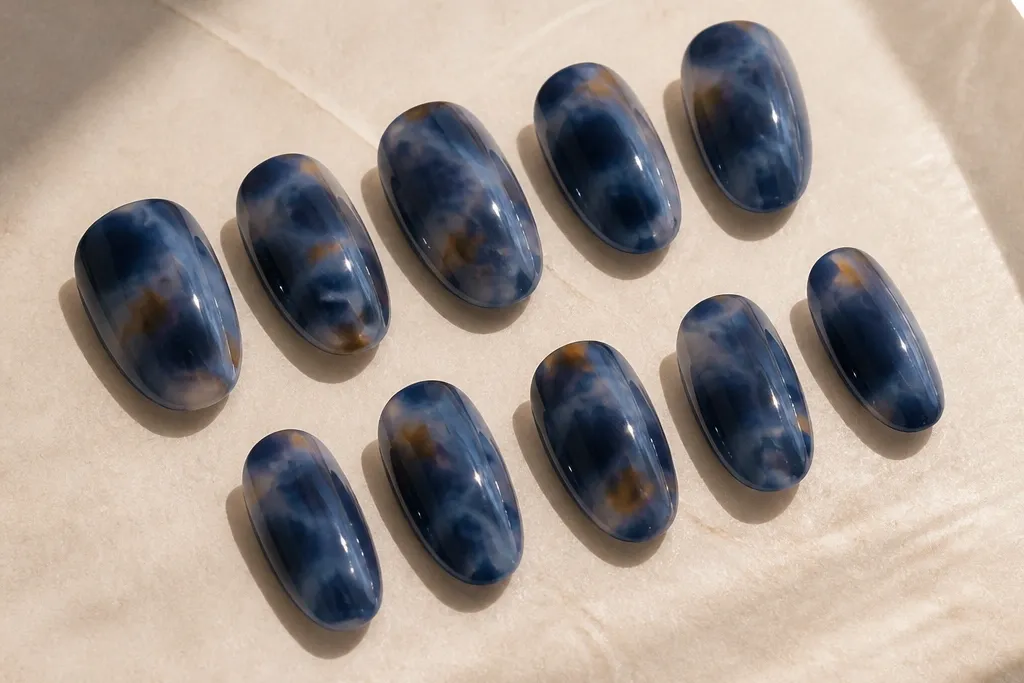
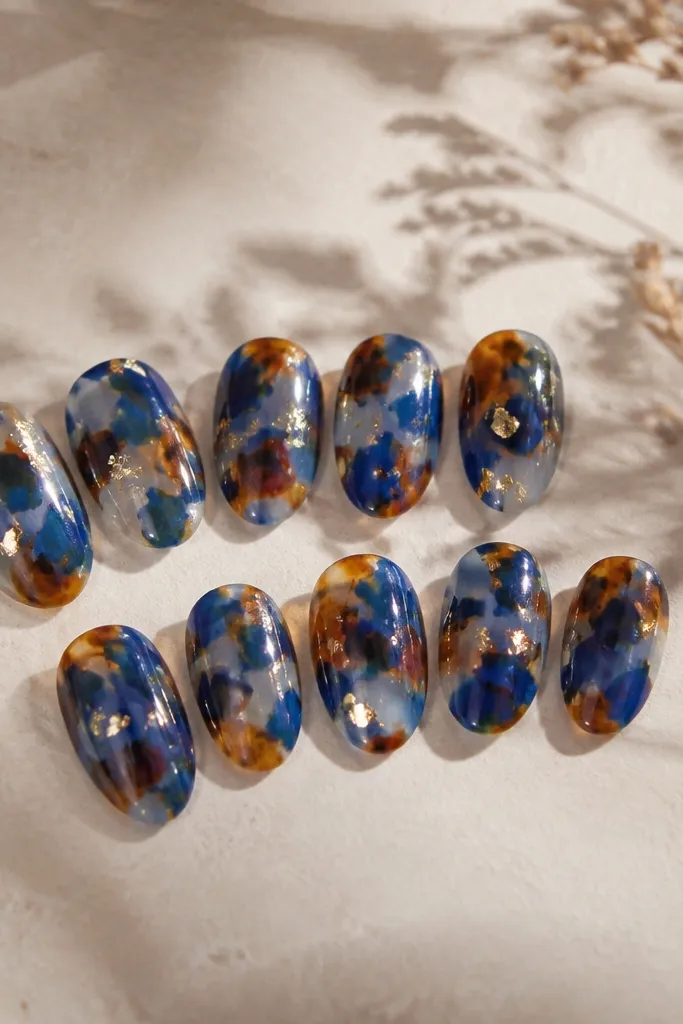
This set is the one I reach for when I want tortoise to look crisp and modern. The base is ink navy — it stays blue even under indoor lighting — and the tortoise lines are honey-gold and camel-brown so they glow instead of turning flat. On fair skin, the warm amber keeps the nails from looking icy; on medium and deep skin, the navy anchors everything and makes the pattern pop. Almond nails get the best version of this because the curved veins visually lengthen the nail bed. It also reads classy for work because the pattern is controlled, not chaotic.
Start by painting two thin coats of ink navy, letting each coat cure fully. Then use a fine striping brush or a dotting tool to draw 3 to 5 tortoise “veins” per nail — each vein should start close to the cuticle and curve toward the center, ending before the tip. Fill the gaps lightly with translucent honey-brown, then pull one or two thin highlight lines through the middle of the veins. Finish with a thick glossy gel topcoat in one smooth layer, keeping the brush strokes flat so you don’t flood the sides.
If the lines blur, wipe your brush on a lint-free wipe before you touch the nail — less product gives sharper tortoise edges.
Avoid using a pale blue base; it makes the tortoise look like gray smoke instead of shell.
2. Midnight Blue Tortoise with Cocoa Chunk Highlights
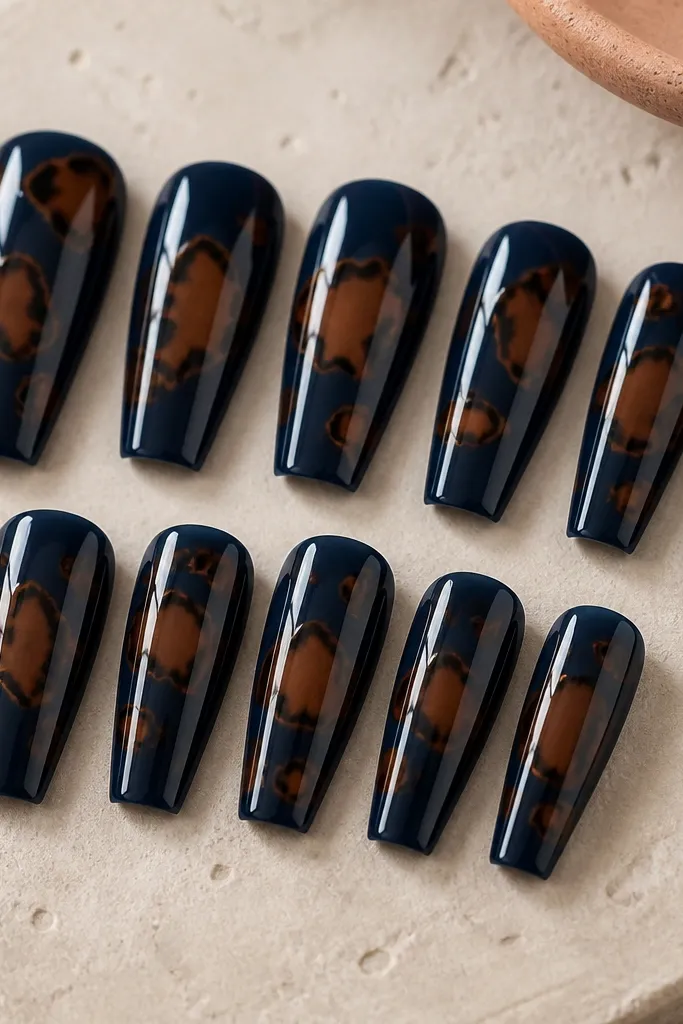
This version has more dimension because the tortoise includes cocoa chunk highlights. The base is midnight blue, which looks almost black in some lights, and that makes the brown pieces look like real layered shell. The bigger chunks sit in the center of the nail so your eye lands there first — it’s flattering on hands that need a little visual length. I’ve worn this on short-to-medium nail beds and it still looks intentional because the chunks aren’t scattered to the tip. It’s a great choice for nights out and fall outfits since the browns warm up the blue.
Paint two coats of midnight blue and cure completely. Next, sponge on a light cocoa-brown wash at the mid-nail area only, then add tortoise outlines with a thin brush using dark cocoa. Place 1 to 2 opaque lighter-brown chunks (almost like caramel) inside each tortoise shape so they look like thicker shell layers. Seal with a glossy topcoat, then cap the free edge so the chunky areas don’t catch on fabric.
Use a makeup sponge for the first cocoa wash; it keeps the base misty instead of streaky.
Don’t put big chunks right at the tip — it shortens the nail visually.
3. Royal Blue Marble Tortoise with Black Liner Edge
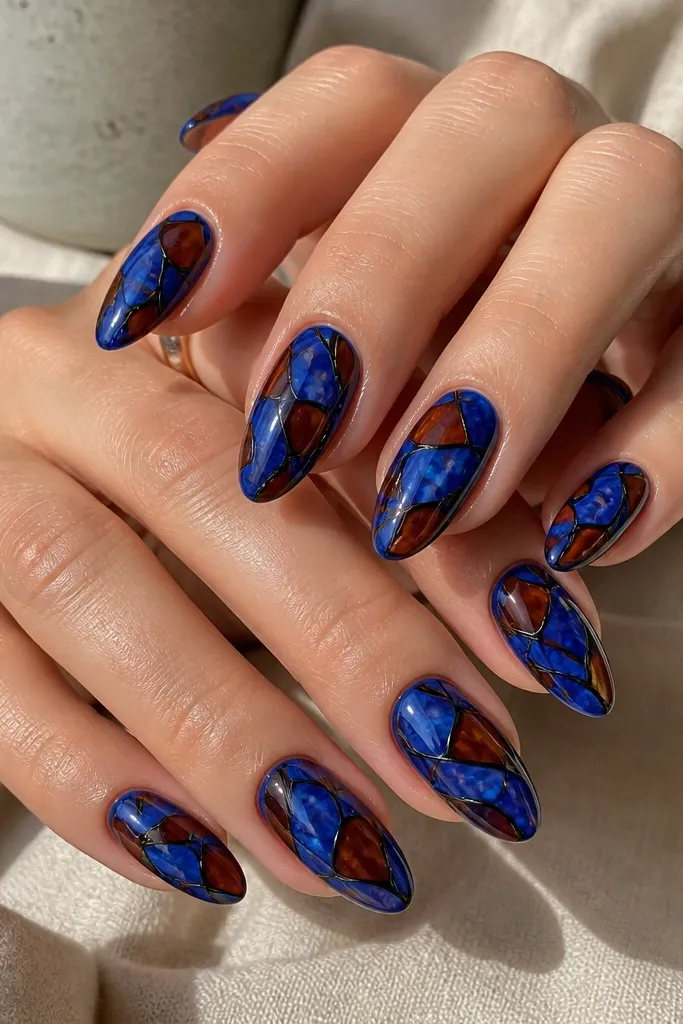
If you want tortoise to look sharp and graphic, this is the one. The royal blue base is vivid, and the black liner edge turns the tortoise into something you can almost see through, like stained glass. I like it for medium almond nails because the edges stay readable and don’t blur into the curve. On all skin tones, the black outline provides contrast that makes the blue look richer. It’s also the most forgiving for beginners because the black liner covers small mistakes and makes the pattern look intentional.
Start with two coats of royal blue, then add a very light marble effect by dragging a tiny amount of darker blue on top with a sponge corner. Cure, then paint tortoise shapes in dark brown using a thin brush — 3 shapes per nail is enough. Immediately add a fine black liner along the borders of each brown shape, keeping the line thin and consistent. Finish with a glossy gel topcoat; avoid matte because it kills the stained-glass look.
Outline while the brown is still slightly tacky if you’re using gel — it helps the black line grip and stay crisp.
Avoid thick black borders; they make the nails look like a coloring book.
4. Ocean Teal Base with Warm Sepia Tortoise Mosaic
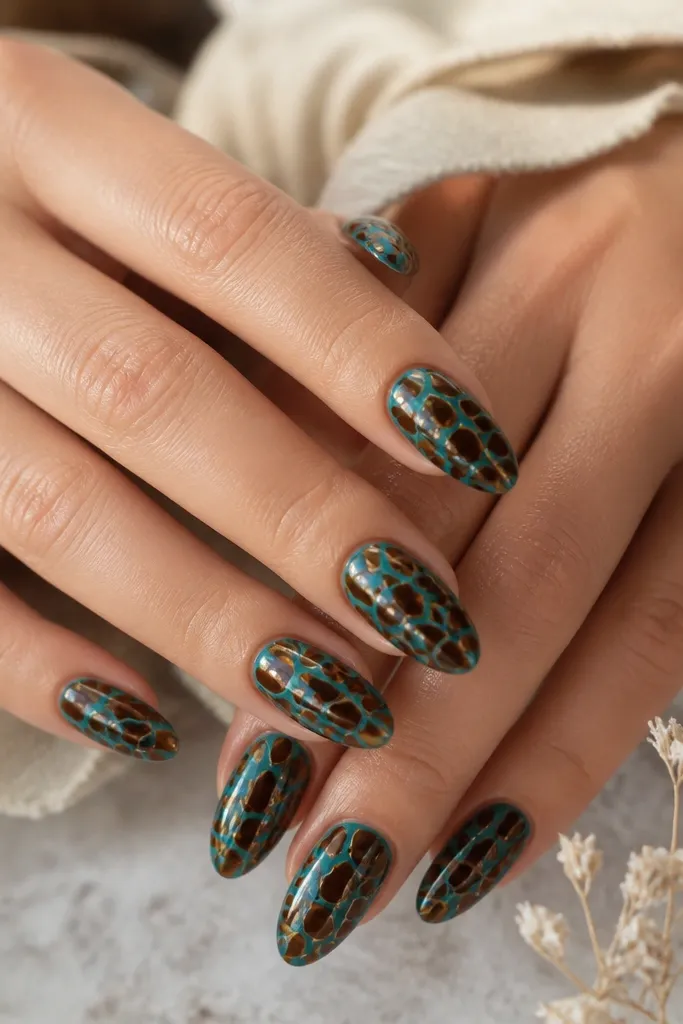
This set leans more artistic, but it still looks clean because the colors are controlled. The ocean teal base is bright without turning neon, and the sepia-brown mosaic tiles mimic shell fractures. The tiny amber gaps act like grout, which keeps everything separated instead of turning into one muddy blob. I love this look on almond nails because the mosaic tiles follow the natural curve and make the nail look wider and more dramatic. It flatters warm undertones in skin because sepia and amber look natural together. For cooler undertones, the teal still holds its own because it’s not icy.
Apply two coats of ocean teal and cure. With a thin brush, draw 4 to 6 irregular “tile” shapes in sepia-brown, leaving small gaps between them. Fill the gaps with a translucent amber-brown, keeping the amber lighter than the tile edges. Add one or two darker sepia borders on the largest tiles, then seal with a high-gloss topcoat in one smooth pass.
Use a translucent amber polish for the gaps — opaque amber makes it look like sticker residue.
Don’t cover the whole nail with dense tiles; leave negative space so the pattern breathes.
5. Deep Blue Gradient Fade with Tortoise at the Tip
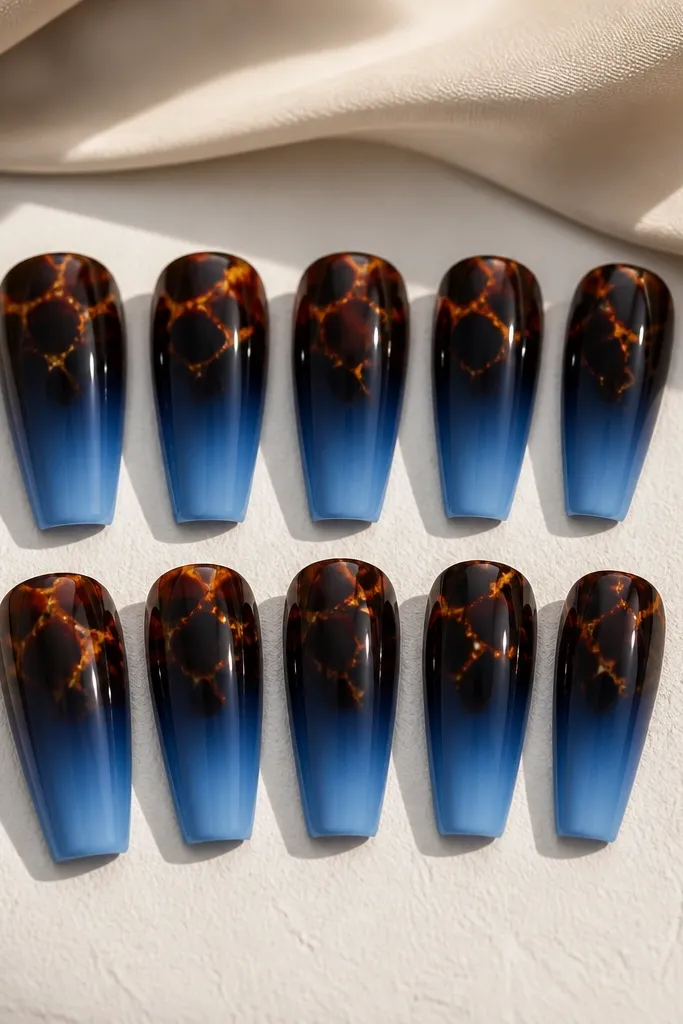
Paint the cuticle area with deep navy and blend into lighter blue using a makeup sponge, keeping the gradient smooth from cuticle to mid-nail. Cure, then tape a loose guide around the top third of the nail so you keep the pattern placement consistent. Paint tortoise shapes in warm brown only within that top third, then add thin amber highlights inside the shapes. Remove the tape carefully, then topcoat and cap the tip with a generous gloss layer.
This is my go-to when you want tortoise that doesn’t feel busy. The gradient is subtle: deep navy at the cuticle fades into a lighter blue so your nails look longer and softer. Then the tortoise sits at the tip — like a shell crown — which gives you the modern look without covering the entire nail bed. Coffin nails are perfect here because the tip area is wide enough to show the pattern clearly. It works for both daytime and evening because the pattern density is controlled. The warm tortoise colors also make the fade look intentional, not accidental.
Skip thisAvoid putting tortoise too far down the nail — it ruins the length effect of the fade.
Editor's noteIf your gradient looks streaky, wipe your sponge once on a paper towel before you blend again.
6. Blue Tortoise French Tips with Micro Amber Lines
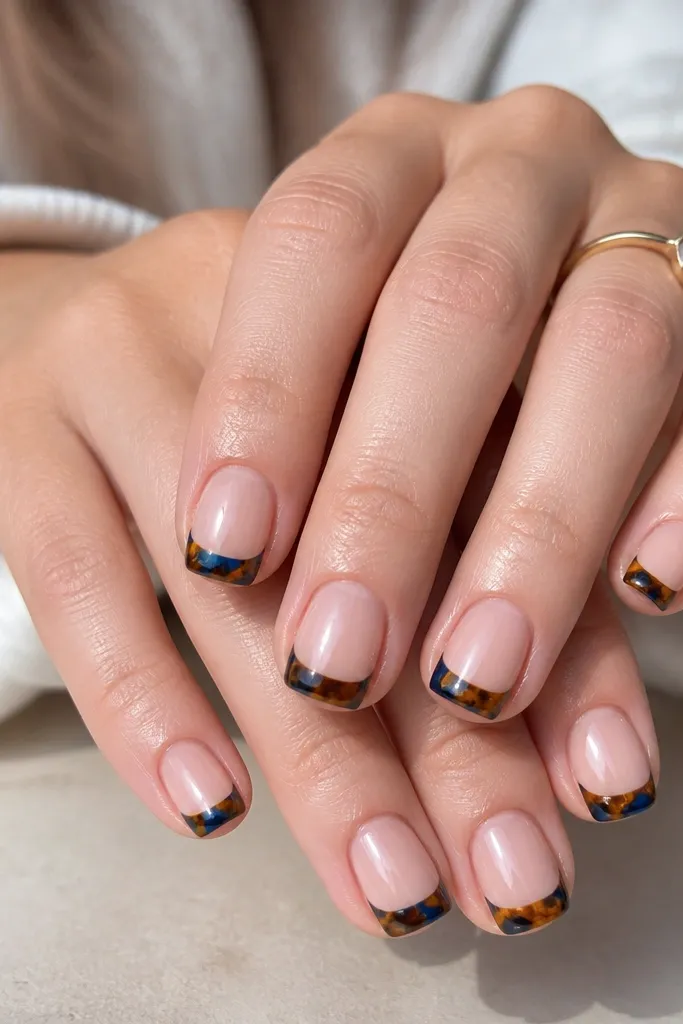
This one reads clean and wearable because it uses a nude base and a French layout. The tips are deep blue behind the tortoise shapes, and the micro amber lines add texture without making the tip look heavy. Short square nails look especially good here because the French line sits in the natural width of the nail. On fair skin, the sheer base keeps it fresh and not overpowering; on deeper skin, it still pops because the blue tip has strong contrast. This set also hides minor growth because the nude base doesn’t show harsh lines at the regrowth.
Start with a sheer nude-pink base in two thin coats, curing each one. Use a French tip guide or a striping tape to mark the tip line, then paint the tip area deep blue. While the deep blue is tacky or after curing if you’re not working tacky, draw tortoise shapes in warm amber-brown across the tip only, keeping them small for short nails. Add 1 or 2 micro amber lines inside each tortoise shape, then remove the tape and topcoat with a glossy seal.
For crisp smile lines, press the tape down firmly and peel slowly — fast peeling lifts the edges.
Don’t use a fully opaque nude base; it makes the French line look thick and blocky.
7. Cobalt Blue Chrome Tortoise Overlays
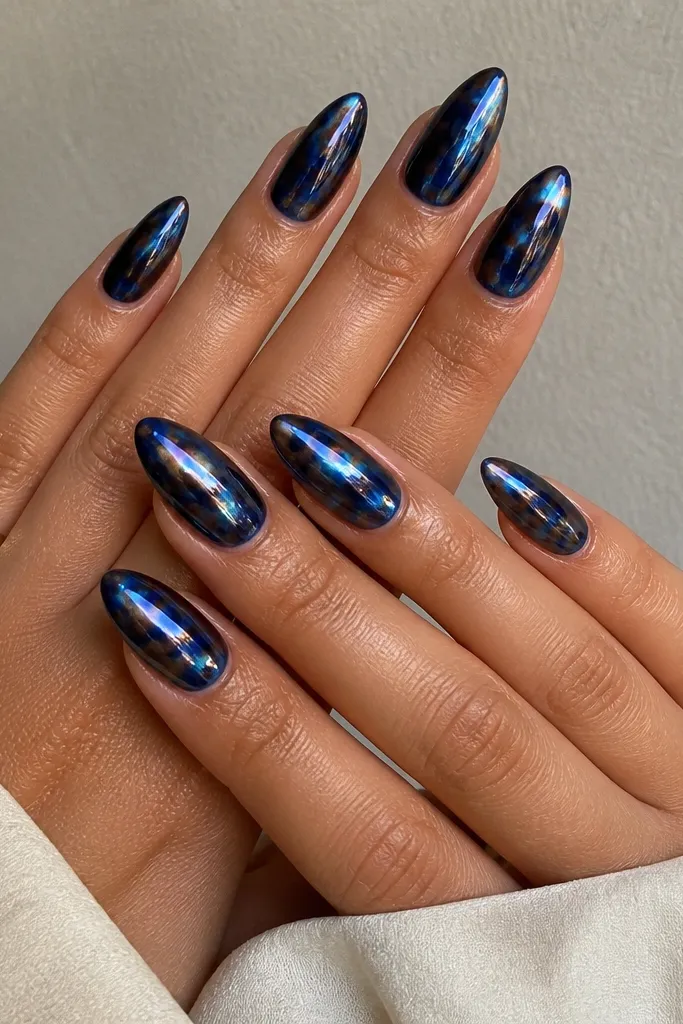
Apply two coats of cobalt blue and cure. Paint tortoise shapes in dark brown, aiming for 3 main shapes per nail, and cure again. Add a very thin layer of clear gel topcoat over the tortoise only, then buff holographic chrome powder lightly with a soft applicator so it sticks to the pattern edges. Clean the sides with a brush, then seal with glossy topcoat to lock the chrome in place.
If you want the tortoise to look expensive under lights, this is it. The cobalt blue base is bright and clean, and the dark brown tortoise shapes act like a map for the chrome. I use holographic chrome very lightly so it doesn’t turn the whole nail into one mirror — it should catch on the raised-looking edges of the pattern. Almond nails are best because the light hits the curve and makes the set look dimensional. It flatters all skin tones, but it’s especially striking on hands with cool undertones because cobalt and holographic tones match naturally. This is the set I wear for events where you know photos are coming.
Skip thisAvoid heavy chrome over the entire nail; it wipes out the tortoise texture.
Editor's noteUse less chrome than you think — you want sparkle on the shell lines, not a full chrome manicure.
8. Teal-Blue Jelly Base with Amber Tortoise Lines
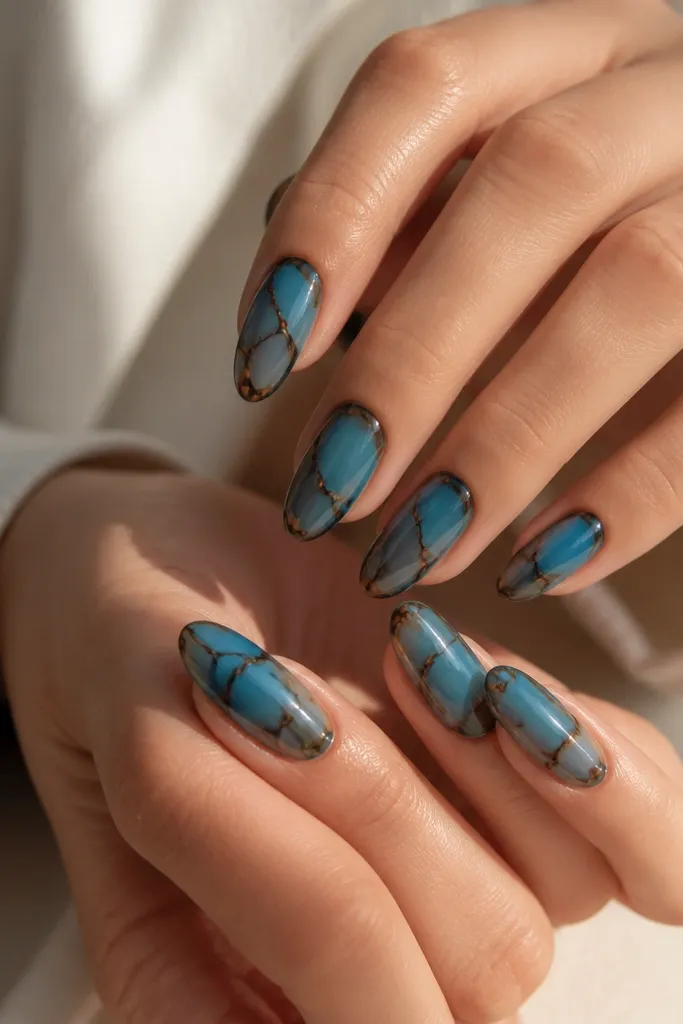
This is the delicate option that still looks modern. The teal-blue jelly base has a see-through glow, which makes the amber tortoise lines look like they’re floating on glass. I like thin, layered amber lines rather than filling every shape with solid brown — it keeps the nail from feeling heavy. It looks great on medium almond nails because the translucent base makes the nail look longer and smoother. On fair skin, the jelly tone looks clean and fresh; on deeper skin, it creates a stained-glass effect that still feels wearable. It’s also a good choice if you hate thick gel layers.
Paint a jelly teal-blue base in 2 to 3 thin coats until you get a smooth glow but still see some natural nail under it. Cure fully. Use a fine liner brush to draw tortoise outlines in amber-brown — 4 to 6 lines per nail — then add a second pass of slightly lighter amber on top of one side of each outline. Keep the lines thin and leave the rest of the nail jelly-transparent. Finish with glossy topcoat, and cap the free edge lightly so it stays smooth.
If your lines look shaky, rest your finger lightly on the table and brace your hand — it steadies the liner brush.
Avoid filling the whole tortoise with opaque brown; it removes the jelly-glass look.
9. Navy Base with Copper Tortoise Frame Edges
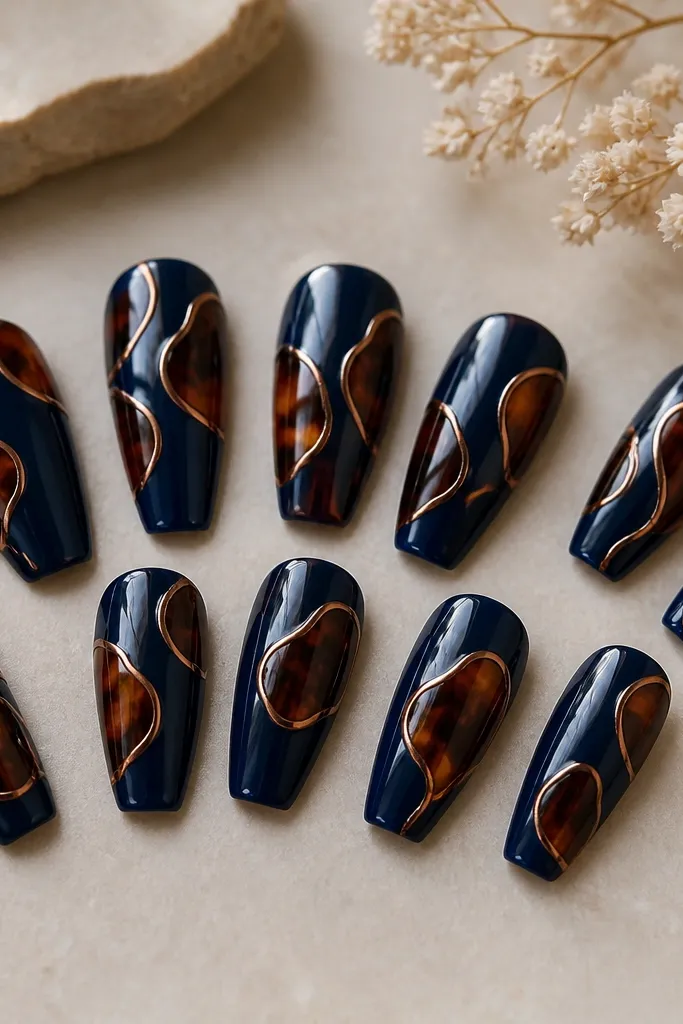
Paint two coats of navy blue and cure. Draw tortoise shapes in warm brown, keeping them slightly irregular with rounded corners. Then add a thin copper line along only the outer perimeter of each tortoise shape — do not draw copper inside the shapes. Cure, then apply glossy topcoat in one steady layer, making sure the copper line doesn’t lift at the edges. If you’re using gel, cure each layer long enough so the copper doesn’t smear.
This look is for when you want tortoise to feel polished and slightly metallic without going full chrome. The navy base makes the copper outline look like jewelry, and the brown tortoise shapes give it the shell pattern you came for. The copper frame lines are thin and placed only on the outer edge of each tortoise shape so the pattern stays legible. Coffin nails work well because the frame lines have enough space to curve with the nail shape. It flatters hands with longer nail beds because the copper lines guide the eye upward. For evening wear, it looks extra because copper reflects warm light.
Skip thisAvoid copper lines on every inner border; too many frames make the pattern look cluttered.
Editor's noteUse copper gel paint or a metallic liner, not loose pigment — loose pigment turns patchy after topcoat.
10. Blue Tortoise Accent Nails on a Solid Slate Set
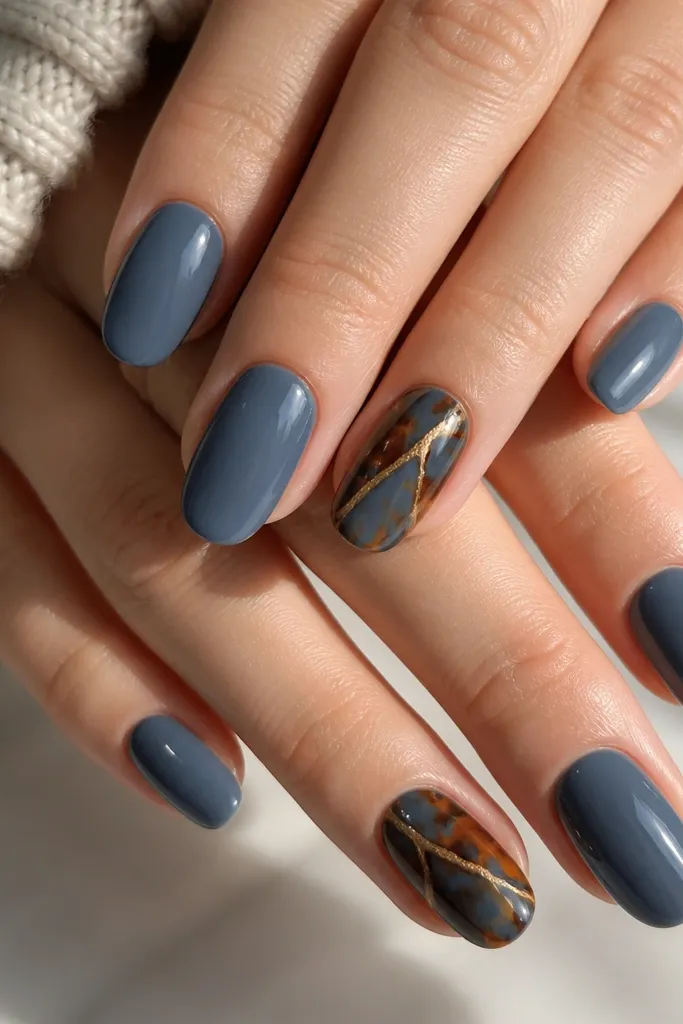
Paint all nails with two coats of slate-blue and cure. On the accent nails, add a slightly deeper blue wash near the cuticle so the tortoise has depth. Then draw tortoise shapes in warm amber-brown across the entire accent nail, using 3 to 5 main shapes and a few thin highlight lines for texture. Keep the pattern edges clean at the sidewalls, then topcoat all nails with glossy gel topcoat. Cap the free edge on the accent nails to stop the pattern from catching.
Not every tortoise set needs full coverage on every nail to look modern. This design keeps most nails a solid slate-blue, then gives tortoise detail only on the ring fingers (or swap to index and ring if you like). The warm amber tortoise on the accents stands out without making your whole manicure look busy. I’ve done this with slate blue because it’s a calmer cousin to navy, so your skin tone looks even and the accent nails get all the attention. It’s flattering on short nails because the solid color makes the nail look tidy. If you’re nervous about nail art, this is the easiest way to wear tortoise without committing to 10 patterned nails.
Skip thisAvoid placing tortoise on nails that already have strong color variation; it makes the set feel mismatched.
Editor's noteIf you want it even cleaner, keep the tortoise pattern on the accent nails slightly smaller than full coverage so it looks intentional.