1. Cherry Red Glass Almonds with Cuticle Glow
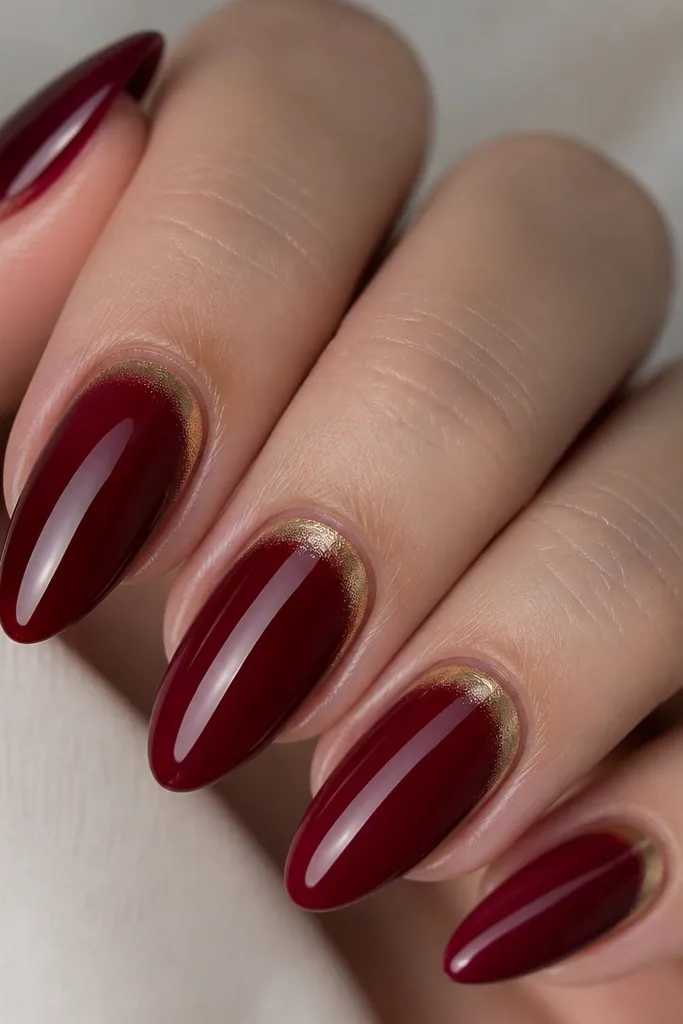
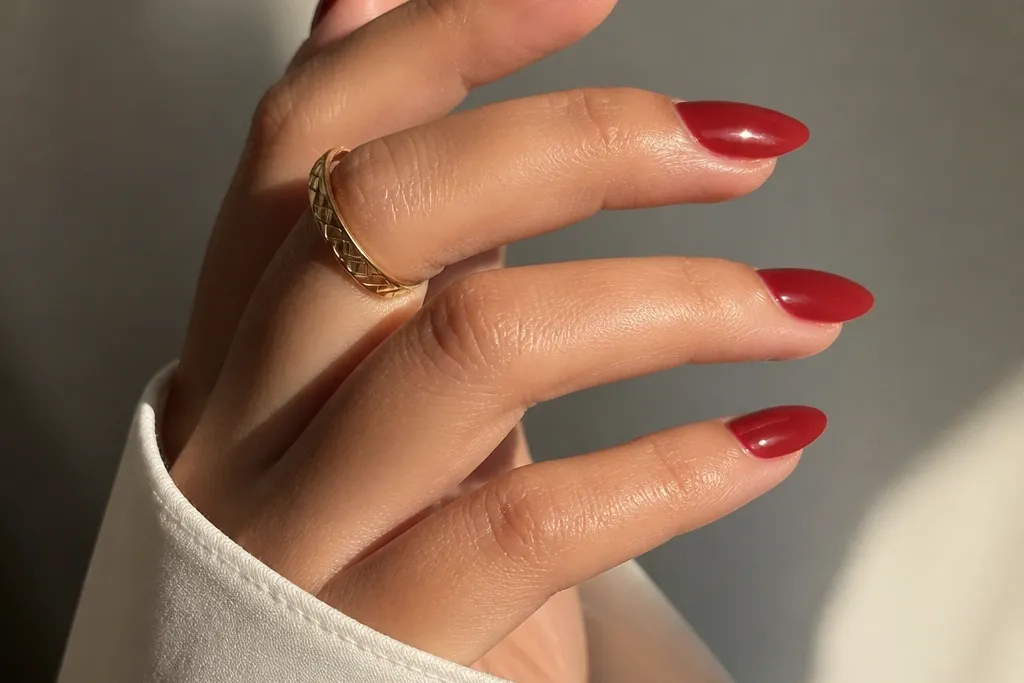
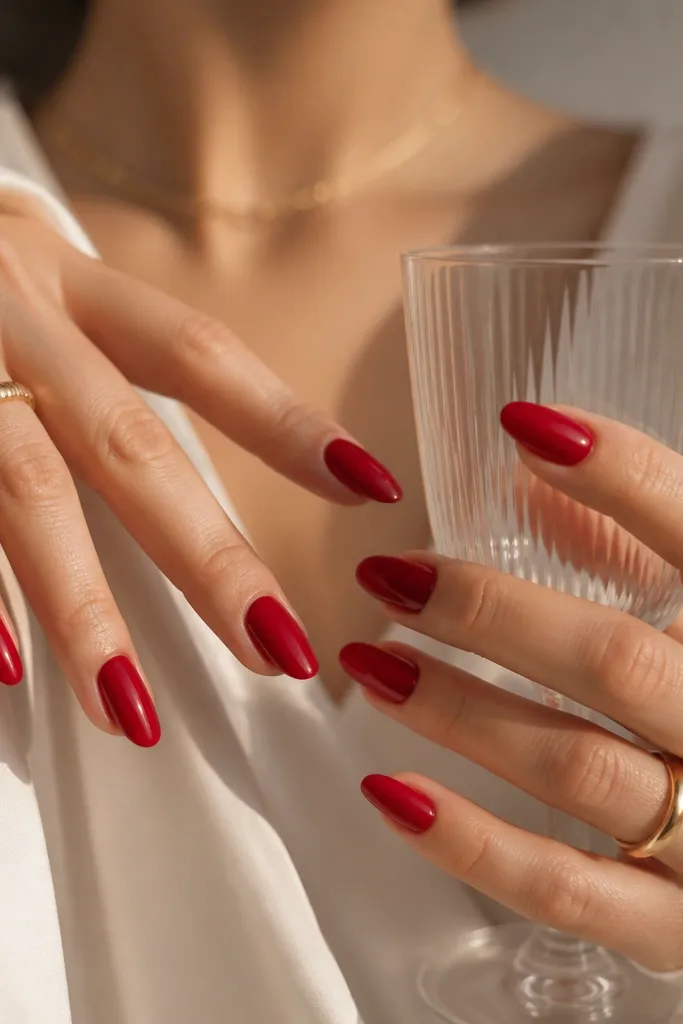
This is the red that looks expensive because it’s mostly one color — the only “extra” is a tiny chrome glow right where the nail starts. I like cherry red for this because the blue undertone makes your hands look sharper, especially if you have neutral or olive skin. The cuticle halo also visually lengthens the nail bed, which is the fastest way to make almond shape look intentional instead of just “painted.” Keep it minimal: the halo should be a ring, not a full dusting, or it turns messy on almond tips.
Start by buffing the nail surface lightly and pushing cuticles back, then paint a thin base of cherry red. Apply a second thin cherry coat for full opacity, letting it level for 60-90 seconds before top coat. With a fine liner brush, dab a micro amount of pale gold chrome powder or rub-on chrome gel only along the cuticle line, then blend 1-2 mm into the red. Seal with a high-gloss top coat and cap the free edge with the brush so chips don’t start at the tip.
Editor's noteIf chrome feels too intense, use it as a “ghost ring” — press lightly so it fades instead of flashing.
Skip thisDon’t drag chrome down the center of the nail; that turns into a smoky blob and reads cheap.
2. Red French Almonds with a Thin White Micro-Line
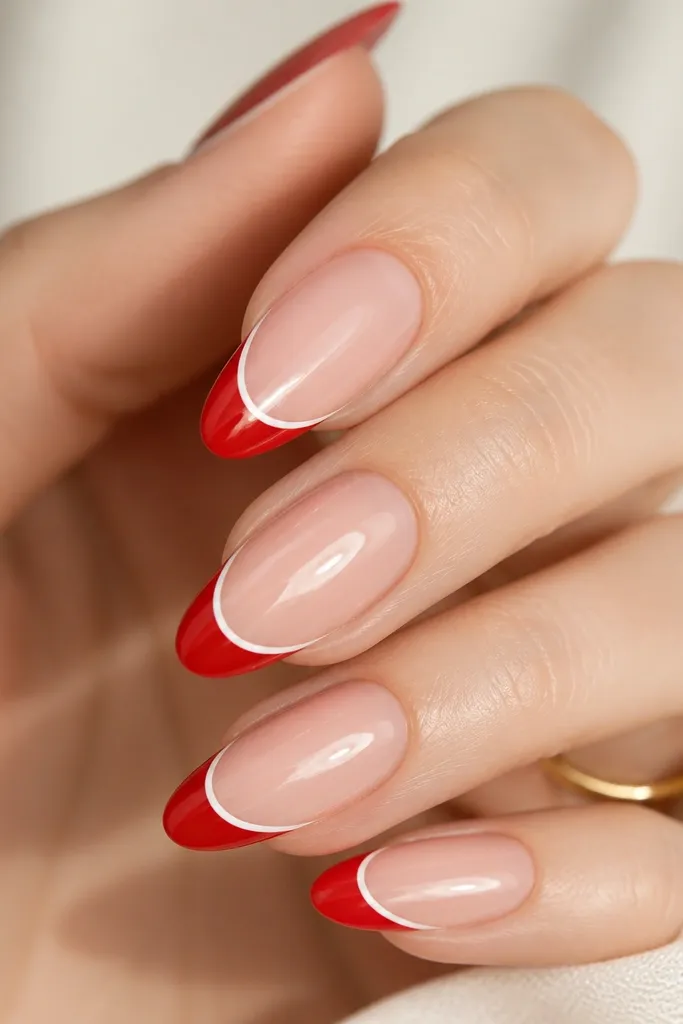
This design makes red look classy because the edges are crisp and the contrast is controlled. The sheer nude base keeps your nails looking like you actually have a clean nail bed, while the red French tip gives that polished “done” look. The tiny white micro-line is the secret; it makes the red tip look sharper and more expensive, like salon work. It flatters almost everyone because the base stays neutral and the red only takes over at the tip.
Start with a sheer nude base (pink-beige that matches your skin or slightly lighter) and let it set fully. Tape off or use a French guide strip, then paint the almond tip red with a steady brush, keeping the red band about 2-3 mm thick. While the red is still tack-free (or after a quick dry, depending on your system), add a hairline white stripe right at the border — you want it thinner than your brush bristles. Finish with a glossy top coat over the whole nail and a careful topcoat cap on the tip edge.
Editor's noteUse striping tape for the border line; freehand white lines wobble and kill the “expensive” look.
Skip thisSkip thick white — a chunky stripe makes it look like nail art from a craft store.
3. Velvet-Red Almonds with a Darker Cuticle Ombre
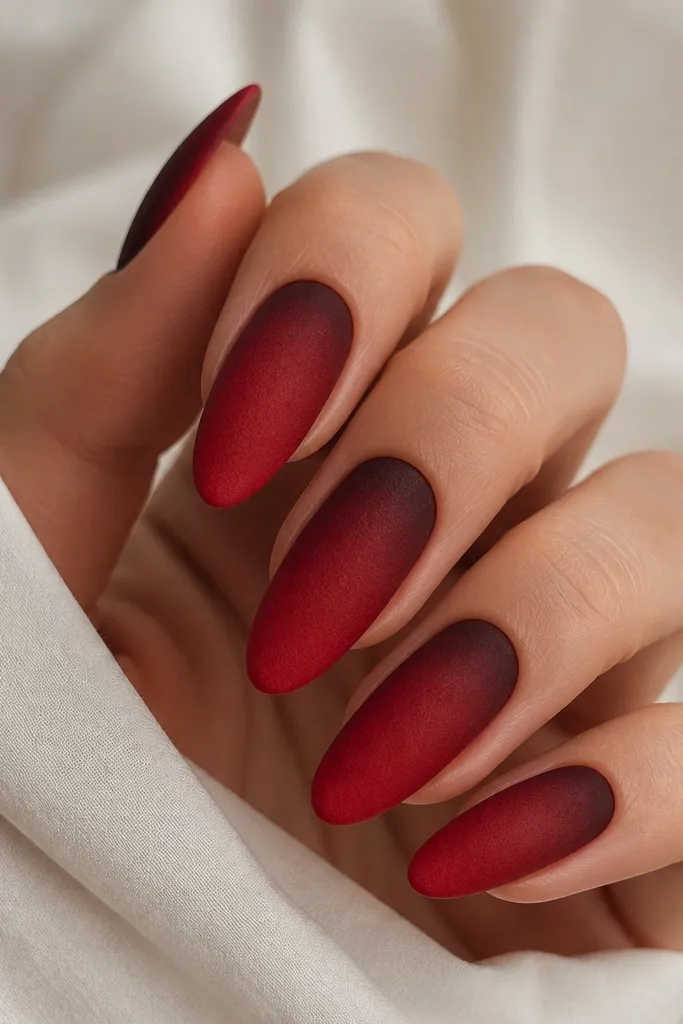
Velvet red reads expensive because it changes the way light hits your nails. I like it when you want something more grown-up than glossy red but still fully red and flattering. The darker cuticle ombre makes the nail bed look longer and adds depth without adding extra patterns. This works especially well on medium to deeper skin tones and on nails that already have a natural curve — the velvet texture hides tiny surface ridges.
Paint a base in bright red, but keep your coats thin so the velvet powder doesn’t clump. Before curing or fully drying (follow your velvet powder system timing), dab a small amount of darker burgundy only at the cuticle and blend 2-3 mm toward the center. Then apply velvet powder lightly over the whole nail, pressing gently so it covers evenly. Tap off excess, cure if required, and finish with a matte velvet top coat (or skip top coat if your powder system says not to).
Editor's noteDo one nail at a time so the tackiness doesn’t dry out before you apply velvet.
Skip thisDon’t add velvet over thick glitter or bumps; it emphasizes texture instead of smoothing it.
4. Red Almonds with Smoky Black V-Outline
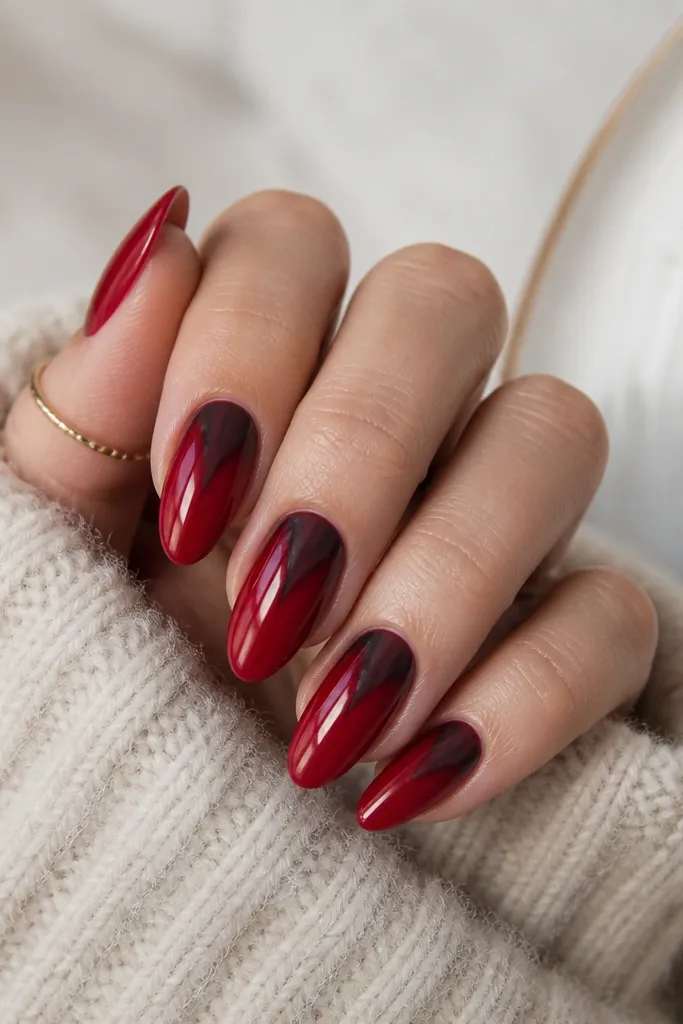
This is my go-to when you want red to look edgy and expensive instead of “sweet.” The smoky black V frames the nail bed and makes the almond tip look sharper, especially on hands with rounder nail beds. I’ve worn this to nights out and it photographs well because the black has a soft edge, not harsh stencil lines. If you’re fair-skinned, the contrast looks dramatic; if you’re deeper, the black makes the red look even richer.
Start with two thin coats of glossy red so the surface is smooth. With a tiny dotting tool or a thin liner brush, place a small black dot near the center cuticle and pull it into a narrow V shape about one-third down the nail. Use a clean brush with a tiny bit of acetone-free cleaner to feather the V edges so it looks smoky, not outlined. Seal with top coat carefully, dragging the brush from cuticle to tip to avoid wiping away the black.
Editor's noteFeather first, then add a second micro layer of black only if the V looks too faint.
Skip thisDon’t paint the V all the way to the tip; it shortens the nail visually.
5. Tomato Red Nails with Gold Speckle Fade
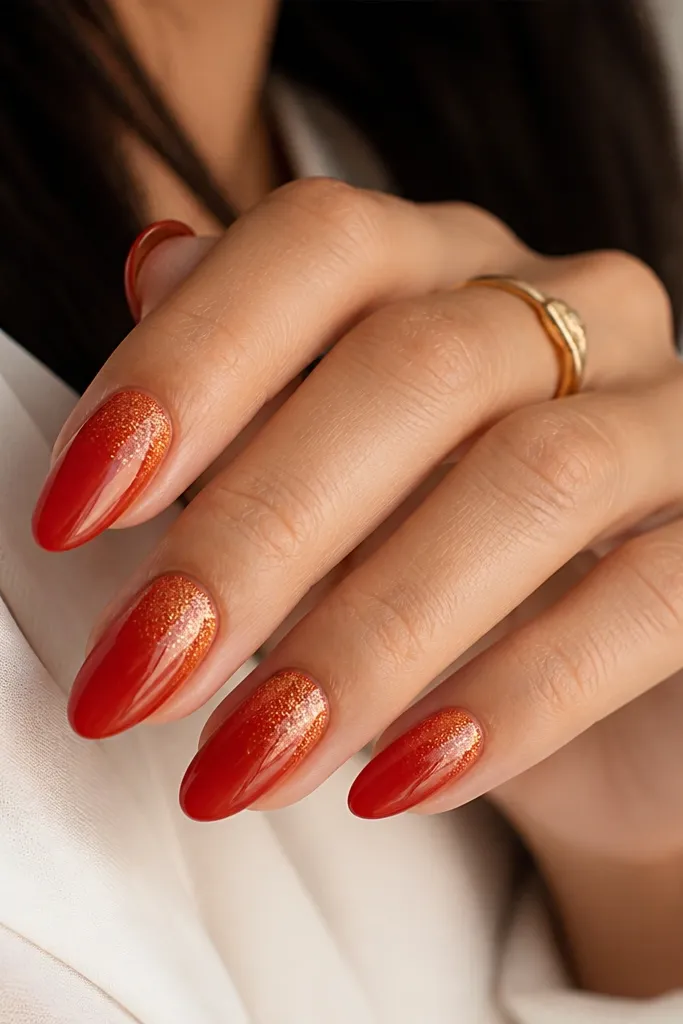
Warm tomato red plus gold speckles looks expensive because it mimics light through fine dust, not big glitter. The speckle fade gives you movement and keeps the nail from looking busy. I like this for spring and summer because tomato red flatters warm skin undertones and the gold adds warmth without turning orange. It also works on shorter almond lengths because the speckles start near the cuticle, visually extending the nail.
Paint two thin coats of tomato red and keep the second coat glossy. For the fade, use a small brush loaded with gold pigment or gold glitter powder and flick it lightly starting at the cuticle line — stop once you see the speckles around the top third. Leave the lower two-thirds clean red so the design has breathing room. Finish with one or two layers of high-gloss top coat, making sure you cap the speckles without flooding them.
Editor's notePractice the flick on a paper towel first so you control how heavy the speckles land.
Skip thisDon’t use chunky glitter; it catches on sleeves and looks uneven on almond tips.
6. Deep Burgundy Red Almonds with One Side Rhinestone
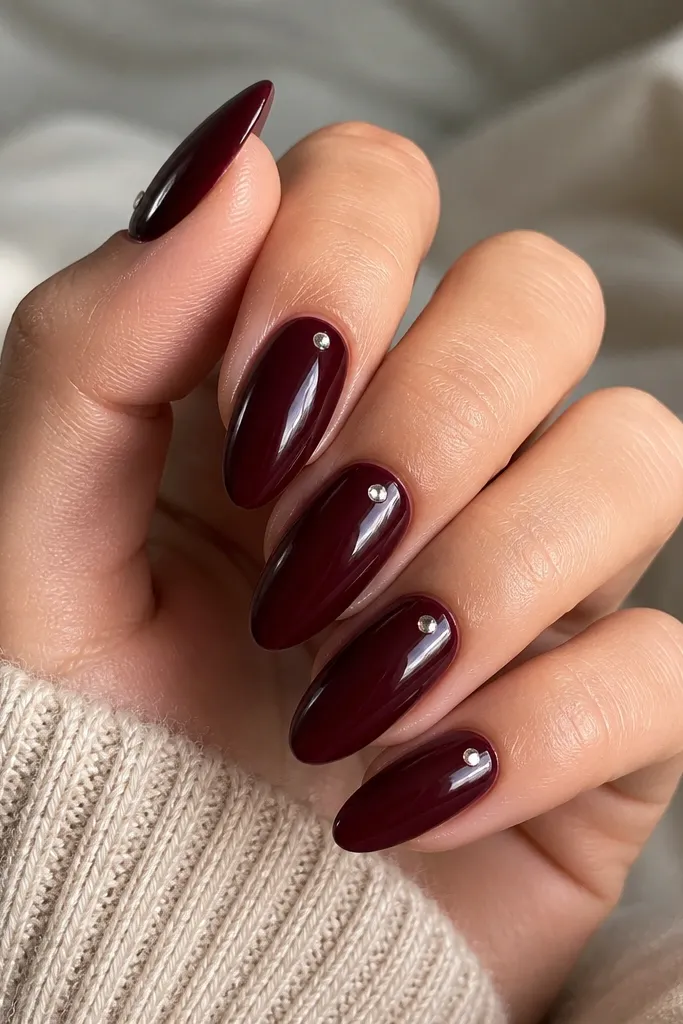
One rhinestone is classy when it’s placed like jewelry, not like a sticker. The deep burgundy reads upscale because it’s close to wine and looks expensive under indoor lighting. The side placement makes the nail look narrower and longer, especially if your nails tend to look wide at the top. This is also a great choice for weddings and holiday dinners because it’s sparkly but still clean.
Start with two even coats of burgundy red, then let the last coat set tack-free if your system uses it. Place a small clear rhinestone near the cuticle on one side of the nail, not dead center — aim for about 1-2 mm away from the cuticle edge. Press it down gently and add a thin layer of clear gel or top coat over it to secure and smooth the surface. Cure if needed, then apply full top coat and cap the side edges so it doesn’t lift.
Editor's noteUse a rhinestone that’s flat on the bottom so it sits flush and doesn’t snag.
Skip thisDon’t place the stone too close to the tip; it looks random and breaks first.
7. Red Almonds with Clear Negative Space Cuticle Half-Moon
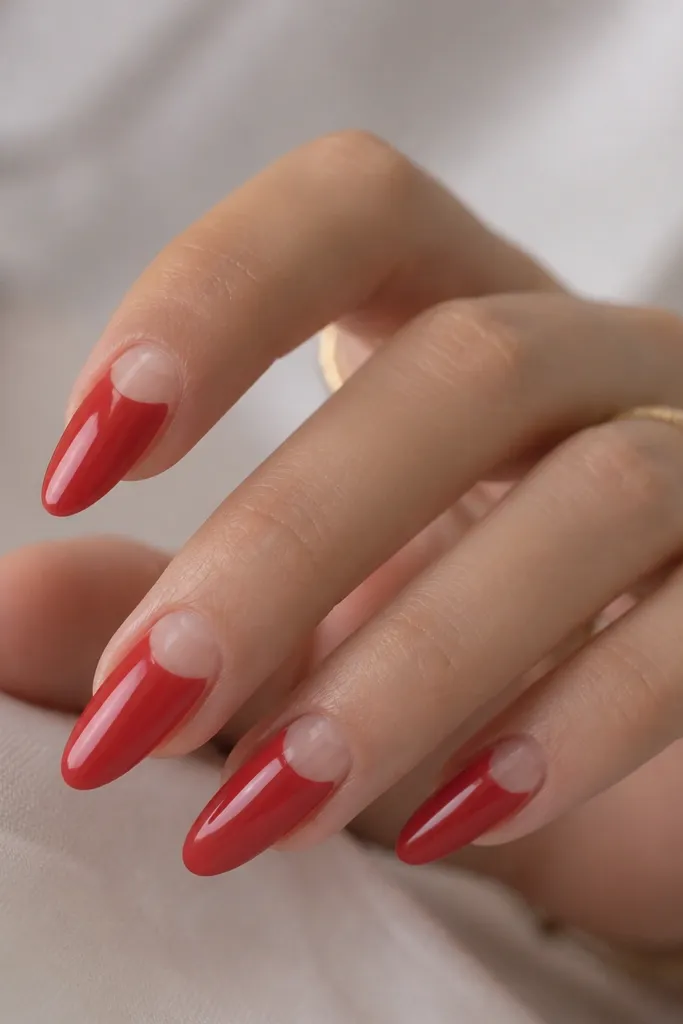
Negative space makes red look designer because it creates a clean graphic shape. The clear half-moon at the cuticle keeps the nail airy and prevents red from visually swallowing your nail bed. I’ve found this looks best on medium-length almonds because you need enough nail for the red band to look intentional. It flatters hands with darker skin tones too, since the sheer base stays true and the red pops without looking heavy.
Start with a sheer nude base and apply a second nude coat for even coverage. Use a small half-moon stencil or cut a tiny curved piece of tape and place it over the cuticle area so you leave a clear arc. Paint the exposed nail area red, using two thin coats, then remove the stencil while the polish is still workable. Clean up the edge with a small brush, then seal with glossy top coat, making sure the red edge stays crisp.
Editor's notePress the stencil edges firmly with a cotton swab so the red line comes out razor clean.
Skip thisDon’t freehand the half-moon; wobbly edges scream “home job.”
8. Red Almonds with Micro Chrome Side Stripe
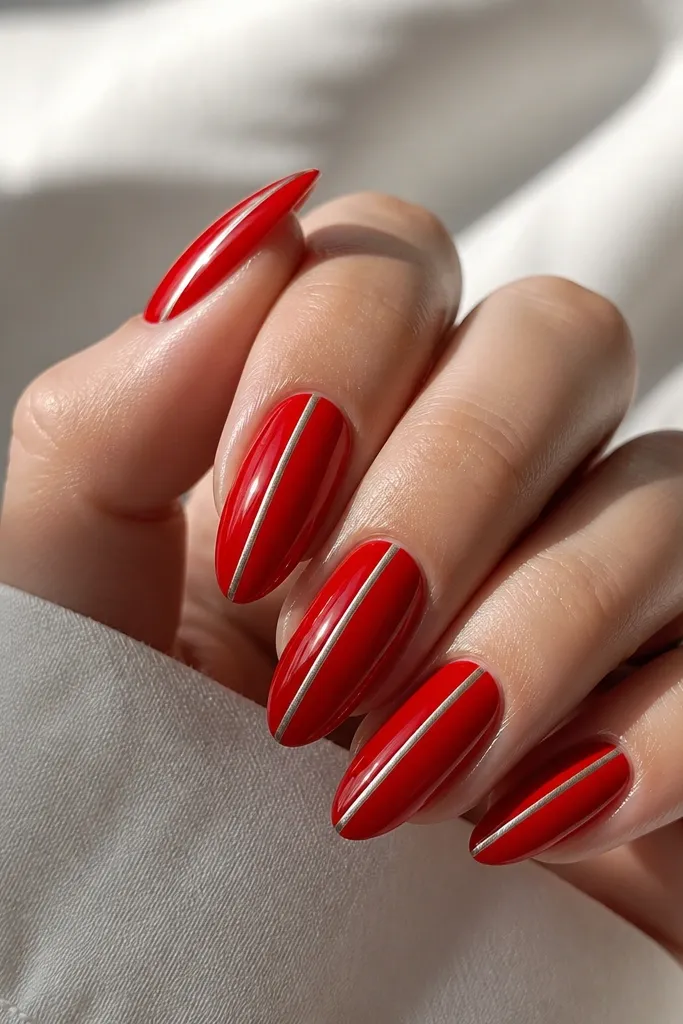
A micro chrome stripe is one of the fastest ways to make plain red look expensive. It’s like adding a highlight to the nail’s architecture, and it gives the almond shape a sharper outline. I do this when I want something that works for everyday but still looks “styled” in photos. It flatters all skin tones because chrome is neutral, and it looks especially good on hands with shorter nail beds because it draws the eye upward.
Paint two thin coats of glossy red and make sure the surface is smooth. With a striping brush or a dotting tool edge, apply a thin line of chrome gel or clear adhesive about 1-2 mm from the sidewall — keep it straight from near the cuticle to just above the tip. Press chrome powder onto the line or rub in chrome gel pigment, then brush away excess gently. Seal with top coat, and run the brush over the stripe lightly so it stays reflective but protected.
Editor's noteIf your line looks too wide, wipe a little off with a cleanup brush before curing.
Skip thisDon’t put the stripe dead center; it makes some almond shapes look wider.
9. Classic Red Almonds with Nude Outline Detail
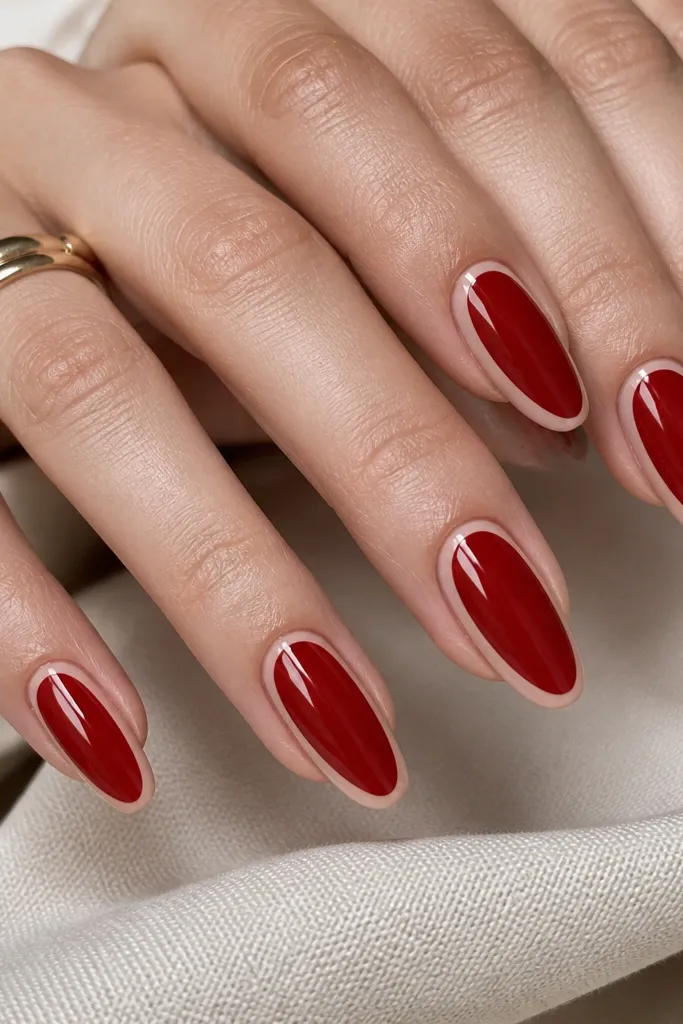
This design is classy because it uses negative space and line work to make the almond shape look intentional. The nude outline creates a “frame” that makes red look cleaner and more tailored than a full solid color. I like it for office days because it’s decorative without being loud, and it holds up well even when nails grow out slightly. It flatters fair, medium, and deep skin tones since the outline color is close to your natural skin tone.
Start with two thin glossy coats of red. Choose a nude that matches your skin tone or is one shade lighter, then thin it with a clear gel so the outline looks like a line, not a blob. Use a fine liner brush to draw a thin outline near the free edge and along one side, following the almond curve; stop before you hit the cuticle. Add a second outline pass only if you need opacity, then top coat over everything and cap the tip edge.
Keep the outline 0.5-1 mm away from the very edge so it looks like framing, not a smear.
Don’t outline the whole nail like a cartoon border; it looks heavy and childish.
10. Red Ombré Almonds with Smoky Rose Fade
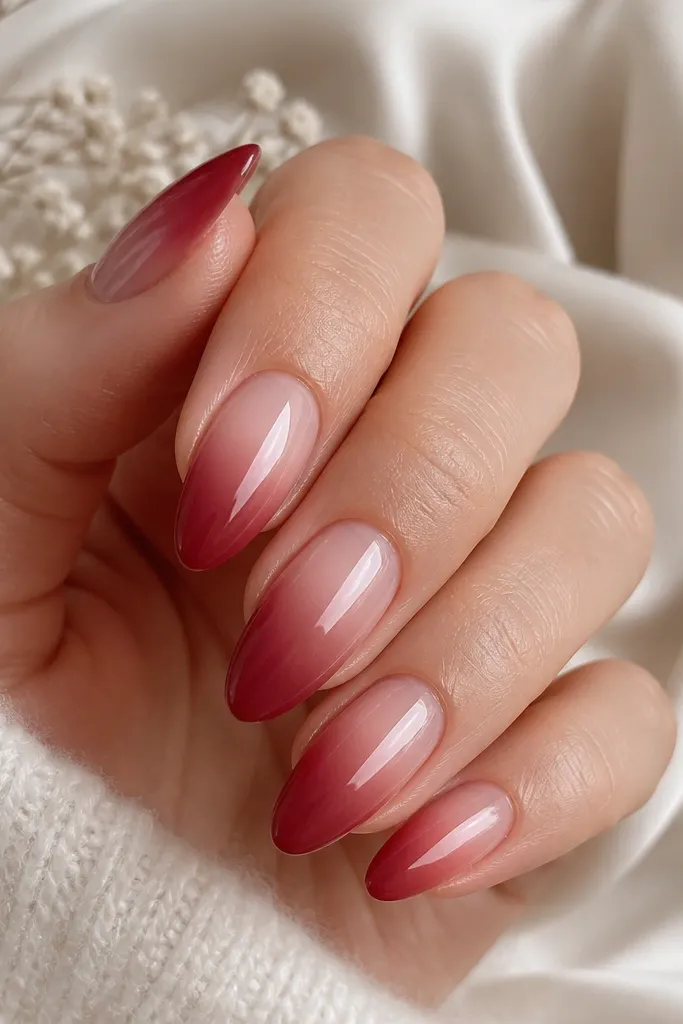
Ombré makes red look expensive because it creates a gradient that looks salon-smooth, not like you painted a solid block. The smoky rose fade keeps it wearable — it’s red, but it doesn’t overpower your nail bed. I recommend this when your nails have ridges or you want to hide minor unevenness, since the gradient draws the eye across the surface. It flatters most skin tones, and it’s especially flattering if you like reds that feel softer than classic cherry.
Start with a sheer nude base and let it dry fully. Sponge on the smoky rose in the middle area first, then blend the red into the tips using a makeup sponge or ombré tool — keep the red strongest at the free edge. Use a brush with a tiny amount of clear gel to smooth any sponge texture at the fade line. Finish with a glossy top coat and pay attention to the free edge so the gradient doesn’t chip first.
Editor's noteWipe your sponge lightly on a paper towel before applying so the color lays down thin and blends clean.
Skip thisDon’t leave a hard line at the blend; that’s what makes ombré look DIY.