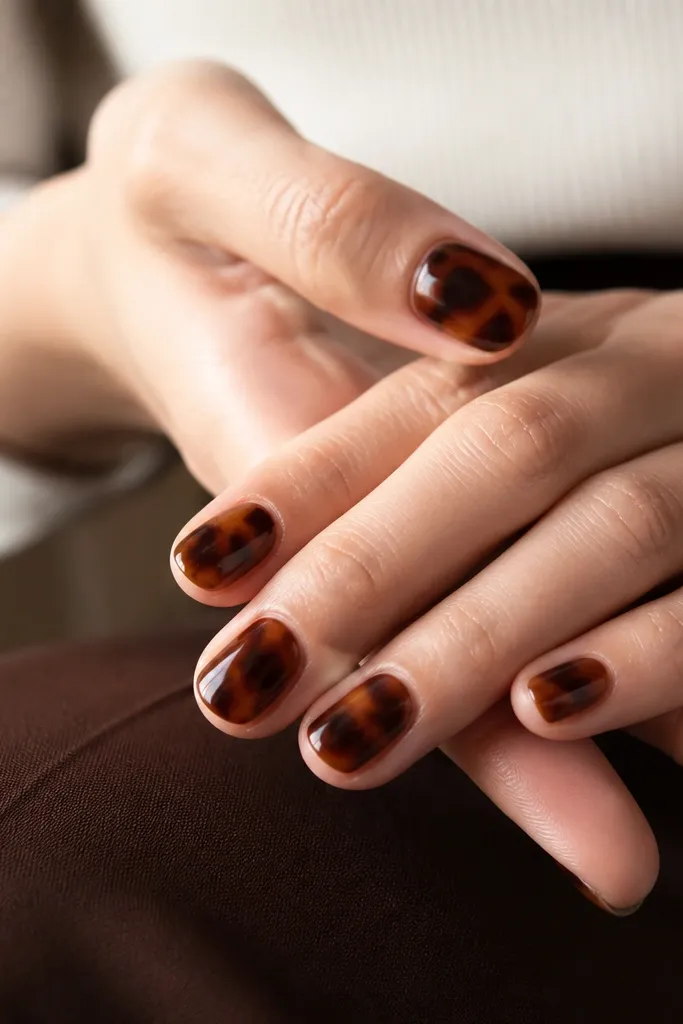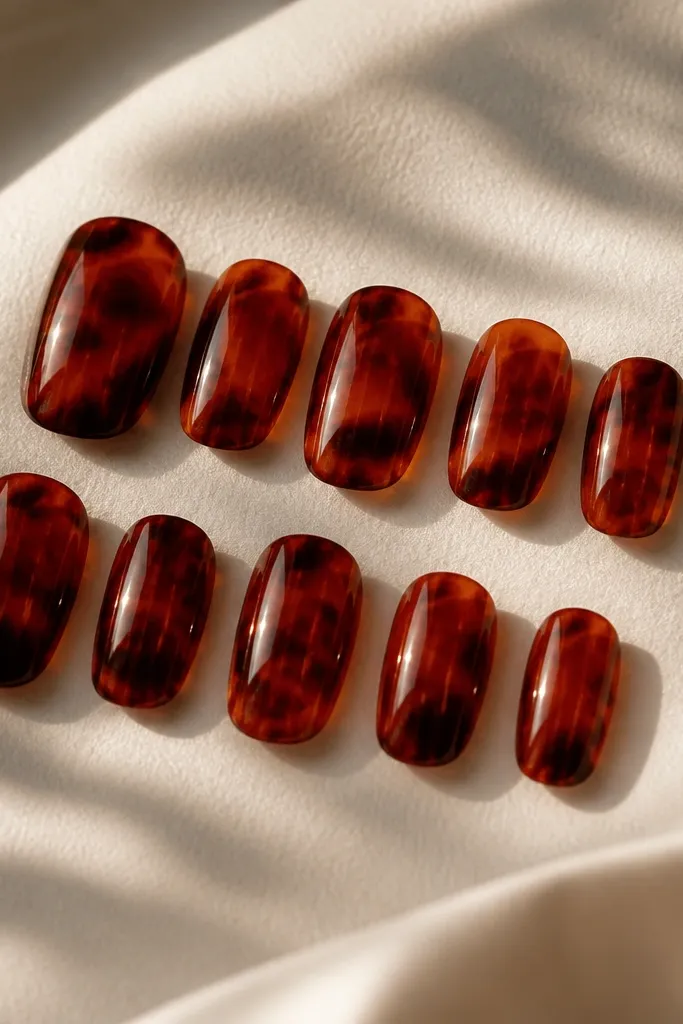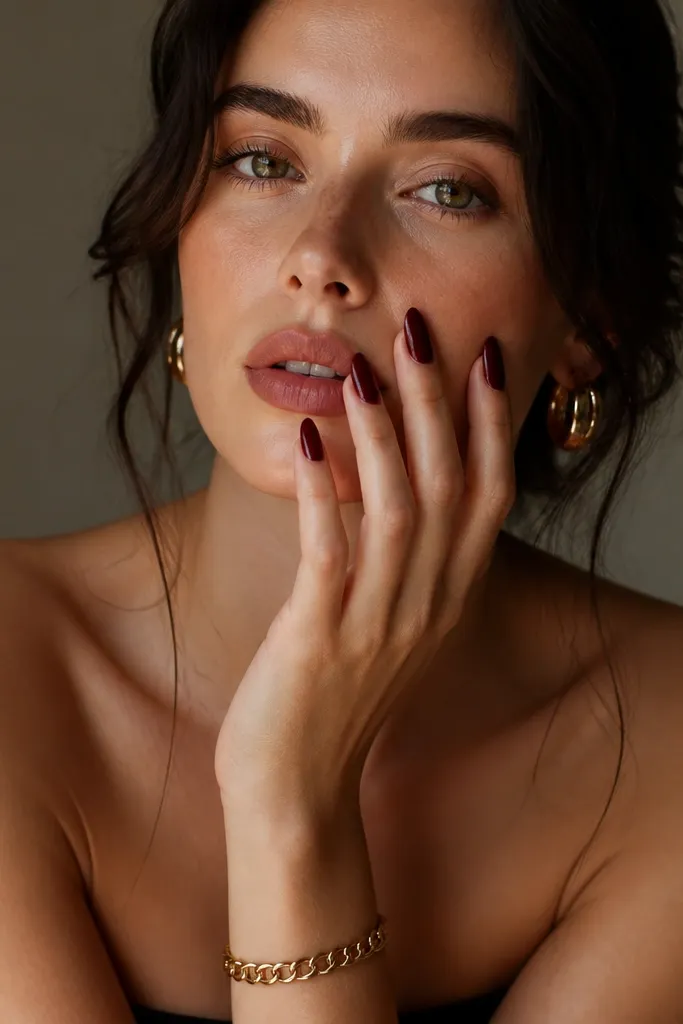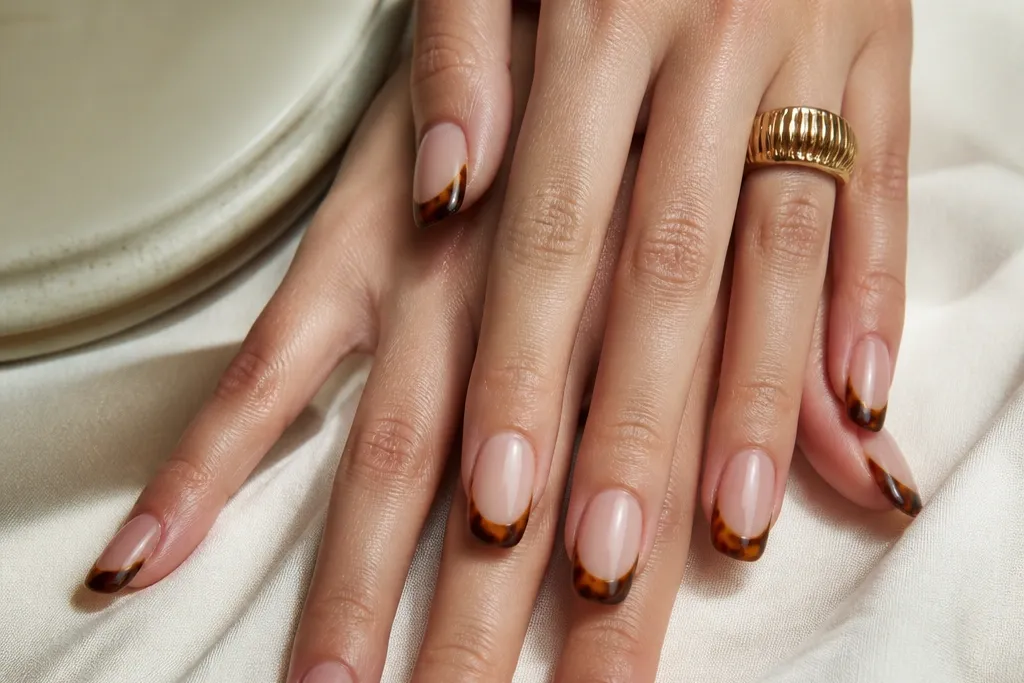
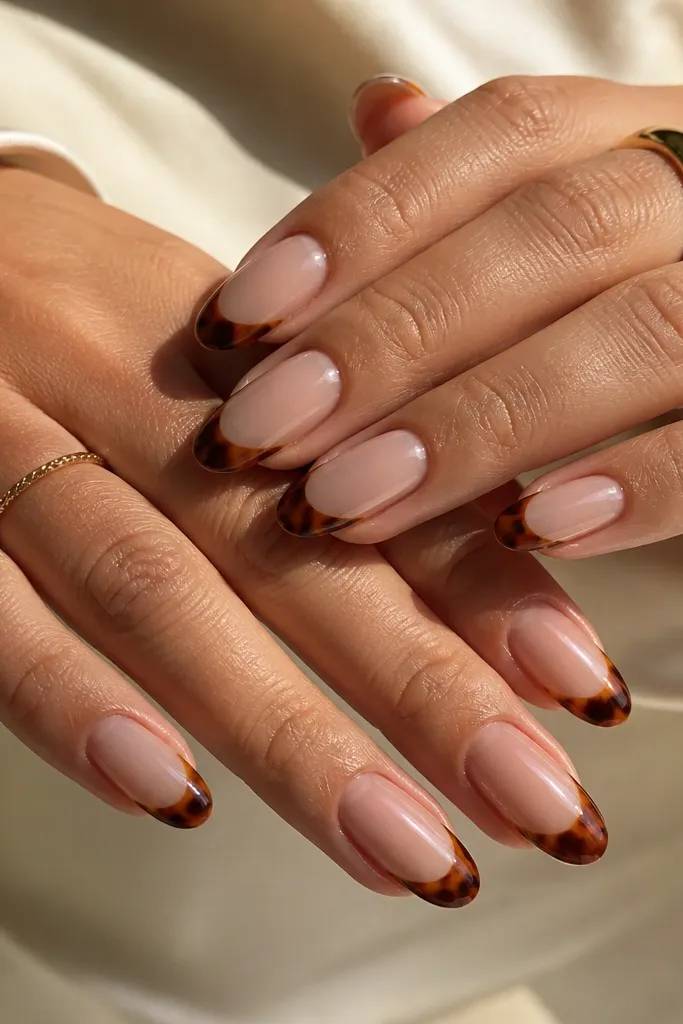
1. Classic Amber Tortoise French on Sheer Nude
This is the version I reach for when I want tortoise to look chic instead of messy. The base is a sheer nude that matches your nail plate — think milky-beige, not pink. The French tip is a warm tortoise mix with lighter honey veins running through it, and the darkest brown sits closer to the sidewalls for shape. It flatters most skin tones because the warmth is balanced, and the sheer base keeps it light for day-to-day wear. For work, the soft squoval shape makes the tips look tidy and not too sharp.
Start by prepping and pushing back cuticles, then apply a thin layer of base coat and cure. Paint a sheer nude in two thin coats, curing each time, so you still see the natural nail tone. For the French, use a thin angled brush to paint the tortoise tip: lay down a mid caramel first, then add darker brown along the outer edge and tiny amber streaks in the center. Clean up the smile line with a cotton swab dipped in gel cleanser, then cure and finish with a thick glossy top coat. Seal the free edge last by dragging a little top coat across the tip edge.
When you add amber streaks, keep them irregular and stop them before the tip edge — that creates the glass-like tortoise depth.
Avoid a fully opaque brown tip; it looks heavy and hides the French line.
2. Espresso Edge Tortoise French with Milky Nude Base
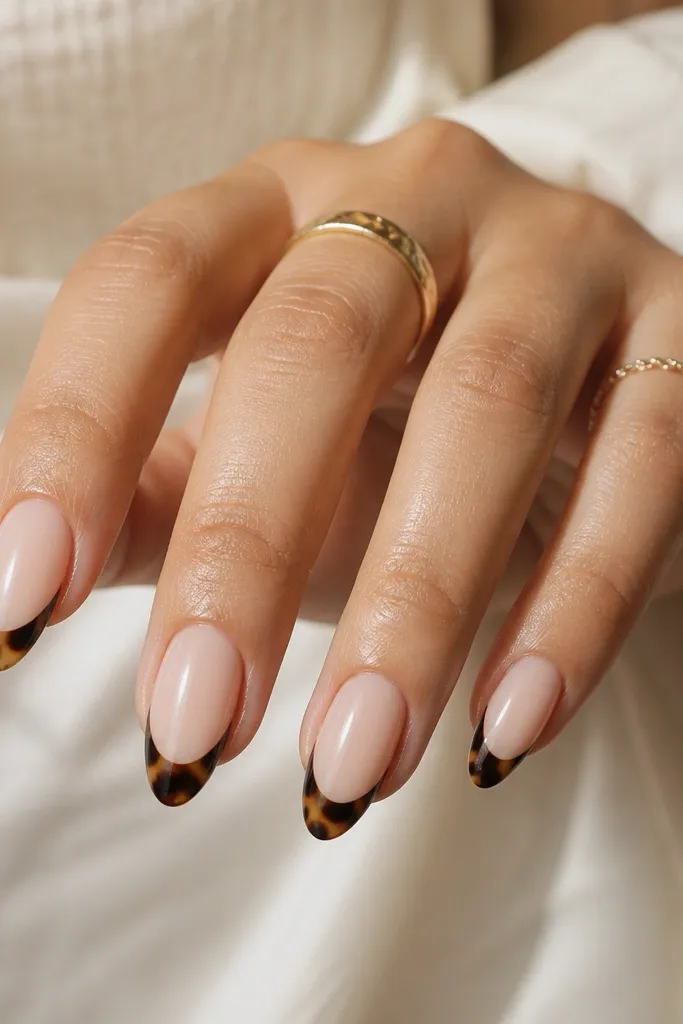
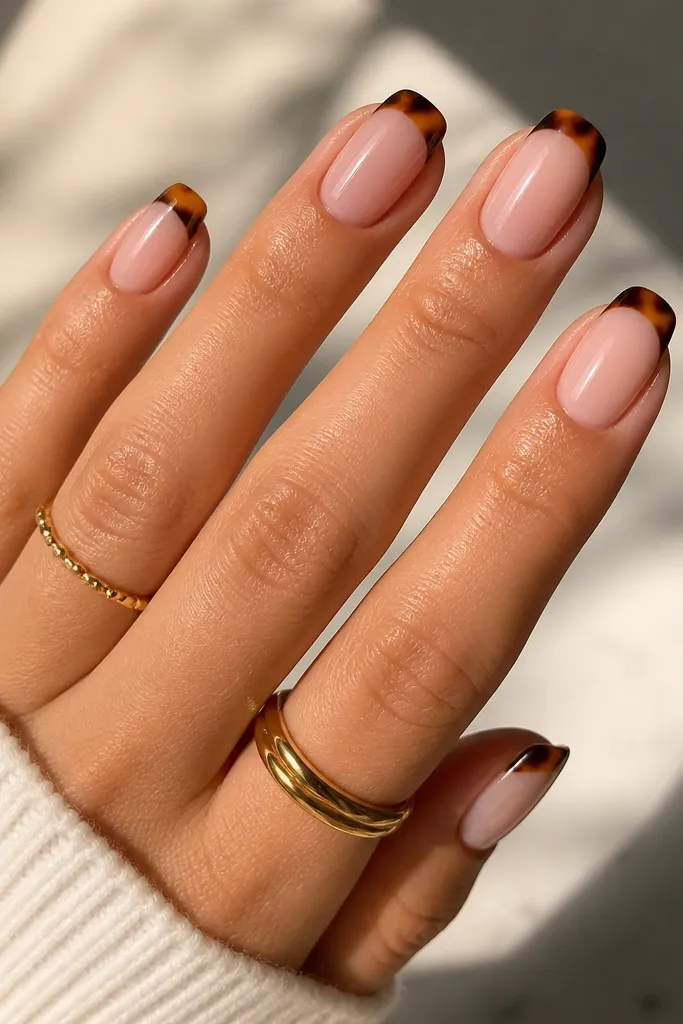
If you want the tortoise to look extra polished, this one leans into contrast. The base is milky nude — slightly opaque and creamy — so the espresso brown reads clean instead of dull. The tip has an espresso outer edge that frames the nail, while the middle has softer caramel swirls. This shape is flattering on hands that want a slimmer look because the almond narrows the visual weight toward the center. It’s also great for evening since the darker edge catches light when you move your fingers.
Apply a milky nude in two thin coats, curing each coat until it looks smooth and even. Use a French guide or freehand with an angled brush to outline the tip at a gentle smile line. Paint the tip center with caramel first, then tap espresso brown along both sidewalls with a striping brush. Drag the espresso slightly inward with a clean brush tip so it blends without losing the frame. Add a couple of tiny amber flecks across the center for tortoise realism, cure, then top coat with a thicker layer for shine.
Use a small amount of espresso brown — a light hand keeps the frame looking intentional, not painted on.
Skip thick layers of brown; they look chalky and create bumps at the smile line.
3. Gold-Thread Tortoise French Tips
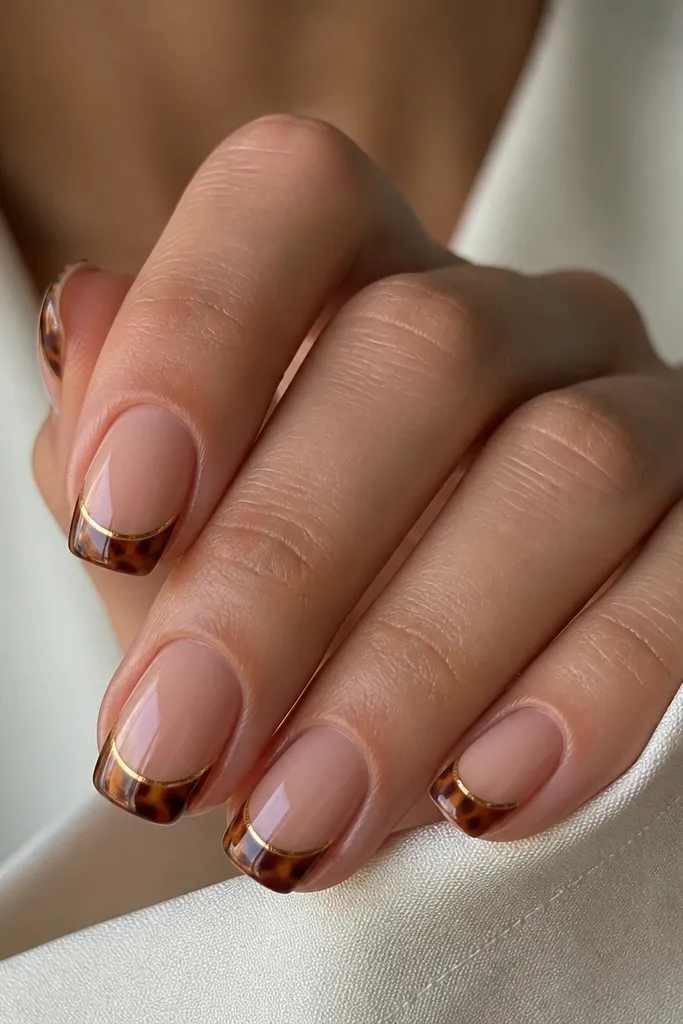
This is tortoise with a jewelry vibe. The base stays sheer nude so the gold thread feels like an accent, not a full-on glam set. The tortoise tip uses honey and caramel swirls, then you add one or two thin gold lines that follow the direction of the lighter streaks. Gold lines make the manicure look intentional and expensive, and they flatter warm undertones especially well. I like it for birthdays, date nights, and any time you want your hands to look “done” without heavy bling.
Start with a sheer nude base and cure. Apply tortoise French tips by painting a caramel base on the tip area, then adding dark brown patches and amber veins with a dotting tool. While the gel is still tacky, place thin gold striping tape or paint gold gel lines using a liner brush, keeping them narrow (about the thickness of a hair). Cure, remove tape if you used it, then seal the whole tip with a glossy top coat in one to two thicker passes. Finish by cleaning around the cuticle edge with a small brush and gel cleanser.
Keep gold lines off the very edge of the tip so they don’t catch fabric and lift.
Don’t cover the whole tip with gold; it turns tortoise into a busy mess.
4. Tortoise Reverse French on Nude Pink
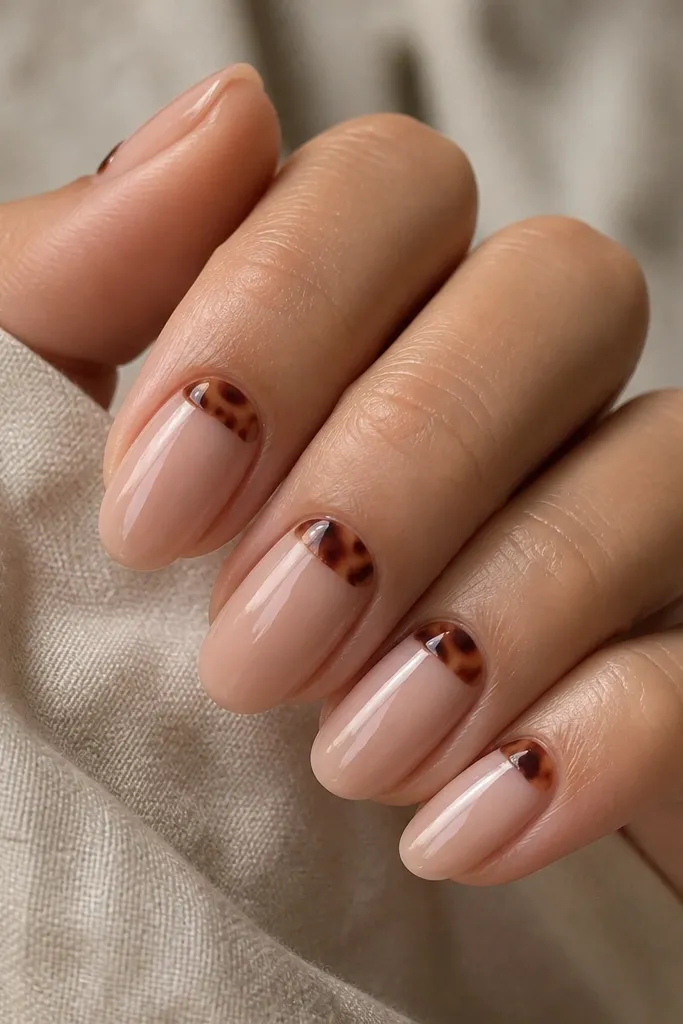
Reverse French changes the whole mood. Instead of a tip, the tortoise sits at the top near the cuticle, so your nails still look airy and the pattern feels like a frame. Use a nude pink base — not hot pink — so the tortoise warmth blends without turning gray. The tortoise blend should be lighter on the inner edge and darker at the outer curve, which makes the cuticle area look crisp. This style flatters hands with shorter nail beds because it draws the eye up, and it looks great for spring and summer.
Apply nude pink in two thin coats and cure until smooth. Use a small striping brush to paint a reverse French arc: start at one side of the cuticle line, curve inward, then mirror on the other side. Build tortoise in layers: caramel first, then dab dark brown at the outer arc, and add amber streaks that run diagonally toward the center. Clean the edges with a cotton swab, cure, and seal with top coat. Add one extra top coat around the reverse French arc to prevent lifting.
Editor's noteIf your cuticle line is hard to keep clean, use a thin brush and stop short by 1 mm so the border stays tidy.
Skip thisDon’t drag tortoise too close to the cuticle — it can flood and cause lifting.
5. Half-Moon Tortoise French Hybrid
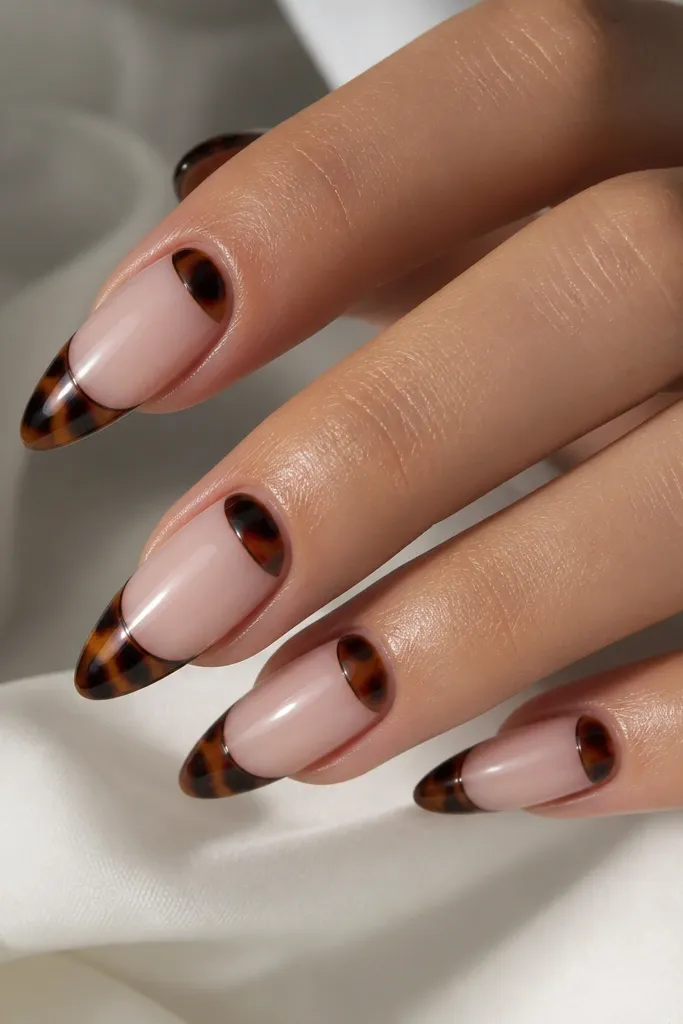
This hybrid design gives you a balanced look: tortoise at the cuticle and tortoise at the tip. The sheer nude base keeps everything from feeling heavy, while the half-moon adds a graphic element that looks good on almond and coffin shapes. I like it most on medium length because you get enough real estate for the pattern to breathe. Warm amber inside the tortoise makes the manicure look flattering on both fair and medium skin, and the connected look makes fingers look longer. It’s also a good choice if you want tortoise but don’t want a full pattern on every nail.
Start with a sheer nude base and cure. Paint a tortoise French tip across the top third of the nail using caramel as your first layer, then add dark brown along the outer edge and small amber streaks in the center. Next, paint a half-moon at the cuticle: use the same tortoise colors but keep it smaller so it doesn’t overpower the nail bed. Use a dotting tool to place the amber veins inside the half-moon, then blend lightly with the brush. Cure and top coat thickly, paying extra attention to sealing where the half-moon meets the base.
Make the half-moon slightly narrower than you think — it reads more chic and less cartoonish.
Avoid matching the half-moon and tip width exactly; that symmetry can make nails look shorter.
6. Tortoise French with Nude-to-Caramel Fade
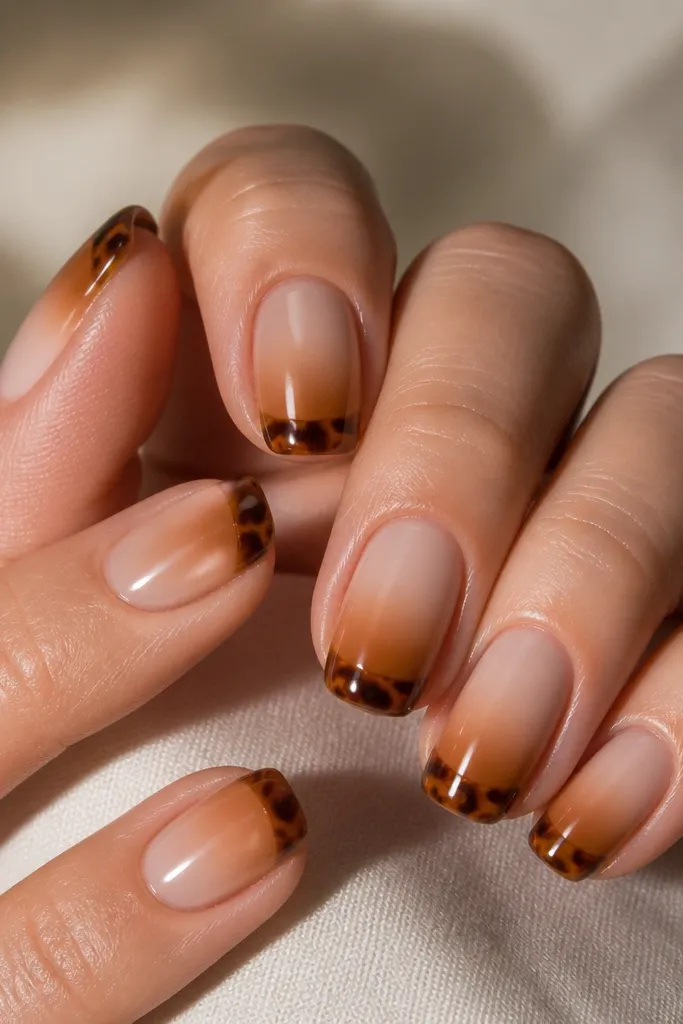
This one makes the French line look extra smooth. Instead of a hard boundary, you get a nude-to-caramel fade that transitions into the tortoise marbling. The base starts sheer nude, then you lightly blend caramel at the edge where the French begins. The tortoise pattern sits on top of the fade, with darker brown at the sides and amber veins in the middle. This flatters hands that have bitten-down nails or uneven nail texture because the fade disguises the line where product meets natural nail. It’s also more forgiving for beginners because the transition hides small application gaps.
Apply sheer nude base and cure. For the fade, paint a thin caramel layer starting about 2 mm above where your French tip will end, then blend it downward with a sponge or soft brush in light taps. Build the tortoise on the tip area: add dark brown at the side edges, then tap amber streaks inside. Keep the smile line soft, not razor sharp, then cure. Finish with a glossy top coat and cap the free edge so the fade doesn’t wear away first.
Editor's noteUse a makeup sponge for the fade — it gives you that airbrushed look without streaks.
Skip thisDon’t blend all the way to the cuticle; keep the fade only where the French starts.
7. Black Tortoise French with Sheer Beige
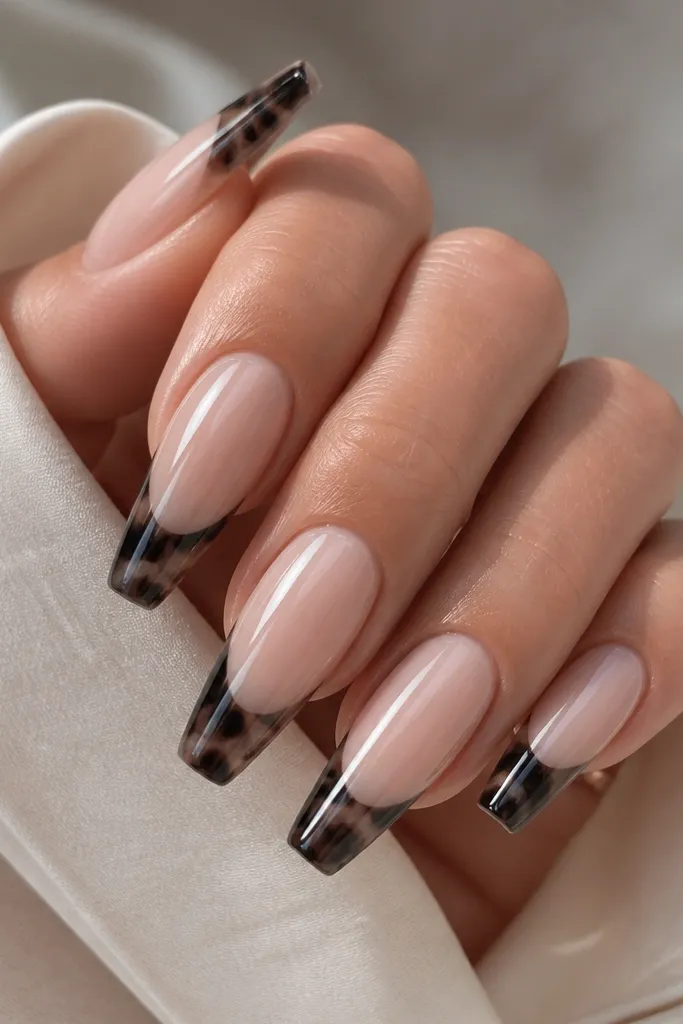
If traditional tortoise feels too warm, this black-leaning version looks modern and still chic. The base is sheer beige so it doesn’t fight the dark tip. The tortoise is built from charcoal and black patches with smoky taupe veins — it reads like expensive acetate when the light hits. This style is flattering when you wear neutral outfits or gold jewelry because the dark tip frames the hand. On longer coffin or almond nails, the pattern looks clean and structured instead of chaotic.
Start with a sheer beige base and cure. Outline a French tip at your preferred smile line — slightly higher for a sharper look. Paint the tip with charcoal first, then add black patches using a thin striping brush, keeping the patches irregular like real tortoise. Add a few thin taupe streaks through the center and toward the edges, then blend the very ends lightly so the veins don’t look painted on top. Cure and seal with a glossy top coat that is thick enough to smooth the surface.
Use matte gel for the tortoise layer and gloss on top — the veins pop more because the base catches less glare.
Avoid using pure white veins; it makes black tortoise look like oil-slick nail art.
8. Tortoise French with Micro Specks
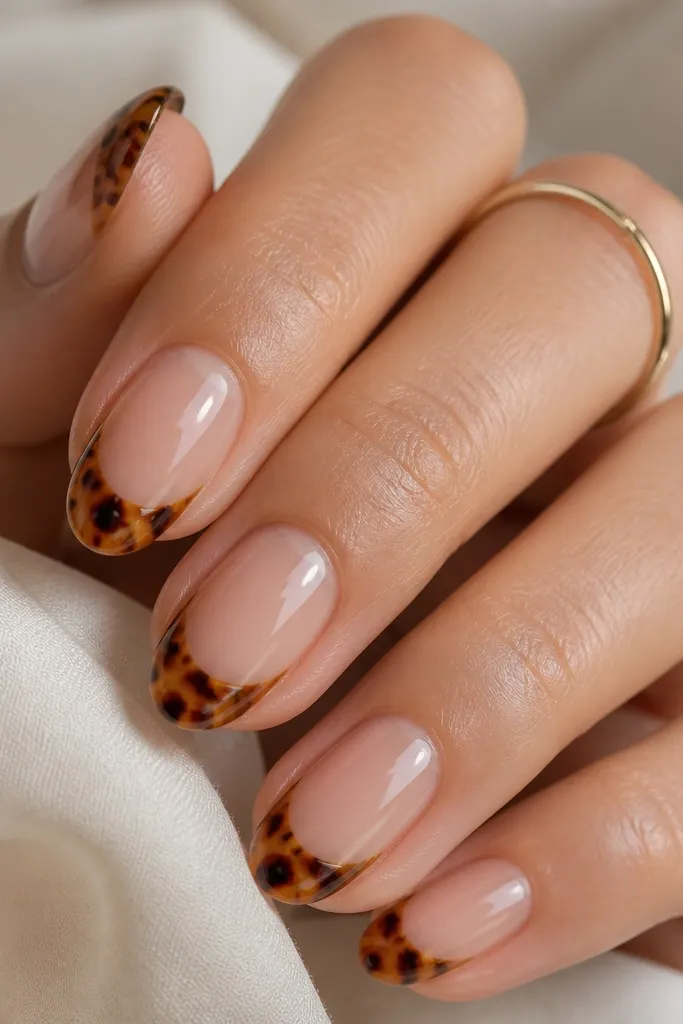
Micro specks make tortoise look textured, like the material has layers. The base stays sheer nude so the specks don’t compete with your skin tone. The tip is caramel and amber marbling with tiny dot-like flecks placed in the lighter areas and a few in the dark sections. This works especially well on short nails because the specks add interest without requiring a wide tip. It’s also a good option if you want tortoise but your hands look best with smaller details.
Apply sheer nude base and cure. Paint the French tip with caramel, then dab in dark brown patches using a small brush. While the gel is tacky, add micro specks using a dotting tool dipped in light beige gel; keep them mostly in the lighter streaks. Add a few tiny specks in dark brown near the edges for balance. Cure, then top coat with a glossy layer and cap the tip edge carefully to protect the specks from wear.
Place specks at three heights only — near the edge, mid-tip, and close to the center — it looks planned, not random.
Don’t flood the tip with dots; too many specks make it look like glitter gel.
9. Tortoise French with Clear Gel Outline
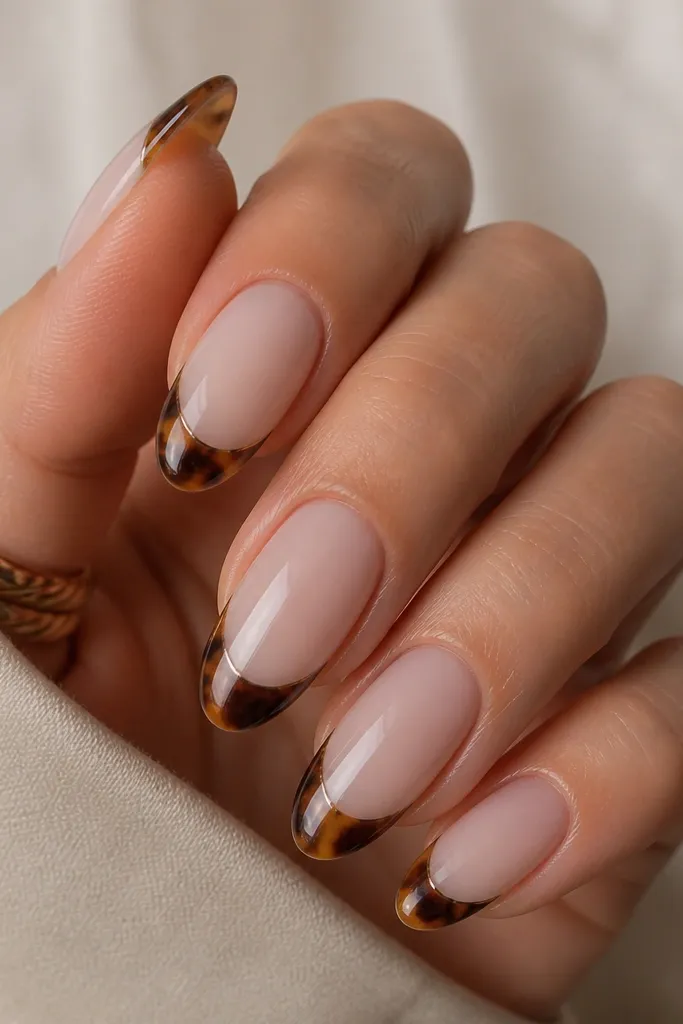
This is the cleanest-looking tortoise French when you want definition. The milky nude base keeps the look soft, while the clear gel outline makes the tip edge look like it’s been traced. The tortoise marbling sits inside that border with warm amber and caramel swirls and darker brown at the corners. It flatters hands with wider nail beds because the outline gives structure and makes the tip look intentional. This one also photographs well since the border catches light.
Start with milky nude in two thin coats and cure. Paint the tortoise tip inside your smile line using caramel first, then layer dark brown at the sides and add amber streaks. After curing once, go back with a thin brush and apply clear gel along the tip edge border, keeping it narrow. Cure again, then apply top coat over everything to lock the outline in. Clean the edge with gel cleanser so the border stays crisp and doesn’t smear into the base.
Editor's noteUse clear builder gel for the outline; it levels smoother than regular clear top coat.
Skip thisAvoid outlining before your tortoise layer is fully cured — it blurs the boundary.
10. Tortoise French with Nude-to-Warm Brown Ombré
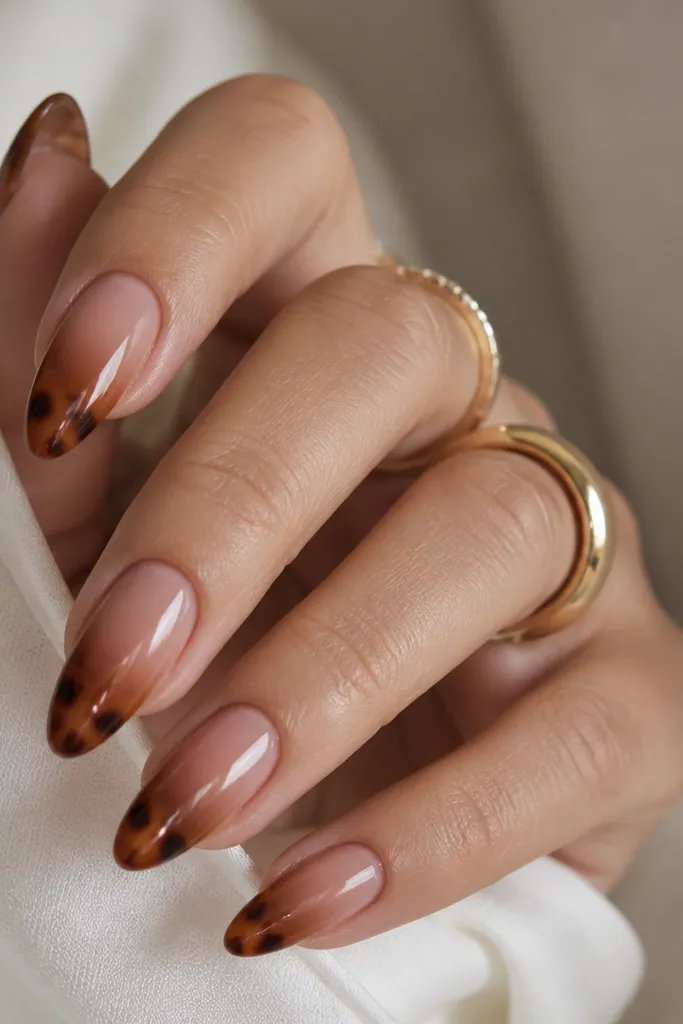
This is for when you want tortoise to look like it’s part of the nail, not pasted on. The ombré starts as sheer nude and turns warm brown right where the French begins, then tortoise marbling sits on the very top portion. The result looks smooth and expensive, especially on almond where the curve already creates a natural gradient. It flatters medium and deep skin tones because the warm brown ties into rich undertones. It also looks great for fall outfits without looking seasonal-themed.
Apply sheer nude base and cure. Add a warm brown ombré by painting warm caramel-brown at the tip area and blending downward with a sponge or a small ombré brush. Then layer tortoise marbling on just the top third: caramel base, dark brown side streaks, and amber veins through the center. Keep the marbling lighter near the ombré transition so it blends. Cure and top coat thickly, then cap the free edge so the gradient doesn’t chip.
Blend the ombré first, cure, then do tortoise — it prevents muddy colors.
Don’t apply tortoise over wet ombré; it smears and turns flat.
11. Tortoise French with Tiny Rhinestone at the Corner
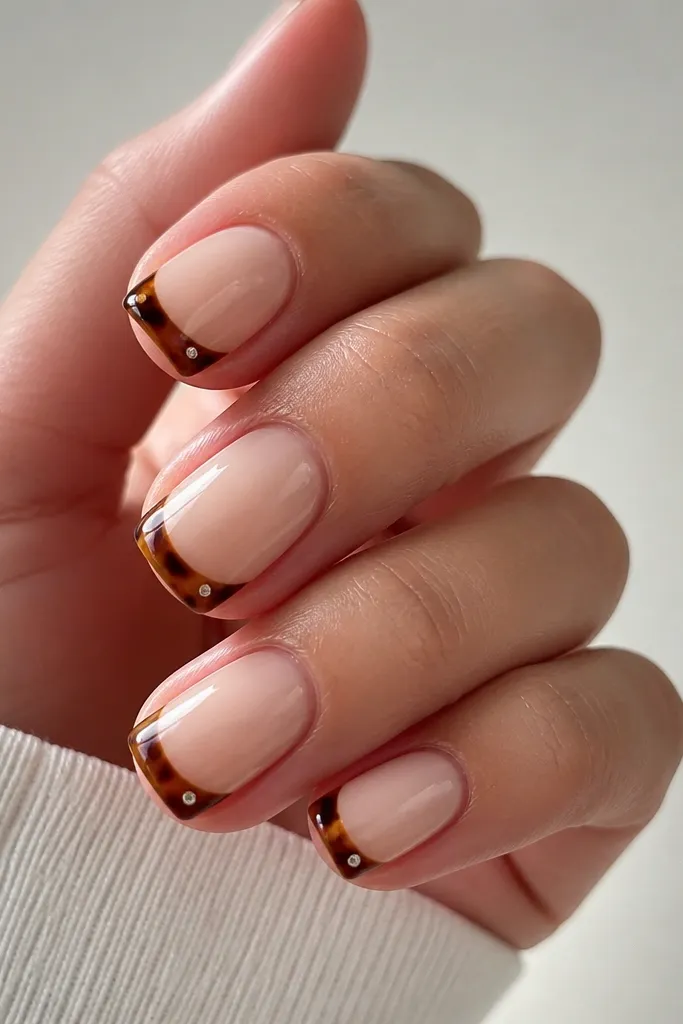
This is my “date night but still classy” tortoise set. The nude base and tortoise tip stay the star, and one tiny rhinestone at the outer corner adds just enough sparkle when your hand moves. I like placing it on the outer edge where the smile line curves upward — it makes the nail look lifted. It flatters fair to medium skin because the clear stone doesn’t compete with the warm brown. Keep the rhinestone small so it reads like jewelry, not a craft project.
Apply sheer nude base and cure. Paint the tortoise French tip with caramel first, then add dark brown side patches and amber streaks in the center. Cure the tip layer. Use a dot of clear gel at the outer corner of the tip and place a tiny 3D rhinestone (about 1.0-1.5 mm). Cure again, then apply top coat carefully around the stone so it’s sealed but not flooded. Cap the sides with top coat so it doesn’t snag.
Editor's noteUse a wax pencil to pick up the rhinestone — it drops exactly where you want it.
Skip thisAvoid putting a rhinestone in the center of the tip; it looks heavy on tortoise.
12. Tortoise French with Matte Base and Gloss Tip
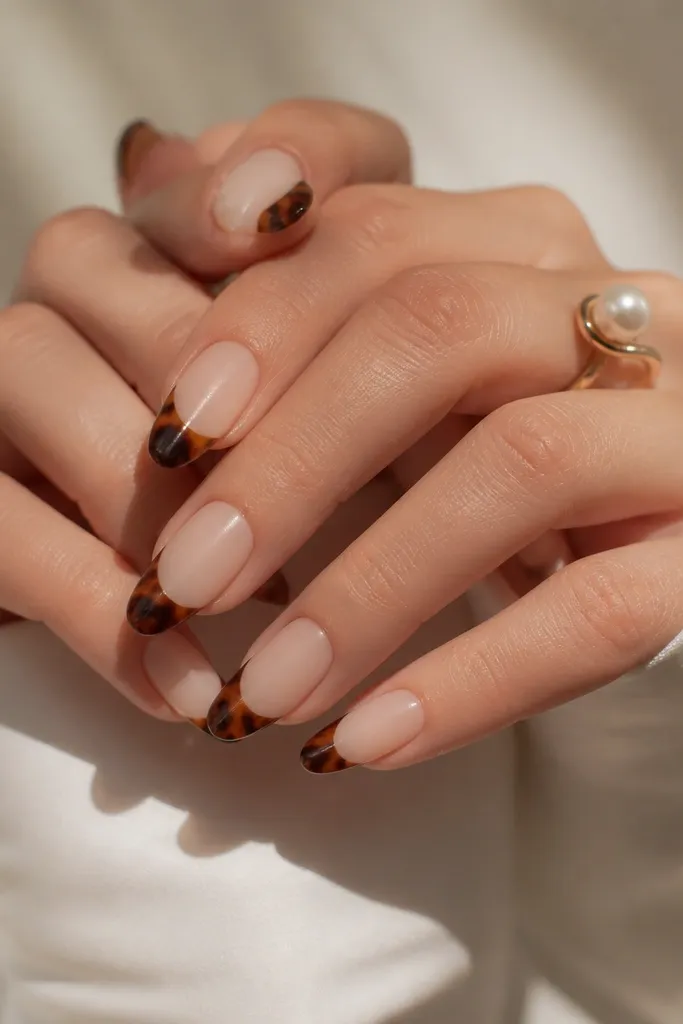
Matte base plus glossy tortoise tips is one of the fastest ways to make this look designer. The matte milky nude hides any tiny surface imperfections on the base layer, then the glossy tortoise tip brings the shine back where you want it. The tortoise itself looks deeper because gloss makes the amber veins look glassy. This combo flatters hands that have dry cuticles or uneven nail texture because the matte base makes the set look smooth. It also looks bold without adding extra color.
Start with your milky nude base and cure. Apply a matte top coat over the base area only, keeping it off the tip by using a clean brush to “cut” the border. Cure the matte top coat. Now paint tortoise French tips on the top third with caramel and dark brown marbling, then cure. Finish with a glossy top coat over the tortoise tips only, avoiding the matte area. Clean the edge line between matte and gloss so the contrast stays sharp.
Editor's noteUse a foam brush to apply matte top coat near the border — it gives you a cleaner line than a flat brush.
Skip thisDon’t gloss over the whole nail; you lose the contrast that makes this look special.
13. Tortoise French with Sheer Nude Jelly Base
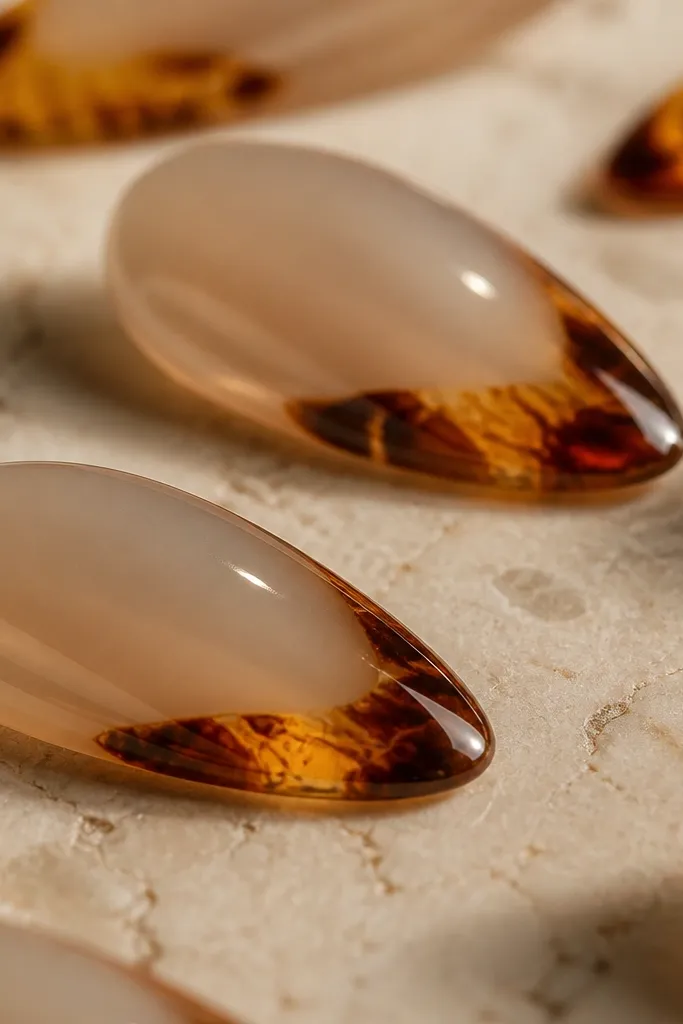
A jelly base makes tortoise look like it’s under glass. The sheer nude is slightly translucent, so you get glow from within rather than a flat opaque color. The tortoise tips sit on top with amber veins and darker brown patches that look layered. This set flatters long nails by adding a soft, bouncy look instead of a heavy opaque base. It’s also great if you like the “fresh manicure” vibe because the jelly sheen stays pretty longer between fills.
Prep the nails and apply a thin base coat, cure. Apply a sheer nude jelly color in two coats, curing each time — keep it thin so you still see translucency. Create the tortoise French tip by painting caramel first, then adding darker brown at the sides and amber streaks in the center. Use a fine brush to keep the smile line clean and slightly curved upward. Cure and then apply a thick glossy top coat in two layers if needed for that wet look. Cap the free edge and clean around the cuticle.
If your jelly base looks too thick, thin it with a drop of gel thinner so it levels without streaks.
Avoid matte top coat on jelly bases; it kills the glow.
14. Tortoise French with Reverse Half-Moon Cuticle Frame
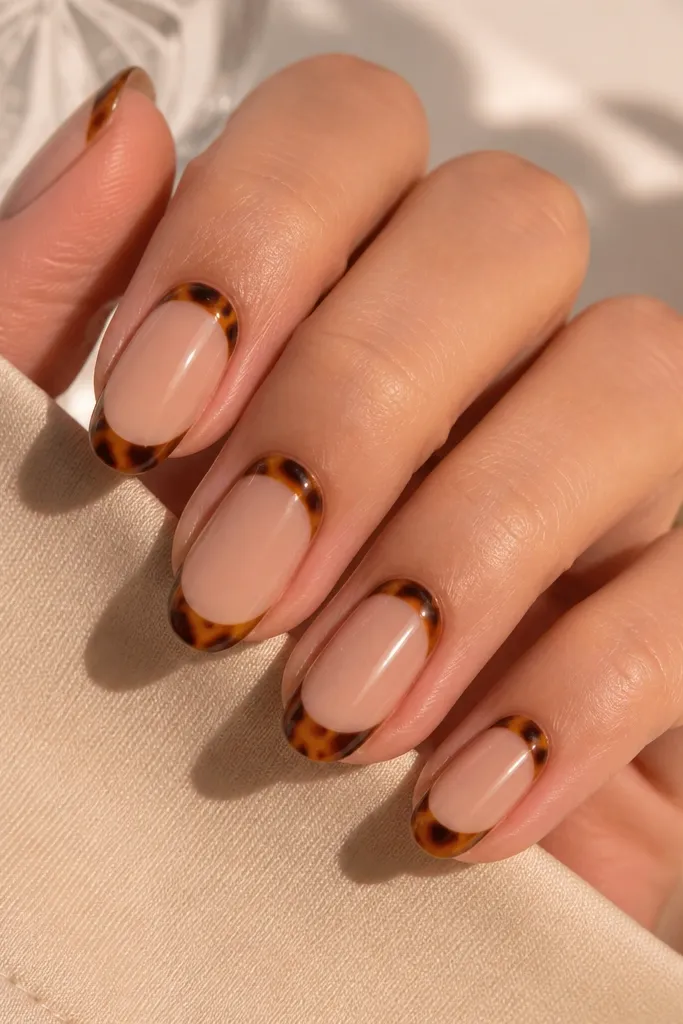
This is for hands that look best with framing details. The tortoise half-moon frame sits right around the cuticle line, while the French tip adds the top weight. The sheer nude base keeps the frame from feeling too busy, and the lighter amber veins help the tortoise pattern look dimensional instead of flat. I like this for medium-length nails because the oval shape makes the half-moon feel balanced. It flatters a wide range of skin tones since the tortoise warmth sits between caramel and espresso, not neon orange or red.
Apply sheer nude base and cure. Paint the tortoise half-moon frame first: use a small liner brush to outline a thin arc around the cuticle line, then fill with caramel and dark brown in small patches. Add amber veins inside the half-moon with a dotting tool, then cure. Next, paint the tortoise French tip on the top third using the same colors, keeping the darkest brown near the outer corners. Cure again, then top coat thickly and cap the edges. Clean the cuticle border with gel cleanser so the frame stays crisp.
Keep the half-moon frame thinner than the French tip; it looks more expensive and less bulky.
Don’t overfill the half-moon; thick product at the cuticle lifts first.
15. Tortoise French with Dark Brown Micro Lines
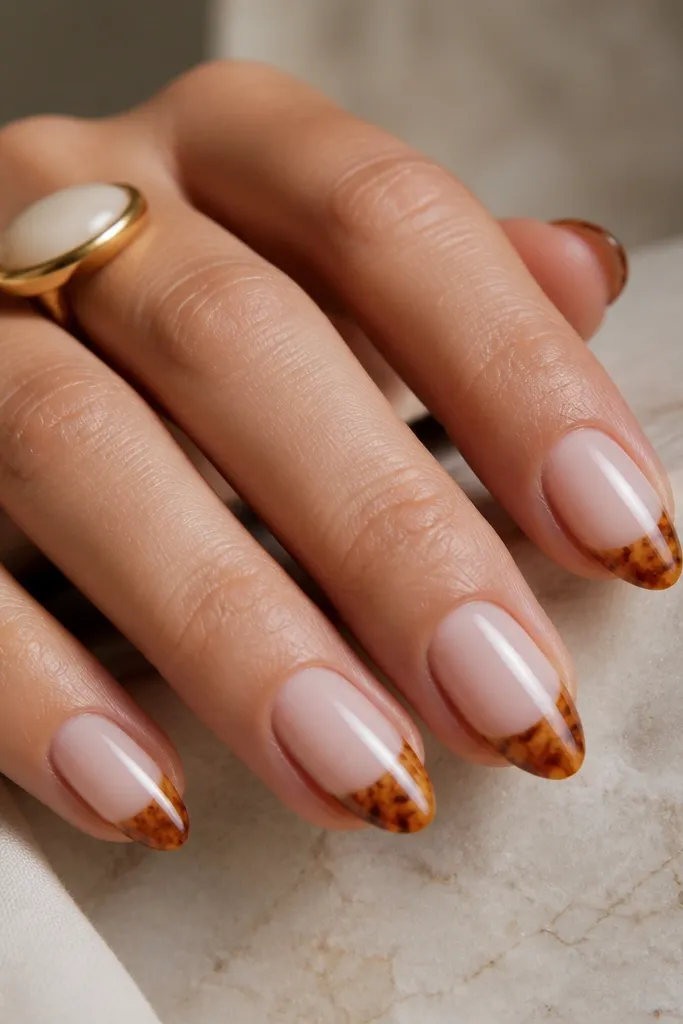
Micro lines make tortoise look like it has structure, not just color. The milky nude base gives you a soft canvas, and the tortoise tips include amber marbling plus thin dark brown lines that mimic natural shell patterns. Those hairline cracks make the manicure feel graphic while still staying delicate. This flatters short nails because the lines add height and definition without needing extra length. It also looks great for minimal outfits since the pattern is the decoration, not the color intensity.
Start with a milky nude base and cure. Paint the tortoise French tip with a caramel layer and dark brown patches at the sides, then add amber streaks in the center. While the gel is tacky, use a striping brush to draw fine micro lines — keep them uneven and stop them before the tip edge. Cure the design and check the smile line for sharpness. Finish with a glossy top coat that smooths the surface so the micro lines don’t snag. Cap the free edge for durability.
Use slightly thinned gel for micro lines so they look like cracks, not solid strokes.
Avoid thick striping; it turns the shell pattern into chunky lines.