1. Honey Almond Tortoise with Espresso Tips
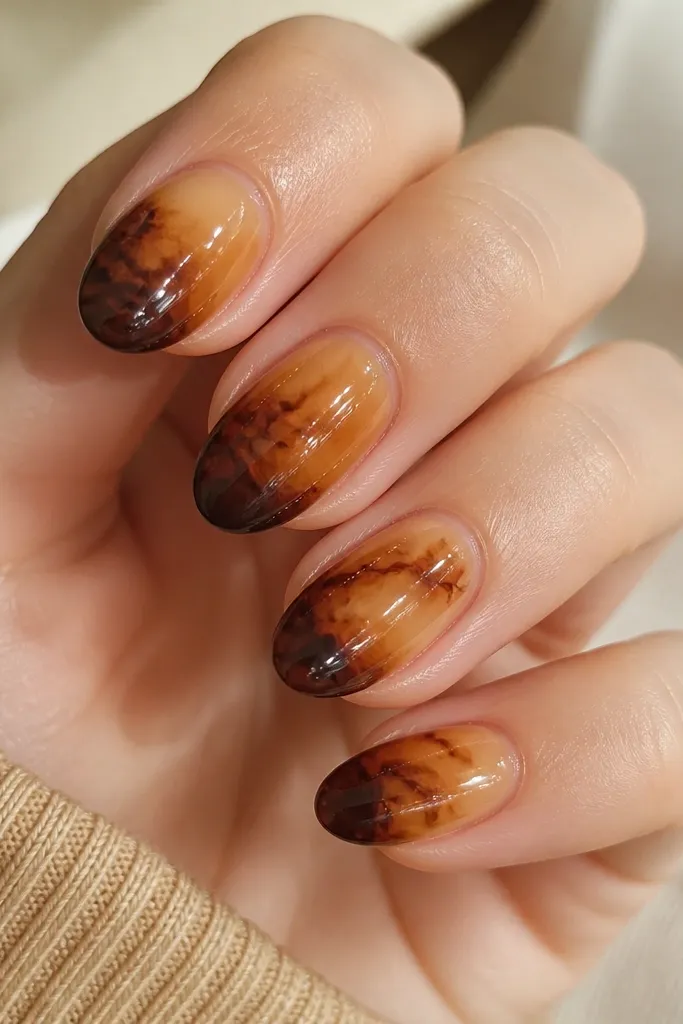
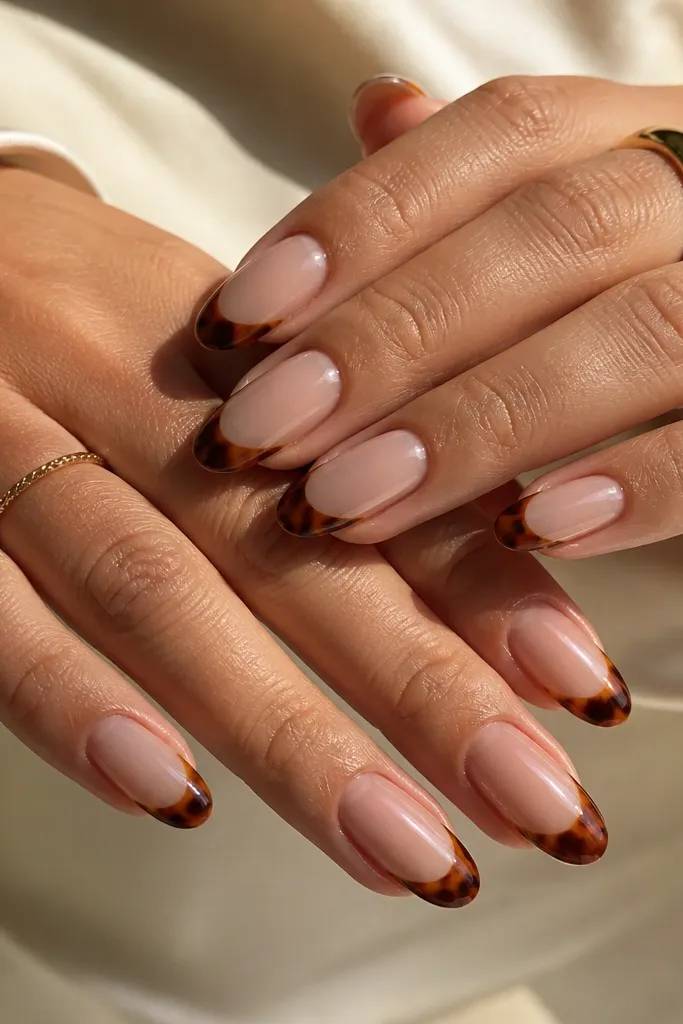
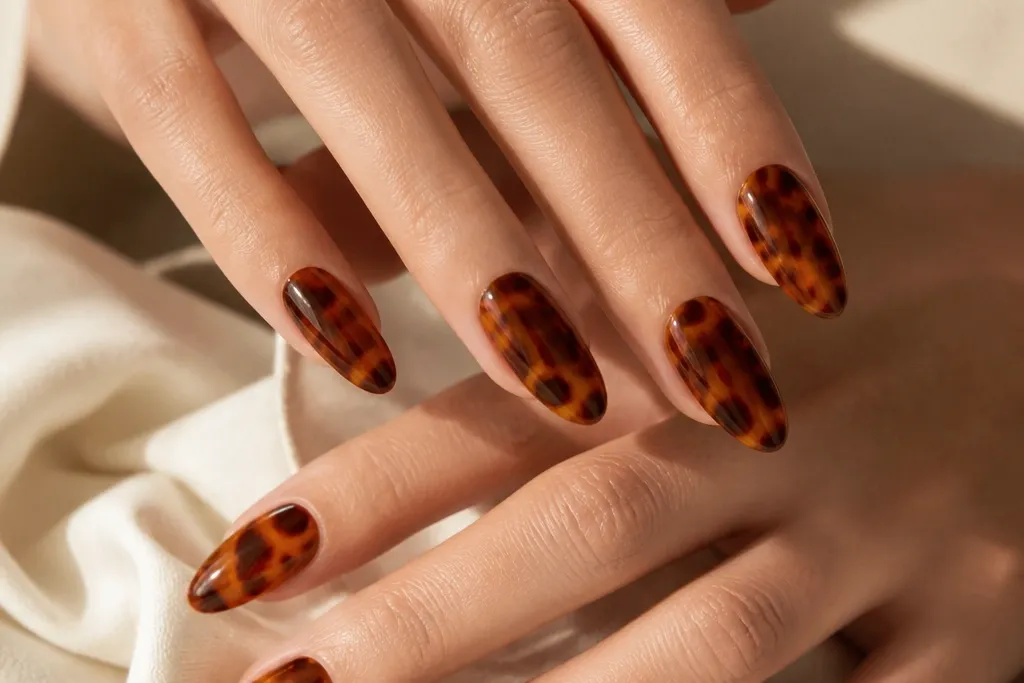
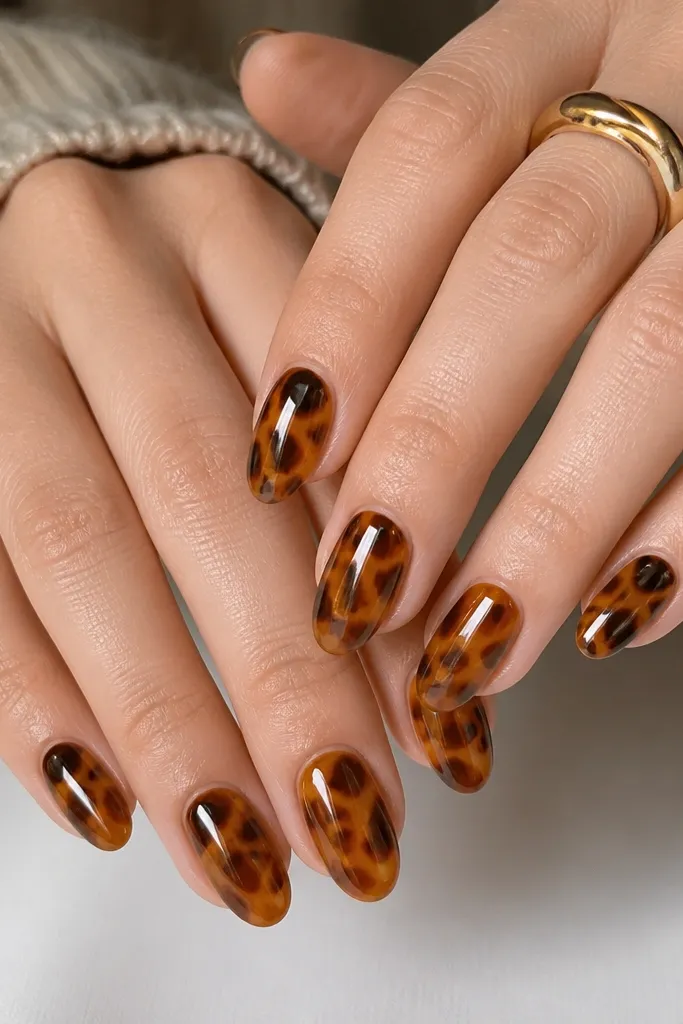
This set is my go-to when you want tortoise to look polished fast. The base is a honey beige that matches warm fall lighting, and the pattern pieces sit mostly in the center so your tips don’t feel heavy. I add espresso-brown tips in a soft fade, then pull a few thin tortoise lines upward so the gradient looks natural. Almond shape makes the fade look crisp; on squoval it can look slightly blocky. This one flatters fair to deep skin tones because the honey base brightens and the espresso anchors the look.
Start with a warm honey-beige gel base and cure it fully. Then paint thin milk-streaks using a light caramel or “tortoise highlight” color, placing them diagonally so they catch the light. Next, use a striping brush to add darker espresso pockets and irregular borders, keeping edges uneven and leaving some beige showing. Finish by blending a darker espresso tip band about 1/6 of the nail length, then add a glossy topcoat for that shell shine.
Keep the espresso tips under a third of the nail — too much brown makes tortoise look like a stain.
Avoid thick blobs; they create raised edges that catch lint and make the pattern look cheap.
2. Burnt Umber Squoval Tortoise Half-Moons
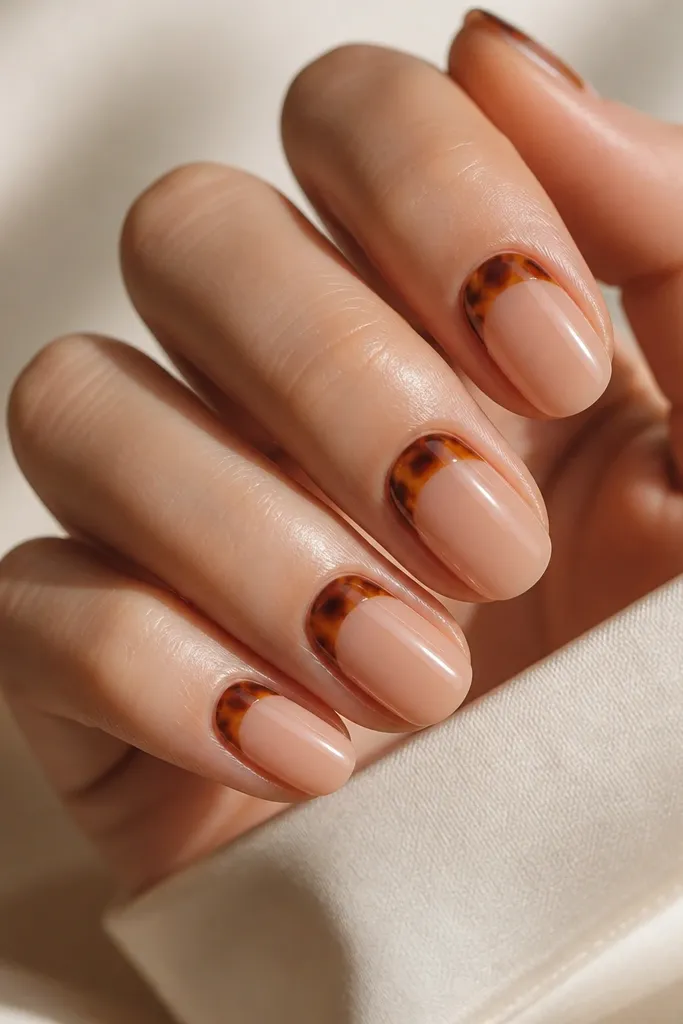
This design is for days when you want tortoise but your job or daily life needs a calmer look. The trick is the half-moon placement: the pattern sits near the cuticle and fades out, so your hands look tidy and your nails still feel “short-friendly.” Burnt umber adds fall warmth without taking over the whole nail surface. Squoval shape keeps the arcs looking smooth and not jagged. It flatters medium and deeper skin tones beautifully because the nude-peach base gives contrast, while fair skin looks great too if you choose a more peachy base instead of gray-beige.
Start by prepping and applying a nude-peach base, then cure. Using a thin brush, draw an irregular half-moon around the cuticle with burnt umber, leaving a small gap of nude at the inner edge. Add 2-3 lighter tortoise streaks inside the arc using a honey caramel shade, then extend a faint border line a millimeter down the nail. Seal everything with a glossy topcoat; keep the pattern concentrated so the nail stays airy.
If your half-moons look too perfect, rough the edges with a toothpick tip while the gel is still workable.
Don’t cover the whole nail with tortoise on this one — it defeats the clean half-moon effect.
3. Olive Velvet Matte Tortoise with Gold Thread
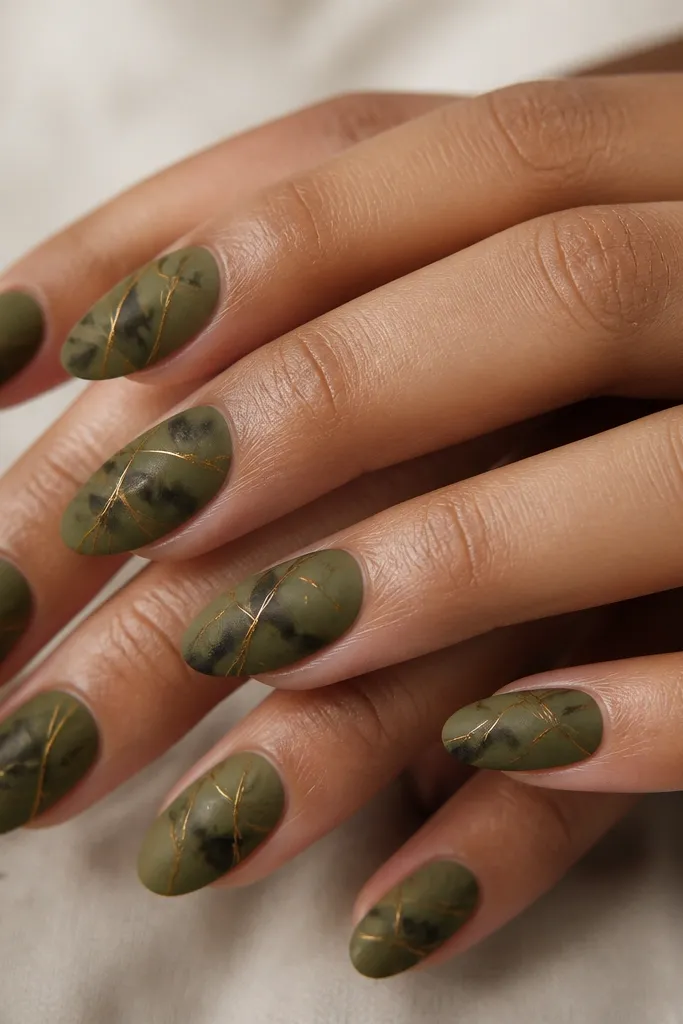
Matte tortoise is the fastest way to make fall nails look cozy instead of shiny. This set uses an olive base and darker olive-brown pockets that mimic shell depth, then adds one thin gold “thread” line per nail so it still feels special. I place the gold diagonally across the center so it draws the eye and makes the nail look longer. Matte also hides micro-bumps better than glossy, which matters if you’re doing this at home and your surface isn’t perfectly glassy. This looks great on all skin tones because olive grounds the pattern and gold warms it up.
Apply an olive base gel and cure. Paint tortoise pockets with a dark green-brown, using a toothpick to drag the edges into irregular shapes. Add 1-2 lighter streaks in a muted honey-brown so the shell effect has highlights even in matte. Cure again, then apply a matte topcoat. After that, draw a thin dusty gold line across the center and cure under LED, finishing with a second matte coat only if your gold is flat and not textured.
Use a gold gel liner with a brush you trust — shaky lines look messy on matte.
Skip glitter gold chunks; they look grainy once you go matte.
4. Classic Caramel Tortoise with Clear Negative Space
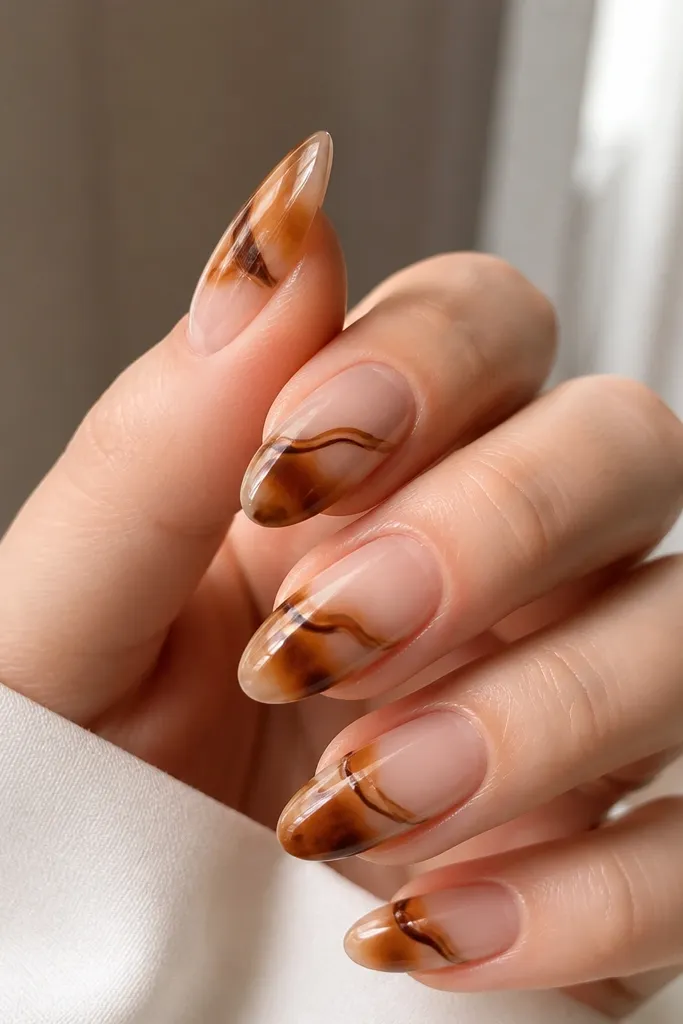
Negative space makes tortoise look modern and gives your hands a “fresh manicure” feel even when the pattern is busy. This version keeps the top third clear, so the caramel browns feel lighter and your nails look longer. I use caramel and medium brown, not super-dark espresso, so it stays warm and wearable. Almond shape makes the clear window look intentional; on short ovals it still works, but the window needs to be slightly narrower. Fair to deep skin tones all look good because the clear part lets your natural nail and skin tone blend in.
Editor's noteMark the “clear window” with a small strip of tape on your first nail so your placement stays consistent.
Start with a sheer clear or jelly base and cure it. Leave the upper third bare — don’t paint it — then place caramel tortoise patches in the middle using a fine brush. Add thin linework connecting the patches so it looks like marbling rather than separate stickers. Add a few darker medium-brown edges near the lower half for depth. Finish with a glossy topcoat, making sure you cap the free edge so the pattern doesn’t lift.
Skip thisDon’t fully cover the nail once you start this design — the negative space is the whole point.
5. Short Oval Tortoise with Milky Beige Base
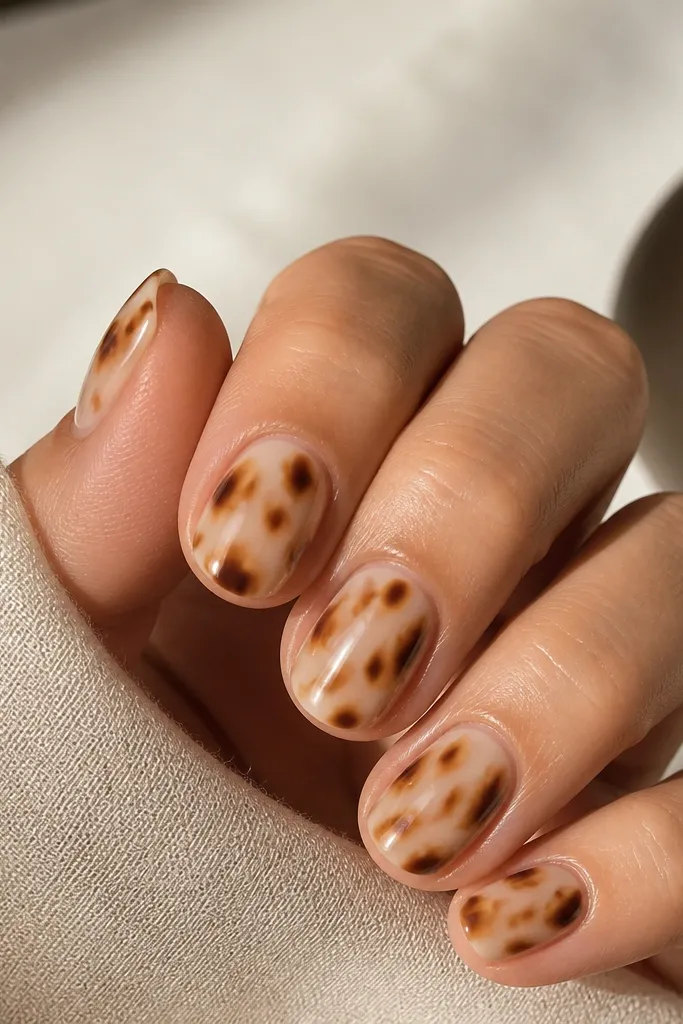
If you want tortoise on short nails without it looking like a busy sticker, go milky beige. The base is opaque enough to hide ridges, but light enough that the pattern reads delicate instead of heavy. On short oval, tortoise should be mostly thin lines and small pockets, not big dramatic blocks. I also keep the darkest brown limited to the outer edges of the pattern, which makes the nail look tidy. This works for any skin tone, and it looks especially flattering if your natural nails are a little uneven or your nail bed is shorter.
Apply a milky beige base gel and cure. Using a toothpick, add light honey streaks first — think 3-5 thin lines per nail that curve slightly. Then add medium caramel pockets around those streaks and outline a few edges with a darker brown. Keep the pattern centered and avoid the cuticle — leave a tiny nude crescent at the top. Seal with glossy topcoat, and lightly smooth over any raised spots with a 300-grit buffer before final cure.
Use fewer dark pieces than you think — short nails need breathing room.
Don’t push tortoise all the way to the cuticle line; it makes the manicure look grown-out on day two.
6. Square Tortoise with Dark Brown Micro-French
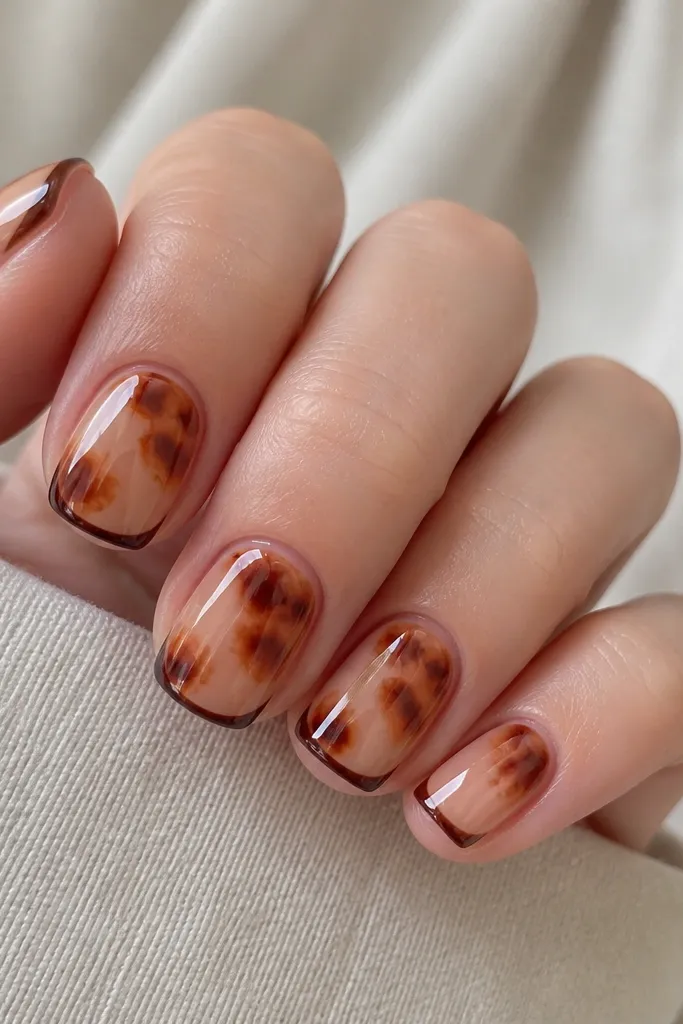
Micro French keeps square nails looking sharp, and tortoise keeps it warm. I use a nude-beige base so the dark tip line doesn’t overpower your hands. The tortoise pattern sits above the tip line, so you get that shell effect without the tip looking bulky. Square shape loves straight edges, and micro French makes the whole set look intentional. This flatters hands that have wider nail beds because the tip line gives structure, and the nude base keeps everything from feeling too dark.
Editor's noteUse a striping brush to draw the micro French line in one confident pass, then clean the edge with a brush dipped in cleanser.
Start with nude-beige gel and cure. Paint a dark brown micro French at the tip — just 1-2 millimeters, staying crisp at the sides. Then do tortoise marbling above it using caramel and medium brown, keeping the thickest pieces around the center. Add a few thin highlight strokes so it looks like layered shell, not flat paint. Finish with glossy topcoat and cap the sides so the micro French line stays clean.
Skip thisAvoid thick French tips — they make square tortoise look chunky and dated.
7. Tortoise Ombré Stiletto with Caramel Glow
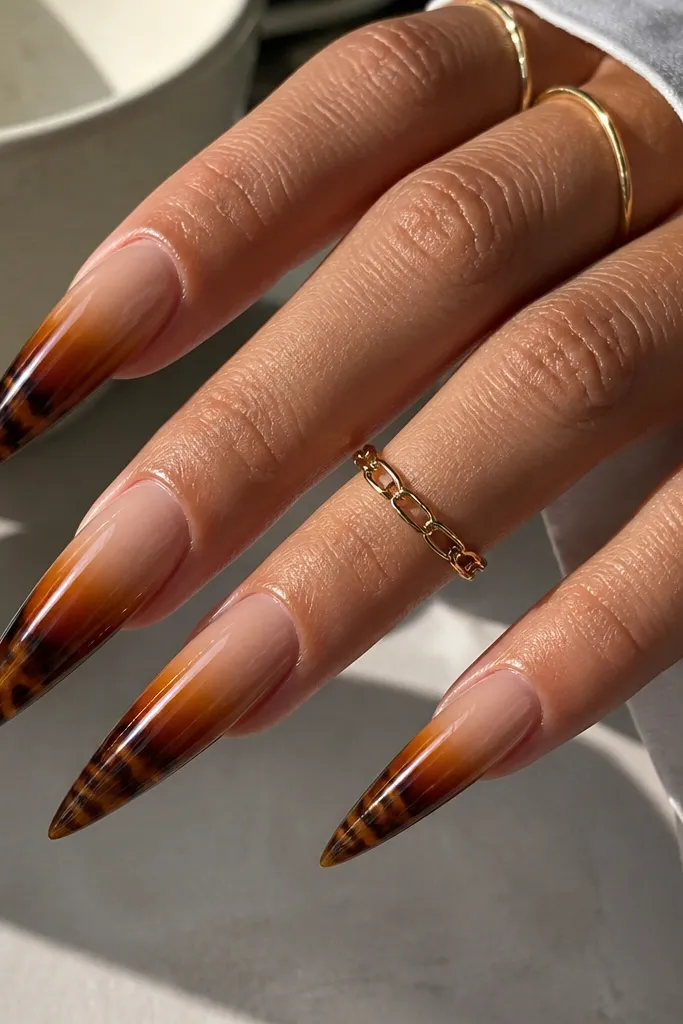
Stiletto needs a gradient, not a flat pattern, or it looks like nail art slapped on. This version starts sheer at the cuticle and builds tortoise density as you move down, so the tip becomes the focal point. I use caramel glow tones that look almost peachy under indoor light, then layer darker tortoise pockets near the tip for depth. The result looks glam without looking like Halloween. It’s best on deeper and medium skin tones because the sheer-to-caramel transition shows up clearly, but fair skin can do it too with a warmer sheer base.
Editor's noteWipe the brush often — ombré gradients look messy when your tool has too much pigment.
Apply a sheer nude base and cure, then sponge a caramel ombré starting about 1/3 down the nail. Next, add light tortoise streaks in the mid section while the gradient is still smooth, then place darker caramel-brown pockets toward the tip. Use a thin brush to drag edges outward so the pockets blend into the gradient. Keep the cuticle area clean and avoid painting right up to the skin. Finish with a glossy topcoat, and cure longer if your gel tends to stay tacky on the point.
Skip thisDon’t make the cuticle opaque; it ruins the stiletto length illusion.
8. Chestnut Tortoise with Copper Foil Accent
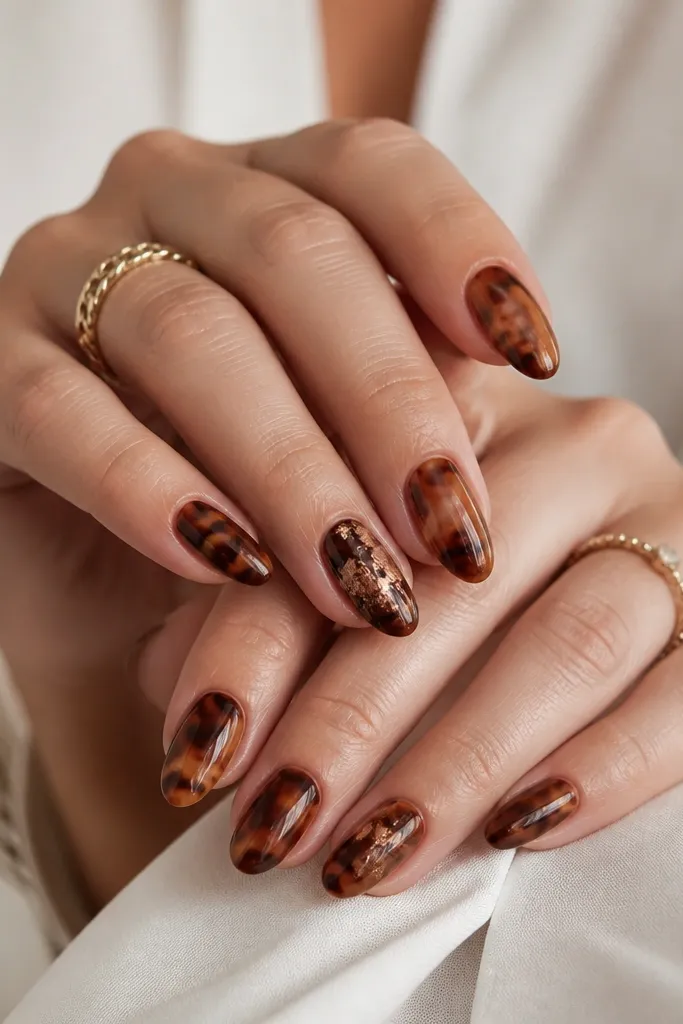
Copper foil turns tortoise from pretty to “I planned this” without adding a whole extra color theme. I keep the foil limited to two nails so it doesn’t look like a glitter experiment. The base is chestnut brown with lighter beige streaks, which makes the copper look warm instead of orange. Almond shape makes the diagonal foil patch look intentional and lifts your hand visually. This is a great choice for fall events, date nights, and nights out where you want warmth on camera.
Start with a chestnut-brown base and cure. Add lighter beige highlight streaks across the mid section, then layer darker tortoise pockets around them. On two accent nails, apply a thin layer of copper foil gel where you want the diagonal patch, then press copper foil flakes gently and cure. Use a toothpick to break up any large foil chunks so it blends into the tortoise background. Finish with glossy topcoat over everything, but cap the edges around the foil patch carefully so it doesn’t lift.
If your foil patch looks too bright, tone it down with one thin layer of chestnut gel around the edges.
Avoid putting foil on every nail — it shifts the set from shell to craft store.
9. Tortoise Checkpoints on Squoval with Nude Gel Liner
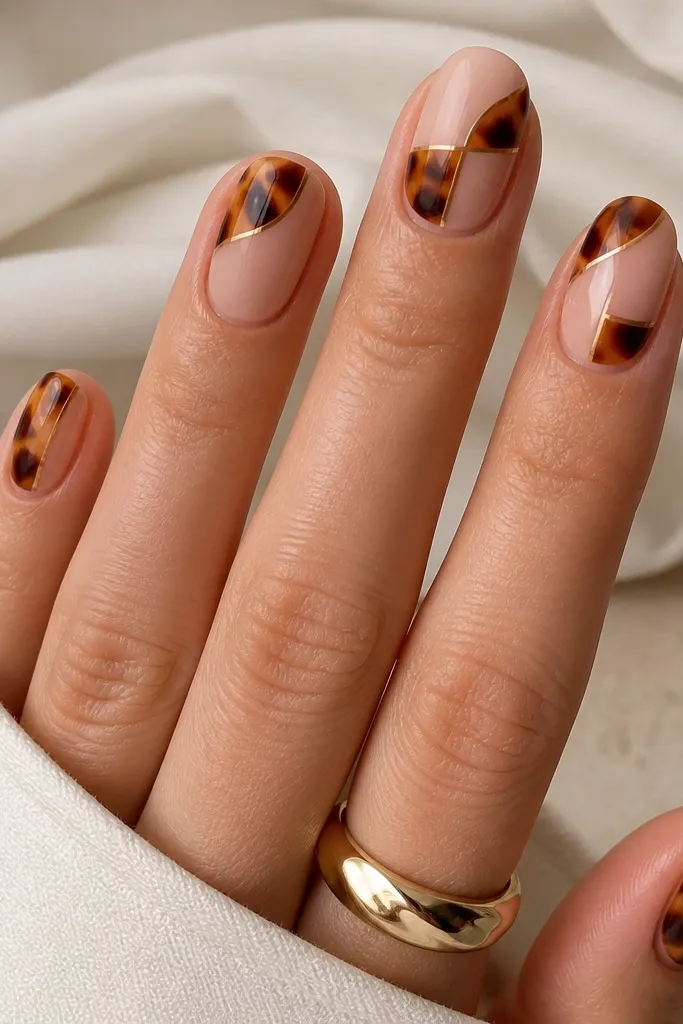
This design looks like tortoise with structure, which is why it photographs well and still looks neat in real life. The key is the nude gel liner lines that separate tortoise bands, so the pattern feels intentional instead of random. I use warm nude liner, not white, so it blends into your base and makes the browns look softer. Squoval is the best shape for this because the edges are rounded and the bands stay clean. It flatters hands with shorter nail beds because the separated bands guide the eye downward.
Apply a warm nude base and cure. Paint irregular tortoise bands using medium brown and caramel, keeping them mostly vertical with slight curves. Cure briefly, then add thin nude gel liner lines between the bands to “frame” each section. Add a few darker checkpoints at the sides of the bands using a thin brush, then cure fully. Finish with glossy topcoat and inspect under a lamp for any thick liner — thin lines look more expensive.
Squeeze a small amount of liner gel onto a palette and wipe your brush tip before each line so it stays hair-thin.
Don’t use too-dark liner; it turns the look into harsh contrast instead of soft shell.
10. Smoky Tortoise Gradient with Burgundy Edge on Almond
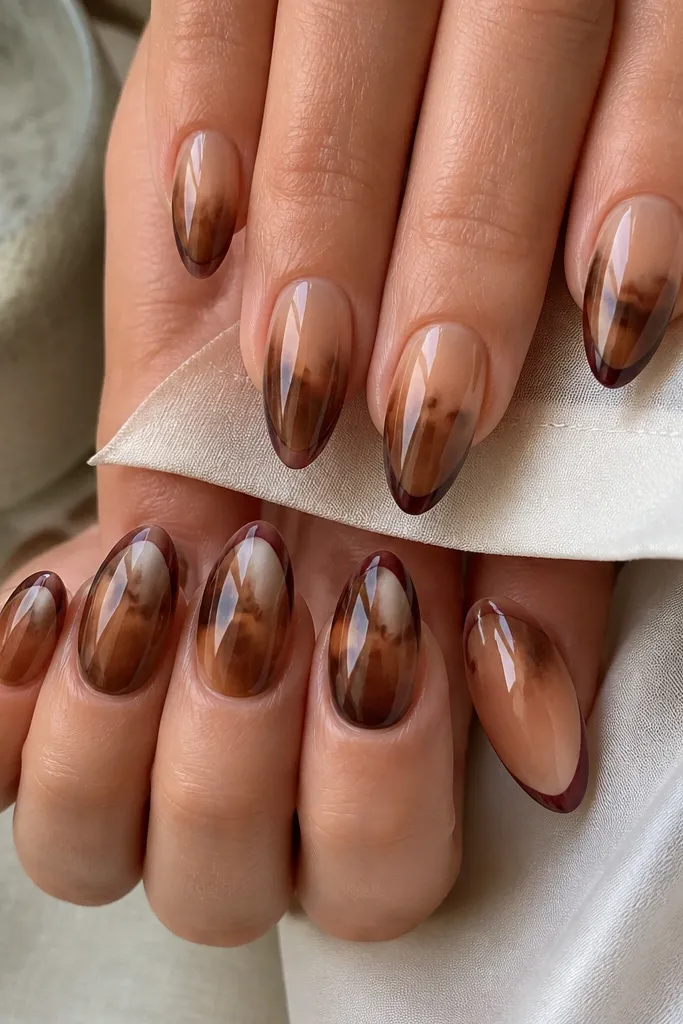
Burgundy at the edge makes tortoise feel like fall, not just “brown nails.” This set uses a smoky nude base that’s slightly gray-warm, then builds caramel tortoise marbling in the center. The burgundy edge is thin and sits right at the tip perimeter, giving definition without turning the whole manicure dark. Almond shape makes the burgundy line look like a frame, and the gradient keeps it smooth. This one flatters fair and medium skin tones especially well because the smoky base adds sophistication rather than brightness.
Editor's noteUse burgundy gel that’s not too purple — a warm oxblood tone matches tortoise better.
Start with a smoky nude base and cure. Add a caramel gradient starting around the middle and blending downward with a makeup sponge, then cure. Paint tortoise marbling in the center using caramel and medium brown, leaving the top part more translucent. For the burgundy edge, draw a thin line along the tip perimeter — about 1 millimeter thick — then blend it slightly into the surrounding brown. Finish with glossy topcoat, and cap the free edge so the burgundy line doesn’t chip first.
Skip thisAvoid a thick burgundy tip; it makes the set look heavy and less like shell.