1. Classic amber tortoise on soft almond
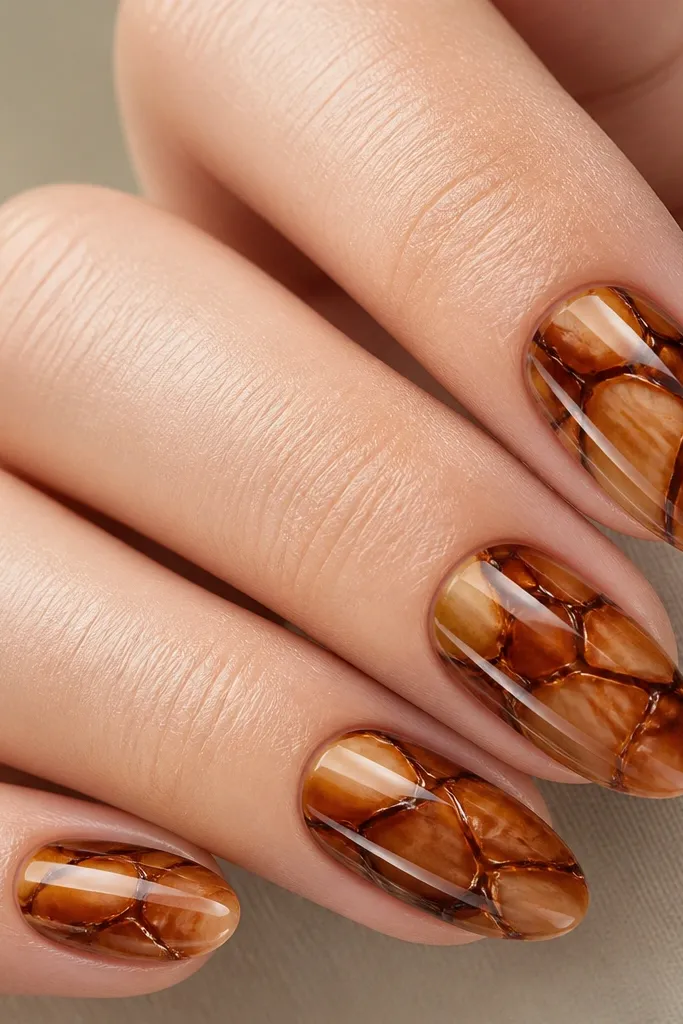
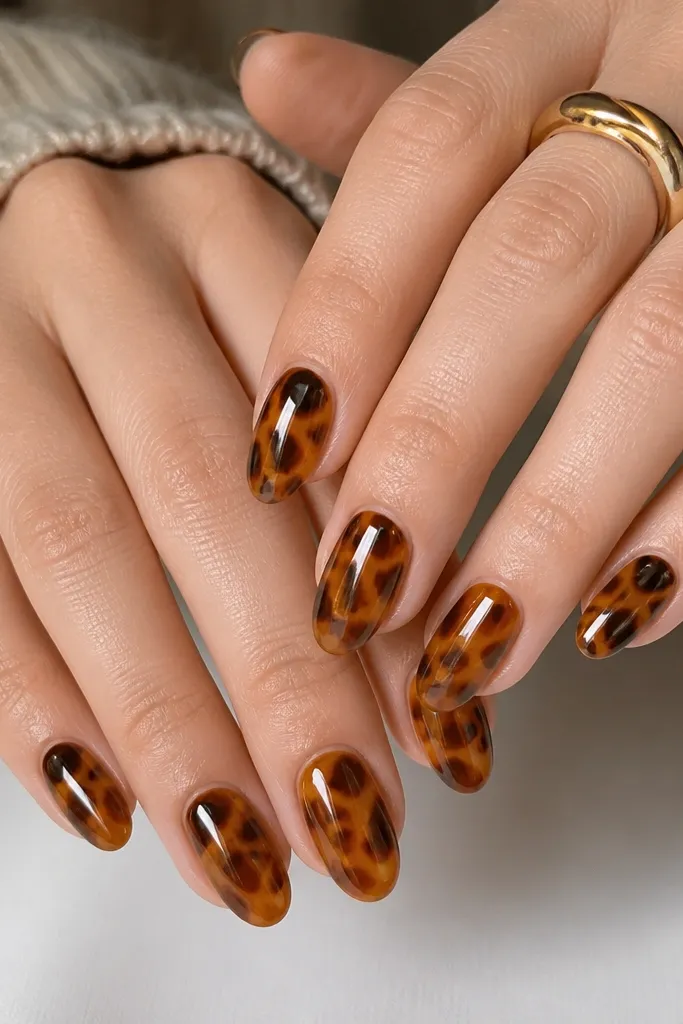
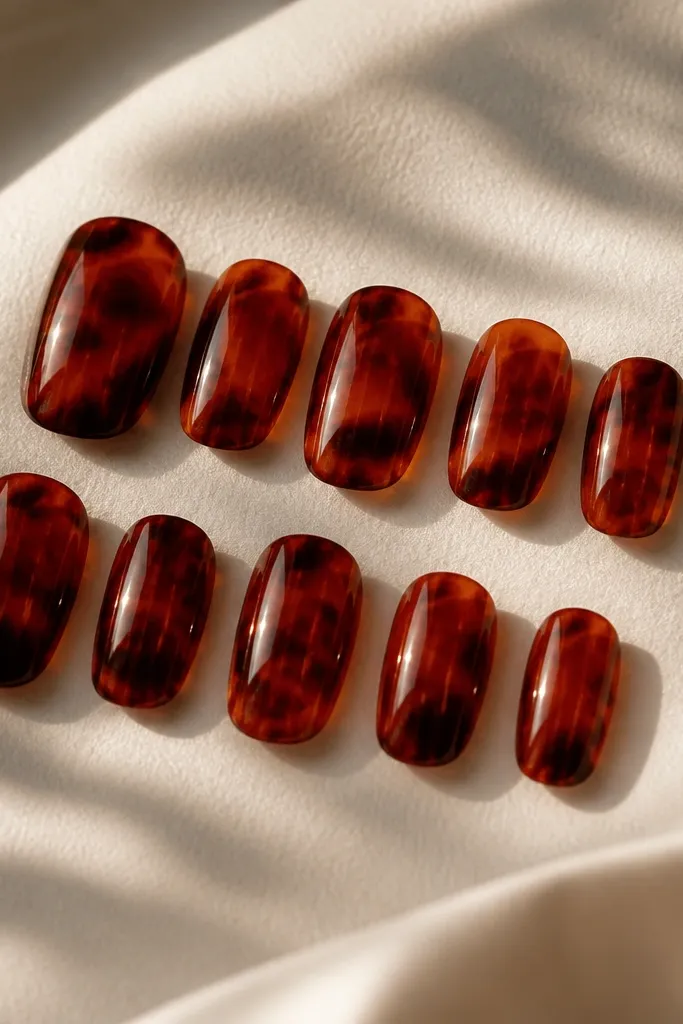
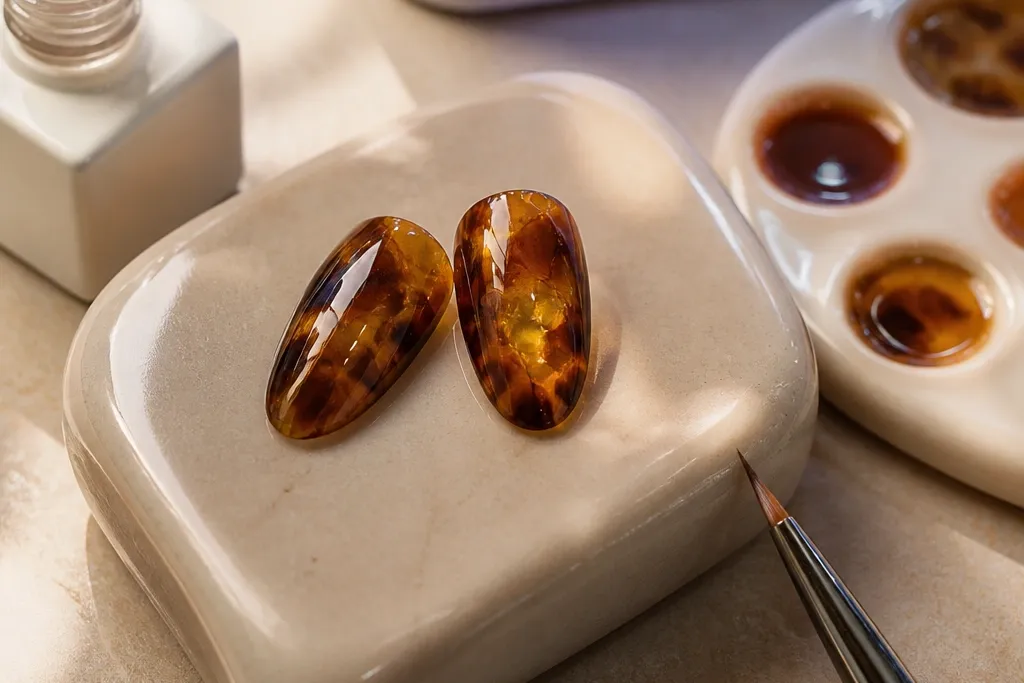
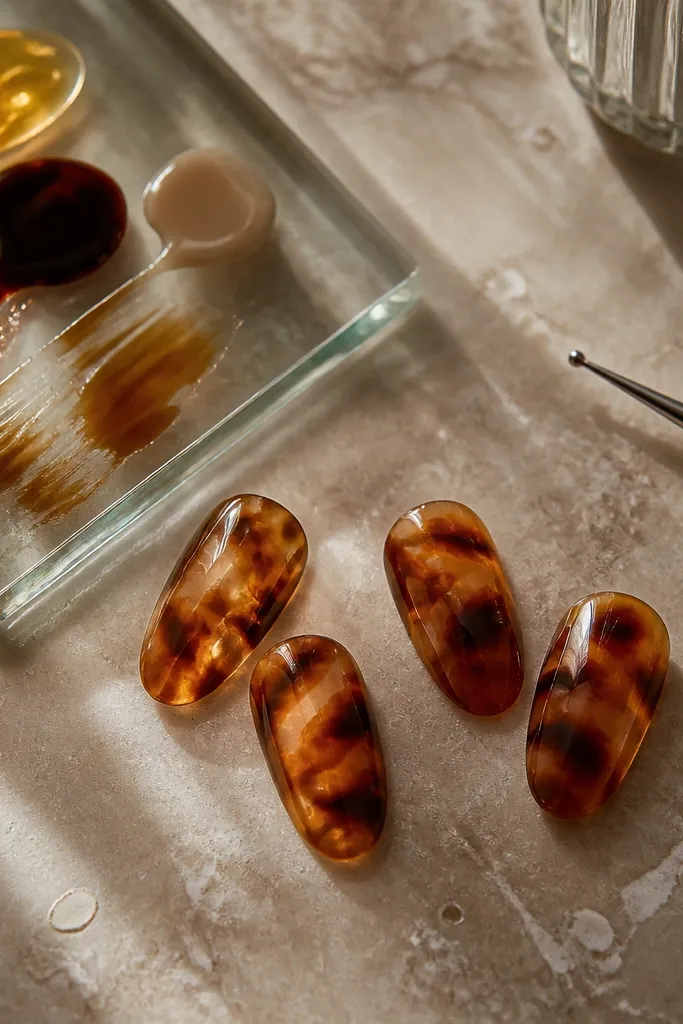
Start by painting a sheer warm nude base, then cure it fully. Dot honey caramel and dark chocolate close together on the center third of the nail, leaving the edges slightly lighter so the pattern doesn’t crowd the cuticle. Drag thin lines from the lower center upward using a striping brush dipped in clear topcoat, then cure 30 seconds. Finish with a thick top coat and cap the free edge so the shell effect looks smooth and domed.
This version is the one I reach for when I want tortoise shell to look “natural but upgraded.” Start with honey caramel and dark chocolate so your swirls read golden-brown instead of flat brown. The soft almond shape gives the cracks room to stretch, so you get those thin, glassy lines rather than chunky blobs. If your skin tone is warm or neutral, this color combo makes your hands look instantly brighter because the amber warms the undertone.
Skip thisDon’t cure after every dot — cure too soon and the colors won’t blend into sharp shell pieces.
Editor's noteIf your lines look too thick, wipe your brush on a lint-free wipe before dragging again.
2. Micro-crack tortoise for short nails
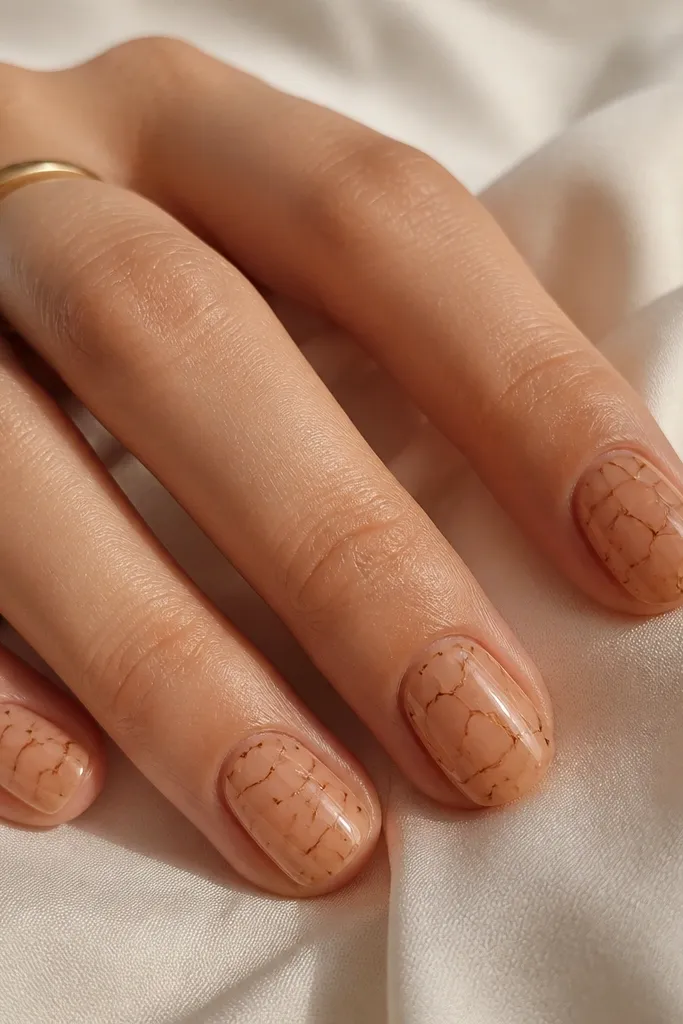
Micro-crack tortoise makes short nails look cleaner and longer. When you keep the cracks thin and close to the center, your eye reads the nail as one smooth surface instead of chopped-up segments. I’ve used this on nails that are under 3mm free edge and it still looks intentional. This also flatters hands where you want a subtle look for work — it doesn’t scream “nail art,” but it does look polished.
Apply a sheer beige base and cure. Add smaller dots of honey caramel and chocolate-brown — think pinhead size — then drag only 2-3 thin lines per nail. Focus the cracks toward the middle and stop before the sidewalls so the pattern doesn’t shrink your visual width. Cure, then add a medium-thick top coat for a glassy finish.
Use a detail brush with a super fine tip; thick brushes create wide cracks that swallow short nails.
Avoid big swirls — they overpower short nails and make the shell look like a stain.
3. Dark tortoise for a moody fall set
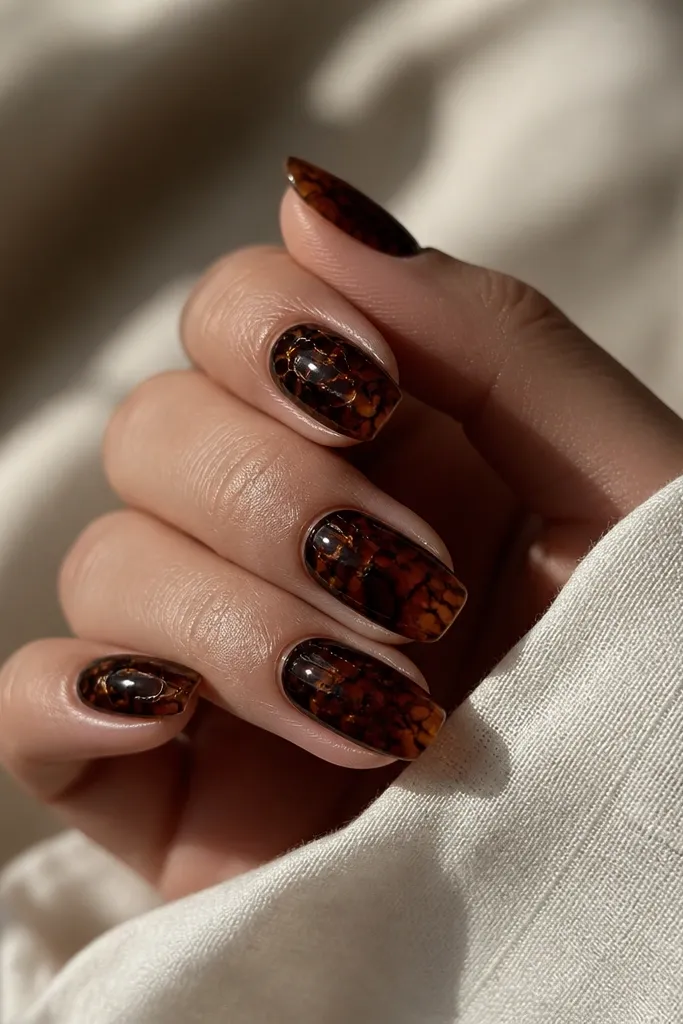
If you like a moodier manicure, dark tortoise gives that “espresso shell” look. The key is using a chocolate that’s almost black for the crack lines so the pattern has contrast. On medium almond, the darker cracks frame the nail and make the shape look sharper. This one flatters deeper skin tones and also looks great on fair skin if you keep a warm base underneath so it doesn’t go muddy.
Start with a warm medium-brown base, then dot near-black brown only in the crack areas. Add honey caramel dots sparingly so the shell still has that amber glow. Drag fewer lines than the classic version — 3-4 thin cracks per nail — then cure in short bursts. Seal with a thick top coat and cap the edges to keep the dark lines crisp.
After curing, gently topcoat over the cracks twice; dark colors hide texture less forgivingly.
Don’t skip the warm base — dark tortoise without warmth can look like dirty brown.
4. Tortoise with a sheer pink base (clean and bright)
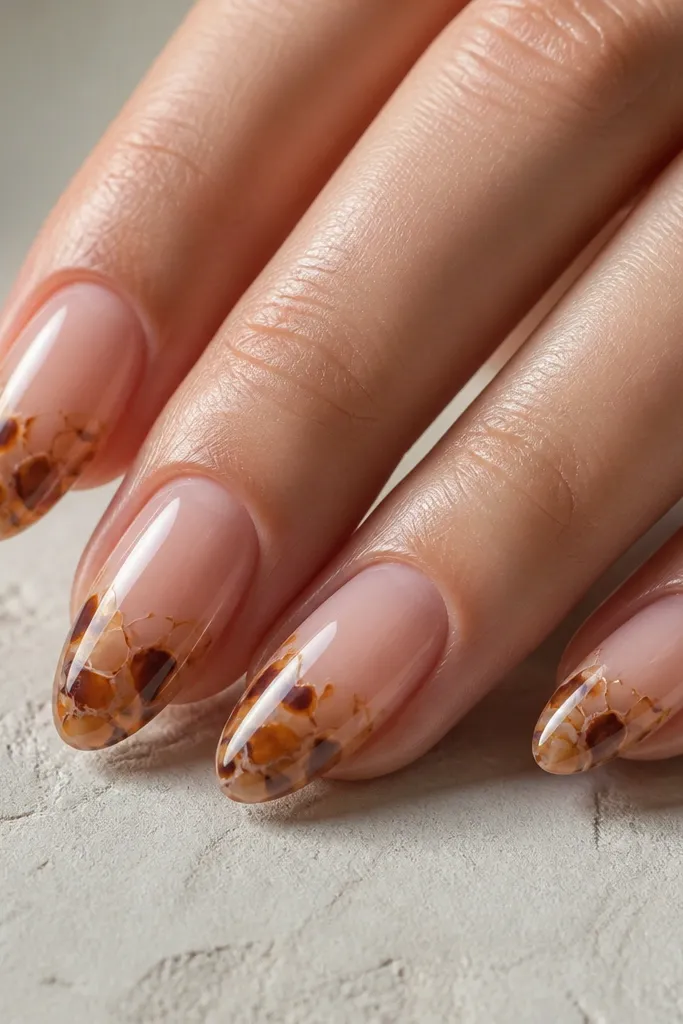
Paint a sheer pink gel base in thin layers so you don’t get streaks, then cure. Add honey caramel dots first, then place smaller chocolate dots only where you want the cracks to show. Drag thin lines outward from the center so the pattern looks like shell plates. Cure, topcoat thick, and wipe any edge flooding before curing so it stays crisp.
This is my go-to for dates, weddings, and any time you want tortoise shell but still want it to look girly. The sheer pink base keeps the pattern from feeling heavy, and it makes the honey caramel look more like amber. I’ve worn this with both gold and rose-gold jewelry and it pairs cleanly because the base has that pink warmth. It also flatters short-to-medium nail beds because the sheer base makes the nail look longer.
Skip thisDon’t let the chocolate dots touch the cuticle — it can make the center look too dark.
Editor's noteThin layers matter here — a thick pink base can hide the shell lines and make the set look like one solid color.
5. Tortoise tips on nude base (French-style)
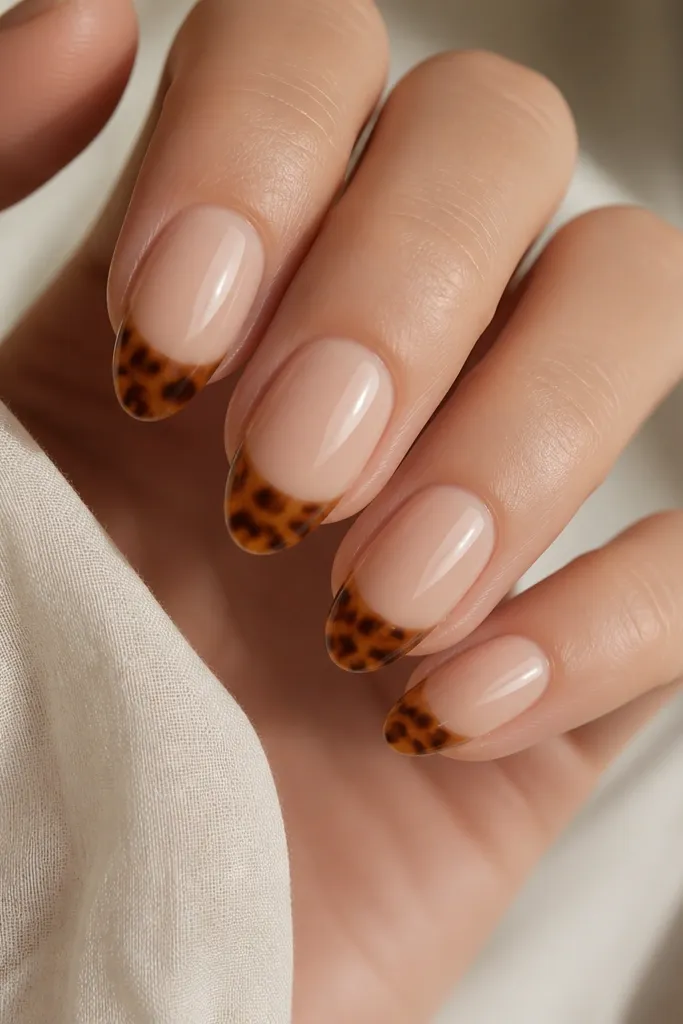
Start with a nude base and cure. Place honey caramel dots in a curved band across the tip area, staying about 1-2mm away from the sidewalls. Add a few chocolate dots on top of the honey dots, then drag thin cracks within that tip band only. Cure, then apply top coat over the whole nail to smooth the boundary between nude and shell.
Tortoise tips are the easiest way to wear this trend without committing to full nail art. The nude base keeps it neat, and the shell pattern at the tip draws attention to your nail shape. This works especially well if your nail growth is uneven because the base can be sheer and forgiving. I’ve done this on both short squares and almond — the tip pattern looks intentional either way.
Skip thisDon’t extend the shell too far down — if it reaches the mid-nail, it stops looking like French tips.
Editor's noteKeep the tip band consistent width across fingers — it makes the look feel designed, not random.
6. Tortoise with gold micro-glitter cracks
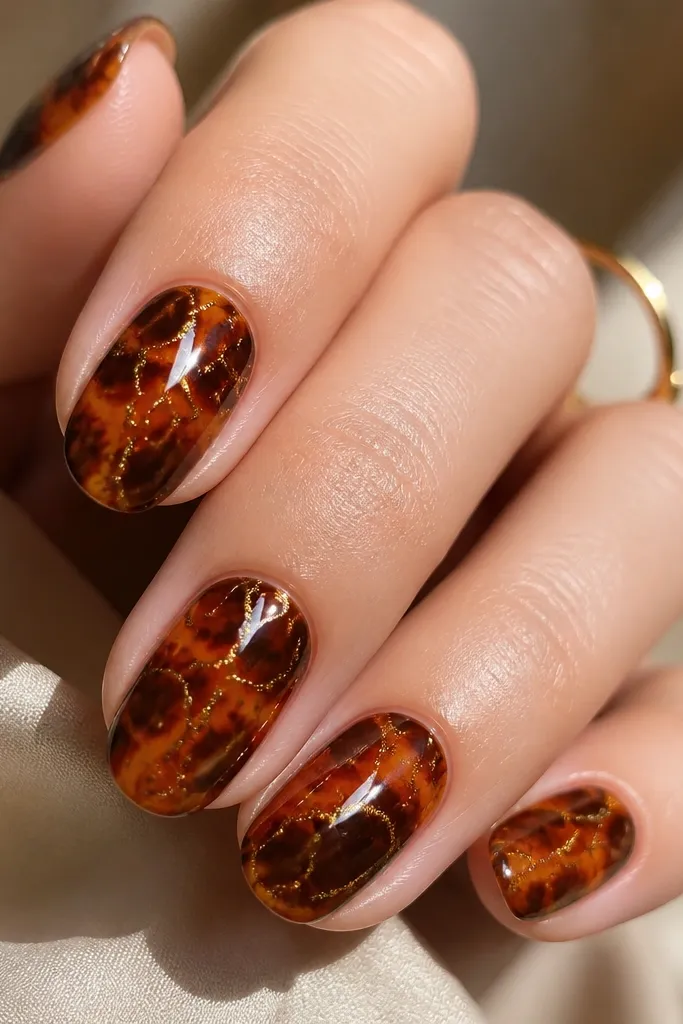
This version takes tortoise shell from “pretty” to “party-ready” without changing the whole color story. The gold micro-glitter along the cracks makes the shell look lit from within, like amber with embedded flecks. It’s flattering on any nail length because the glitter rides the cracks instead of covering the entire nail. I like it best with warm undertones and gold jewelry, but it still looks good with silver if your base is honey-toned.
Do the classic tortoise pattern first with honey caramel and chocolate, then cure. With a fine detail brush, paint tiny gold flecks or a gold gel line right on top of 2-3 of the cracks. Cure again. Finish with a thick top coat to lock the glitter down so it feels smooth and doesn’t catch on fabric.
Use micro-glitter, not chunky — chunky glitter makes the shell texture feel rough.
Avoid glitter across the whole nail — it kills the glassy shell look.
7. Tortoise with negative space cuticle frames
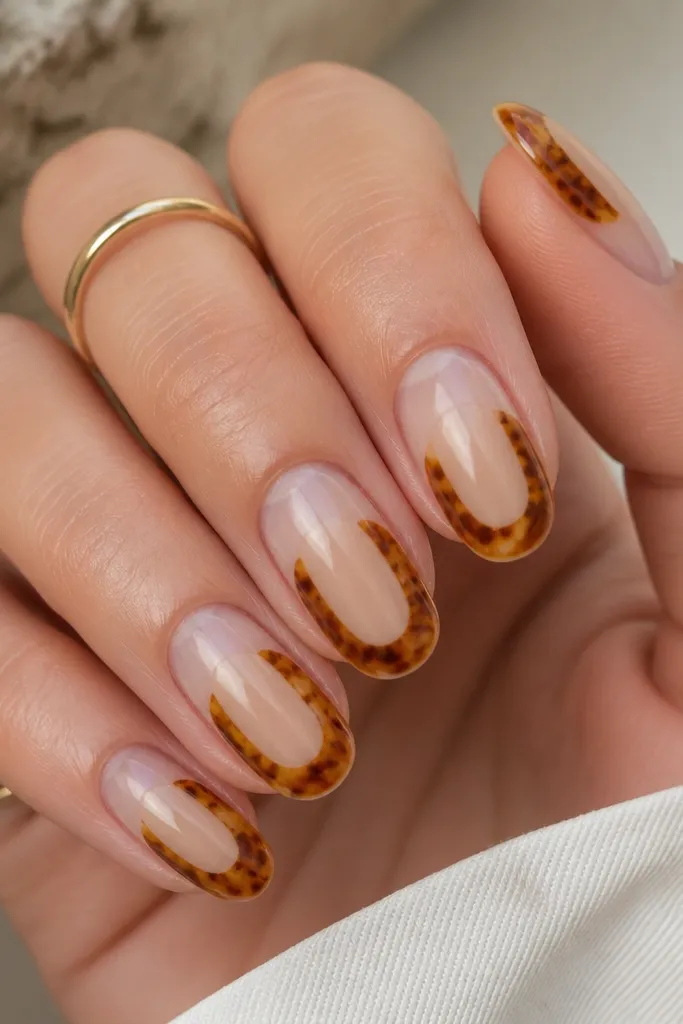
Start with a sheer nude layer and cure. Use a small brush to keep the cuticle area clear, then dot honey caramel and chocolate only on the mid-to-lower nail. Drag thin cracks horizontally across that section. Cure, then top coat everywhere except the clear cuticle area to keep it truly negative space.
Negative space tortoise keeps the pattern airy and makes your hands look cleaner. Leaving a clear cuticle frame is also forgiving if your cuticle line isn’t perfectly straight, because the clear zone hides small mistakes. This works great for short nails because it avoids overfilling the nail plate. I’ve worn this to office days and it still looks styled, not loud.
Skip thisDon’t flood top coat into the negative space — it turns the clear frame into a cloudy patch.
Editor's noteUse a thin strip of tape to mark your cuticle boundary while you place dots, then pull it off before curing.
8. Tortoise ombre fade into nude
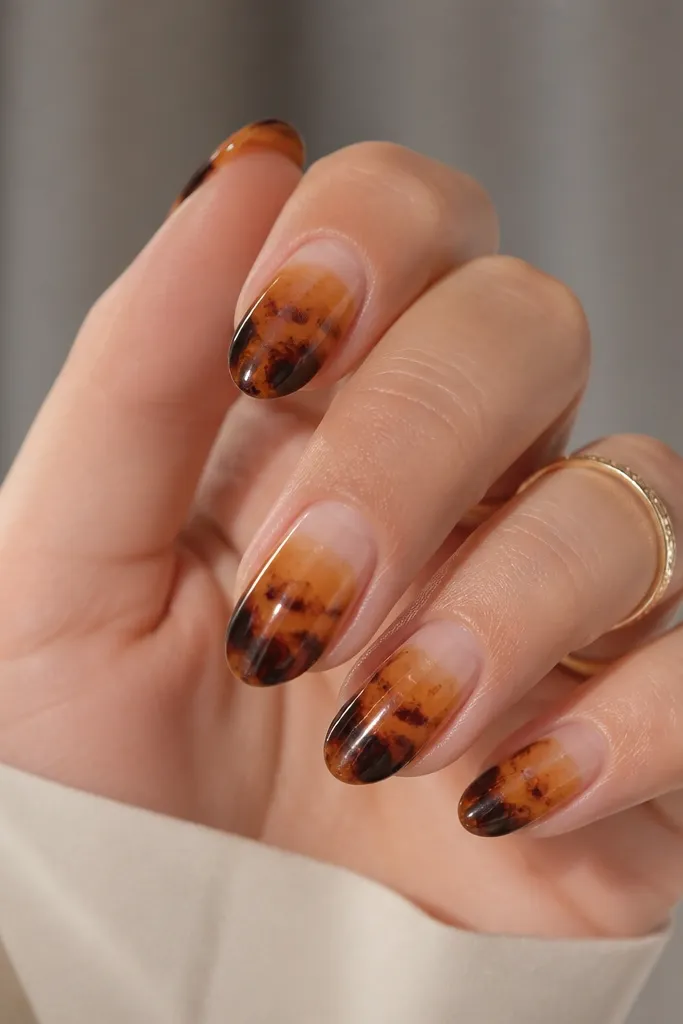
This one looks fancy because it has a gradient without needing extra tools. The fade makes the shell feel dimensional, and your nails look longer because the lighter area starts near the cuticle. I like it on medium almond because the gradient follows the nail’s natural shape. It also looks good if you want a tortoise set that isn’t fully busy — the top half stays calm.
Apply a nude base and cure. Add honey caramel dots closer to the cuticle area, then place chocolate dots farther down the nail. Drag cracks in a downward direction so the dark gathers at the tip and the top stays lighter. Cure, then top coat thick, especially over the transition so the ombre feels smooth.
If the gradient looks harsh, blend the first set of dots with a second tiny honey dot before dragging.
Avoid dragging the cracks all the way to the cuticle — that makes the fade disappear.