1. Siquoval French Tip with Caramel-Au Lait Tortoise Swirls
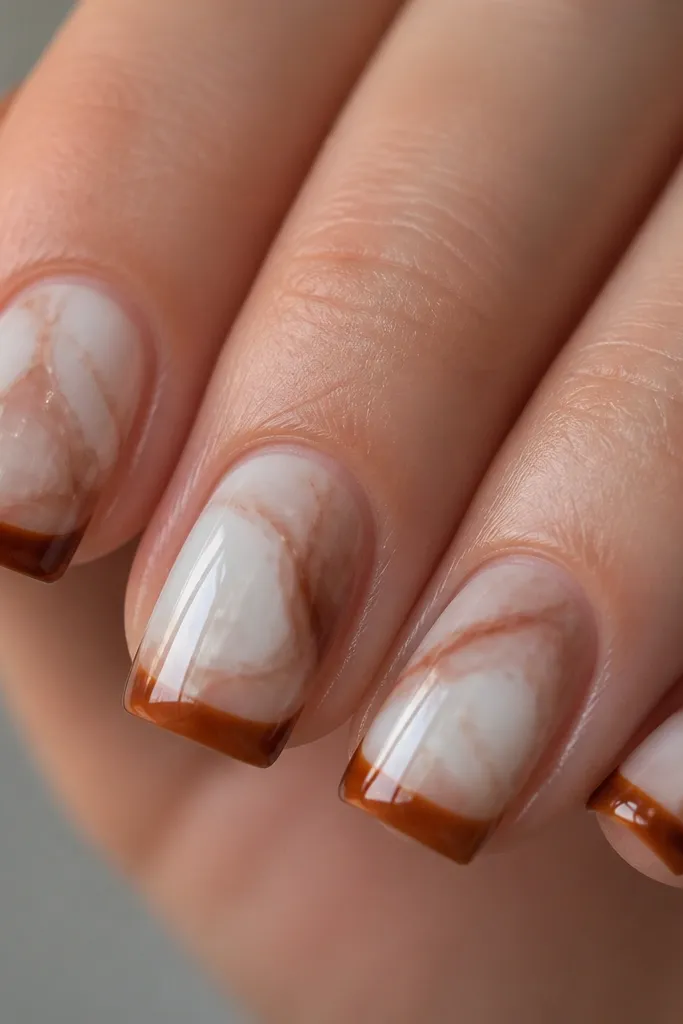
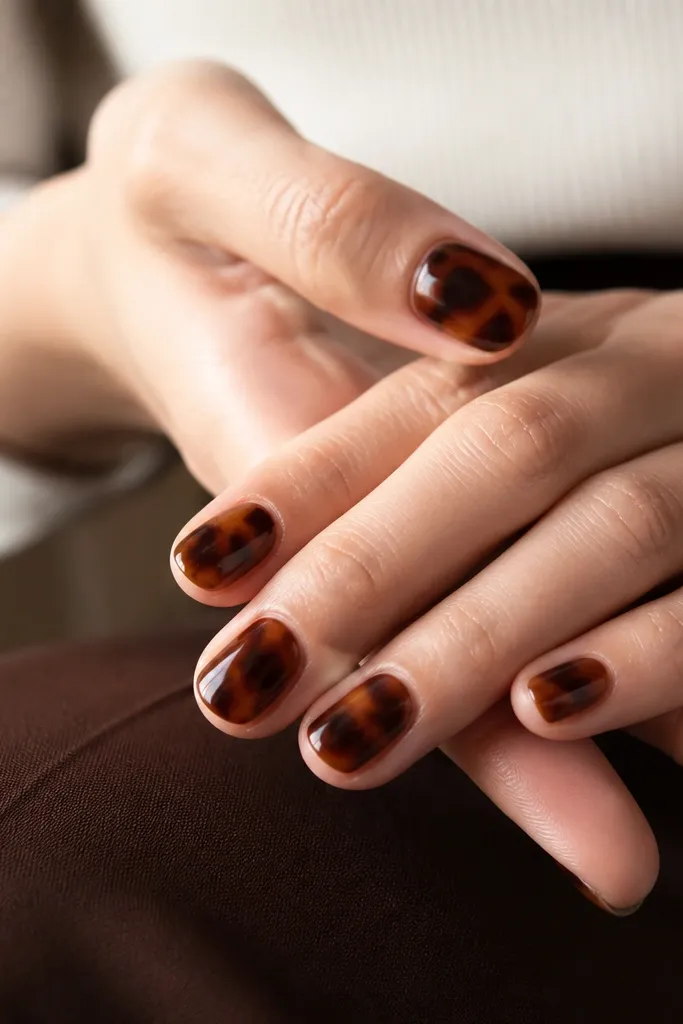
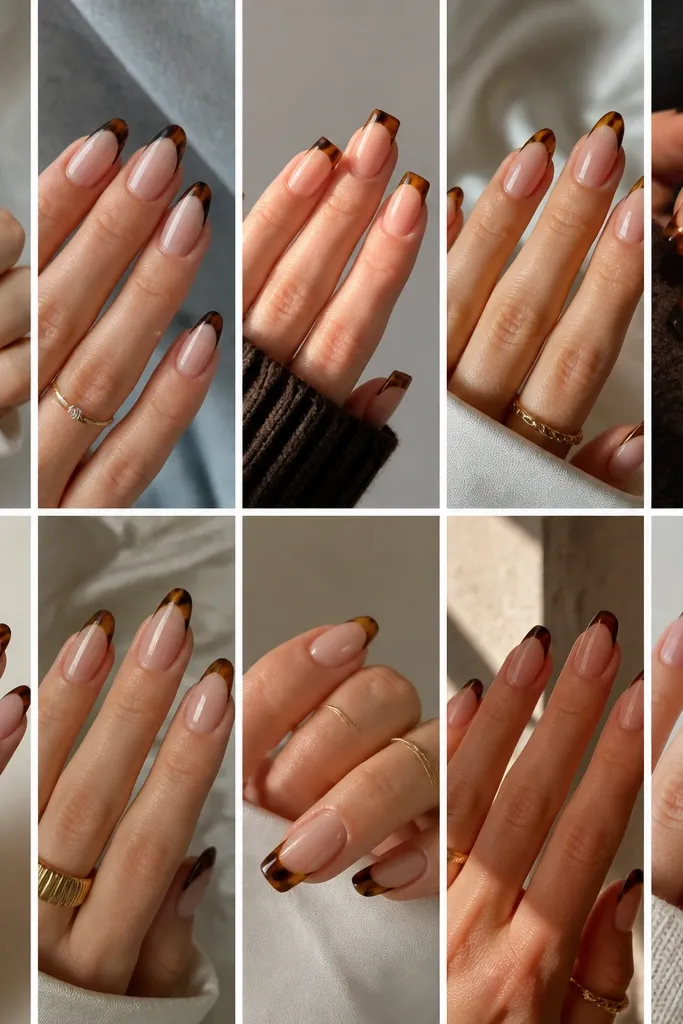
This one flatters hands that look best with softer shapes — think short fingers or nails that tend to look wider at the tip. The squoval French line makes your nails look tidy without demanding perfect symmetry. Use a milky nude base, then layer warm caramel swirls with a few taupe breaks so the shell pattern looks dimensional instead of flat. The French tip stays slightly translucent so it blends into the tortoise effect rather than sitting on top like paint.
Start by applying a sheer milky nude base coat and cure fully. With a dotting tool or the back of a small brush, place tiny blotches of warm caramel and cool taupe, then drag them just a little with a thin liner brush to create swirl movement. Clean up the French edge with a striping tape guide placed along the tip — keep the tape width around 2 mm on short nails. Paint the French tip area with amber-brown gel, leaving a faint translucence at the inner edge, then cure. Finish with two glossy top coat layers, and cap the free edge so the tip line stays sharp.
Editor's noteIf your French line keeps bleeding, wipe your brush on a lint-free pad and work in thin passes instead of one thick stroke.
Skip thisAvoid using fully opaque brown on both base and tip — it makes the set look like brown stickers.
2. Micro French Edge with Dark Tortoise Cut-Out Vibe
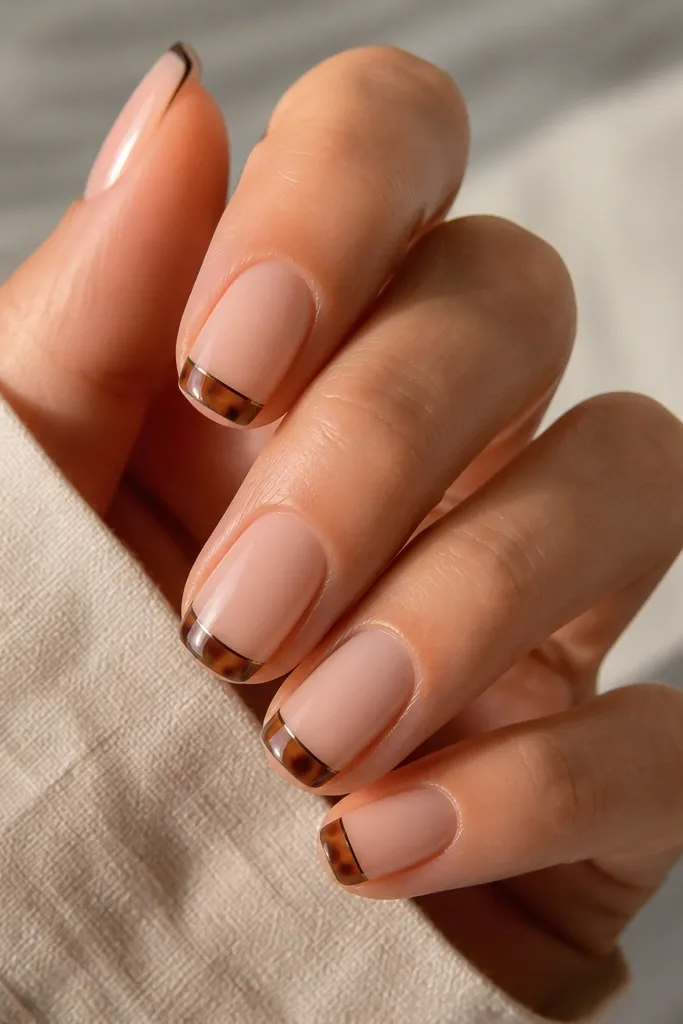
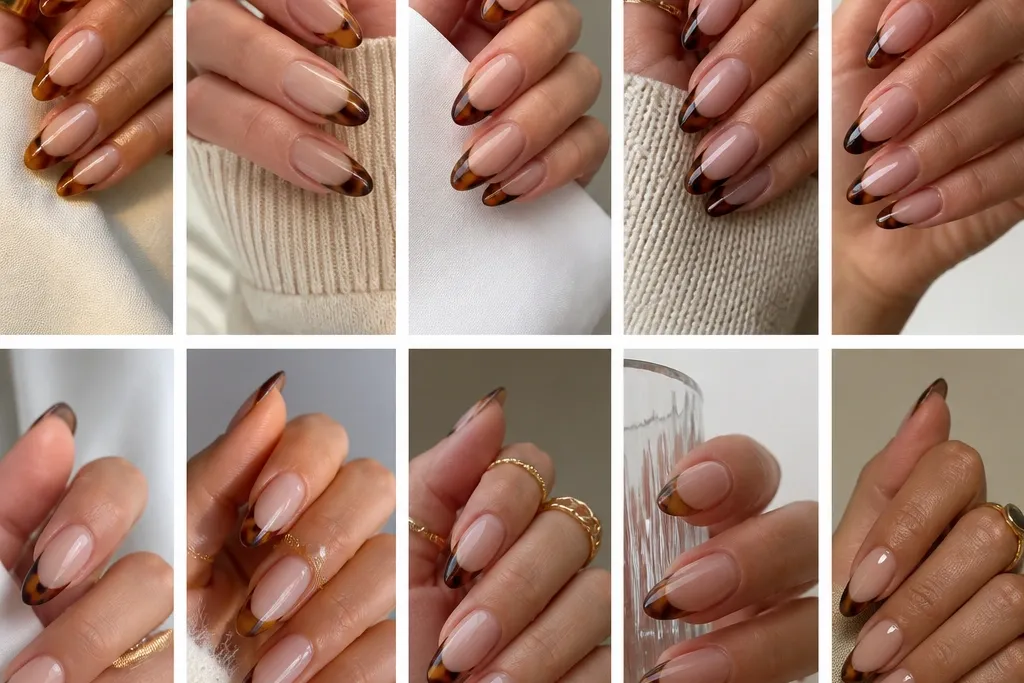
This is the tortoise French tip for people who want the look but hate heavy coverage. The micro French edge keeps the nail looking longer and lighter, while the dark tortoise bands give the pattern the “shell” effect. It works especially well on medium-length nails and on hands where you want to visually slim the nail plate. Choose an espresso-brown for the tip line and keep the base sheer so the design reads crisp rather than chunky.
Start with a clear or nude gel base that matches your natural nail tone. Place tortoise blotches as thin horizontal bands starting about 1-2 mm below the tip — don’t fill the whole nail area. Then, with a striping brush, paint a micro French line at the very tip edge, keeping the width around 1 mm. Cure after the line is smooth, then gently blend the tortoise band edges with a translucent taupe glaze so there are no hard steps. Seal with one thick top coat and cap the sides of the tip.
Use an angled brush for the micro line so you get a crisp arc without dragging.
Don’t cover the whole tip with dark tortoise — the “cut-out” effect disappears.
3. Almond French with Honey-Gold Tortoise and Thin Black Outline
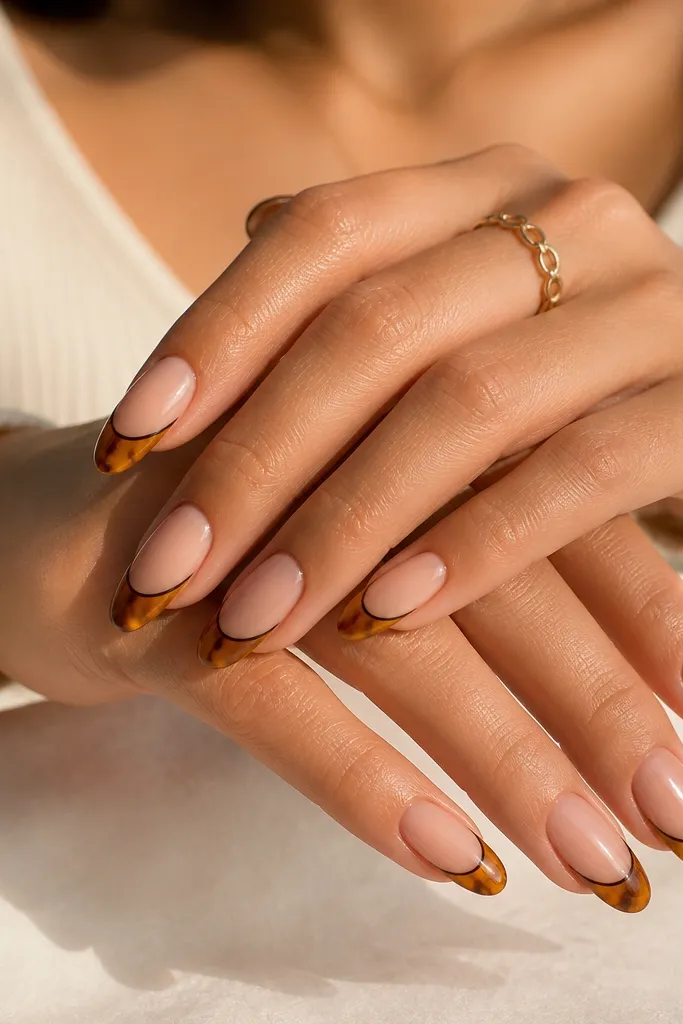
This design is for when you want tortoise to look extra polished, like you styled your nails for a night out. The almond tip lengthens the finger, and the honey-gold tortoise reads warm and flattering against most skin tones. The thin black outline gives you definition, so the French tip doesn’t blur into the shell. I like it best with warm undertones, but the gold tones still work on cool undertones because the tortoise has taupe undertones mixed in.
Apply a warm nude sheer base and cure. Build the tortoise pattern with honey-gold caramel blotches plus a few darker amber flecks, then pull the edges slightly with a liner brush. Paint the French tip almond area with a honey-brown gel, keeping the center slightly lighter than the sides for a natural gradient. After curing, use a fine striping brush to draw a thin black line along the inner border of the French tip — keep it even and stop before the corners. Top coat twice for a glassy finish and cap the tip edges.
If the black line looks shaky, draw it in two passes: short sections first, then connect them.
Don’t make the black outline thick — it starts looking like cheap nail art stickers.
4. Clear Jelly Base Tortise with Reverse French Tip
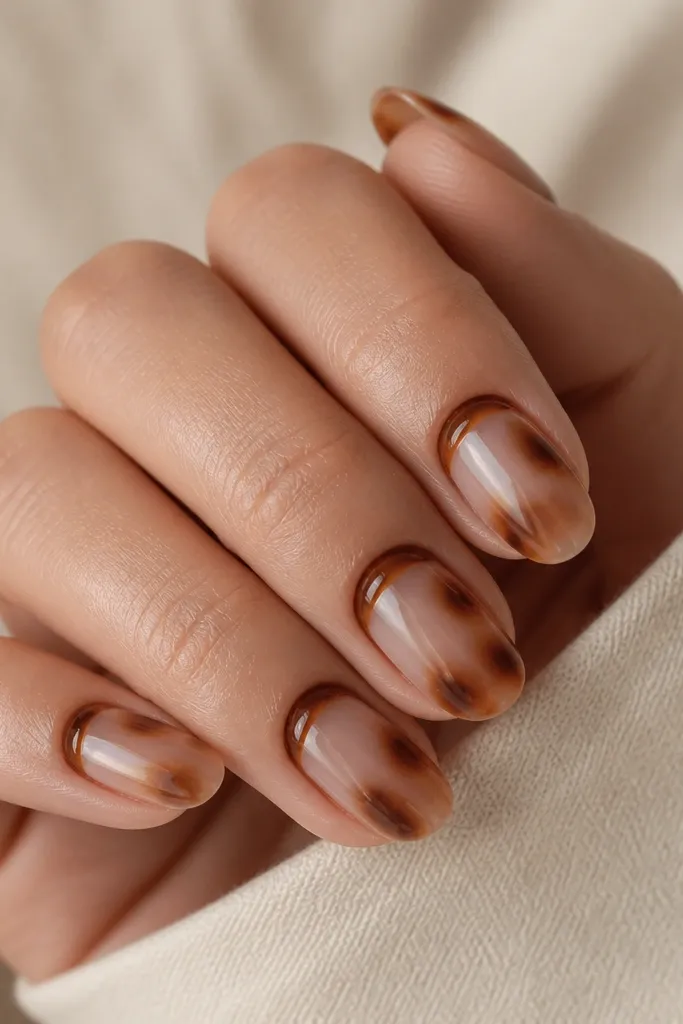
Reverse French is a great choice when you want something different but still wearable. The clear jelly base makes the tortoise look like it’s floating under glass, and the band near the cuticle keeps the design balanced even on shorter nails. This is also a smart option if you’re growing your nails out and don’t want the tip area to get too busy. The warmth of the tortoise brown band flatters most skin tones because it sits close to your natural skin color.
Start with a clear jelly gel and cure. Add tortoise shell patches using translucent brown gel — dab, then lightly blend with a clean brush so you keep the see-through look. For the reverse French band, use a small striping tape or a French guide placed just under the cuticle line, then paint a warm tortoise brown band across the nail. Cure and remove the guide carefully. Top coat with a thicker layer to smooth the surface so the jelly look stays glossy and domed.
Editor's noteKeep the reverse band about 2 mm wide so it doesn’t overpower your cuticle area.
Skip thisAvoid opaque tortoise gel on a jelly base — it kills the glass depth.
5. Tortoise French with Sage-Taupe Negative Space Corner
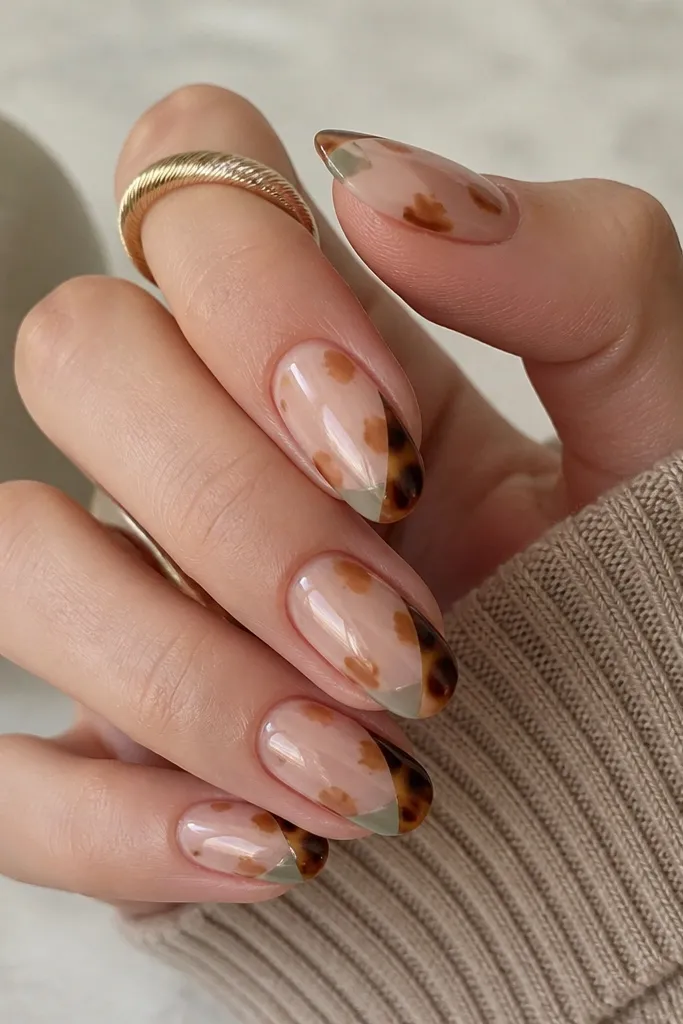
This one looks modern without turning into a theme manicure. The sage-taupe corner detail gives you a cool contrast, which makes the tortoise browns look deeper. Oval nails keep the shape soft, and the negative space corner adds a little “graphic” energy while still staying wearable. I like it on hands that need a bit of visual structure, especially if your nail beds are naturally short — the corner shape draws the eye upward.
Apply a nude base and cure. Build tortoise blotches with taupe and caramel, leaving some nude areas so the shell looks airy. For the French tip, paint a tortoise gradient — darker on the outer edge, lighter toward the center — and cure. Place a tiny piece of striping tape to create a triangle negative-space area near the tip corner, then fill it with sage-taupe gel or sheer milky sage. Cure again and finish with a glossy top coat, focusing on smoothing over the corner detail.
Editor's noteUse a small makeup sponge to lightly blend the tortoise gradient at the tip edge so it transitions cleanly.
Skip thisDon’t overfill the negative space corner — if it’s too big, the French tip stops reading as French.
6. Beveled French Tip with Two-Tone Tortoise Layers
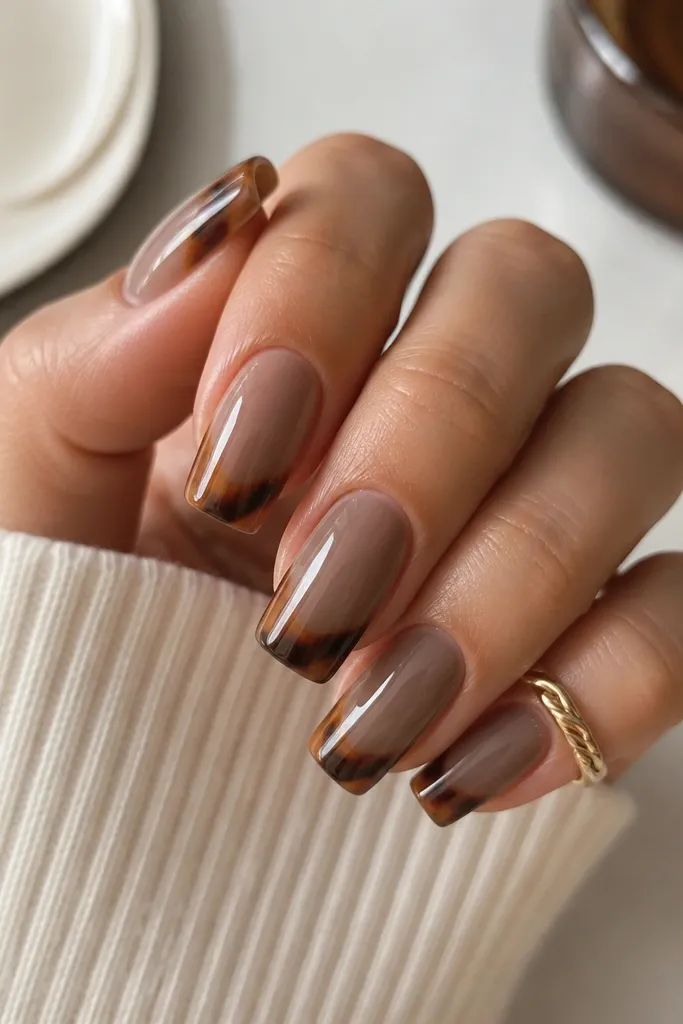
Beveled French tips look sharp, but the tortoise makes them softer. The two-tone tortoise split flatters nails that are slightly wider by adding direction — warm on one side, cool on the other — which makes the nail look more balanced. This is also a good choice if you’re confident with cleanup because the angled line needs a steady hand. It looks great for work too, because the color palette stays neutral and classy.
Start with a translucent nude base and cure. Create tortoise texture with two sets of blotches: warm caramel on the outer half and cool taupe closer to the center, then blend the meeting edge lightly with a brush. For the beveled French tip, paint the tip area with two passes: first the thicker outer section, cure, then the thinner inner section and blend the edge with a clean brush. Keep the bevel line angled so it follows the natural curve of your nail. Finish with a glossy top coat and cap the free edge.
Editor's noteDo the bevel line after you’ve placed the tortoise blotches, not before — the shell guides where your tip should sit.
Skip thisAvoid a straight, flat French line on squoval — it looks like a decal instead of a nail shape.
7. Tortoise French with Micro Glitter Halo at the Outer Tip
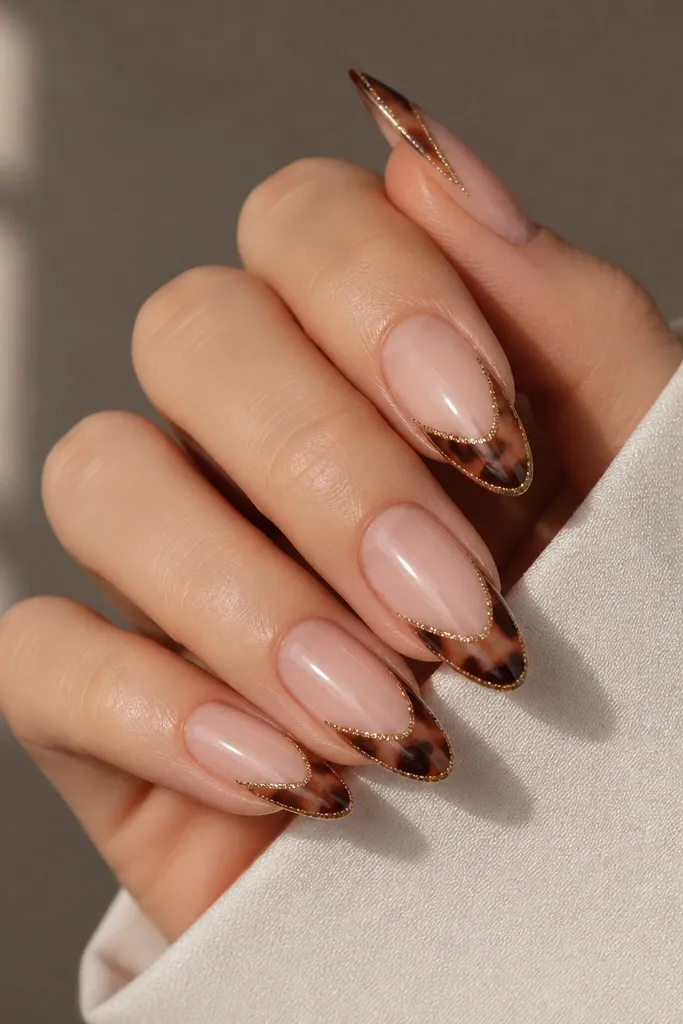
This is my go-to when I want tortoise nails to feel special without looking like full-on glam. The micro glitter halo catches light only at the perimeter, so it doesn’t overwhelm the shell texture. Almond shape stretches the hand visually, and the concentrated outer placement makes the nail look slimmer. It’s flattering for most skin tones because the glitter is neutral-gold, not bright champagne or icy silver.
Apply a sheer nude base and cure. Add tortoise shell blotches in warm caramel and taupe, focusing density near the outer edge and leaving the center slightly lighter. Paint the French tip in a tortoise gradient, then cure. With a small brush, tap micro fine neutral-gold glitter only along the outer edge of the tip, staying within about 1 mm of the perimeter. Seal with two top coat layers — glitter needs extra top coat so it doesn’t catch fabric.
Editor's noteMix glitter with a tiny drop of clear gel before applying so it lays flatter and doesn’t create bumps.
Skip thisDon’t put glitter across the whole tip — you lose the clean French look.
8. Matte Tortoise French Tip with Glossy Edge Line
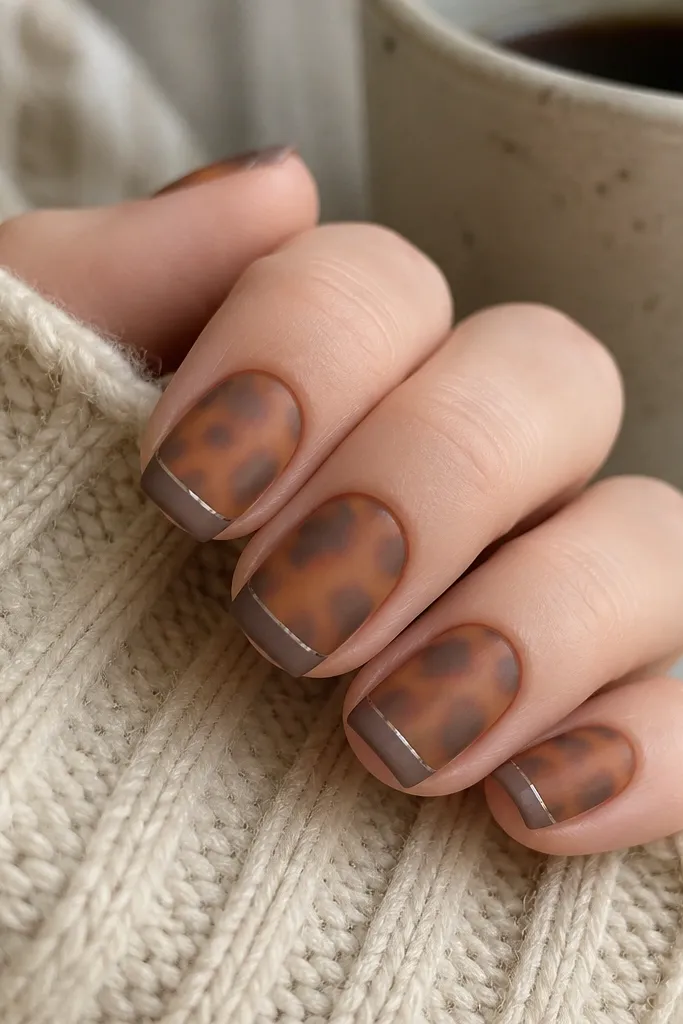
Matte tortoise with a glossy edge is a cool contrast that makes even short nails look styled. The matte finish hides minor texture and makes the tortoise pattern look like real shell — not shiny paint. The glossy edge line adds that “finished” moment and makes the French tip read cleanly. This works well for everyday wear because matte is less flashy than full gloss, and the glossy border keeps it from looking plain.
Start by building the tortoise shell on a nude base using translucent caramel and taupe blotches, then cure. Apply matte top coat across the entire nail — two thin layers, cured between. Once matte is set, use a striping brush to paint a thin glossy gel line right at the tip edge, then cure. You’re basically outlining the French tip in gloss while the rest stays matte. Finish by checking corners and adding one more glossy micro layer only where needed.
Use a gel top coat labeled matte-safe — some matte top coats react weirdly with glossy gel and get streaky.
Avoid applying glossy top coat over the whole matte set — you’ll lose the contrast that makes this look work.
9. Tortoise French with Pinky "Half-Moon" Cutout Detail
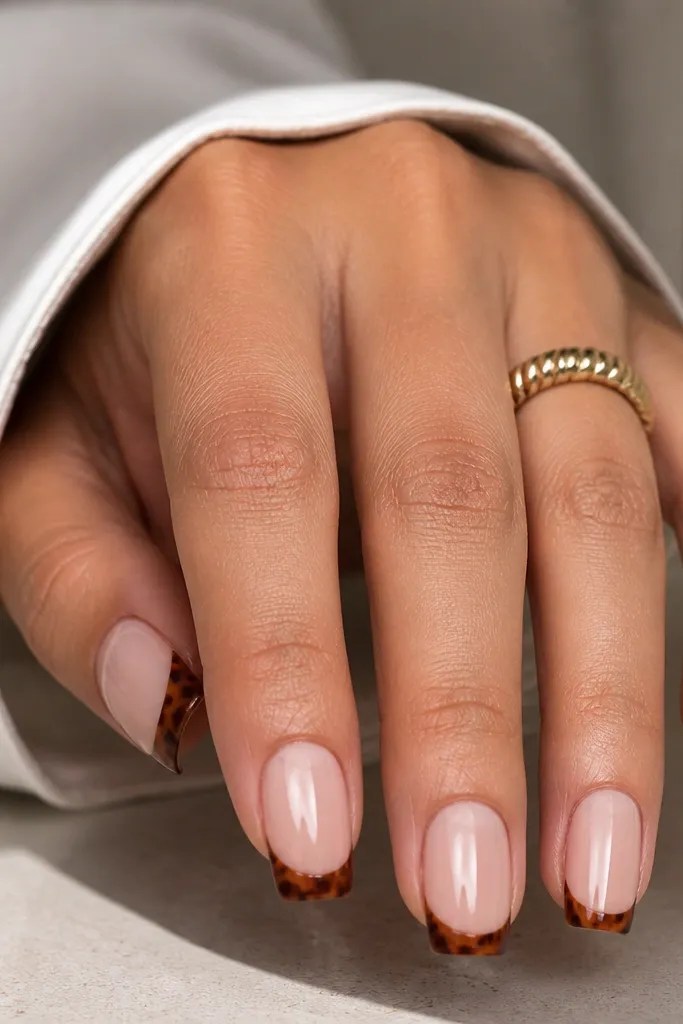
This is the design for people who want a little detail without changing the whole set. Keeping the cutout only on the pinky makes your manicure feel intentional, like a designer added a signature element. The half-moon area near the cuticle gives the illusion of extra nail length, and the thinner French tip on the pinky prevents it from looking heavy next to the others. I’ve worn this with casual outfits and it still looks “done,” because the tortoise already creates depth.
Paint all nails with a sheer nude base and cure. Apply tortoise shell blotches across the nail for the main nails, then paint classic French tips with a tortoise gradient and cure. For the pinky, keep the tortoise blotches lower by about 2 mm, then use a small brush to define a clean half-moon negative space near the cuticle by leaving the nude exposed. Paint a thinner French tip on the pinky, around 1.5-2 mm wide, then cure. Top coat all nails with two glossy layers so the cutout area stays smooth and the French edges stay crisp.
Trace the half-moon with a tiny strip of tape first, then fill around it — your curve will look smoother.
Don’t add cutouts on every nail — the manicure loses the signature effect.
10. Long Stiletto Tortoise French with Amber Crystal Dot Tips
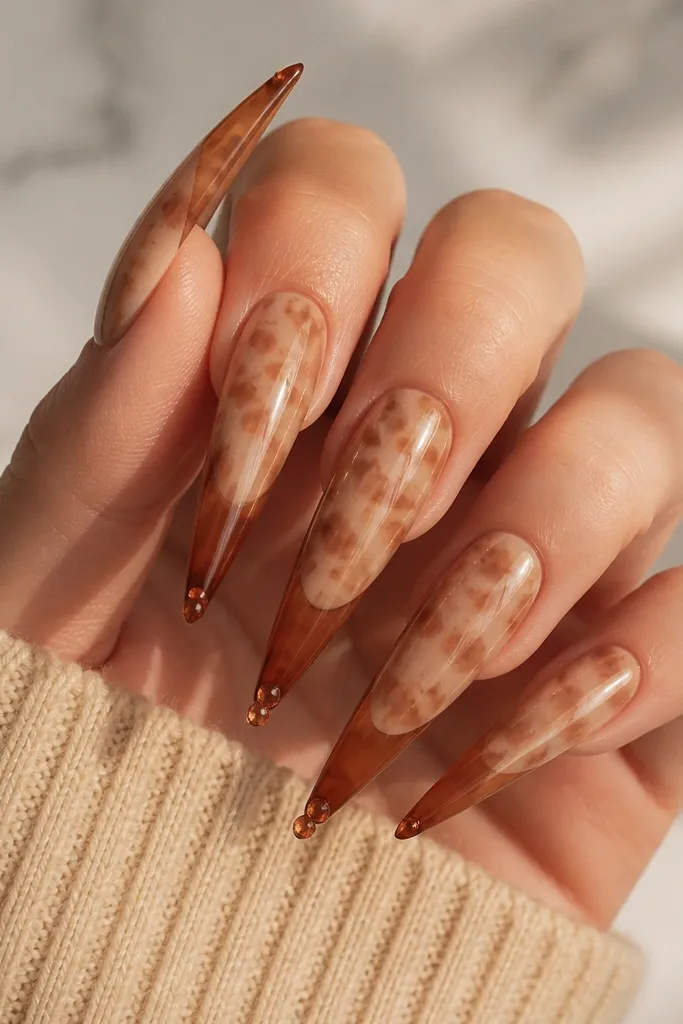
If you love drama, this is the tortoise French tip that looks like jewelry. Stiletto shape makes the French line look sharper, and amber crystal dots at the very tip pull the whole set into a focal point. The tortoise base stays neutral so the crystals don’t look random. This flatters longer nail beds and looks stunning with warm-toned outfits — cognac bags, gold hoops, and browns.
Start with a sheer nude base and cure. Build a fine tortoise shell pattern using small blotches — don’t overfill, because stiletto space is narrow and you need clarity. Paint the stiletto French tips with amber-brown gel, slightly thicker at the center line, then cure. Add one or two tiny amber crystal dots at the very tip using a gel tack layer, then cure again. Finish with a glossy top coat, but keep it thin around the crystals so they stay raised and sparkly.
Editor's noteUse tweezers with a rubber tip grip to place crystals — they won’t slip off the tacky gel.
Skip thisAvoid heavy top coat over crystals right away — you can bury them and lose the sparkle.