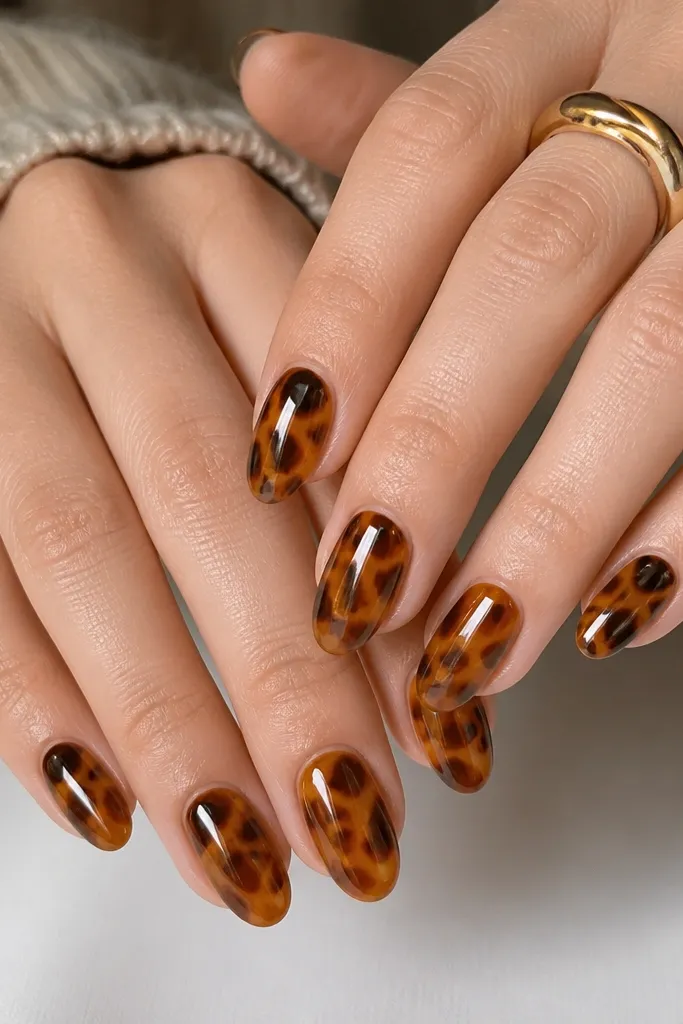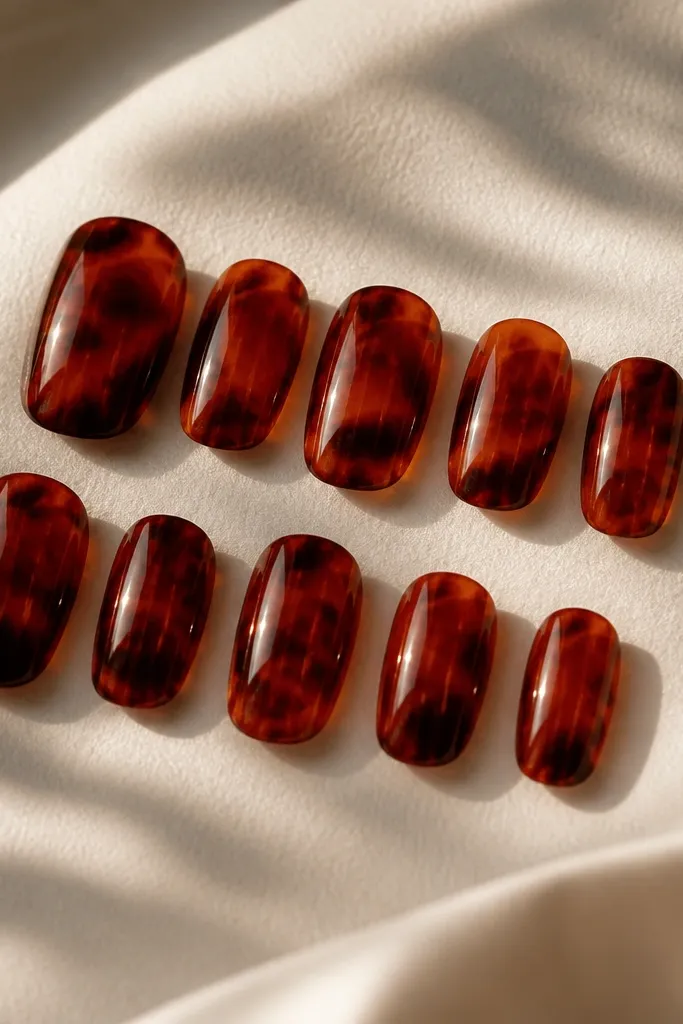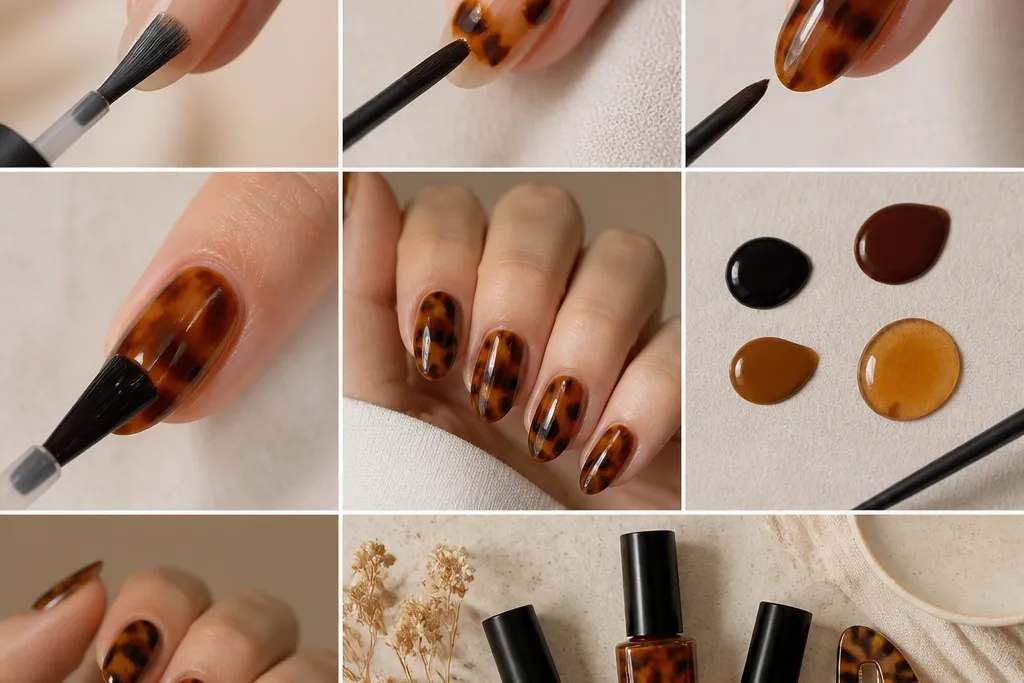
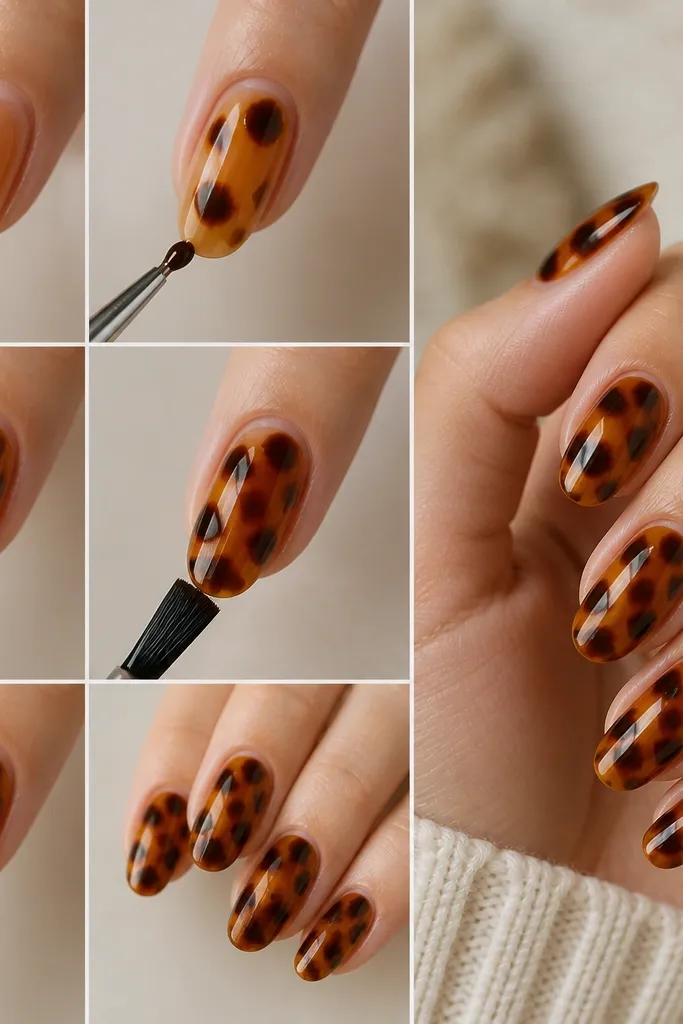
1. Classic honey-caramel shell on short squoval
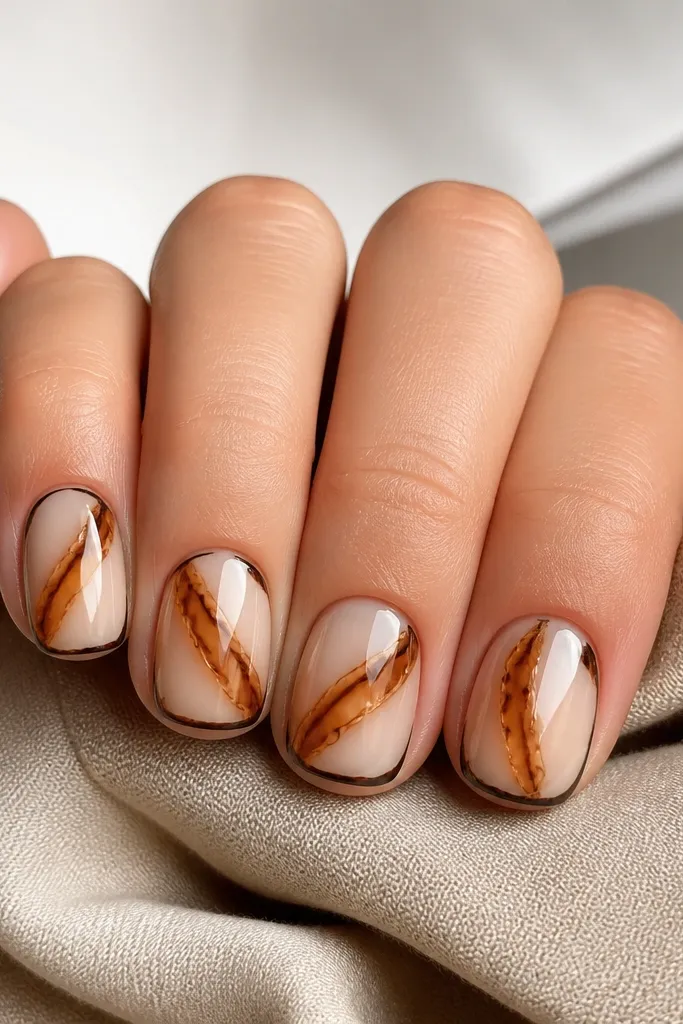
Start by painting two thin coats of warm milky nude and cure. Dot tiny honey amber points near the middle of each nail, then drag them into short streaks that follow the nail curve. Next, paint caramel ribbons that cross the honey lines at a diagonal, leaving small gaps of the nude base showing through. Finally, add cocoa outlines only along the outer third and a few broken spots in the center, then top coat with a thicker gloss layer and cap the free edge.
This is the version I do when someone wants tortoise shell that looks “real” but still easy to wear. The base is a warm milky nude, then honey amber streaks sit first so the pattern has glow. Caramel ribbons cross those streaks in thin, semi-opaque lines, and cocoa is used only as thin borders so it looks like shell layers instead of a solid brown coat. It flatters most skin tones because the palette stays warm — fair to medium hands look especially good with the milky base. For everyday wear, the short squoval shape keeps the design from getting too busy.
Skip thisDon’t fill the whole nail with cocoa — that’s how it turns into flat brown paint.
Editor's noteIf your cocoa looks too strong, wipe your brush on a lint-free wipe before you touch the nail — you’ll get thinner lines instantly.
2. Dark espresso shell with a sheer nude glow
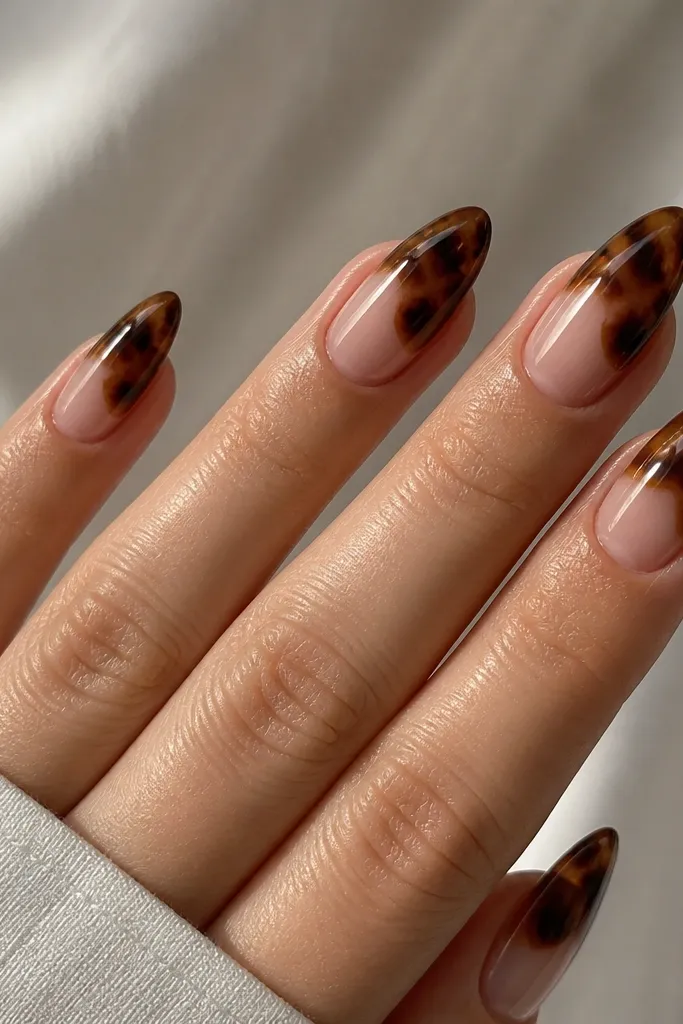
If you like a moodier manicure, this one reads like tortoise shell jewelry. The base stays sheer so the espresso lines have contrast without looking heavy. I place most of the cocoa around the tips and outer edges — that makes the nail look longer and sharper, especially on medium almond. This version works great for deeper skin tones and for anyone who wants the design to show up in photos without adding extra color. The key is keeping the espresso strokes thin and letting the nude glow peek through between them.
Paint a sheer nude in two very thin coats, curing each so it stays translucent. Add honey amber only near the center, then drag caramel into narrow ribbons that reach toward the tip. Use espresso brown to outline irregular shapes mostly at the outer edges and tip corners, leaving the center lighter. Finish with top coat in two passes if you need extra smoothness, curing each pass if your top coat requires it.
For longer-looking nails, keep your darkest lines within 2-3 mm of the free edge instead of reaching all the way to the cuticle.
Don’t go opaque with the base — opaque bases make the espresso look like a stain.
3. Pink-beige shell for cool undertones
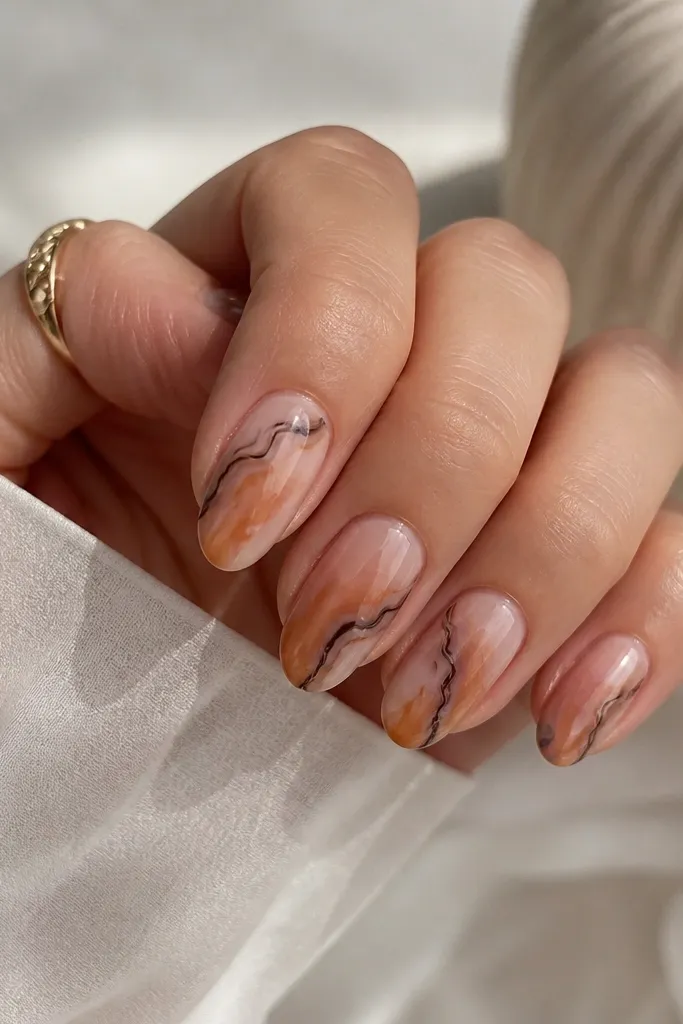
Start with a pink-beige base color and apply two thin coats, curing each until it looks even but still soft. Add honey amber dots in the center and drag them into short streaks, leaving gaps. Layer caramel ribbons lightly, then place cocoa borders only around a few of the caramel sections like outlining stained glass. Cap the free edge with top coat and make sure the top coat bridges the pattern so it feels smooth under your fingers.
Tortoise shell can look muddy on cool undertones if you use a purely yellow nude base. This version uses a pink-beige base so the amber tones look intentional, not off. The honey amber is kept light and semi-opaque, and the caramel stays slightly warm but not orange. Cocoa is used as thin border lines, not big blocks, so the whole manicure stays refined. It looks great on fair skin and on hands that blush easily because the pink-beige base harmonizes with that natural tone. Short almond keeps the pattern neat and gives the shell lines a smooth arc.
Skip thisDon’t use a bright orange caramel — it clashes with the pink-beige base and makes the shell look cheap.
Editor's noteIf your honey looks too orange, mix it with a tiny amount of clear gel on a palette for a more peachy, wearable tint.
4. French-tip tortoise shell (the "clean edges" version)
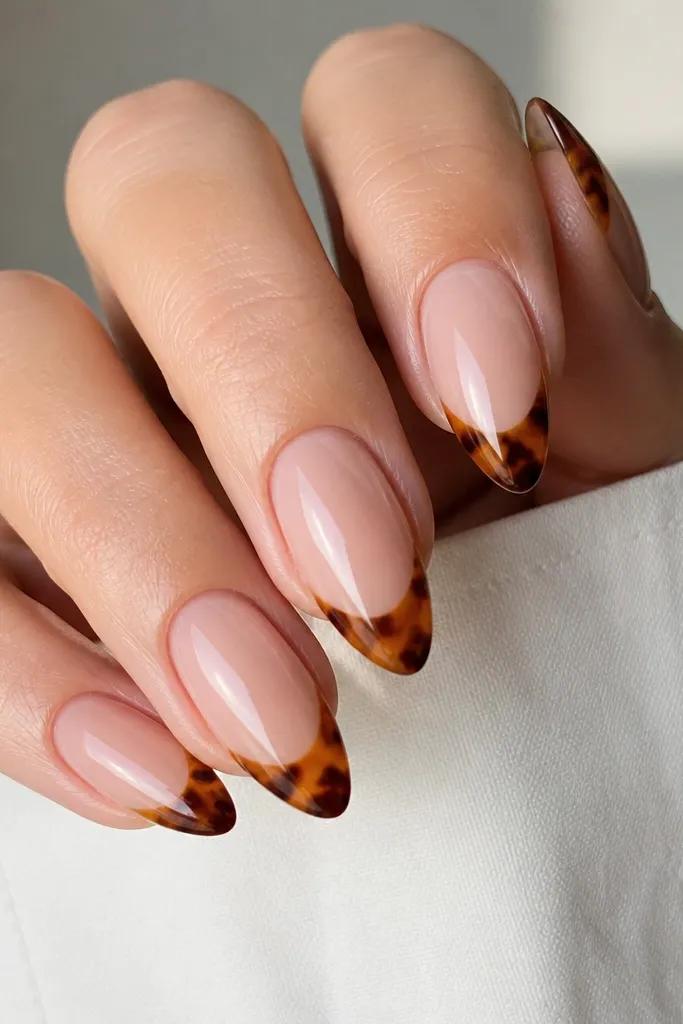
This is the tortoise shell look I recommend when you want it to look tidy even if your lines aren’t perfect. By keeping the pattern confined to the tip, you get the shell effect without risking messy cuticle edges. The nude base stays solid and smooth, so the tortoise reads like a design feature rather than a full coverage paint job. It flatters shorter nails because the tip pattern creates visual length. For events, it also looks great with gold jewelry because the amber tones catch light at the tips.
Apply nude base color in two thin coats and cure. Use a thin strip of tape or a nail guide to mask the cuticle area if you’re nervous, then paint honey amber streaks on the tip area only. Add caramel ribbons across those streaks, then outline a few sections with cocoa thin lines. Remove the guide carefully, and finish with top coat, making sure the tip is fully sealed and smooth.
Angle your marbling lines slightly upward toward the center of the nail — it makes the tip look lifted, not flat.
Don’t let the shell pattern creep past the middle of the nail — that’s when it stops looking like a French tip.
5. Tortoise shell with negative space windows
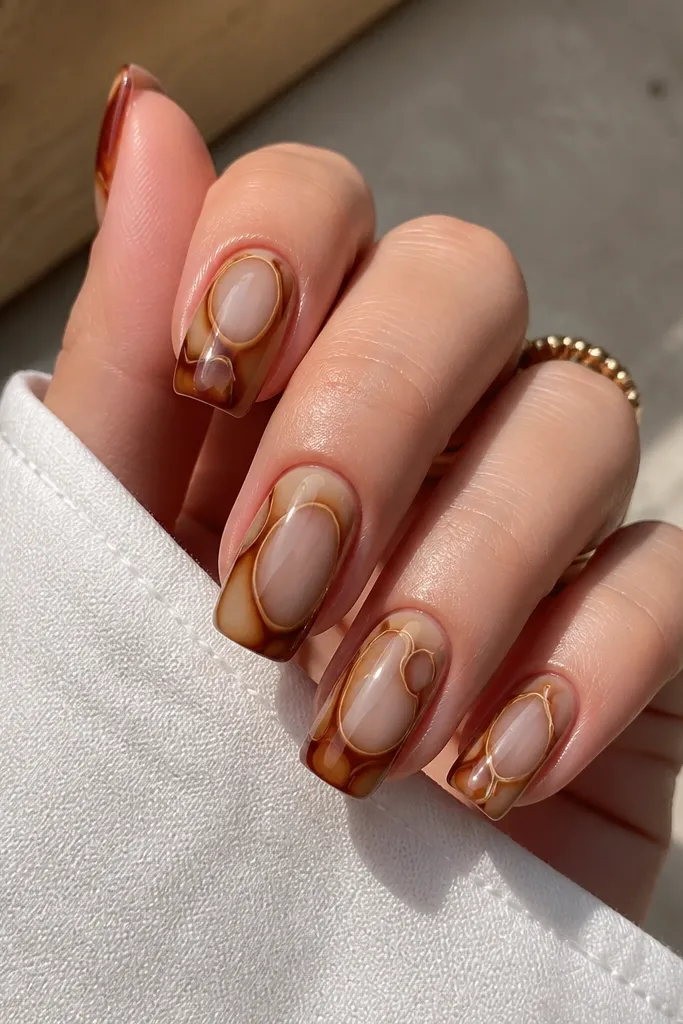
Negative space makes tortoise shell feel more modern and less like a full-coverage pattern. I do this when I want the manicure to look lighter and when I’m working on nails that already have ridges. The nude base stays, but I intentionally leave small “windows” where no honey or caramel goes. Cocoa outlines frame those windows so the pattern still looks like shell, not like random art. This works well on medium squoval because the wider sidewalls give the windows room to breathe. It also photographs better because your eye has clear areas to rest.
Start with your warm nude base and cure. Place honey amber dots and streaks but stop before you reach the sidewalls — leave small gaps. Add caramel ribbons that curve around the gaps, then outline only the edges of the caramel sections with cocoa. Top coat with a slightly thicker layer so the surface smooths over the marbled texture, and cap the free edge.
Use the dotting tool to create the windows — a clean circle gap is easier to plan than freehand gaps.
Don’t overfill the gaps — if you cover every space, the negative space effect disappears.
6. Ultra-thin tortoise lines for a "designer" look
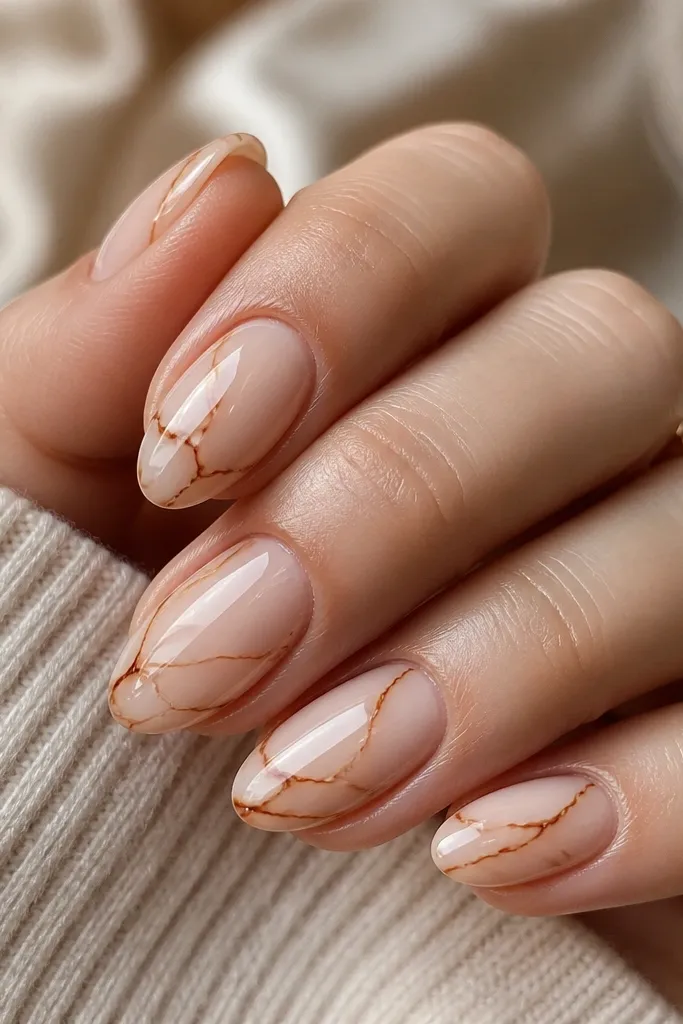
Apply two thin coats of creamy nude and cure. With the marbling brush, paint micro-streaks of honey amber, then add caramel streaks that intersect them lightly. Use cocoa to draw narrow irregular borders around a few sections only, leaving plenty of nude space. Finish with top coat in one smooth pass, then check under a lamp — if you see texture, add a second thin top coat over the pattern.
This version is for when you want tortoise shell that looks like it came from a salon with a steady hand. The design uses thin lines and lots of base showing through, so it doesn’t feel heavy. I keep honey and caramel semi-opaque and build in layers, then use cocoa like linework. It’s flattering on short nails because it doesn’t crowd the nail surface. If you’re the type who hates bulky nail art texture, this one stays smooth because the lines are painted thin and sealed well. Warm creamy bases help the thin lines look intentional instead of sketchy.
Skip thisDon’t press hard with the brush — thick paint looks raised and ruins the clean-line effect.
Editor's noteReload your brush less often than you think. A drier brush makes thinner lines that look like shell edges.
7. Caramel-forward tortoise for warmer, golden vibes
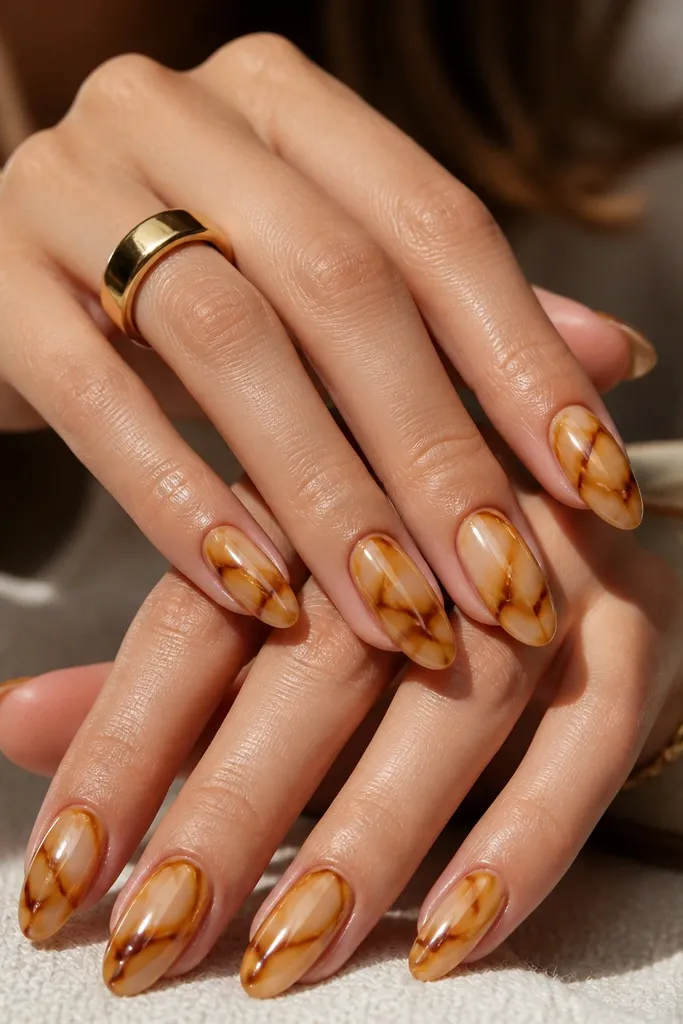
This is the tortoise shell look I reach for when I want it to feel warm and golden without going too dark. The base is light beige, then caramel is the main color — you get bigger mottled sections that still look translucent. Honey acts like the highlights, and cocoa only adds definition at the borders. It flatters medium to deep skin tones because the caramel sits close to the undertone of your natural warmth. For fair skin, it still works, but keep the caramel slightly lighter and don’t overdo cocoa. Medium almond gives you enough surface to spread the larger patches without making it look like a sticker.
Paint a light beige base in two thin coats and cure. Dot honey amber in small clusters, then drag each cluster into short streaks. Add caramel in slightly wider ribbons than the classic version, keeping them semi-opaque so the base shows through. Outline only select areas with cocoa thin lines, then top coat thick enough to level the surface.
If the caramel looks too thick on the brush, thin it with a gel polish reducer on your palette so it lays down like paint.
Don’t make every patch the same size — shell looks fake when the mottling is too uniform.
8. Glossy "shell glass" tortoise with extra top coat leveling
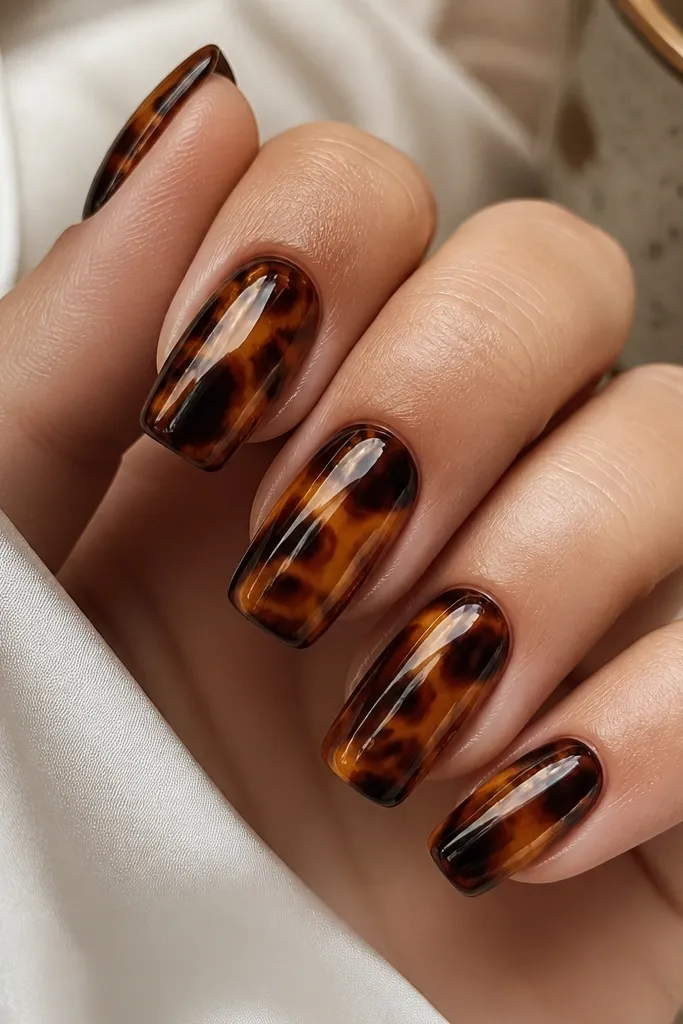
Do your tortoise shell pattern the normal way: warm nude base, honey streaks, caramel ribbons, then thin cocoa outlines. Keep each color layer thin so you don’t build a ridge. After the final cure, apply top coat in a slightly thicker layer, then do a second top coat after wiping and curing if you want maximum smoothness. Cap the free edge hard — press the brush along the edge so water and chips have a barrier.
Some tortoise shell manicures look pretty right after you do them, then you feel the texture later. This version is built for that glassy, smooth feel because the top coat is doing real work. I keep the marbling thin so there’s less to level, then I use an extra top coat pass to smooth everything into one reflective surface. The pattern placement is classic, with honey and caramel across the center and cocoa around the edges. It flatters long squoval nails because the glossy finish makes the shape look polished and clean. If you’re rough on your hands or you type all day, this is the one I’d pick.
Skip thisDon’t skip the second top coat pass when your marbling lines are thicker — texture shows through glossy tops.
Editor's noteAfter curing, run a cotton pad over the nail. If you feel bumps, add one more thin top coat layer and cure again.