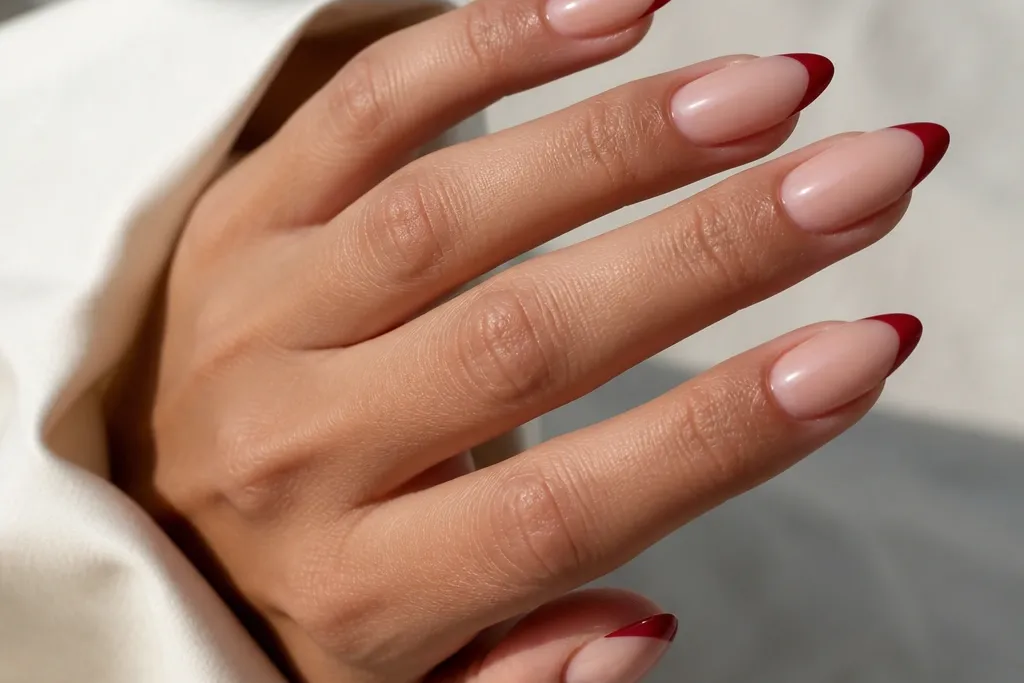
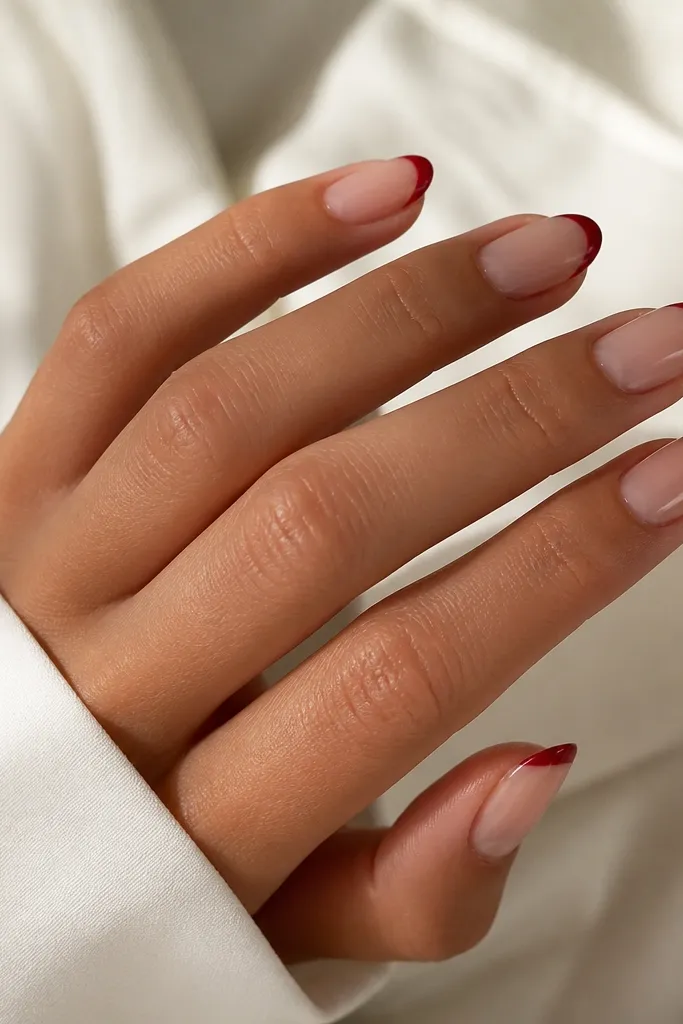
1. Classic almond red french with a glassy nude base
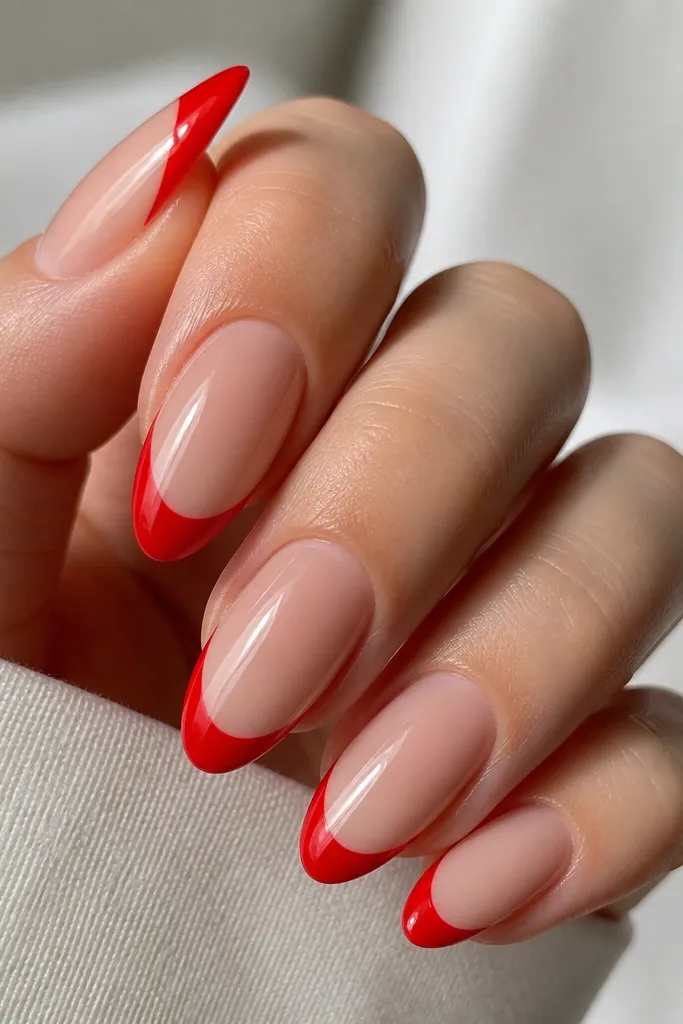
Start by pushing back cuticles and buffing the nail surface lightly so the base sticks. Apply two thin coats of a sheer nude gel or polish, curing between coats until you get a smooth, streak-free finish. Next, use a french tip guide or a striping brush to paint a true red tip that’s about 1.5 mm thick at the center of the almond. Place the smile line so it sits roughly 1/3 down from the tip edge, then clean the edges with a lint-free wipe and acetone on a small brush. Finish with a full glossy top coat, then cure for the recommended time.
This is the set I reach for when I want “polished” without drama. The sheer nude base (think pink-beige, not yellow) makes the red french tip look sharp and clean on every skin tone I’ve tested. On fair skin, the red pops without looking harsh. On medium to deep skin, the nude base keeps the red from turning muddy. The styling principle is simple: one strong color boundary, plus a super even shine.
Skip thisAvoid a thick red tip — it makes the french line look like a blob instead of a framed edge.
Editor's noteIf your smile line keeps wobbling, paint the center first, then pull the left and right edges to match that center curve.
2. Matte pink base with glossy red french tips
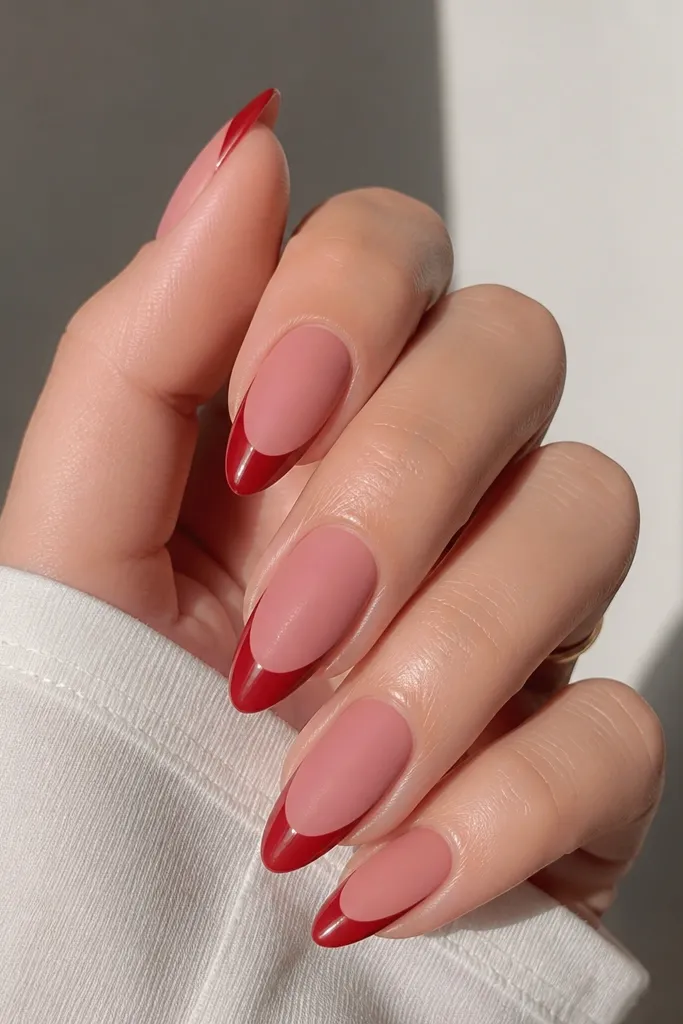
This combo reads modern because it creates contrast: matte base hides tiny surface imperfections, and glossy red gives you that crisp “fresh manicure” look. I’ve worn this on days when I’m touching screens and sleeves a lot, and the matte base still looks neat after a few days. It flatters most skin tones since dusty pink has a cool undertone that keeps red from looking orange. The key is keeping the matte only on the base so the tips stay photo-ready.
Paint the base with two thin coats of dusty pink, curing fully. Then apply a matte top coat only over the nude/pink area — I sweep it from cuticle to where the red tip begins, leaving a clear boundary. After that, paint the red french tips on top of the matte area once it’s dry or cured, keeping the red thickness around 1 to 1.5 mm. Clean the smile line with a small brush dipped in acetone for the crisp curve. Seal with glossy top coat on the red tips only, so the shine stays limited to the french edge.
Use a matte top coat that dries smooth; chalky matte makes the base look older than it is.
Don’t put matte top coat over the red — it kills the modern contrast.
3. Red french with a micro-thin white outline
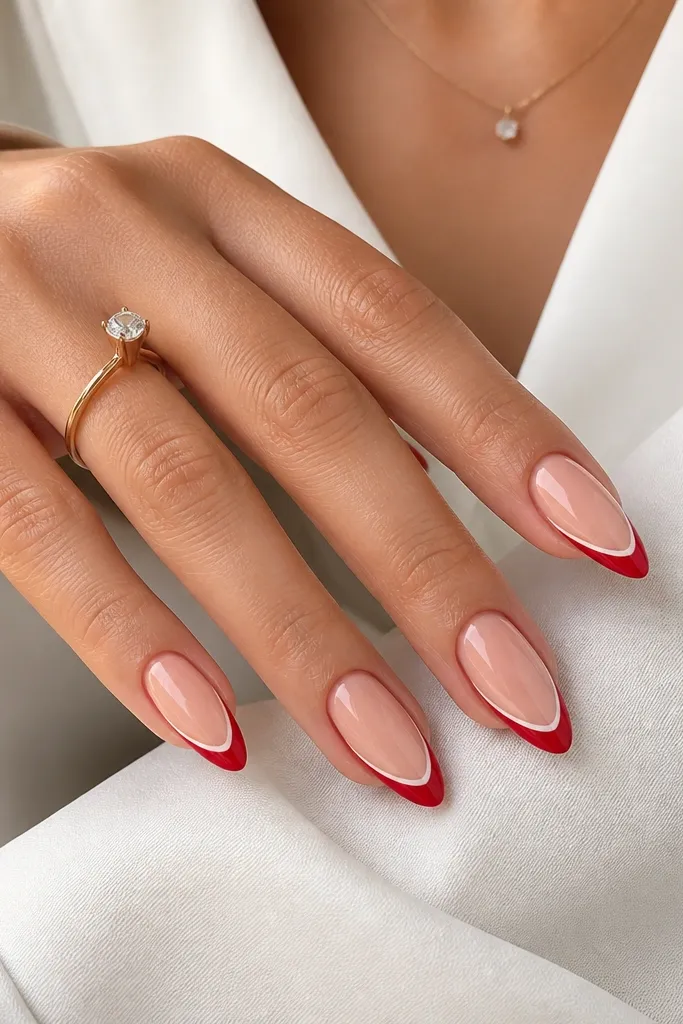
This one looks like nail art, but it’s still wearable. The micro white outline makes the red look cleaner and more graphic, especially in indoor lighting. I’ve found it flatters hands with shorter nail beds because the white line creates a visual separation that draws the eye toward the tip. For fair skin, the white reads crisp; for deeper skin, it adds brightness without turning the set too loud. The principle is layering color boundaries — red stays bold, white adds definition.
Start with two coats of sheer nude and cure until it’s glassy. Paint your red french tips as usual, keeping the red to about 1.5 mm thick. After the red is set, take a detail brush and paint a micro white line just inside the smile line, leaving a tiny red border between white and the base. Keep the white line consistent in width across all nails — about the thickness of a striping brush bristle. Finish with a glossy top coat to lock everything in.
If your white line bleeds, let the red cure longer and wipe the brush on a paper towel before you touch the nail.
Don’t make the white line wide — it turns into a chunky two-tone tip instead of a refined outline.
4. Ombre red french that fades into nude
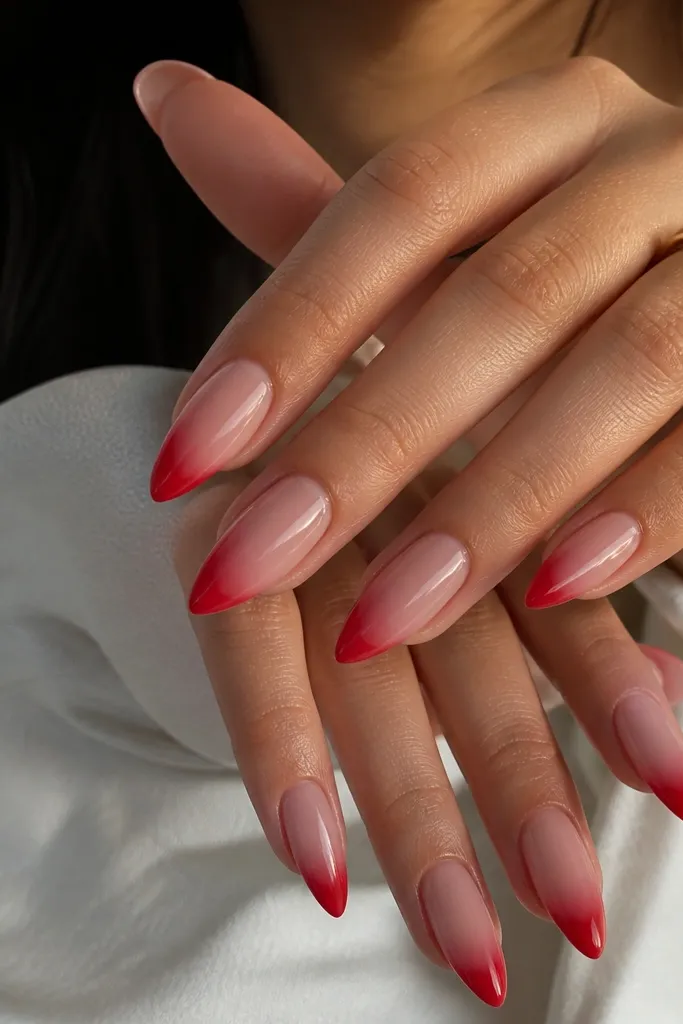
This is the “soft modern” french tip when you don’t want a hard color block. The fade makes your nails look longer because the color gradually transitions instead of cutting off sharply. It flatters hands with dry cuticles too — the gradient hides small texture near the edge. On cooler skin tones, the fade keeps red from looking too warm; on warmer skin tones, it looks romantic instead of aggressive. The principle is using a sponge blend so the red edge is controlled but not harsh.
Apply your sheer nude base in two thin coats and cure smooth. Then, with a small makeup sponge (cut to a flat edge), dab red gel or polish at the tip area and blend downward about 2 to 3 mm. Start with light pressure so you build the color gradually. Use a brush to refine the almond corners and clean up the edges so the gradient doesn’t spread past the nail outline. Finish with a glossy top coat that evens out the sponge texture.
Tap off on a scrap nail or paper first — you want pigment, not wet paint, when you sponge.
Avoid a sudden hard line — if you can see where the sponge stopped, it won’t read as modern.
5. Red french with a tiny gold foil accent on one nail
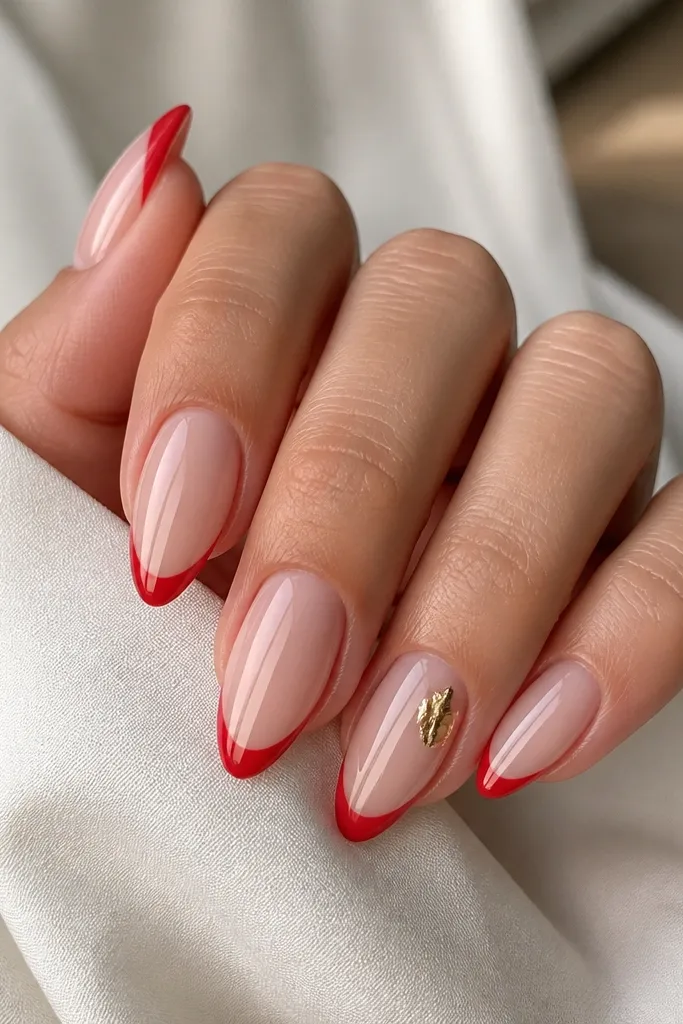
Do the standard french set first: sheer nude base, then glossy red tips with a crisp smile line. On the accent nail, apply a thin layer of clear tacky gel or foil glue only on a small patch (about the size of a pea), then press gold foil pieces in place. Leave some foil edges irregular — that’s what makes it look real. Cure, then seal with two coats of glossy top coat so the foil doesn’t catch on fabric. Keep the rest of the nails plain red french so the accent reads intentional.
This set is for when you want the french tips but you also want one “wow” detail. Gold foil catches light in a way that looks expensive in photos, and because it’s only on one nail, the look stays clean. I’ve done this for weddings where people want red nails that still feel elegant. It flatters all skin tones because gold adds warmth and the nude base keeps it balanced. The principle is restraint: one accent, placed where it frames the nail shape.
Skip thisDon’t cover the whole nail in foil — it turns the set into a party manicure.
Editor's notePress foil with a silicone tool or foam applicator — fingertips can smear it too much.
6. Matte red french tips with a sheer nude base
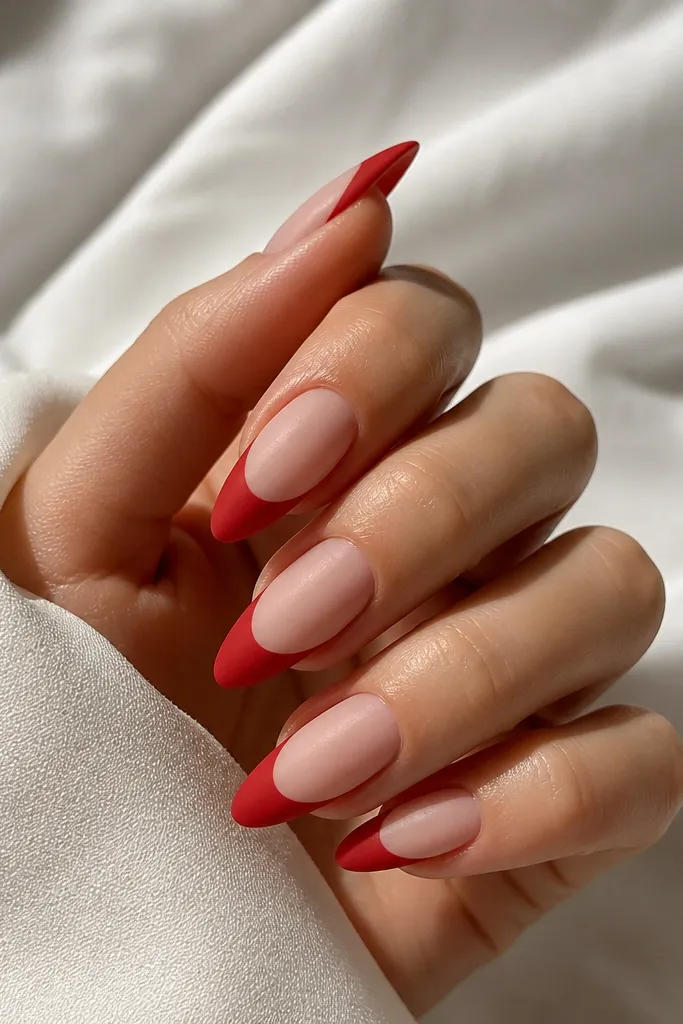
Switching the finish makes this feel fresh without changing the color. Matte red tips look bold but controlled, and they hide micro scratches that show up on glossy nails. I like this for fall and winter because the velvety red looks more fashion-forward than shiny. It also flatters shorter almond nails since matte visually softens the transition. The principle is matching finishes: matte tip, sheer base, crisp boundary.
Apply your sheer nude base in two thin coats and cure smoothly. Paint the red french tips with gel, aiming for 1.5 mm thickness and a clean smile curve. Cure fully, then apply matte top coat over the red tips only — keep it off the nude base so the nude stays luminous. If your matte top coat spreads, use a small brush to paint it just on the tips. Finish with one more thin matte layer if you see streaks.
If your matte top coat looks patchy, stir it gently instead of shaking — bubbles ruin the velvety finish.
Avoid overloading the red — thick polish makes matte look heavy and uneven.
7. Reverse french: red near the cuticle, white outline at the tip
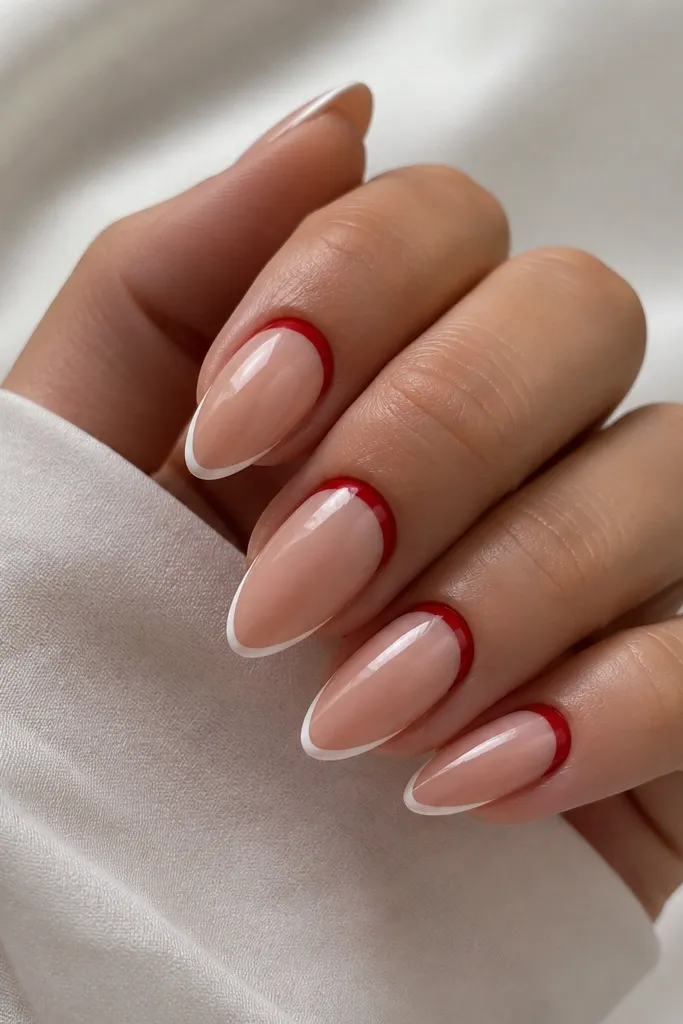
Start with a sheer nude base and cure until smooth. Paint a thin red band across the upper third of the nail, staying about 1 mm away from the cuticle so it doesn’t flood. Clean the edges with a detail brush and wipe with acetone on a lint-free pad. For the tip, add a micro white outline following the almond curve — keep it ultra-thin and even. Seal with a glossy top coat to blend everything into one finish.
Reverse french is the trick when you want red but you don’t want the classic tip. The red near the cuticle visually lifts the nail and makes fingers look cleaner, especially if you have visible nail lines. The thin white outline at the tip keeps the shape crisp and stops the nude from looking flat. This one is great for office days because it feels intentional without being loud. The principle is placing the color band where it changes the nail’s visual length.
Skip thisDon’t make the red band too thick — it turns reverse french into a solid half-moon.
Editor's noteUse a cuticle pusher to mark the 1 mm gap — it saves you from painting too close.
8. Red french with a tiny red rhinestone at the corner
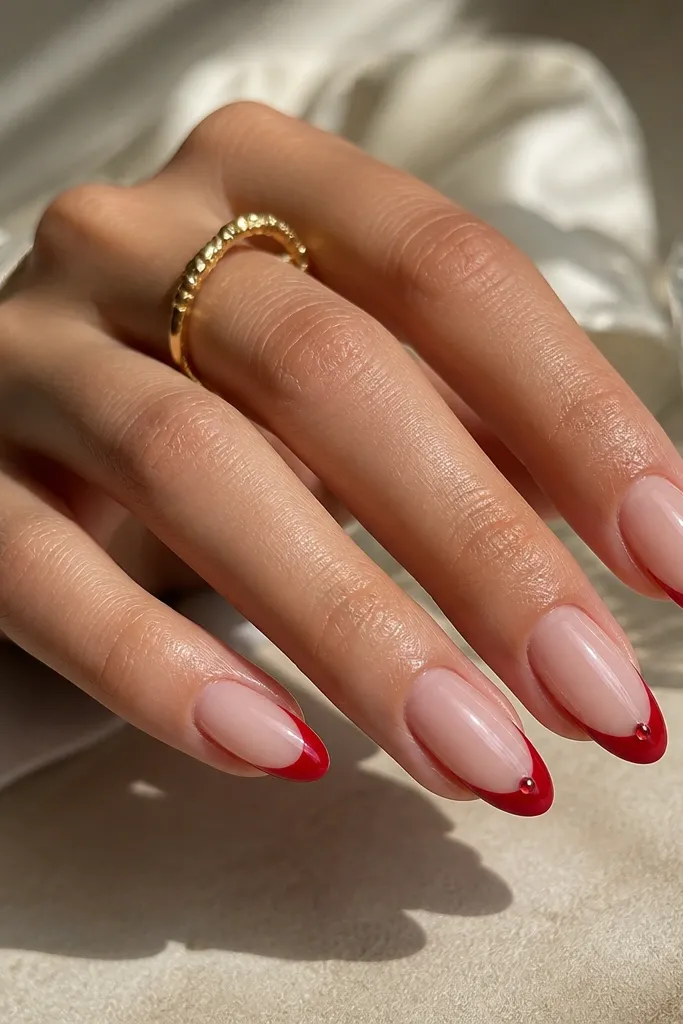
This is the “one sparkle, not a whole bling set” version. A single rhinestone at the outer corner makes the almond shape look sharper and draws attention to the tip curve. I like it for date nights and events because it looks intentional without turning into costume jewelry. It flatters hands that already have a natural nail width since the sparkle adds a focal point near the thinnest part. The principle is placement: one stone, placed where the french line ends, not randomly on the nail.
Do your base and french tips first: sheer nude, then glossy red tips with a crisp smile line. Pick two nails (usually index and ring) and leave one side of the smile line clean. Apply a tiny dot of nail glue or tacky gel exactly at the outer corner of the french curve, then place a small red rhinestone (not a big one) and press lightly. Cure if gel, then cap around the stone with clear gel to lock it flat. Finish with glossy top coat on the whole nail so the stone doesn’t snag.
Use a rhinestone that’s about 1.5 to 2 mm wide for almond — anything larger looks bulky at the tip.
Avoid placing stones on every nail — it looks messy once nails grow out.
9. French tip with red chrome edge on nude base
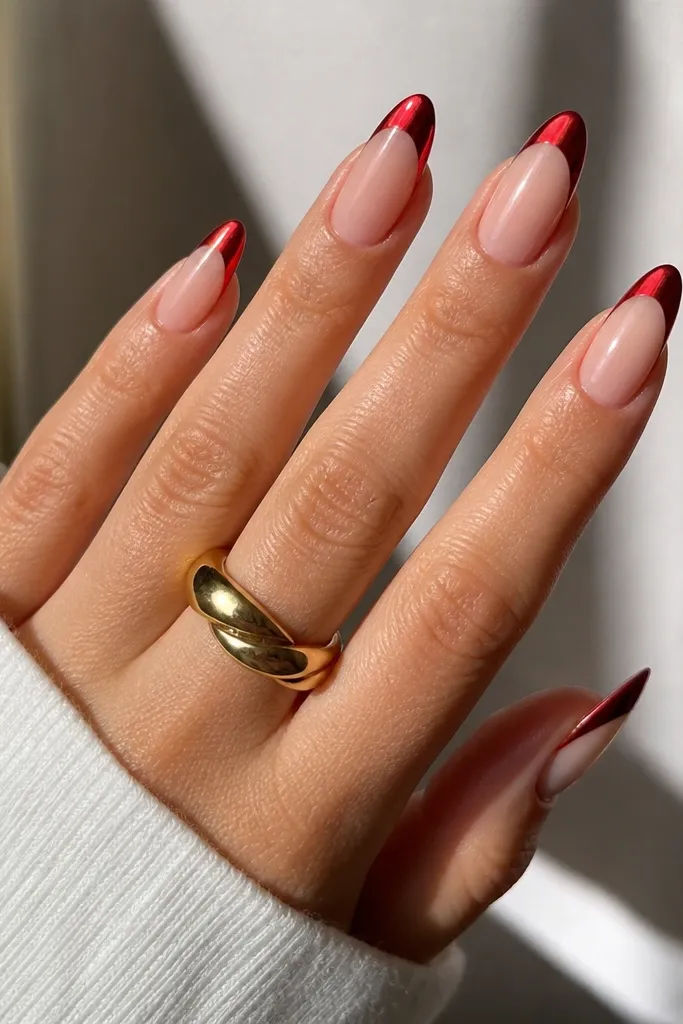
Apply a sheer nude base in two coats and cure fully. Paint a thin red gel layer where the french tip will sit, then cure just enough to get tack (follow your chrome product’s instructions). Press red chrome powder or rub-chrome pigment onto the tip area, focusing on the edge of the smile line for maximum contrast. Use a soft brush to dust off excess so the nude base stays clear. Seal with a chrome-safe top coat in thin layers so the reflective finish stays intact.
Red chrome makes the french tip look like jewelry. It reads modern because the shine is sharp and directional, not just glossy paint. I’ve worn this with simple outfits and it still looks styled, especially under warm lighting. It also flatters medium to deep skin because the metallic red adds depth without looking washed out. The principle is using chrome at the tip boundary only, so the rest stays clean and breathable.
Skip thisAvoid using regular top coat over chrome too soon — it can dull the mirror effect.
Editor's noteCap the free edge with clear gel before you chrome — it helps prevent chipping at the tip.
10. Red french with a sheer red "glaze" over the tip
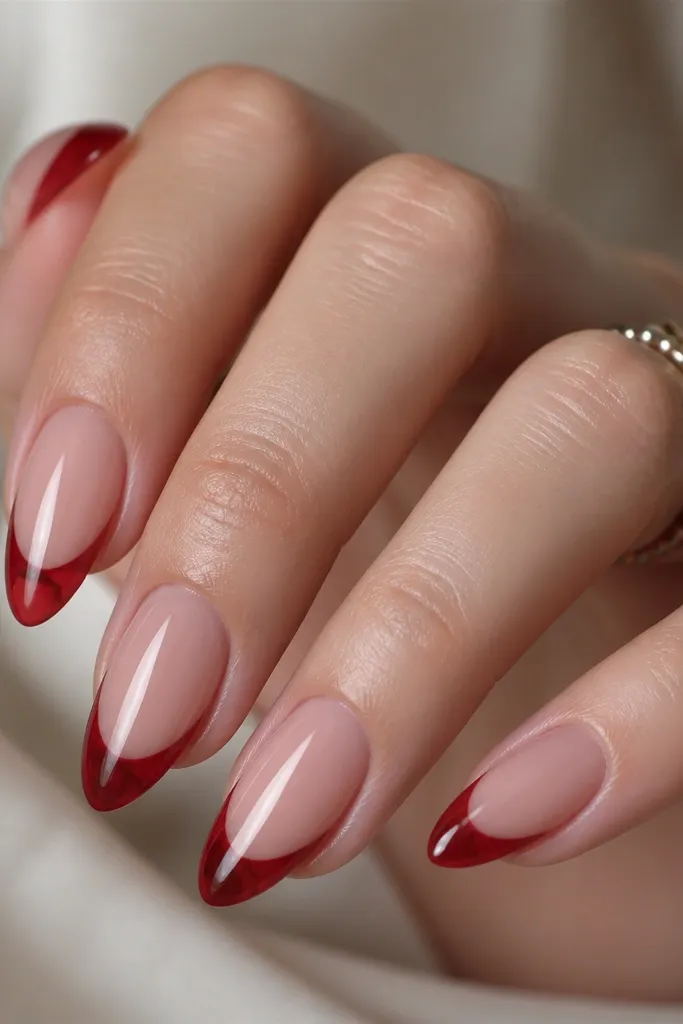
Start with a sheer nude base and cure smooth. Create the french tip outline with a thin opaque red gel, just enough to lock the smile line and almond edge. Cure, then apply a sheer red jelly layer over the entire tip area, blending slightly toward the smile line so it looks like one smooth glaze. Cure again, then wipe the tack layer if your system requires it. Finish with a glossy top coat to lock in the “wet” look.
This version looks modern because the red is not opaque. The sheer red glaze lets the nude base show through, so the nails look lighter and more airy while still staying clearly french-tipped. I like it on hands that have thinner nails — it looks less heavy than full coverage red. On fair skin it gives a rosy tint; on deeper skin it looks like a deep ruby tint without getting too dark. The principle is layering: define the french shape with a guide layer, then glaze for depth.
Skip thisAvoid thick opaque red under the glaze — it makes the tip look flat instead of dimensional.
Editor's noteUse a jelly red that’s slightly runny in the bottle — it self-levels and keeps the glaze smooth.