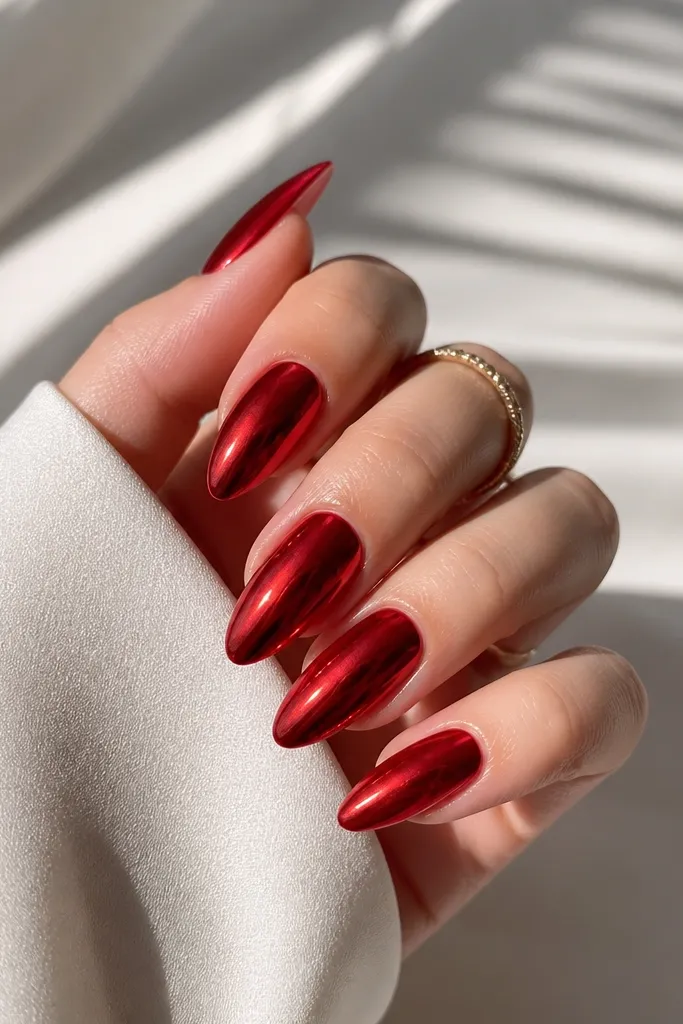
1. Mirror-Red Chrome Almonds with Micro-Gloss Coat
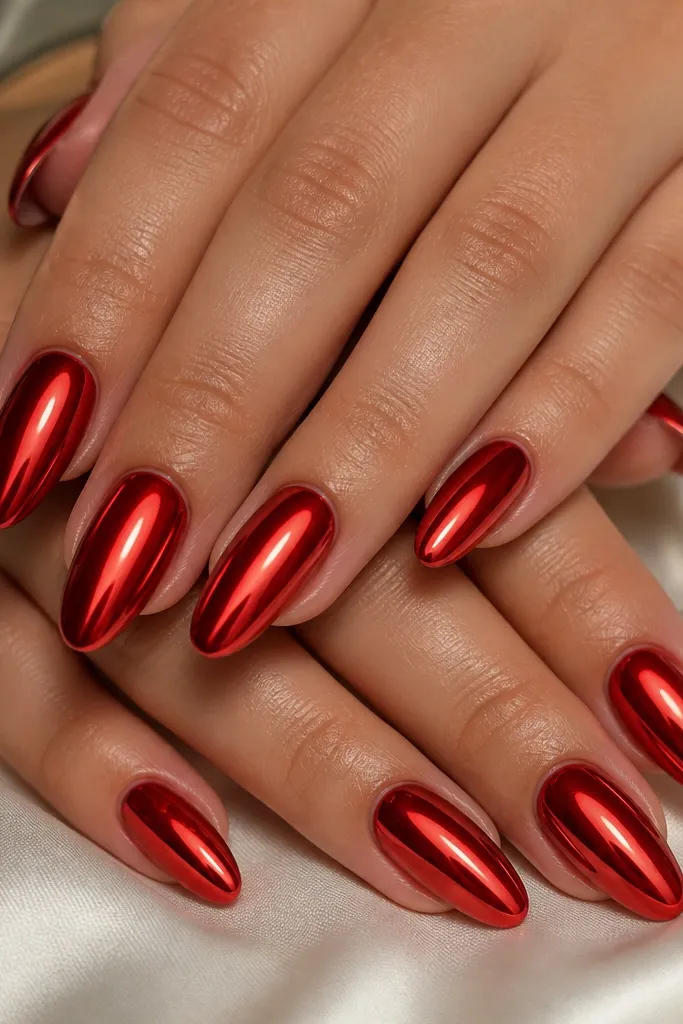
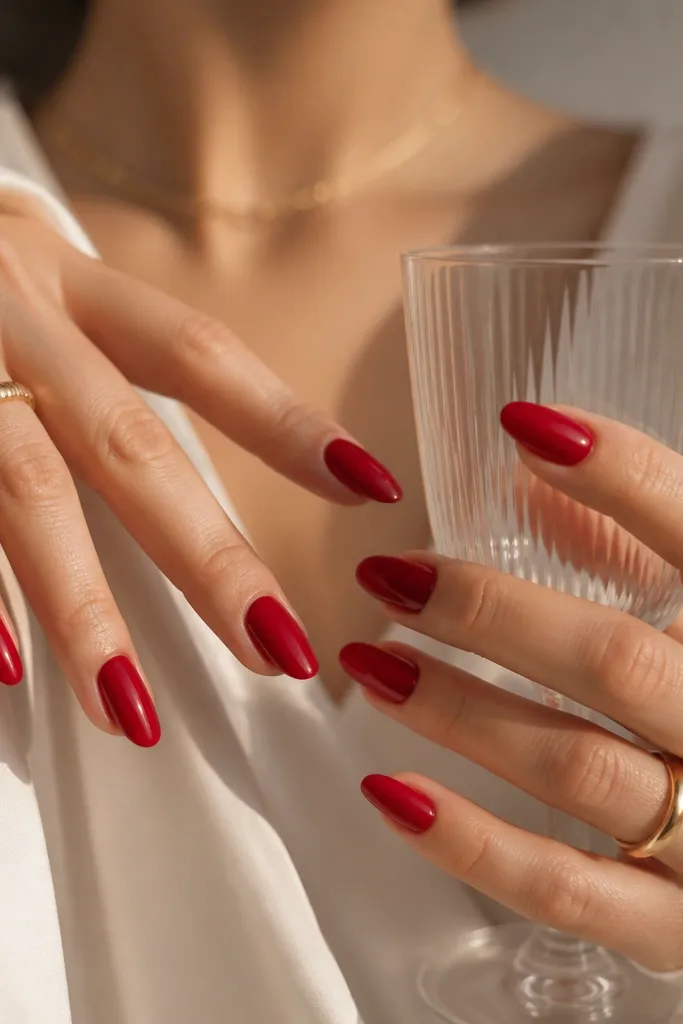
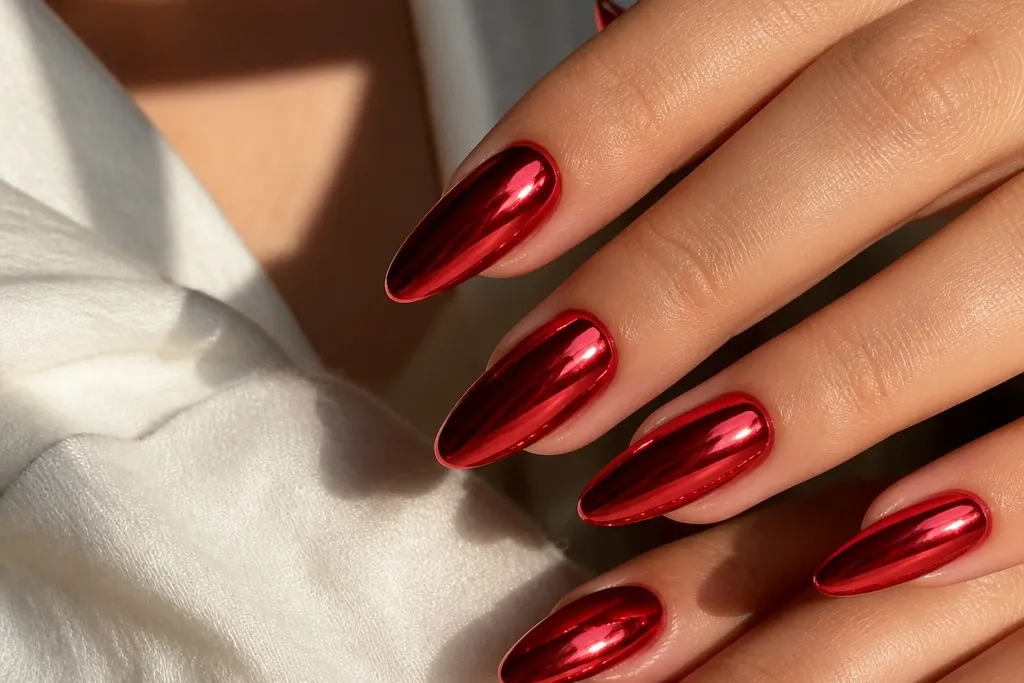
This is the “hands look photoshopped” set. The shade is a classic red — not pink-red, not brick — and the chrome is applied for a true mirror so it throws back light in sharp highlights. It looks best on light to medium skin tones because the red reads clean and doesn’t fight undertones. If your nail beds are short, almond shape makes them look longer, and the mirror finish exaggerates that length without adding extra color bulk.
Start by applying a smooth red gel base, then cure it fully. Buff lightly so the surface is glass-smooth, wipe with alcohol, and leave it tacky if your system needs tack. Press red chrome powder/foil onto each nail in small sections, then burnish with a soft foam applicator to remove excess. Seal with two thin coats of high-gloss top coat, and add a slightly heavier coat along the free edge before curing each layer.
After the final cure, rub a cuticle oil drop around the sides — it keeps the chrome from looking dry at the edges.
Skipping a smooth red base makes the chrome look grainy instead of mirror-sharp.
2. Oxblood Red Chrome Almonds with a Black French Edge
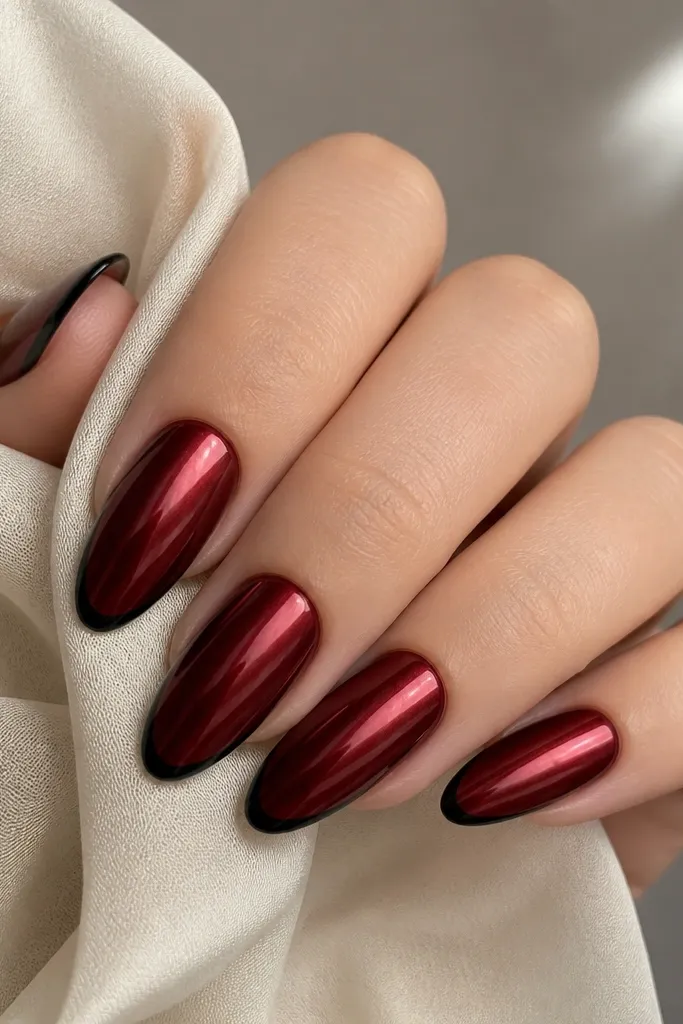
This design gives you the drama of red chrome but keeps it grounded. Oxblood reads expensive because it’s darker and slightly cooler than typical red, and the black French edge makes the almond taper look sharper. It flatters medium to deep skin tones especially well because the contrast is strong. For events, it looks like you planned a whole outfit — even with a simple black blazer or a satin slip dress.
Apply a deep oxblood gel base and cure until glossy, then wipe with alcohol. Use a fine striping brush or nail tape to create a thin black French line at the tip, cure it, and leave the line clean. Press red chrome over the red areas only, then burnish gently so chrome doesn’t flood the black edge. Seal with a thick glossy top coat, and run the brush along the black line edges so it stays crisp and doesn’t chip.
Use tape for the French line — freehand black tips with chrome can wobble because the chrome layer is slick.
Letting chrome overlap the black line makes it look smoky and messy instead of framed.
3. Brick Red Chrome Almonds with Negative-Space Half-Moon
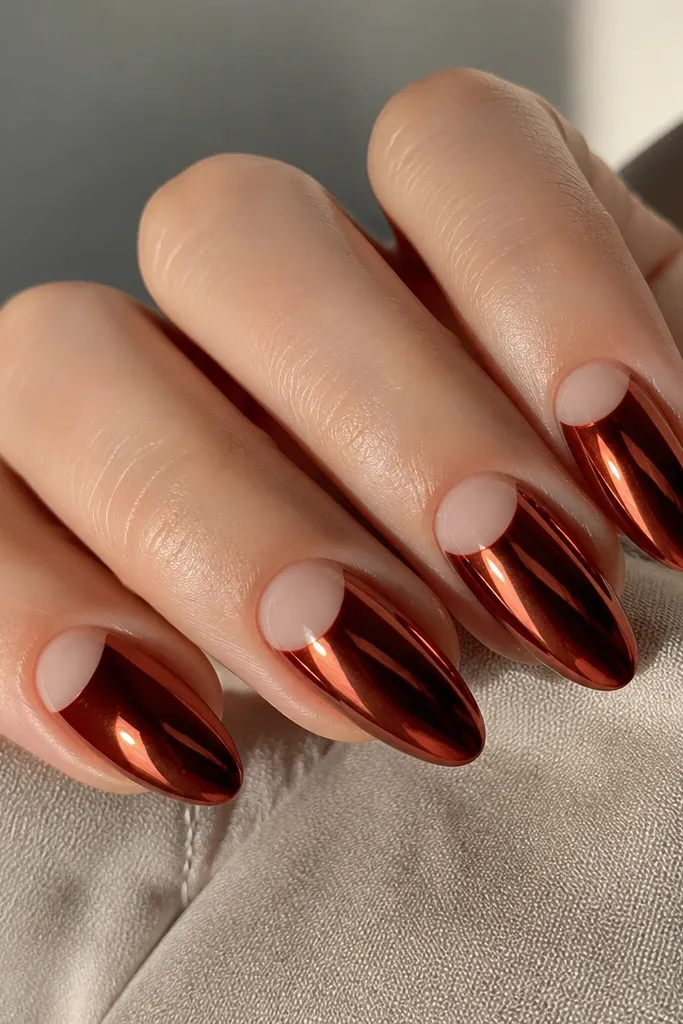
This one is sleek and modern because the negative-space half-moon breaks up the mirror shine. Brick red is slightly warm, so it flatters warm undertones and looks amazing with gold jewelry. The half-moon makes your nail bed look neat and longer, and it softens the boldness of full red chrome. It’s a great choice for workdays because it looks intentional without screaming “full glam” from across the room.
Start with a sheer base or nude gel and cure it for a smooth foundation. Place a half-moon guide (or use tape) near the cuticle to protect the arc, then apply brick red gel to the remaining nail and cure. Press brick red chrome onto the red gel areas, burnish lightly, and remove any excess around the protected half-moon. Seal with a glossy top coat, using extra care around the half-moon edge so it doesn’t blur.
Editor's noteIf your cuticles are prone to growth, leave the half-moon a tiny bit higher than you think — it looks cleaner after two weeks.
Skip thisOverfilling the half-moon area with chrome makes the arc disappear.
4. Cherry Red Chrome Almonds with Tiny White Dots
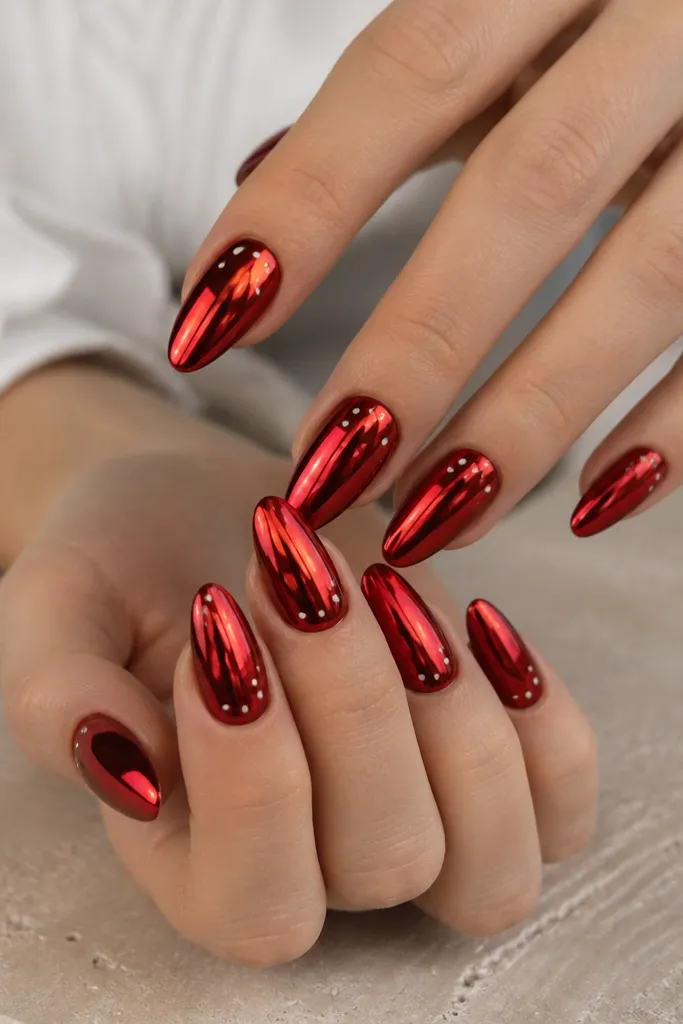
If you want red chrome but with personality, tiny white dots do it. Cherry red is brighter and more playful than oxblood, and chrome makes the white dots pop like candy. I love this on fair to light-medium skin because the red doesn’t turn too dark, and the dots read clean instead of muddy. This set works for summer nights, birthdays, and anything that needs a little fun without adding chunky art.
Apply cherry red gel, cure, and buff to a smooth finish. Press red chrome onto the cured base and burnish, then seal only after you place your dots. Use a dotting tool with white gel polish to add 2-4 small dots per nail, then cure. Finish with two coats of glossy top coat, and cap the free edge so the chrome and art stay locked in place.
Keep dot size consistent — use the same dotting tip for every nail so it looks like a set, not random."
Skipping a cure between chrome and the dots can smear the dots into the reflective surface.
5. Red Chrome Almonds with Black Micro-Outline Swirls
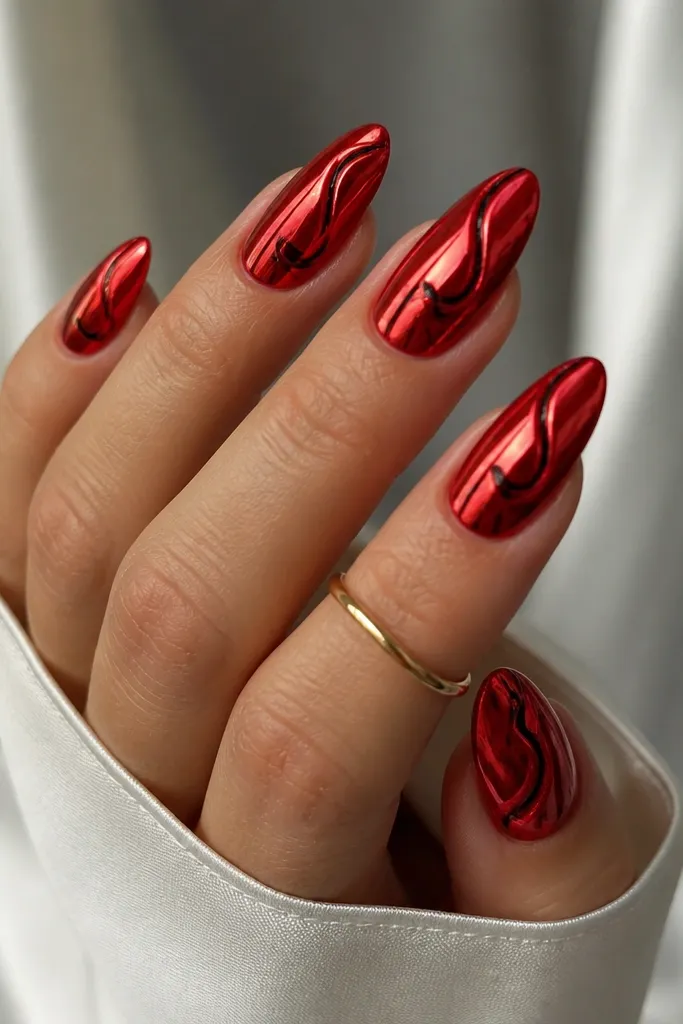
This looks like hand-drawn nail art, but it’s actually controlled and repeatable. The micro-outline swirls keep your red chrome from looking too flat, and black lines add contrast that makes the almond taper look sharper. It flatters almost every skin tone because black + red is a reliable combo. This is the choice I grab when I want glam but still want a “design” element that feels artsy.
Start with a smooth red gel base, cure, and wipe with alcohol. Apply red chrome for mirror shine, then lightly seal with a thin top coat if your gel system needs a stable surface for lining. Use a striping brush to draw micro swirls in black, keeping lines under 1 mm wide. Cure, then top coat with a thicker glossy layer, focusing on sealing the edges of the black linework.
Draw swirls after chrome only if your top coat is compatible — some top coats can dull chrome if you use the wrong one.
Using thick black lines makes the set feel heavy and takes away the sleek almond look.
6. Rose-Red Chrome Ombre Almonds
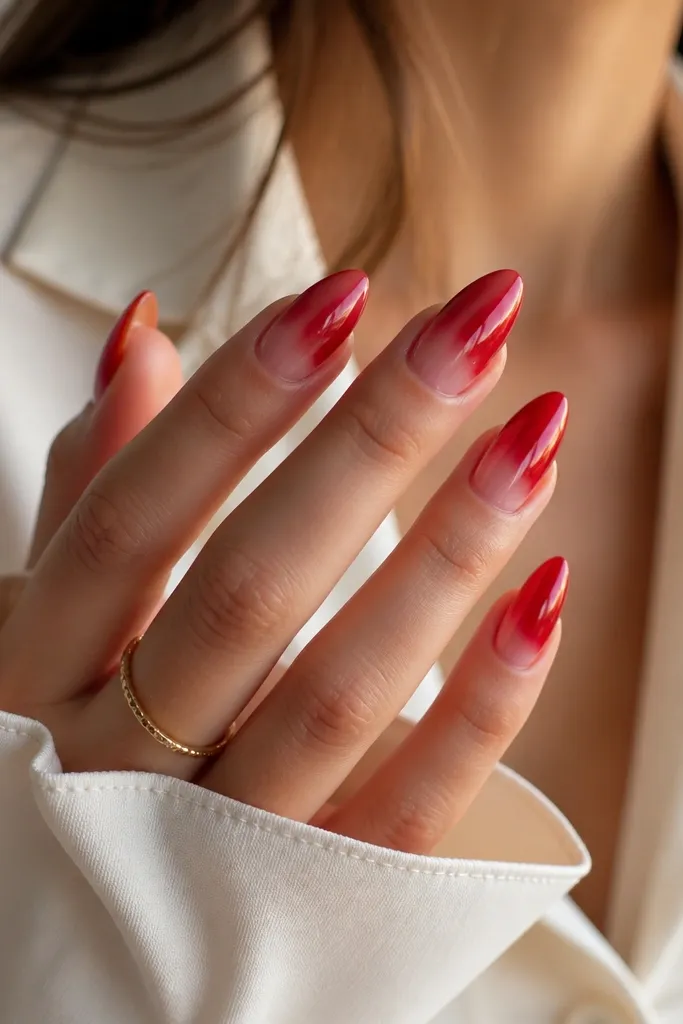
Ombre makes red chrome look softer and more wearable. A rose-red fade at the cuticle keeps the set from looking too intense, while the deeper red at the tip makes the almond shape look longer. This is flattering if you have short nails or you want a manicure that looks good as it grows out. I’ve worn this with both warm and cool outfits — it just reads polished, not harsh.
Apply a light base first — nude or pale pink gel — then cure. Create the ombre with red gel starting heavier at the tip and thinning toward the cuticle, blending with a sponge brush in tiny taps. Cure, wipe, then press rose-red chrome where you want the lighter fade and deeper red chrome where you want the tip intensity. Burnish gently, then seal with two glossy top coats, making sure the blend edge stays smooth and not patchy.
Editor's noteBlend the gel before chrome — chrome can’t fix a rough ombre line.
Skip thisAdding chrome too early on a wet gradient causes muddy patches.
7. Red Chrome Almonds with Glossy Red Foil Cracks
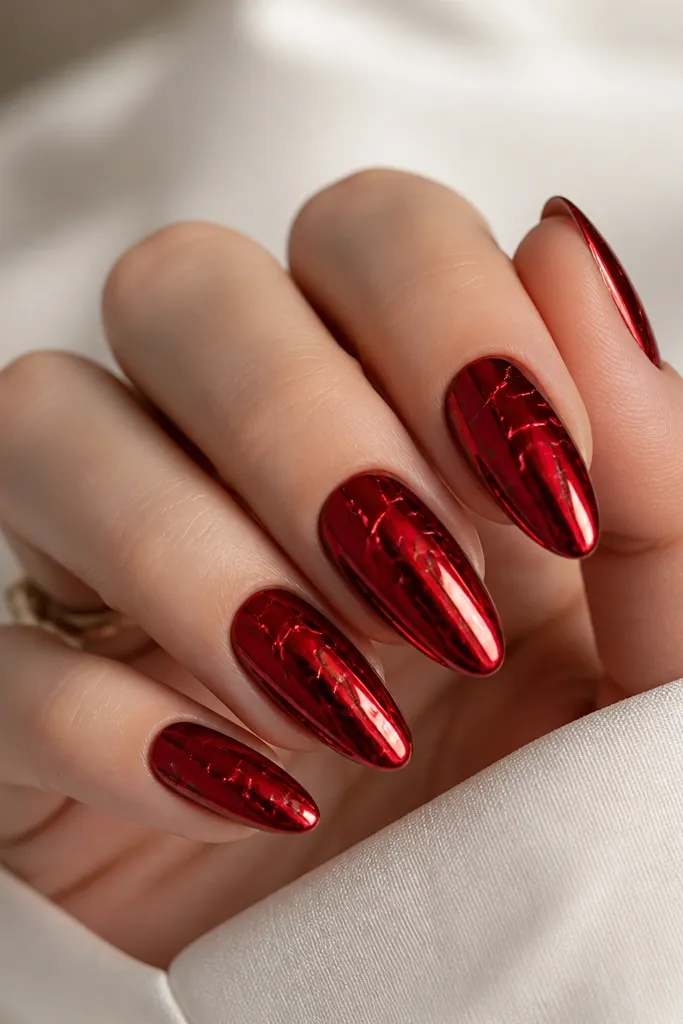
Crackle foil over red chrome gives you texture without losing the glossy mirror effect. The crack lines look like light-catching fractures, so the nails change appearance as you move your hands. I like this for evenings because it reads like jewelry. It’s also forgiving on almond shape because the crack pattern naturally guides the eye along the taper, especially if your nails are slightly uneven.
Apply a smooth red gel base and cure until glossy. Press on red chrome for mirror shine and burnish lightly. Add red foil crackle pieces over the chrome in small sections, pressing flat and sealing each nail before curing so the foil doesn’t lift. Finish with one thick top coat followed by a second thinner coat to lock the foil edges down.
Editor's notePress foil with a silicone tool — fingers can leave micro smudges on chrome.
Skip thisSkipping the cure/lock step under the top coat can cause foil edges to lift and snag.
8. Deep Wine Red Chrome Almonds with Clear Negative Center
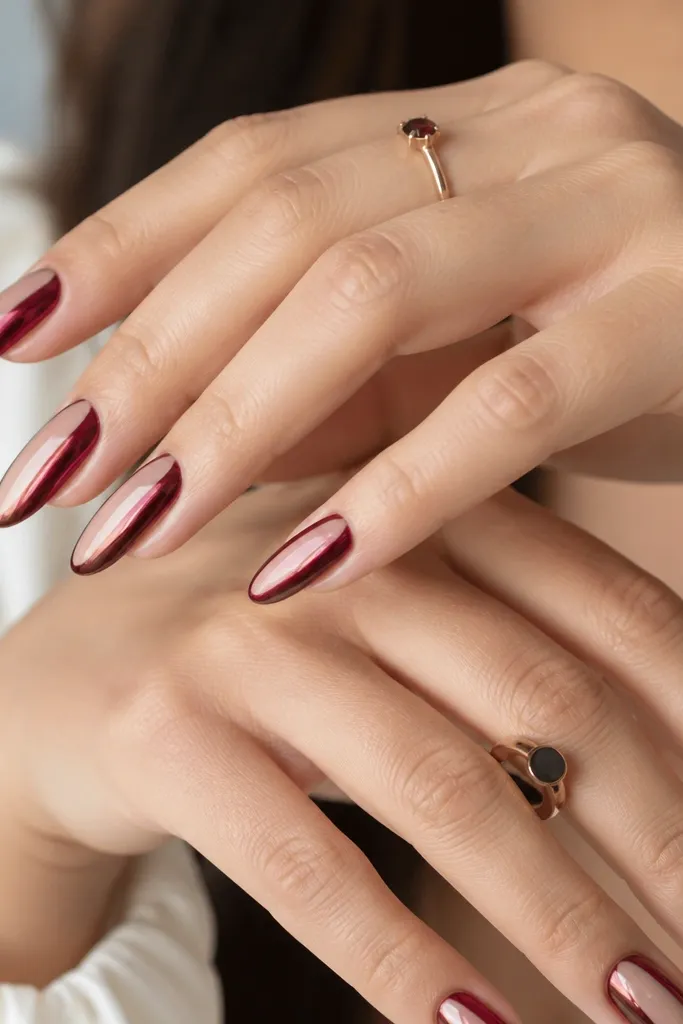
This design looks sharp and elongated because the clear center creates a vertical line. Deep wine red reads rich and flattering on a wide range of skin tones, especially with cool undertones. It also hides minor growth lines better than full coverage because the center is already visually lighter. I wear this when I want a manicure that looks “sleek” rather than sweet.
Start with a sheer base and cure. Use tape or a striping guide to protect a straight center panel, then apply deep wine gel to the side areas and cure. Press wine red chrome onto the side gel only, burnish, and remove the guide carefully. Seal with two glossy top coats, and cap the free edge so the clear center stays crisp and doesn’t get cloudy.
Editor's noteCheck symmetry by looking at the nails from above — the center strip should line up with your natural nail center.
Skip thisFreehanding the center gap without a guide makes the negative space look crooked.
9. Red Chrome Almonds with Gold Leaf Cuticle Frame
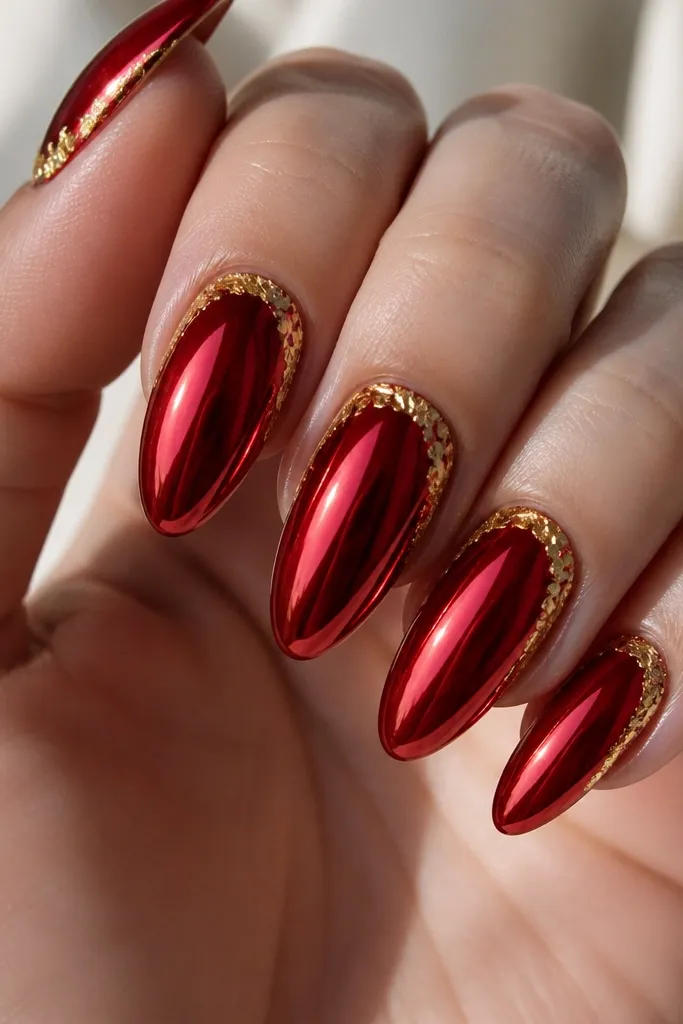
Gold leaf near the cuticle makes red chrome look like expensive jewelry. The frame effect draws attention to the shape of your nail bed, and the gold warms up the red so it flatters both neutral and warm undertones. This is a go-to for holidays and date nights, especially if you wear gold hoops or a delicate bracelet. The key is placement — gold only around the cuticle so it doesn’t turn the set into chunky clutter.
Apply a smooth red gel base and cure, then wipe with alcohol. Press red chrome onto the entire nail and burnish gently. Apply a thin amount of clear gel around the cuticle area, then press tiny gold leaf pieces to form a loose frame, leaving a little red showing between pieces. Cure and finish with two coats of glossy top coat, focusing on sealing over the gold leaf so it doesn’t catch on fabric.
Editor's noteUse a small makeup brush to sweep away extra loose leaf before top coat.
Skip thisPutting gold leaf all over the nail kills the mirror look and makes it feel flat.
10. True Red Chrome Almonds with Shimmer-Gel Topcoat Finish
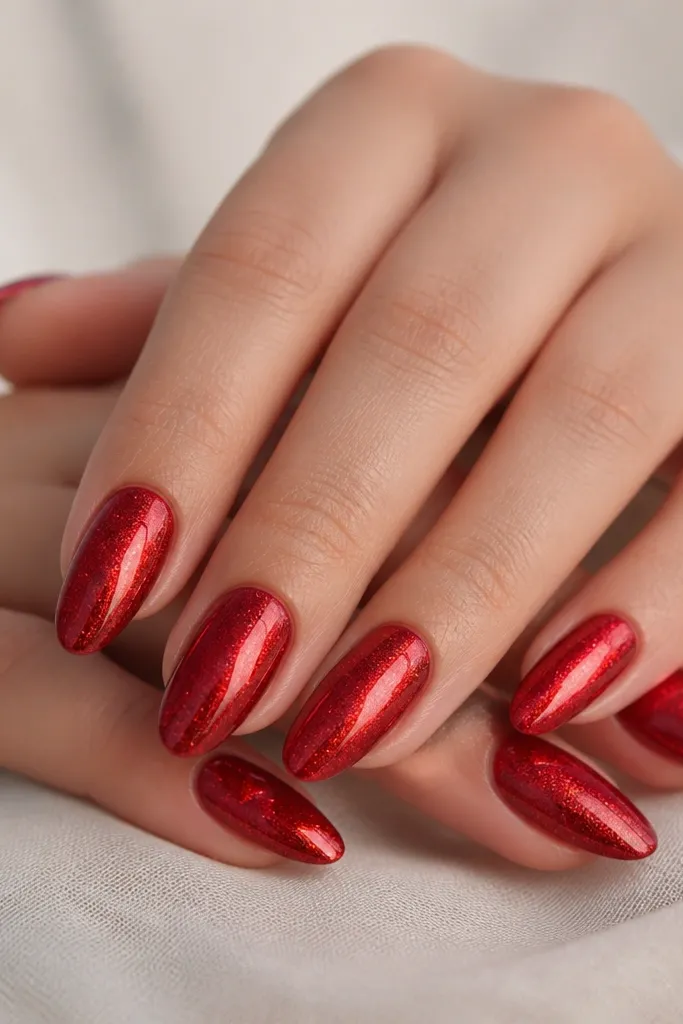
This is for the “glossy statement” person who still wants a little depth. Pure mirror chrome is super sharp, but adding a red shimmer gel topcoat gives it a second layer of sparkle that looks expensive in daylight and under restaurant lighting. True red keeps it classic, and the shimmer makes the chrome feel less stark. It flatters hands that look dry because the shimmer topcoat makes the surface look smoother and more hydrated.
Start with a true red gel base, cure, and buff to a smooth finish. Press red chrome for mirror reflection, burnish, and remove excess. Apply a shimmer gel topcoat over the chrome in one even layer, then cure. Add a second thin glossy top coat for full shine and better longevity, and cap the sides and tips so the shimmer doesn’t chip at the edges.
Editor's noteUse a shimmer topcoat that matches the red family — pink shimmer on true red can look off.
Skip thisUsing a thick, gritty glitter topcoat over chrome makes the finish look textured instead of glassy.