1. Cherry red thin French with almond tip
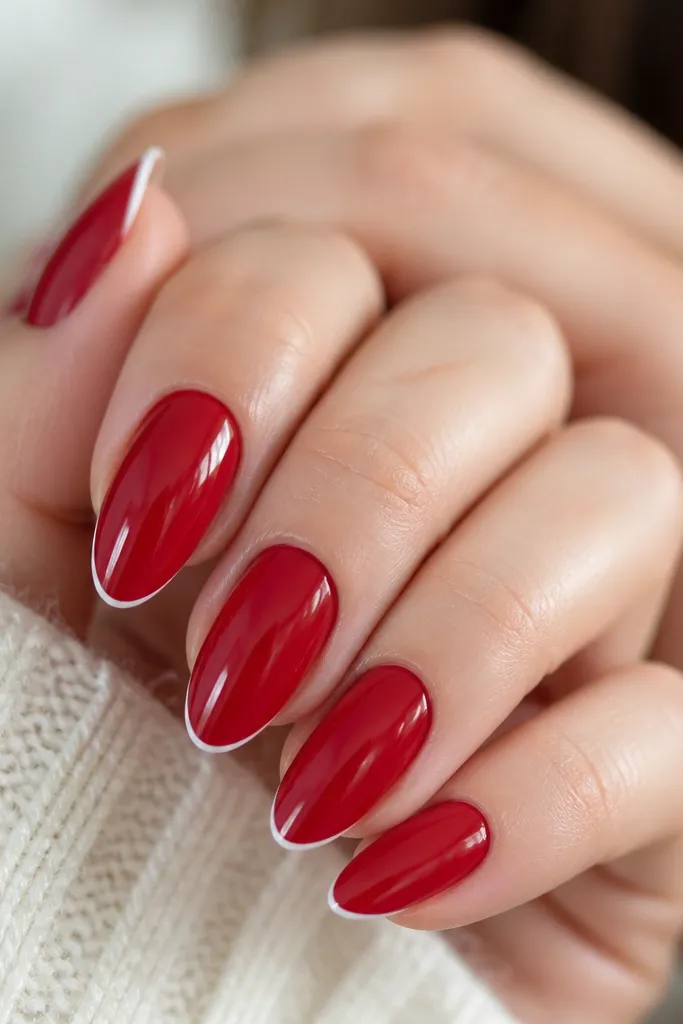
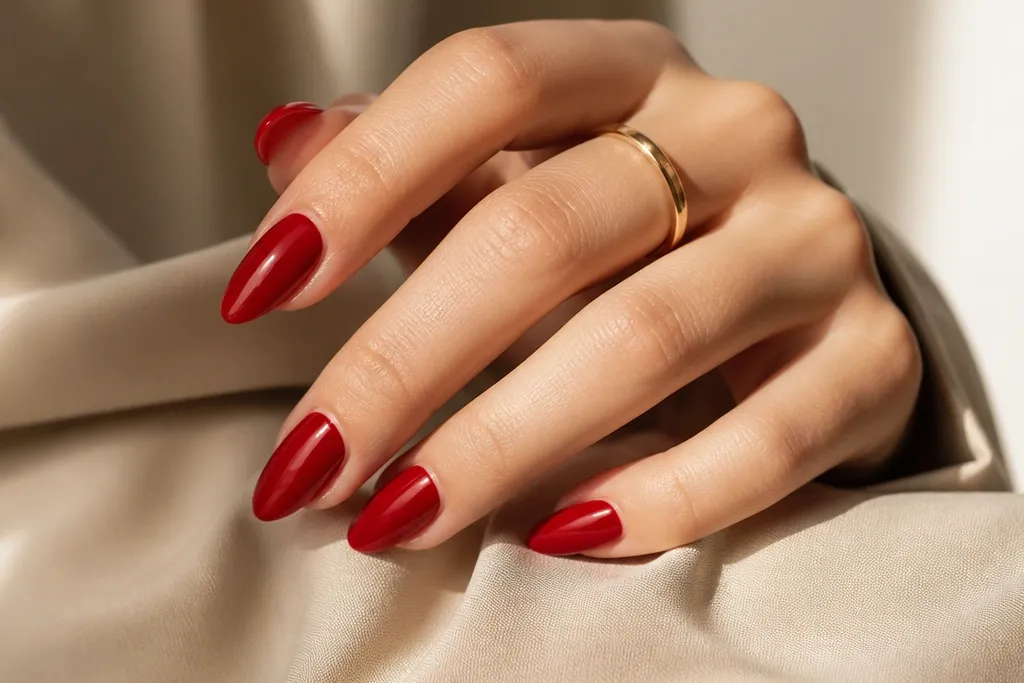
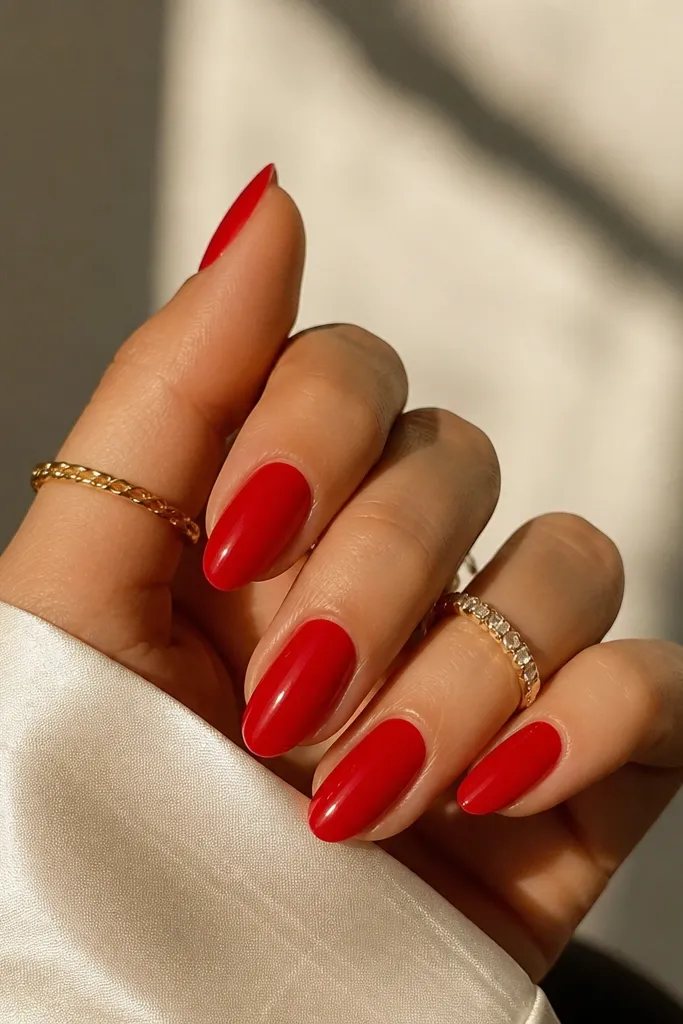
I love this one because it makes red look tailored instead of loud. Use a medium almond shape and keep the white line narrow — about the thickness of a fine liner brush hair. Cherry red with a crisp white tip flatters most skin tones, especially if your undertone is warm or neutral, because white brightens the nail bed area. It also works on shorter almonds because the thin tip creates length without adding bulk. For everyday elegance, the design stays readable even when your hands are in motion.
Editor's noteIf your French line wobbles, anchor your brush at the center first, then pull to each side in one smooth motion.
Start by prepping the nail surface and wiping with alcohol so the polish grips. Paint a full base coat, then apply two coats of cherry red, letting each coat level out before curing. Use a striping brush to draw a thin white French line along the almond edge, then cap the tip with a second thin layer of white. Finish by sealing everything with glossy topcoat, focusing on the sidewalls so the line stays sharp. If you see a ridge, buff lightly with a 1800-grit buffer before topcoat.
Skip thisSkip a thick French — wide white tips make red look like a manicure sticker.
2. Deep wine red matte with glossy red cuticle halo
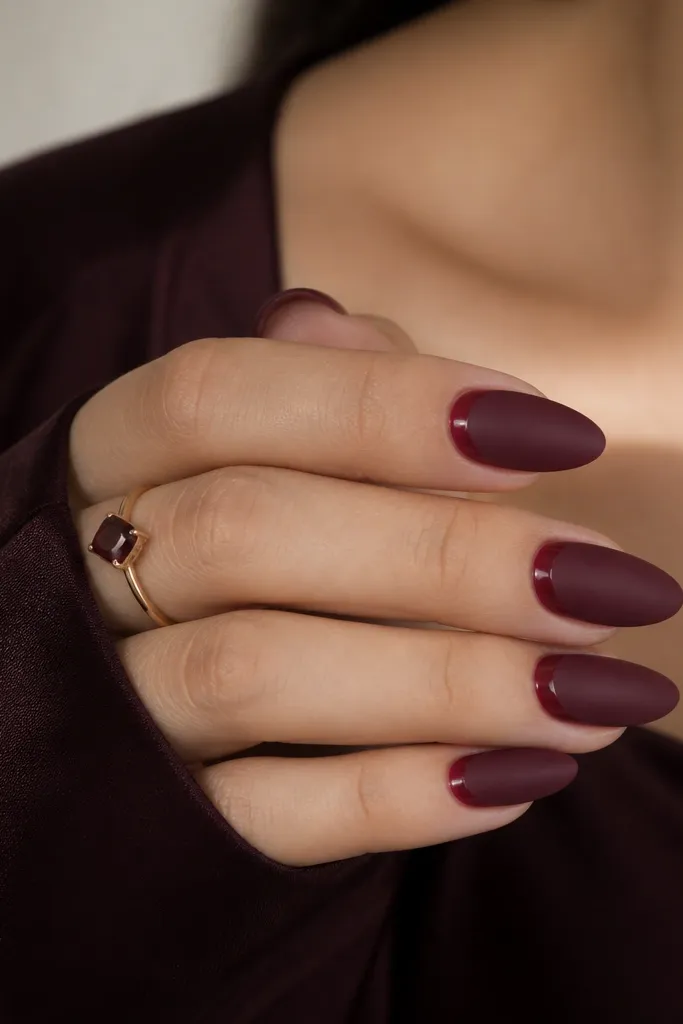
This is the classy red set I reach for when I want something moody without looking heavy. Matte wine red hides tiny surface flaws and looks expensive in indoor lighting, while the glossy cuticle halo catches light and makes fingers look more lifted. It’s flattering on hands with slightly longer nail beds because the halo frames the base. If you have fair skin, the wine tone can look almost plum — stunning with gold rings. If you have darker skin tones, the contrast between matte and gloss reads clean and intentional.
Apply your base coat, then paint two coats of deep wine red and cure fully. Let the nails dry to a tack-free state, then apply matte topcoat over the whole nail. After curing, use a small detail brush to paint a thin glossy red crescent at the cuticle — I keep it about 1 mm wide and centered. Seal with glossy topcoat only on that crescent area so the rest stays matte.
Use a peel-off cuticle barrier or tape around the cuticle if you struggle with clean halo edges.
Don’t put matte topcoat over the whole nail and then try to “fix” the shine after — it never blends clean.
3. Red velvet micro-glitter gradient
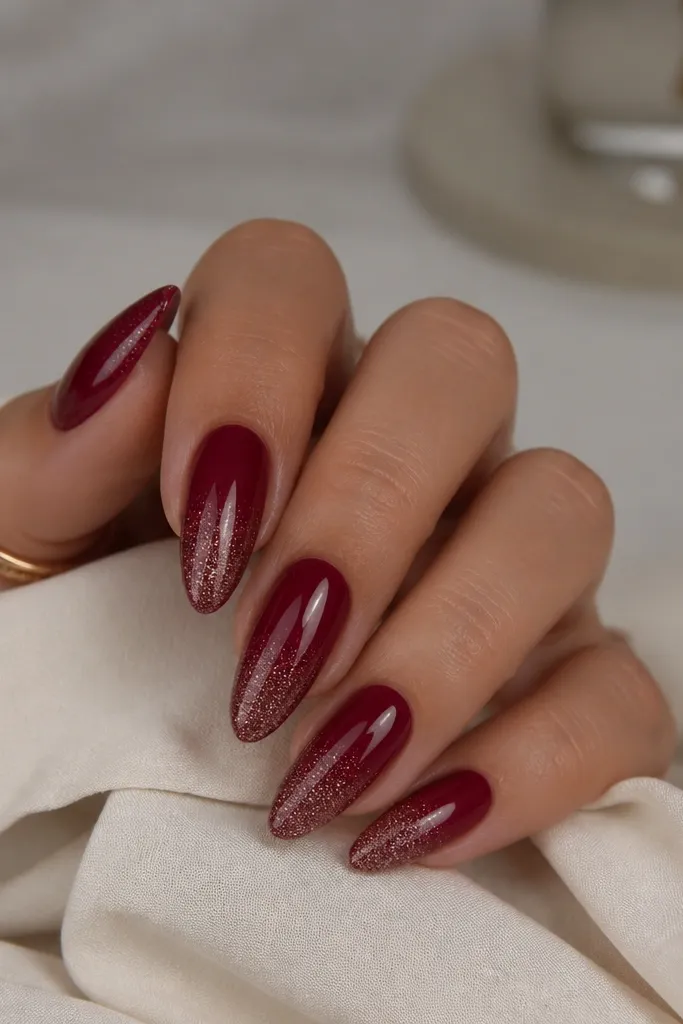
This design looks like expensive fabric because the glitter is micro-fine and the gradient is soft. Start with wine red at the base and concentrate the glitter at the free edge — that keeps it elegant instead of sparkly everywhere. It flatters hands because the brightest area is at the tip, which visually lengthens the nail. I’ve worn this to dinners and it still looks office-appropriate because the glitter isn’t chunky. It’s also great if you have ridges since the glitter texture hides them better than you’d think.
Paint two coats of wine red, cure, and wipe with cleanser. Sponge on micro-glitter in small taps starting at the tip and dragging about halfway down — you want a fade, not a block. Then apply a second glitter layer only where you want extra intensity at the very edge. Finish with a thick glossy topcoat to smooth the glitter and prevent snagging.
If the gradient looks too stark, go back with a tiny brush dipped in plain topcoat and feather the transition.
Skip holographic chunky glitter — it reads costume on almond shapes.
4. Classic red glossy with negative-space crescent
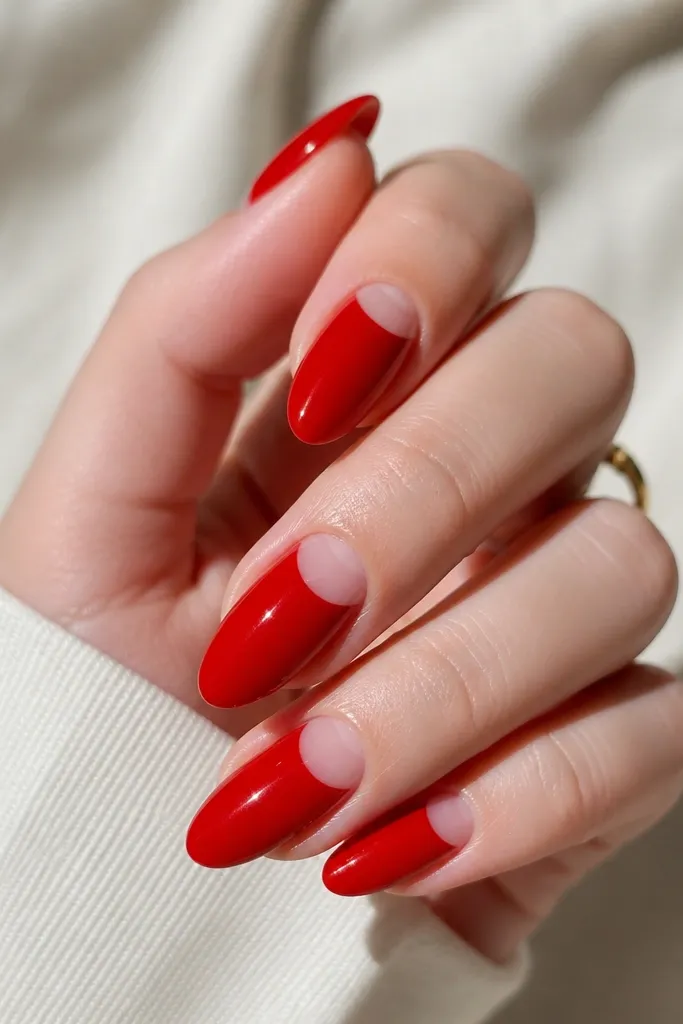
Negative space makes red feel modern and lighter, and that’s why it always comes out classy on almond. The crescent near the cuticle elongates the nail bed and draws the eye upward. This looks great on medium to deep skin tones because the clear area gives a clean contrast, and the gloss makes the red look extra saturated. For fair skin, it prevents the nail from looking too “painted-on.” The design also works for grown-out sets because the clear crescent still looks intentional.
Start with a base coat and then apply a sheer pink nude if you want warmth under the red, or skip it if you want pure see-through. Use a small crescent stencil or freehand with a striping brush to mask the clear arc at the cuticle. Paint your glossy red over the nail, cure, and remove the stencil. Seal with glossy topcoat, then gently push the sides into place with the brush to keep edges crisp.
If you freehand the crescent, mark the center with a tiny dot using your brush tip first.
Don’t make the crescent too wide — wide clear arcs look like unfinished nails.
5. Red and nude lace stripe over almond
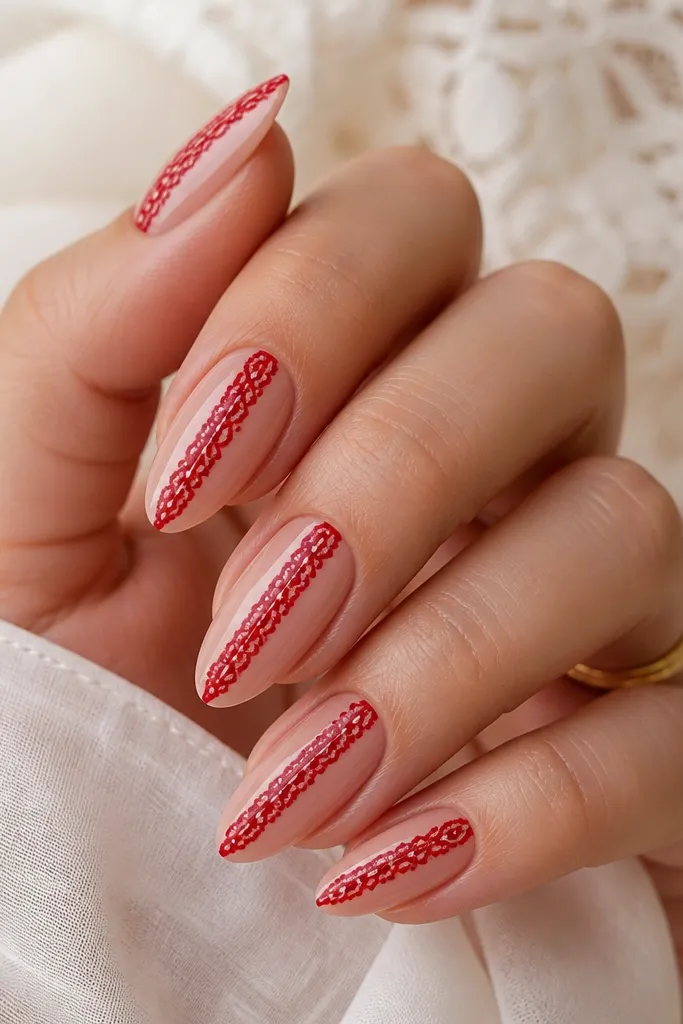
This one is elegant because it uses red as the lace thread, not as a full coverage color. A nude base makes the stripe look delicate, and the vertical placement elongates the nail. It flatters hands with shorter nails because the stripe pulls the eye toward the tip. I’ve done this on warm undertones with a peachy nude and it looks clean; on cool undertones, a rosy nude looks better. The key is thin line work — lace should look airy.
Editor's noteUse a nail art liner brush (00 or 000) so the lace lines stay hair-thin.
Paint a nude base in two coats, cure, and smooth with a thin topcoat. Place a guide dot at the center near the cuticle and another at the tip, then draw a thin vertical red stripe between them. Add lace details: tiny white dot “knots” on each side of the stripe and a few short red lines that branch outward like threads. Keep the lace within the center third of the nail so the sides stay clean. Finish with glossy topcoat and cap the stripe edges so it doesn’t snag.
Skip thisSkip thick lace blobs — they turn into a stripe of paint.
6. Red glossy ombre with sheer pink base
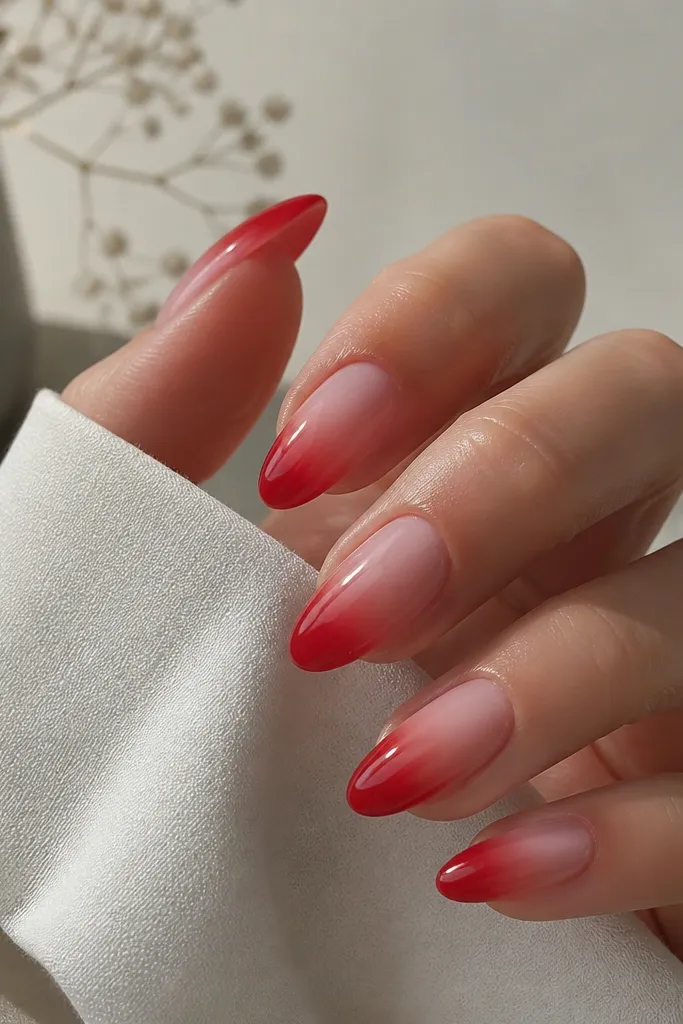
Ombre is the easiest way to make red look natural on almond, because the sheer base keeps the nail from looking like a solid block. The most flattering versions I’ve done start with a sheer pink that matches your skin tone and then blend red only toward the free edge. This works for everyday wear because it looks polished even when your nails grow out a little. It’s also forgiving if your cuticles aren’t perfectly even since the gradient hides small differences. Pair it with gold jewelry and it instantly looks intentional.
Start with a sheer pink base coat and cure. Sponge or airbrush red at the tips first, then blend upward lightly so you get a soft fade. I like to build the red in two thin layers rather than one thick layer, so the transition stays smooth. Once you love the fade, apply a glossy topcoat to glass it over. If you see a line where the sponge ended, buff gently with a 240-grit block and re-gloss.
Wipe your sponge on a paper towel before applying so you get a controlled, lighter blend.
Don’t leave a visible ombre boundary line — it looks like a sticker edge.
7. Red chrome almond with mirror center streak
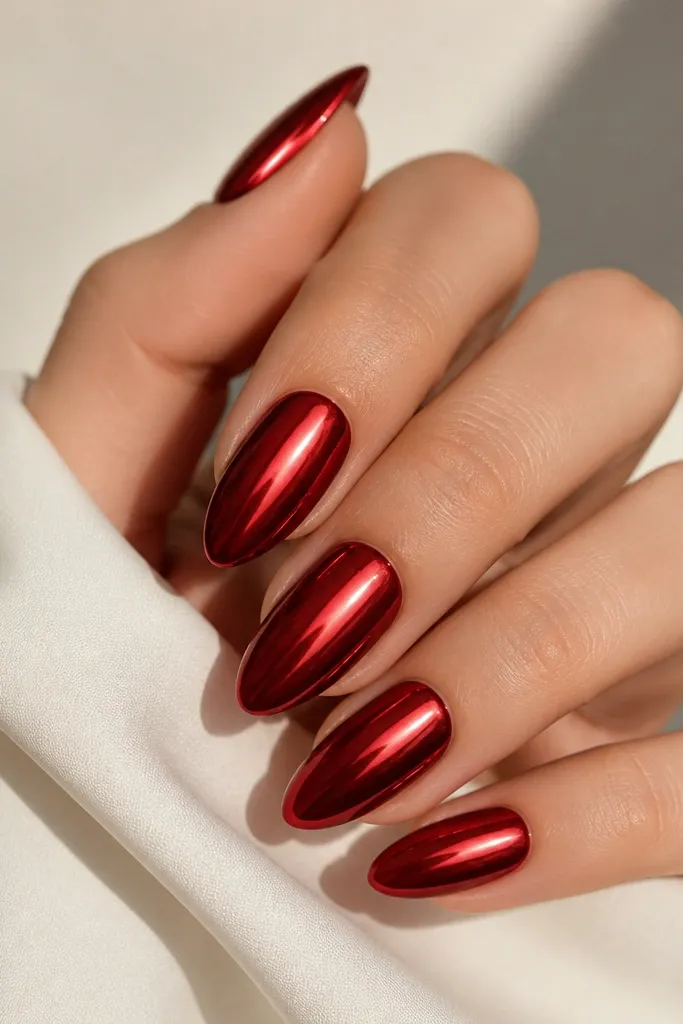
Chrome can look tacky if it’s too uniform, but a center streak makes it feel designed. The deep red chrome gives that high-impact shine, and the lighter mirror streak makes the nail look like it has dimension. This is flattering on almost everyone because the reflective center line draws attention to the middle of the nail. I’ve worn it with both cool and warm outfits and it still reads classy because the color stays in one family. It’s a great choice if you want red that looks expensive without nail art that takes forever.
Apply a red gel base and cure, then apply a chrome powder in red tones across the whole nail. Burnish lightly so the surface is smooth, then use a tape strip to mask the center line. Apply a separate mirror chrome powder only on the center streak area, burnish, and remove the tape. Finish with a gel topcoat that is compatible with chrome so you don’t dull it — use a thinner coat and cure fully.
If your chrome looks patchy, press the powder in with a firm foam applicator before you wipe off excess.
Don’t use a thick topcoat — it kills the mirror shine.
8. Red floral outline on nude almond
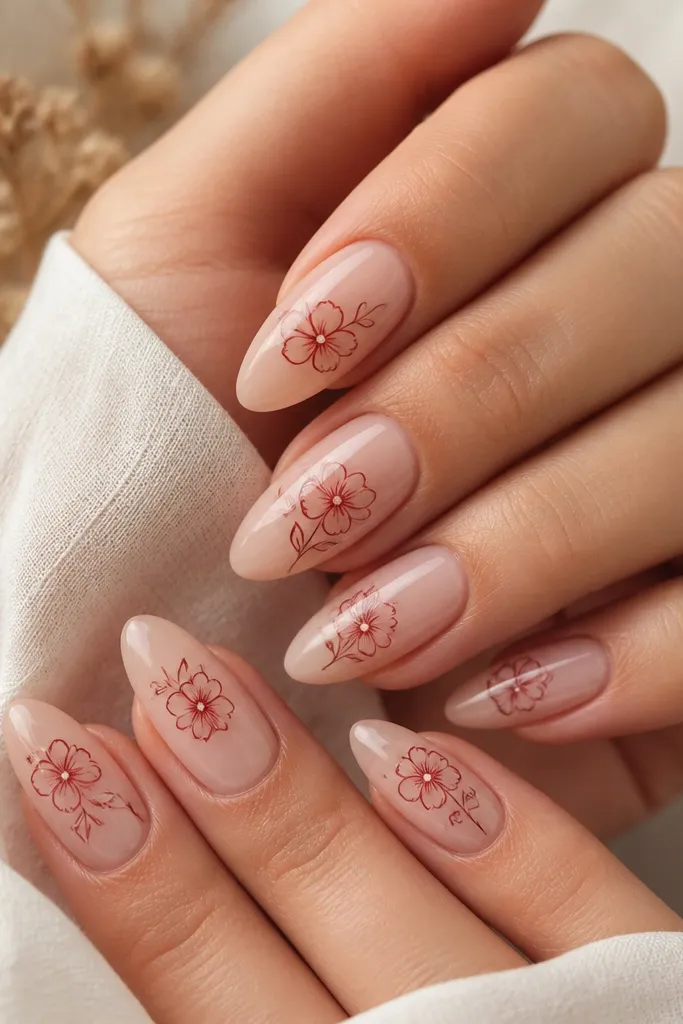
Hand-drawn floral outlines look classy because they’re light, not painted over. A nude base keeps the red airy, and outline-only florals avoid the “sticker” look. This design is flattering for everyday because it reads like fine line art, not heavy decoration. It also works well if you have short-to-medium almonds since the flowers can scale down and stay crisp. Choose a red that matches your skin undertone — coral-leaning red looks sweet, while true cherry red looks more polished.
Paint a nude base in two coats and cure. With a fine liner brush, draw a small cluster of petals near the center — I place the main flower slightly above mid-nail and add one small leaf near the base. Outline the petals in red gel, then add a few tiny dots for flower centers. Cure after each nail if your gel runs, then seal with glossy topcoat. Cap over the lines carefully so they stay smooth to the touch.
Keep flowers away from the sidewalls by at least 1 mm so they don’t smear when your hands move.
Skip filled-in solid florals — they can look chunky on almond curves.
9. Red studded French at the corner
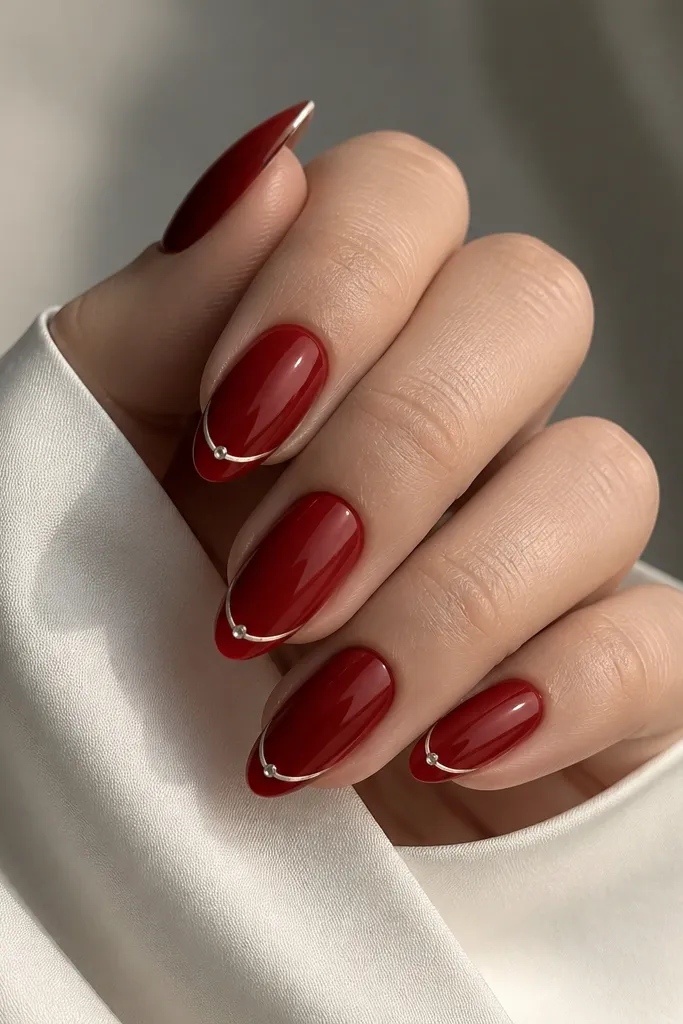
Corner studs are my favorite way to add shine without turning red nails into a disco ball. The deep red base looks rich, and the thin French line frames the nail so the stone looks like it belongs there. This flatters hands because the sparkle sits at the tip corner, which visually sharpens the almond point. It’s also great for events that aren’t full glam — think date night, weddings as a guest, or a holiday dinner. If you wear gold rings, match your rhinestones to a warm tone.
Editor's noteUse a wax pencil or a dotting tool to pick up stones — it prevents fingerprints on the gem.
Apply base coat and two coats of deep red, cure, and wipe. Paint a thin white or nude French line near the almond edge, leaving the rest red. Place one rhinestone at the outer corner — use nail glue or gel adhesive and press lightly for 10 seconds. Cap the stone with a thin gel layer so it doesn’t snag, then finish with glossy topcoat over the nail. Check the stone height by running a finger over it — it should feel smooth, not raised.
Skip thisDon’t place stones on every nail in multiple spots — the look gets busy fast.
10. Red and black micro-dot grid on almond
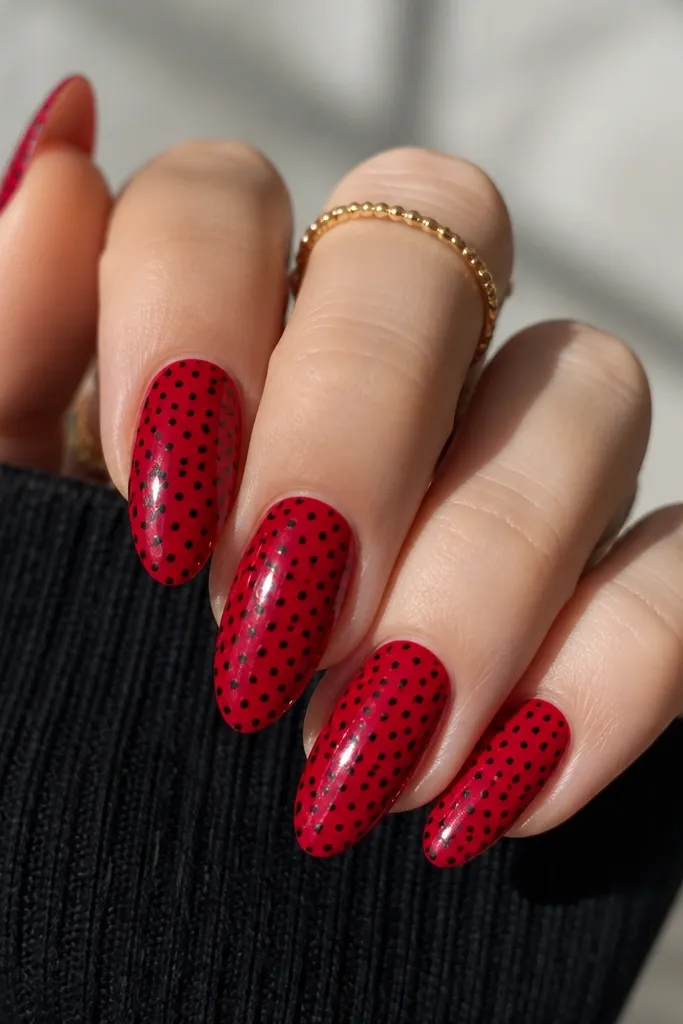
Micro-dot grid patterns make red feel graphic and classy, not childish. The black dots add contrast and keep your red from looking flat, while the dot size stays small enough to stay elegant on almond. This works especially well if you like a clean, modern look with simple outfits. It flatters medium and deep skin tones because the dots pop cleanly, and it can also look great on fair skin since the contrast is crisp. I’ve worn this with black dresses and it always looks intentional.
Editor's notePractice on a spare nail tip first so your dot spacing matches your nail width.
Paint a glossy red base in two coats and cure completely. Use a dotting tool with a small ball tip to place black dots in straight rows — I start near the center line and work outward. Keep spacing consistent: about one dot-width between dots so the grid looks neat, not random. Add a second row if you want more density, then cure. Finish with glossy topcoat, and cap lightly around the dot edges so the pattern stays smooth.
Skip thisSkip large dots — they overwhelm the almond shape.