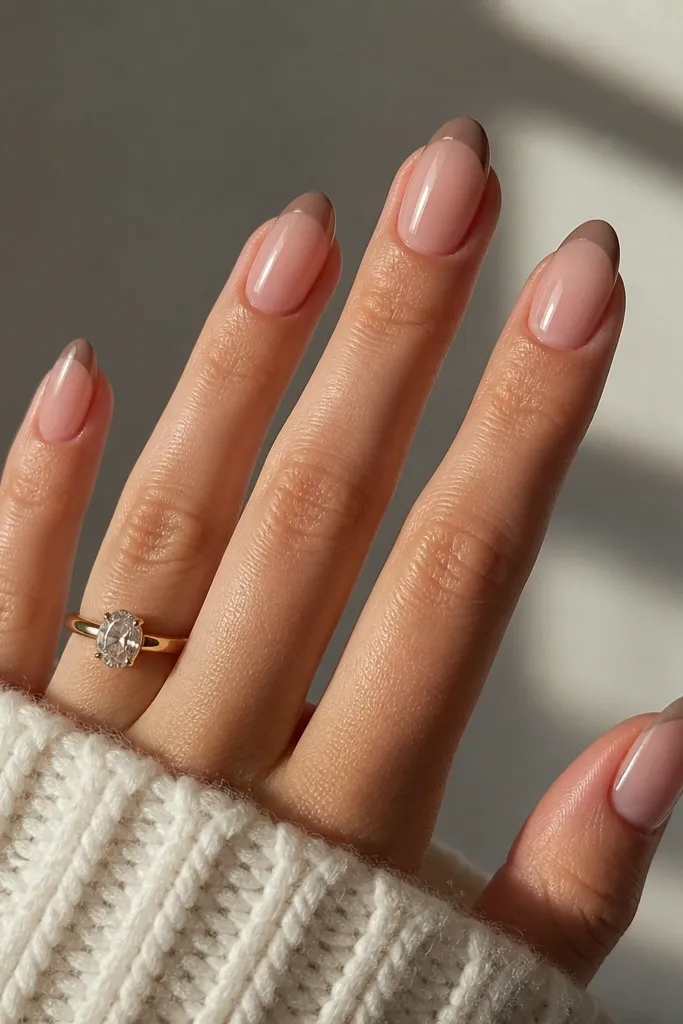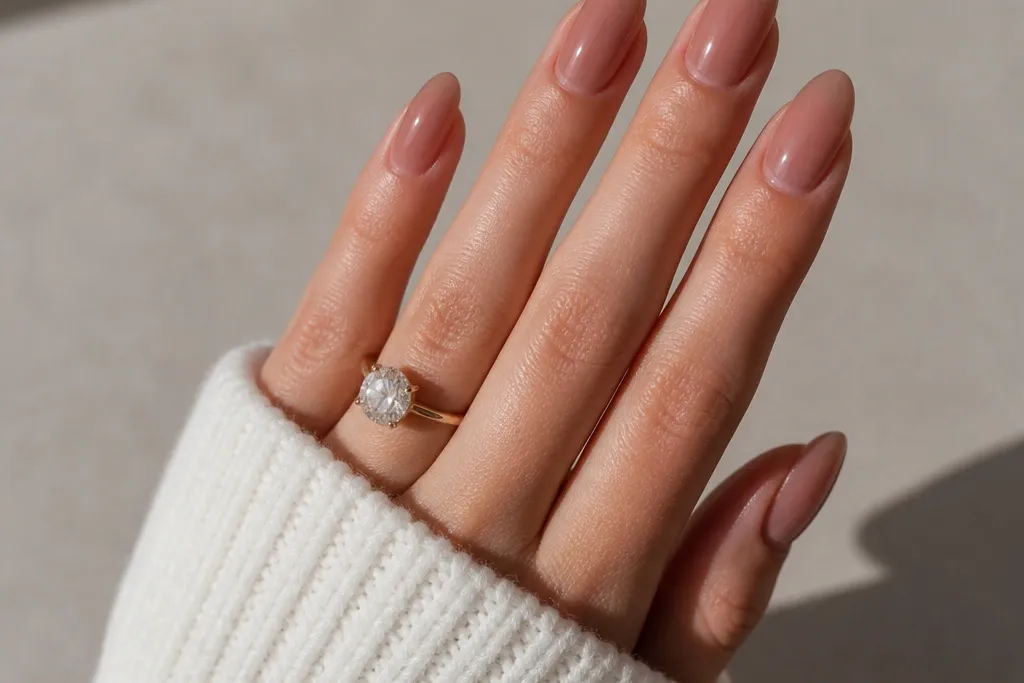
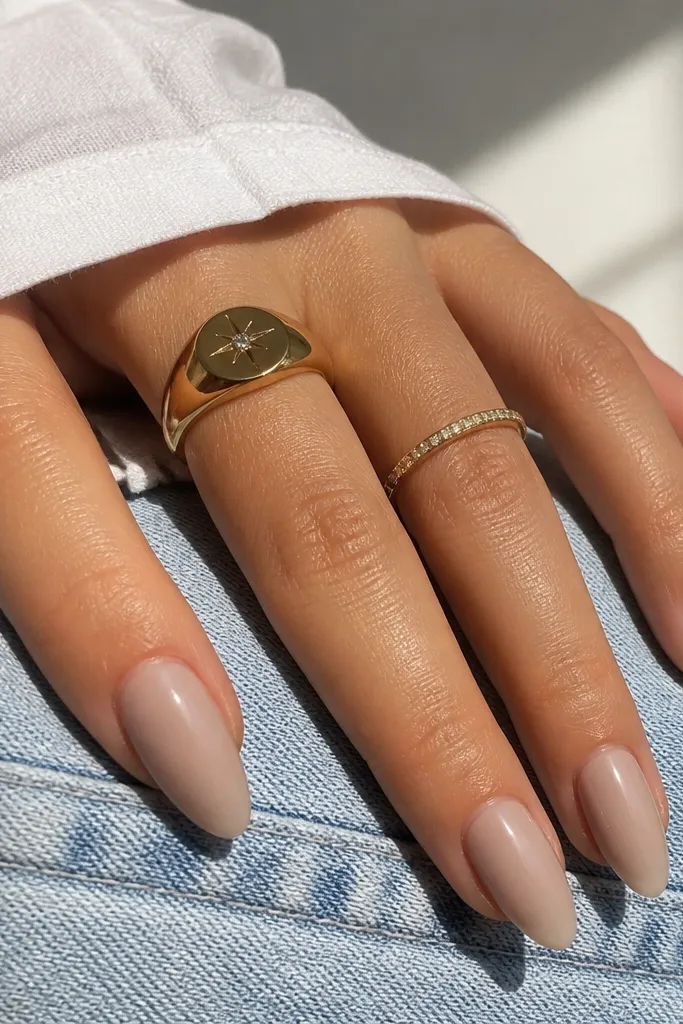
1. Butter-Gloss Nude Square with a Micro Cuticle Line
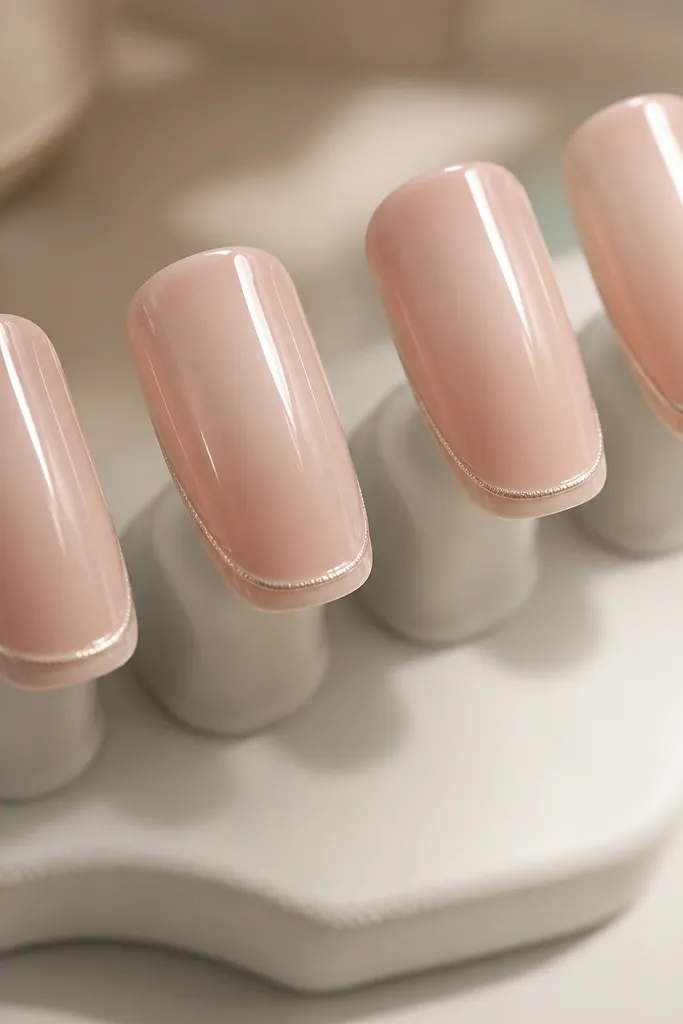
This is the “clean but not boring” version of Kylie-style nails. The butter-gloss nude base has a creamy opacity that flatters most skin tones because it sits between pink and beige instead of turning gray. The micro cuticle line — a thin pearly stripe — makes your nail bed look longer without adding bulk. It’s also forgiving if your square shape isn’t perfectly identical on every finger, because the line draws the eye upward. I love it for workdays and events where you want polished hands but you don’t want glitter catching on sleeves.
Start by shaping square tips to a flat 1-2 mm edge, then buff the surface lightly so the polish grips. Apply two thin coats of the butter nude, curing fully between coats if you’re using gel. Next, use a striping tape strip or a tiny liner brush to place a micro pearly line right above the cuticle — don’t go past the sidewalls. Finish with a glossy top coat and cap the free edge on each nail so the corners stay smooth.
Editor's noteIf the cuticle line smears, clean your brush with acetone, then redo the line after the nude coat is fully cured.
Skip thisAvoid thick pearly blobs near the cuticle — they look lumpy and catch on hair.
2. Glossy Chocolate Brown Square with One Skinny Center Stripe
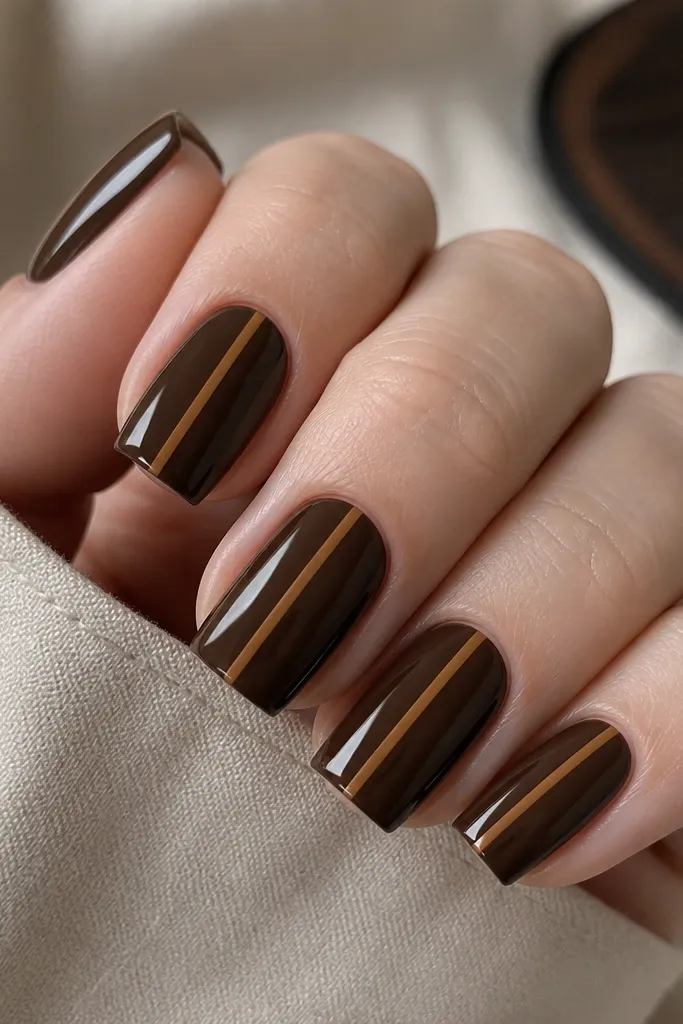
Chocolate brown makes square nails look instantly “expensive” because it creates a strong, even block of color. The skinny center stripe in caramel-brown gives the illusion of a longer nail bed, and it also softens the heaviness of the dark base. This combo looks best on medium to deep skin tones because the warm stripe echoes skin warmth, but fair skin can wear it too with a slightly lighter stripe. The stripe is minimal, so it hides any tiny unevenness in your nail length. I’ve worn this to nights out and gotten compliments every time because it reads sleek, not artsy.
Apply a thin base coat, then paint two coats of chocolate brown, keeping the edges even and the coverage opaque. Let it cure or dry fully, then place a guide point: lightly mark the center with a dot of the lighter caramel using your brush. Use a 10/0 liner brush to pull the caramel stripe straight down the middle, starting near the cuticle and stopping about 1 mm before the tip. Seal everything with a high-gloss top coat and cap the free edge.
To keep the stripe perfectly centered, rest your pinky finger on your table while you paint so your hand doesn’t float.
Avoid drawing the stripe too close to the sidewalls — it makes square nails look wider than they are.
3. Icy Pink French Square with a Clear Base
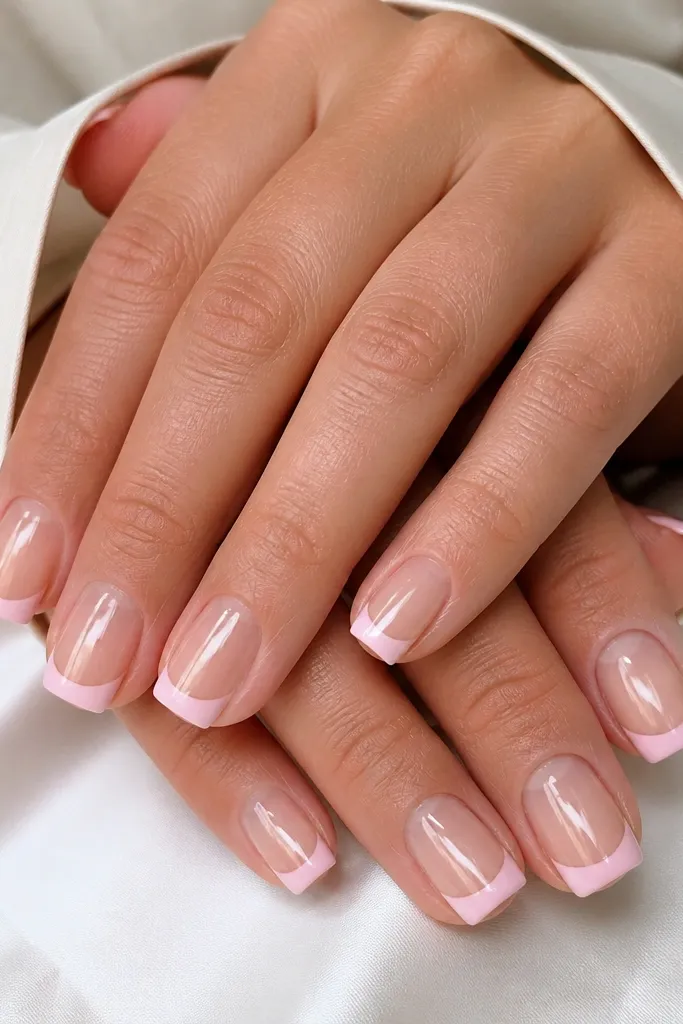
This is a Kylie-adjacent French look that makes hands look fresh fast. A clear or sheer nude base keeps your nail bed looking natural and makes your nail shape look longer. The icy pink tip gives contrast without the heaviness of a full opaque color, so it works for both short and medium square lengths. On fair skin, it looks cool and clean; on deeper skin tones, it pops more and still stays classy because the base stays light. The key is the French smile line - it should curve, not be flat like a sticker.
Start with a sheer base coat — either clear gel or a nude sheer — then cure/dry until it’s smooth. Place French tip guide strips (or use French tip tape) so the curved line sits about 1/3 of the way from the free edge. Paint the icy pink tip in two thin layers so the edges stay crisp. Remove the tape slowly while the polish is still slightly tacky if you’re using gel striping; otherwise wait until fully cured. Finish with a glossy top coat and lightly buff the tip underside so the edges don’t feel sharp.
Editor's noteIf you don’t have tape, use a business card edge as a straight reference and freehand the curve with a small brush.
Skip thisAvoid thick French tips — they look like press-on edges and feel bulky.
4. Creamy Nude Square with One-Accent Chrome Cat-Eye
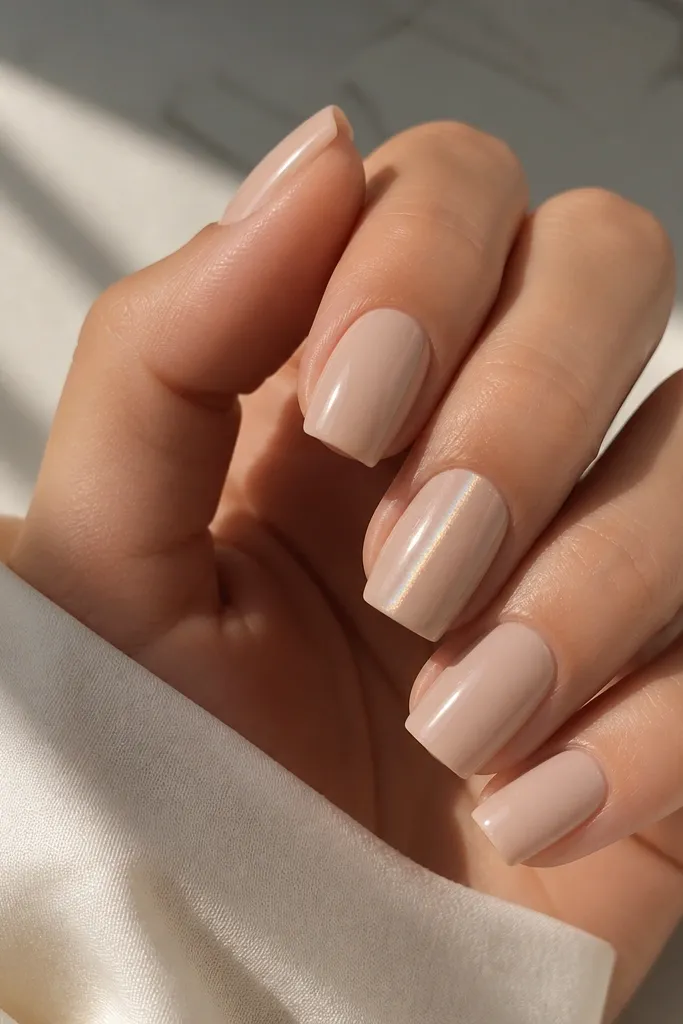
This design is my go-to when I want Kylie energy without full glitter everywhere. The creamy nude base is opaque enough to look smooth but not so beige it looks dry. The chrome cat-eye accent catches light like jewelry, and it still looks “clean” because the effect is controlled and minimal. I like placing the cat-eye on the ring finger and sometimes the thumb so the rest of the hand stays wearable. It flatters a wide range of skin tones because the chrome is neutral — it doesn’t clash like bright pigments can.
Paint two coats of creamy nude, keeping the cuticle area tight and smooth. For the accent nail, apply a cat-eye gel polish in a thin layer, then magnet it right after placing the gel — hold the magnet about 1 cm above the nail for a crisp line. Cure fully, then add one more thin layer if the glow line looks too faint. Seal with a gel top coat that doesn’t dull chrome — apply carefully over the cat-eye nail and cap the free edge. Touch up any uneven edges with a small brush dipped in top coat.
Editor's noteMove your hand under a desk lamp while the cat-eye is uncured — you’ll see the line form and you can adjust your magnet angle quickly.
Skip thisAvoid over-layering the cat-eye with too many coats — it dulls the glow line.
5. Red Velvet Square with a Glossy Black Micro Dot
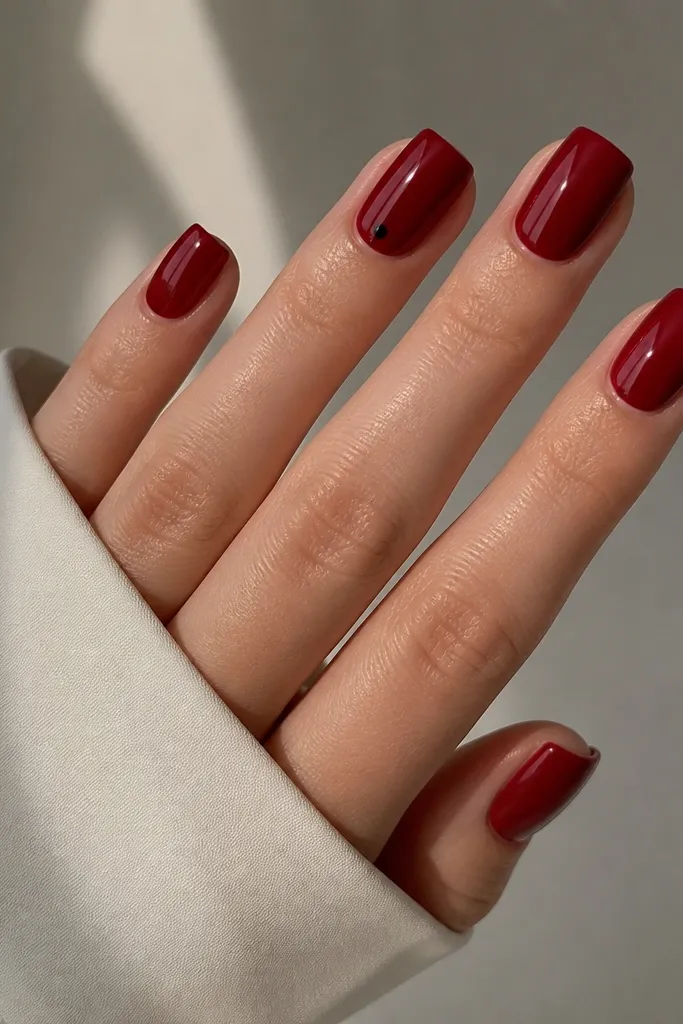
Red velvet nails look like you spent hours, but the design is simple. The deep red base makes square nails look strong and tidy, and the glossy finish makes them look freshly done even after a few days. The single black micro dot adds that Kylie-style “detail without chaos” vibe. I’ve found this works especially well for medium to deep skin tones because the red reads true and the black dot looks sharp. For fair skin, choose a slightly cooler red so it doesn’t turn orange.
Apply a base coat, then paint two thin coats of deep red gel or lacquer, keeping the sides neat. Cure fully between coats so the color stays even and doesn’t streak at the edges. On the ring finger, use a toothpick or a dotting tool loaded with black gel to place one tiny dot 1-2 mm below the cuticle line. Cure that dot, then apply top coat to all nails and cap the free edges. If the dot looks too big, wipe your tool and try again — size matters here.
If your dot smears, let the red cure hard first, then place the dot — gel shifts when the base is still soft.
Avoid adding multiple dots — the look turns playful fast and stops reading “clean.”
6. Milky White Square with a Thin Nude V-Tip
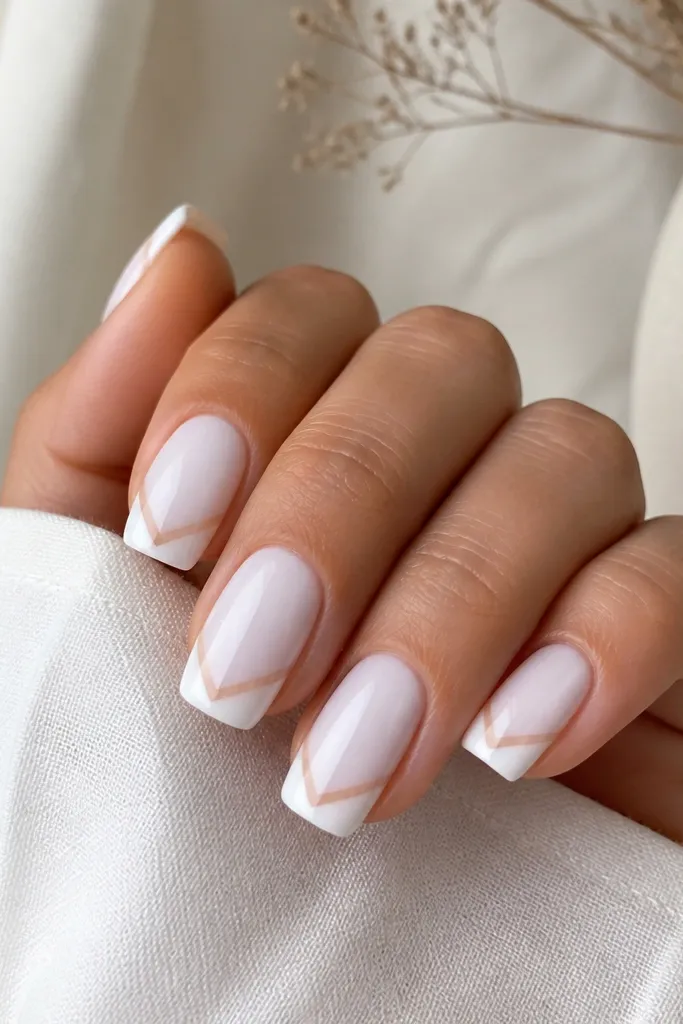
Milky white makes square nails look crisp, especially when the finish is glassy. The thin nude V-tip gives a Kylier-than-French effect because it frames the nail tip while keeping it light. This is flattering on short-to-medium square nails because the V shape creates a length illusion without making the nail look wider. On most skin tones, milky white looks clean and modern, but the nude V should match your skin undertone so it doesn’t turn pink or gray. I like this for spring through summer because it looks fresh with minimal effort.
Start with a milky white base in two coats, letting each coat level out before curing. For the V-tip, use either a liner brush or a small piece of striping tape cut into a V guide. Place the V so it starts about 2-3 mm from the tip and meets at the center — keep it thin so it stays delicate. Fill the V with a sheer nude that matches your undertone, then cure and remove tape. Finish with glossy top coat and cap the tip edges so the V doesn’t lift.
If the V looks uneven, add a second pass with nude only on the thinner side — you can correct symmetry after the first cure.
Avoid a thick V — it turns into a blocky chevron and loses the “clean” vibe.
7. Taupe Nude Square with Side-Swiped Blush Fade
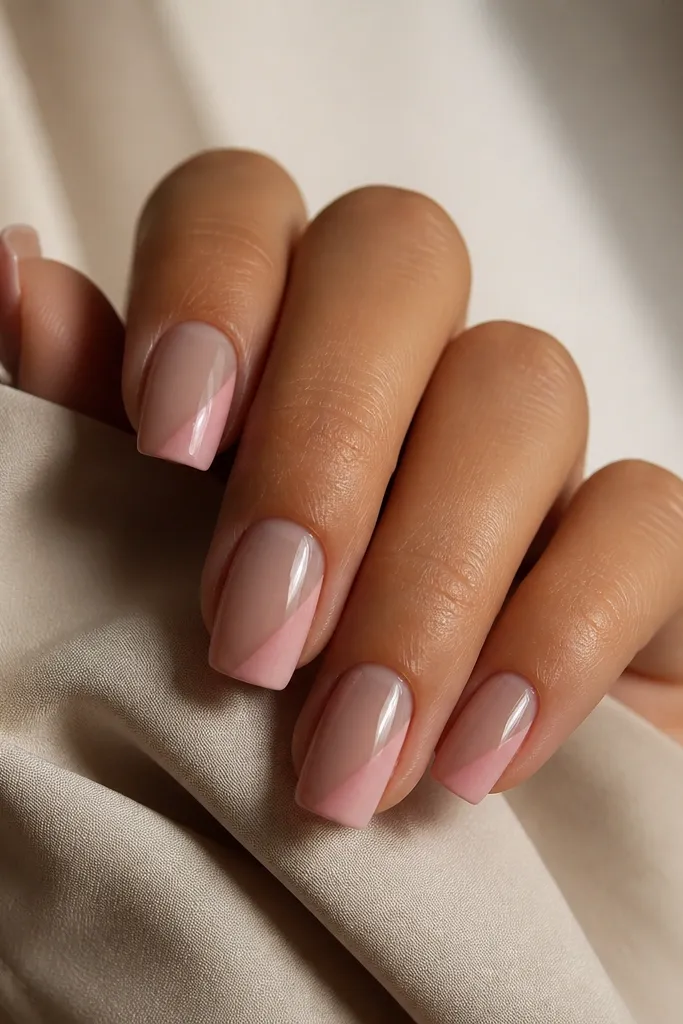
This nail looks like a salon airbrush job, but you’re doing it with polish. The taupe nude base is the anchor — it keeps the whole manicure grounded so it doesn’t look childish. The side-swept blush fade adds movement and softness, and the diagonal placement is what makes square nails look longer. I’ve seen it work on fair, medium, and deep skin because the taupe adjusts the temperature — it’s not too warm, not too cool. If you want Kylie-style without hard lines, this one scratches that itch.
Paint two coats of taupe nude and cure/dry fully. Choose a blush pink that’s slightly sheer so it blends without chalkiness. Using a makeup sponge or a small silicone blending tool, dab blush on the outer side of the nail and drag lightly toward the center, leaving the base visible. Do two light passes instead of one heavy pass so the fade looks smooth. Seal with glossy top coat and cap the sides carefully.
Editor's noteWipe your sponge on a paper towel first — you want a whisper of blush, not a solid patch.
Skip thisAvoid blending too far toward the cuticle — it makes the nail bed look shorter.
8. Matte Nude Square with One Glossy Outline Stripe
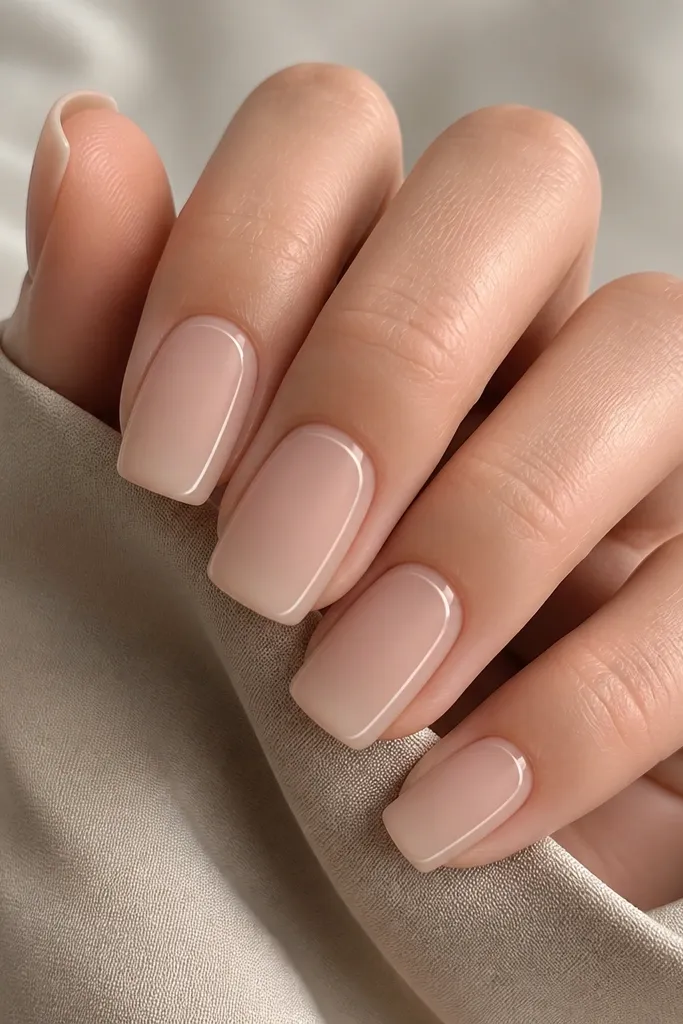
Matte nails look fancy because they change the way light hits your hands. The nude base stays neutral and flattering, while the glossy outline stripe gives you that “designed” look without heavy art. I’ve found matte is the fastest way to hide minor surface imperfections, but you need a clean outline so it doesn’t look messy. This works for every skin tone because the nude is doing the heavy lifting, and the glossy stripe adds contrast. It’s especially good for evenings because matte under warm lighting looks soft and expensive.
Apply two coats of nude gel polish and cure fully, then top coat with a matte top coat. While the matte is cured, use a striping brush to paint a thin glossy outline stripe in a clear gel top coat or glossy gel polish — trace along one side of the nail and across the tip edge lightly. Cure again so the stripe stays raised and shiny. Finish by sealing the stripe edges with one careful layer of the glossy top coat, not matte, so it stays contrasted. Keep the stripe thin — it should look like a frame, not a band.
Use a striping guide tape to create a straight edge for the outline, then peel it before curing the glossy gel.
Avoid matte on top of the glossy stripe — it kills the contrast.
9. Rose Chrome Square with Clear Negative Space Half-Moons
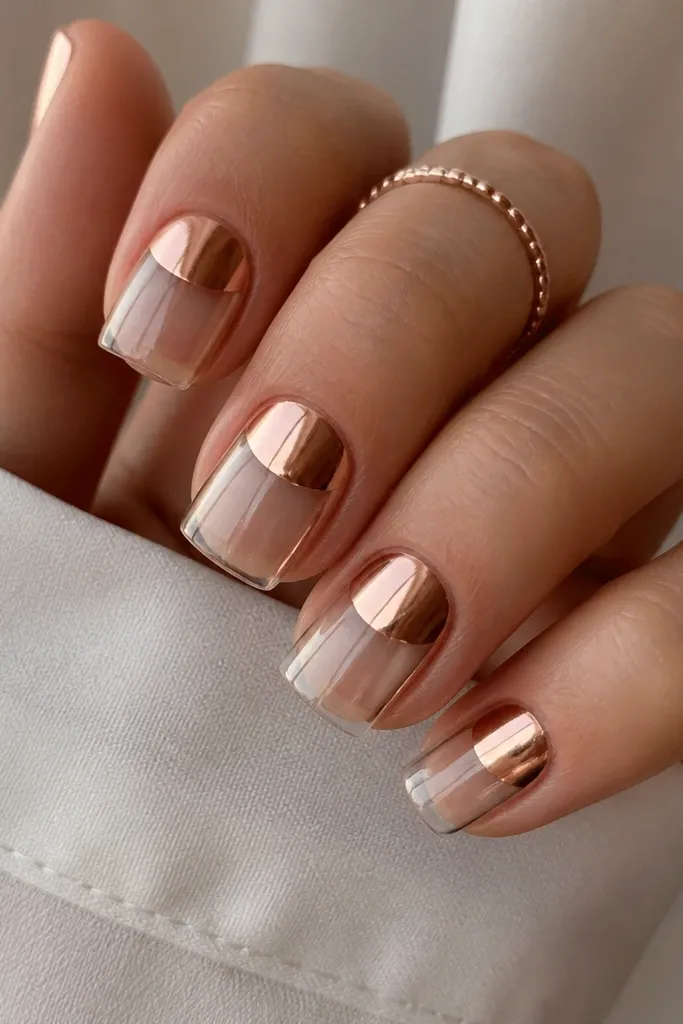
This is Kylie-inspired because it looks like jewelry on the nail, but it still feels clean. The clear negative space makes your nail bed look airy and longer, and the rose chrome half-moon gives that “light from within” effect. It flatters hands because it creates a break in color that visually stretches the nail. I like it on fair to deep skin because rose chrome reads flattering instead of harsh, and the clear base keeps it modern. If your hands get dry, this design also hides tiny texture because the clear area looks smooth and intentional.
Start with a clear base coat or builder gel layer to create a smooth surface. Apply rose chrome half-moon shapes using a stencil or by freehanding with a small brush: place the chrome near the cuticle and stop halfway down the nail. Keep the negative space band centered so it looks like a deliberate design, not an accident. Cure fully, then apply a high-shine top coat carefully around the chrome so it stays reflective. If the chrome needs extra coverage, add a thin second chrome layer only on the half-moon area.
Editor's noteIf your half-moons look uneven, use a tiny piece of tape to mask the negative space before applying chrome.
Skip thisAvoid covering the clear negative space with chrome — it removes the length effect.
10. Glazed Caramel Square with a Tiny White Star on One Nail
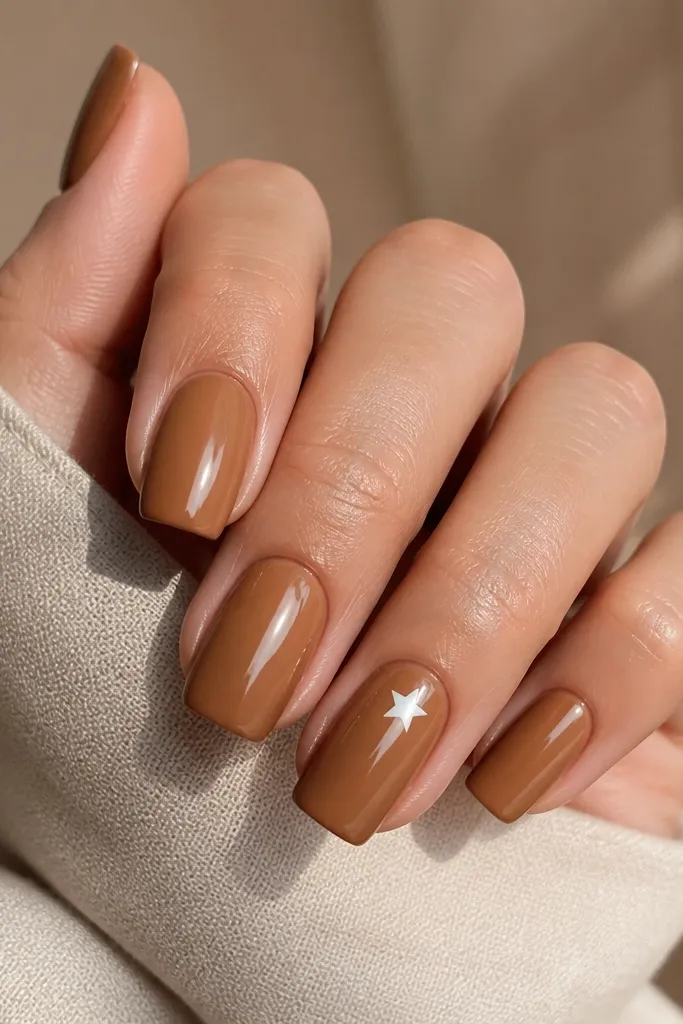
Glazed caramel nails look like a warm latte on your fingertips. The caramel base is flattering because it reads warm and natural, and the glazed top coat makes the whole manicure look freshly sealed. A tiny white star on one nail gives the Kylie vibe without turning it into full-on nail art. I like placing the star on the ring finger because it’s the easiest to keep crisp and it’s the nail people notice when you gesture. This one looks best on medium to deep skin, but fair skin can wear it too if the caramel isn’t too orange.
Paint two coats of caramel brown, then cure fully. Apply a glossy glazed top coat that has a thick, self-leveling texture so it looks like glass — I’ve gotten the best results with gel top coats labeled “high shine” and used in a thin layer. For the star, use a star-shaped nail stamp or a dotting tool plus a liner brush: place one small dot, then pull four short lines out to form points. Cure the star, then cap the free edge with top coat so it doesn’t catch. Keep the star tiny — about the width of the tip of a pencil eraser.
Editor's noteIf you’re painting the star by hand, mark the star center with a dot first, then build the points outward.
Skip thisAvoid a large star — it makes the manicure feel costume-like instead of clean.