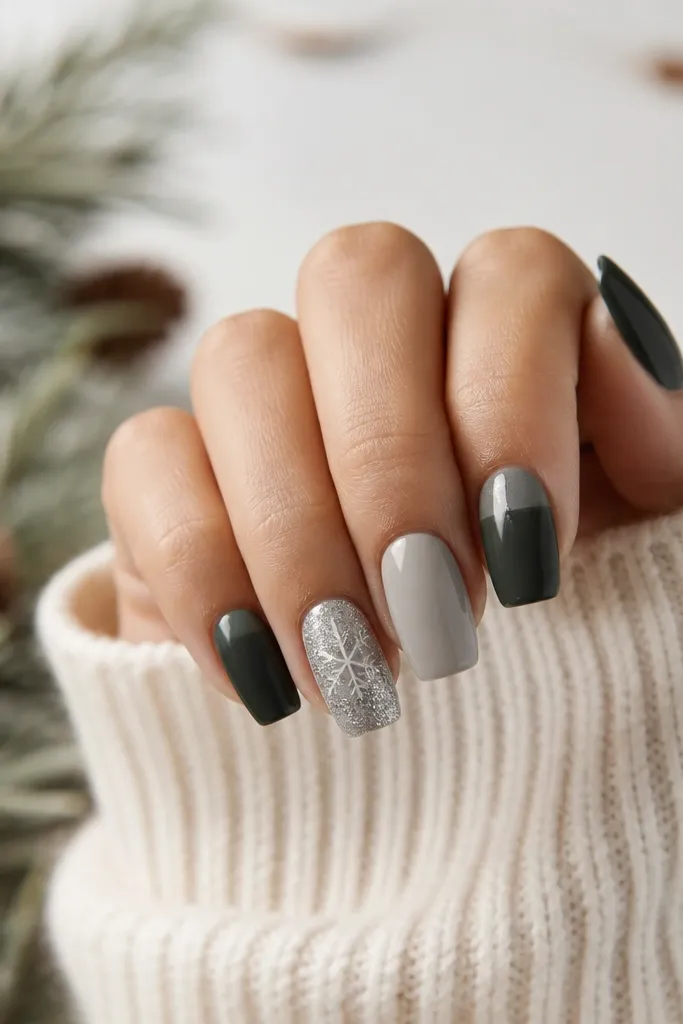
1. Velvet Red Soft Square with White Snow Caps
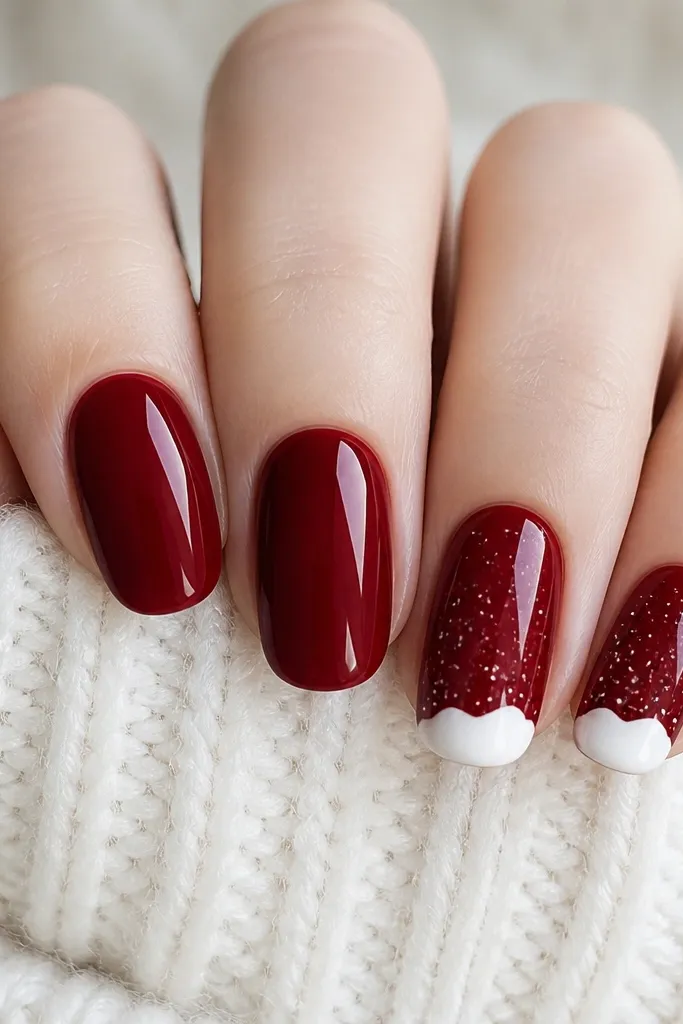
Start by asking for a soft square with a 1.5 to 2.0 mm free edge, then build your acrylic in velvet red with even thickness. Cap the design by placing a thin white arc on two nails about 2 to 3 mm from the tip edge, like a half-moon that’s slightly curved. Add 3 to 6 tiny white dot specks inside each arc using a dotting tool or a striper brush. Finish with a glossy top coat over every nail, then cure fully so the snowcap stays smooth and doesn’t snag.
This look is my go-to when I want winter christmas nails that still look neat after a week of real life. The velvet red acrylic has a dense, slightly plush look under gloss, so it doesn’t show tiny scuffs the way bright cherry sometimes does. The soft square shape makes it feel tidy on shorter fingers and looks especially good if your nail bed is a little wide because the corners frame your cuticles cleanly. The white snow caps sit right at the tip, so when your nails grow out, the design still reads as “snow” instead of “half-finished glitter.”
Skip thisAvoid chunky snow glitter on a full nail — it lifts faster and catches on fabric.
Editor's noteIf you do this at home, mix your white dots with a gel that self-levels so they don’t look raised. Seal the cuticle line with a thin top coat pass to reduce lifting.
2. Frosted Nude Almond with Micro Silver Stars
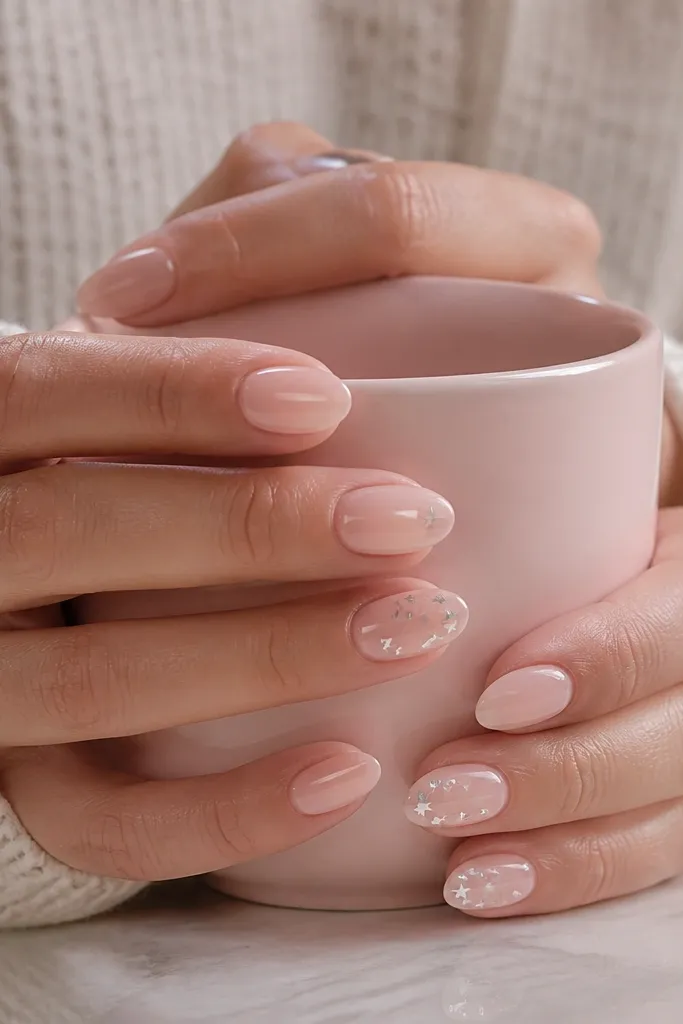
Ask for a frosted nude acrylic or overlay, then keep the free edge around 2 mm so the stars have room. Place micro star decals or hand-painted tiny stars on two accent nails — keep them to about one star per 2 to 3 mm square area. Leave the rest of the nails plain nude with a glossy top coat so the look stays clean. Seal around each star with a thin layer of clear acrylic or gel so there’s no edge for snagging.
If you want low maintenance winter christmas nails easy care that still look festive in photos, this is it. The frosted nude base matches most skin tones and makes growth less noticeable because your nail bed and the acrylic blend visually. Almond shape lengthens fingers without adding fragile length, and it looks great if your hands are on the shorter side because the curve keeps the nail looking intentional. The micro silver stars are placed near the free edge, so they read as winter sky even after a bit of regrowth.
Skip thisDon’t cover the whole nail with stars — too many decals create ridges that lift.
Editor's noteUse a matte top only on the nude base if you want a “frosted” look, then keep the star area glossy. That contrast makes the stars pop without adding glitter bulk.
3. Deep Evergreen Tips with Gold Foil Half-Moons
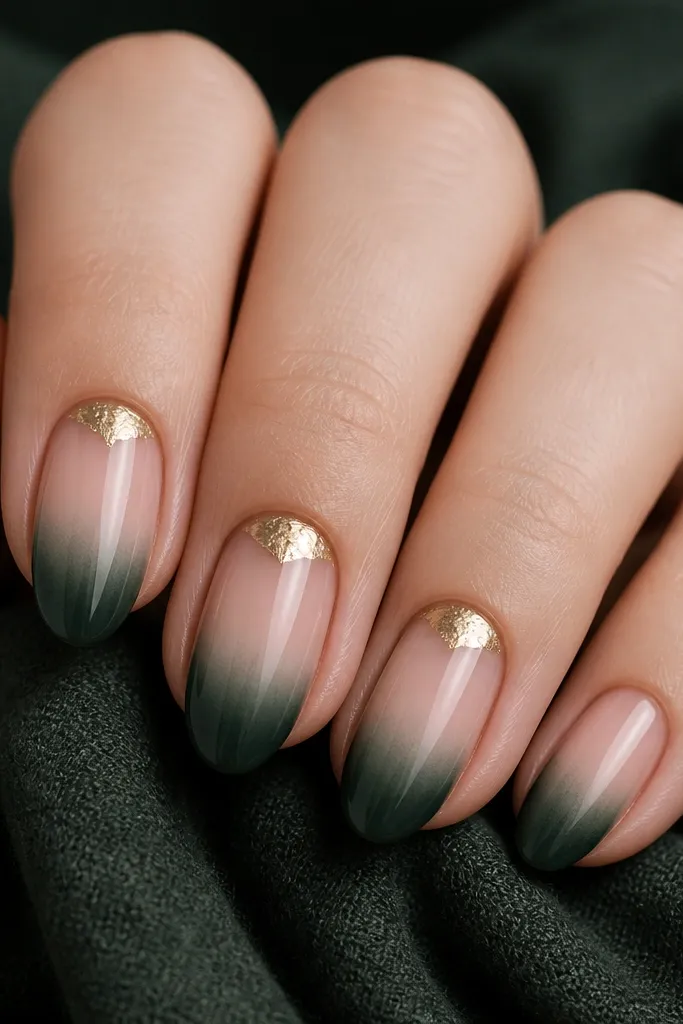
Start with sheer nude acrylic, then build a deep evergreen tip using a straight smile line. Keep the evergreen to the top third of the nail and blend the edge with a soft gradient so it doesn’t look like tape. Apply gold foil half-moons on three nails at the cuticle, leaving a 0.5 mm nude gap so it looks intentional. Finally, top coat with gloss and press gently around the foil edges so the foil doesn’t lift.
This design looks expensive because the evergreen tips do the heavy lifting and the gold foil stays in a small, controlled area. The sheer nude base makes it low maintenance because the grow-out line blends, and you don’t need to repaint cuticles every few days. Evergreen flatters a wide range of skin tones — it looks especially good on warm undertones because the green has a slightly blue depth. The gold foil half-moons at the cuticle give you that holiday “ornament” feel without needing full glitter coverage.
Skip thisAvoid placing foil on every nail — it gets bumpy and chips at the edges.
Editor's noteIf you’re getting foil at a salon, ask them to apply it on a tacky layer and cure in small bursts. That prevents foil from wrinkling.
4. Classic Christmas Red with Thin Gold Lining
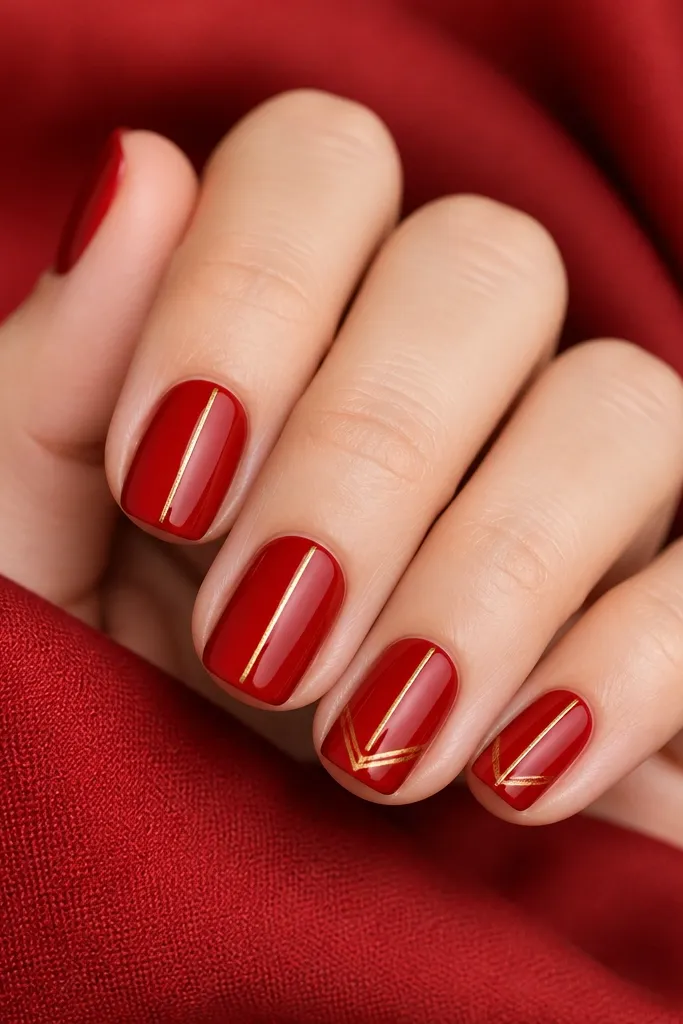
Ask for short square-rounded nails with about 1.5 mm free edge. Apply full coverage Christmas red acrylic, then cure and file to a smooth, even apex. Paint a thin gold line down the center of each nail using striping gel or a fine liner brush — aim for a line thickness you could cover with a single hair strand. On two accent nails, add a small V at the tip using the same liner gel, then top coat over everything.
This is the cleanest holiday look that still feels “done.” The classic red is forgiving because it hides minor surface wear, and the thin gold lines add detail without making the nail feel heavy. Short square-rounded nails are practical for everyday — they don’t snag on tote bags and they look tidy even when you type a lot. It flatters hands with wider nail beds because the center line gives a subtle lengthening effect. The best part: the gold lining doesn’t grow out in an obvious way because it’s narrow and close to the center.
Skip thisAvoid thick gold stripes — they look raised and catch on sweaters.
Editor's noteUse striping gel with a tacky layer and cure longer than you think — it stays crisp and doesn’t smear when you top coat.
5. Champagne Nude with Burgundy Bow Accent
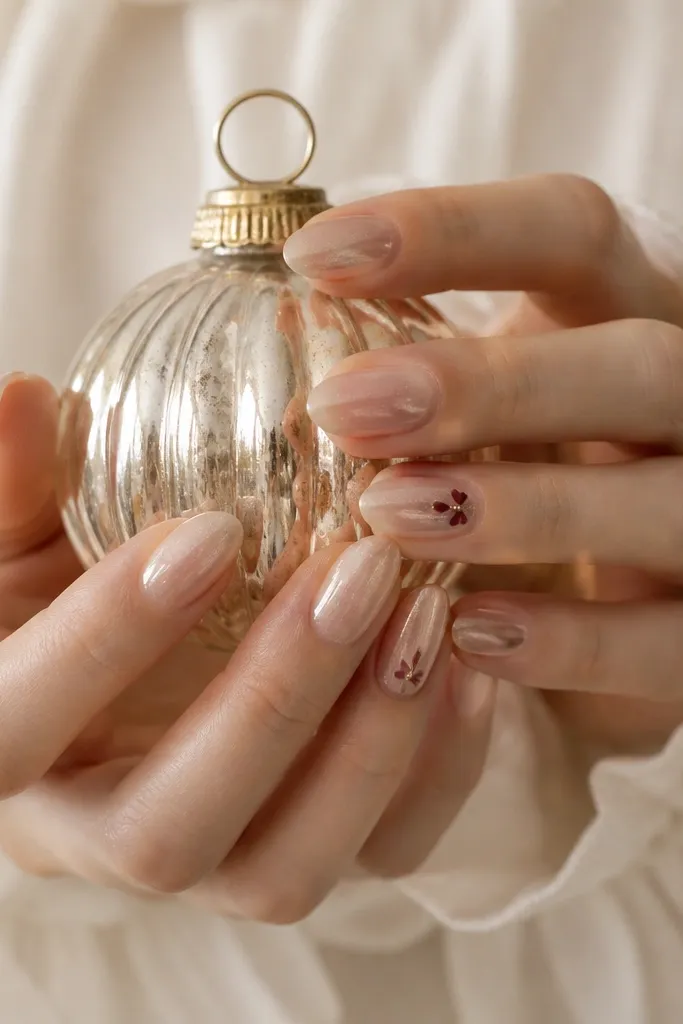
This is for when you want winter christmas acrylic nails that look cute without being loud. The champagne nude tone reads festive with holiday outfits, and it’s low maintenance because it blends with your natural nail bed as it grows. The burgundy bow sits on only two nails, so you get the holiday detail without the risk of glitter lifting across all ten. Almond shape keeps the bow from looking bulky, especially on shorter fingers, and the gold dot in the center ties it to ornaments and jewelry. It’s a “pretty and practical” combo that still looks intentional up close.
Start with a champagne nude acrylic overlay, leaving the cuticle area slightly more sheer so it looks natural. Keep the length medium-short almond, around 2 mm free edge. On two accent nails, place a small bow using a gel sculpt or a thin bow decal — position it near the cuticle but leave 1 mm space from the skin. Add one tiny gold dot at the center and seal with a clear top coat layer so the bow edges are smooth. Finish with full gloss on every nail.
If you hand-sculpt the bow, build it in two thin layers and cure each — one thick layer looks lumpy.
Avoid putting 3D bows on all nails — the height makes them snag and chip.
6. Icy Blue Chrome with White Swirl Tips
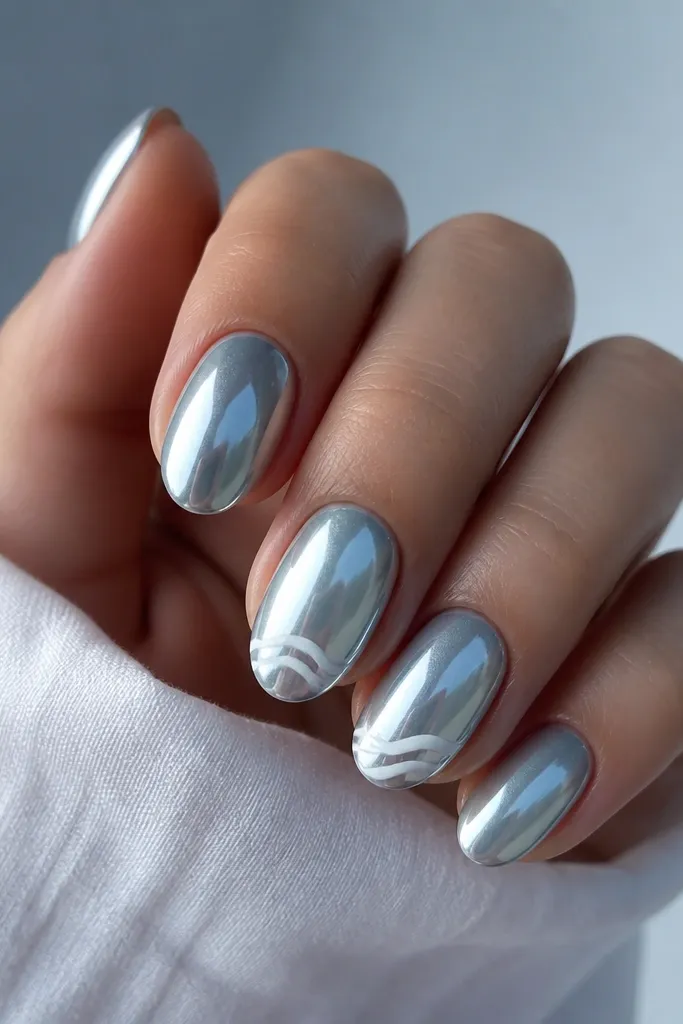
Ask for icy blue chrome acrylic or a chrome top over a pale blue base. Keep the nail length medium-short almond with a smooth apex. Add white swirl tips on two nails by painting a thin white ribbon curve starting about 3 mm from the tip and curling toward the outer edge. Keep the swirl line narrow so it doesn’t look like paint smudges. Top coat carefully — if your chrome system requires a matte-free seal, follow that so the shine stays mirror-like.
This look is winter in motion. Icy blue chrome has a reflective finish that hides tiny dents because the light keeps moving across the surface. The white swirl tips are placed only on two nails, so you get a “snow ribbon” effect without turning the whole set into a textured mess. Almond shape makes the swirls look longer and more delicate, which flatters hands that get overwhelmed by chunky art. It also looks great on light to medium skin tones, where the icy blue pops without looking harsh.
Skip thisAvoid heavy swirls on every nail — thick lines chip at the corners.
Editor's noteUse a chrome that’s meant for nails, not loose powder, and cure each step. Loose chrome can rub off and make the set less durable.
7. Black Cherry Gloss with Red Micro Glitters
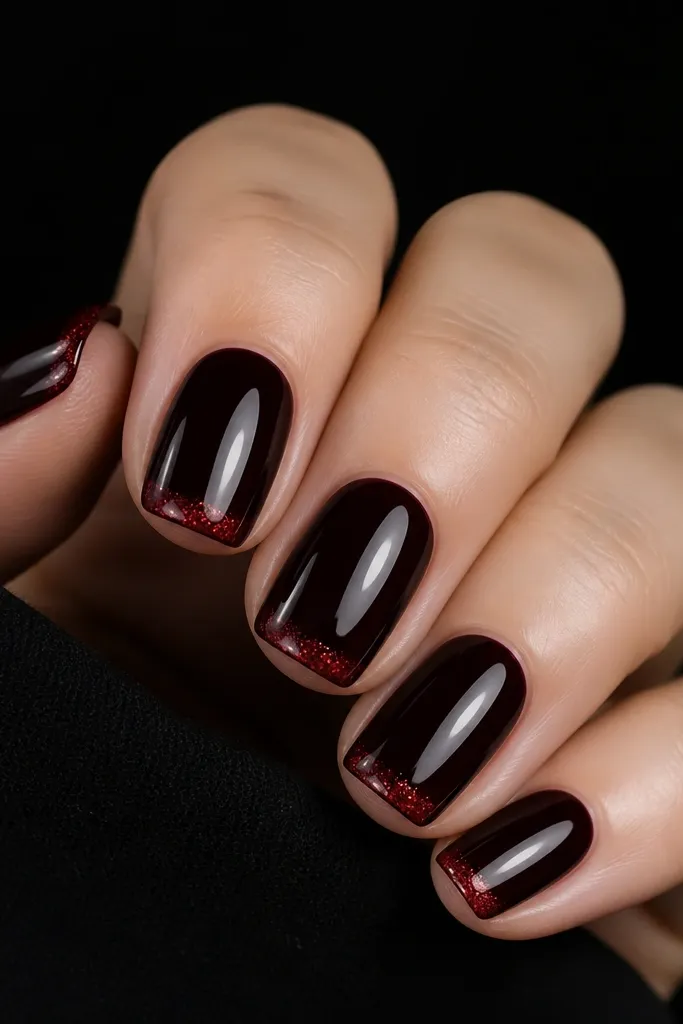
This set looks rich without requiring constant touch-ups. Black cherry is darker than classic red, so it hides small chips and tiny dents better in daily wear. The red micro glitter is only at the tip band, which means it stays festive while still being low maintenance. Soft square shape keeps the edges strong and reduces catching. This one flatters medium to deeper skin tones because the warm red glitter reads like a holiday ember against the dark base.
Build your acrylic in black cherry with full coverage and keep the free edge around 1.5 mm. Create a thin glitter band by applying clear or gel at the tip edge, then dust in red micro glitter so it stays concentrated within the last 1 to 2 mm. Use a small brush to sweep glitter inward so it doesn’t spread down the nail. Seal with a glossy top coat that smooths the glitter so it feels flat, not gritty.
If glitter feels bumpy, do an extra thin top coat and cure fully. Smoothness is what makes these last through winter coats and hand sanitizer.
Avoid chunky glitter at the tip — it lifts and turns into a snag point.
8. Snowy White Matte with Clear Gloss Ornaments
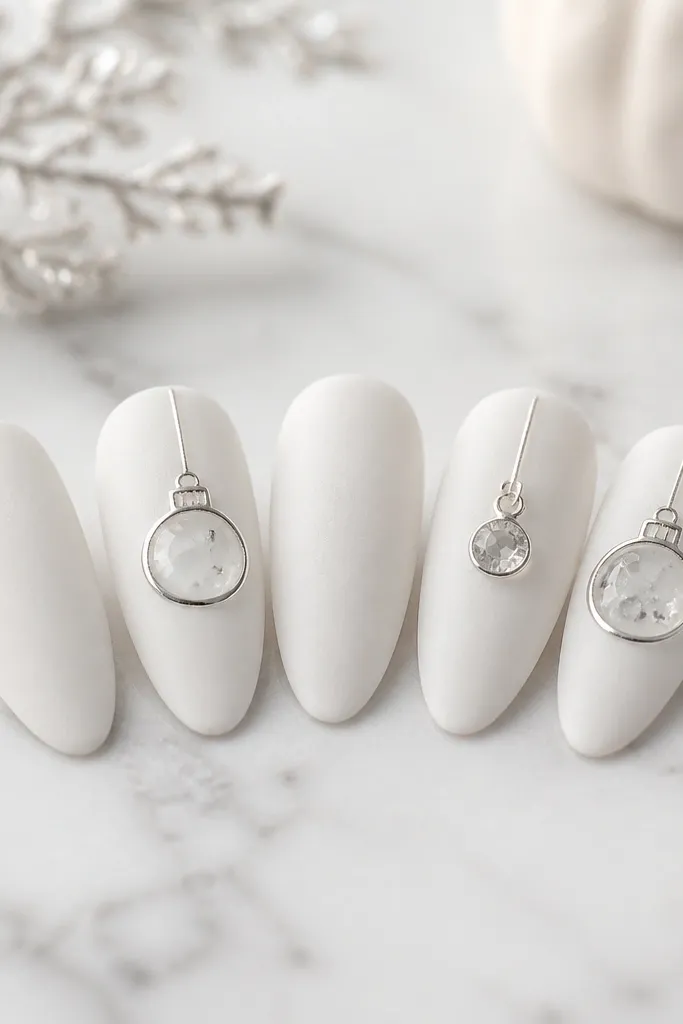
Start with a snowy white acrylic base. File and shape first — matte shows every uneven spot. Apply a matte top coat over all nails and cure. On two nails, paint thin silver outlines in ornament shapes (simple circles or teardrops) and then cover only those outlines with a glossy top coat so they look like glass. Add a small clear charm on one nail by anchoring it under clear gel and curing, then top coat around it to flatten the edges.
Matte white is the fastest way to get that winter christmas nails look without needing a ton of art. The matte finish makes the nails look soft and “snowy,” and it hides micro scratches that show up on gloss in winter. Clear gloss ornament outlines keep the set from looking flat — they catch light like glass baubles. This works well if your nail beds are slightly pink because the white balances the tone. It also looks great on short nails because matte white visually enlarges the nail surface.
Skip thisAvoid matte on nails with thick raised art — it looks dusty and uneven.
Editor's noteMatte tends to trap dust, so wipe nails with an alcohol wipe right before top coat. It keeps the finish even.
9. Green Marble Accent with Gold Fleck Base
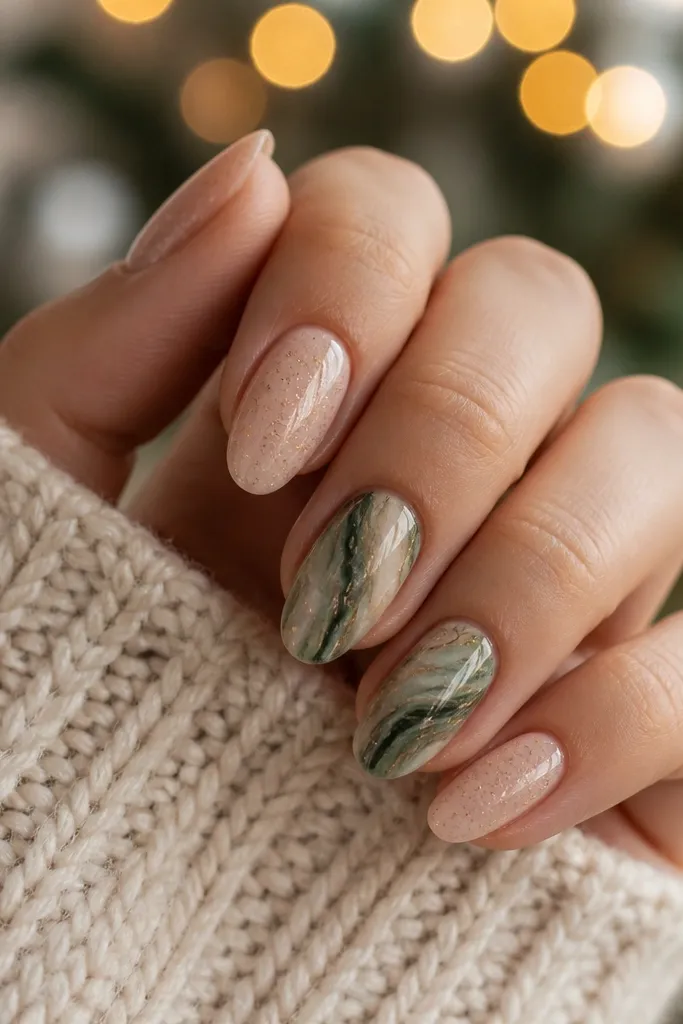
Ask for a sheer nude acrylic base, then add fine gold flecks throughout the top third so they look suspended, not painted on. Keep the flecks light so they don’t look like glitter dust on skin. On two accent nails, create marble by painting thin lines in dark evergreen and forest green, then dragging a lighter green through the lines with a clean brush for a veined effect. Seal with gloss so the marble lines look smooth and the flecks stay locked in. File gently to keep the apex even — marble shows bumps.
This design is holiday-appropriate but doesn’t scream “kids craft.” The sheer nude with fine gold flecks looks like warm ornament light, and it grows out nicely because the base is translucent. Marble accents on only two nails keep it from becoming busy, and the evergreen/forest green combo flatters both cool and warm undertones. Almond shape makes the marble lines look like they’re flowing upward, which is exactly what you want for a winter manicure that still feels grown-up. The gold flecks also hide tiny surface wear better than solid colors.
Skip thisAvoid heavy marble on every nail — it looks flat and messy after a week.
Editor's noteIf you want it extra low maintenance, keep the marble confined to the center of the nail and stop 2 to 3 mm from the tip.
10. Winter French Tips in Silver with Clear Base
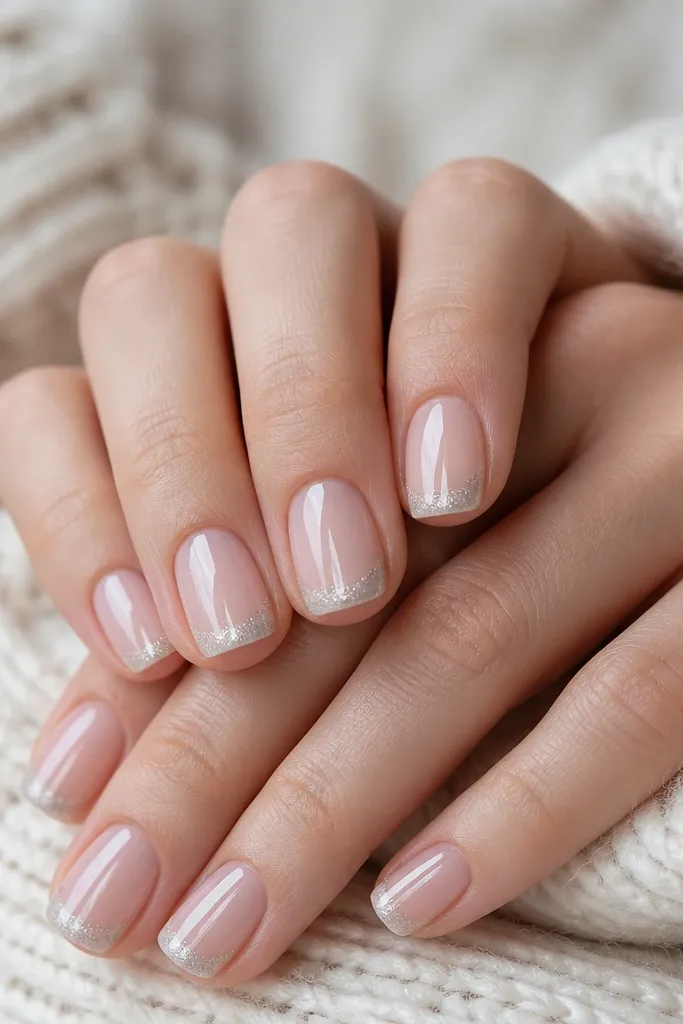
Start with a clear or very sheer nude base acrylic and keep the free edge around 1.5 to 2 mm. Create a thin French tip line using silver gel, then blend it inward with a lighter silver to make a soft gradient at the border. Keep the tip width about 1/6 of the nail width so it looks modern, not thick. Cure fully, then top coat with high gloss. If you want extra winter sparkle, add a micro dusting of fine silver glitter only on the outer 1 mm of the tip.
A winter French tip is the easiest way to get holiday nails that still feel “clean.” The clear nude base keeps everything looking fresh as your nails grow, and the silver tips read as icy frost under both daylight and warm indoor lighting. Soft square is strong and practical for winter — it resists bending and looks tidy when your hands get dry. This is especially flattering if you have naturally short nail beds because the tip design adds a clean outline without needing extra length. The best part is how predictable it is: if the tip stays neat, the whole manicure stays neat.
Skip thisAvoid thick French tips — they look bulky and chip at the corners first.
Editor's noteAsk for a slightly rounded tip edge so it doesn’t peel when your nails hit sleeves and gloves.