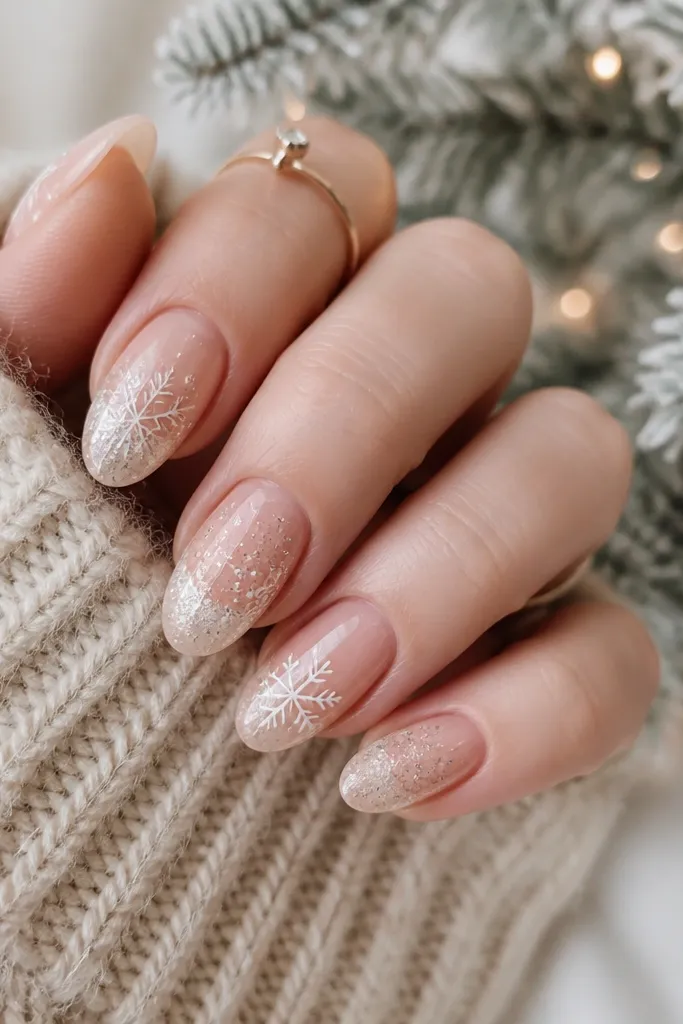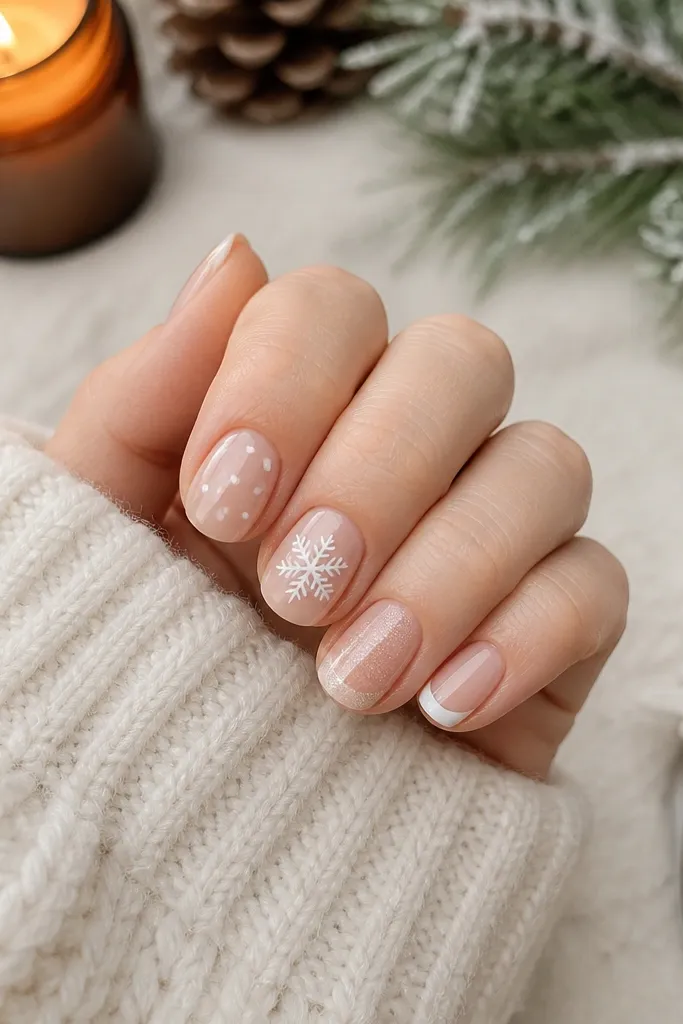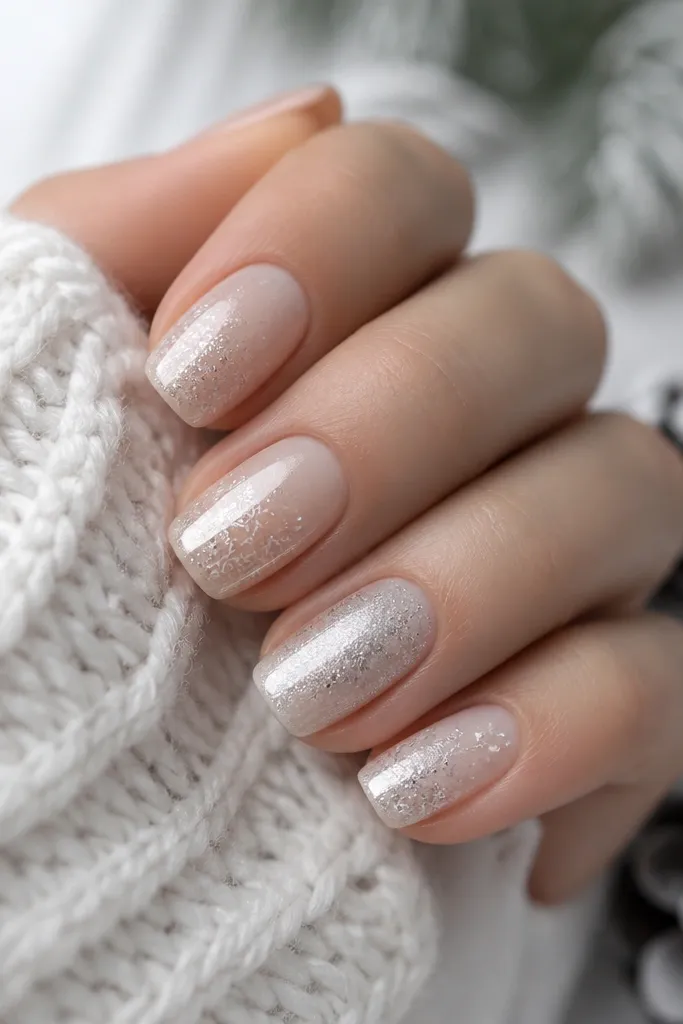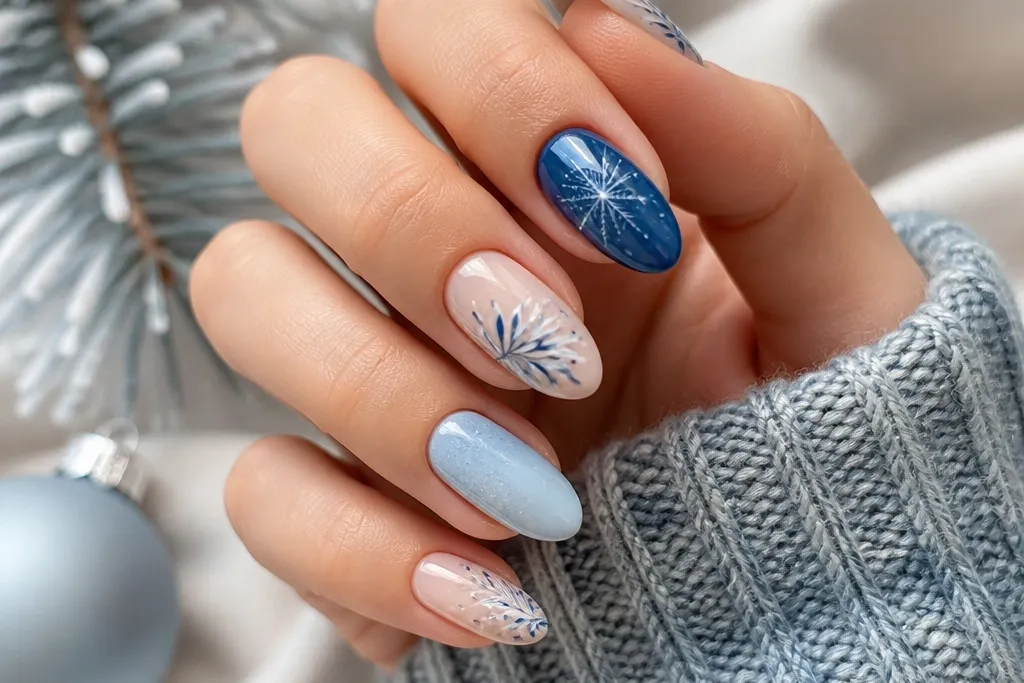
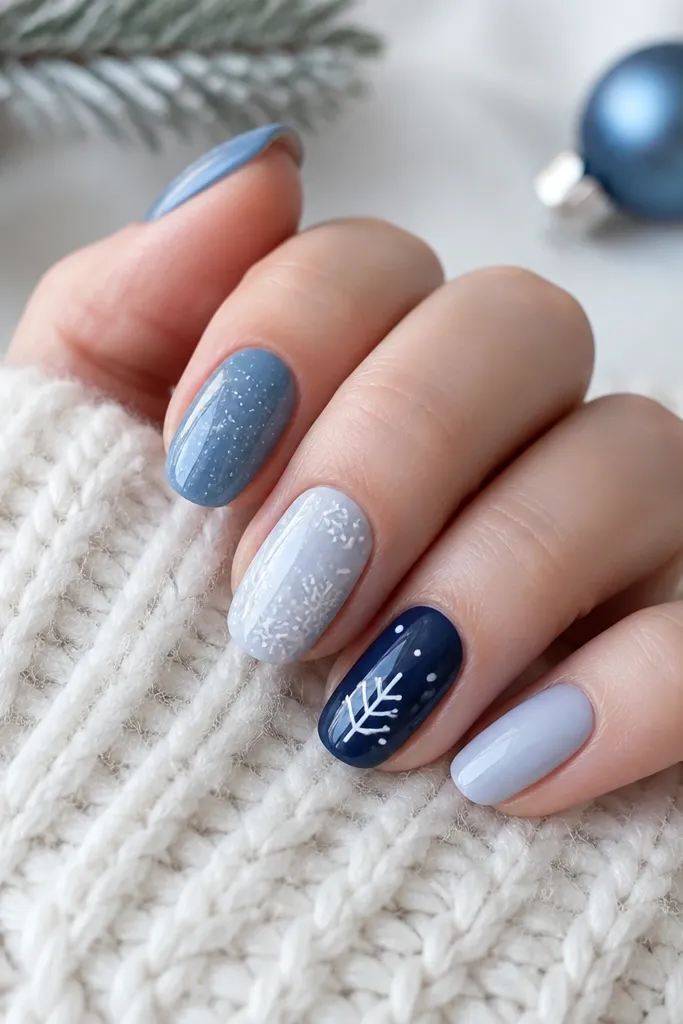
1. Icy Blue Half-Moon with Navy Micro-Glitter Edge
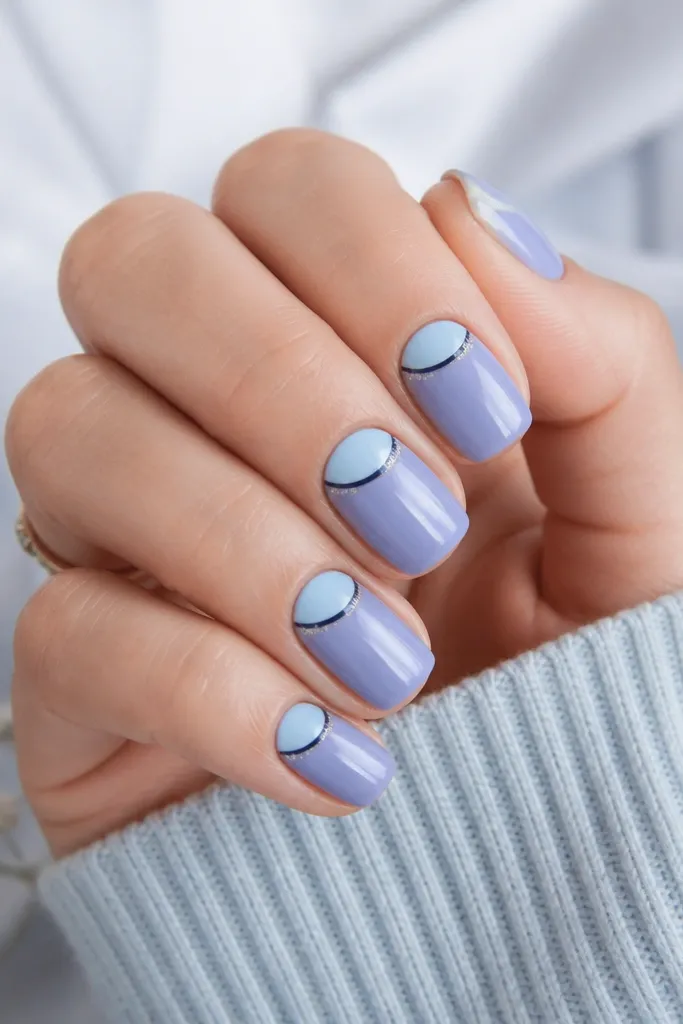
This is the minimalist winter set I reach for when I want “Christmas” to show up in under ten seconds. The half-moon keeps the design graphic, and the navy micro-glitter edge adds sparkle without covering the nail. I use icy periwinkle as the main color because it looks like cold light, especially under indoor bulbs. Navy works better than red here because it reads winter, not candy. It flatters most skin tones, but it looks extra clean on warm undertones because the icy blue brightens the hand without turning it pink.
Start by applying two thin coats of icy periwinkle, then cure fully if you’re using gel. Next, place a half-moon guide: either freehand with a thin liner brush or use a small half-moon stencil. Paint a thin navy curve along the half-moon edge, leaving the rest of the nail untouched. Finally, tap a micro-glitter gel or glitter polish onto just the outer half of that navy curve, then seal with a glossy top coat.
Editor's noteUse a flat brush to press the glitter in place so it doesn’t spread past the curve.
Skip thisDon’t glitter the whole border — it turns into “festival” instead of minimalist winter.
2. Navy Snowflake Outline on Clear-Icy Base
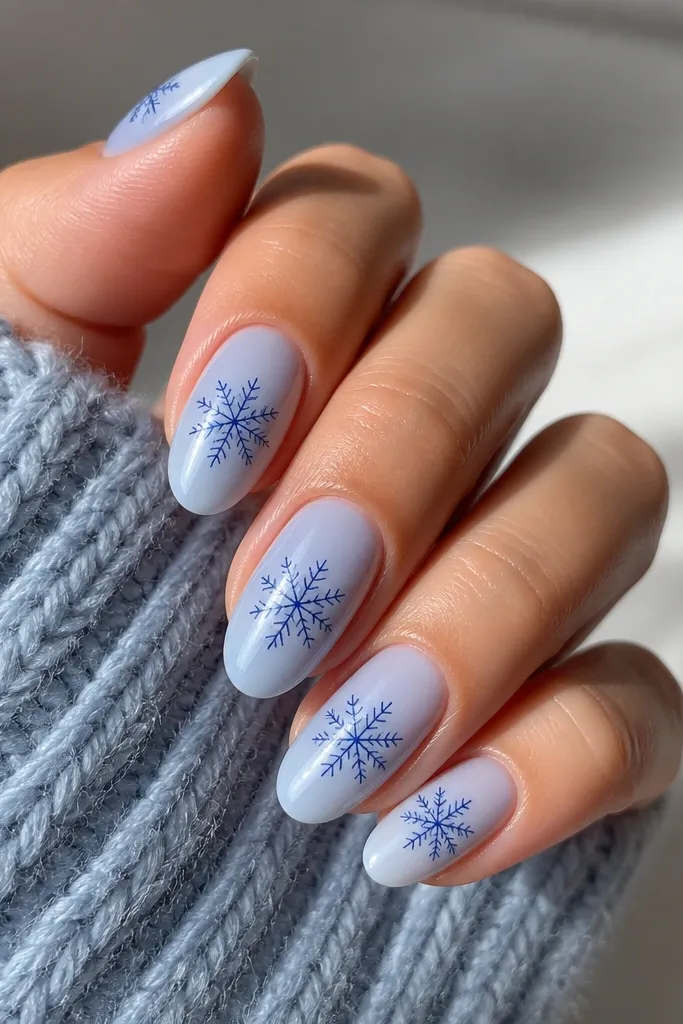
An outline snowflake looks modern because it keeps the design airy. The sheer icy base gives you that frosty look without making the nail feel heavy, and navy outlines keep everything crisp. I’ve found this combo looks best when the snowflake is small-to-medium — big snowflakes can look like decals. This set is flattering on hands with shorter nail beds too because the sheer base visually lengthens. For fair skin it looks icy and fresh; for deeper skin tones it gives strong contrast without needing bright colors.
Start with a sheer icy blue base (two thin coats for even coverage). Then choose one nail per hand to place the snowflake slightly higher, and keep the rest centered. Use a fine liner brush to draw a snowflake outline: start with a vertical line, add two diagonals, then build small arm branches. Let it dry or cure, then add one glossy top coat over the entire nail to smooth the lines.
Editor's noteIf your snowflake lines wobble, draw the center first and build outward from that anchor.
Skip thisDon’t fill the snowflake solid — filled shapes look flat and less “clean winter.”
3. Candy-Cane Stripe Accent on Icy Blue Tips
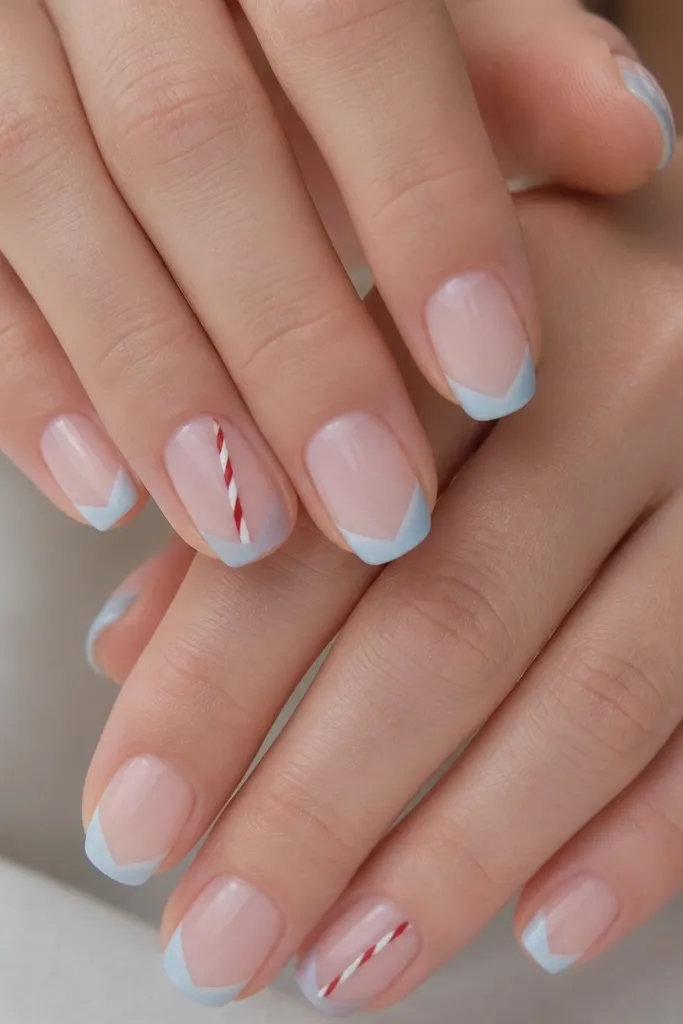
This one reads holiday without going full red. The icy blue tips give you winter color, and the candy-cane stripe is the only nod to Christmas candy. I like a sheer nude base because it keeps the set wearable for work and makes the blue look brighter. This works on short nails because the V-shaped tips stretch the nail visually. If you have narrow nail beds, keep the stripe thin and centered so it doesn’t crowd the sides.
Start with a sheer nude base and cure or dry completely. Create icy blue V tips by painting two angled sides and leaving a clean gap in the center — then add a second coat if needed. On two accent nails, apply striping tape for one diagonal line, then paint white and remove the tape. Add a thinner red line next to the white line while the white is slightly tacky (or after it dries), then seal with glossy top coat.
Editor's noteUse striping tape only for the first line; freehand the second so it looks hand-painted, not machine perfect.
Skip thisDon’t make the red stripe thick — thick red instantly turns it into a cartoon.
4. Navy Base with One Thin Ice-Blue Crescent
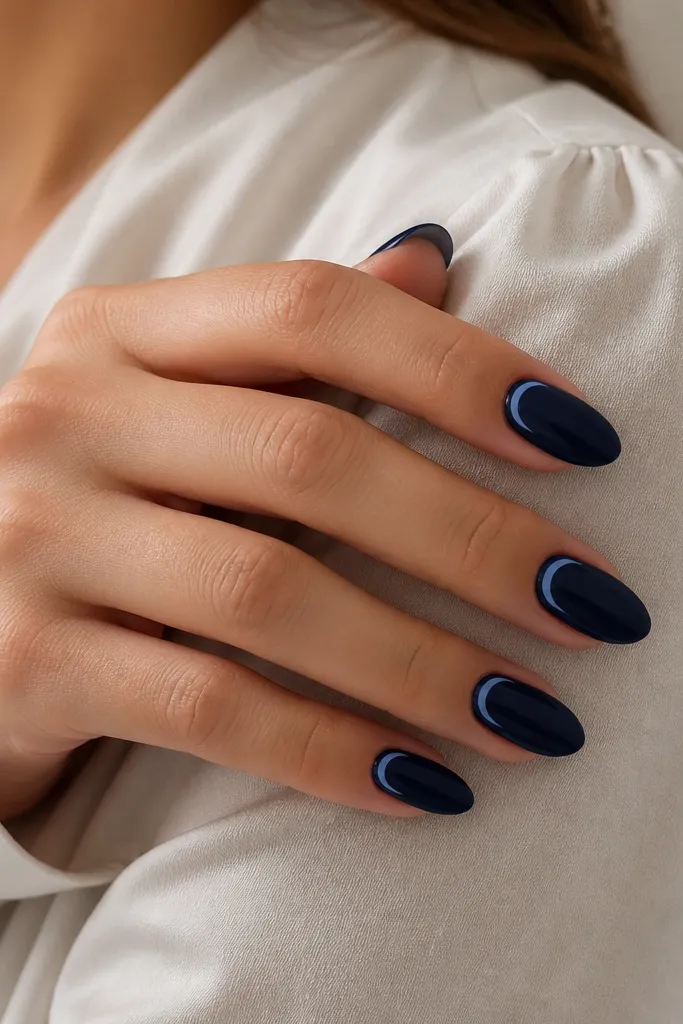
A single crescent is minimalist but still feels wintery because it mimics light on snow. Deep navy looks rich and clean, while ice-blue gives you that cold highlight. I prefer this for medium almond because the crescent can follow the nail curve without looking cramped. It also flatters hands with stronger nail curvature because the crescent echoes it. For fair skin, the navy can look bold, but the thin ice-blue prevents it from feeling too heavy.
Start with two coats of deep navy, then let it level. Choose where you want the crescent: I place mine about one-third down from the cuticle. Use a fine liner brush or a tiny curved stencil to paint a thin ice-blue arc. Keep it narrow — about the width of a single nail polish brush stroke. Finish with one glossy top coat, making sure the arc stays sharp and doesn’t flood into the navy.
Editor's notePaint the crescent from the center outward so the ends taper naturally.
Skip thisDon’t add extra dots or stars — one crescent is the whole point.
5. Icy Blue Marble Vein with Navy Negative Space
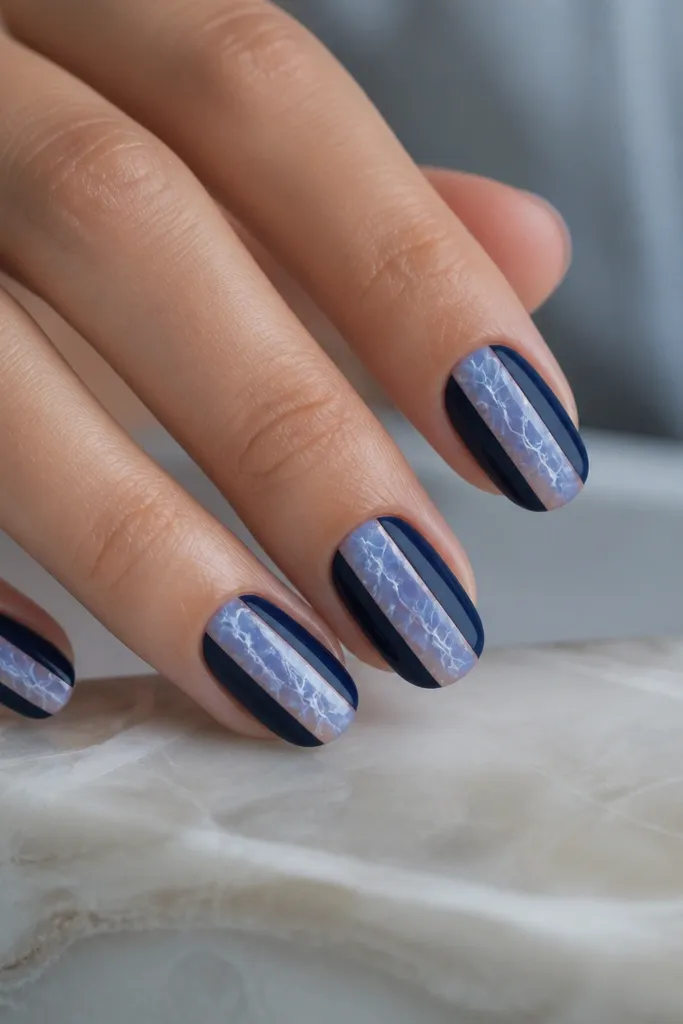
This set looks like winter glass: smooth, cold, and modern. The navy negative space keeps it from turning into messy marble, and the icy blue veil gives you that frosty dimension. I’ve worn this on medium squoval and it looks especially good when the negative space is centered — it makes the nail look longer. It also flatters darker skin tones because the navy frames the icy tones cleanly. For fair skin, the contrast makes your hands look sharper instead of washed out.
Start by painting a full navy base. Then block off two vertical negative-space strips in the center using striping tape, leaving them clean. Paint an icy blue marble veil over the exposed strips using a thin brush and a slightly sheer layer. Add a few thin white lines with a liner brush to mimic frost cracks, then remove the tape carefully. Seal with glossy top coat to unify the look.
Use a damp brush to soften one edge of the icy veil so the marble looks like it’s under glass.
Don’t cover the negative space — if you paint over it, the design loses its clean structure.
6. Navy Outline Bauble with Tiny Ice Dot Cap
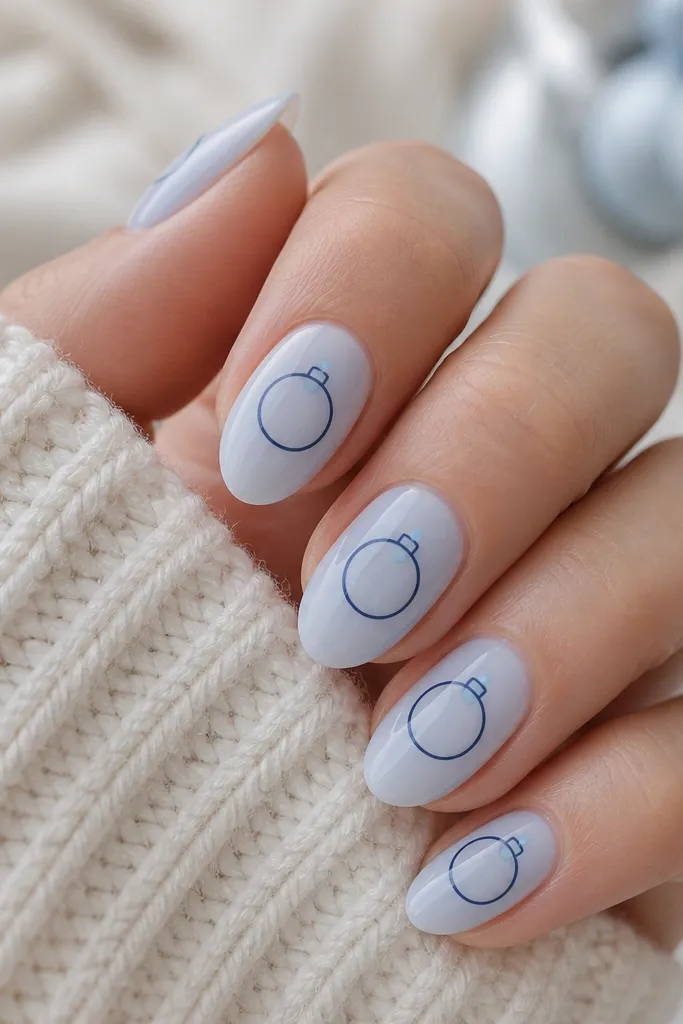
Baubles can look bulky, but an outline keeps them light. The sheer icy blue base makes the navy linework look sharp, and the tiny ice dot gives it that “metallic ornament” feel without actual foil. I like this on short almond because the bauble shape fills the nail nicely without needing extra decorations. It flatters all skin tones, and it’s forgiving if your line work isn’t perfectly symmetrical. The holiday cue reads clearly in person and on camera.
Start with two coats of sheer icy blue (thin layers so it stays translucent). Use a fine liner brush to draw a rounded bauble outline at the center, leaving a little space around it. Add a small curved line at the top for the bauble’s cap loop, then place a tiny ice-blue dot right where the cap meets the outline. Let it dry or cure, then apply glossy top coat in one smooth pass.
Editor's noteIf your bauble looks lopsided, fix it by tracing over one side with navy linework before top coat.
Skip thisDon’t fill the bauble — solid fill makes it look like a sticker.
7. Ice-Blue French with Navy Thin Side Lines
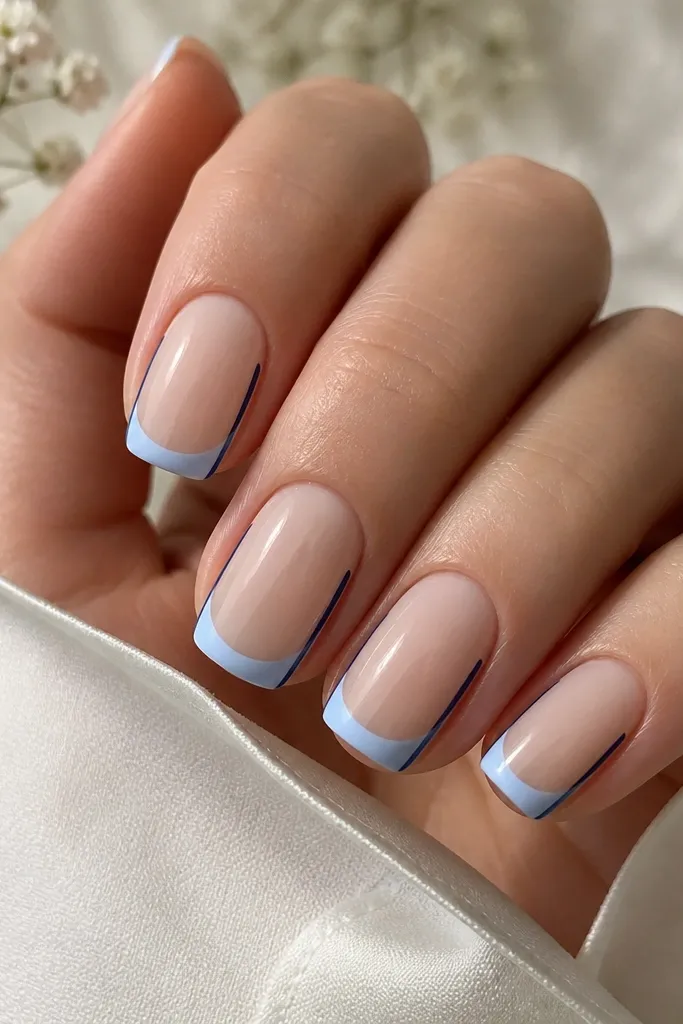
This is the cleanest way I know to make French tips feel winter. Icy blue on the tip keeps it bright and cold; the navy side lines add structure and make the nail look longer. Because it’s linear, it looks modern even if the nails are short. I’ve worn it with both warm and cool undertones, and the navy lines keep the whole set grounded so it doesn’t look like pale winter candy. It’s also great for anyone who hates heavy glitter.
Start with a sheer nude base and cure. Create your French tip in icy blue: aim for a thin-to-medium smile line, then cap with a second coat only where needed. Add two thin navy lines along the sidewalls using a striping brush, stopping around mid-nail. Keep the lines straight by resting your pinky on the table and moving slowly. Finish with glossy top coat to smooth everything.
Editor's noteMake the side lines slightly shorter than you think so they don’t crowd the cuticle area.
Skip thisDon’t thicken the French tip — thick tips look dated fast.
8. Navy Diagonal Negative Space with Icy Stripe
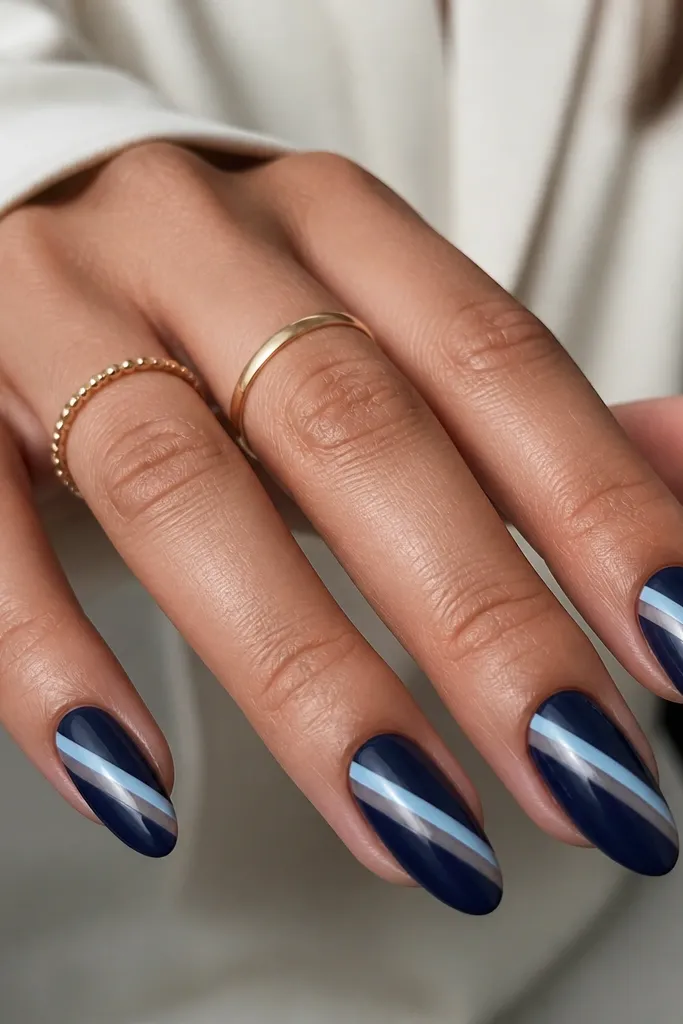
Diagonal negative space is one of those designs that looks intentional even when it’s simple. The navy base holds the look together, and the icy stripe adds the winter color without covering everything. This works best on almond or long squoval because the diagonal has room to breathe. If you have short nails, it can still work, but keep the diagonal band narrower. For photos, the diagonal catches light and makes your hands look more sculpted.
Apply two coats of deep navy and cure/dry completely. Use striping tape to create a diagonal band where you’ll keep negative space. Paint inside the band with icy blue — one thin coat first, then a second for even opacity. Remove the tape while the polish is slightly tacky (or fully cured if gel) to keep edges sharp. Seal with glossy top coat, pulling the brush over the sidewalls for clean coverage.
Editor's notePress the tape down hard along the edges so the icy stripe stays razor clean.
Skip thisDon’t rush tape removal — peeling too fast pulls pigment and makes jagged lines.
9. Minimal Snowflake Dot Cluster on Navy Tips
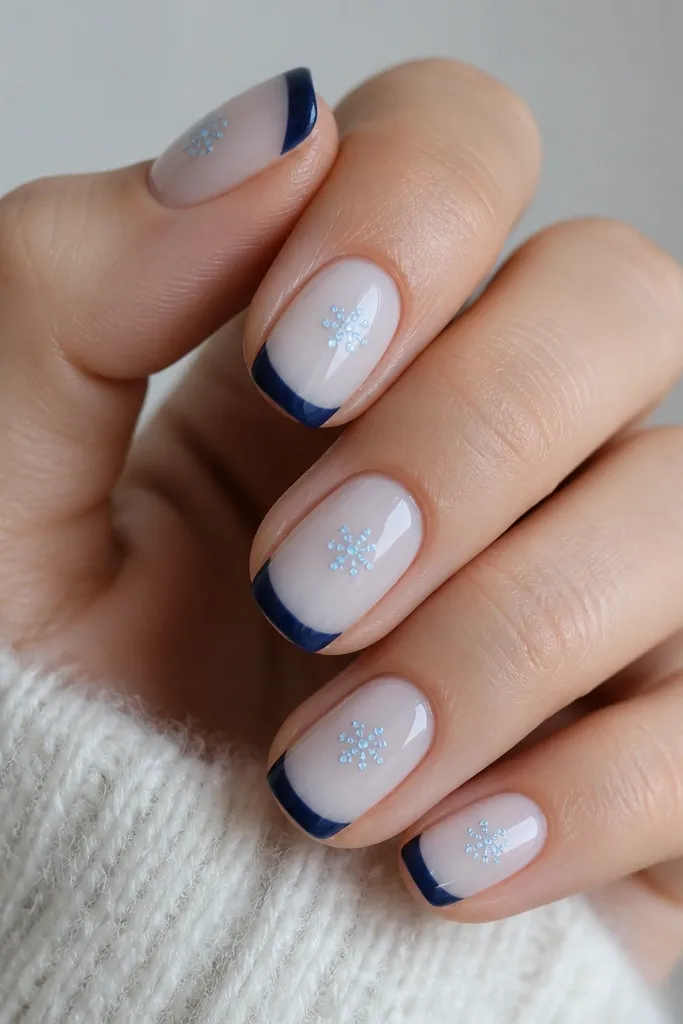
Dot snowflakes look modern because they’re graphic, not fussy. The navy tips anchor the set, and the sheer icy base keeps it light. I like dot clusters on short nails because they don’t require long lines that can look messy at the edges. This set also flatters hands with bitten or uneven nail edges because the design sits above the problem area. It reads holiday from across the room, but up close it’s just clean dots.
Start with a sheer icy base and cure. Paint rounded navy tips, leaving a small gap between the tip edge and the base so the transition stays smooth. Use a dotting tool to place 6-8 icy-blue dots in a snowflake pattern: one center dot, then six around it, then add two small dots on alternating arms for detail. Let it dry or cure, then add glossy top coat.
Use the smallest dotting tip for the center so the snowflake looks crisp instead of blob-like.
Don’t add extra dots everywhere — keep it to one cluster per nail.
10. Navy Velvet Look Base with Icy Glossy Cuticle Line
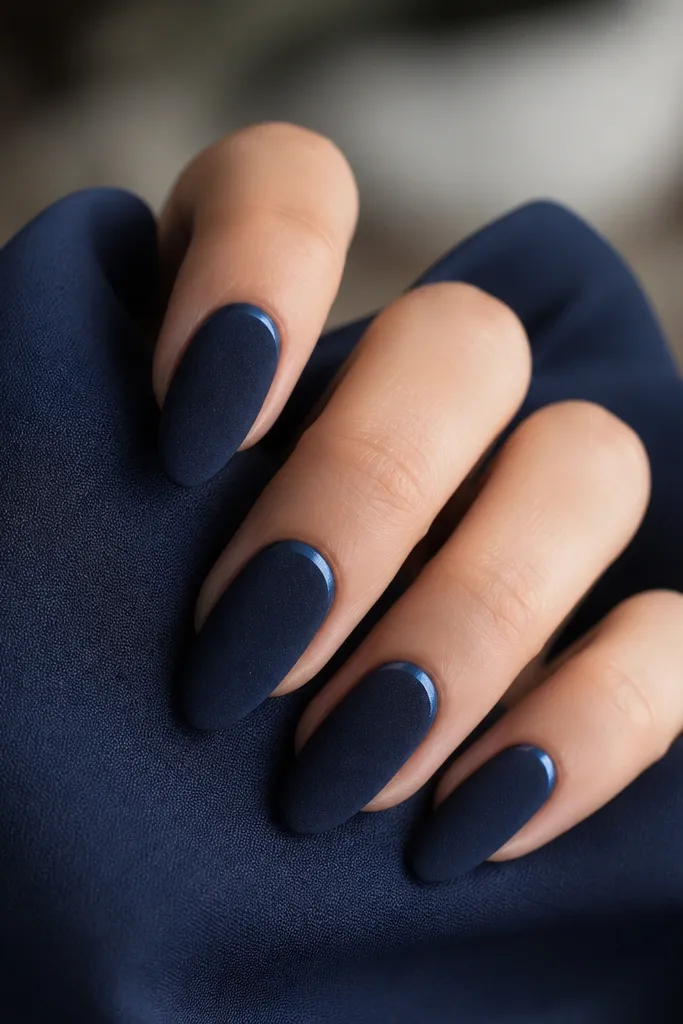
This one is for when you want winter mood without glitter. The navy velvet finish gives a soft, grounded look, and the icy glossy cuticle line makes it feel icy and fresh. I like it on medium almond because there’s enough surface for the matte to look smooth. On fair skin it looks chic; on deeper skin tones it looks luxe and intentional because the velvet finish absorbs light and the icy line brings it back. It’s also great if your nails are a little uneven — matte hides small texture.
Start by painting a navy velvet-style base (matte suede powder or a velvet gel) and cure fully. Clean the brush and then paint a thin icy-blue line right along the cuticle edge, not across the center. Keep the line about 1/16 inch thick and stop before it hits sidewalls. Cure again if gel, then finish with a glossy top coat only over the icy line — leave the velvet area matte.
Use a liner brush and wipe excess off so the cuticle line stays sharp and doesn’t flood the matte.
Don’t put glossy top coat over the whole nail — it kills the velvet effect.
11. Icy Blue Glitter Fade with Navy Skinny Border
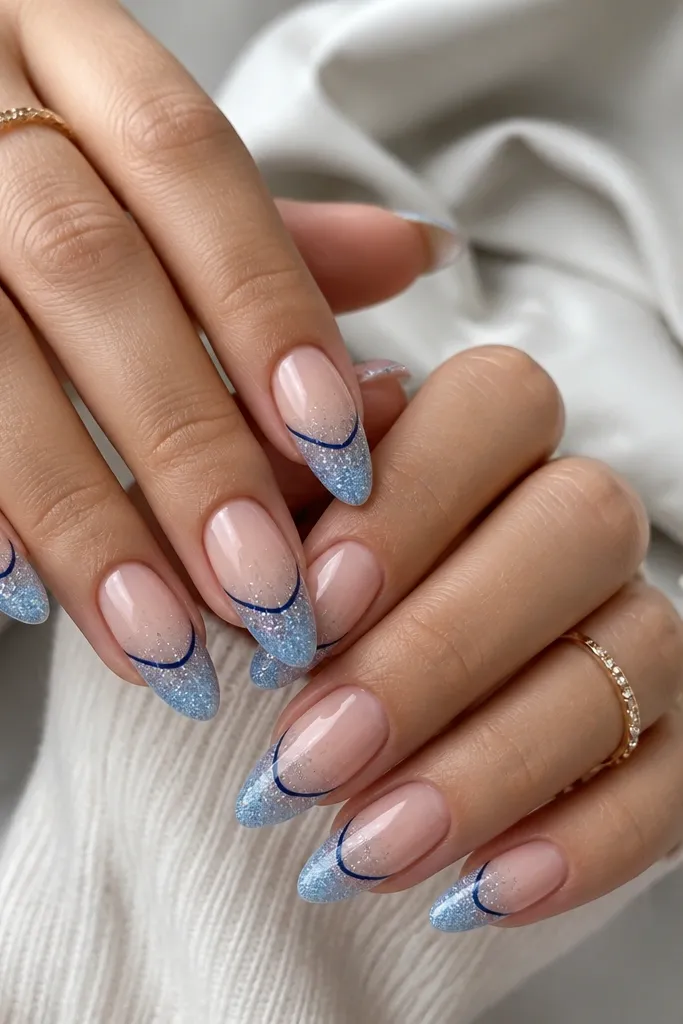
A glitter fade looks expensive when it’s controlled. Here, icy glitter starts at the tip and fades upward, while a navy skinny border line keeps the transition clean. I’ve done this with fine glitter (not chunky) because chunky glitter makes the fade look gritty. The sheer nude base helps it stay minimalist and wearable for holiday dinners. This is flattering on nearly any skin tone because the shimmer is cool and the navy border adds structure.
Start with a sheer nude base and cure. Sponge or brush icy-blue fine glitter onto the lower half, concentrating near the tip and blending upward with a light touch. While the glitter is still tacky, draw a thin navy line along the fade edge to define it. If you’re using regular polish glitter, you’ll need to let it dry first, then paint the navy border over it. Seal with glossy top coat, focusing on the transition area so it feels smooth.
Use a makeup sponge for the fade — it gives the soft gradient that flat brushes struggle with.
Don’t use large glitter pieces — they create texture bumps under top coat.
12. Navy Star Confetti on Clear-Icy Base
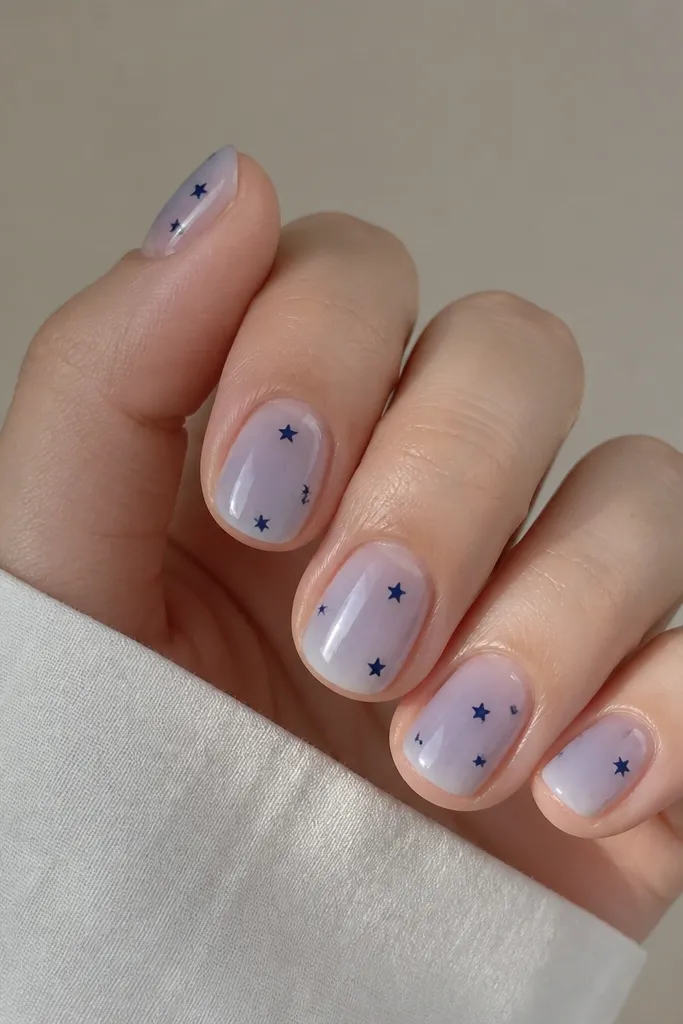
Stars can go childish fast, but tiny navy confetti stars look like winter nights instead. The clear-icy jelly base keeps it modern, and navy stars give that holiday sparkle without glitter. I like scattering 3-5 stars per nail, not a full pattern, because negative space is what makes it minimalist. This is great for short nails because the stars stay small and don’t need long lines. It also looks good on hands with shorter cuticles since the design sits away from the base.
Start with a clear jelly base tinted icy blue (two thin coats). Pick a placement: I cluster stars slightly toward the cuticle side on two nails and toward the center on the others. Use a star punch decal or a star confetti gel: place each star individually so the spacing looks airy. Press lightly and cure/dry. Finish with glossy top coat, making sure the top coat flows around star edges without flooding them.
Editor's noteIf you’re painting stars by hand, use a dotting tool to place the star points first, then connect them with the liner brush.
Skip thisDon’t crowd the nail — too many stars makes it look like a sticker sheet.
13. Minimal Ornament Strip on Icy Blue Gradient
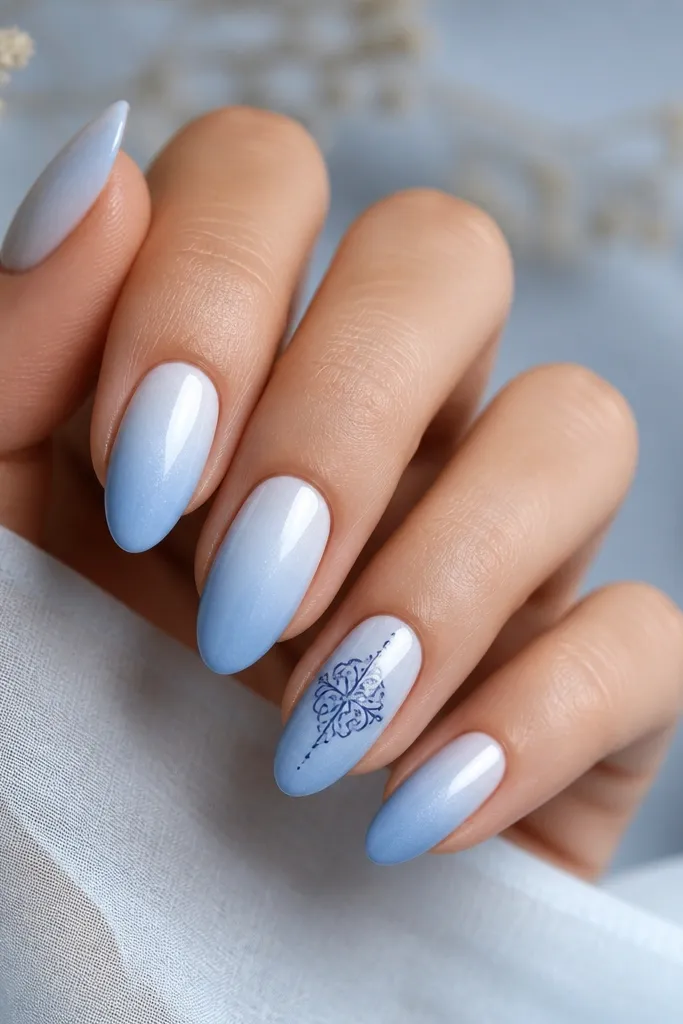
Gradient nails can look fancy, and this version stays minimalist because only one nail has the ornament line. The icy gradient feels like snowfall because it shifts from pale to slightly deeper blue as the nail narrows toward the tip. Navy line art gives you that Christmas cue without adding more colors. I like this for medium almond because the gradient has enough space to look smooth. On fair skin it looks delicate; on deeper skin it looks polished because the gradient is still high-contrast.
Start with a pale icy base near the cuticle. Add a slightly deeper icy blue from mid-nail to tip using a sponge or a soft blending brush, keeping the edges feathered. Choose one accent nail and draw a thin navy ornament outline across the center using a liner brush. Keep the ornament small and horizontal so it doesn’t shrink your nail visually. Cure/dry, then seal everything with glossy top coat to lock in the gradient and flatten the transition.
Blend the gradient with a damp brush edge for a smoother fade.
Don’t put the ornament on every nail — that’s where it stops reading modern.
14. Navy Outline Wreath with One Icy Bow
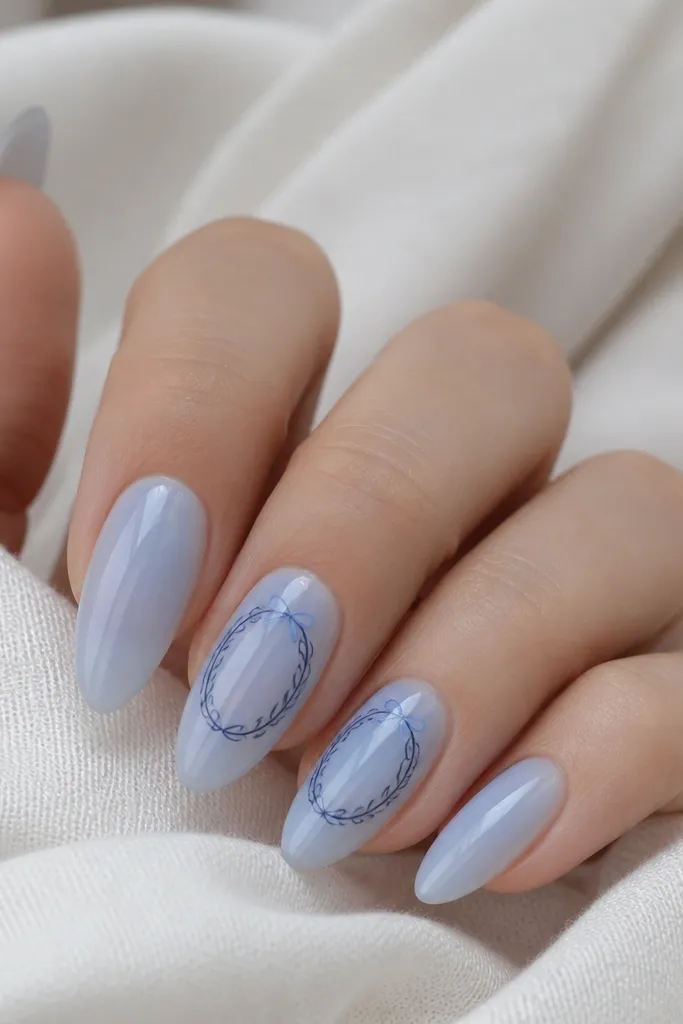
Wreaths can look heavy, but an outline wreath is clean and graphic. The sheer icy base makes the navy look like ink on frosted glass, and the tiny icy bow adds a holiday detail without bringing in red or gold. I like placing wreaths on two nails so the set feels intentional instead of busy. This flatters hands with longer almond nails because the wreath has room to curve without touching the sidewalls. It also looks great on all skin tones because the design uses only cool tones and negative space.
Start with a sheer icy blue base and cure. On two accent nails, draw a wreath outline: start with a small loop at the center, then build a circle using thin arcs. Leave gaps in the loop so it stays airy. Add a simple bow at the top with two icy-blue lines forming a V and a tiny center knot dot. Seal with glossy top coat, then lightly cap the wreath edges so the lines don’t catch.
Use a reference photo for wreath shape once, then replicate by hand — your second nail will look much cleaner.
Don’t fill the wreath leaves — filled shapes look thick and crowded.
15. Frosted Periwinkle Skittle Nails with Navy Dot Snowfall
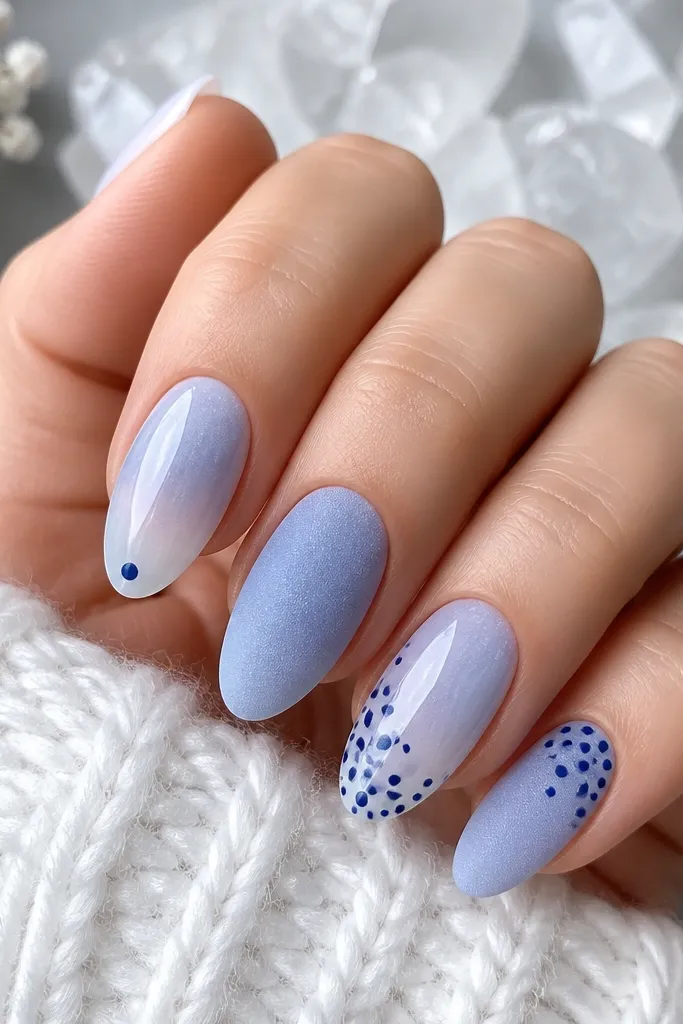
This look mixes matte frosted periwinkle with a clear icy base so the blue feels cold without looking flat. I like it for Christmas because the navy dots read like snow on a night sky, not cartoon snowflakes. The “skittle” layout keeps it modern winter christmas nails minimalist — each nail has a job, but the whole set still looks intentional. The contrast between matte and glossy makes the dots pop, especially under indoor warm lights and outdoor winter sun.
Start with a clear base coat, then sponge on frosted periwinkle only on half the nail for a soft, cloudy fade. Do two nails fully frosted (matte powder finish) and leave the other three more sheer by using a thinner sponge layer. Cure each nail, then add navy dots using a dotting tool: place one cluster near the cuticle on the accent nails and drag one or two dots downward with the tip for a “snowfall” feel. Finish with a glossy topcoat on the nails that are more sheer, and a matte topcoat only on the fully frosted nails so the texture contrast stays crisp.
Use a water-based matte topcoat on the frosted nails — it dries flatter and keeps the navy dots from sinking into the texture.
Don’t put navy dots right on top of glossy wet polish — they’ll bleed into circles instead of staying crisp.