1. Cobalt Snowflake French Tips with Clear Gloss
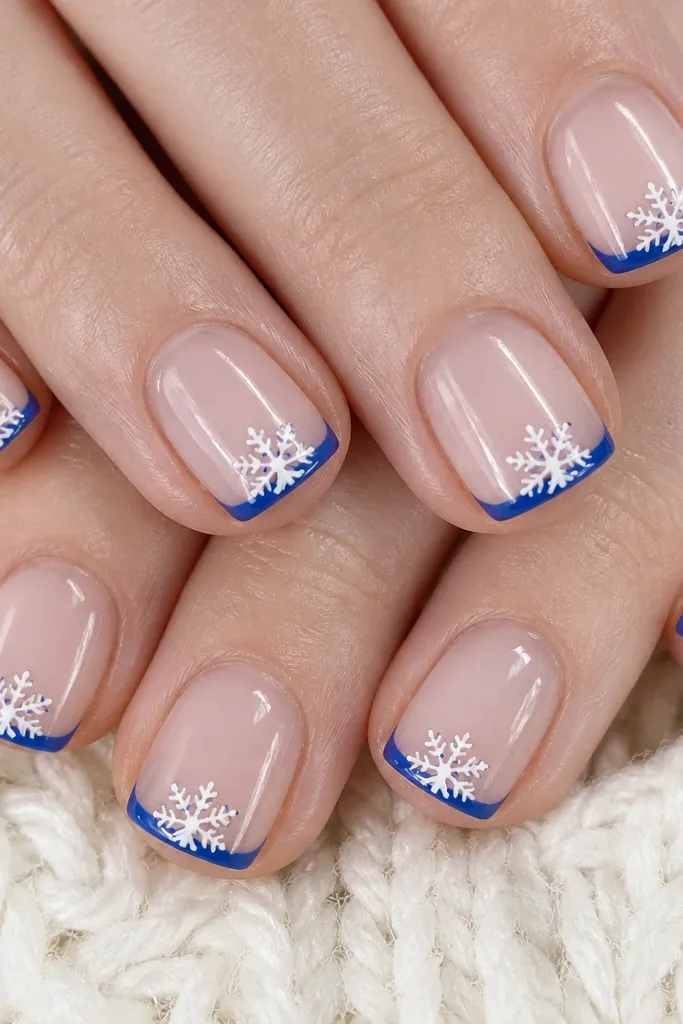
This design hits the sweet spot between “cute” and “wearable” because the snowflake sits only on the tip. I use cobalt blue because it looks like true winter ice under lighting, not dusty or purple. The white snowflakes stay crisp when your base is opaque, and the clear top coat makes the tip edge look glassy. It flatters most nail beds, especially shorter ones, because the French line visually lengthens without needing long nails. If your skin tone is warm, the cool cobalt still balances nicely as long as the snowflake stays pure white, not creamy.
Start with full-cover removable tips or a press-on set that’s already close to your natural nail shape — square or soft square is easiest. Paint or apply an opaque nude base, then add a thin cobalt French band using a striping brush so the line is straight. Place one tiny white snowflake on each tip and add two or three micro blue dots around it for depth. Finish with a thick clear top coat over the whole nail, then cap the free edge so the French line doesn’t lift.
After the top coat dries, wipe the nail with a lint-free pad and a little alcohol to remove any tack and make the lines look extra sharp.
Avoid thick French lines — they make the snowflake look crowded and cheap.
2. Denim Blue Marble Base with White Snowflake Decals
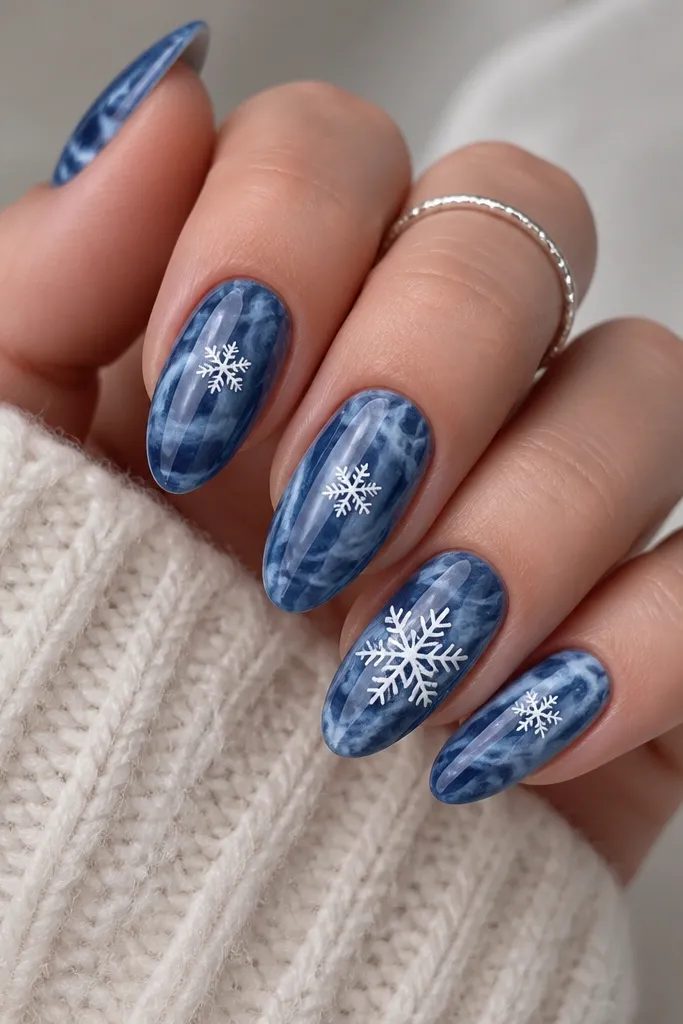
Marble bases look like you dipped your nails in cold sky, and denim blue keeps it casual enough for everyday holiday errands. I like white snowflake decals on top because they keep the pattern symmetrical — your hand won’t wobble at 7pm when you’re tired. The marbling flatters medium-length nails best, because the swirls give movement and prevent the design from feeling flat. On deeper skin tones, denim blue pops hard and the white decals look bright without needing extra sparkle. On fair skin, the same contrast makes your nails look clean and “done” even with minimal jewelry.
Begin by applying a removable base gel or press-on base layer in denim blue, then add a second shade (a slightly lighter blue) in thin streaks. Use a small sponge or a makeup wedge to blend the streaks into a marble pattern, leaving some darker lines for contrast. Place white snowflake decals on each nail, pressing them down from center outward so there are no air pockets. Seal everything with a glossy top coat, and do one extra layer over the decal area to smooth the edges.
If decals curl at the edges, press them under a warm lamp or warm your hands first — the seal improves fast.
Skip matte top coat — marble plus snowflakes looks best glossy.
3. Navy Starry Night Snowflakes with Silver Foil Specks
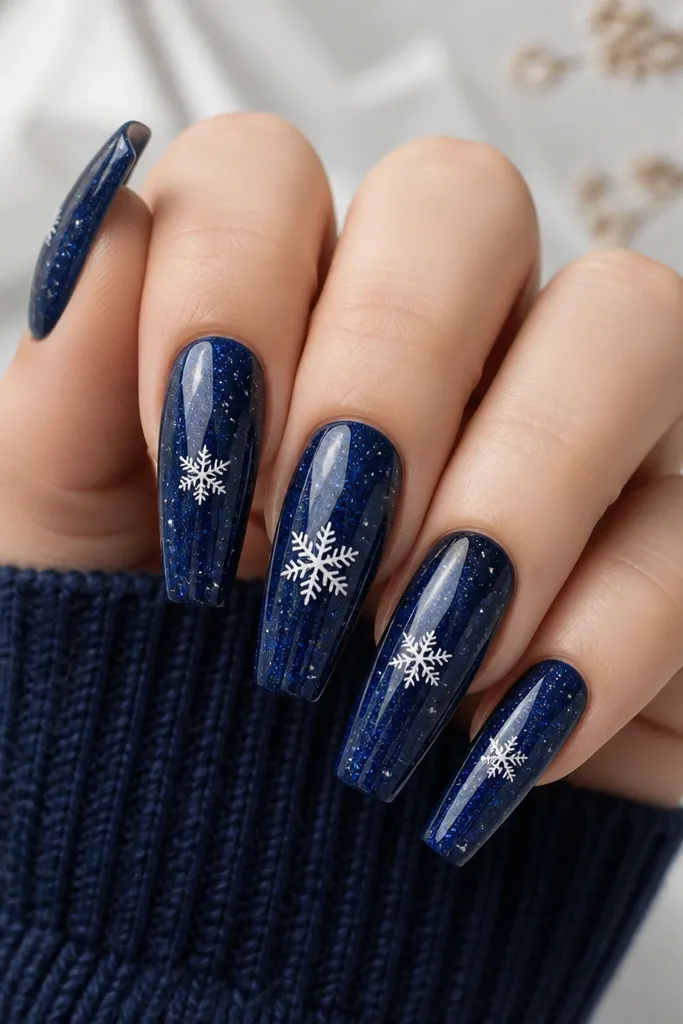
Start with long coffin or stiletto removable tips and paint a fully opaque navy base. Add silver foil specks by tapping small pieces of foil with a flat brush, then dab off extra until the pattern looks random but controlled. Paint or apply white snowflake designs: medium size on two nails and smaller ones on the rest. Seal with a thick top coat, then run the brush along the sidewalls for a smooth, salon-style finish.
This is the moody holiday set I wear when I want winter nails that feel dressy without glitter overload. Navy gives a deep, photo-friendly base that makes silver specks look like real snowfall at night. White snowflakes keep the theme readable, and the spacing matters — one larger snowflake per nail set looks intentional instead of busy. It looks best on longer shapes because the star specks need room to scatter. If you wear gold jewelry, the silver still works because the navy anchors everything and keeps the set from feeling mismatched.
Skip thisDon’t pack glitter or foil too dense — it turns the snowflakes into background noise.
Editor's noteUse a makeup sponge to lightly feather the foil specks so they don’t look like dots stuck on top.
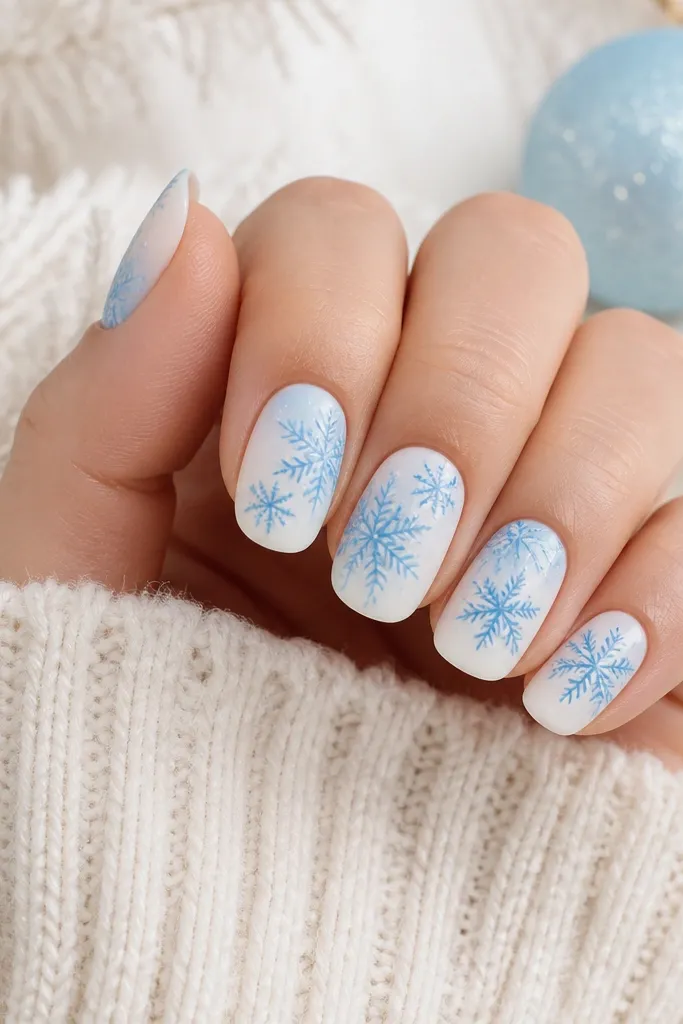
4. Ice-Blue Ombre with White Snowflake Dot Lines
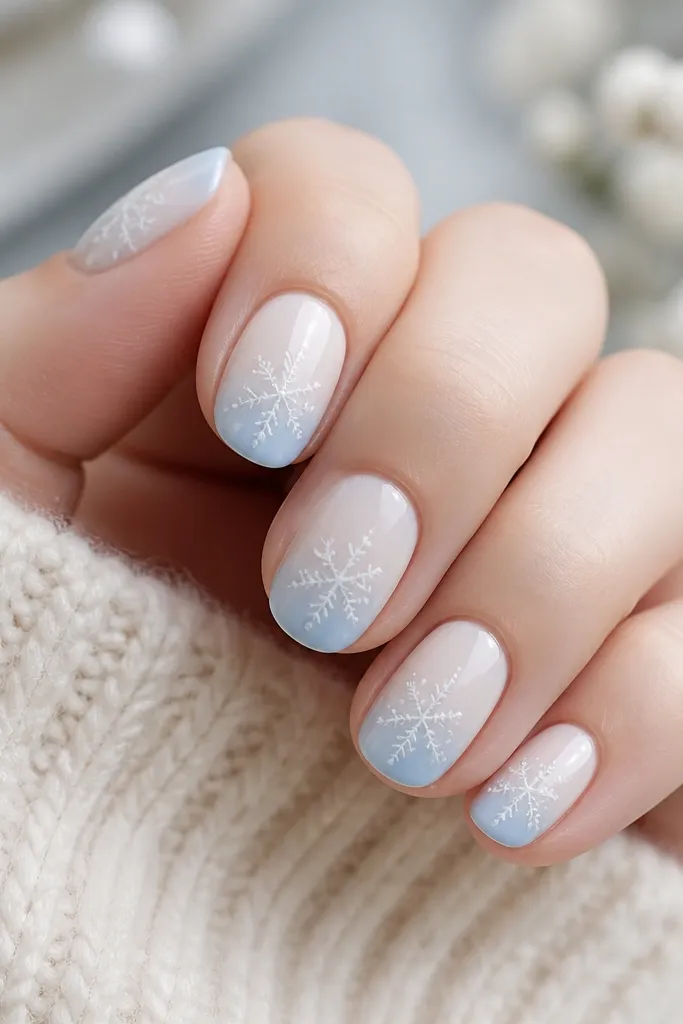
Start with a milky white base near the cuticle zone and blend ice-blue toward the tip using a sponge or an ombre brush. Keep the ombre smooth — you should not see harsh boundaries. Next, use a dotting tool to create snowflake lines: make a vertical dot column, then add angled dots on each side, then finish with a ring of tiny dots around the center. Add a glossy top coat in two thin layers, letting the first set fully so the dots don’t smear.
This look is soft, clean, and surprisingly flattering if you want winter nails that don’t feel heavy. The ombre reads like frost, and the dot-line snowflakes keep the design delicate instead of cartoonish. I choose ice-blue shades because they look “cold” without turning gray, and the white dots brighten your hands. It’s especially good for short nails because the ombre elongates the nail bed, and the snowflake sits in a spot your eye already expects near the center. If you have dry nail beds, the milky base hides texture better than pure transparent bases.
Skip thisDon’t use dark blue dots on top of pale ombre — they muddy the snowflake.
Editor's noteFor perfect dot size, dip the dotting tool once, then wipe the tip on a paper towel before dotting.
5. Pearl White Snowflakes over Blue Gel-Look Base
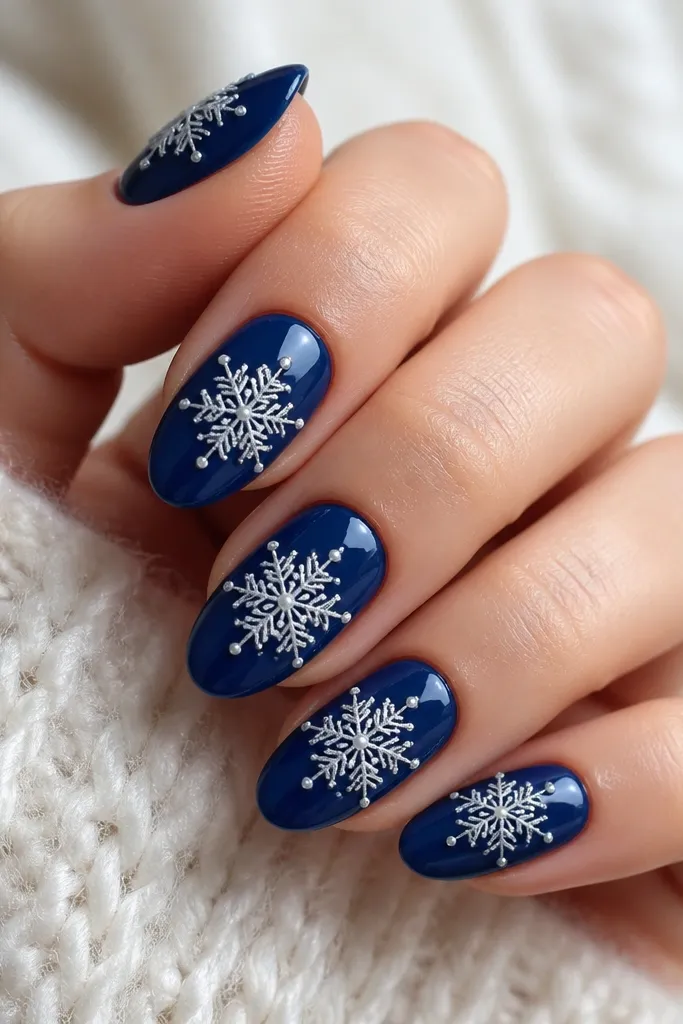
Pearl white snowflakes look expensive because they catch light without needing chunky glitter. I use a deep blue base because it makes the pearl shimmer show up as a soft glow, not a flat white sticker. Raised snowflake texture is what makes it feel like winter, especially at night when your phone flash hits your nails. This set looks great on almond nails because the curved shape gives the snowflake a natural frame. It also works across skin tones since pearl reflects both cool and warm light, so your nails look cohesive with silver or gold rings.
Apply a fully opaque deep blue removable base, then place a snowflake decal or hand-paint snowflakes in pearl white. If you’re painting, do it in thin layers and let each layer dry before the next so the design stays crisp. Add micro pearl shimmer only at the tips of the snowflake arms, not across the whole nail. Seal with a glossy top coat, and pay attention to the cuticle edge so the raised design doesn’t snag on sleeves.
If your snowflake looks flat, add one extra coat only over the snowflake area to create a dome effect.
Avoid glitter dusting over the whole nail — it makes pearl look grainy.
6. Blue Velvet Snowflake Nails with Matte Base and Gloss Top
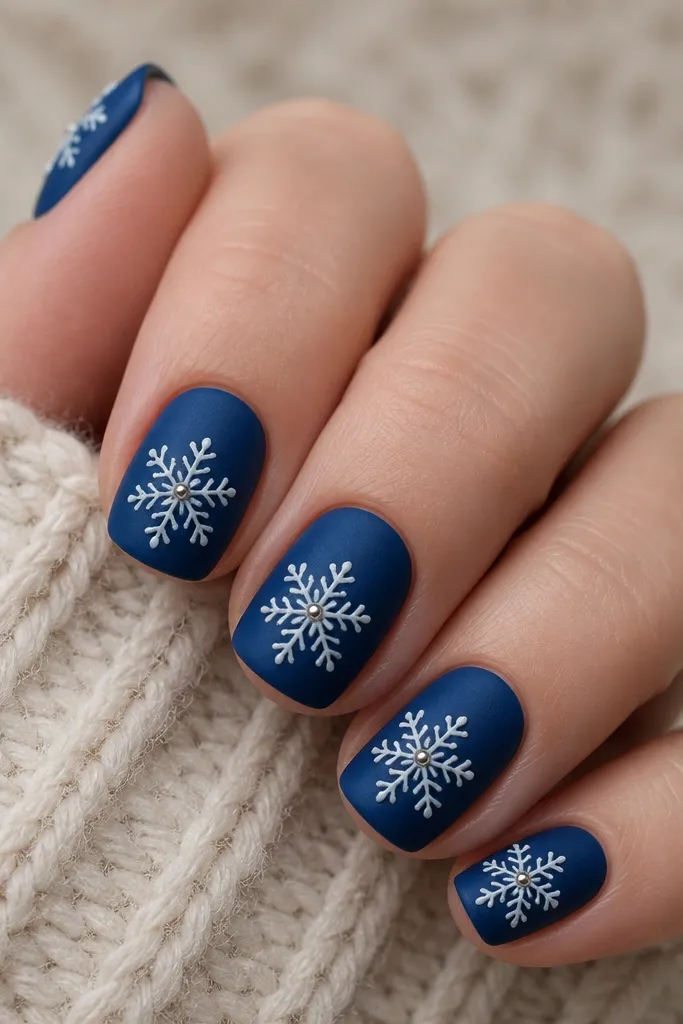
This contrast is the reason people stop and stare at your hands. Matte blue gives that winter “cold air” vibe, while glossy snowflakes look like they’re glazed. I like velvet-matte finishes because they hide tiny ridges and keep the set looking smooth, even if your nails aren’t perfectly even. The white snowflakes pop hard and feel graphic, which looks great with cozy knits and silver rings. It’s a strong choice for medium-short nails because the matte base keeps everything grounded and the snowflakes do the work.
Start with removable tips or press-ons and apply a deep blue matte finish over the entire nail. Paint snowflakes in white, but outline them with a thin glossy gel or glossy top coat so the lines catch light. Add one or two silver dots at the snowflake centers and keep the rest clean. Finish by applying glossy top coat only over the snowflake area, not the whole nail, so the matte background stays velvety.
Use a striping brush for the snowflake arms — the matte base makes thick strokes look uneven.
Don’t go matte over everything if your snowflakes are meant to sparkle — it kills the contrast.
7. Glitter Fade Tips with Fine Snowflake Line Art
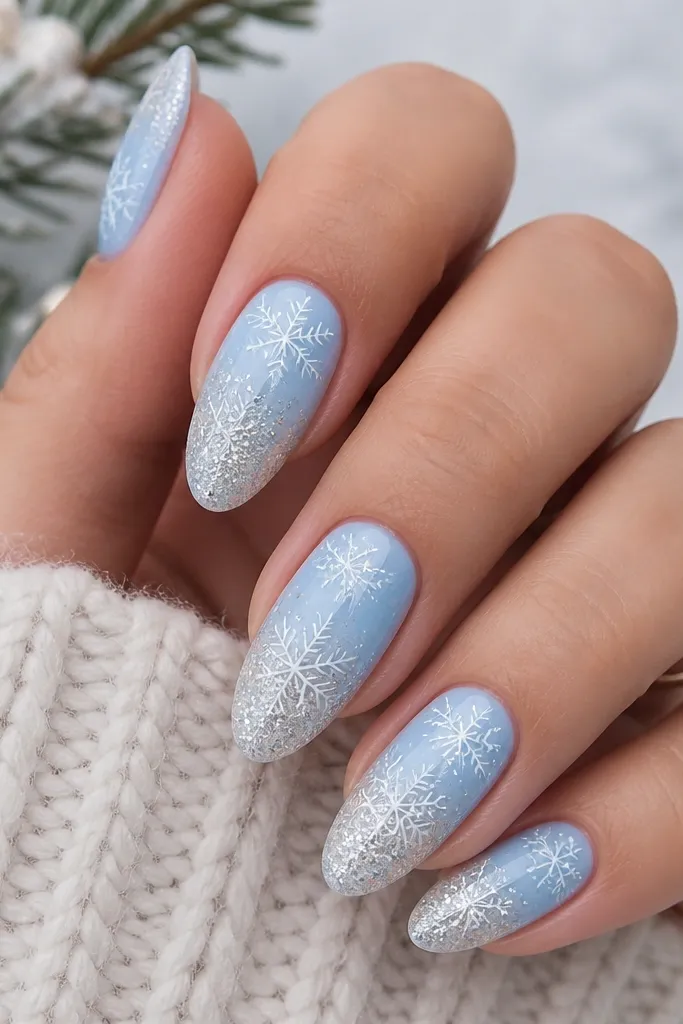
Start with a removable set in pale blue or create a pale blue base with an opaque layer. For the glitter fade, apply a thin band of silver fine glitter only at the last third of the nail, then blend it upward with a sponge so it fades. Use a nail art liner to draw snowflakes with thin white lines — one big snowflake on the ring finger and smaller ones on the rest. Seal with a glossy top coat, and make sure the glitter is fully sealed so it doesn’t catch on fabric.
This is for the holiday party version of winter nails: sparkle at the tips, snowflake art where your eye naturally lands. Fine silver glitter looks like frost crystals, not like you dumped glitter in a jar. The white line art stays classy when it’s thin and consistent, and the pale blue base keeps it from looking like random holiday confetti. It flatters hands with longer fingers because the almond shape plus glitter fade elongates. If you wear bold lipstick, this nails set balances it — the art is detailed but not loud.
Skip thisSkip chunky glitter — it makes line art look messy and hard to read.
Editor's noteSeal glitter with two thin coats instead of one thick coat so it looks smooth, not bumpy.
8. Midnight Blue Negative Space Snowflakes
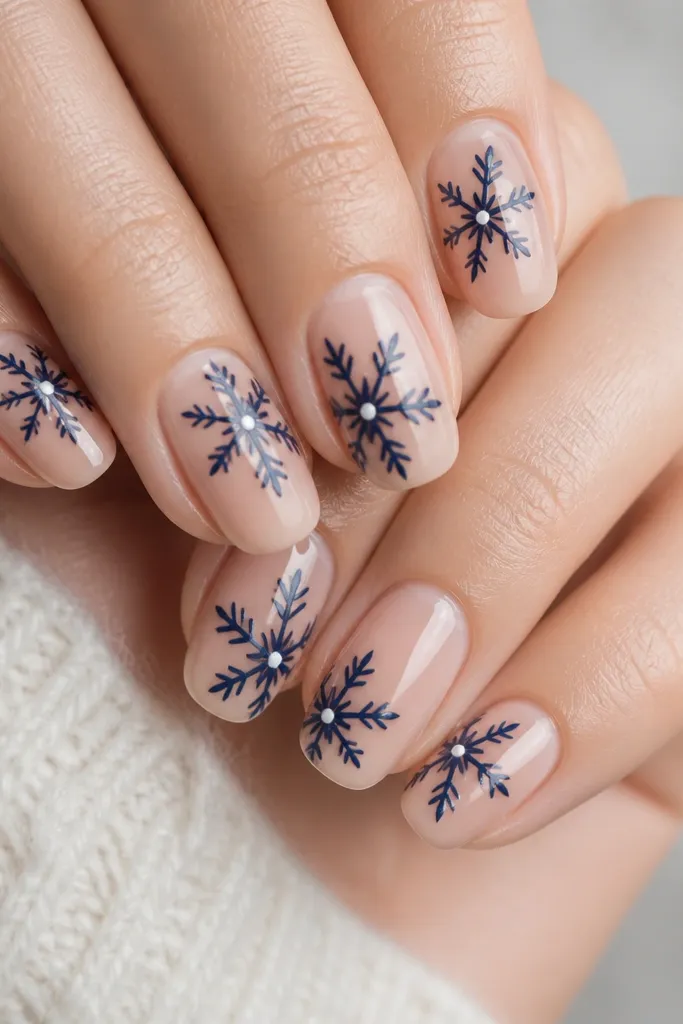
Apply a removable set with a sheer nude base or sheer polish that matches your natural nail tone. Add midnight blue snowflake decals or paint snowflake lines so they leave negative space around them. Place small white dot accents at the snowflake intersections and keep the dots tiny and even. Finish with a regular glossy top coat over everything so the sheer base stays smooth and the blue lines look sealed.
Negative space snowflakes look clean and modern, like winter fashion instead of cartoon snow. I use a sheer nude base so your natural nail color blends, and then I build the snowflake using midnight blue lines or decals that leave gaps. The result is crisp, and it’s forgiving on nail length because the snowflake doesn’t rely on a full coverage background. This set flatters hands with shorter nails because the nude base keeps your nail bed looking longer and less boxed in. It also works well if you hate heavy shine — the design is readable even in matte lighting.
Skip thisDon’t cover the whole nail with blue — negative space is the look.
Editor's noteIf your nude base is too pink, swap to a neutral beige sheer — the blue snowflakes look cleaner next to warmer pink tones.
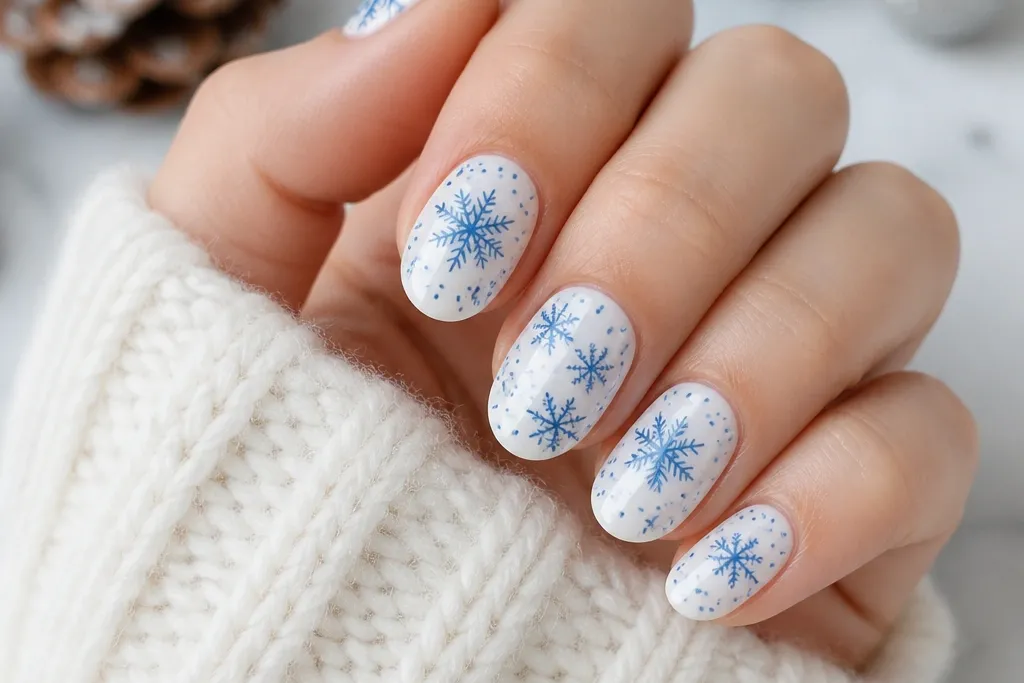
9. Aqua Blue Watercolor Snowflakes with White Splatter
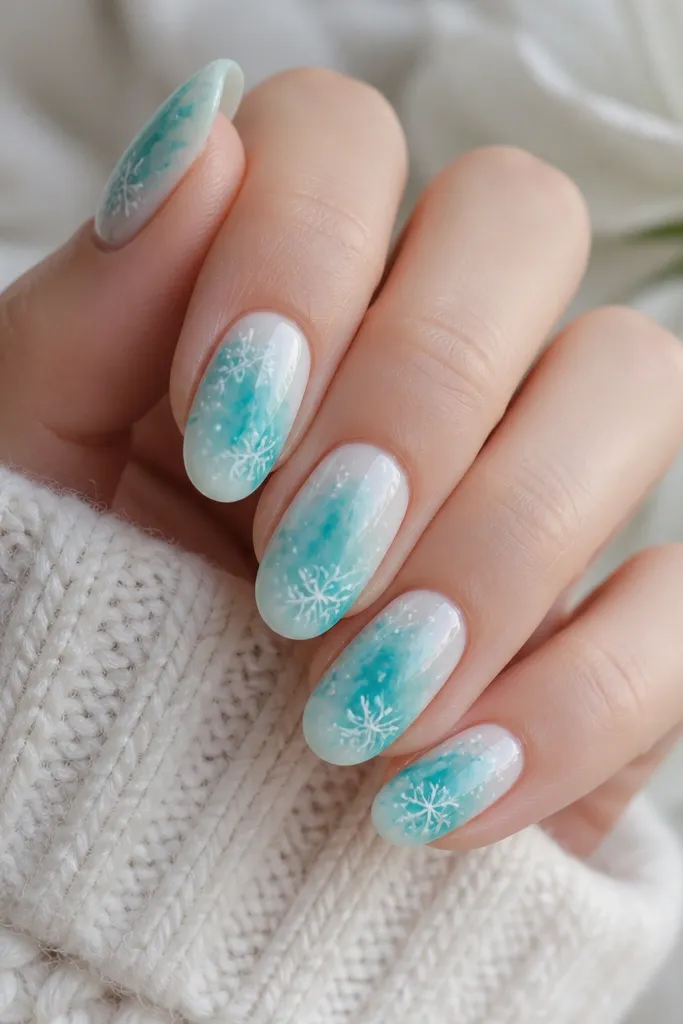
Watercolor snowflakes feel artsy but still holiday-cute, and aqua keeps it fresh instead of dark and heavy. I like this for people who want snowflakes but hate the “sticker look” — the watercolor effect makes each nail slightly different. White splatter adds the winter-weather vibe without looking like glitter. It flatters a variety of nail lengths, but it looks best on oval and almond because the watercolor has room to spread naturally. If you have cool undertones, aqua makes your hands look bright; if you have warm undertones, the milky base keeps the aqua from looking harsh.
Start with a milky white base so the watercolor looks light and airy. Add aqua watercolor paint or diluted gel in swirls, letting it bleed into the white — don’t overwork it. Paint loose snowflakes in white gel, then add tiny splatter dots with a toothbrush or nail art sprayer over the finished snowflake area. Seal with a glossy top coat in two layers so the watercolor edges look smooth and not streaky.
Practice splatter on a paper towel first — you want tiny dots, not big blobs.
Don’t use thick gel for watercolor — it looks like sticker shapes instead of bleeding paint.
10. Royal Blue Snowflake Cuticle Halo with Rhinestone Center
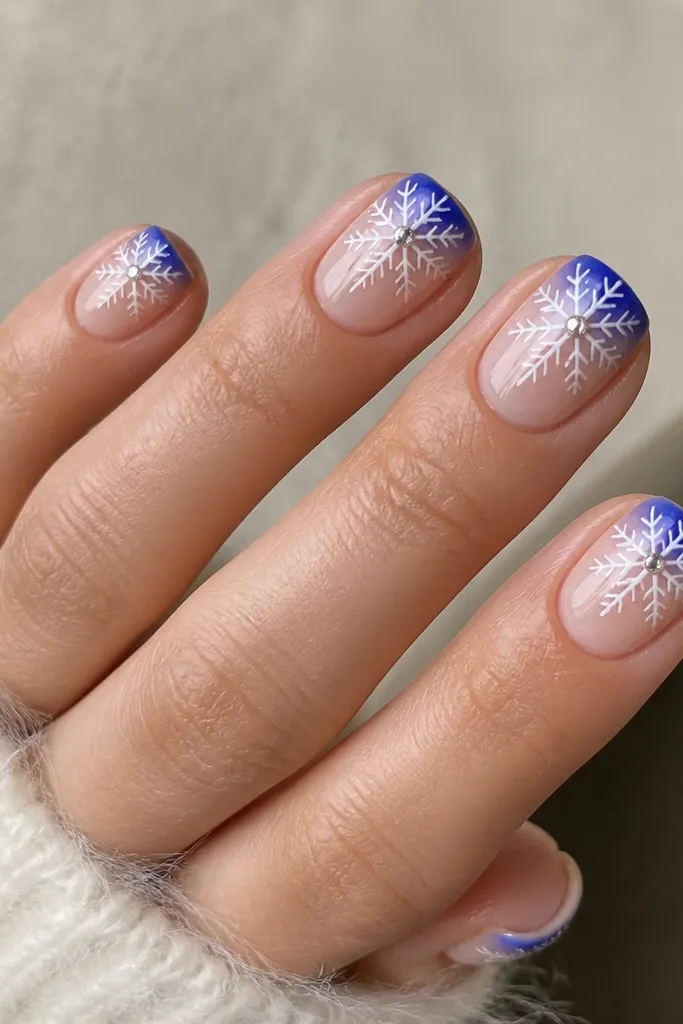
Apply removable tips with a nude sheer base so the cuticle area stands out. Paint a royal blue halo around the cuticle edge using a fine brush, curving it slightly to follow your nail shape. Add white snowflake line art starting from the halo area and extending toward the middle of the nail. Place one small rhinestone at the center using nail glue, then seal with a glossy top coat over the whole nail, leaving the rhinestone flat and secure.
This design gives maximum impact with minimum nail coverage. The royal blue halo near the cuticle makes your nail look lifted, like you added a frame around your hand. A single rhinestone at the snowflake center catches light when you move — it reads “holiday” without covering the entire nail. It’s especially flattering if your nail beds are shorter because the focus is at the cuticle, where your eye already starts. On medium to deeper skin tones, royal blue looks bold and clean; on fair skin it looks bright and not muddy as long as the white snowflake stays opaque.
Skip thisAvoid placing rhinestones on thick gel — they sit uneven and lift faster.
Editor's notePress the rhinestone for 5-10 seconds after placing so it bonds before the top coat hits it.