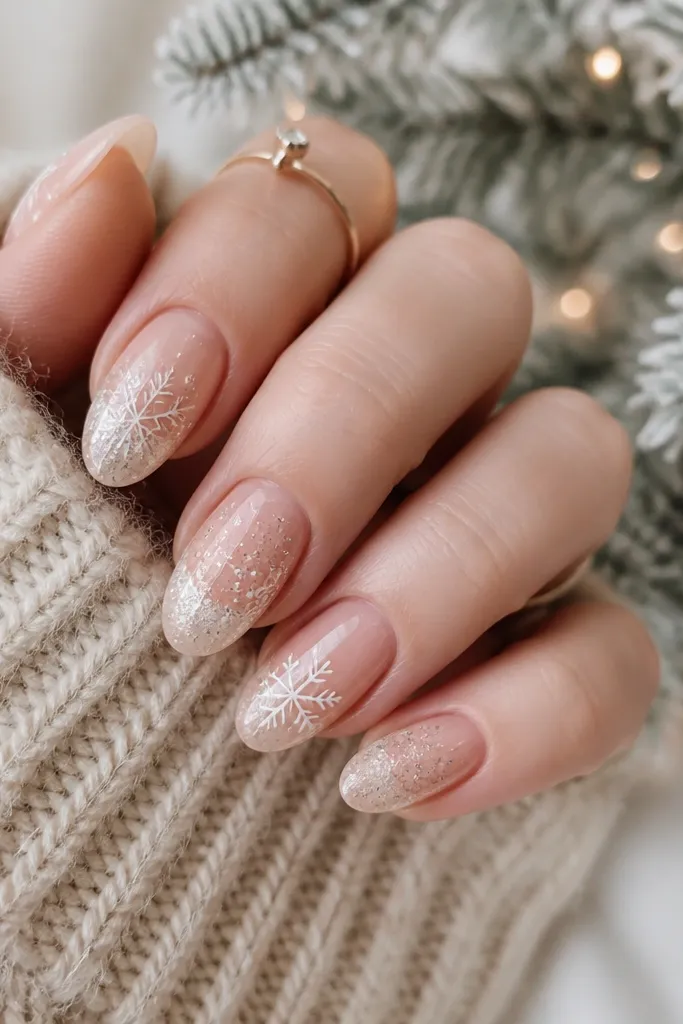
1. Emerald + Gold Half-Moon Velvet Look
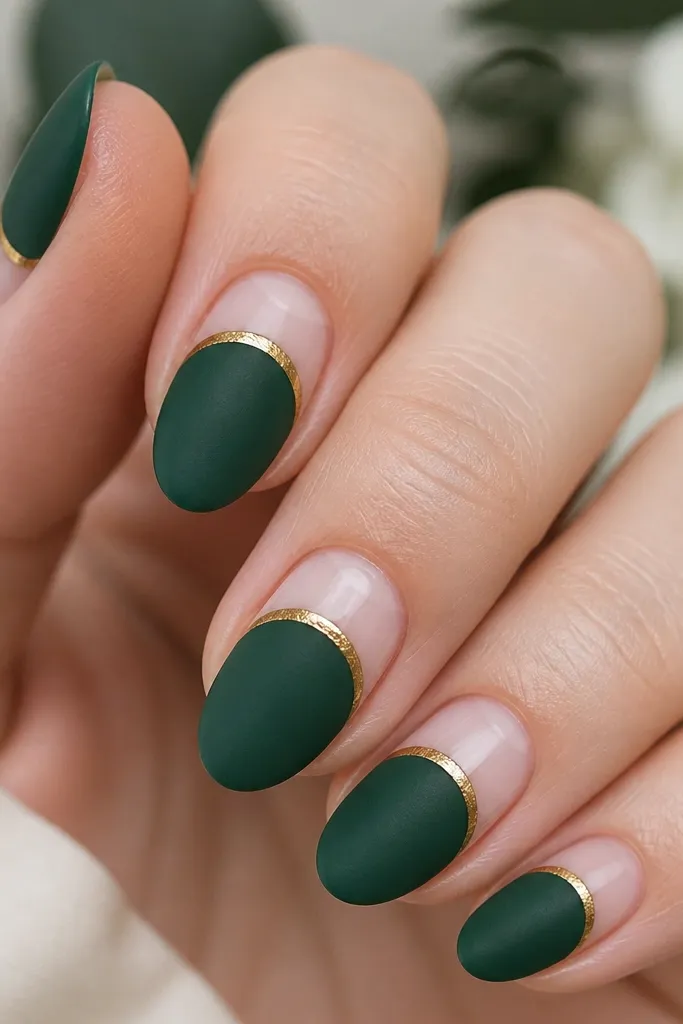
This set gives you that winter “jewelry” feeling without needing rhinestones. I use a sheer milky pink base so the nails still look neat even if they grow out a little. The emerald is deep and slightly cool, so it reads like evergreen trees instead of bright craft-green. The thin gold half-moon makes it look intentional and expensive, especially on warm or neutral skin tones. It also flatters hands with shorter nail beds because the half-moon sits high and draws the eye upward.
Start with a base coat and two thin coats of sheer milky pink. When it’s dry, place striping tape a few millimeters below the cuticle to block a clean half-moon curve. Brush on deep emerald (or sponge it lightly) and remove the tape while the polish is still tacky for sharper edges. Add a thin gold line by painting a line along the top edge of the emerald, then seal with a matte top coat on the emerald only and gloss top coat on the sheer part.
Editor's noteIf you don’t have gold liner polish, use a metallic gold eyeshadow pigment mixed into clear top coat for a smooth, thin line.
Skip thisDon’t paint the gold too thick — chunky lines look like costume nail art.
2. Candy Cane Negative Space Stripes
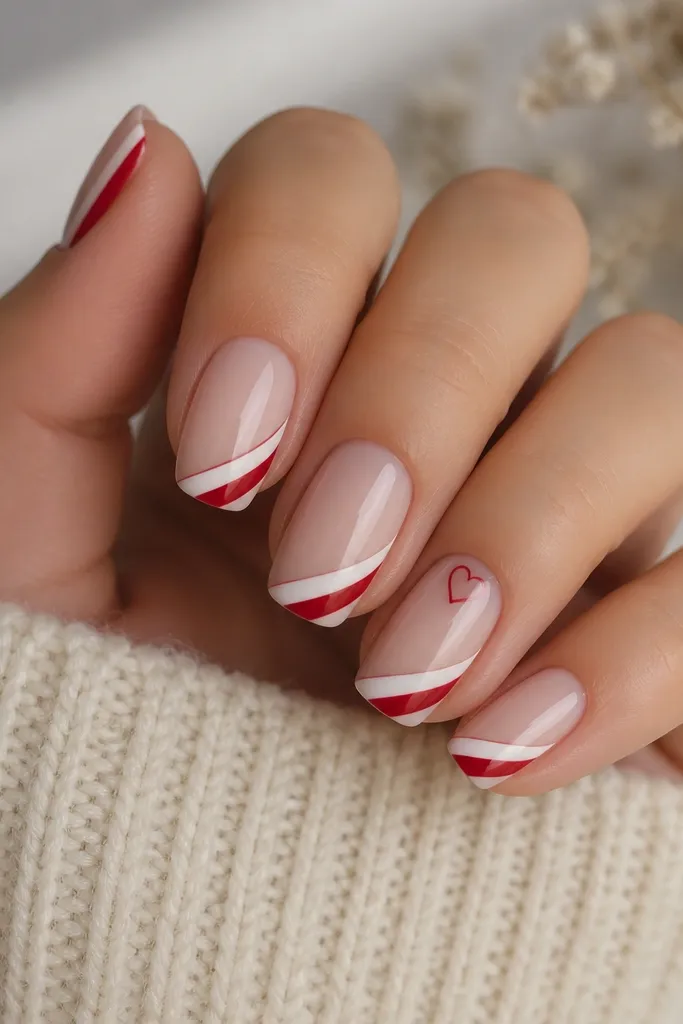
This is the budget version of the classic candy cane without turning your nails into thick stripes. The negative space is doing most of the work — it makes the design crisp and keeps it from looking messy. I like a nude base that matches your skin tone closely, because the white and red pop harder against it. This set looks great on fair, medium, and deep skin tones because it doesn’t rely on a specific base color shade. It also works on short nails because the stripes live on the tip and don’t need a lot of real estate.
Paint two coats of a nude polish that matches your skin tone, then let it dry fully. Use striping tape to create diagonal guides from about one-third down the nail toward the tip, leaving clear negative space between stripes. Paint the lower guide red first, then the upper guide white, and remove the tape carefully while still slightly tacky. Finish by sealing with a glossy top coat; for the heart accent nail, dot a tiny red heart with a dotting tool and drag a toothpick for the outline.
For sharper diagonals, warm the striping tape between your fingers for 5 seconds so it curves cleanly to the nail.
Avoid thick paint on the stripes — it makes the tape edges look raised.
3. Snowfall Dots on Milky White
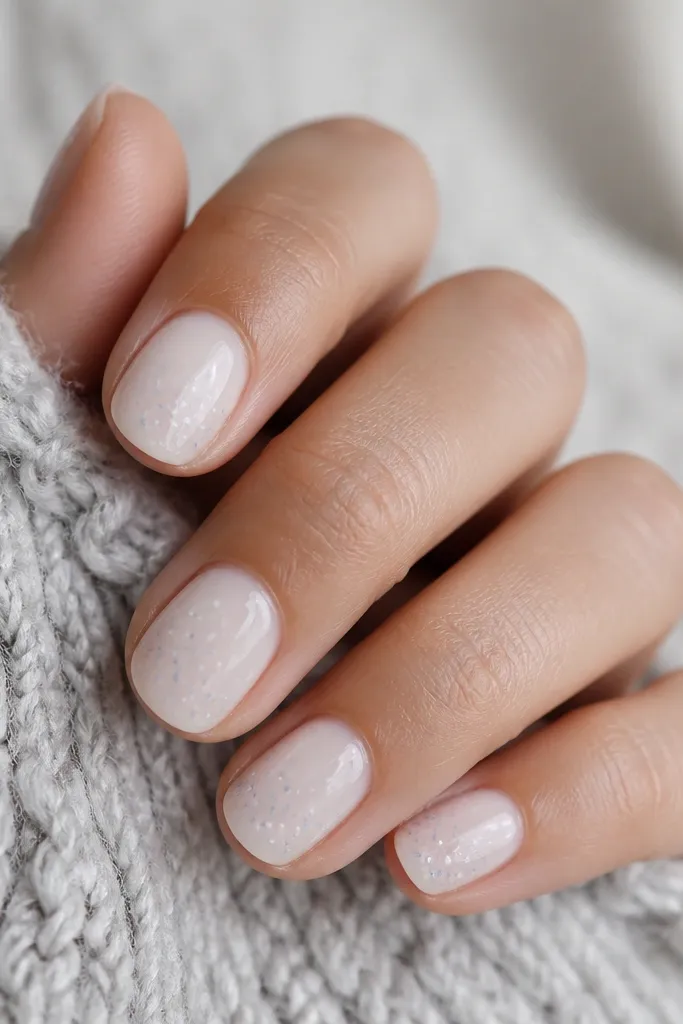
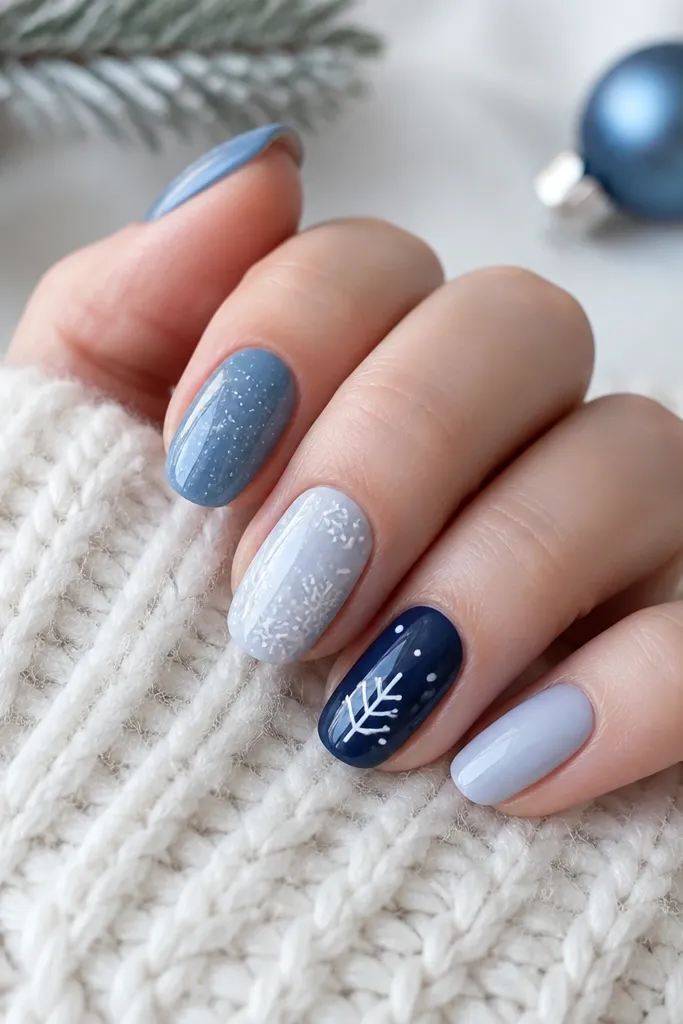
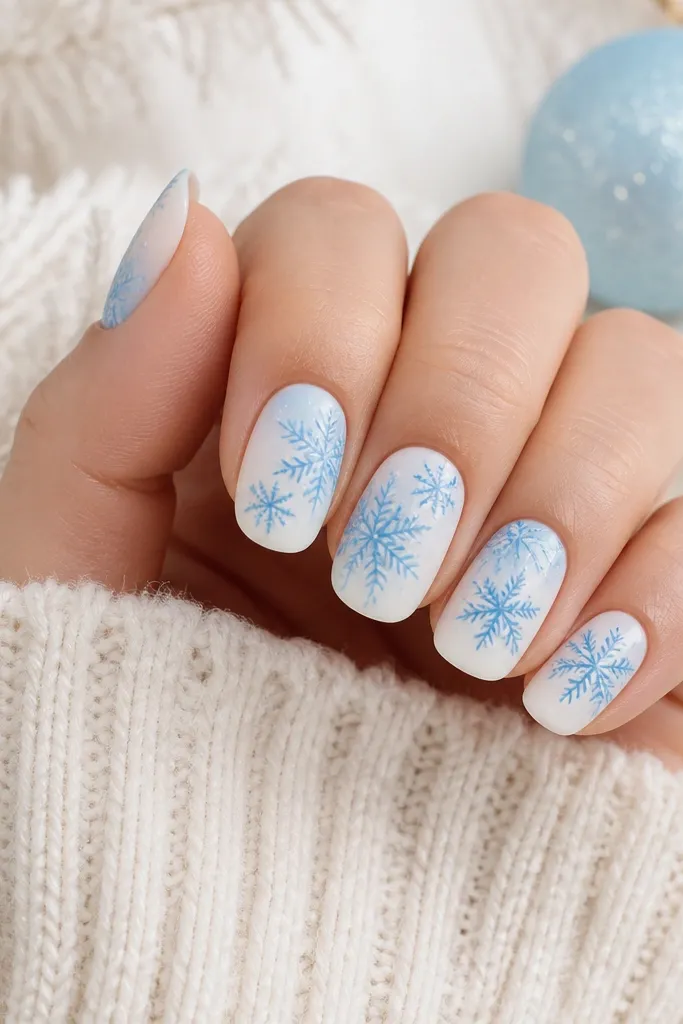
If you want winter Christmas nails that look soft and believable, this is the one. Milky white gives the snow base, and the tiny dots create the illusion of depth without needing glitter. I use icy blue only sparingly so it doesn’t look like winter-themed nail stickers. This looks flattering on all skin tones because it’s light and clean, and it doesn’t fight with your natural undertone. It also works well for hands that get dry in winter, since milky shades hide tiny texture better than super-glossy translucent colors.
Apply a base coat, then paint two coats of milky white. While it’s still wet or tacky, use a dotting tool to place small white dots in clusters near the center of each nail. Add a few tiny icy-blue dots between the white ones, then pull one or two light streaks with a toothpick to suggest falling snow. Seal with a glossy top coat, and do an extra thin top coat around the free edge so the dots don’t chip.
Editor's noteUse a dotting tool that makes a 1 mm dot for the smallest flakes; big dots look like bubbles.
Skip thisDon’t line up dots in neat rows — snow doesn’t do that.
4. Green Plaid with Black Window Lines
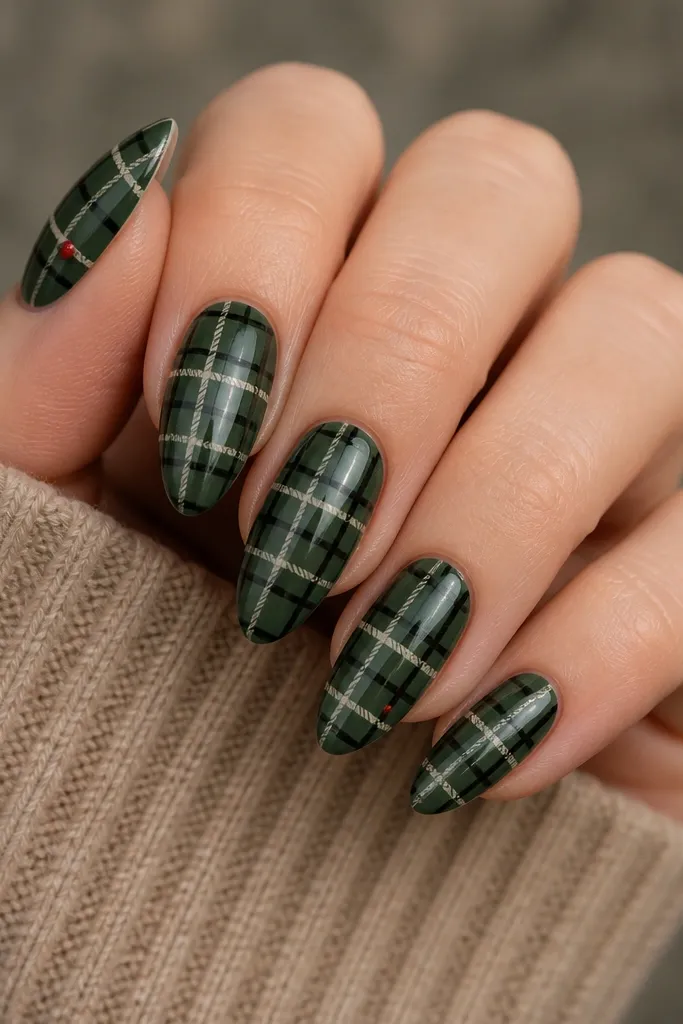
Plaid is a Christmas classic, and you can make it look expensive with only three colors. The deep green base reads like wrapped ribbon, and black window lines make it look tailored instead of childish. Off-white lines keep it wintery and avoid the “bright Christmas craft” look that happens when plaid is too red or too pink. This style looks great on medium to deep skin tones because the green has enough contrast, but fair skin still works if your off-white is truly milky. It’s also flattering on almond and squoval shapes because the grid naturally follows the nail’s curve.
Start with a deep green base and let it cure until smooth. Paint a thin black vertical line down the center, then add thinner black horizontal lines to form small windows. Use striping tape for the off-white lines, placing tape diagonally and horizontally so the plaid crisscross stays even. Remove tape to reveal clean edges, then add a tiny red dot accent near one corner on two nails. Finish with a glossy top coat so the grid looks crisp.
Editor's noteIf your black polish is streaky, thin it with a drop of polish thinner so the lines stay even.
Skip thisDon’t use dark grey instead of black — it makes plaid look muddy.
5. Red Wine Micro-Glitter Tips
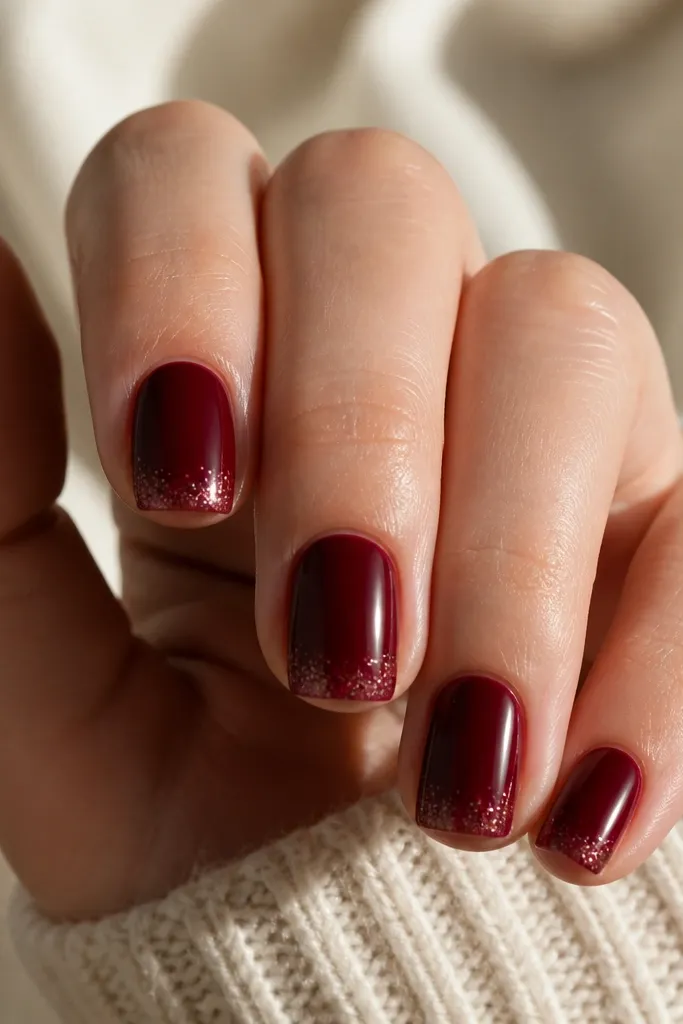
This is my go-to when you need “holiday sparkle” but you hate chunky glitter. Deep wine red looks richer than bright red, and micro-glitter at the tips gives a photo-ready shimmer without feeling loud. The gradient matters: it should fade inward, not look like glitter tape glued on. This flatters hands because tips elongate the nail visually, and the dark base hides tiny chips better than lighter colors. It also works on short nails because the design fits in the smallest space.
Paint two coats of deep wine red and make sure it’s fully dry. Pour a little micro-glitter onto a paper and use a makeup sponge or a stipple brush to dab glitter only at the tip edge. Work the glitter inward slightly, then stop — you want a soft fade. Seal with a glossy top coat in two thin layers, letting the first layer dry before the second so glitter doesn’t sink.
Press the sponge lightly for 2 seconds per nail so you don’t get glitter blobs.
Skip thick glitter gel — it can peel at the free edge.
6. Milk Chocolate Cable Knit Accent
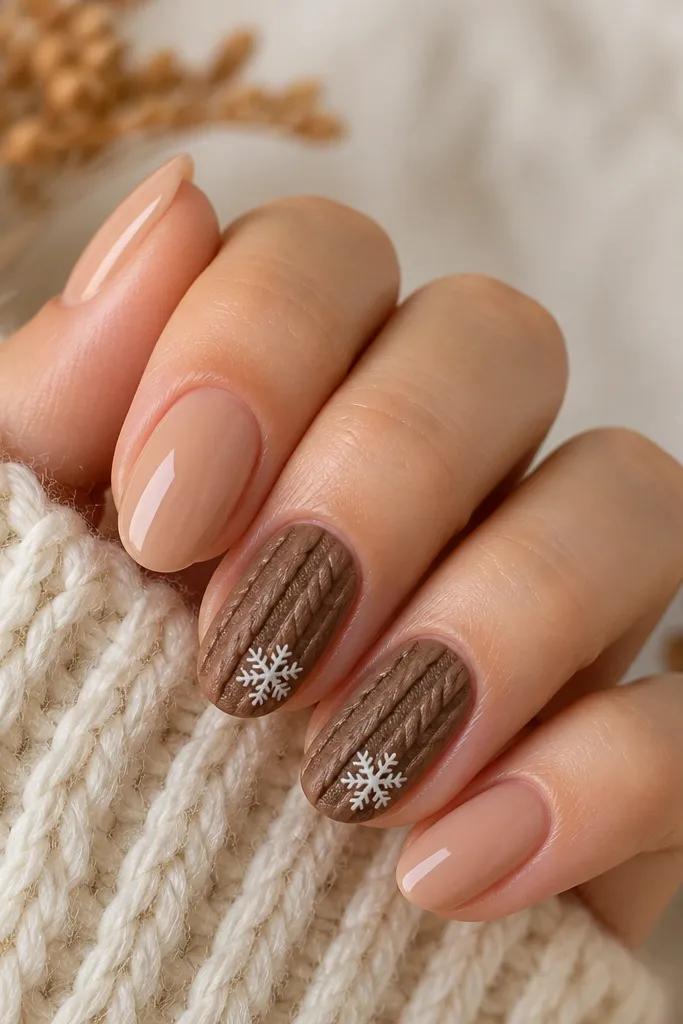
Cable knit is winter comfort on your nails, and you can fake the texture with a simple technique. I keep most nails plain nude because the knit pattern needs space to look intentional. Milk chocolate brown gives a cozy winter vibe without turning into dark goth. The tiny white snowflake adds Christmas without clutter. This looks best on short to medium nails because the pattern is bold and you don’t need long length to read it. It also flatters cooler skin undertones since the brown is warm and balances your hand tone.
Start with a nude base and glossy top coat. On two accent nails, paint milk chocolate brown squares using a nail art brush, then add thin lines to create a cable knit look: two vertical bands, then cross them with short diagonal lines. For the “knit rope” effect, trace the center lines with slightly thicker polish and let it dome just a bit. Add a tiny white snowflake using a dotting tool and a toothpick, then seal with a glossy top coat only after the pattern is set so it doesn’t smear.
Practice the cable crossing on a spare nail tip or a fake nail first — it’s faster than fixing on your hands.
Don’t put cable knit on every nail — it gets bulky and reads messy.
7. Icy Blue Chrome Snowflake Frame
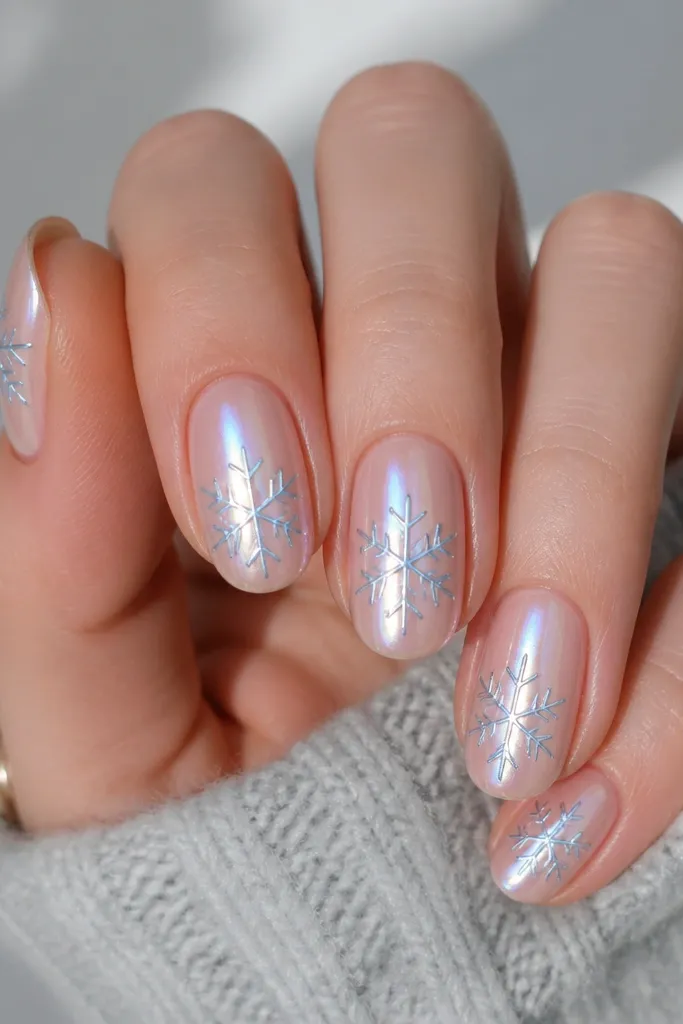
This is the “winter photo filter” look, and it costs less than you’d think if you buy loose chrome powder instead of a full gel kit. The sheer icy nude base makes your hands look fresh, while the chrome outline gives sparkle that isn’t chunky. Icy blue works especially well if you wear silver jewelry because it matches the cool undertone. It also looks good on longer nails, but short nails can pull it off if the snowflake sits centered and small. The frame style keeps it from feeling like a full sticker sheet.
Apply a sheer nude base and cure/dry fully. Use a thin brush to paint a snowflake shape lightly with clear gel or sticky base, then apply icy-blue chrome powder over the lines only. Tap off excess so the center stays clean. For a frame effect, add a second thin circle or diamond around the snowflake using the same gel, then seal with a top coat that’s compatible with chrome (usually a gentle gel top coat).
Chrome powder clings better when your base is tacky — don’t let it fully dry before adding the powder.
Avoid thick gel under the chrome — it makes the outline look like a blob.
8. Classic Red French with White Dot Snow Line
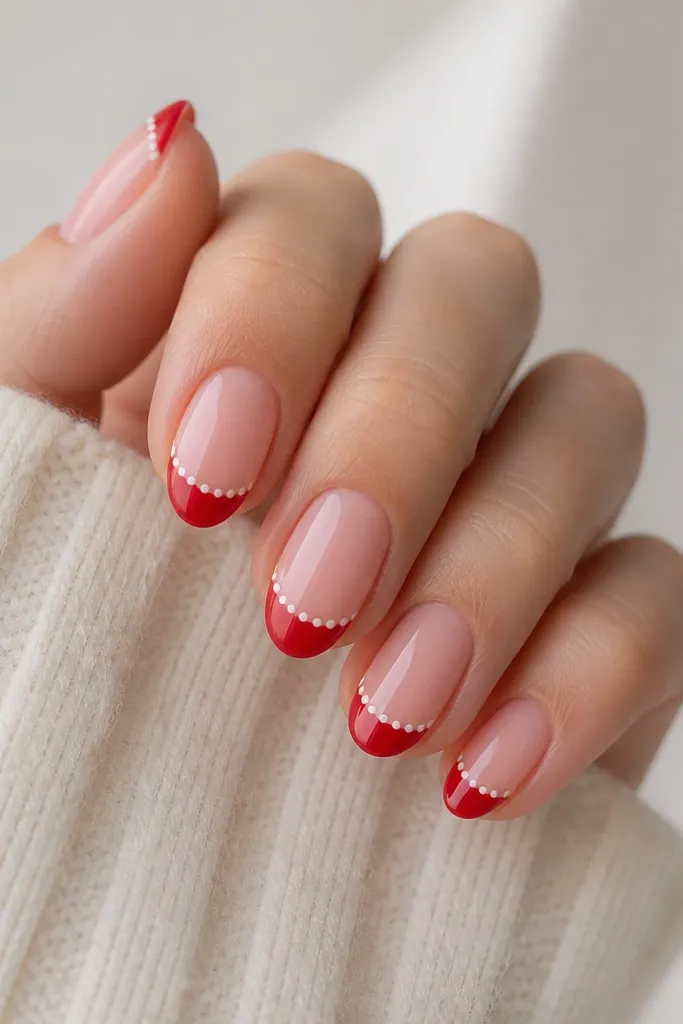
French tips look clean and expensive, and you can add a winter twist with a dot border. The red French gives the Christmas pop, while the white dot line makes it feel like snow settling along the edge. This is flattering on basically any nail length because it builds structure. I like sheer pink under it because it softens the red so it doesn’t look harsh. This set also photographs well in winter lighting because the boundary line is crisp and the dots catch light.
Start with a sheer pink base and apply two thin coats. Use a French guide or striping tape to paint the tips red, keeping the curve even across all nails. Let the red dry, then use a dotting tool to add tiny white dots along the top edge of the red, leaving small gaps for a natural look. Finish with a glossy top coat and cap the free edge on each nail to slow tip chips.
Press the tape firmly along the nail edge for 5 seconds so the red line stays sharp.
Don’t make the French tip too wide — wide tips look like polish overflow.
9. Burgundy Rose Foil Accent (No Charms Needed)
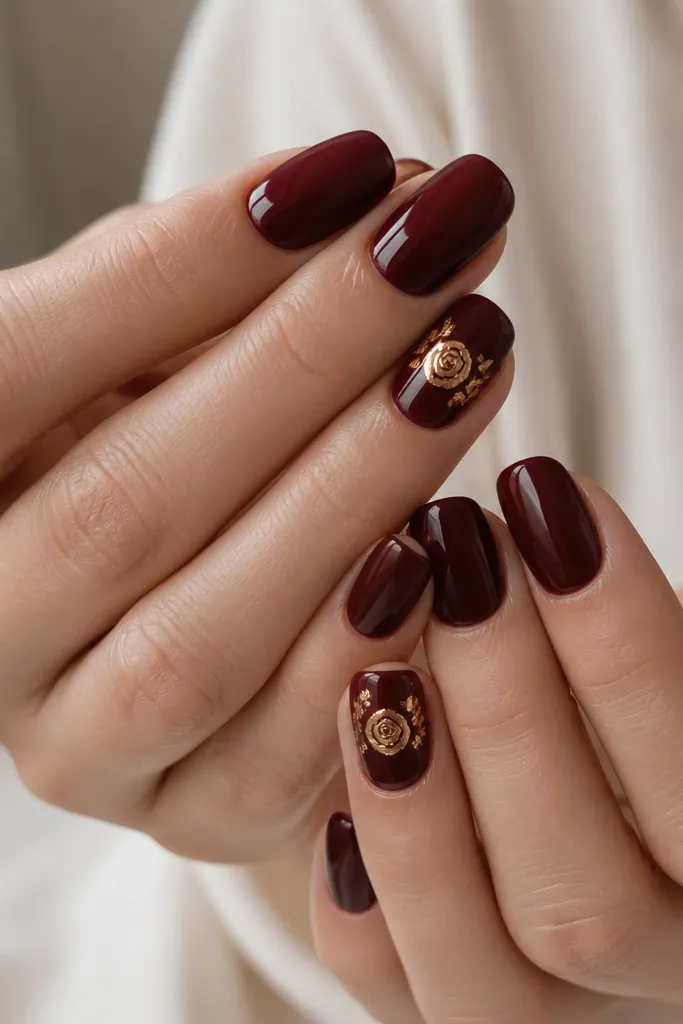
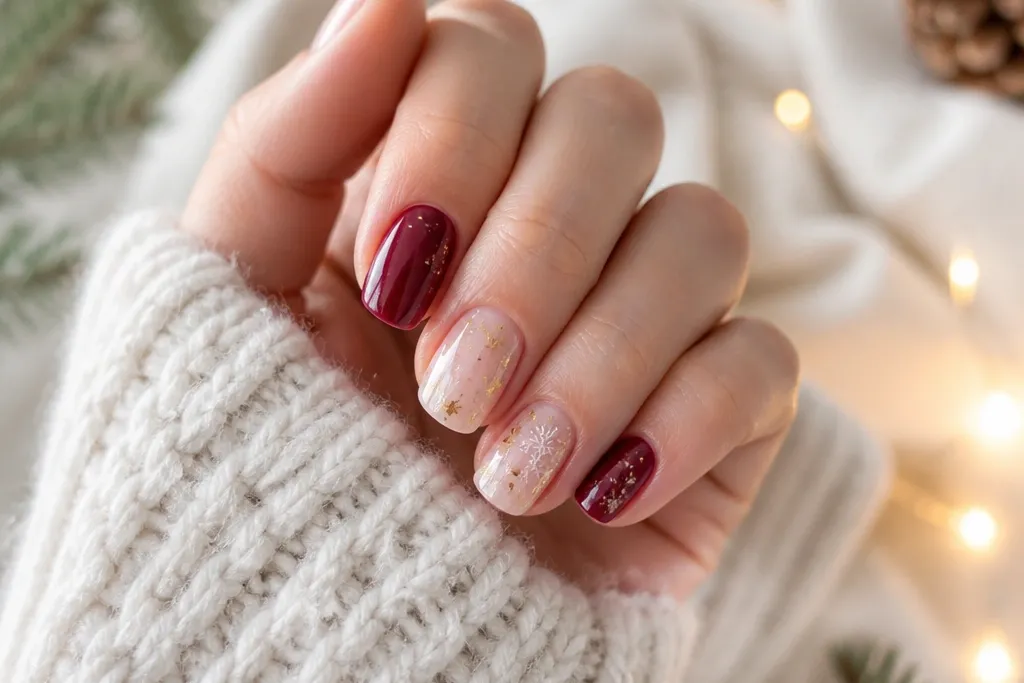
Foil looks fancy because the light breaks on it, and you can get that effect without paying for 3D charms. Burgundy is deep and winter-appropriate, and the copper-gold foil feels like candlelight. I place the foil near the cuticle because it lifts the look and doesn’t take up the whole nail. This flatters hands with visible nail ridges better than glitter because foil distracts with shine. It also looks great with both gold and rose-gold jewelry.
Paint all nails burgundy with two coats and a glossy top coat. On one or two accent nails, dab a small amount of foil glue or sticky gel near the cuticle (about 2-3 mm down). Press a small piece of copper-gold foil onto the sticky area and tap off the excess for an uneven, realistic rose-like patch. Add a few tiny foil fragments around the main patch with a dot of glue so it looks intentional. Seal with a thin top coat, but keep the top coat light over the foil so it doesn’t dull too much.
Editor's noteTear foil by hand instead of cutting; torn edges blend better and look more natural.
Skip thisAvoid covering the whole nail in foil — it turns into a flat metallic sheet.
10. Clear Jelly Nude with Red Bow Corner
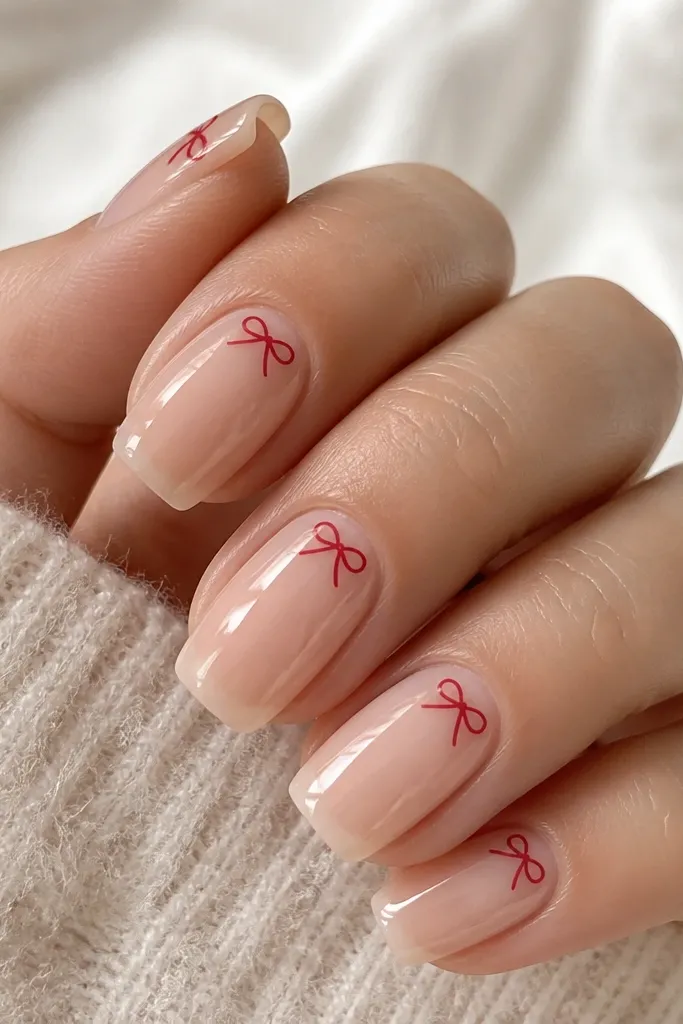
This set is “cute but grown” and it’s perfect when you want winter Christmas nails cheap budget that still look neat. The clear jelly nude makes everything look fresh and smooth, and it hides small imperfections in application. The red bow corner is small enough to stay classy, but it reads holiday even from a distance. I like it for medium and deep skin tones because the jelly base shows skin warmth through, making the red look rich. It also flatters longer nails because the bow sits in a corner and doesn’t squash the nail space.
Start with a clear jelly nude polish or gel in a sheer layer, then cure/dry. Use a fine striping brush to paint a small red V shape where you want the bow, then add two tiny loops on each side to form the bow. Add a small red dot for the center knot. For an extra crisp look, outline the bow with a slightly darker red or wine red. Seal with a glossy top coat in two thin passes so the jelly stays glassy.
Editor's noteIf your bow lines wobble, draw the outline first with a toothpick dipped in red, then fill in with your brush.
Skip thisDon’t make the bow too large — big bows look like stickers.