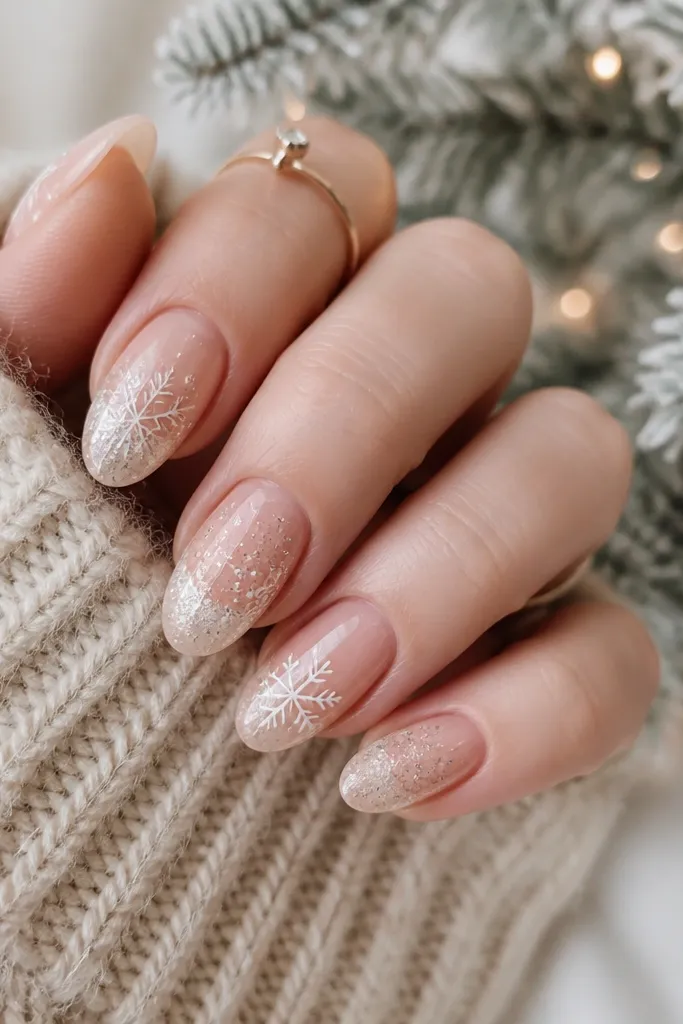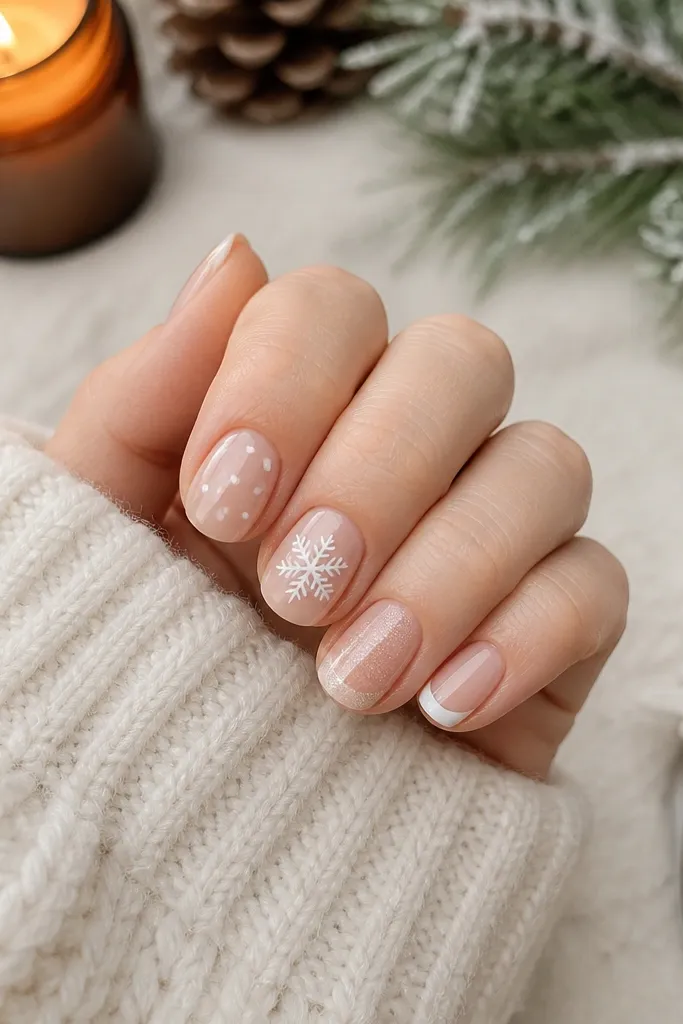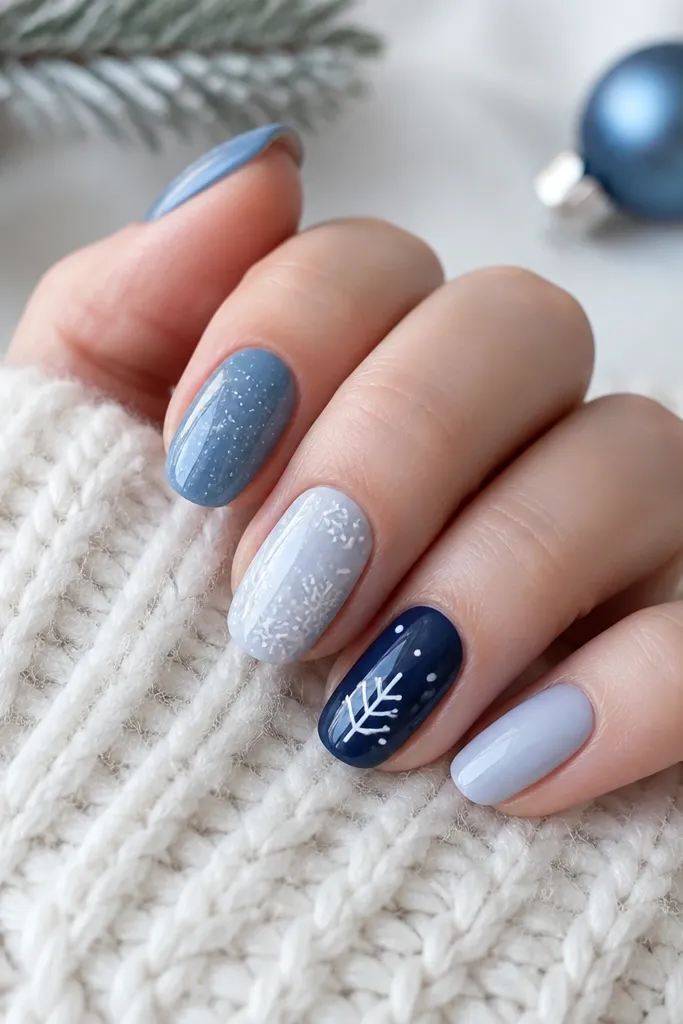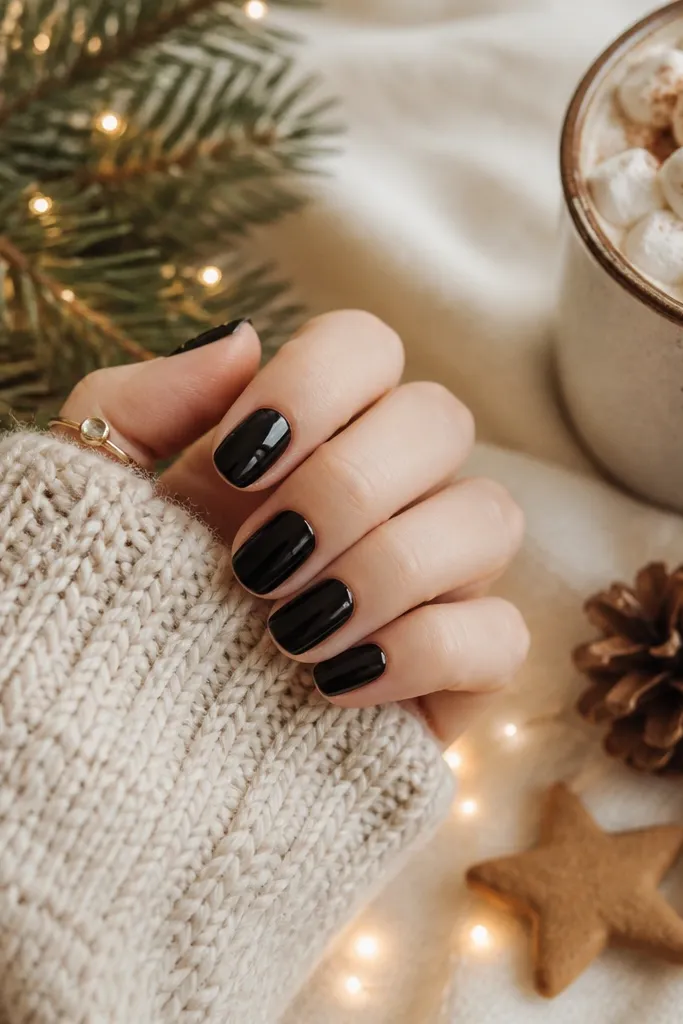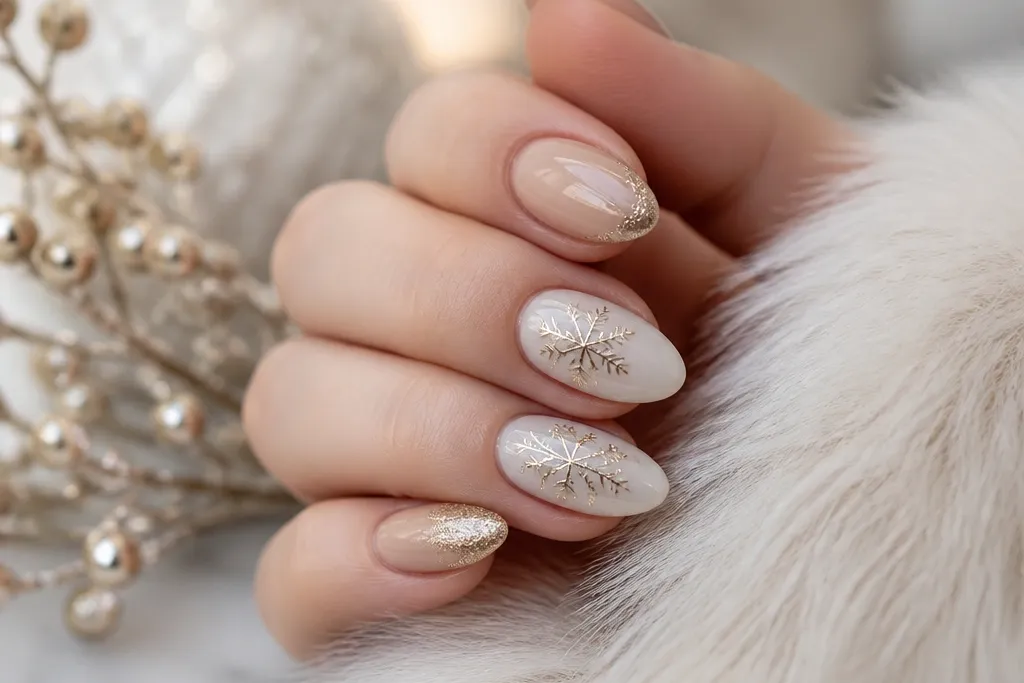
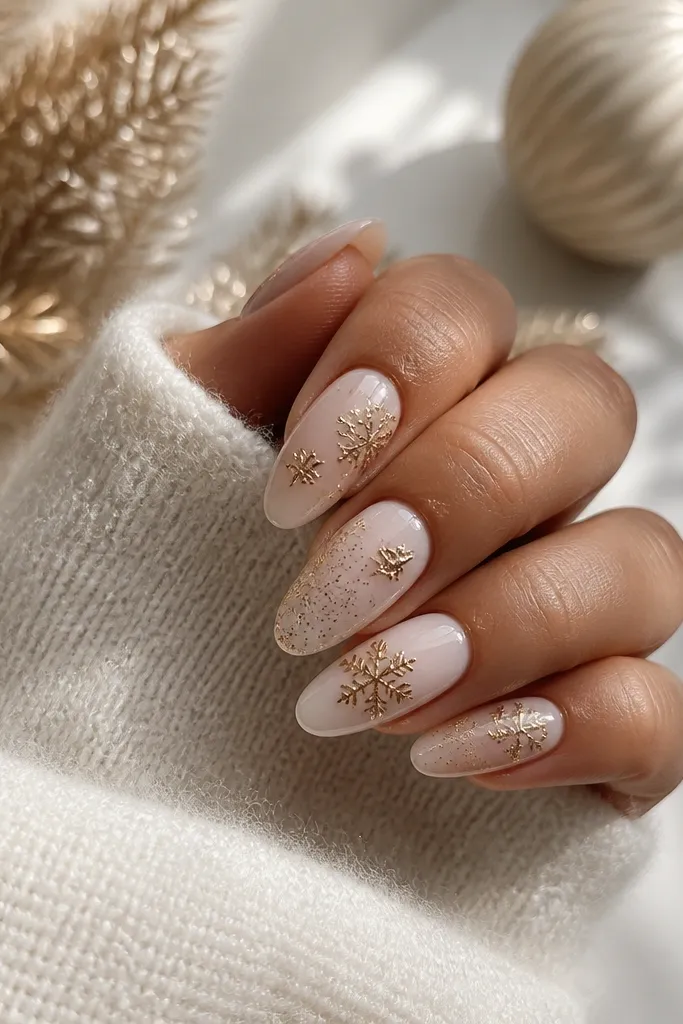
1. Icy Milky Nude with Champagne Micro-Glitter Fade
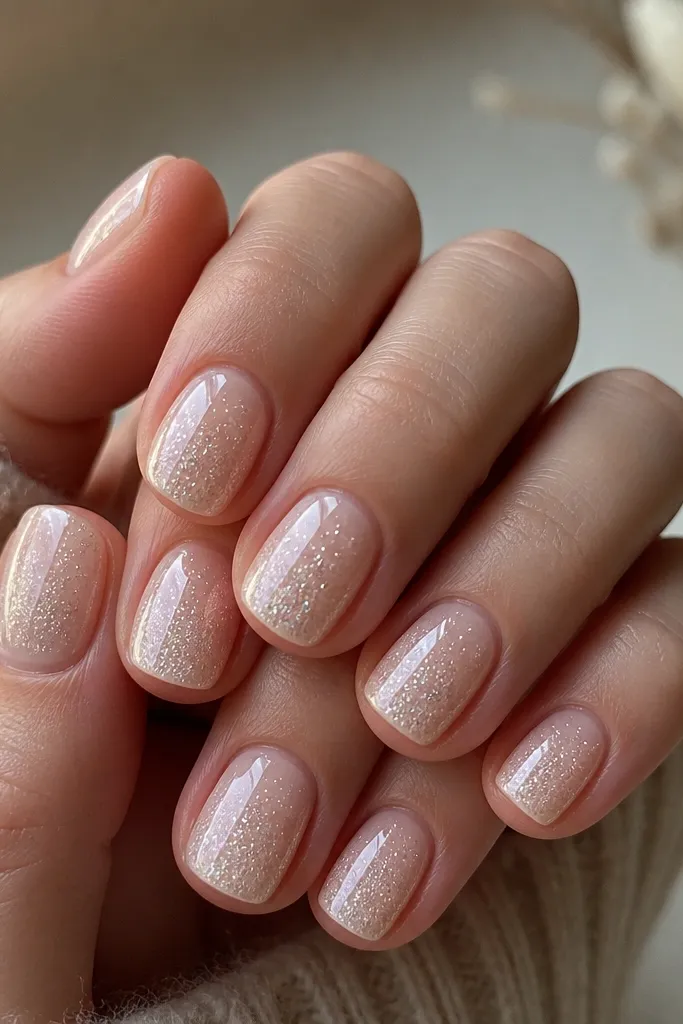
Start with a milky nude base that has a cool-white cast, not beige. Then add champagne micro-glitter only where light would naturally hit — the upper third of the nail and a gentle fade into the tip. This set flatters almost everyone because the base is close to skin tone and the glitter stays fine, so it doesn’t fight your hands. It also looks expensive on camera because the glitter reflects as a smooth sparkle rather than a gritty texture. Wear this with sweaters, satin dresses, and anything in cream, camel, or soft gold jewelry.
First, prep and shape your nails, then apply two thin coats of milky nude gel and cure fully. Next, mix micro-glitter gel or use a champagne micro-glitter topper and apply it in a soft gradient: place most glitter in the center, then drag it outward toward the free edge. Keep the cuticle area bare so you don’t get that “dirty” glitter ring. Finally, seal with a thick, level glossy topcoat and cure, then wipe with alcohol to remove inhibition layer before you handle it.
If your glitter looks chunky, switch to micro-glitter or a glitter gel with fine particles — chunkiness is what reads cheap.
Avoid putting glitter right up to the cuticle — it makes the nail look messy in real life.
2. Deep Wine Velvet Base with Silver Rhinestone Half-Moon
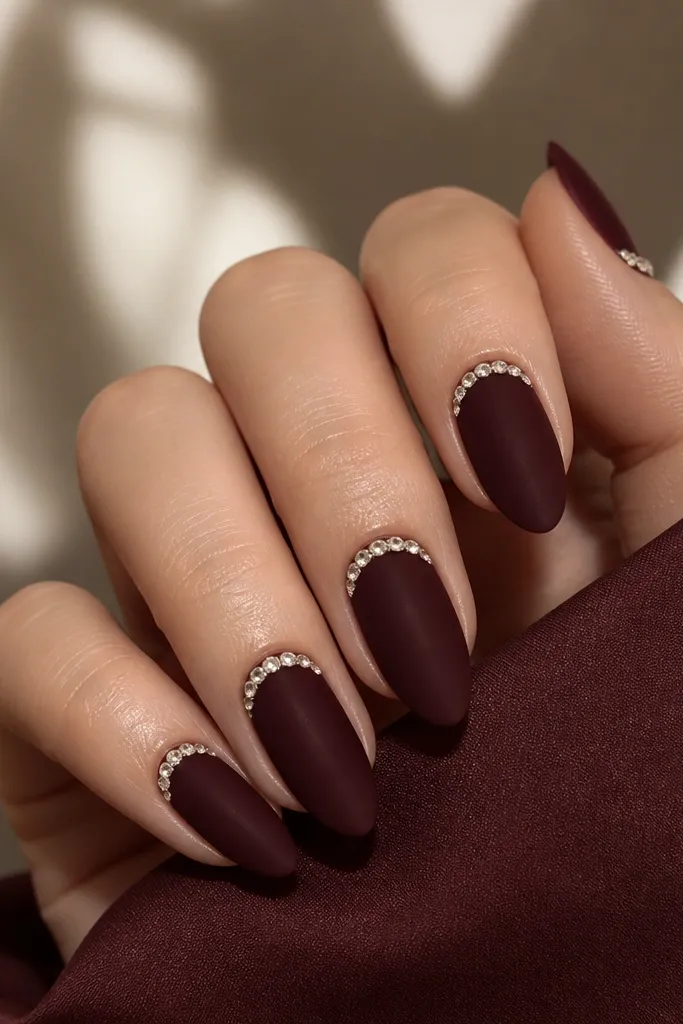
This one is for nights when you want drama without snowflakes everywhere. The deep wine base reads rich, and the velvet-matte finish makes the silver stones look brighter. The half-moon placement is flattering because it lifts the visual line at the cuticle and makes fingers look longer. Silver works especially well with cool undertones, but it still looks sharp against warm skin when the wine base isn’t too brown. I wear this with black outfits and silver hoops, and it looks high-end even when the stones are small.
First, apply a deep wine gel and cure, then use a velvet-matte topcoat over it so the surface loses the shine. Next, place a tight arc of small silver rhinestones in a half-moon near the cuticle — leave about 1 mm of breathing space from the skin edge. Set the stones with rhinestone glue, then cure. Finally, cap everything with a thin glossy topcoat only over the stones area so they stay secure without turning the whole nail shiny.
Use stones in one size only (like 1.5-2 mm) so the half-moon looks intentional, not scattered.
Skip big rhinestones — they overpower the velvet base and look costume-y.
3. Forest Green Gloss with Gold Leaf Accent on One Nail
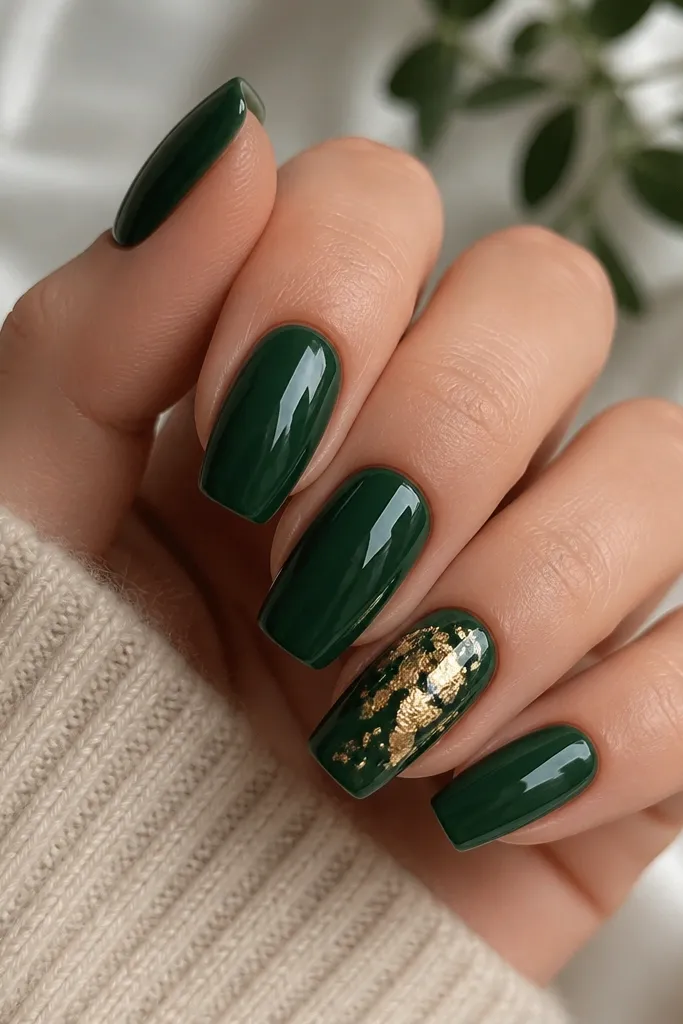
Forest green is the quickest way to get that winter Christmas mood without using red. The gloss topcoat makes it look like lacquer, and gold leaf gives that “expensive manicure” feel because it looks like actual foil texture, not uniform glitter. I like doing gold leaf on one or two nails only — it keeps your hands looking sleek instead of busy. This set flatters medium to long nail shapes because the gold leaf has height and catches light as you move. Pair it with gold rings and dark knits for a clean, luxe holiday look.
First, paint all nails with two coats of glossy forest green gel and cure. Next, on the accent nail, dab a small amount of tacky gel in the center area (about halfway up the nail) and press gold leaf pieces in small clusters. Don’t cover the whole nail — leave green showing so the gold looks intentional. Finally, seal with a clear topcoat in two layers: thin first to lock the leaf, then a second thicker layer for a smooth finish.
Editor's notePress gold leaf with a silicone tool or cotton-free applicator so you don’t smear it into the surrounding gel.
Skip thisDon’t add gold leaf to every nail — it turns into a busy, uneven sparkle.
4. Chocolate Brown French Tips with White Snowflake Dots
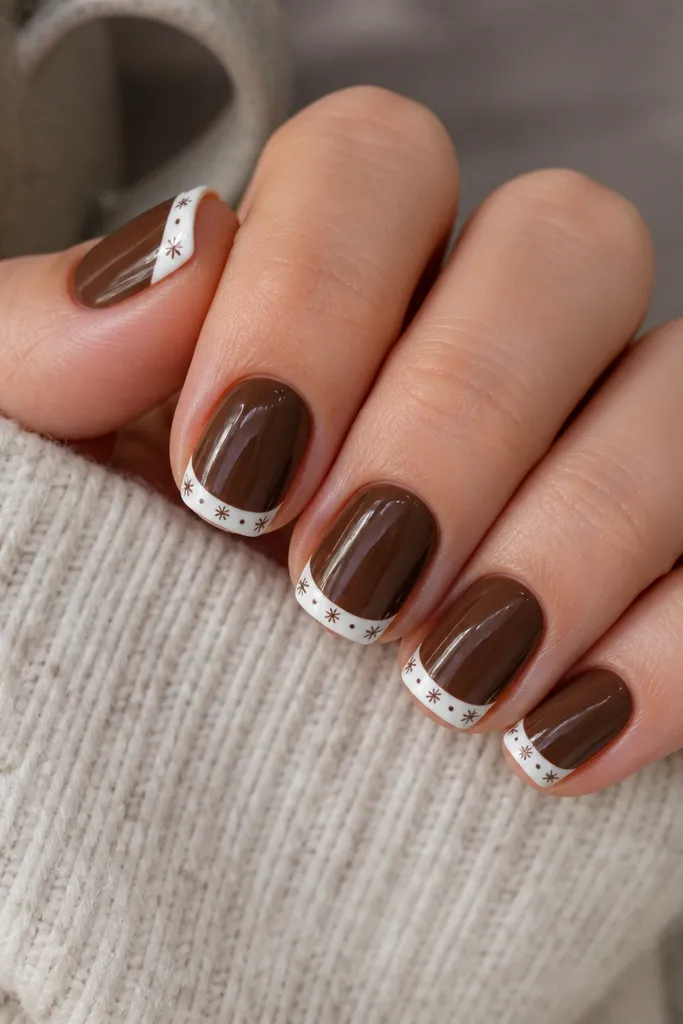
This design looks luxe because it’s clean and graphic, not overloaded. The chocolate base grounds the look, and warm white French tips feel festive without turning into candy nails. The snowflake dots are small and spaced, which keeps it elegant. This set works great for shorter nails because the French line creates a longer shape, and the tiny dots stay within the tip area. It flatters hands with shorter nail beds and looks stunning with brown sweaters, cream coats, and gold watches.
First, apply two coats of chocolate brown gel to the full nail and cure. Next, paint French tips with warm white gel using tape or a fine brush, keeping the tip width around 1.5-2 mm. Let the white cure briefly, then use a dotting tool to place tiny white dots and form mini snowflakes by adding 3-4 short lines around each dot. Finally, seal with a glossy topcoat and cap the free edge so the tips don’t chip.
Use a dotting tool with a small ball (like 0.5-1 mm) so your snowflakes stay delicate.
Avoid thick French lines — wide tips look cheap fast.
5. Oyster Pink Base with Frosted White Tips and Tiny Pearls
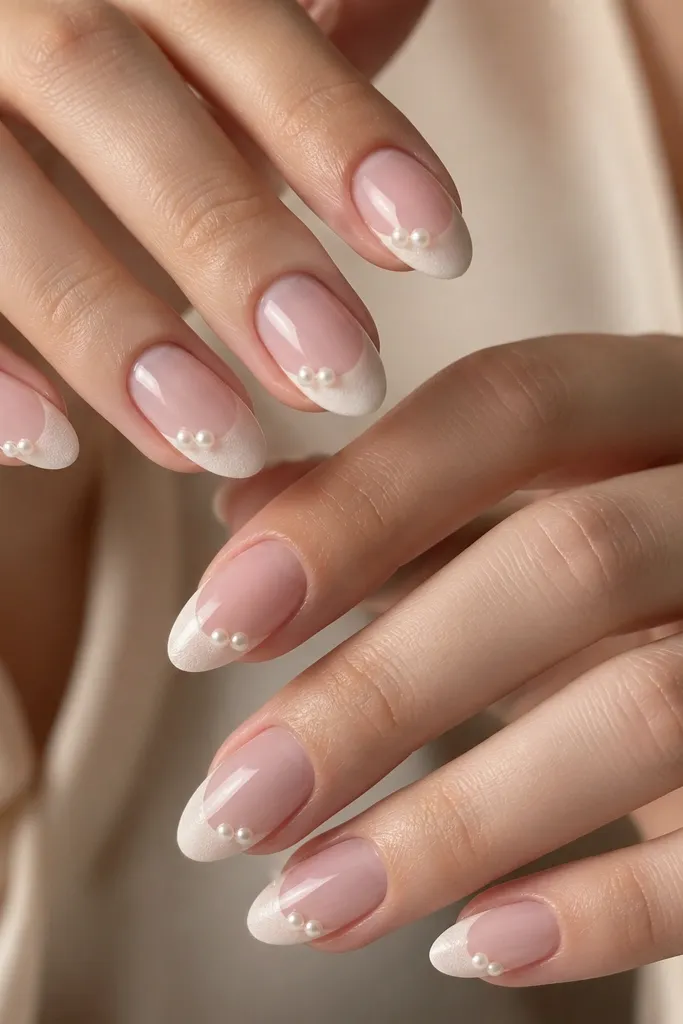
Oyster pink is my favorite “winter neutral” because it warms up cold months without looking plain. The frosted white tips give a snowbank effect, and adding tiny pearls near the side makes it look like couture jewelry. Pearls read upscale when they’re small and placed with restraint — two per nail max is the sweet spot for me. This flatters light to medium skin tones, especially with rose gold rings. Wear it with blush knits, champagne dresses, and winter coats in oatmeal or camel.
First, apply oyster pink gel and cure, then top it with a thin glossy coat so the base looks smooth. Next, create frosted tips using frosted white gel or a white pigment powder lightly mixed with gel — keep it matte and slightly textured at the tip. Place one pearl near the outer side of each tip and one on the inner side if you want symmetry, then cure the pearl glue. Finally, seal with topcoat over the pearls and the edge, but keep the frosted tip from becoming fully glossy by using a thin cap coat only.
Editor's noteIf your pearls lift, add a tiny dab of clear gel on the underside of the pearl before curing.
Skip thisDon’t coat the frosted tip heavily — it loses the snow effect.
6. Black Cherry Chrome with Red Velvet Micro-Glitter Accent Nail
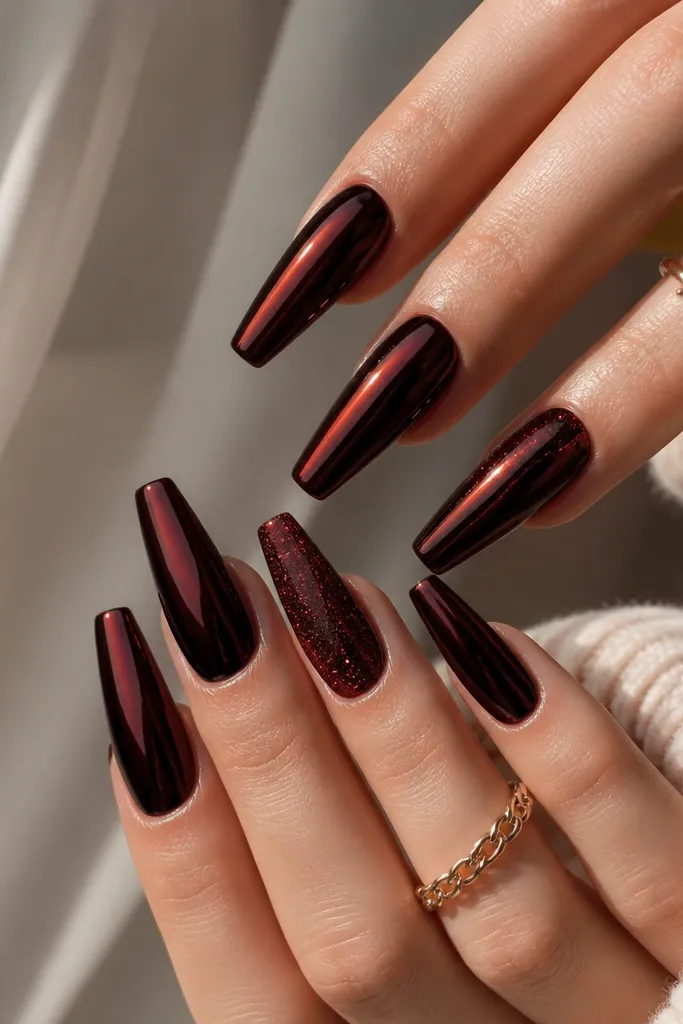
Chrome can look cheap if it’s overdone, but black cherry chrome looks expensive because it’s dark and reflective. The red velvet micro-glitter accent nail adds a festive pop without making the whole set look like it’s covered in glitter. This is a great choice if your wardrobe is mostly black, burgundy, and deep red. It flatters long nail shapes and looks dramatic on camera when you move your hands. The key is contrast: one nail gets texture, the rest stays mirror-sleek.
First, paint all nails with a black cherry gel, then apply a chrome powder in a matching tone after curing the base (follow the gel’s tack stage). Buff lightly to remove excess and cure if your system requires it. Next, on the accent nail, skip chrome and paint a deep red gel, then press or paint micro-glitter gel in a thin layer so it looks velvet-sparkly, not gritty. Finally, topcoat the chrome nails with a chrome-safe topcoat and cap the accent nail with standard glossy topcoat.
Editor's noteUse a chrome-safe topcoat on reflective nails — regular topcoat can dull the mirror finish.
Skip thisAvoid chrome on short nails — it can look like a thick skin over the nail.
7. Glacier Blue Ombré with Star Foil at the Tip
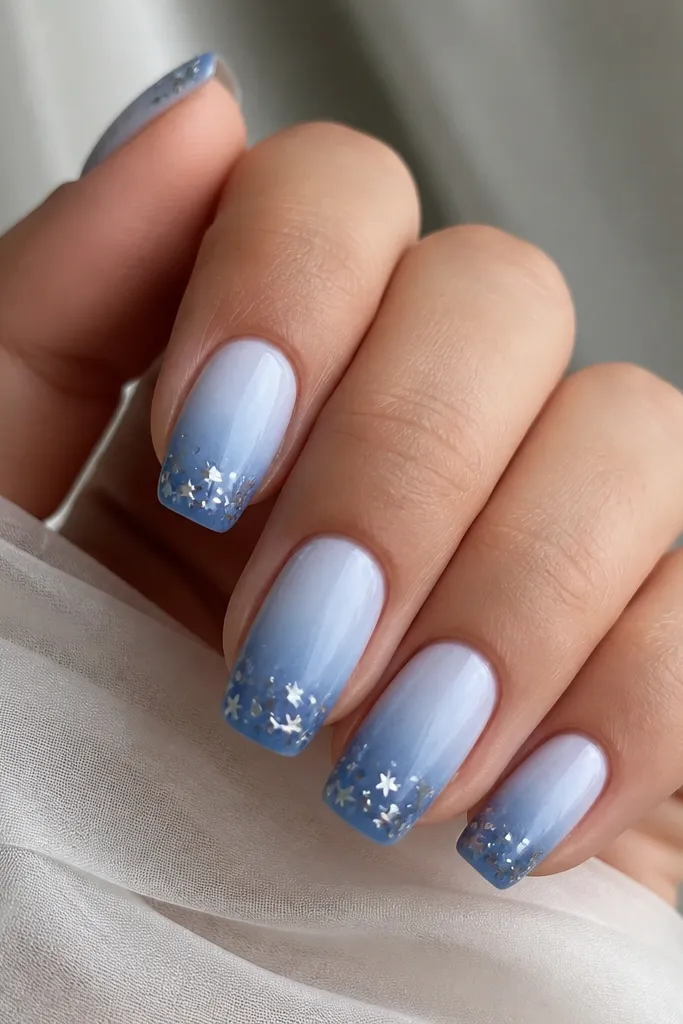
Glacier blue reads Christmas in a clean way, like winter light. The ombré makes your nails look longer and smoother, and star foil adds that “holiday sparkle” without turning into glitter dust. I like foil pieces because they catch flash in sharp highlights, which looks luxe in photos. This set looks great on cool undertones and also looks striking on warm skin when you choose a pale icy base. Pair it with silver jewelry, denim jackets, and icy blue sweaters.
First, apply a pale icy blue gel to the cuticle area and cure. Next, sponge or brush a deeper glacier blue onto the tips, blending into the middle so you get a soft gradient. Then apply star foil pieces on the free edge using foil glue gel only at the tip — keep them clustered so the nail doesn’t look scattered. Finally, seal with a glossy topcoat and make sure the foil edges are fully capped by brushing topcoat over each star.
Press foil with a flat silicone tool for 5-10 seconds per cluster so it grabs cleanly.
Skip loose foil across the whole nail — it looks messy and lifts faster.
8. Creamy Nude Marble with Emerald Micro-Line Veins
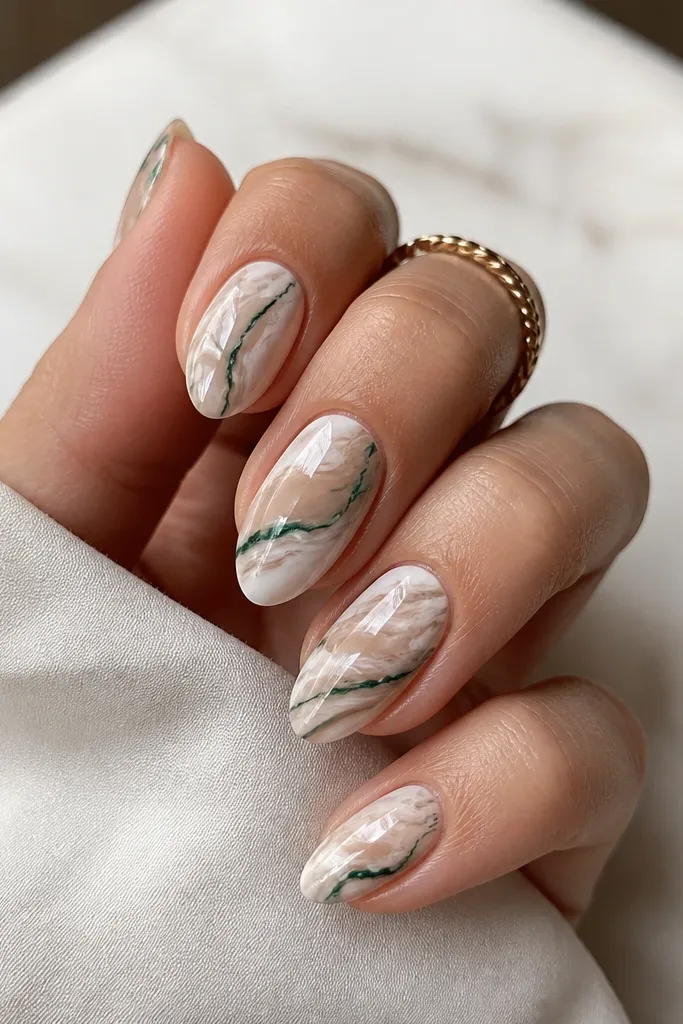
Marble nails look expensive when the veins are fine and the base is creamy, not chalky. The emerald micro-lines give a winter Christmas hint without using full snowflake decals. This set flatters hands because the nude base blends with skin and the emerald lines add height. It’s especially good if you want holiday nails that still work at a work event. I’ve worn this with cream blouses and green scarves and it looks intentional, not random.
First, paint a creamy nude base and cure. Then create marble by dropping tiny amounts of white and beige gel onto the nail and swirling lightly with a thin brush or a toothpick, keeping the pattern airy. Next, use a fine liner brush to draw micro veins in emerald green — aim for 1-2 lines per nail, not a grid. Finally, cure, then apply a glossy topcoat in two layers so the marble looks like it’s under glass.
Editor's noteUse a liner brush you only use for nail art — a splayed brush makes veins look fuzzy.
Skip thisAvoid thick marble swirls — they read heavy and cheap.
9. Classic Red Gloss with White Bow Accent on Ring Finger
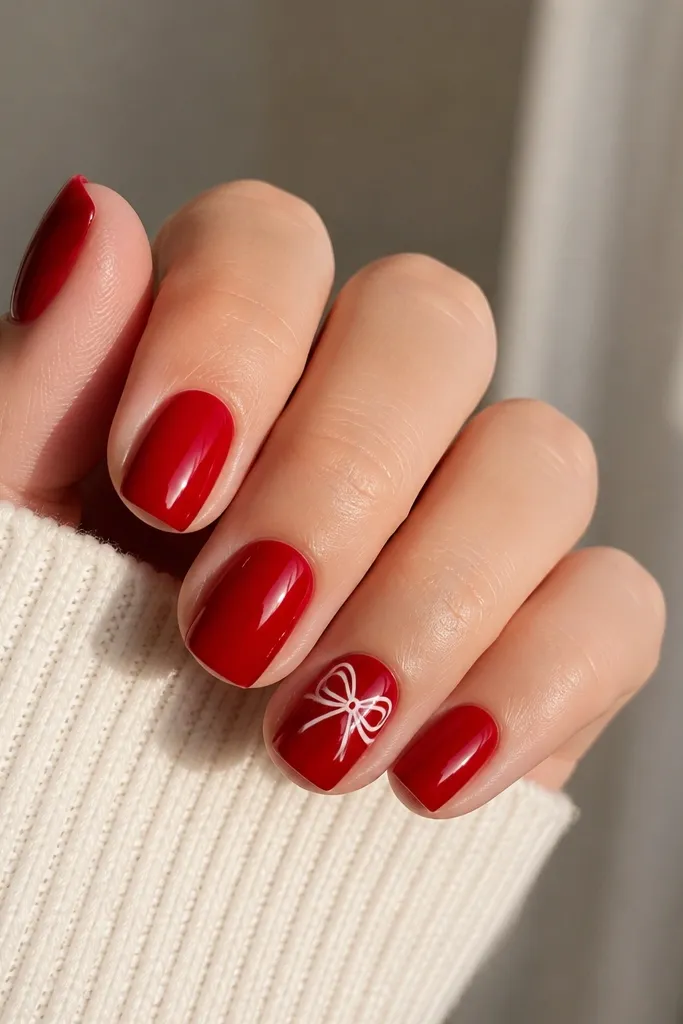
Red nails are a holiday staple, but the luxe part comes from crisp detailing and a high-gloss finish. The white bow on the ring finger feels like gift wrapping, and keeping it to one nail keeps it classy. This design flatters almost every skin tone because red is bold and the white bow adds contrast. It’s also great for short nails because the bow sits near the cuticle and doesn’t need extra length to look cute. Wear it with red lipstick, black outfits, or winter whites.
First, apply two coats of classic red gel and cure fully, then top with a glossy coat. Next, on the ring finger, paint a small white bow using a thin brush: two curved loops and a tiny center knot, about the size of a pea near the cuticle. Cure, then add a small dot of clear gel or white gel to the center for dimension. Finally, topcoat all nails, but go gently over the bow so you don’t flood the lines.
Use nail art striping tape to map the bow shape lightly, then remove before curing.
Avoid painting bows on every nail — it looks like party favors.
10. Soft Taupe with Icy Half-Moon Chrome
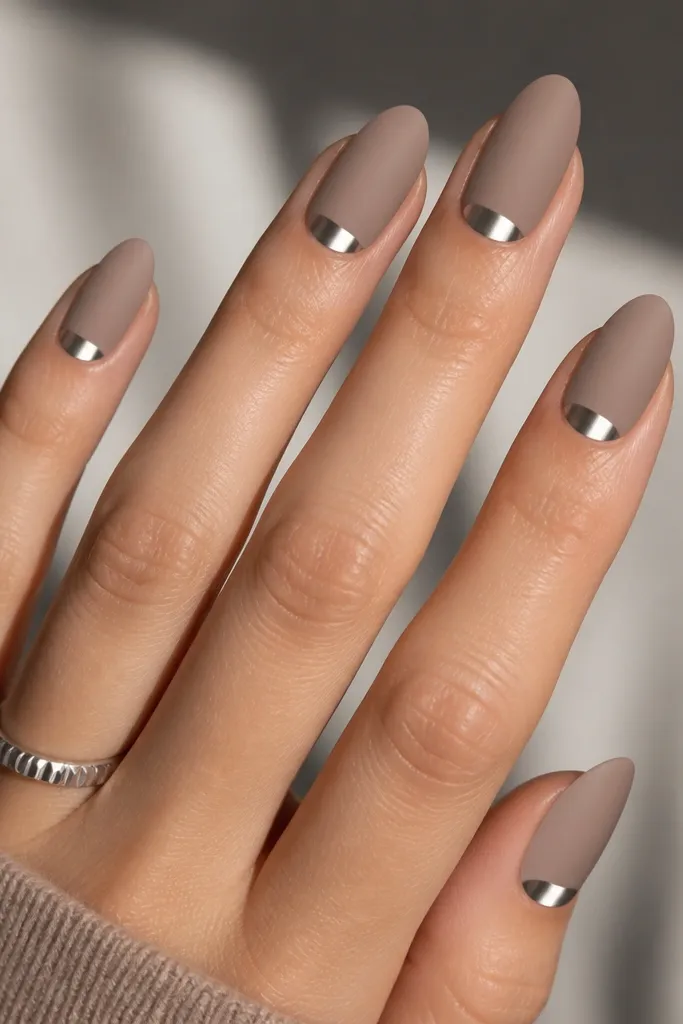
This is understated luxury. The taupe base looks grown-up and winter-friendly, and the icy half-moon chrome makes it feel holiday without any theme overload. The half-moon shape also makes your nails look neater because it frames the cuticle area. I love this for people who hate glitter but still want “Christmas nails” in photos. It flatters medium to long nail beds and looks great with both silver and mixed-metal jewelry.
First, apply taupe gel and cure, then use a satin or matte-finish topcoat so the base doesn’t glare. Next, apply a chrome gel or tack layer only inside the half-moon area near the cuticle, leaving the rest covered. Press icy silver chrome powder onto that area and buff lightly for a smooth edge. Finally, seal with a topcoat that won’t dull the chrome — cap the taupe fully and lightly over the chrome to keep it crisp.
Editor's noteKeep the half-moon height to about 20-25% of the nail length so it stays chic.
Skip thisDon’t let chrome creep down the nail — smudgy half-moons look sloppy.
11. Vanilla Swirl Tips with Gold Line Border
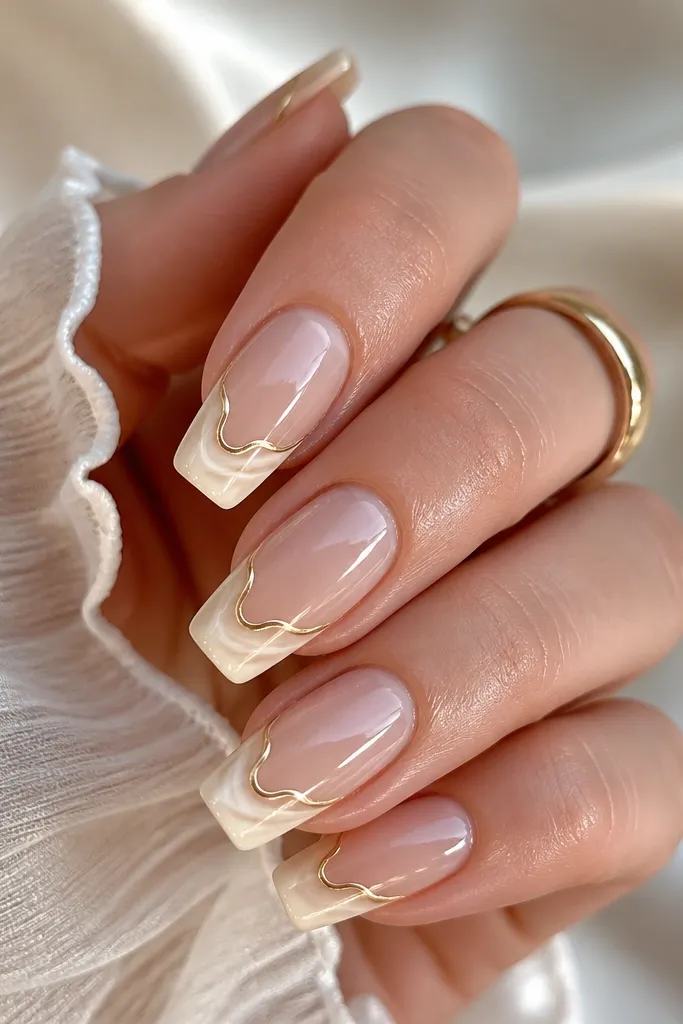
This set is dessert-coded, but it reads luxe because the gold line makes the design feel tailored. The sheer nude base keeps it wearable, and the vanilla swirls look creamy under light. I like this for people who want something festive but not dark or sparkly. It flatters long nail shapes and makes short nails look longer because the swirl sits in the tip area. Pair it with nude outfits, cream knits, and gold bangles.
First, apply a sheer nude gel that matches your skin, then cure. Next, paint vanilla swirl tips: use white and a touch of beige to create soft swirls that stay within the free edge, not the whole nail. Add a thin gold line along the border of the swirl area — one clean line per nail — and cure. Finally, seal with a glossy topcoat that smooths the swirls so they look like icing under glass.
Editor's noteUse gel striping tape for one pass of the gold line, then paint and remove tape before curing.
Skip thisAvoid thick gold lines — they look like stickers.
12. Iced Red Ombre with Snowflake Etched Lines
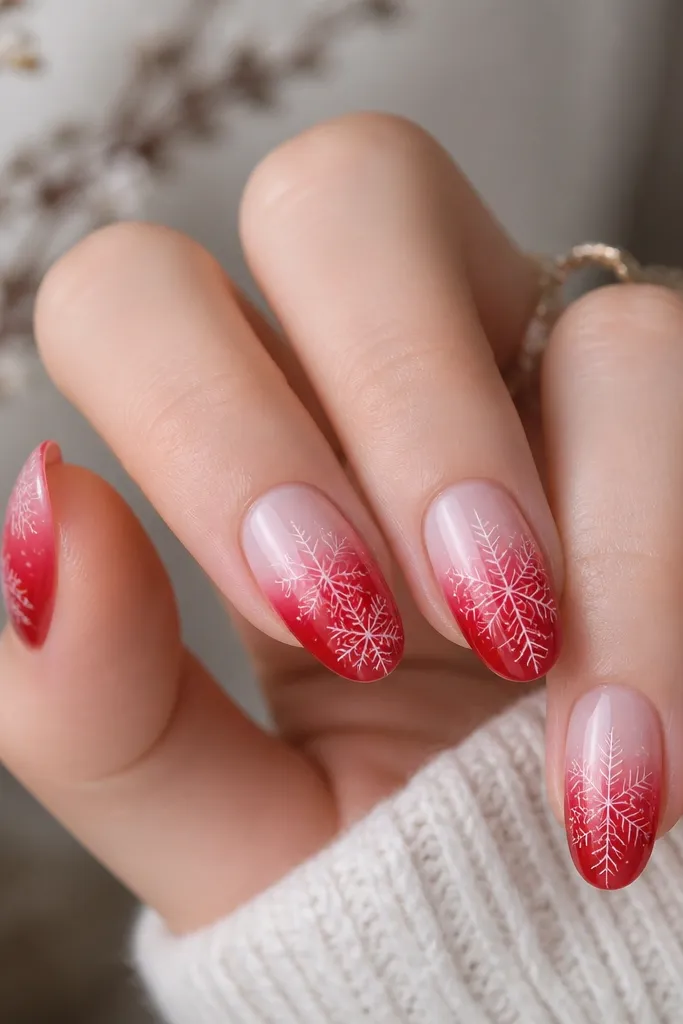
A red-to-ice ombré looks like holiday lighting on snow. The snowflakes are etched with thin lines instead of filled shapes, which keeps the design airy and high-end. This set flatters hands because the light area near the cuticle lifts the look, making fingers appear longer. It’s also more “winter Christmas” than “Halloween red” because of the icy fade. I wear this with winter coats in camel, gray, and cream, and it always looks photo-ready.
First, paint a pale icy pink near the cuticle and cure. Next, build an ombré by blending deeper red toward the tip using a sponge or ombré brush, then cure again. Use a fine liner brush to draw snowflakes in thin white lines — keep them sparse, like one small snowflake per nail and a few tiny accents. Finally, topcoat with a glossy layer and cap the edges so the etched lines don’t snag.
Editor's noteIf your snowflakes look heavy, lighten the line pressure and let the gel be thin — luxe is light, not chunky.
Skip thisDon’t fill snowflakes solid white — it turns into thick stickers.
13. Champagne Nude with Crystal Clear Rhinestone Cluster
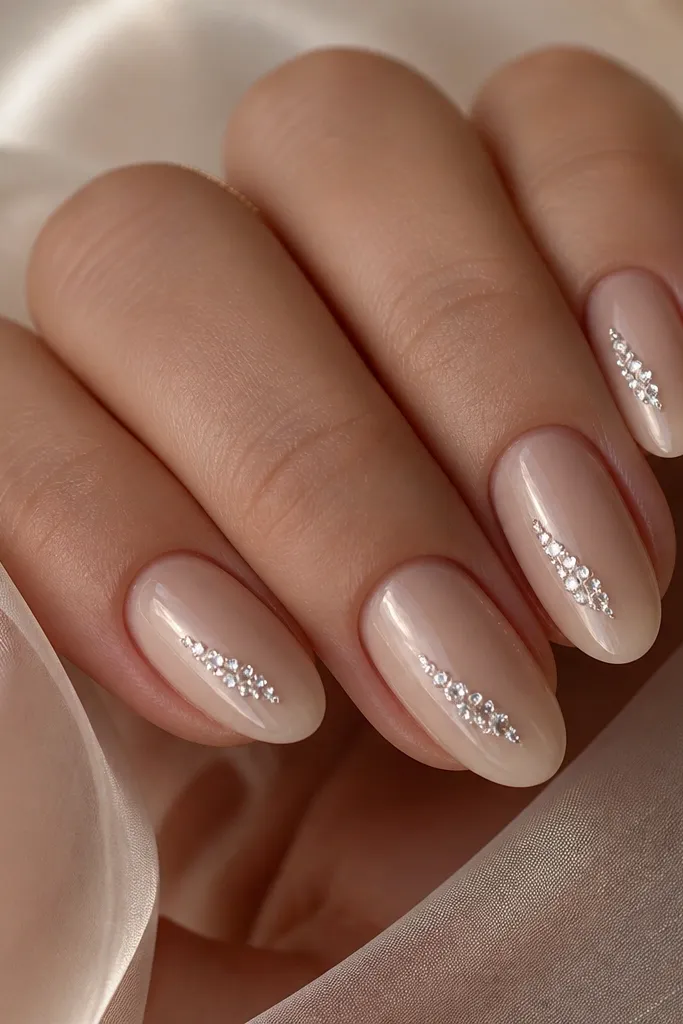
Champagne nude is the fastest way to make winter nails look expensive because it matches the glow of skin. A clear rhinestone cluster adds sparkle without committing to a full theme, and the diagonal placement makes the nail look longer. This works on short nails because the cluster sits where the eye naturally travels — from center to tip. I like clear stones over colored stones when you want it to match silver or gold jewelry. It’s also perfect for office-to-dinner events since it doesn’t scream “party.”
First, apply champagne nude gel in two thin coats and cure. Next, place a diagonal cluster using crystal-clear rhinestones: start with one larger stone near the middle, then add smaller stones along the diagonal toward the free edge. Use rhinestone glue sparingly and cure. Finally, cap with topcoat in two passes: one thin pass to seal around the stones, then a thicker glossy layer to smooth the surface.
Use tweezers with a flat tip so you can set stones precisely without dragging glue across the nail.
Avoid a straight row of stones — diagonal clusters look more luxe.
14. Sage Green Matte with White Snow Cap Tips
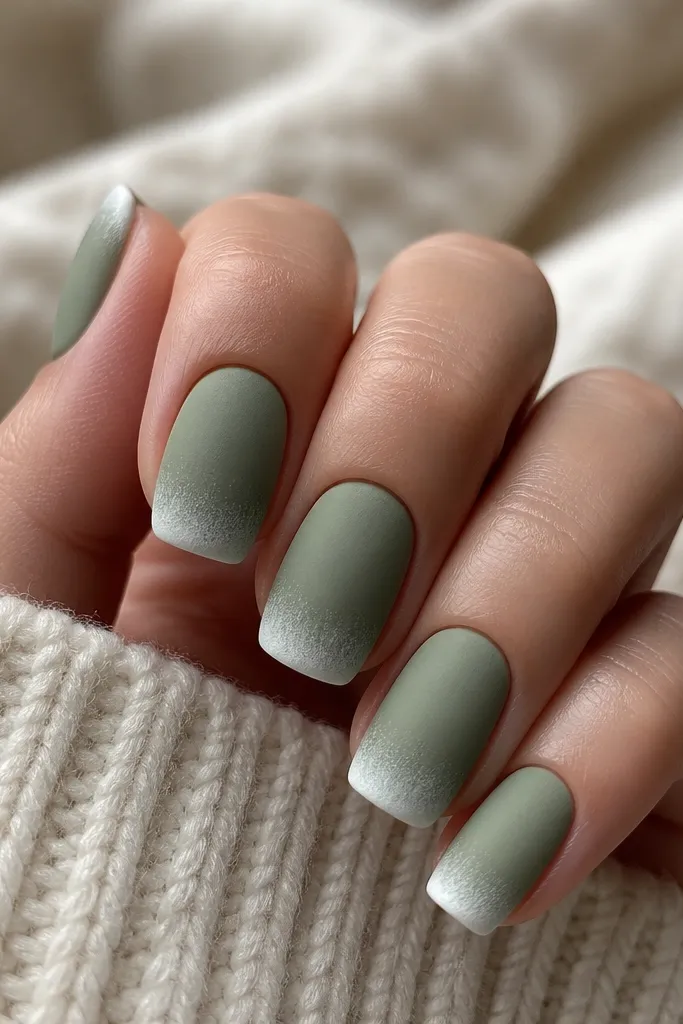
Sage green is calmer than forest green, and matte makes it feel like winter fabric. The white snow cap tips are gentle and realistic-looking, like the edge of a sweater after a snowfall. This set flatters hands with shorter nail beds because the snow cap takes up the free edge and doesn’t overwhelm the cuticle area. It also looks great with neutral makeup and cozy knits. If you want winter Christmas nails that feel more modern than traditional, this is the one I keep reaching for.
First, apply sage green gel and cure, then add a matte topcoat over the entire nail. Next, create snow cap tips using white gel mixed with a tiny amount of matte medium so it stays soft and not glossy. Keep the snow cap narrow and slightly irregular — a smooth straight line looks fake. Finally, skip heavy gloss topcoat; instead, seal lightly with a matte-friendly topcoat so the snow stays soft while the tips stay protected.
Editor's noteUse a makeup sponge to dab the snow cap edge so it looks like it’s melting into the green.
Skip thisDon’t use glitter for this design — it turns the snow into a party effect.
15. Rose Gold Foil Shards on Milky Pink French Base
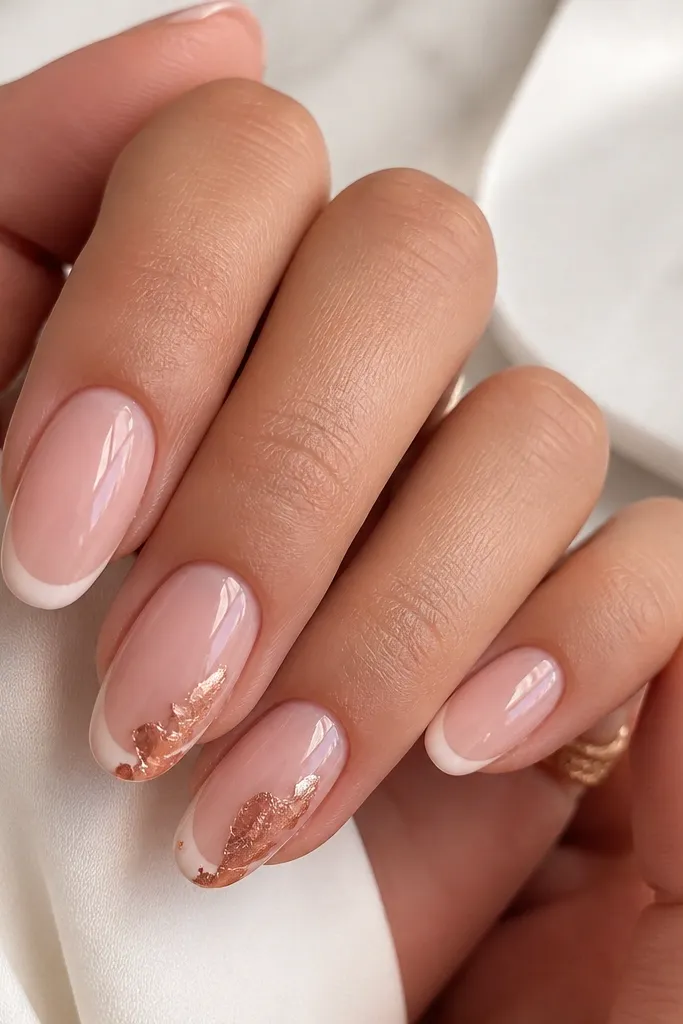
Milky pink French tips are a clean Christmas option, especially if you hate full-on red or heavy snowflake decals. Rose gold foil shards add that luxe “jewelry” sparkle because the edges look crisp and directional instead of scattered glitter. This set flatters fair to medium skin because the base is soft and the foil warms up the whole look. It also looks great with blush coats and rose gold necklaces. I’ve done this for holiday dinners and it always reads expensive because the foil is used like an accent, not a coating.
First, paint the base with milky pink gel and cure. Next, add thin French tips with a slightly warmer white — keep the tip line crisp and narrow (about 1.5-2 mm). On the accent nails, apply foil glue at the tip area in a small angled patch, then press rose gold foil shards so they point downward toward the center. Finally, seal with a glossy topcoat in two layers, and make sure the foil edges are fully capped for smooth wear.
Editor's noteAngle your foil shards the same direction on each nail so it looks designed, not random.
Skip thisAvoid covering the whole tip with foil — it looks like a cheap sheet.