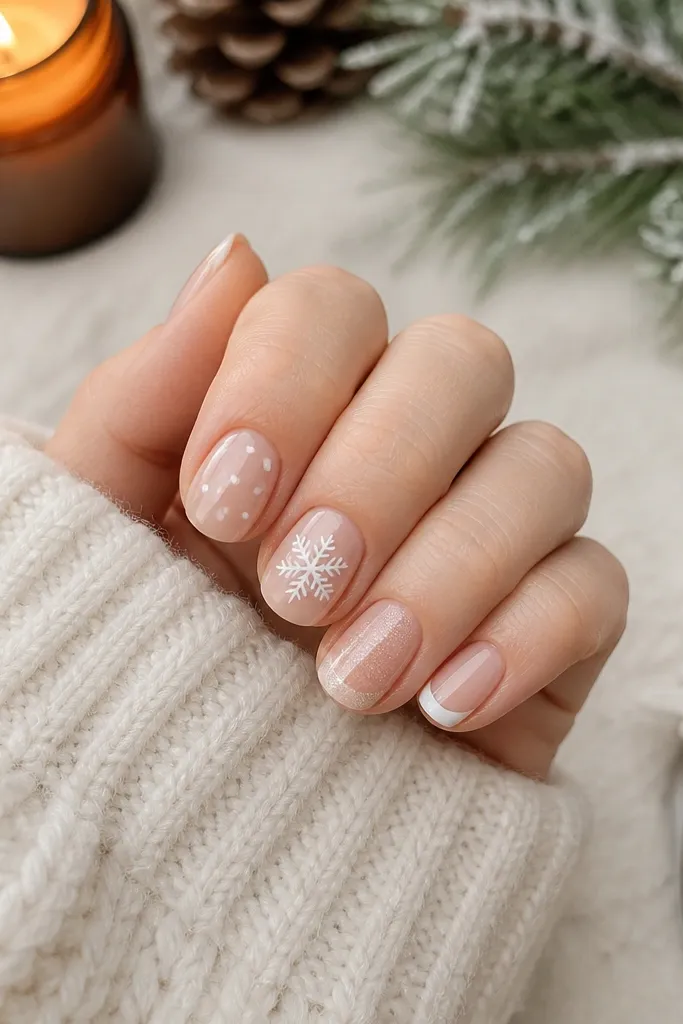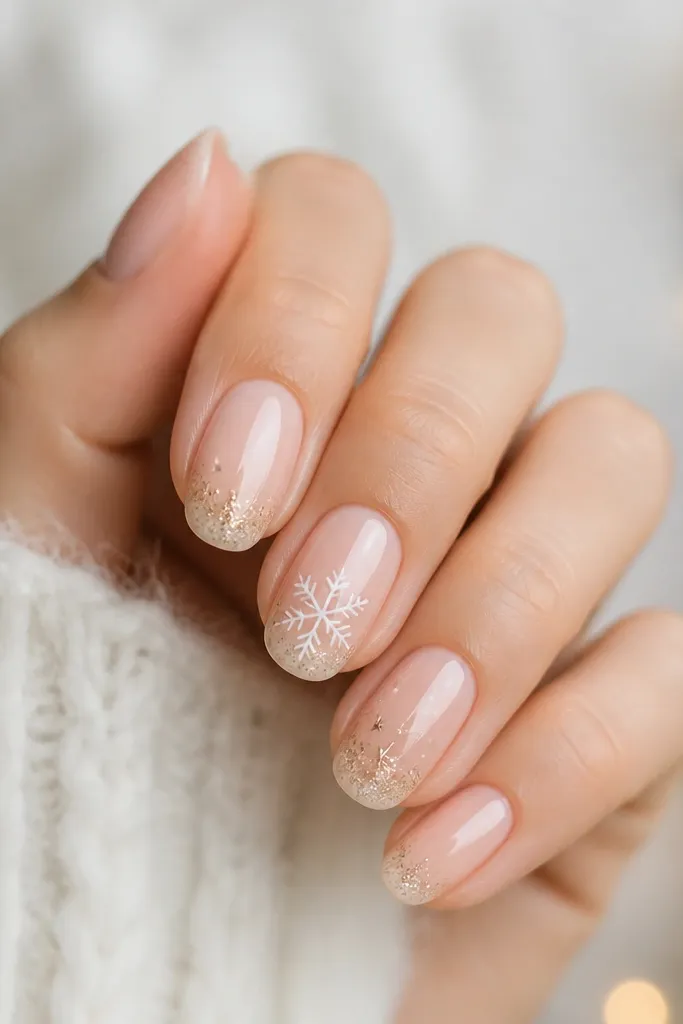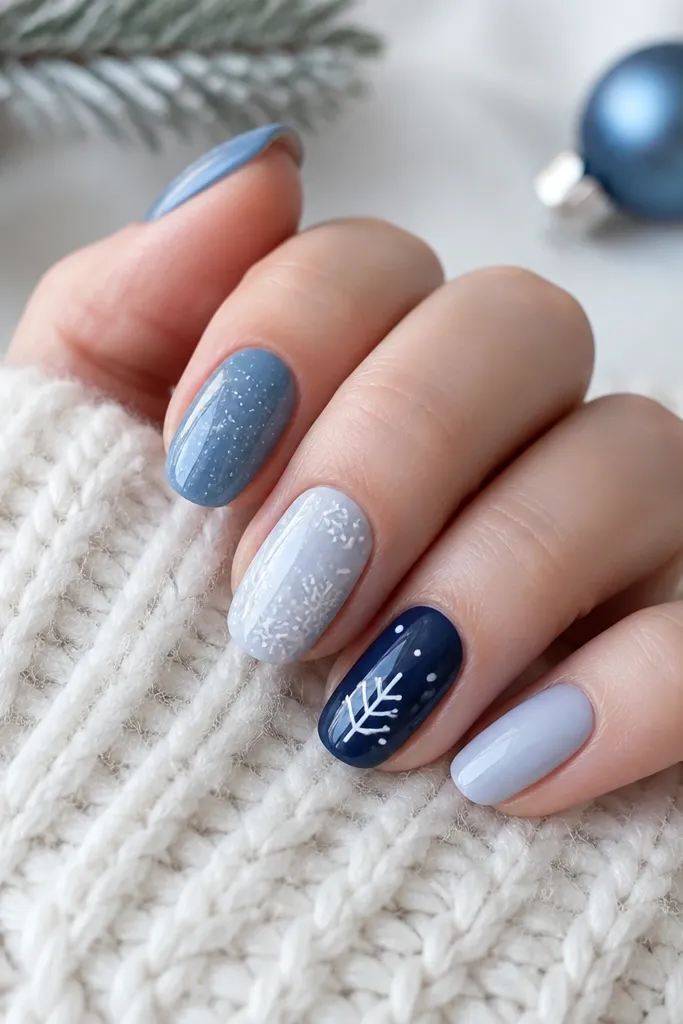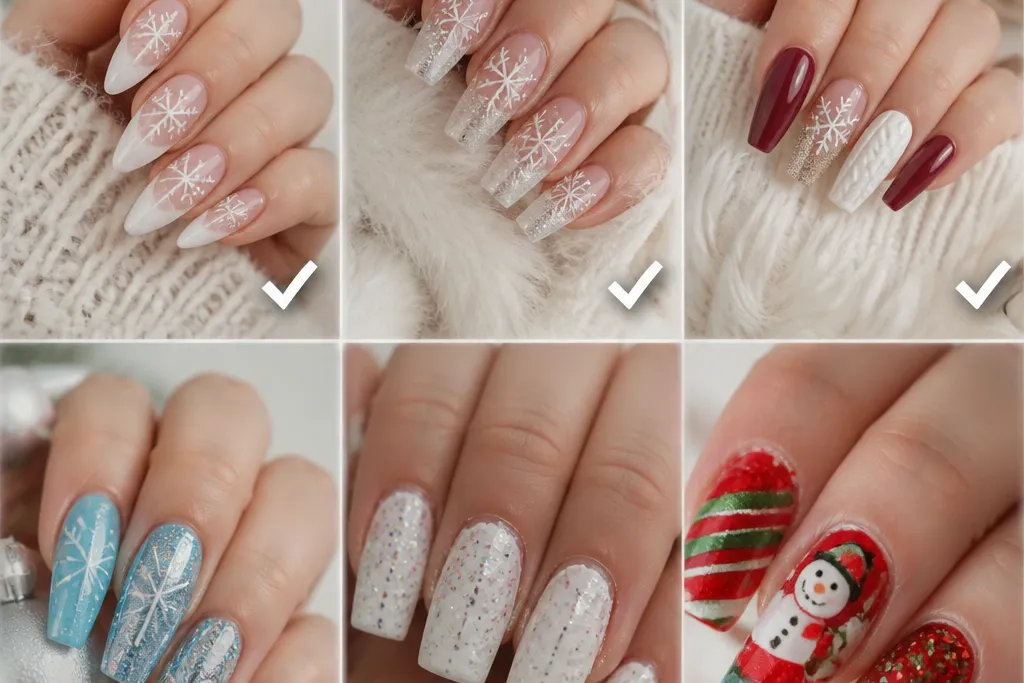

1. Icy Sheer Nude with Micro-Glitter Half-Moons
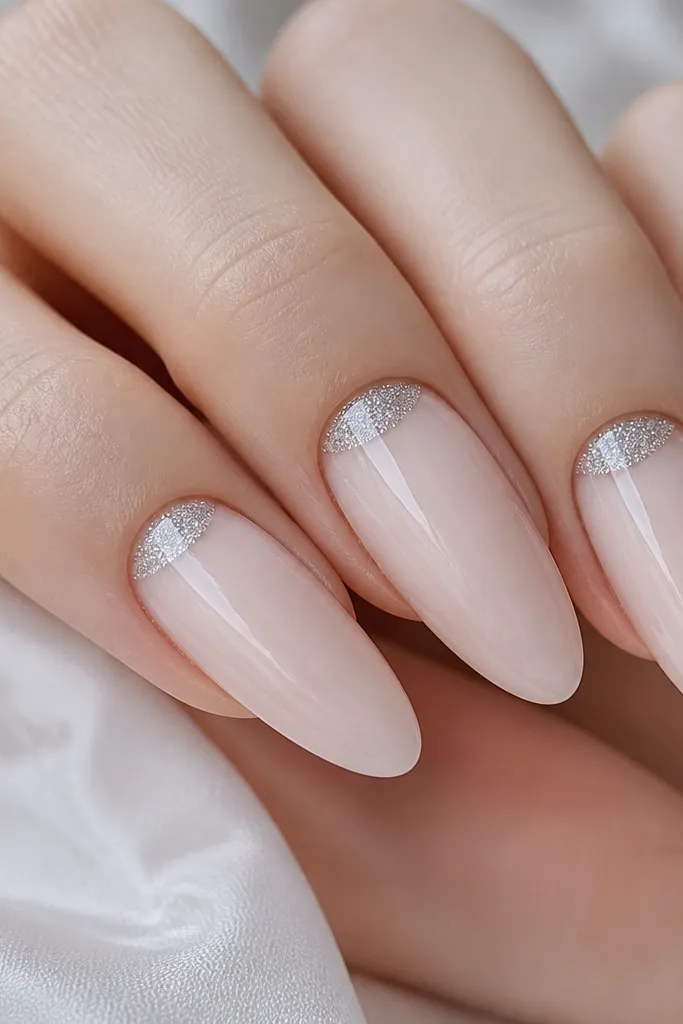
This look is the one I reach for when I want “winter” without going full holiday clown. The base is a sheer icy nude so it looks like your nail but brighter, and the micro-glitter half-moon gives that frosty sparkle without covering the whole nail. On fair skin, the silver reads crisp and clean; on deeper skin tones, it still works when you use a warmer nude base (think sheer peach-beige) so the glitter doesn’t look gray. It flatters most nail lengths, especially almond, because the glitter sits in a curved area that matches the shape. The styling principle is negative space — you keep a clean nude line so your cuticle area still looks tidy.
Start by prepping and pushing the cuticle back, then apply a dehydrator and bonder so the glitter doesn’t lift. Build the acrylic with a sheer icy nude and keep it thin near the cuticle, then cure fully. With a fine brush, place micro-silver glitter gel or loose glitter mixed into clear gel exactly in the half-moon area, staying 1 mm away from the sidewalls. Cure, then file the surface smooth and top coat with a thick glossy layer. Finish by wiping the tack layer and checking the edges under a lamp so you don’t have gritty spots.
Editor's noteUse a makeup-style fan brush to remove loose glitter before curing, or you’ll get that sparkly fallout around the cuticle.
Skip thisAvoid putting chunky glitter directly on the cuticle seal — it lifts and looks grainy.
2. Cherry Red Velvet with Matte Snowflake Accent
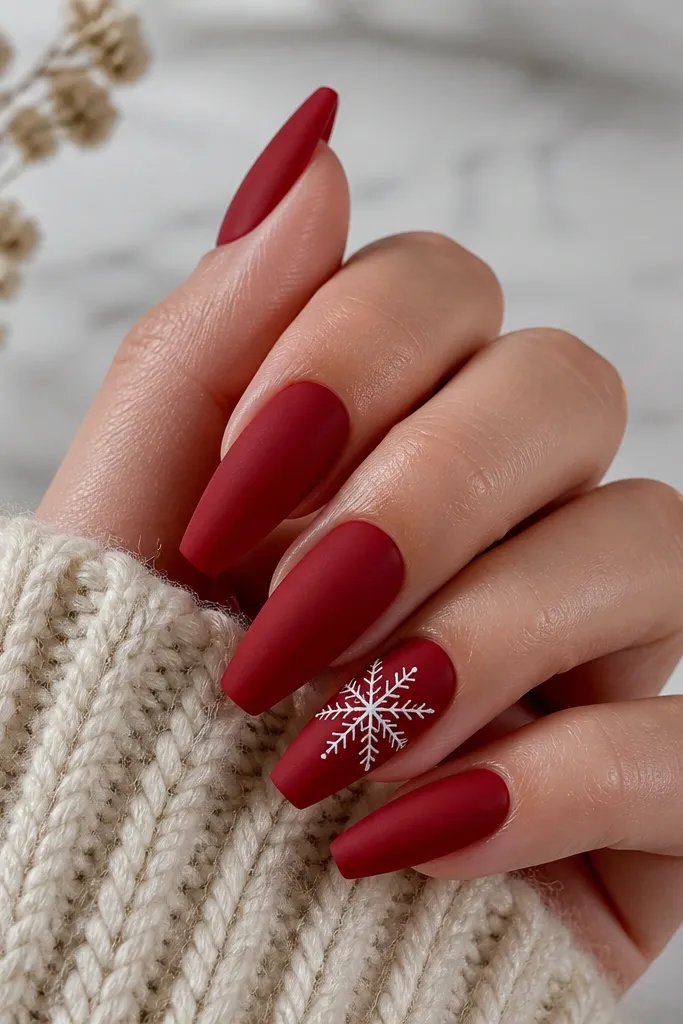
This is the holiday set that looks expensive even when you do it at home. The cherry red is a deep, cool-toned shade that reads rich in winter light, and the matte top coat makes it look like fabric rather than candy. The snowflake accent stays delicate because it’s linework, not a filled-in sticker. I like this on medium coffin because the flat-ish top gives the snowflake room without crowding, and the matte finish hides minor surface bumps better than glossy. It flatters a range of skin tones, but it’s especially good on fair and neutral undertones because the red stays clean, not orange.
Start with a solid cherry red acrylic or builder gel base, keeping the thickness even from cuticle to free edge. Cure and file into a smooth coffin shape, then wipe thoroughly so dust doesn’t ruin the matte. On one accent nail, paint a thin white snowflake using a nail art liner brush, then add 3-5 tiny dots as the snowflake center points. Cure again, then apply matte top coat to all nails for the velvet look. Leave the snowflake nail matte too, but use a slightly thicker top coat on the art so the lines stay crisp.
If your matte top coat grabs too fast, apply it in two thin coats instead of one heavy coat.
Don’t use glossy top coat over red velvet — it turns the set into a shiny holiday candy look.
3. Creamy White French with Ruby Chrome Tips
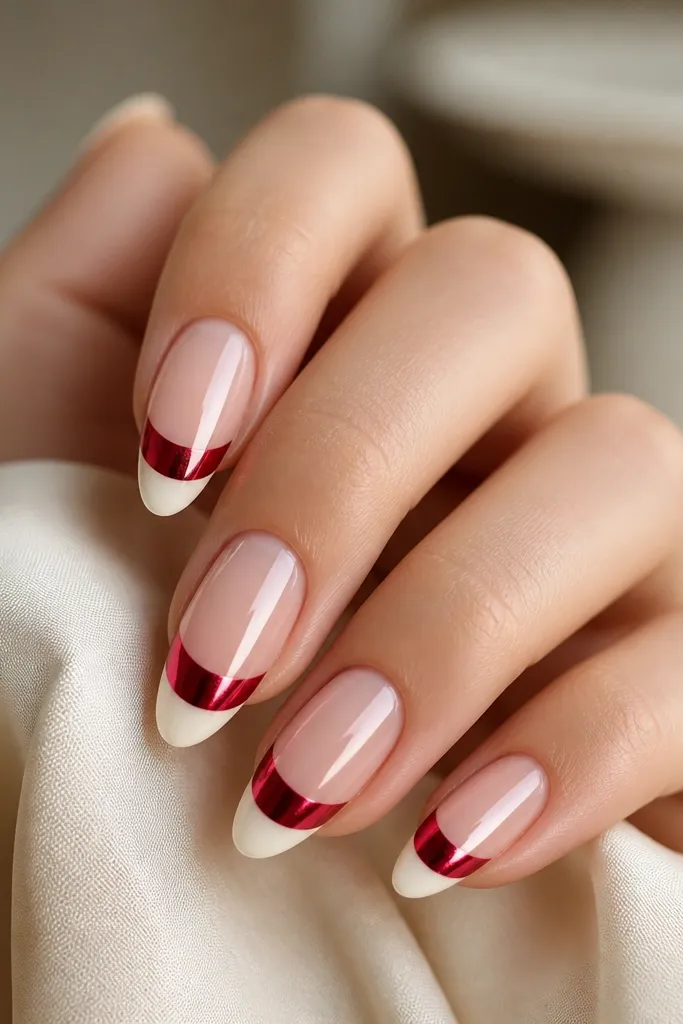
This set looks like you got your nails done in a salon with a steady hand. A creamy off-white French tip is softer than pure white, so it looks flattering and not harsh. The ruby chrome tips add that “party” sparkle without needing glitter — chrome reflects light in a sharp line that reads clean. I like it on almond because the tip curve makes the chrome gradient look intentional. On warm skin tones, the ruby looks richer; on cool tones, the cream keeps the whole set balanced. The styling principle is crisp geometry — straight French placement plus a controlled chrome area.
Start with a sheer nude base, then map your French tip using a guide or just a consistent free-edge width. Apply creamy white gel or acrylic for the French, cure, and file so the smile line is smooth. Next, apply ruby chrome gel only on the very tip area and rub the chrome powder in after curing, keeping it inside the French border. Seal with a thin layer of top coat that is chrome-safe — don’t bury it under a thick coating or it dulls. Clean the edges around the sidewalls with a brush dipped in slip solution before final cure.
Editor's noteTest your chrome on a scrap nail first so you know how many passes it takes for full ruby coverage.
Skip thisAvoid sloppy French placement — crooked smile lines make chrome look messy fast.
4. Frosted Mauve Base with Silver Crackle + Star Dot
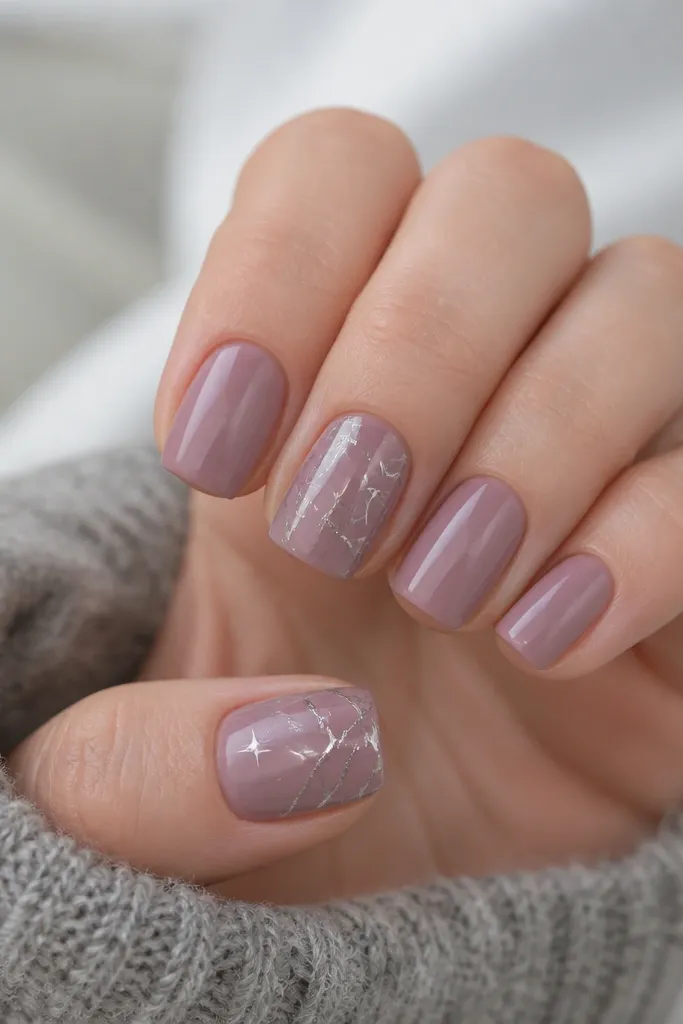
If you like winter but hate loud red, this is your middle ground. A frosted mauve base looks airy and natural, and the silver crackle effect gives that ice-splinter vibe without needing snowflakes. The tiny star dot keeps it festive but still minimal, and it’s small enough that it won’t look childish on short nails. I’ve worn this on short squares and it still looks neat because the design sits inside the nail’s natural flat surface. It flatters medium to deep skin tones especially well when the mauve is slightly cool and the crackle is bright silver.
Start by building a smooth frosted mauve base in thin layers, then cure and file a rounded-square shape. Use a crackle gel effect in silver on one or two nails — paint a thin layer first, then go back for more only where you want heavier lines. Cure, then add a tiny white star dot with dotting tool near the center, not on the cuticle. Seal with a glossy top coat, and apply it a bit thicker over the crackle so it stays glassy, not textured.
Editor's noteKeep the crackle gel thin — thick crackle looks dull and clumpy.
Skip thisDon’t add glitter on top of crackle — it kills the icy glass effect.
5. Dark Green Pine with Gold Leaf Lines
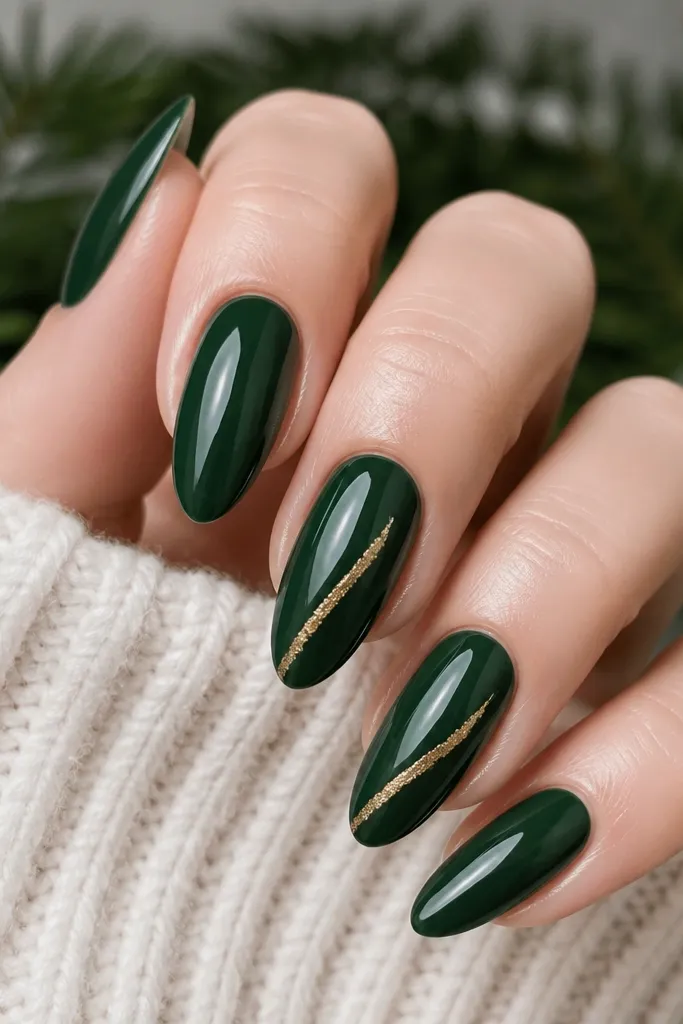
This is the “grown-up Christmas” set. Dark pine green reads winter instantly, and it looks gorgeous against gold jewelry. The gold leaf lines are narrow enough to look like a design detail instead of a mess, and the diagonal placement makes fingers look longer. On olive and medium skin tones, the pine shade looks extra natural; on fair skin, it still pops but you’ll want a slightly cooler green so it doesn’t go murky. The styling principle is line control — thin, directional foil lines beat full coverage foil every time.
Start with a glossy dark green base, keeping the color even and opaque by building in two thin layers if needed. Cure fully, then file into almond so the surface is smooth. For the accent nails, use a small strip of gold leaf or gold leaf gel and place foil lines diagonally, leaving 2-3 mm of green space between strips. Press gently with a silicone pusher so it adheres flat, then cure. Finish with a high-gloss top coat in two coats over the gold leaf so it doesn’t lift at the edges.
Use gold leaf gel instead of loose leaf alone if you want the lines to stay put under fast movement.
Avoid covering the whole nail with leaf — it turns into a textured, uneven look.
6. Snow-Globe Clear Tips with White Float Glitter
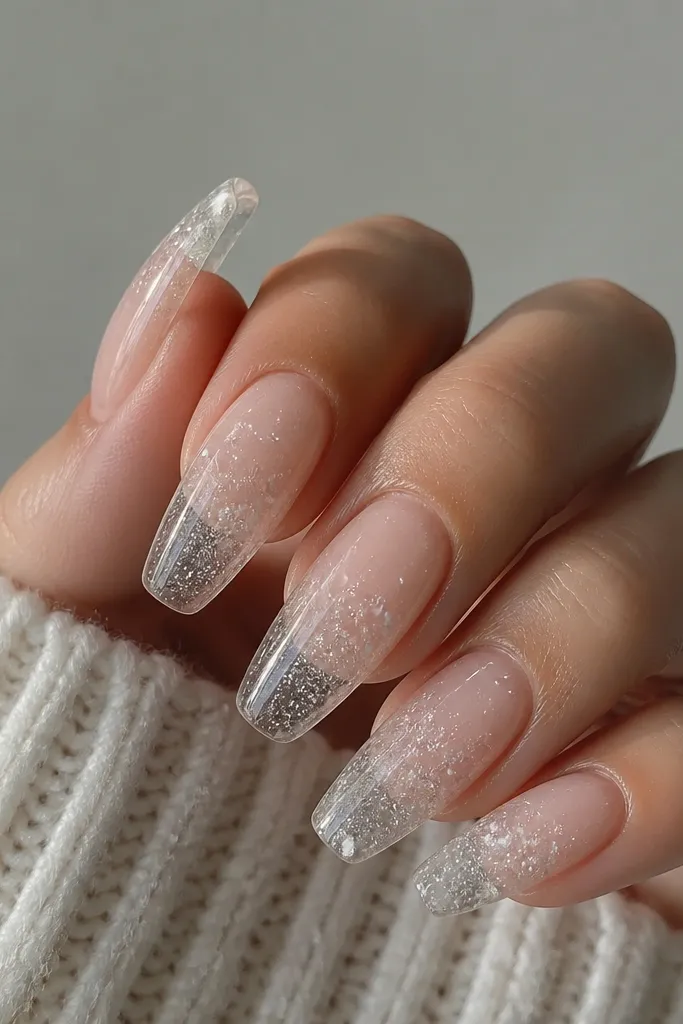
This is the set that gets compliments because it looks dimensional. The nude base keeps it wearable, and the clear glassy tip makes the white float glitter look like it’s trapped in ice. I love this on medium length because the clear section gives you space for the “snow globe” effect without making the nail look too bulky. It flatters hands with shorter nail beds because the clear area creates a longer visual line. Styling principle: suspend the glitter inside gel, not on the surface, so it looks like depth instead of fallout.
Start with a nude acrylic or builder gel base and cure, then shape into almond or squoval. Apply a clear gel layer on the upper third only, leaving a clean boundary line with the nude. Sprinkle fine white glitter into the clear gel and gently tap so it distributes evenly, then cure. Add a second thin clear gel layer over the glitter to fully “seal” it in, cure again, and file the surface smooth. Finish with a glossy top coat and wipe clean so the clear area stays crystal clear.
Use ultra-fine glitter for the suspended look — chunky glitter sits and looks like a snowbank.
7. Sheer Nude Base with Red-and-White Candy Cane Stripes
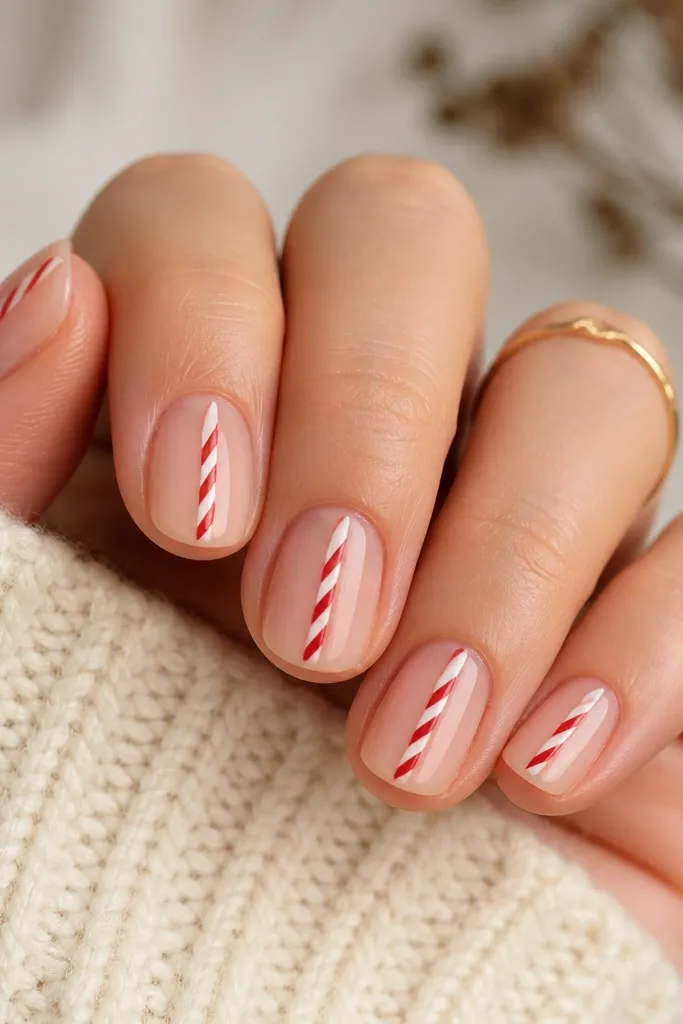
This one is cute without trying too hard. A sheer nude base keeps your hand looking fresh, and thin candy cane stripes give the holiday vibe in a clean, graphic way. Because the stripes are narrow and placed in the center, it makes short nails look longer. It’s flattering on almost every skin tone because the nude does the heavy lifting, and the red-white stripe contrast pops. The styling principle is spacing — leave breathing room around the stripes so the nail still looks neat.
Start by building a sheer nude base and curing, then file into short squoval so the nail bed looks tidy. With a thin striping brush, paint a red stripe slightly off-center, then add a white stripe beside it, both starting 1-2 mm below the cuticle. Add a slight angle so the stripes feel twisted, and keep them consistent in thickness. Cure, then apply glossy top coat in two thin coats to prevent streaking and to smooth the stripe edges. Clean around the cuticle with a small brush so the stripes look sharp.
Editor's noteIf your stripe brush drags, wipe it on a lint-free wipe before dipping again — streaks happen when the brush is overloaded.
Skip thisDon’t make the stripes too thick — thick stripes look like paint blobs.
8. Black Cherry Gloss with Silver Snowflake Micro-Fill
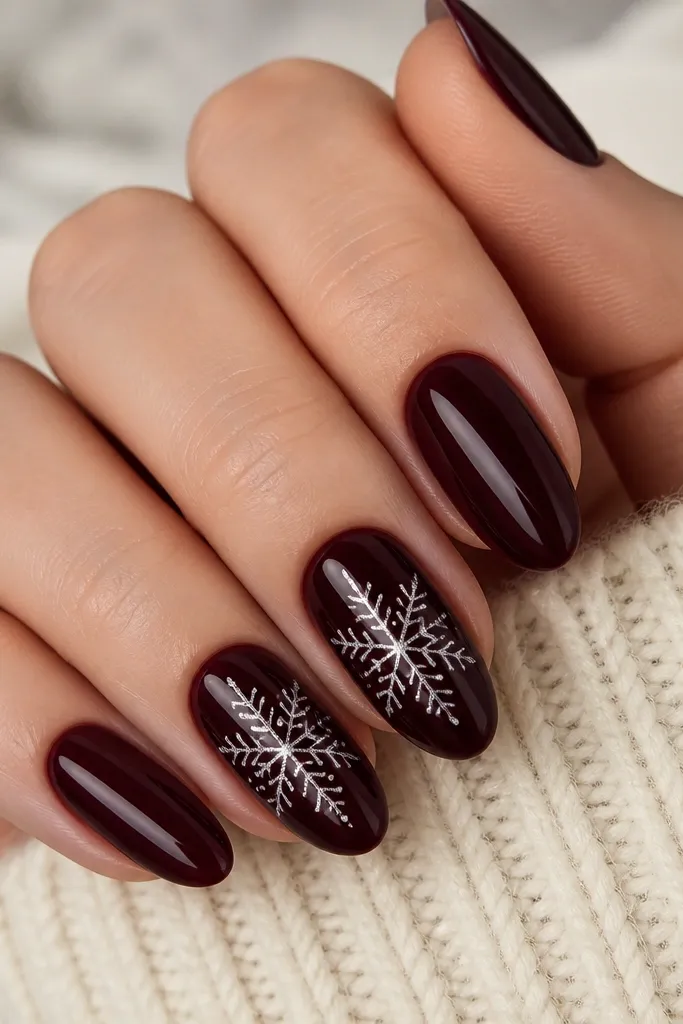
Deep black cherry is my go-to when I want winter to feel dramatic. Under warm indoor light, it looks like wine; under cool daylight, it reads almost plum-black. The silver snowflakes are small and detailed, so they look like actual snow detail instead of big decoration. I like this on medium almond because the snowflake center sits nicely on the curve and doesn’t look stretched. It flatters hands with longer fingers because the almond shape enhances the drama, but it still works on shorter nails if you keep the snowflake small.
Start with a smooth black cherry base, curing in thin layers so it stays glossy and doesn’t get bumpy. File into almond and wipe dust off thoroughly. On accent nails, use a silver gel or paint to draw a snowflake outline, then fill some branches with tiny dots using a dotting tool. Cure between layers if needed so the fill doesn’t smear. Finish with a glossy top coat, and cap the free edge lightly so the snowflake edges stay locked.
Editor's noteDraw the snowflake first as a simple cross, then add the arms and tiny dots — you’ll get symmetry faster.
Skip thisAvoid oversized snowflakes on medium nails — they spill into the cuticle and look messy.
9. White Marble Base with Blue Glitter Veins
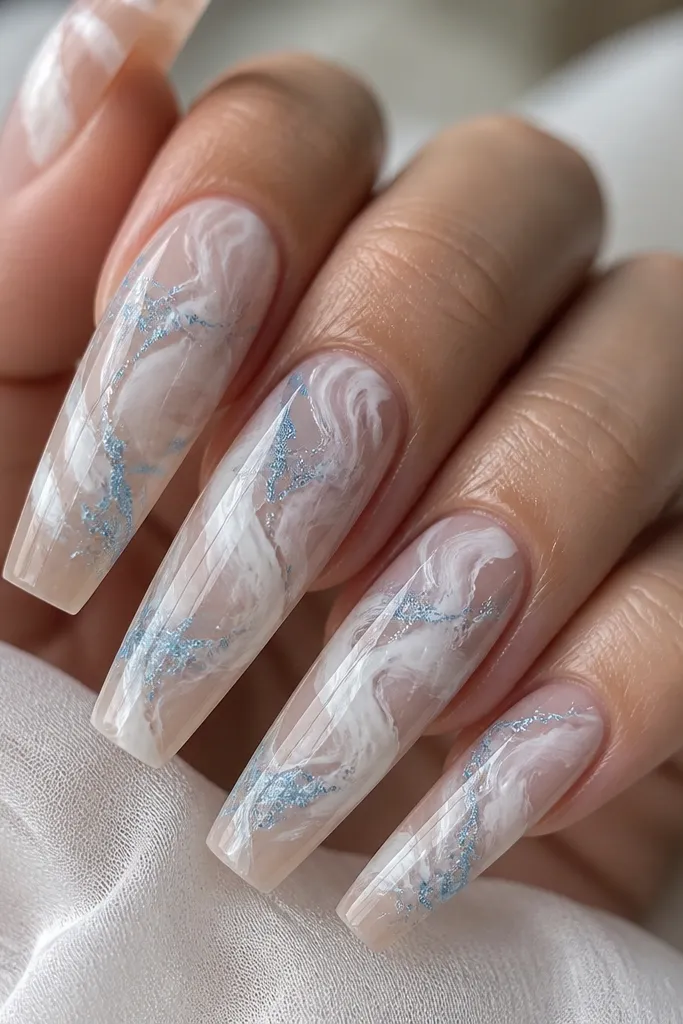
Marble nails look fancy in winter because the colors mimic ice and stone. The base is white marble over a sheer nude so your nails still look clean, not opaque and heavy. Blue glitter veins make it feel Christmas without going full holiday red. This set flatters deeper skin tones because the white marble brightens the look, while the blue adds a cool seasonal pop. On long coffin, the veins have space to flow, so the design reads intentional rather than random. Styling principle: keep the marble lines thin and let the blue glitter sit as accents inside the pattern.
Start with a sheer nude base and cure, then add white marble using a thin brush and white gel, swiping in irregular wisps. Leave some nude showing through so it looks like marble, not solid white. For the blue glitter veins, paint a thin line of clear gel inside a marble crack, then add fine blue glitter and cure. Use a second thin white gel layer to blend edges if needed, then cure again. Top coat with glossy finish and cap the sides carefully so the glitter stays sealed.
Use a gel that stays workable for a few seconds — marble looks best when you can slightly blend edges before curing.
Don’t flood the marble with glitter — it turns into one shiny blob.
10. Glitter Fade Ombre from Tips to Nude
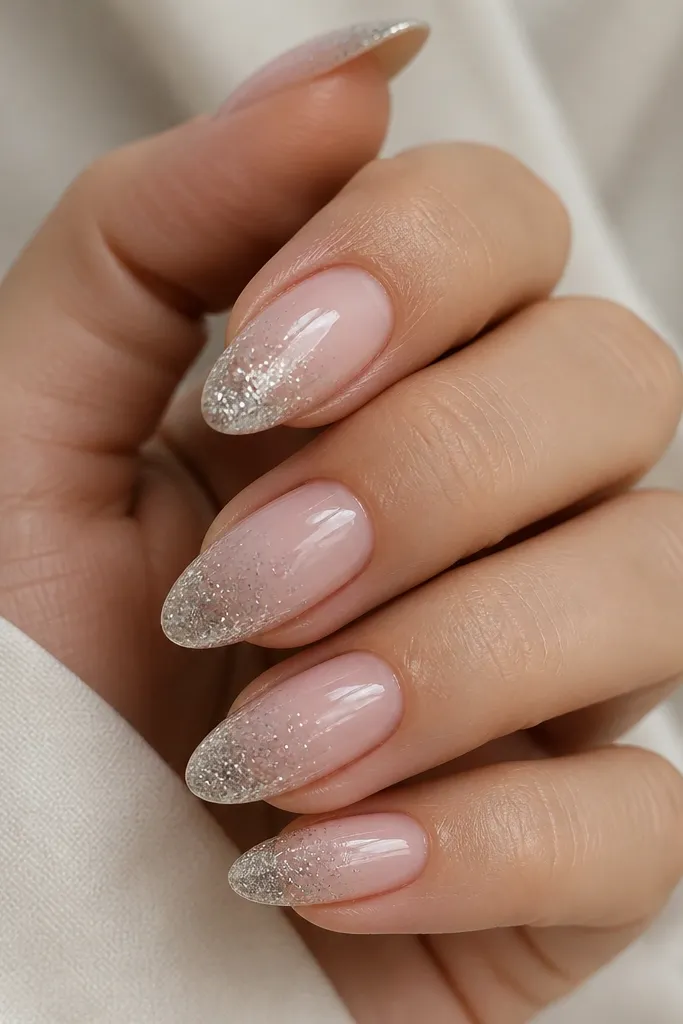
This is the holiday set that looks good on every length because the gradient flatters your nail shape. Dense glitter at the tip makes the nail edge look crisp, and the fade toward nude keeps it from looking too heavy. I prefer silver for winter Christmas because it reflects both warm and cool light, but you can swap for icy blue if you want a softer vibe. It flatters short nails because the glitter fade creates a visual extension, and it looks great on medium almond and squoval. Styling principle: blend the glitter, don’t stop abruptly — the fade is the whole design.
Start with a sheer nude base and cure, then file smooth. Apply a clear gel layer at the tip only, about 2-3 mm from the edge, and pack dense silver glitter there. Without adding more glitter, drag the brush and blend the glitter upward into the clear gel so it thins out gradually. Cure, then repeat with a second thin gel layer only if you need more density at the tip. Seal with a thick glossy top coat, and make sure you cap the free edge so the glitter doesn’t snag on sweaters.
Editor's noteIf your fade looks streaky, add one more thin layer of nude gel under the gradient before top coat.
Skip thisAvoid a hard glitter line at the midpoint — it looks like glitter was sprinkled and stopped.