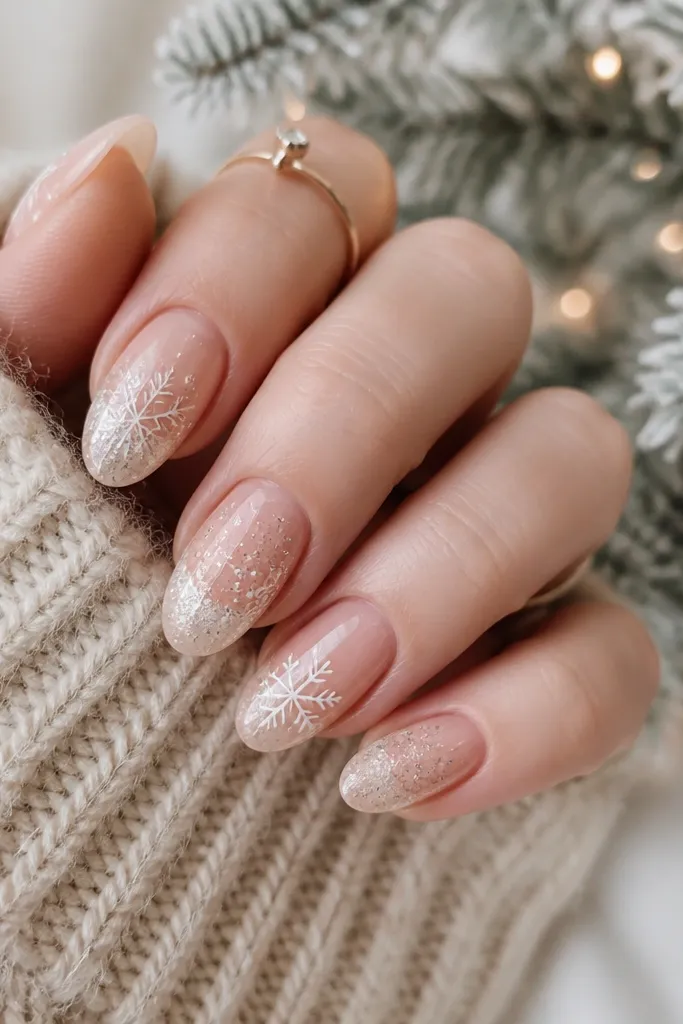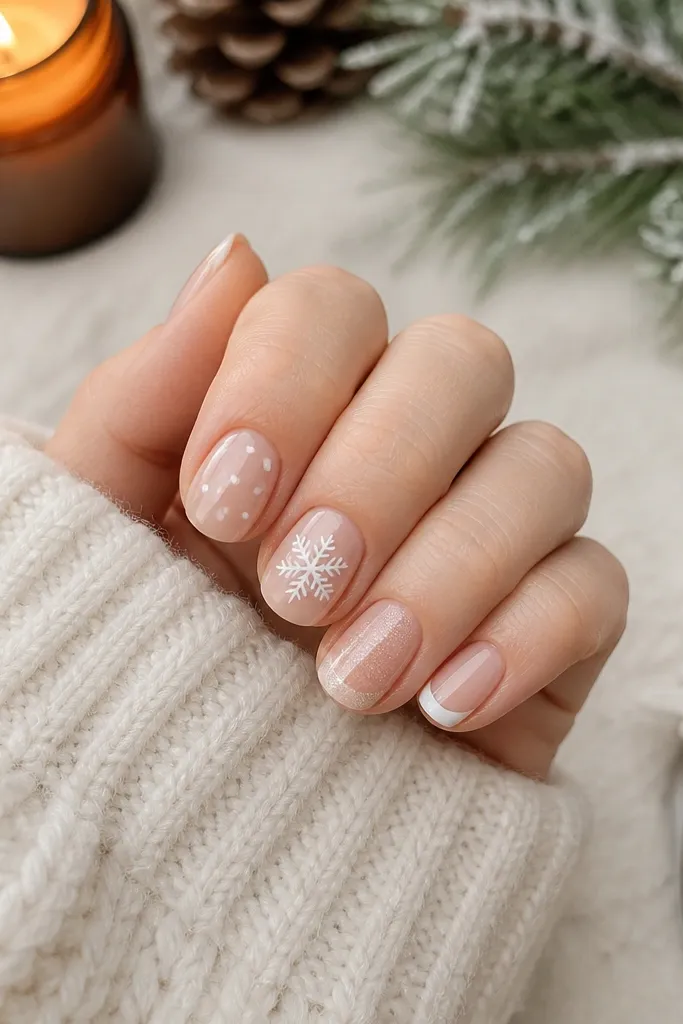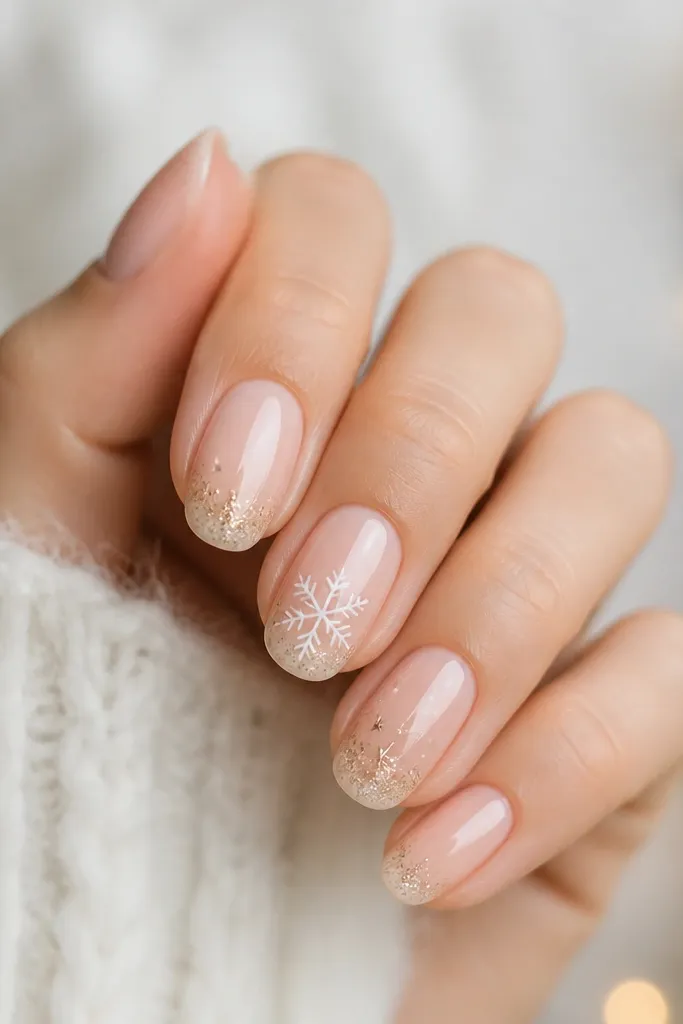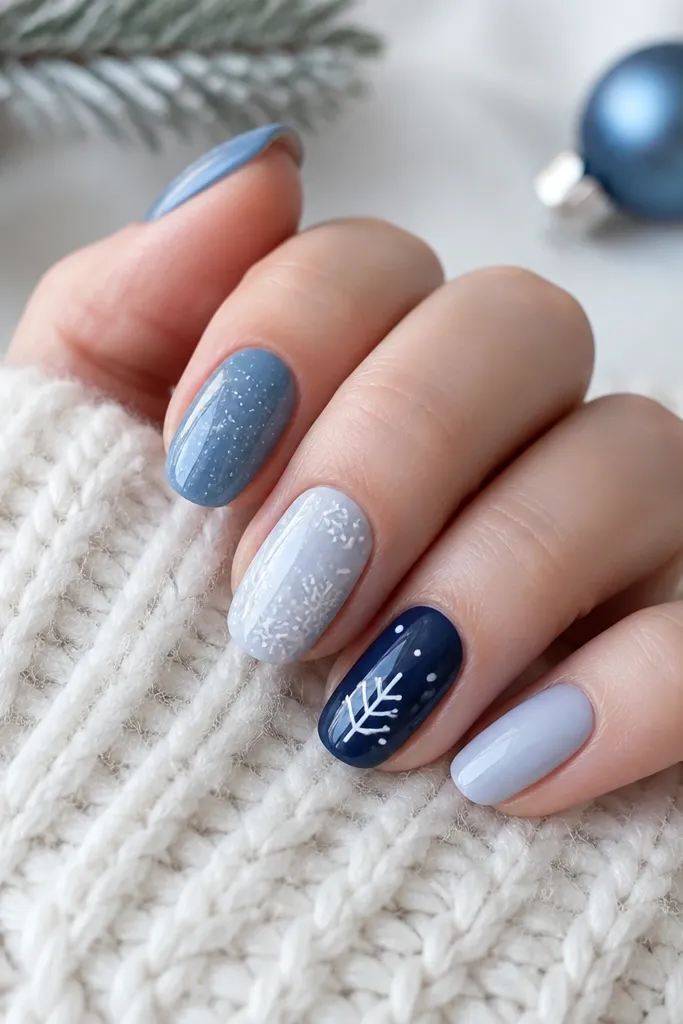
1. Candy Cane Tip with Nude Base
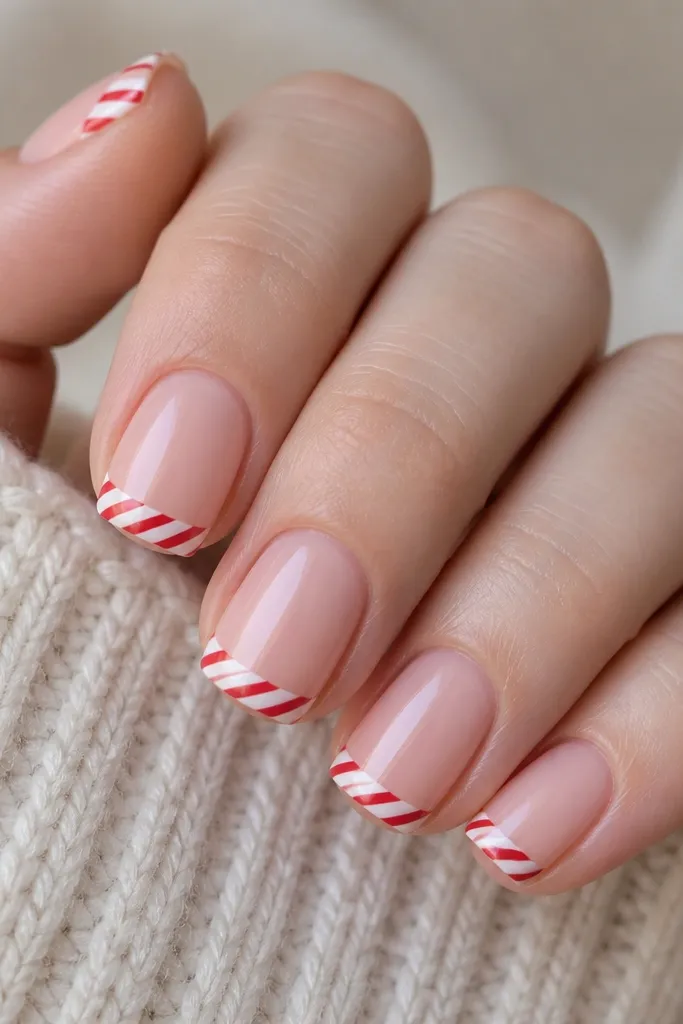
This look is the fastest way to make your nails scream Christmas without doing full nail art on every finger. The nude-pink base keeps it wearable, while the red-and-white diagonal stripes give that instant candy cane signal. It flatters most skin tones because the base sits close to your natural nail color, so the stripes become the only strong contrast. On short squoval nails, the diagonal stripes also visually lengthen the nail tip, so your hands look a little more “put together” even if you’re rushing.
Start by cleaning your cuticles and applying a thin nude-pink base coat. Paint the tips with red first, leaving a clean border around the sides, then let it set for 30-60 seconds if you’re using regular polish. Next, take a striping brush or a steady nail art brush and add thin white diagonal lines across the red tip, aiming for 2-3 stripes per nail. Finally, seal with a glossy top coat that covers the stripe edges so they don’t chip.
If your stripes wobble, add the second stripe while the first is still slightly tacky — it self-levels and looks sharper.
Don’t paint the stripes too thick or they’ll look like sticker lines instead of nail art.
2. Velvet Forest Green with Gold Snow Dots
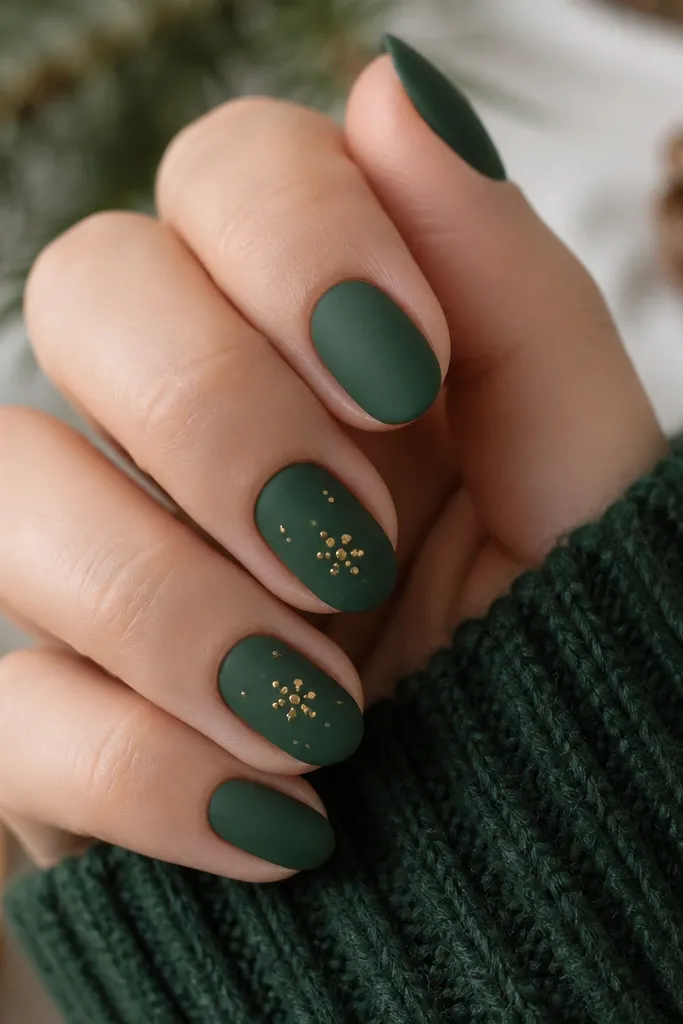
Forest green feels cozy and wintery, and the gold dots add “holiday sparkle” without the mess of chunky glitter. A matte or soft-satin finish makes the green look like a sweater, while gold dots read like tiny ornaments catching light. This works especially well on medium to deep skin tones because the green stays rich and the gold doesn’t disappear. If your nails are short, the center dot placement balances the nail so it doesn’t look top-heavy.
Start with two thin coats of forest green and let it dry completely. If you’re going for matte, use a matte top coat; if you only have glossy, use glossy but keep the dots small. Use a dotting tool to place one larger gold dot in the middle, then add 4-6 smaller dots around it like a snow scatter. Finish by sealing with a matte top coat again, or if you used glossy base, seal with a normal top coat but keep it light over the gold so it stays crisp.
Editor's noteUse a toothpick to clean the dotting tool between nails so the gold doesn’t blob.
Skip thisDon’t spread gold dots to the cuticle area — it makes the design look cluttered and messy.
3. Milky White Half-Moon with Red Outline
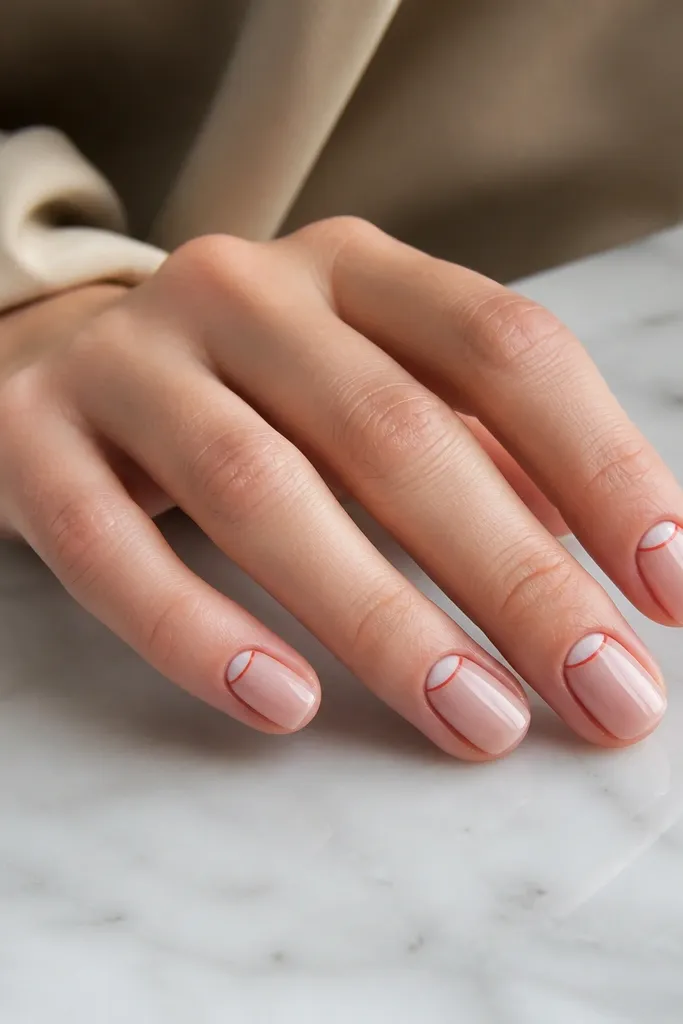
This is a clean, “holiday French” that feels classy instead of busy. The milky white half-moon gives winter brightness, and the thin red outline ties it to Christmas without covering the whole nail. It’s flattering because the half-moon shape frames the nail bed — it makes fingers look longer and keeps the design neat. If you like subtle nails for work parties, this one looks festive but still polished.
Apply a sheer milky pink base as your foundation, then paint a half-moon in milky white at the cuticle area using a small curved brush. Let the white set for a minute so it doesn’t smear when you outline it. Take red polish on a fine liner brush and trace around the half-moon edge in one smooth arc. Seal with a glossy top coat, and drag the brush slightly over the red outline to lock it in.
Editor's noteIf your half-moon is uneven, use a cotton swab dipped in remover to tidy the curve before you top coat.
Skip thisDon’t make the red outline too thick or it turns into a bold block instead of a crisp frame.
4. Burgundy Gloss with One Santa Hat Accent
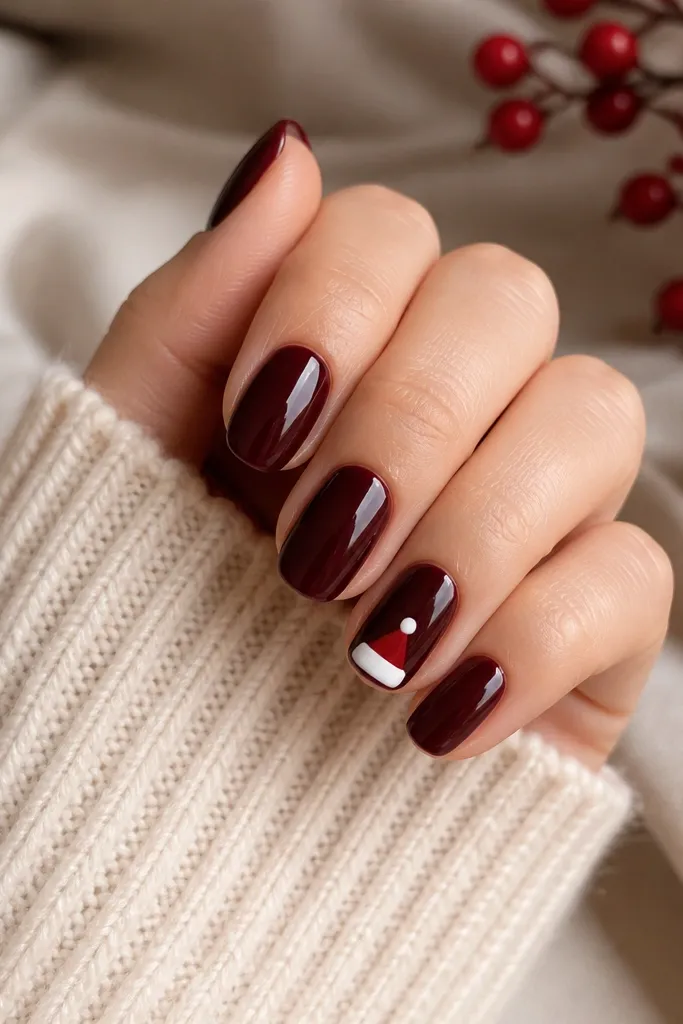
Burgundy nails look rich in winter light, and the single Santa hat accent makes it feel personal without time-draining full designs. I like putting the hat on the ring finger because it reads like a focal point, and the other nails stay simple and shiny. This flatters fair to deep skin tones because burgundy has enough warmth to harmonize with your undertones. The tiny hat also works on short nails since the design sits near the center and doesn’t need long length.
Paint all nails two thin coats of glossy burgundy and let them dry. On the ring finger, start with a small red triangle near the top third of the nail and round the edges. Add a white cuff band across the lower part of the triangle, then dot a small white pom-pom at the tip. Use a top coat to blend the edges; if the pom-pom looks raised, add one extra thin layer to smooth it.
Editor's noteUse a dotting tool for the pom-pom so it stays perfectly round.
Skip thisDon’t add extra details like eyes or a belt — the hat loses its clean look fast.
5. Glitter Fade from Center to Tips
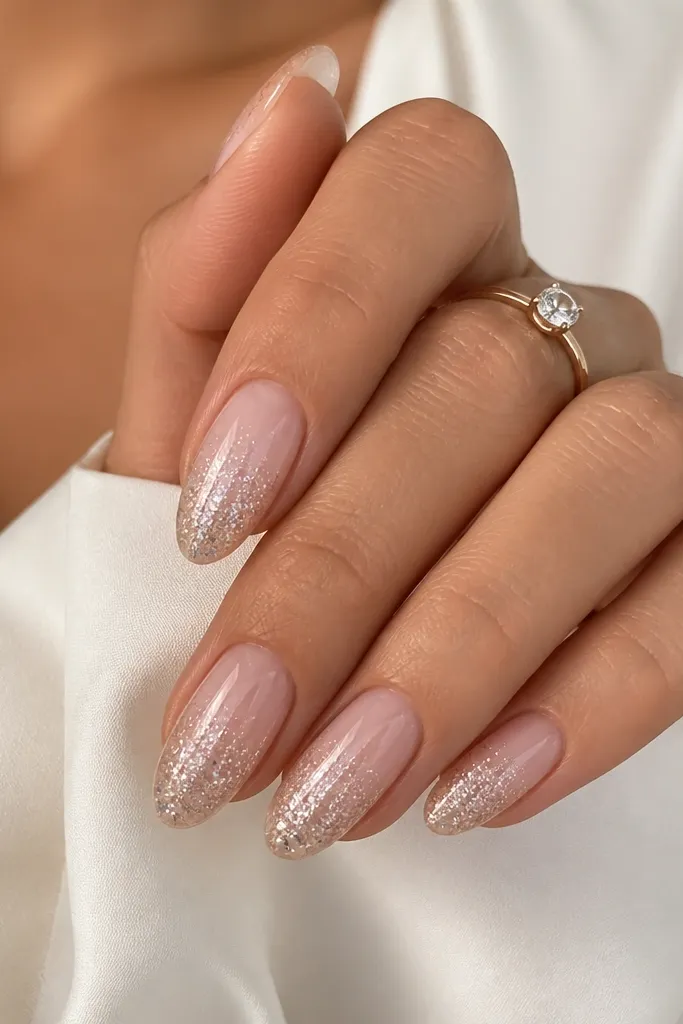
A glitter fade looks festive but stays elegant, and it’s quick because you’re not painting separate snowflakes on each nail. The center-to-tip placement makes the nail look fuller and gives that winter “sparkle in motion” effect. This works on all skin tones because the base is neutral and the glitter does the talking. On short nails, the fade makes them look longer by drawing the eye downward.
Start with a sheer nude or milky pink base and cure or dry it fully. Dab a glitter polish at the center of each nail, then use a small sponge or a glitter brush to blend outward toward the tips while keeping the base area sheer. Add a second layer of glitter only where you want more density — I focus it on the last third of the nail. Finish with a glossy top coat that fills tiny gaps so it doesn’t feel rough.
Editor's noteIf your glitter feels scratchy, put one extra thin top coat and cap the free edge.
Skip thisDon’t drag glitter polish all the way to the cuticle — it looks messy and makes cuticles look stained.
6. Soft Nude + Tiny Red Ornament Dots
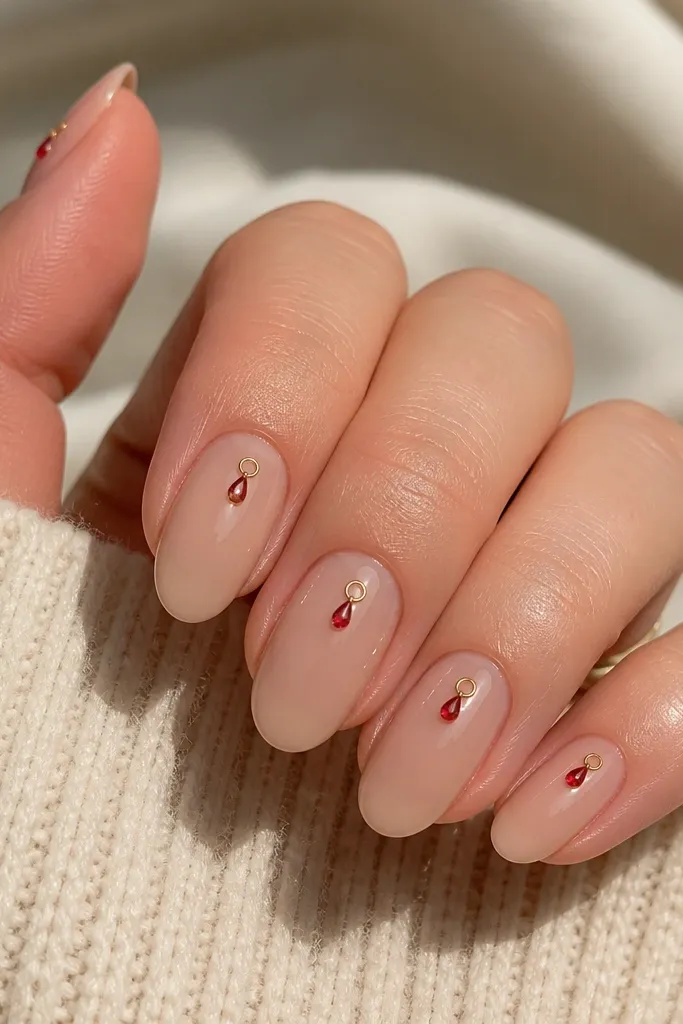
This design is my go-to when I want Christmas nails that look cute in photos but still feel grown-up. The nude base keeps everything calm, and the tiny red ornament shape gives that “tree decoration” vibe. The gold loop at the top adds a realistic touch without needing a full ornament drawing. It flatters hands because the ornament placement near the tip elongates the nail and doesn’t crowd the cuticle.
Apply a sheer nude base and two thin coats of glossy top coat if you’re using regular polish. Use a dotting tool to place one red dot near the tip, then drag a tiny stroke upward and inward to make a teardrop ornament shape. Add a small gold dot or tiny line at the top as the ornament hook. Repeat on two nails if you want it extra subtle, or do all nails if you want full holiday energy.
Editor's noteUse the same size dot for every ornament so the spacing looks intentional.
Skip thisDon’t make ornaments too big — they cover the nail bed and shorten the look.
7. Ice Blue Snowflake Corners
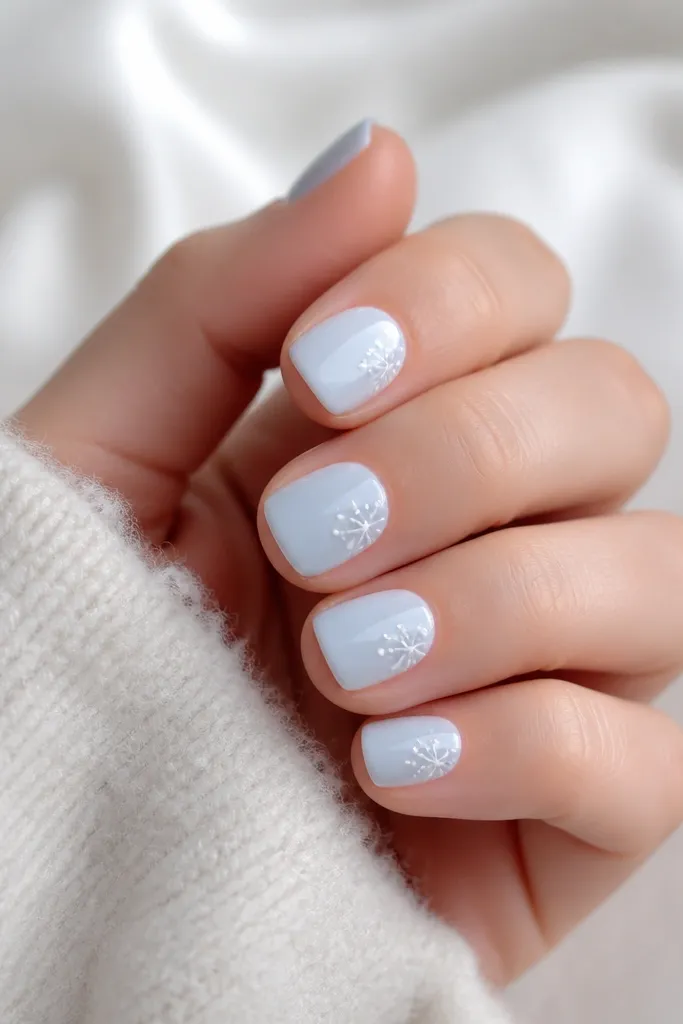
Ice blue feels cold in the best way, and corner snowflakes look like winter without covering your entire nail. The snowflake sits in the upper corner so it frames the nail shape and keeps the center clear, which is flattering on shorter nails. I’ve worn this with chunky sweaters and even a plain black dress — it still looks intentional because the design is placed, not spread. The white snowflake lines also pop against the blue for a crisp, readable look.
Start by applying two thin coats of milky ice blue and let it dry fully. With white polish on a fine detail brush, draw a simple snowflake in one corner: one vertical line, two diagonal arms, and a couple small dots as “snow” points. Add a tiny circle in the center if you want it more defined. Finish with glossy top coat, and cap the corners by running the brush lightly over the side edges where the snowflake sits.
Editor's noteIf your snowflake lines break, add the missing line with a toothpick — it’s steadier than a brush for tiny gaps.
Skip thisDon’t add snowflake details to every corner on every nail — it turns into a busy pattern fast.
8. Red + Green Diagonal Ribbon Accent
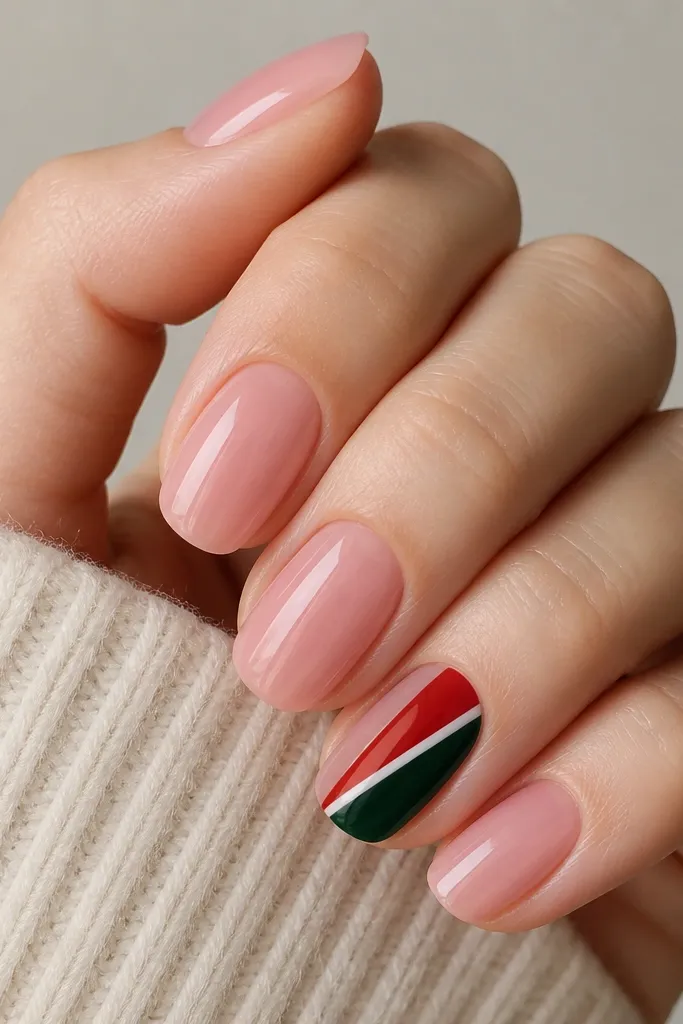
Diagonal ribbons look like a wrapped gift, and you get that holiday vibe without spending time on full snow art. The base is sheer pink so your nails still look natural, while the red and green ribbon gives the Christmas contrast. This design flatters hands because the diagonal line pulls the eye across the nail bed, making nails look a bit longer. It also works well for different skin tones since the ribbon colors do the contrast work.
Paint all nails with a sheer pink base and let it dry. On the accent nail, place a thin piece of nail tape diagonally across the nail from lower left to upper right, then paint the exposed area deep green. Remove tape carefully after the polish is set enough not to smear, then tape again with a slightly offset angle and paint red for the other ribbon side. Use a very thin striping brush with white to add a narrow divider line between the colors, then seal with a glossy top coat.
Editor's noteTighten the diagonal by pressing tape down with a flat cuticle pusher so the edges stay crisp.
Skip thisDon’t rush tape removal — peeling too early drags color and ruins the line.
9. Taupe Nude with Micro Gold Star Tips
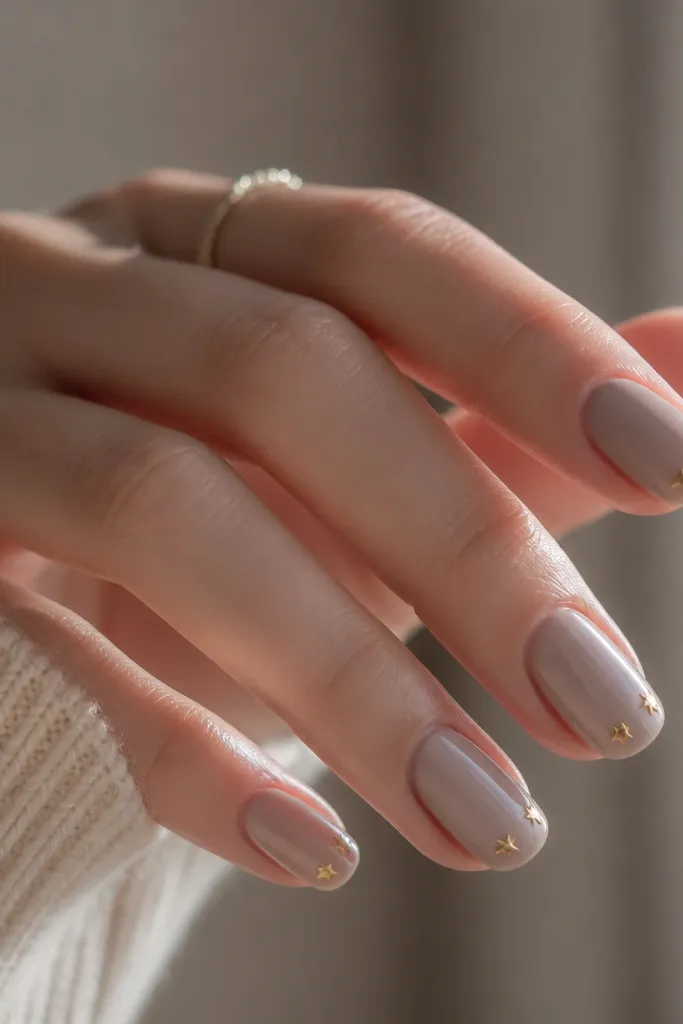
This is the “quiet Christmas” version I keep reaching for when I don’t want loud red or heavy glitter. Taupe nude looks flattering on basically every undertone because it’s neutral and the gold reads warm. Micro stars at the tips make your nails feel festive in a subtle, intentional way. On short nails, tiny stars keep the design from overpowering your nail bed.
Start with two thin coats of taupe nude and let it dry or cure fully. Use a gold nail art pen or gold foil gel with a dotting tool to create a tiny star near the tip center. If you’re free-handing, do a small five-point star by placing a dot for each point first, then connecting them with thin lines. Seal with glossy top coat and make sure the star edges are coated so they don’t catch on hair.
Editor's noteIf your gold star looks too bright, add one thin layer of regular top coat over it — it softens the shine just enough.
Skip thisDon’t place stars too close to the cuticle or they’ll look like random confetti.
10. Brown Sugar Ombré with Cinnamon Dot Snow
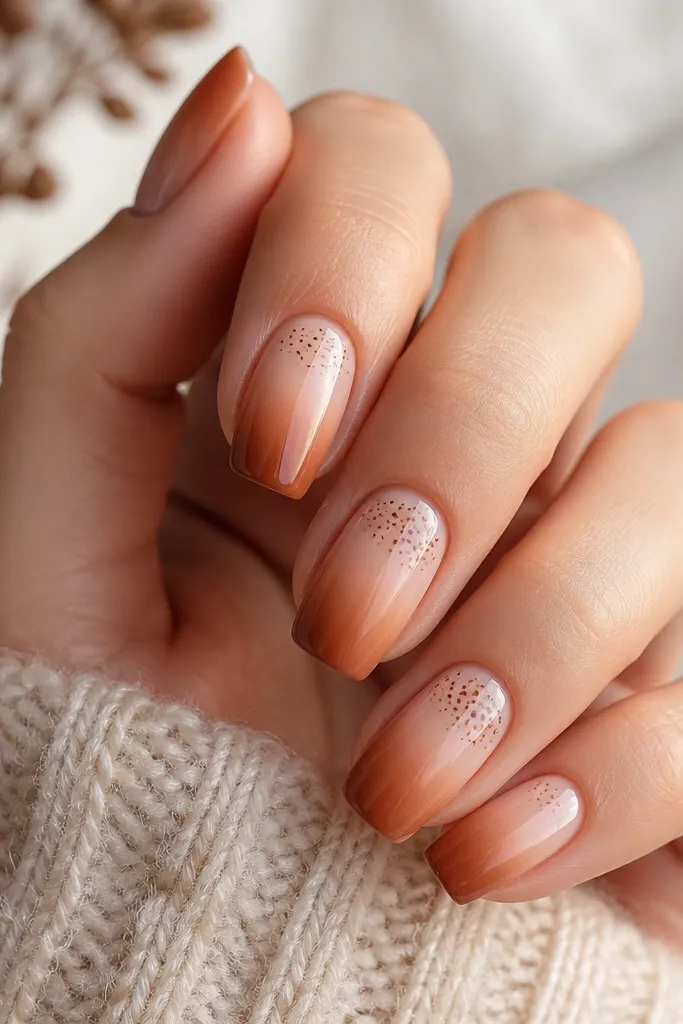
This one looks like winter baking — warm, cozy, and not overly holiday-coded. The brown sugar ombré makes your nails look dimensional, and the tiny dot “snow” gives the Christmas cue without drawing full snowflakes. It’s flattering because the gradient follows the nail shape, making fingers look longer than a flat color. I especially like it on medium to deep skin tones, where the caramel brown looks rich instead of muddy.
Apply a warm nude base and let it dry fully. Sponge on caramel brown from the mid-nail to the tips, keeping the ombré soft — you want a blur, not a hard line. Add a second sponge pass only on the tips if you need more depth. Then use a dotting tool to place tiny cinnamon-brown dots near the upper third on one or two accent nails. Finish with glossy top coat to blend the sponge texture and smooth everything out.
Use a makeup sponge with less pigment than you think — two light passes look better than one heavy pass.
Don’t let the ombré hit the cuticle — it looks like stain instead of a gradient.