
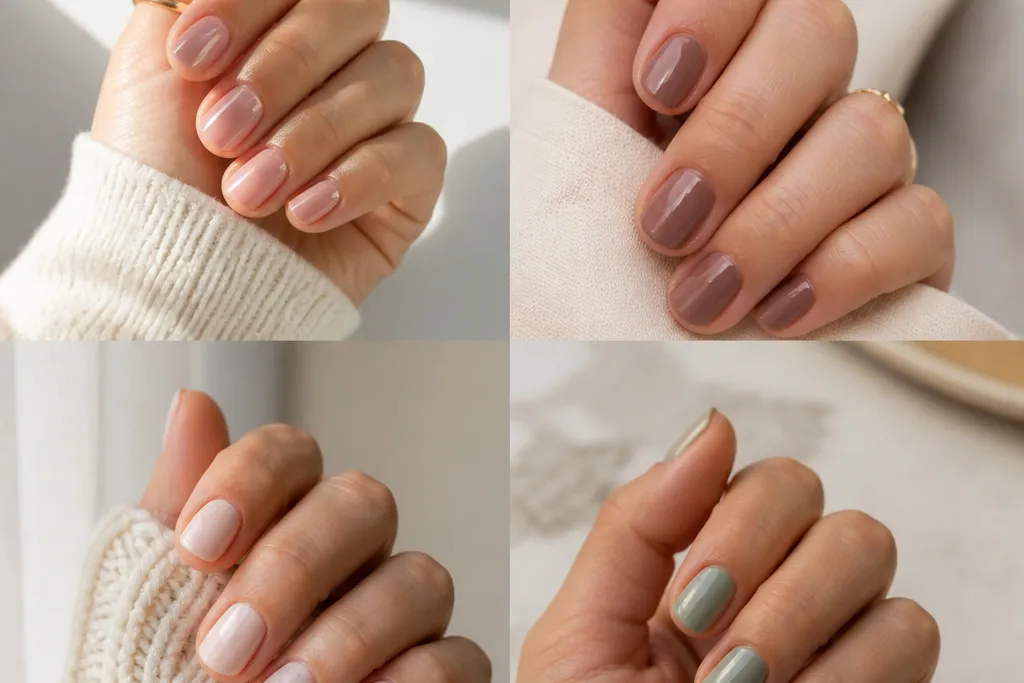
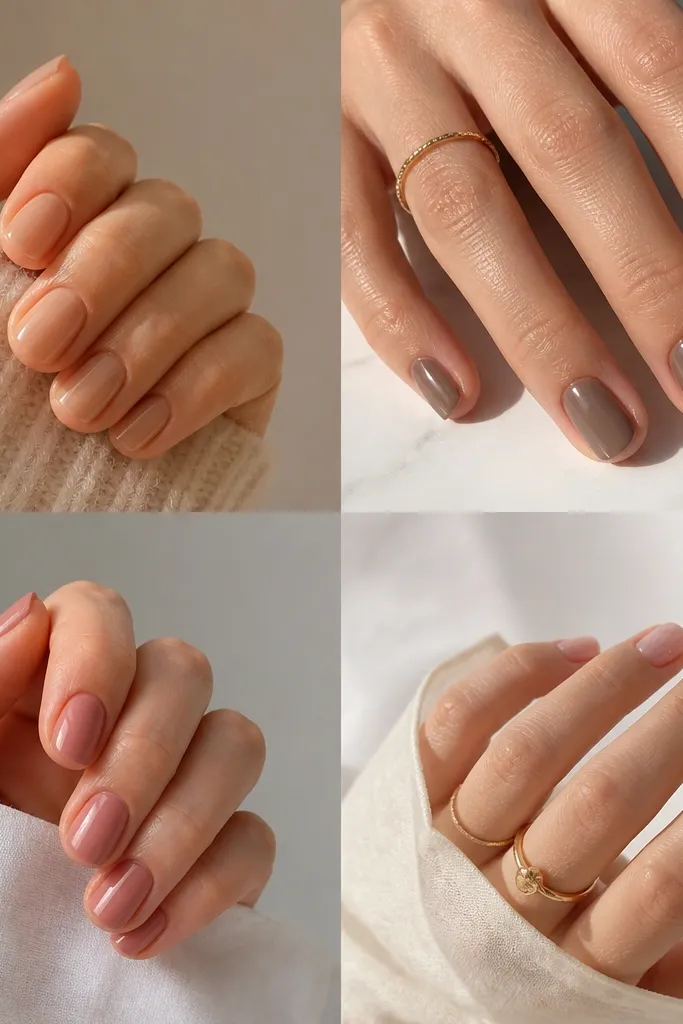
1. Milky Nude Base with One Tiny Cuticle Dot
Start by buffing the shine off your nail and applying a thin gel base coat. Paint two coats of milky nude, letting each coat level out before curing. With a dotting tool, place one small black dot in the center of each nail about 1 millimeter below the cuticle line. Finish with a glossy top coat, and cap the free edge so the dot stays sealed and the tip doesn’t snag.
This look works because the milky nude stretches your nail bed visually and the dot gives you a focal point without demanding perfect symmetry. I like it on fair to deep skin tones because milky shades come in warm and cool versions — pick one that matches the undertone of your skin. The black dot gives contrast without turning into nail art that needs crisp lines. Short oval nails also look extra tidy here because the design sits near the cuticle where growth is least noticeable.
Skip thisAvoid matte top coat on this one — chips show up fast on milky nudes when the finish is flat.
Editor's noteIf your dot drifts, clean the tip of your dotting tool with acetone on a lint-free wipe before you place it.
2. Chocolate Brown Half-Moon Accent
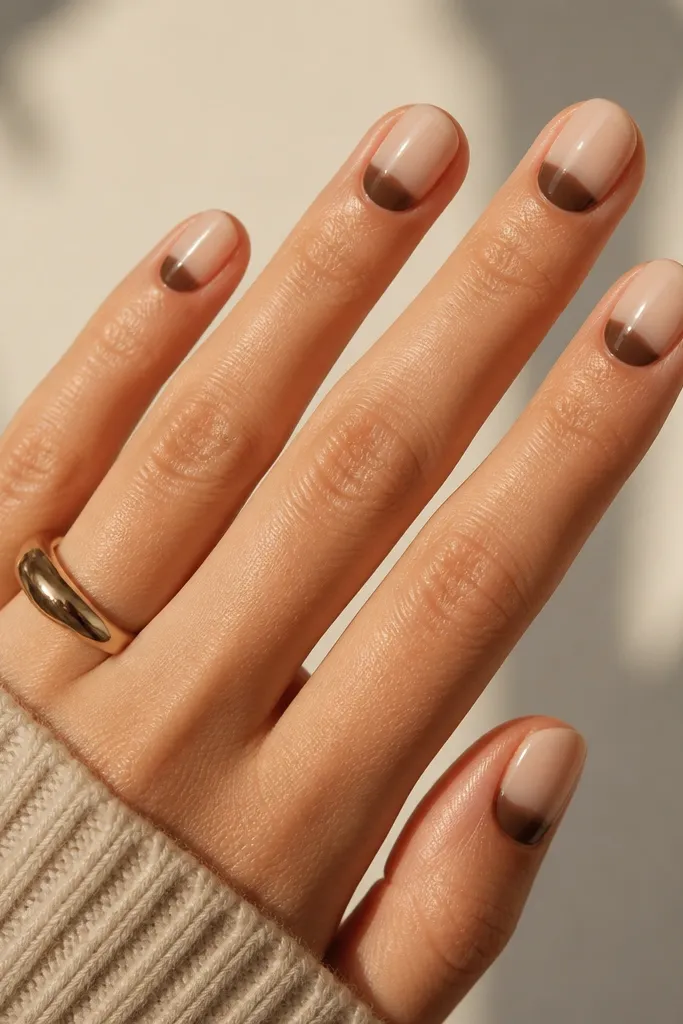
Apply a sheer nude base in two thin coats so the half-moon stays crisp. Use a small angled brush to paint a curved chocolate brown arc under the cuticle, keeping it about one-third of the nail width. Leave a tiny gap of nude between the arc and the cuticle so it looks clean, not flooded. Top coat everything and cap the sides lightly so the arc doesn’t lift at the edges.
A half-moon under the cuticle is low maintenance because it already lines up with the way nails grow. It flatters almost everyone because the accent sits where your nail naturally curves — it makes your nail look longer without adding bulk. I like chocolate brown because it reads warm and expensive against both cool and warm skin tones. On short oval nails, the curved shape also softens the look so your hands don’t look harsh.
Skip thisDon’t paint the half-moon too wide — if it covers half the nail, it stops looking intentional fast.
Editor's noteFor a cleaner arc, place a tiny dot where you want the arc to start and end, then connect them with one smooth stroke.
3. Dusty Rose One-Stripe French
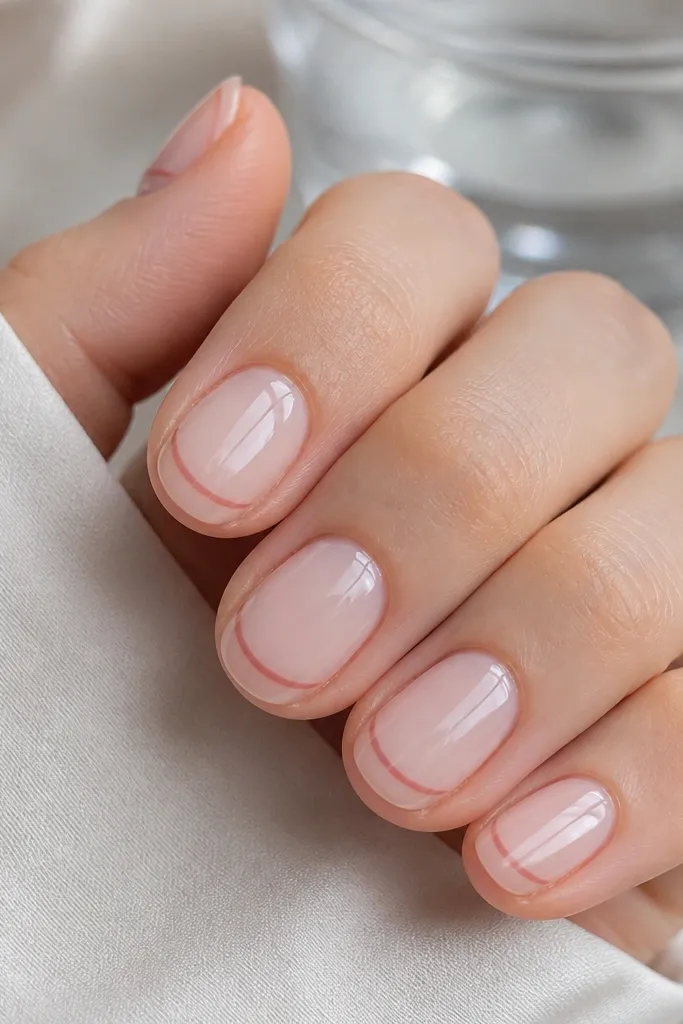
Start with a sheer pale pink base and cure fully. Use a fine liner brush to draw one thin stripe following your smile line — keep it centered so it matches the oval shape. If you want it extra neat, do the stripe in two light passes instead of one heavy line. Seal with a glossy top coat and make sure the stripe edges are fully covered so they don’t peel.
This is the easiest French-style design for short oval nails because it uses a single stripe instead of a thick tip. The stripe makes your nails look longer by tracing the natural curve, and dusty rose looks soft enough that small imperfections don’t scream. It flatters neutral undertones and also works on deeper skin because the rose shows up without turning neon. If you do your own nails, this one is forgiving — the stripe is narrow and you can correct it while it’s still tacky.
Skip thisAvoid thick French tips on short ovals — they shorten the nail visually and chip faster at the edges.
Editor's noteUse tape only for the first nail if you need it, then freehand the rest — you’ll get faster once you see the curve in your own hand.
4. Sea Glass Green Micro-Glaze
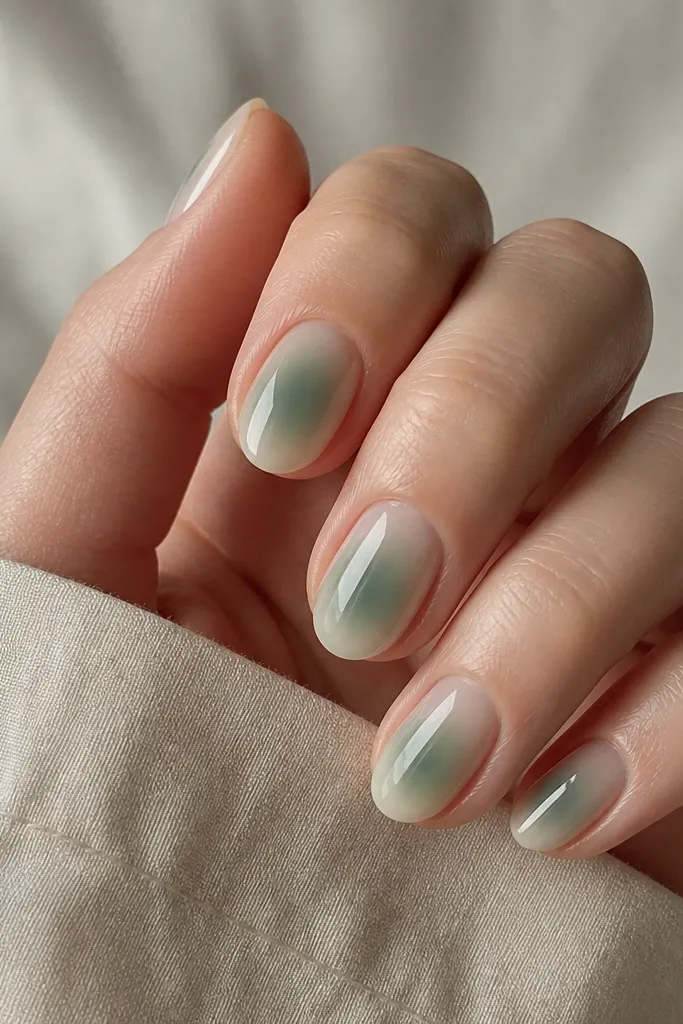
Paint a sheer clear base or very pale nude base, then cure. Sponge or brush on a translucent sea-glass green glaze as a thin first layer, focusing on the middle third of the nail. Add a second layer only where you want the band to deepen, then feather the edges so it blends. Finish with a thick glossy top coat to get that wet look and cap the tips.
Micro-glaze looks like you spent time but stays low maintenance because it’s translucent and smooth. Sea glass green looks fresh on every skin tone — fair skin gets a clean pop, medium skin looks hydrated, and deeper skin gets a jewel-like tint without looking heavy. The deeper band in the middle makes the nail look longer and more dimensional even as your nails grow out. This design also hides minor chips since the color is layered and not a hard line.
Skip thisAvoid going fully opaque in one coat — it removes the low-maintenance, forgiving look.
Editor's noteIf you use a sponge, dab on paper towel first so you don’t get speckled texture.
5. Matte Velvet Base with Glossy Side Accent
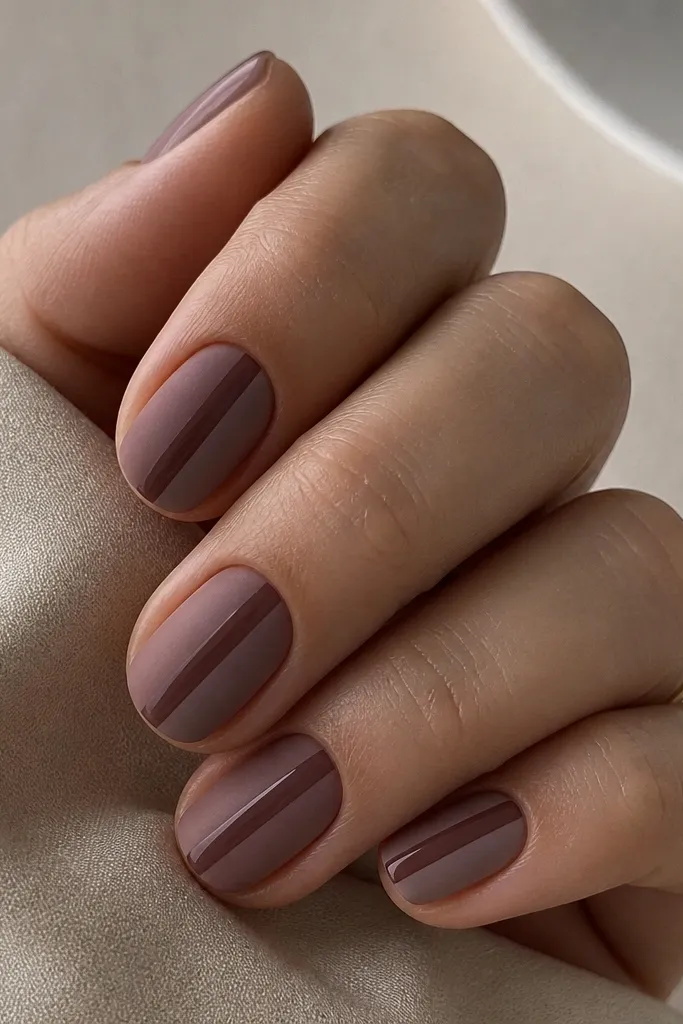
Apply your base color and cure — I use a muted mauve cream gel. Skip top coat at first, then add a matte top coat over the entire nail and cure. With a thin brush, paint a glossy gel strip on one side of the nail, starting 1 millimeter below the cuticle and stopping just before the tip curve. Cure again, then keep the rest matte by not dragging top coat over the strip area.
Mixing matte with one glossy strip is a trick I use when I want “done” nails without complex art. The matte base covers small imperfections, and the side accent adds a slimming effect because it draws a vertical line. Mauve looks flattering on short nails because it’s close to natural nail color but still clearly intentional. This is great for workdays and travel because matte doesn’t show tiny scuffs as dramatically as high-gloss.
Skip thisDon’t put glossy strip too close to the center — it can make the nail look wider.
Editor's noteUse a striping brush that’s narrower than you think you need — the line should look like a highlight, not a stripe.
6. Classic Black with One Clear Negative Space Arc
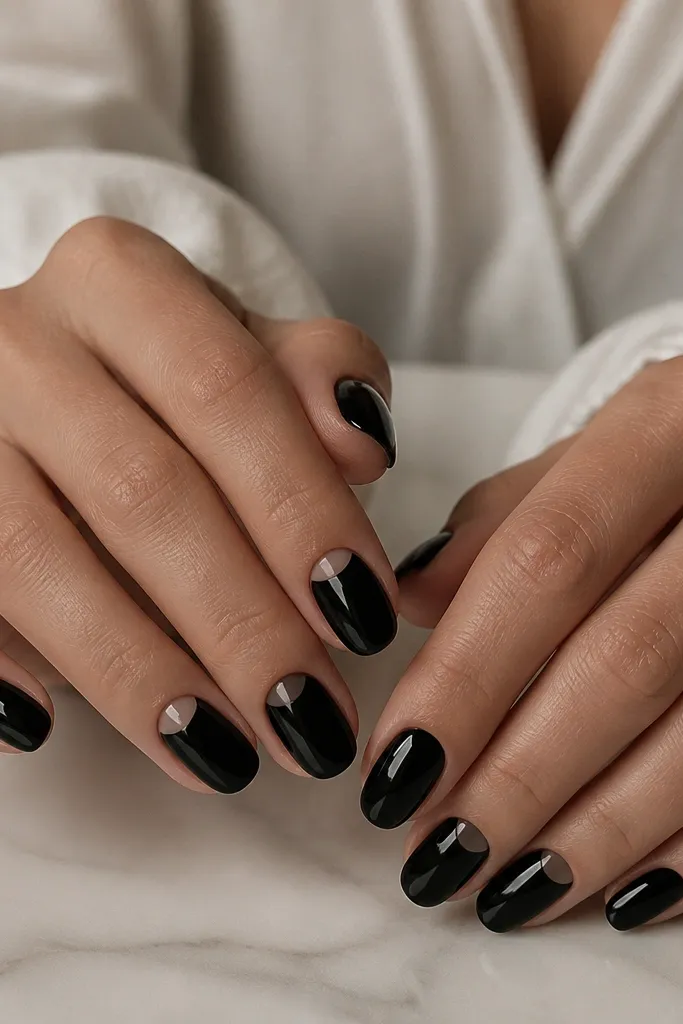
Start with a base coat, then paint two coats of glossy black gel, curing between coats. On your accent nails (I do one or two max), place a small crescent of clear gel where you want the negative space — you’ll cure it so it stays clear. Use a thin brush to paint around the crescent carefully, then cure fully. Finish with a glossy top coat on black areas only; if you top coat over the clear arc, it turns cloudy.
Solid black is the ultimate low-maintenance color because it hides stains and looks sharp even when your nails aren’t perfectly fresh. The clear arc adds design interest without covering the whole nail with lines or decals. This works especially well on short oval nails because the arc sits near the cuticle and visually lifts the nail bed. I’ve worn this to events and it still looks clean after a week of normal wear.
Skip thisAvoid matte black for this — the clear arc looks best against a glassy surface.
Editor's noteIf you mess up the crescent edge, wipe the gel with a liner brush dipped in acetone before curing.
7. Gold Foil Fleck on Nude Builder Gel
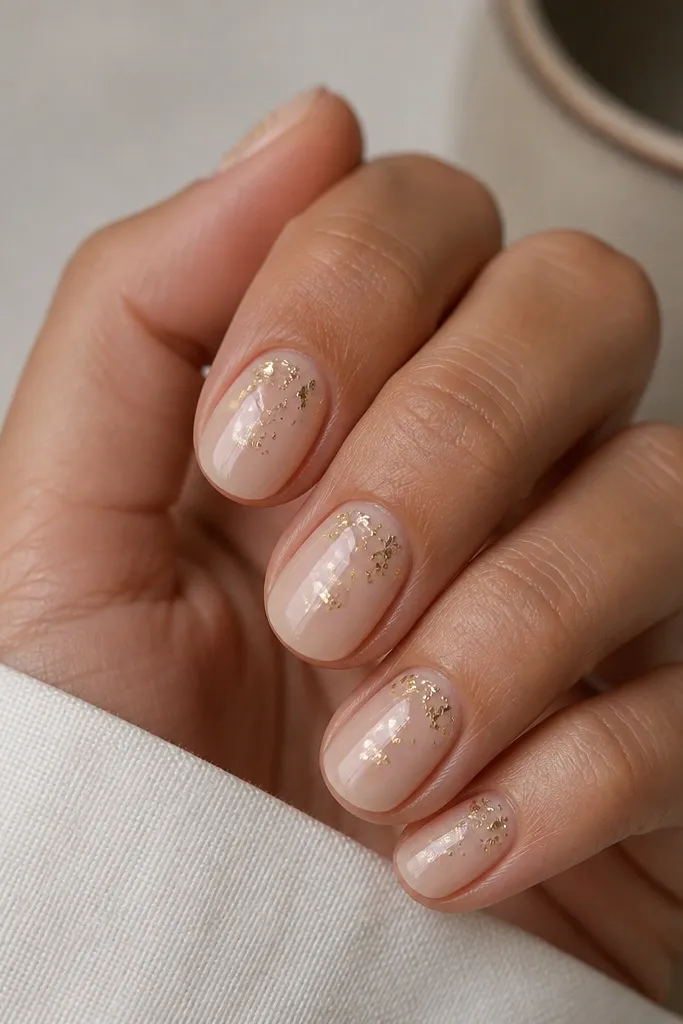
Apply nude builder gel and cure, then file into a short oval shape with a soft apex so the nails don’t feel bulky. Dab gold foil flakes onto a tacky layer — I press lightly with tweezers or a silicone tool so the flakes catch without spreading. Cure, then seal with two thin coats of glossy top coat, making sure the foil edges are fully covered. Keep flecks denser near the center for a clean “light hits here” effect.
Foil flecks look fancy but they’re forgiving because they’re irregular by nature. Nude builder gel gives you strength and a smooth surface, which matters on short nails that take more knocks. Gold flecks flatter warm and neutral undertones and look especially good if you wear gold jewelry. The design also grows out nicely because the flecks sit across the nail surface instead of being a single line that gets off-center.
Skip thisDon’t place foil only at the tips — on short ovals it looks like your manicure is wearing off.
Editor's noteUse a glossy top coat twice if your foil is catching — it prevents texture from snagging on hair or knit sleeves.
8. Blueberry Jam Gradient Tip Fade
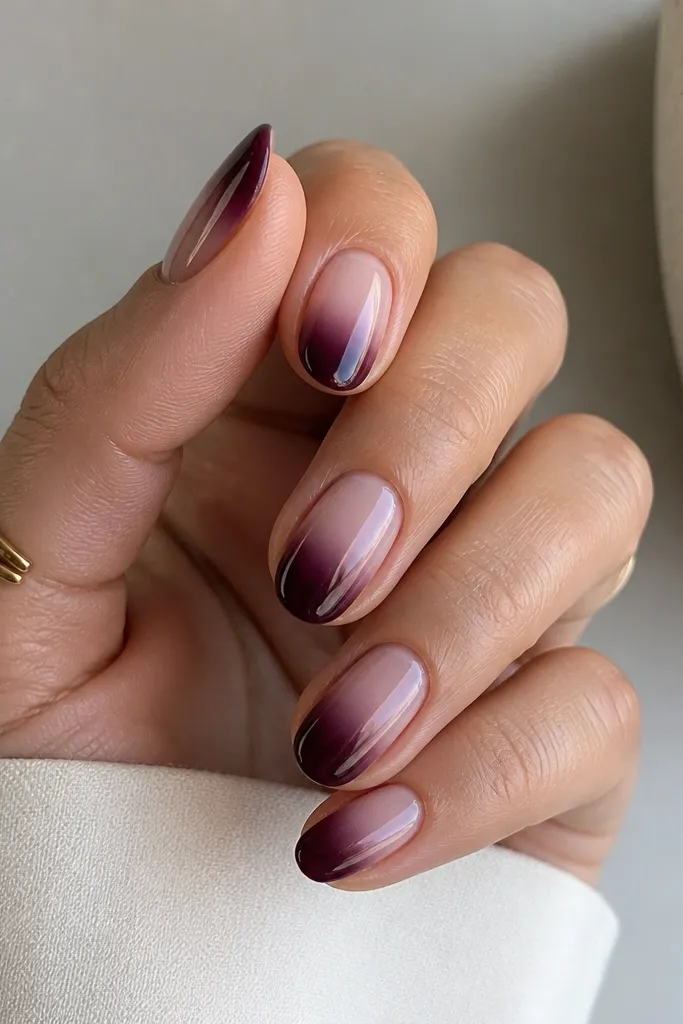
Start with a nude base and cure. Load a small makeup sponge with blueberry gel (or polish) and tap it lightly at the tips, then blend upward into the nude by dabbing rather than wiping. Build color gradually — two to three light layers look smoother than one heavy application. Seal with glossy top coat and cap the very tips so the fade doesn’t wear unevenly.
A gradient tip fade is low maintenance because the transition line is soft, so it doesn’t look messy when the nail grows. Blueberry jam is bold enough to look intentional but still reads wearable because it fades into nude instead of sitting as a heavy block. On short oval nails, the fade makes the tip look longer without needing a thick French. It also flatters hands with shorter nail beds because the color concentrates at the end.
Skip thisAvoid a hard edge at the blend — it makes chips obvious on short nails.
Editor's noteIf the sponge leaves dots, run your brush over the gradient lightly while it’s still tacky and cure again.
9. White Cloud Dots on Sheer Peach
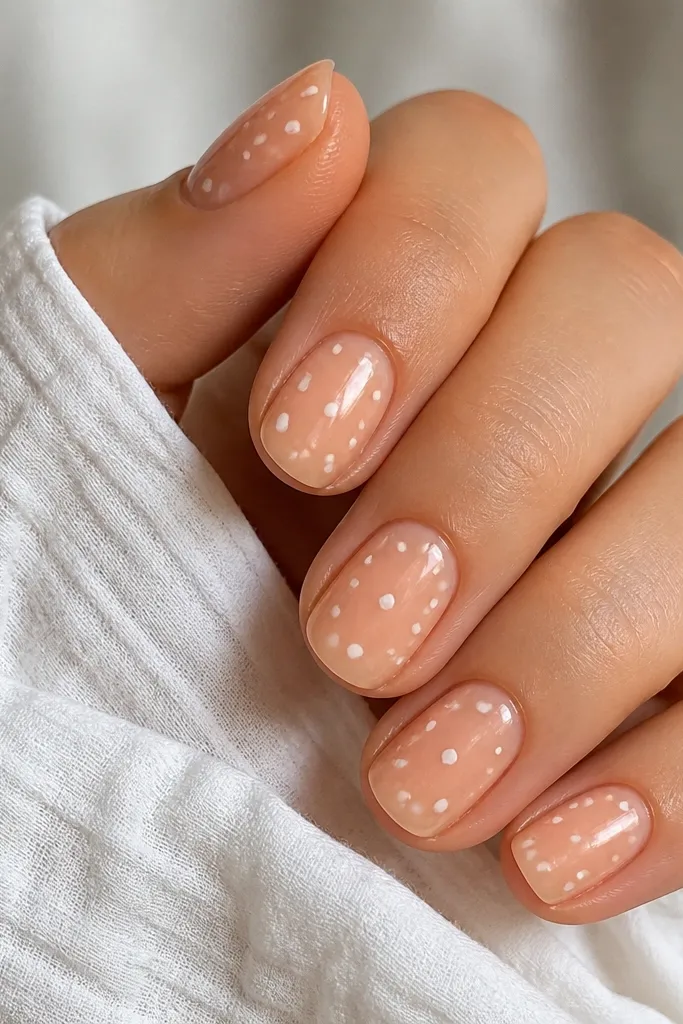
Dots are the most forgiving nail art for short oval nails because you’re not drawing lines that need to stay perfectly straight as your nail grows. Sheer peach warms up your hands and makes the dots look playful without being childish. White dots add contrast and look crisp against peach, even with small chips. I like this when I’m busy because it still looks cute when the set isn’t freshly done.
Apply a sheer peach base in two thin coats and cure fully. Use a dotting tool to place 6 to 10 white dots per nail, varying sizes so it looks organic — aim for more dots near the center. Leave some negative space so the dots don’t cover the nail completely. Top coat with a glossy layer, and press the brush gently around each dot so it seals flat.
Do one nail at a time so the dots don’t get tacky and smear before you cure.
Don’t pack too many dots — if the nail looks busy, chips show more.
10. Burgundy Micro-Foil Half-Swirl
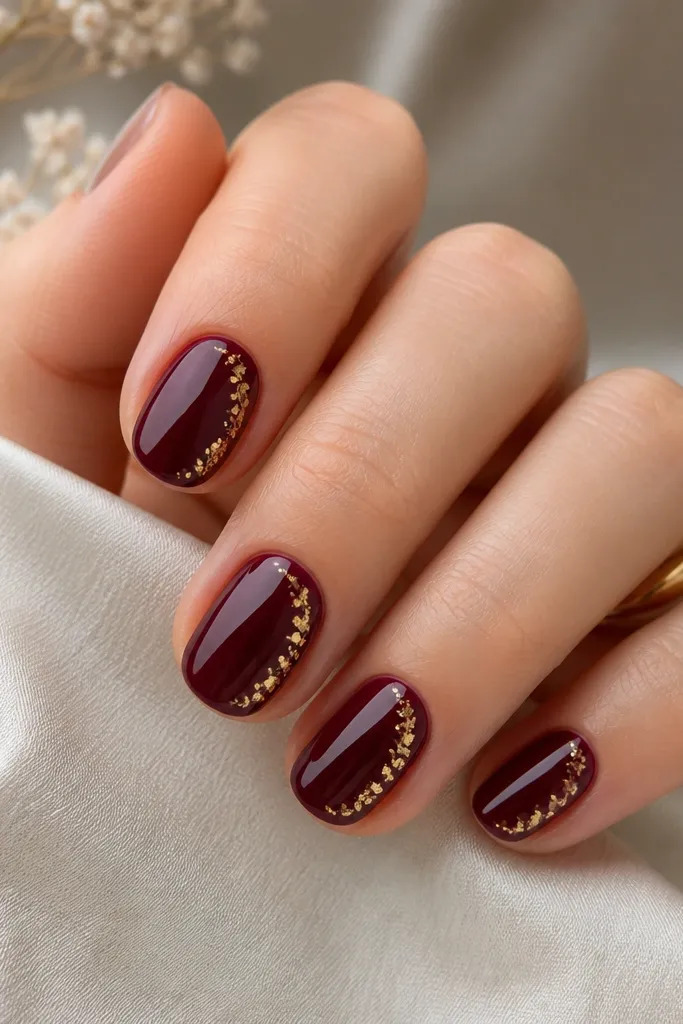
This is my go-to when I want something “special” but still low maintenance. The burgundy base is solid and forgiving, and the micro-foil half-swirl creates movement without requiring you to paint a full design. The swirl shape also follows the oval curve, so it looks intentional on short nails. It flatters a wide range of skin tones because burgundy has both warm and cool versions — the one that looks best is the one that doesn’t turn brown on you.
Paint two coats of burgundy gel and cure. On each nail, apply a small amount of tacky gel where you want the swirl, starting about 1 millimeter below the cuticle and curving down one side of the nail. Press tiny gold foil flecks into that tacky area, then cure. Seal with glossy top coat in two thin layers so the foil doesn’t snag and the edges stay smooth.
If you want the swirl to look cleaner, keep it only on one side of the nail instead of wrapping around.
Avoid thick foil paste — it creates bumps that lift quickly on short oval tips.



