
1. Cinnamon French Tips with Skinny Dark Stripe
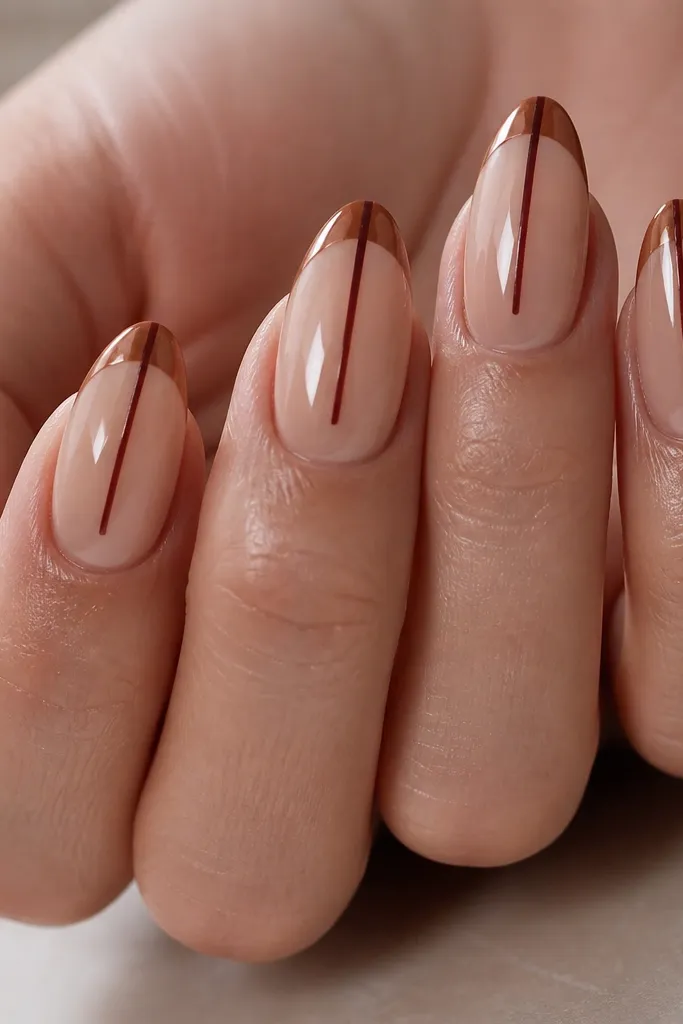
This is the fall manicure I reach for when I want it to look expensive without doing full nail art. The cinnamon French tip gives you that autumn warmth, and the skinny burgundy stripe adds a clean, high-end detail without clutter. I like it on almond or soft square shapes because the tip area is wide enough for a crisp line. It flatters most skin tones because the base is nude and the fall color sits only at the tip. For a dinner or date night, this looks polished even with minimal effort.
Start by applying a warm nude base coat and letting it dry fully. Paint French tips in cinnamon-brown, keeping the curve even across each nail. After that dries, take a striping brush and add a thin burgundy line down the center of the French tip — keep your brush light so it doesn’t flood. Finish with glossy top coat and clean up the edges with a small brush dipped in acetone.
Editor's noteIf your stripe wobbles, use a second thin coat to straighten it instead of trying to erase — it levels out better.
Skip thisAvoid making the burgundy stripe too thick or it turns into a blob instead of a “jewelry” detail.
2. Maple Leaf Accent on a Nude Almond Base
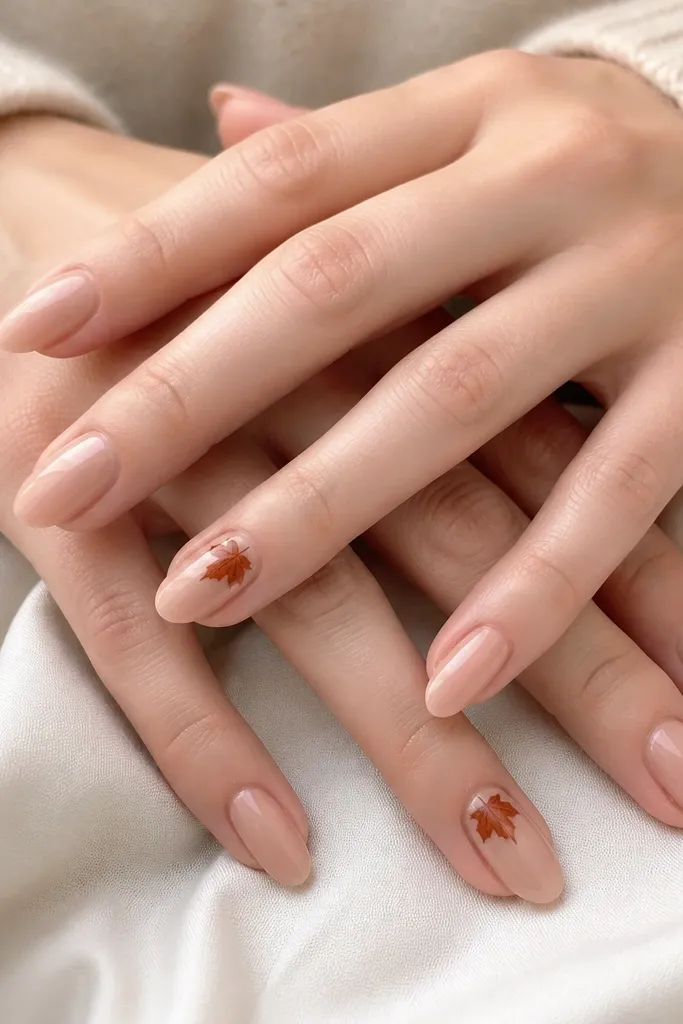
This design is cheap because you’re not painting full patterns on every nail. A single maple leaf near the cuticle looks like fall nail art from a salon, but it only takes one small drawing. Burnt orange and chocolate brown create that real maple tone, and the nude base keeps it wearable. I’ve worn this on medium-length nails for work and it still looked cute in close-up photos. It flatters shorter nails too because the leaf sits up high and makes the nail look longer.
Start with a nude base coat and let it set until it’s no longer tacky. Pick one nail per hand (I usually do the ring finger) and paint a tiny leaf shape with burnt orange using a dotting tool for the bumps. Add a thin chocolate-brown vein line in the center and a couple of short side lines. Seal with glossy top coat, then add a second top coat to the leaf nail only if the edges feel raised.
Use a toothpick for the leaf veins — it gives you sharper lines than a brush with too much bristle.
Don’t put the leaf in the middle of the nail or it can look like a sticker instead of a drawn detail.
3. Taupe + Brick Half-Moons (Reverse French)
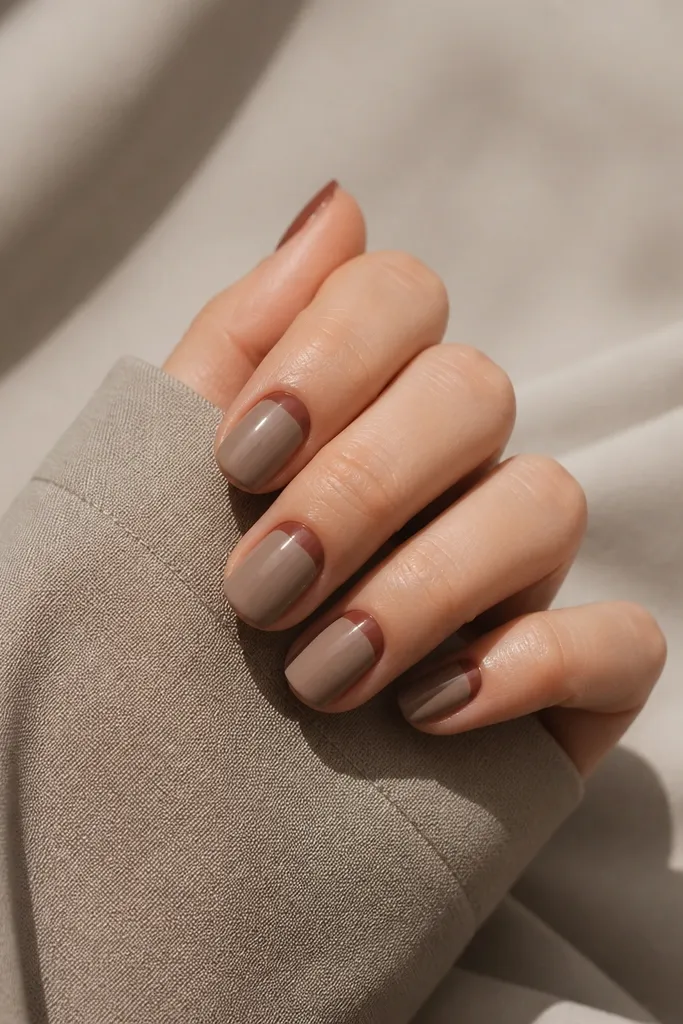
Half-moons make nails look neat even when you’re not doing fancy art. The taupe-beige base looks calm and modern, and the brick orange half-moon brings the fall warmth right where the eye naturally lands — the cuticle area. I like matte here because taupe looks like soft suede and the brick feels richer. This flatters hands with shorter nails because the half-moon gives a clean visual boundary. It also works for darker skin tones because brick orange pops without needing extra glitter.
Apply a taupe-beige base color and let it dry. Use a small sponge or a cuticle stencil to paint the half-moon at each cuticle with brick orange — keep it centered and slightly curved. If you’re freehanding, place the brush at the center of the cuticle and pull outward in a gentle arc. Finish with a matte top coat, and use a fine cleanup brush to sharpen the cuticle edge.
Editor's noteIf your half-moon is uneven, add a thin brick “outline” line at the edges for a crisp look.
Skip thisAvoid painting the half-moon too wide; if it covers half the nail, it looks chunky.
4. Burgundy Velvet Tips with a Matte Top Coat
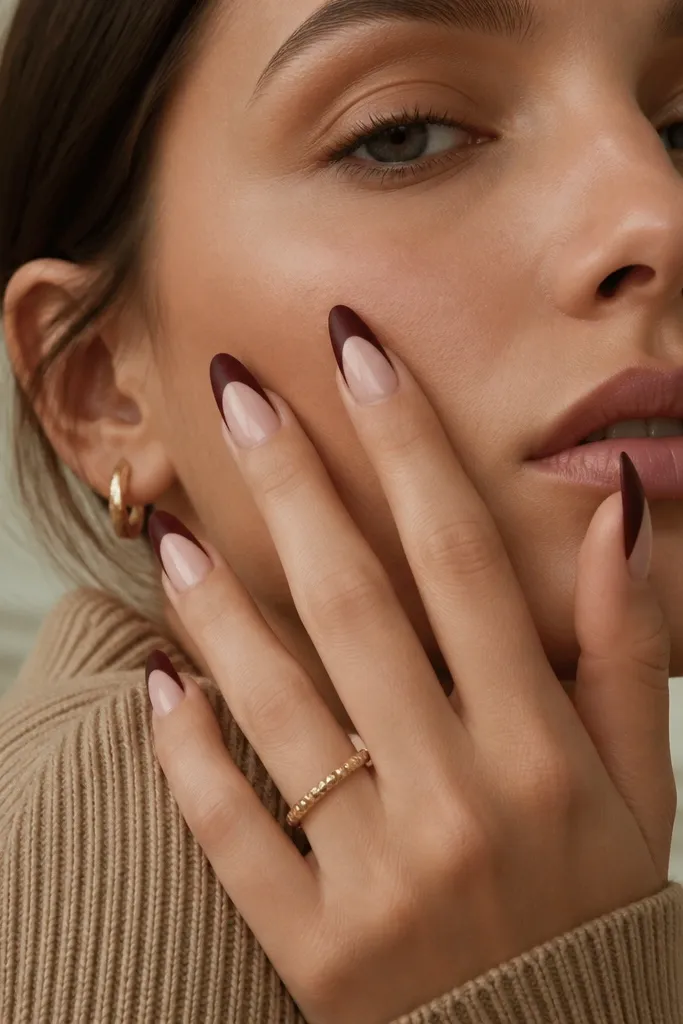
This one is brutally simple and it looks like you tried harder than you did. Deep burgundy tips scream fall, and matte top coat on just the tips creates a “velvet” look that hides tiny tip mistakes. I’ve seen this work on both pale and deep skin because burgundy is dark enough to feel seasonal but not so bright it fights your skin tone. It’s perfect if you want something classy for a fall office or a holiday party. The contrast between glossy nude and matte burgundy makes it look intentional.
Start with a nude base and a glossy top coat on the base area only. Paint the tips in deep burgundy, keeping the line about 1-2 mm above the natural tip line. Let the burgundy fully dry, then apply matte top coat only over the burgundy tips — not the nude. If the matte spreads onto the base, wipe it quickly with a cotton swab before it cures.
Editor's noteUse a matte top coat that dries fast; slow-drying formulas can leave streaks on the tips.
Skip thisDon’t matte the whole nail — it can make the nude look dull and the set feel heavy.
5. Orange-Check Plaid Using Scotch Tape
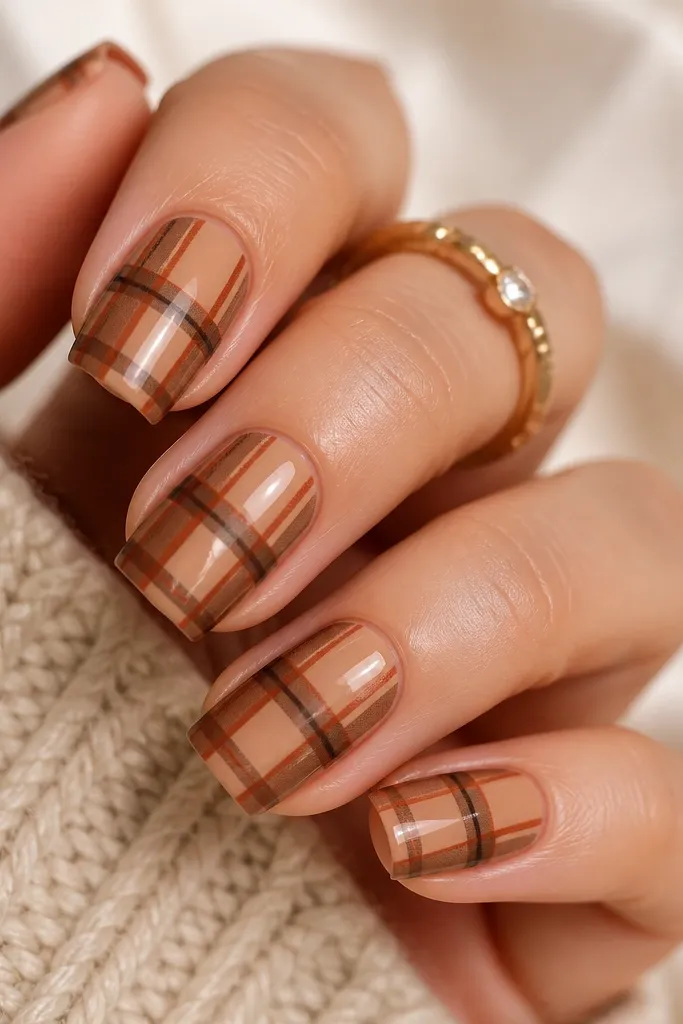
Plaid looks hard, but tape makes it cheap and repeatable. The burnt orange checks feel like fall leaves, and dark brown keeps it grounded so it doesn’t look like Halloween candy. I like this on short-to-medium square nails because the pattern lines have enough space to look symmetrical. It flatters hands that like bold nail shapes — the check pattern adds structure. For parties, this reads seasonal without needing glitter or gems.
Paint a warm nude base and let it dry completely. Cut small strips of Scotch tape (thin pieces) and place them diagonally across one nail, then paint burnt orange over the exposed areas. Remove tape after the polish is semi-dry, then repeat with dark brown using a new tape layout that crosses the first angle. Finish with glossy top coat and touch up any broken lines with a striping brush.
Editor's notePress the tape down firmly along the edges so polish doesn’t bleed under and ruin the geometry.
Skip thisAvoid using thick tape — it creates wide lines that look sloppy.
6. Sponge Ombre in Caramel and Cinnamon
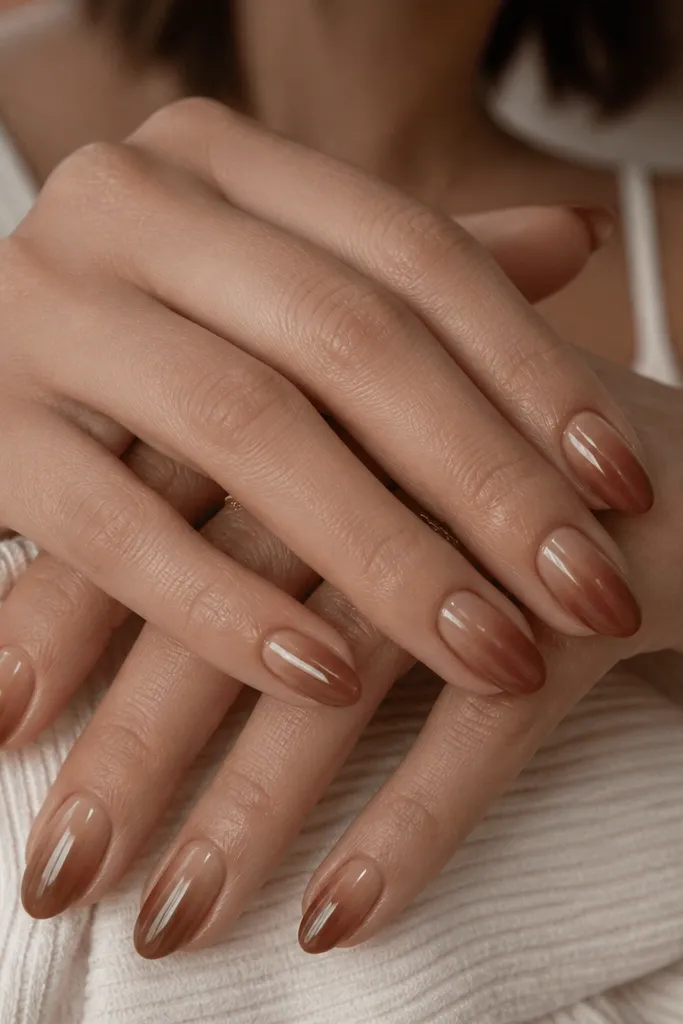
Sponge ombre is one of the cheapest ways to get an “expensive gradation” look. Caramel nude at the base keeps it wearable, and cinnamon at the tips gives real autumn depth. I’ve done this with drugstore polishes and it still looks smooth because you build it in layers instead of trying to get it perfect in one swipe. This flatters pretty much everyone because the colors are warm and close to natural nail tones. It also looks great on medium almond nails because the fade stretches the nail visually.
Start with a caramel nude base and let it dry. Dab cinnamon-brown polish onto a makeup sponge, then press lightly onto the tips, working upward in tiny increments. Keep re-dabbing and blending until the fade looks soft, not stripey. Clean up around the nail edges with a small brush dipped in remover, then seal with glossy top coat.
Do two thin layers of ombre instead of one heavy layer — it prevents a rough texture on the sponge spots.
Avoid rubbing the sponge back and forth; that creates bands.
7. Bronze Glitter Half-Sleeves on the Ring Finger
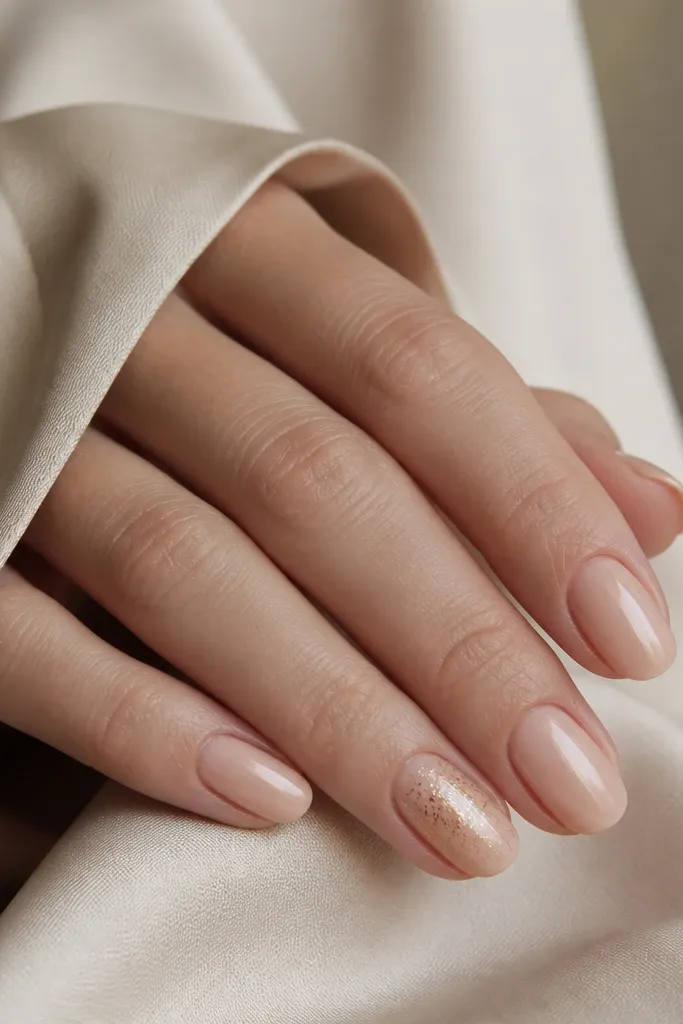
If you’re doing fall nails ideas autumn cheap, this is a smart trick: you save glitter for one or two nails so it looks intentional. Bronze glitter feels autumn because it’s warm and metallic, not icy. The half-sleeve placement looks like a cuff and makes your nails look longer. This is flattering for hands that have shorter nail beds because the glitter sits lower and draws the eye down. For holidays, it also photographs beautifully under warm lighting.
Paint all nails with a nude base and glossy top coat. On the ring finger only, apply a thin layer of clear gel or tacky base (or just a sticky top coat) starting around the middle of the nail. Pack bronze glitter on the lower half, then lightly dab a clean sponge near the edge to fade the glitter upward. Tap off extra glitter, then seal with a thicker top coat to smooth the texture.
Editor's noteIf the glitter catches on your clothes, add a second top coat after it dries for a flatter surface.
Skip thisDon’t glitter the entire nail — it can look cheap fast and makes chips more obvious.
8. Forest Green + Nude Diagonal Line (Modern Fall Minimal)
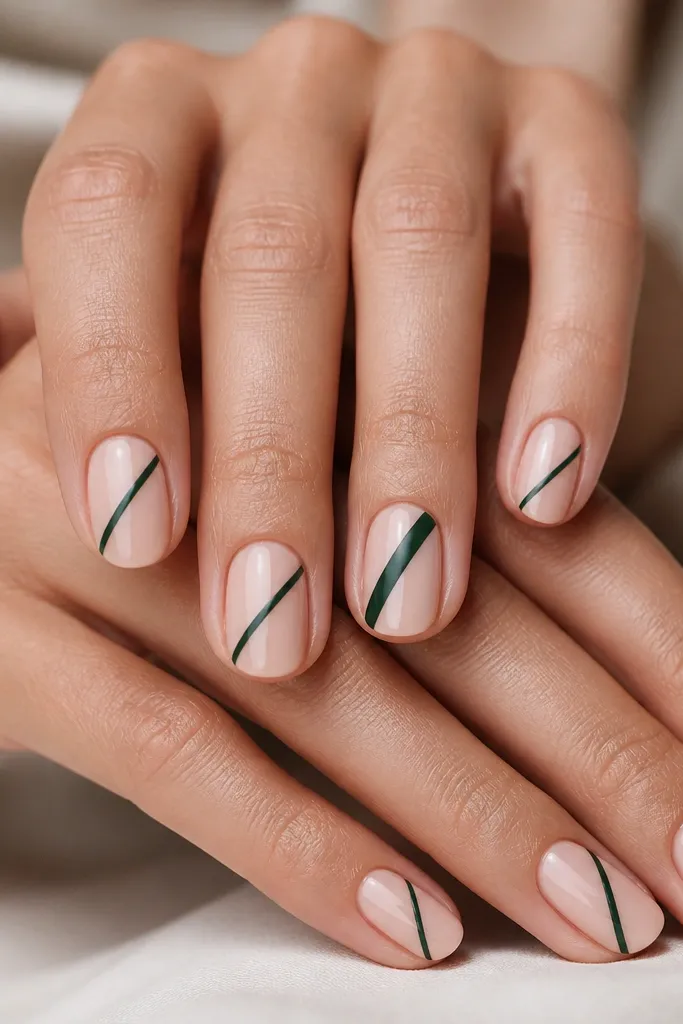
This is for when you want fall without the full “leaves and plaid” vibe. Forest green is seasonal and deep, and a diagonal line makes your nails look designed instead of random. The nude base keeps it clean, and the diagonal placement makes nails look longer because it draws the eye across the nail. I’ve done this for casual days and it still looks sharp with simple outfits — jeans, a sweater, boots. It’s also beginner-friendly because you only need one straight pass with a striping brush.
Apply a nude base and let it dry. Tape a guide line diagonally across the nail if you’re nervous — thin tape works best. Paint forest green over the taped stripe, then remove the tape while the polish is still a little tacky. For one accent nail, make the stripe 1-2 mm thicker so you get a variation. Finish with glossy top coat and clean the edges with a cotton swab around the sidewalls.
Use a striping brush with a short handle and don’t reload — too much polish makes the line bleed.
Avoid freehanding the diagonal without a guide if you want crisp edges.
9. Chocolate Brown Dots Over Nude with a Matte Finish
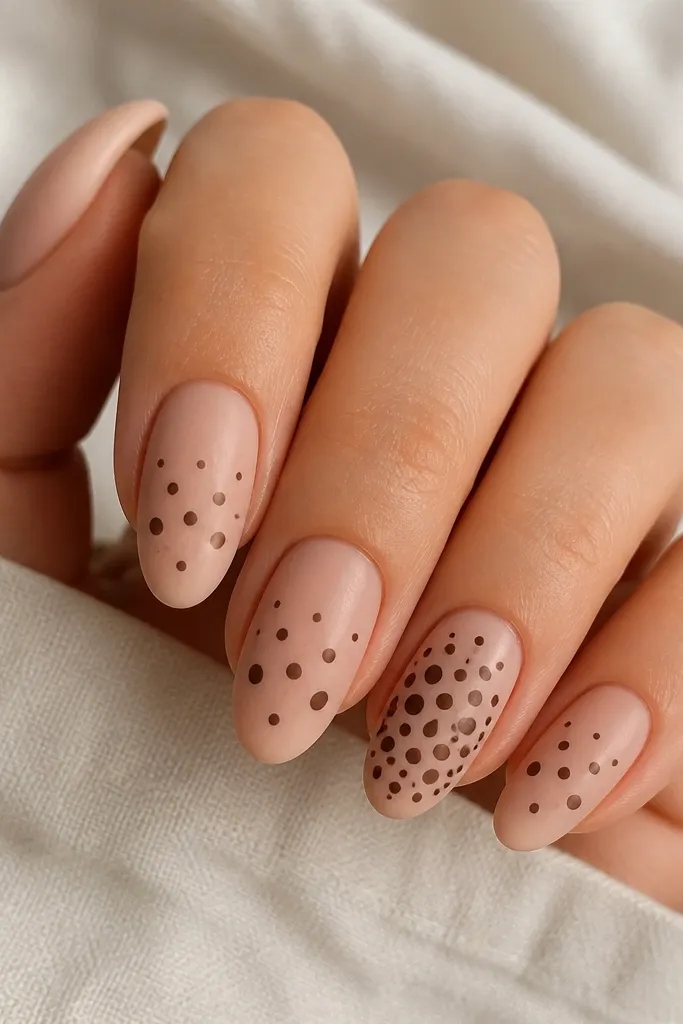
Dots are the easiest way to get a fall pattern that still looks neat. Chocolate brown over nude reads like cocoa and spices, and matte finish makes it feel cozy instead of shiny and busy. I like doing dots on all nails lightly, or saving the densest dot cluster for the ring finger. This flatters hands because matte reduces shine that can highlight nail ridges. It also works on short nails because the dots are small and don’t require a lot of space.
Start with a nude base and let it dry. Use a dotting tool to place a few larger chocolate dots in the center of each nail, then add smaller dots around them. Keep the dots spaced so you can still see nail color between them — that negative space is what makes it look intentional. Let it dry, then seal with matte top coat. For one accent nail, add one extra row of tiny dots near the cuticle for a little variation.
If your dots smear, wait 2 minutes longer before adding the next dot layer — tackiness is what makes them run.
Avoid making dots the same size everywhere; that flat pattern looks flat and cheap.
10. Burgundy Marble Swipe with a Clear Base
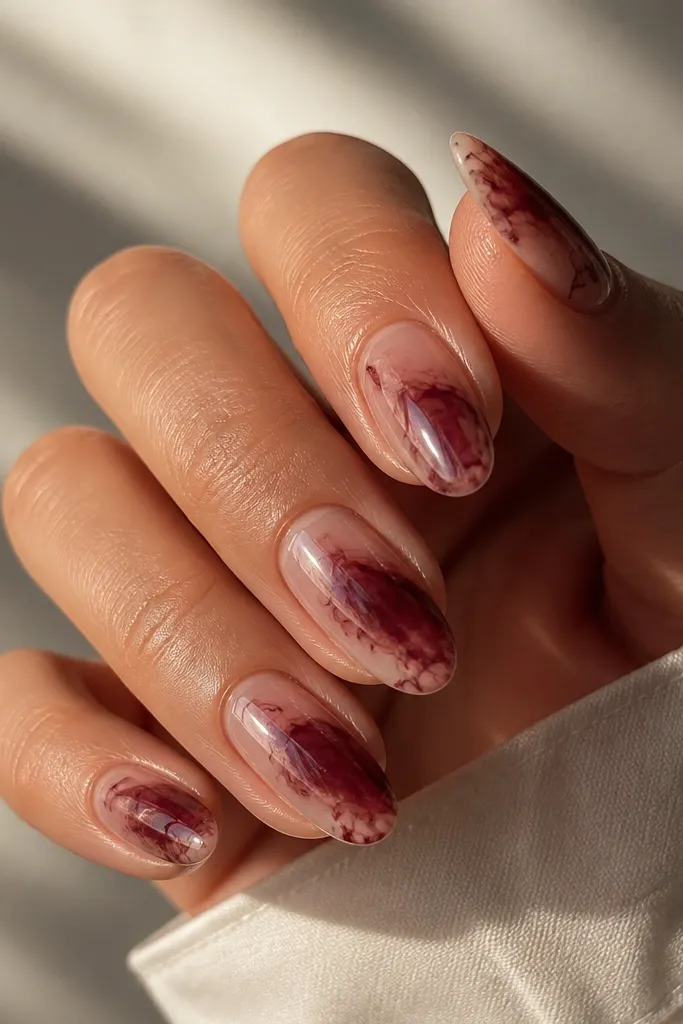
Marble looks hard, but the “swipe” method is forgiving and cheap because you only need one marble color and a clear or jelly base. Burgundy marble looks like fall wine, and the cloudy edges stay soft instead of harsh. I like this on medium almond because the diagonal swipes stretch the nail shape. It flatters different skin tones because the base is sheer and lets your natural nail color come through. For events, it looks like you got a custom set without buying new pigments.
Start with a clear jelly base or a sheer nude base and let it cure enough to stop streaking. On a makeup palette or plastic wrap, drop small dots of burgundy polish and add a few drops of clear polish to loosen it. Use a small brush to pick up the loosened burgundy and swipe diagonally across the nail, then immediately repeat with a second swipe for a layered marble effect. Let it dry fully, then apply glossy top coat generously to smooth and deepen the marble look.
Editor's noteUse clear jelly base instead of opaque nude — the marble looks lighter and more expensive in photos.
Skip thisAvoid overloading the brush — thick polish makes marble look like a smear.



