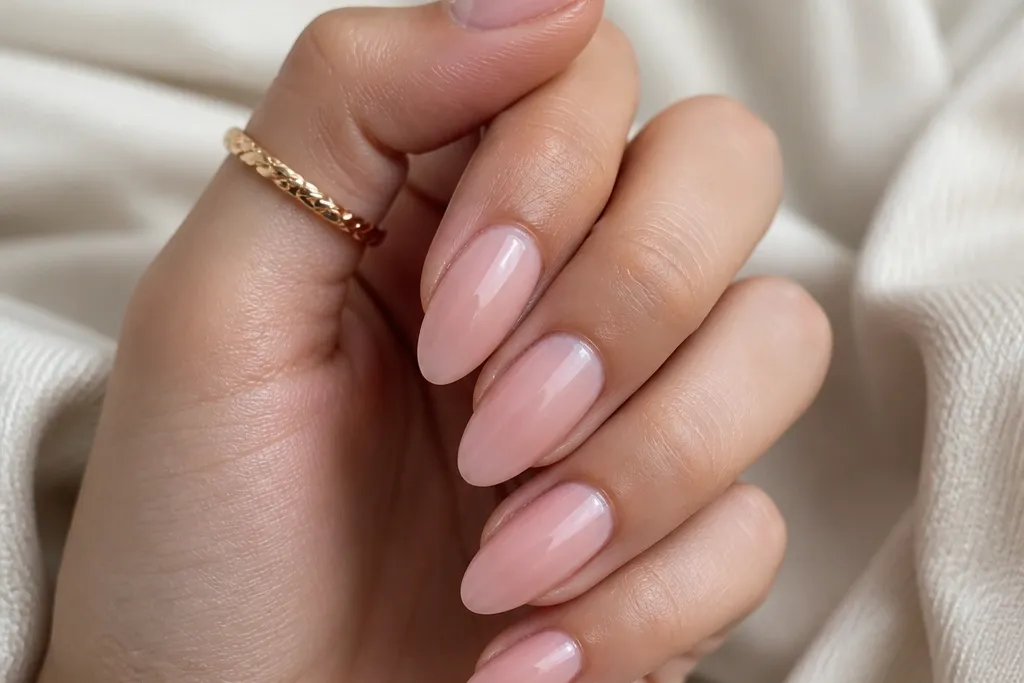

1. Cloud Milky Pink Almond with Glossy Glass Top Coat
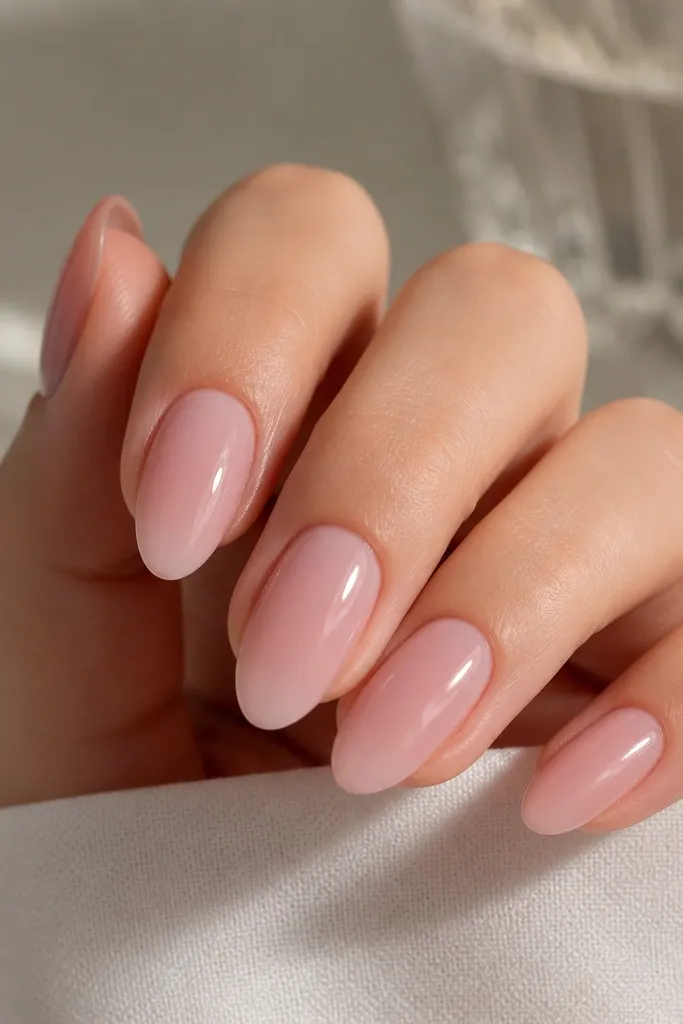
This is the easiest “cheap pink almond nails budget” look because it relies on color and shape, not decoration. The milky pink should be semi-opaque so the nail still looks like skin under a soft veil. On warm and neutral skin tones, milky rose makes your hands look instantly brighter without going neon. If your nail beds are a little uneven, the cloudy finish disguises it better than a fully opaque pink. I like this for work, school, and anything where you want neat nails that still feel soft.
Start by filing your free edge into almond: narrow the sides first, then round the tip. Push the cuticle back gently, then wipe the nail with alcohol prep so the builder gel grips. Apply a thin first layer of milky pink and cure, then add a second thin layer only where you see lines. Cap the free edge with the same milky pink so the tip doesn’t peel. Finish with a thick, even glossy top coat and cure fully, then wipe the tacky layer if your top coat requires it.
If your milky pink looks streaky in the first coat, do two thin coats instead of one thick one.
Skipping cuticle cleaning leads to lifting around the edges and the whole set looks messy.
2. Milky Pink Almond with Micro-French Tips (1mm Line)
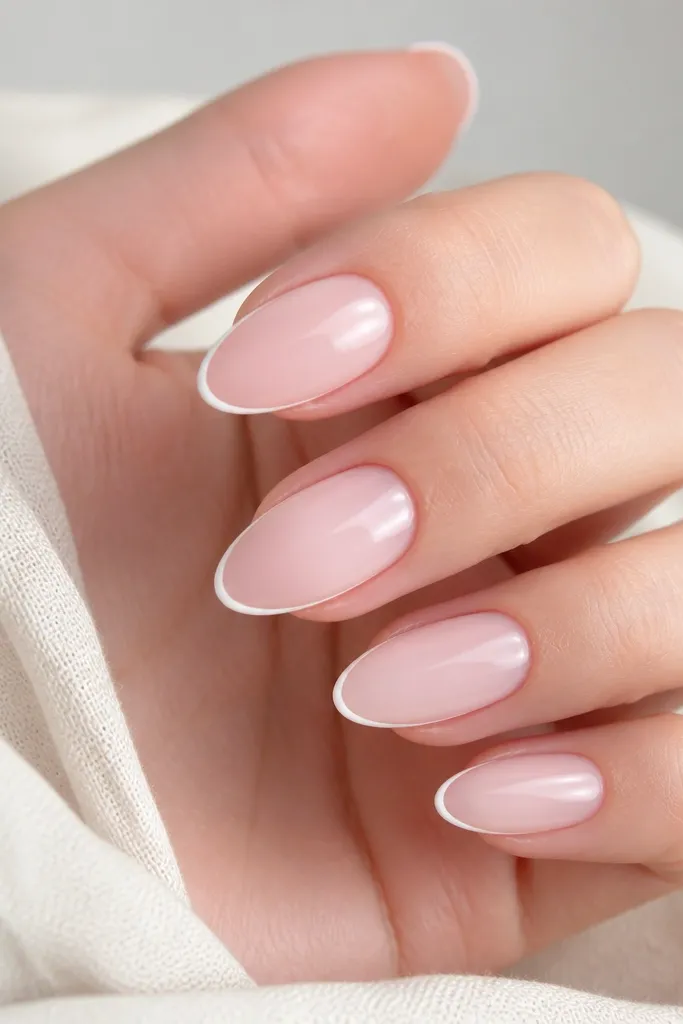
Begin with your milky pink base in two thin layers, cured between each. Place a French guide or use a striping brush to draw a smile line that sits about 2-3mm from the tip — keep it light. Paint a 1mm white line along that smile, then leave the rest of the tip milky so the line is the star. Clean up the edges with a brush dipped in acetone or gel cleanser before curing. Seal with a glossy top coat, then gently buff the tip edge so it feels smooth.
Micro-French looks expensive because it’s controlled — the line is thin, the smile is precise, and the milky pink keeps it soft. Use a white that is creamy, not stark optic white; creamy white blends better with milky pink. This works beautifully on fair to medium skin tones because it brightens the tips without washing out your hands. If you have wider nail beds, the thin line makes your nails look longer instead of wider. I wear this when I want something bridal-adjacent but still casual.
Skip thisA thick white tip or crooked smile line is the fastest way to make it look like a cheap set.
Editor's noteMake your French line slightly thicker in the center and thinner near the sidewalls for a more natural curve.
3. Milky Pink Almond with Blush Dot Cluster on the Sidewall
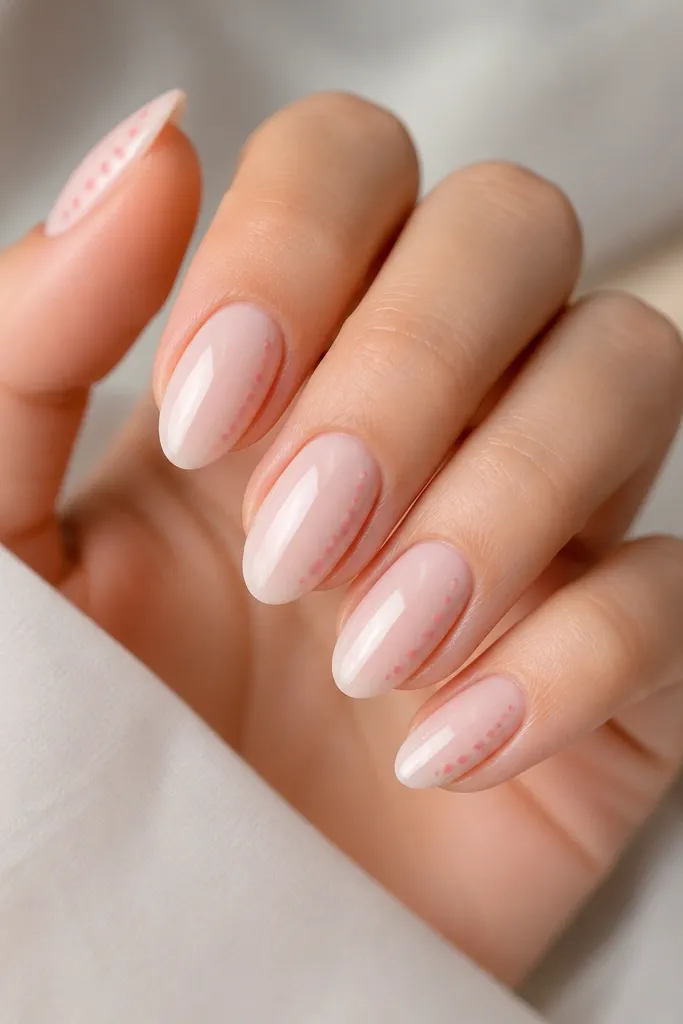
Apply milky pink base in two layers and cure completely. With a dotting tool, place one small dot about halfway down the nail and toward the sidewall, not centered. Add a second dot slightly above it and a third dot smaller below, keeping the cluster within the center third of the nail. Repeat across all nails, or do dots on only two accent nails if you want it calmer. Finish with glossy top coat, and cap the edges around the dots so they don’t lift.
This design looks delicate because the dots act like light catchers instead of full-on nail art. I use two dot sizes: one tiny dot and one slightly larger dot next to it, both in a slightly deeper blush than the base. It flatters most skin tones because it stays in the pink family and doesn’t add harsh contrast. It’s also great if your cuticles are harder to perfect — the dots draw the eye away from the center. I do this when I want something playful but not loud.
Skip thisPutting dots all over the nail makes it look like stickers instead of intentional design.
Editor's noteUse gel paint for the dots so they level smooth — polish dots can look raised.
4. Rose Milk Almond with Tiny Silver Foil Flecks
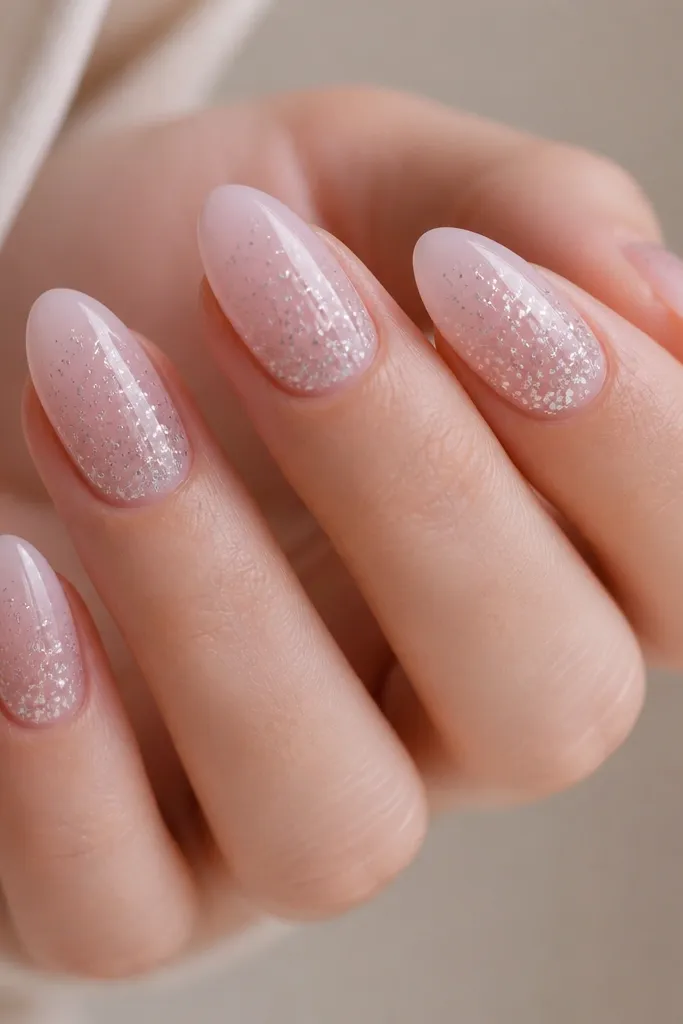
Start with milky pink base and cure. Add a thin layer of clear builder gel or gel top without curing yet if your product needs it, then place micro foil flecks using tweezers. Press lightly so the flecks sit flat, then cure. If the foil texture is rough, add a second clear layer to smooth it out. Seal with glossy top coat and cure again, making sure the tip is fully capped.
Silver flecks on milky pink read like “winter light” without needing full chrome. I keep the foil pieces tiny because big foil bits look bulky and cheap fast. This is a good choice for cool undertones and for anyone who thinks pink always looks too warm — the silver adds balance. It also photographs well because foil flecks catch flash even on plain nails. I use it for holiday parties, birthdays, and nights out.
Skip thisUsing chunky foil pieces creates ridges that snag and chip sooner.
Editor's noteKeep foil off the very tip — leave the last 2mm milky so the nail still looks clean.
5. Milky Pink Almond with One Thin Rose-Gold Line
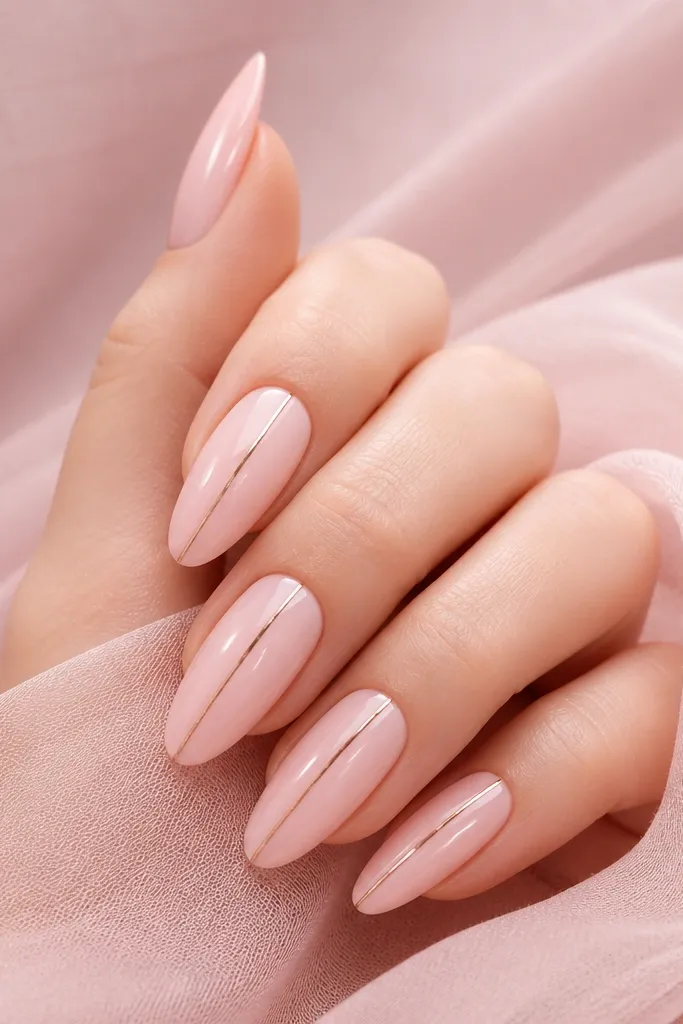
Paint milky pink base in two thin cured layers. Use a striping brush or a gel-liner pen to draw one line centered on the nail, starting about 1-2mm from the cuticle. Keep the line thickness around the width of a strand of hair — thin. Cure, then add a glossy top coat over everything to level the line. If the line looks uneven, add a second pass with liner and cure again before top coat.
A single rose-gold line makes your nails look longer because it creates one clean vertical path. I like rose-gold because it ties into the pink base without turning the set into full chrome. This works especially well on medium to deep skin tones where plain white French can look too stark. On fair skin, it still looks soft and warm. It’s also a great option if you want “something done” but you hate busy designs.
Skip thisDrawing multiple lines or thickening the line — it stops looking elegant and starts looking like a sticker.
Editor's noteIf your line drags, wipe the brush on a lint-free pad first so the gel doesn’t pool.
6. Milky Pink Almond with Baby Pink Diagonal Half-Moon
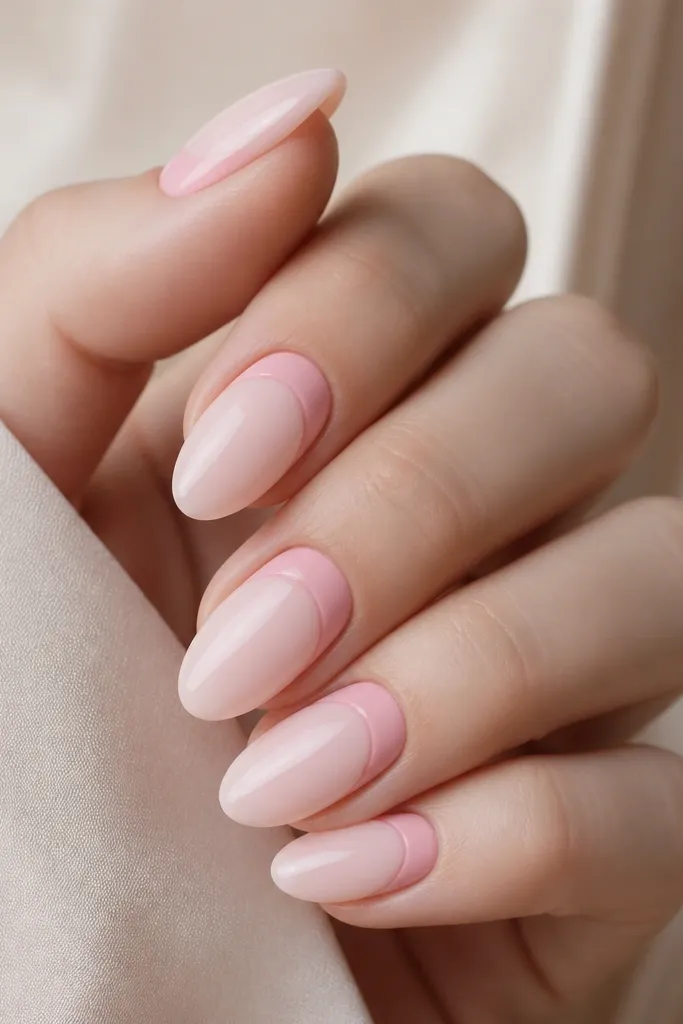
Diagonal half-moons look modern because they break the usual straight French curve. I use a slightly deeper baby pink than the base so it shows up without turning into hot pink. This design flatters short nails because the diagonal shape adds movement and makes the nail look more extended. It’s also forgiving for beginners since the accent is small and you can place it on only a couple nails. I do this for casual events where you want something cute but not complicated.
Apply milky pink base and cure. With a thin brush, paint a diagonal crescent that starts near one side of the cuticle and ends near the opposite side, staying within the center third. Use two light coats of the deeper baby pink so it looks smooth, curing between coats. Clean the edges with a brush dipped in cleanser before curing. Finish with glossy top coat and cap the accent area so it doesn’t lift.
Make the crescent slightly higher on the side you want to look longer for a subtle length illusion.
Trying to make the half-moon perfectly symmetrical on every nail — uneven placement reads more natural.
7. Milky Pink Almond with Nude Blush Marble Smear (1 Nail Accent)
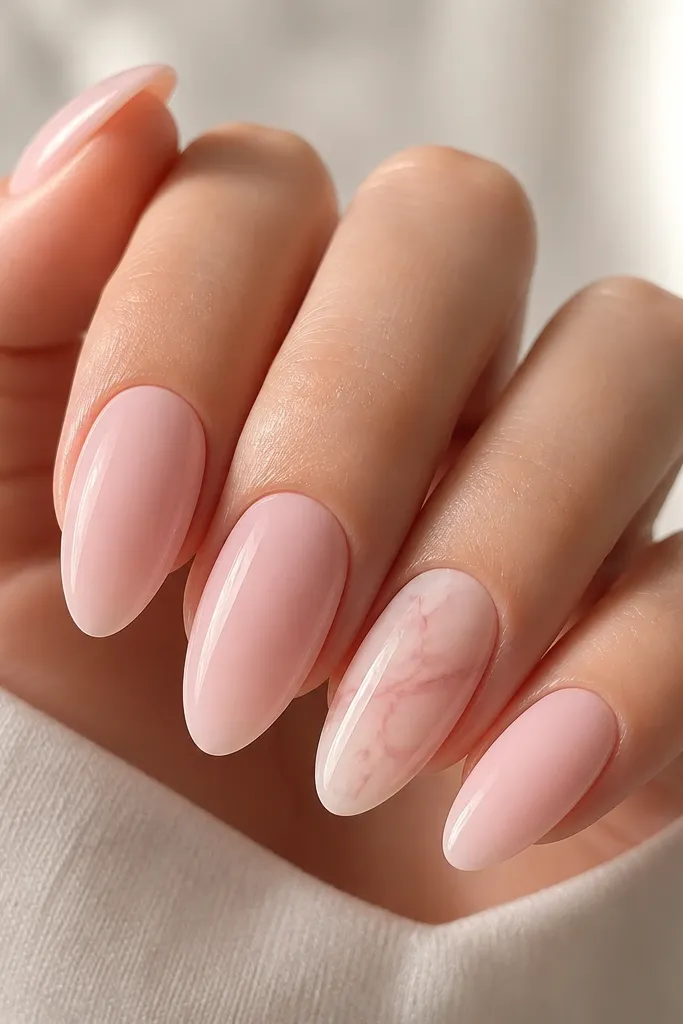
Marble looks hard, but the cheap version is a smear — airy, thin, and placed like a highlight. Keep it to one accent nail so the look stays clean and wearable. I use a nude blush that’s only one shade darker than the base, mixed with a little clear gel for translucency. This flatters most skin tones because it stays in neutral pink family and doesn’t introduce harsh colors. It’s my go-to when I want something artsy for photos without spending time on full nail art on every finger.
Do your milky pink base on all nails and cure. On the accent nail, place a tiny amount of nude blush gel in the center third and swirl it lightly with a toothpick or silicone tool to create thin cloudy lines. Add a second faint smear near it if you want more movement, then cure. If the swirls look too dark, tap over them with a thin layer of clear gel and cure again. Seal with glossy top coat on all nails, and smooth the surface so the marble doesn’t feel bumpy.
Use a toothpick for marble — nail art brushes drag and leave thick streaks.
Covering the whole nail in marble — it turns into a messy block instead of soft swirls.
8. Milky Pink Almond with Tiny Heart on the Ring Finger
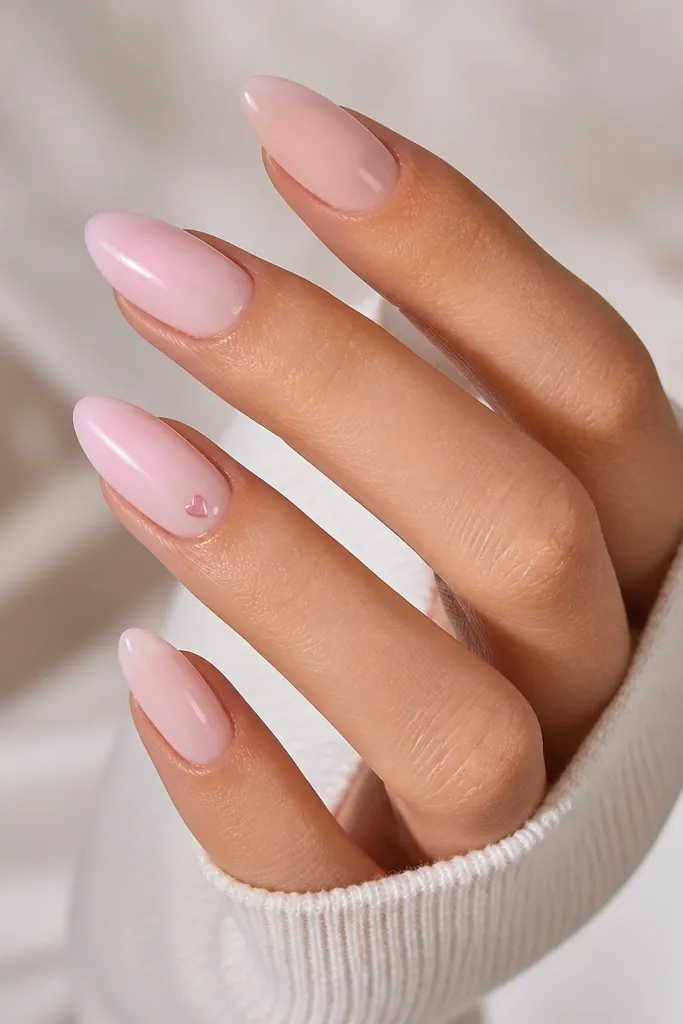
A tiny heart is cute without looking childish when you keep it small and place it high on the nail. I use a deeper pink for the heart so it pops but stays within the soft palette. This works for fair through deep skin tones because the heart stays monochrome. It’s perfect for date nights, Valentine season, and engagement photos where you want sweet details. The key is restraint — one heart on the ring finger reads intentional.
Start with milky pink base on every nail and cure. On the ring finger, place a tiny dot where you want the heart top center, then make two smaller dots angled outward to form the top lobes. Use a thin liner brush to connect the dots and shape the bottom point, filling lightly so it stays soft. Cure, then apply glossy top coat over the whole nail. If the heart looks too raised, add one extra thin top coat layer and cure again.
If hearts feel hard, do them in gel with a dotting tool first, then outline with a liner brush.
Big hearts or hearts placed in the middle of the nail — the proportions look off fast.
9. Milky Pink Almond with Half-Tip Blush Gradient (Ombre Edge)
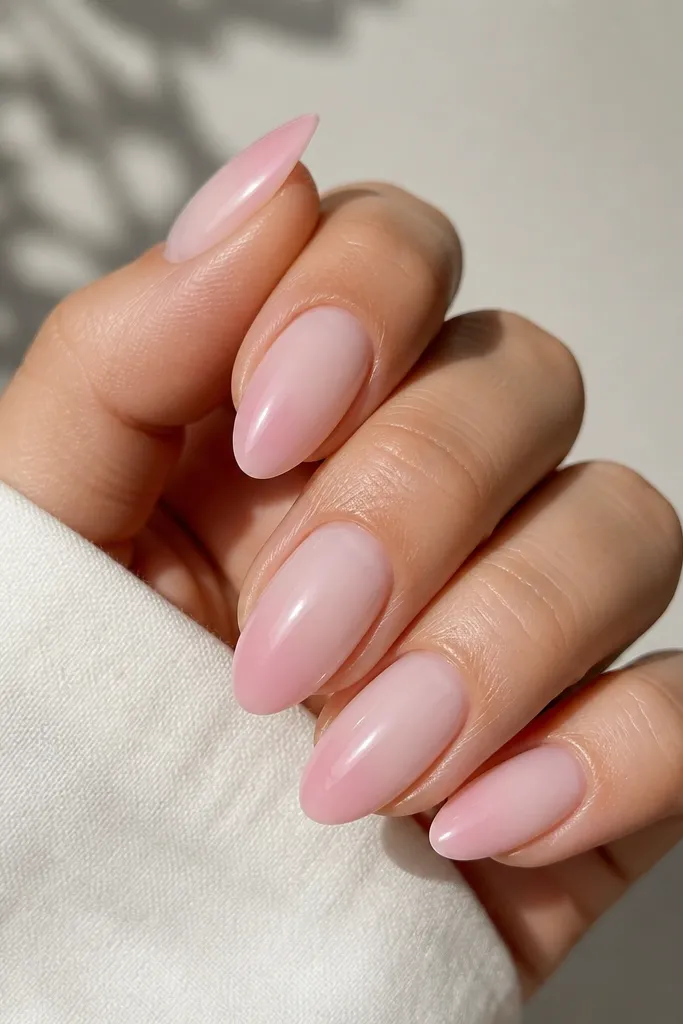
Apply milky pink base in two layers and cure. Next, use a makeup sponge or ombre sponge to dab a deeper blush gel onto the last 2-3mm of the nail tip. Blend upward in tiny taps until you get a soft fade — stop before it reaches the center third. Cure, then check the fade under light. Seal with glossy top coat, making sure the sponge texture is gone by smoothing with a thin gel top layer if needed.
This gradient makes your almond shape look extra smooth because the color change is gradual. I use a deeper blush only at the outer edge so the tip looks dimensional, not painted on. It flatters short nails because the gradient draws the eye outward along the almond contour. On any undertone, it looks natural since it stays in pink family. I wear this when I want “pretty nails” that still look like they grew out that way.
Skip thisDragging the sponge in circles — it leaves patchy speckling.
Editor's notePractice the fade on a fake nail first so you learn how much pigment transfers from your sponge.
10. Milky Pink Almond with Nude Micro-Glitter Dust at the Tips
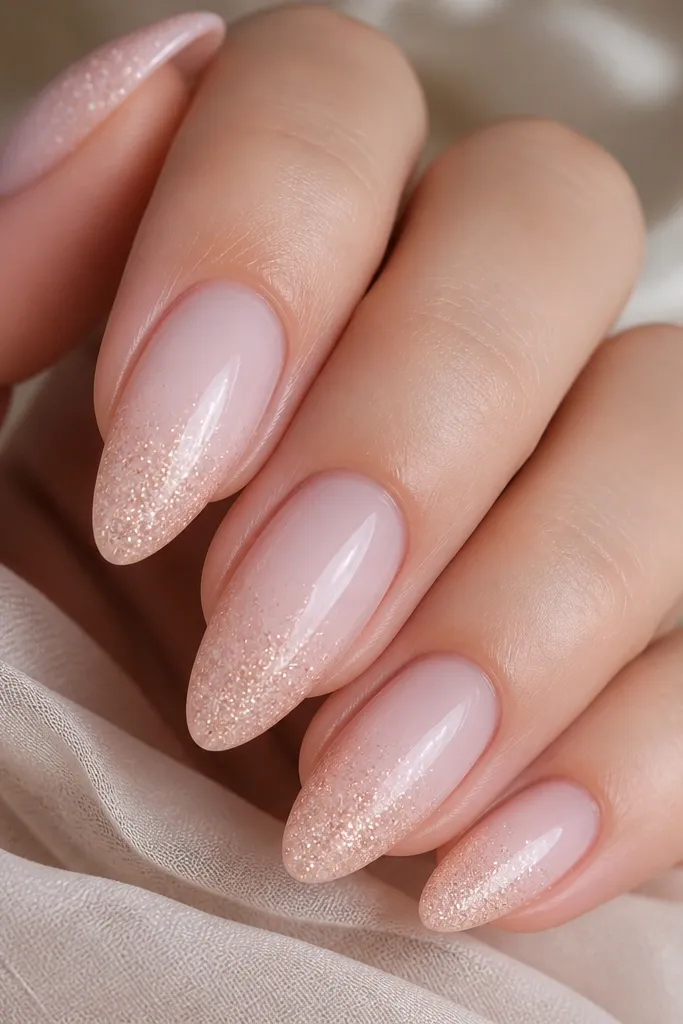
Micro-glitter on milky pink is the budget-friendly way to get “sparkle” without chunky pieces. I use nude or champagne micro glitter because it blends and looks soft, not disco. This flatters hands because it adds light right where your almond shape narrows, making fingers look longer. It’s also great for events because it catches sunlight but still feels subtle in real life. I keep the glitter only at the tips so it doesn’t look like you spilled glitter on your whole nail.
Start with milky pink base and cure. Mix a tiny amount of nude micro-glitter into a clear gel or use glitter gel and load the brush lightly. Place glitter only on the last 3-4mm, then use the brush tip to pull it slightly downward so it fades. Cure and then add a thin clear layer to smooth the glitter texture. Finish with a glossy top coat and cap the free edge so the glitter doesn’t wear off first.
Use a makeup brush to remove excess glitter from the cuticle area before curing.
Heavy glitter coverage — it looks rough and chips faster at the edges.