
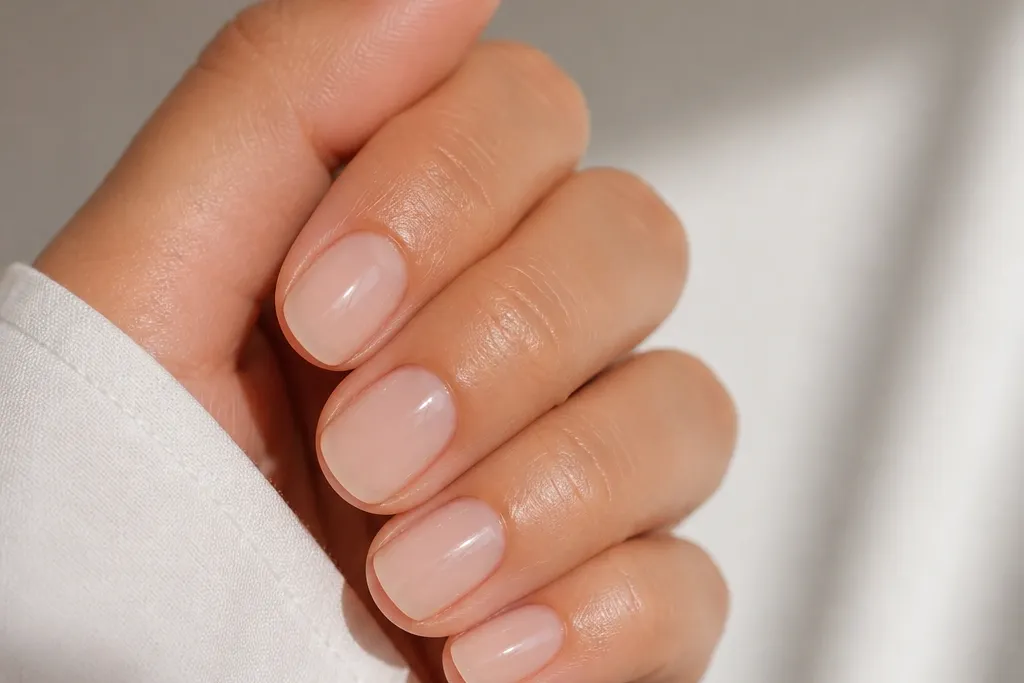
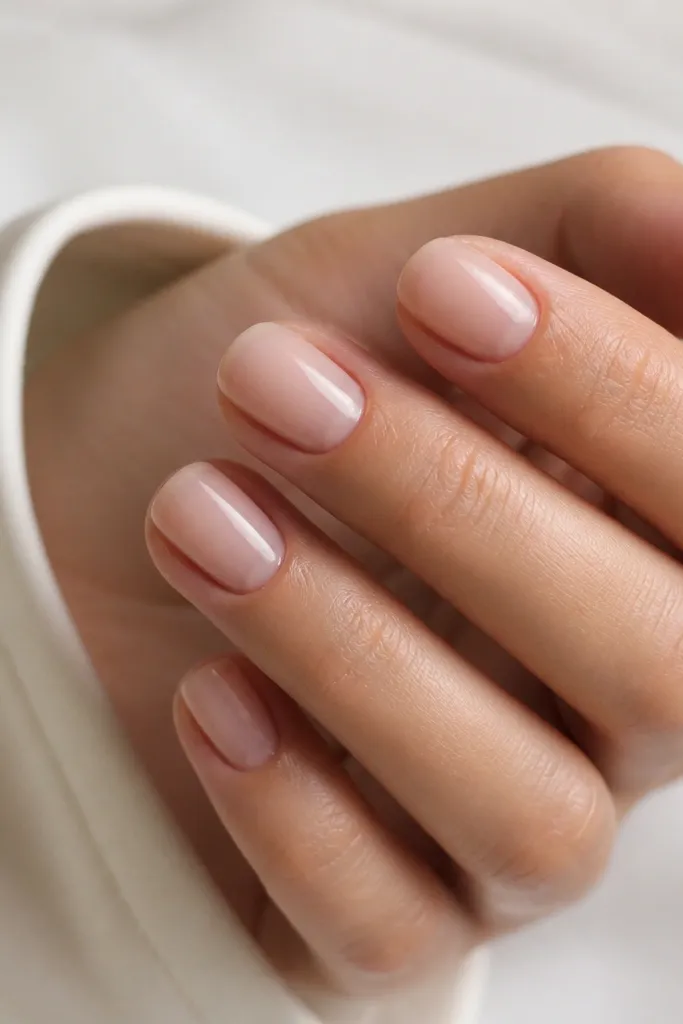
1. Milky Nude with Micro French Smile
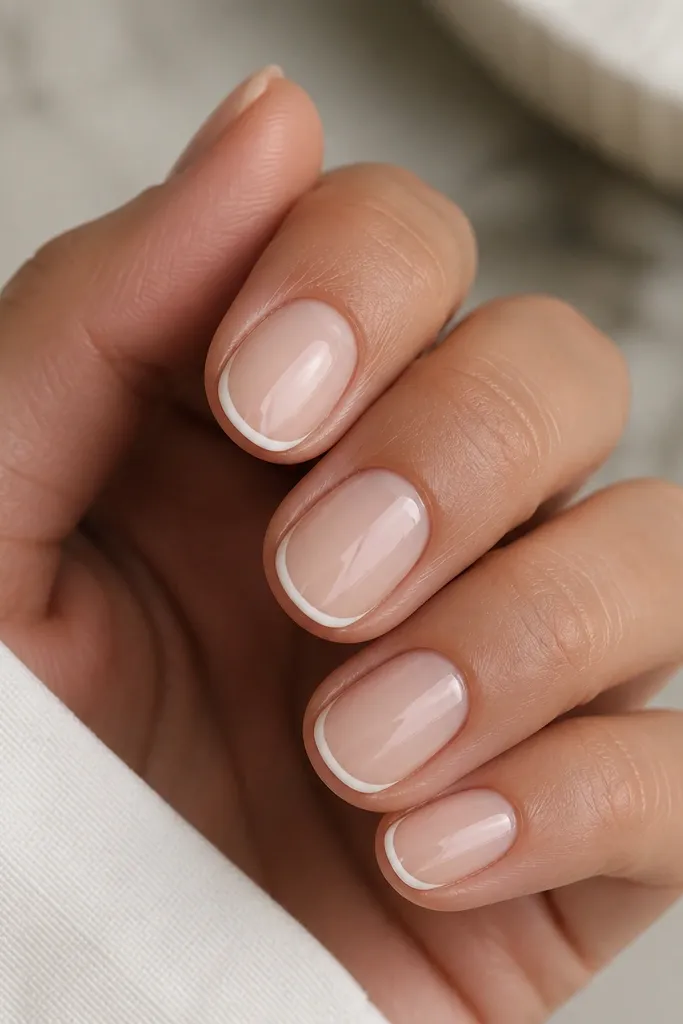
This is the short oval design I wear when I want my nails to look expensive but still work with everyday outfits. The milky nude base (think sheer pink-beige) makes your nail bed look fuller, and the micro French smile keeps the tip crisp without adding bulk. The white line is thin and sits slightly inward from the sidewalls, which matters on short ovals because too-wide tips make nails look stubby. It flatters medium to fair skin tones especially well, and it looks clean with both gold and silver jewelry.
Start by applying a milky nude builder gel or acrylic base and cap the free edge lightly. Then paint a micro French smile using a striping brush, keeping the line about 0.5 mm thick and centered so it follows the oval curve. Add a second pass only if you need opacity, letting each layer self-level for a smooth edge. Finish with glossy top coat and wipe the tacky layer clean if your system requires it. Cure evenly so the smile line stays sharp and doesn’t soften at the edges.
If your French line always bleeds, do the first pass thinner, cure, then add one more thin layer only where you need coverage.
Skip a thick French border — on short ovals it makes the nail look wider and heavier.
2. Glazed Peach Velvet with Gold Half-Moon
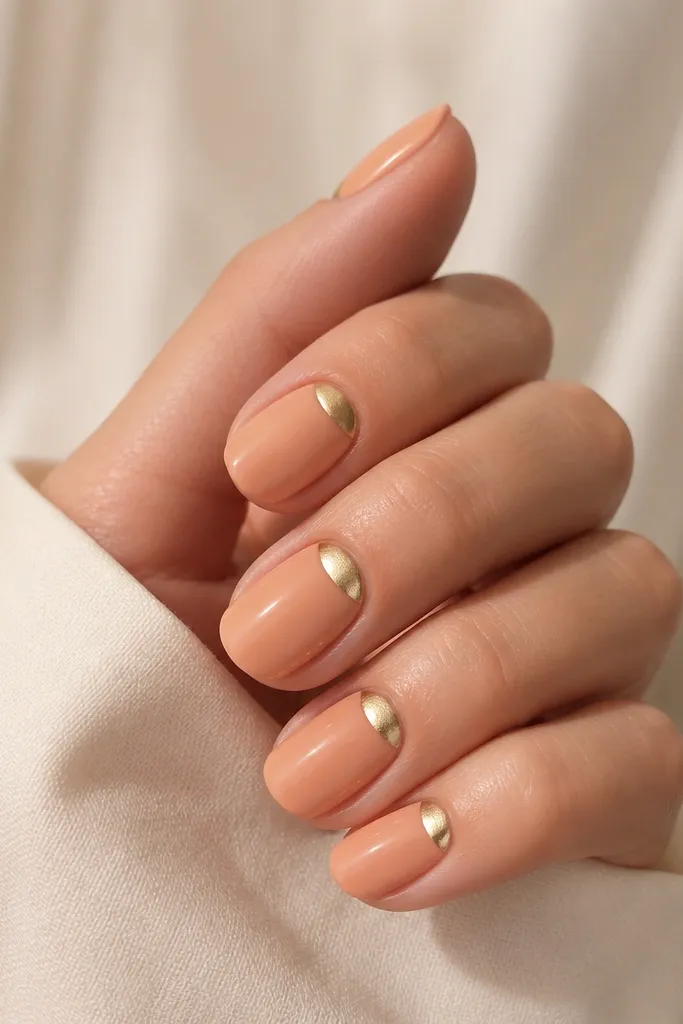
This one reads soft and flattering because the peach is warm, not orange. The glazed peach base catches light like a satin, and the gold half-moon at the cuticle gives you a tidy focal point without taking over the tip. On short ovals, a cuticle accent lengthens the nail visually because your eye starts higher and then travels down the center. It looks especially good on warm undertones and pairs cleanly with gold rings, tote bags, and cream knits.
Apply a thin peach base coat and cure fully, then add a second layer for even opacity. For the “glazed velvet” effect, use a velvet-matte top on the peach only, keeping it smooth and not chalky. Paint a small half-moon with gold foil gel or gold chrome powder mixed with a clear gel near the cuticle — keep it about 1/3 of the nail width and don’t touch the sidewalls. Seal everything with a glossy top coat only over the gold area so it stays reflective. Cure and then clean around the cuticle with a lint-free wipe and acetone on a fine brush.
Use a damp brush to nudge the gold half-moon edges — you want a crisp crescent, not a blob.
Don’t put gold at the sides on short nails; it widens the nail bed and makes it look shorter.
3. Iced Lavender Lines on Clear Pink
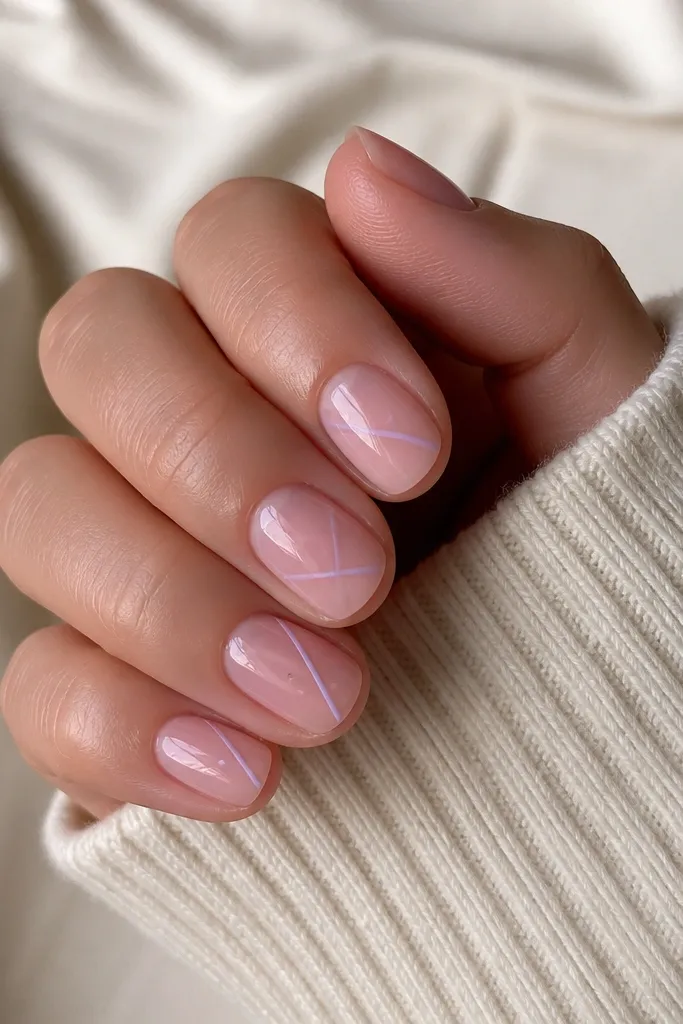
Iced lavender looks clean on short ovals because it’s light enough to stay airy. The clear pink base makes the nail look fresh and healthy, and the thin diagonal lines add movement without adding length. I like lavender line art because it’s gentle — it doesn’t overpower your hands like dark purples can. This design flatters fair to light-medium skin tones and also looks great with cool-toned makeup like taupe eyeshadow or berry lip liner.
Start with a clear pink overlay, keeping it sheer so your natural nail shows through. Then draw one diagonal line per nail with a striping gel in iced lavender, placing the line from the inner side near mid-nail up toward the outer tip area. Add one tiny dot in lavender as a second accent, staying close to the line so it reads intentional. Cure each nail per your lamp timing, then apply glossy top coat to lock in the lines. Wipe dispersion if your gel system makes it tacky.
If the lines look shaky, outline the path with a dot first, then connect with the brush in one smooth pull.
Avoid thick gel lines — on short ovals they look raised and catch on fabric.
4. Chocolate Chip Browsed Brown with Cream Specks
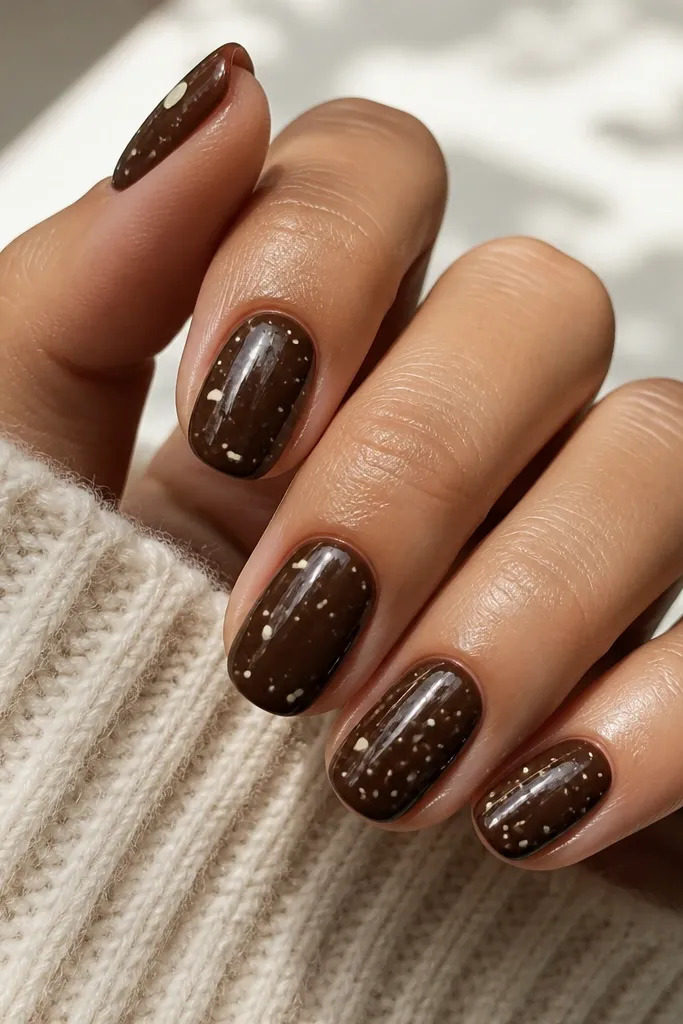
This is the nail look that makes short oval hands look cozy without going childish. The chocolate brown base is grounded, and the cream specks mimic “chocolate chip” with a modern spacing pattern. Because the specks are tiny and uneven, it adds texture while still looking polished on a small nail surface. It flatters medium to deep skin tones beautifully, and it also looks amazing with warm-toned outfits like rust sweaters and caramel handbags.
Apply a chocolate brown base coat in two thin layers so it doesn’t go streaky, then cure. Use a dotting tool to place cream specks — aim for 6-10 per nail depending on nail size, clustered more toward the center third. Add a few micro specks using a smaller dot tool so the pattern looks natural, not like stickers. Seal with glossy top coat, but do it carefully around the cuticle so the specks don’t flood and blur. If you want extra crispness, top coat after the dots are fully cured and fully dry.
Practice the speck spacing on one nail first; once you get the density right, the rest look consistent fast.
Don’t overdo the dots — too many makes short nails look cluttered.
5. Sage Jelly Base with White Center Dot
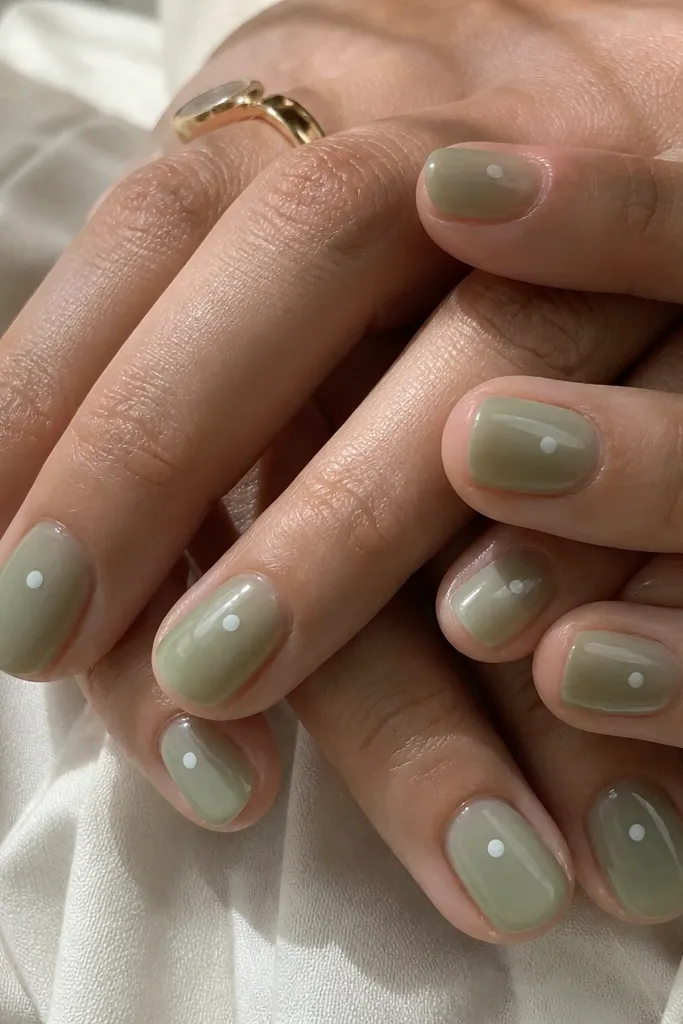
Start with a sage jelly gel in a sheer layer, then cure and add a second layer only if you need more opacity. Use a dotting tool with opaque white gel to place one perfect dot dead center, about 1/3 of the way from the cuticle to the tip. Keep the dot size consistent across nails — on short ovals it should be small, like a pinhead to pea-sized depending on nail width. Cure, then apply glossy top coat in one steady pass to avoid dragging the dot.
Sage jelly is one of those colors that looks fresh even when you keep the design minimal. The translucency makes your nail bed look juicy, and the single centered white dot gives a clean focal point that doesn’t crowd the sides. On short ovals, a one-dot design keeps the eye in the center line, which gives that longer, slimmer look. It’s a great pick for spring weddings, brunch, or any day you want “soft” without glitter.
Skip thisSkip matte top coat here; it kills the jelly glow that makes this design work.
Editor's noteIf the white dot looks like a smear, let your sage layer cure fully and wipe dispersion before dotting.
6. Black Micro-Outline Hearts on Clear Nude
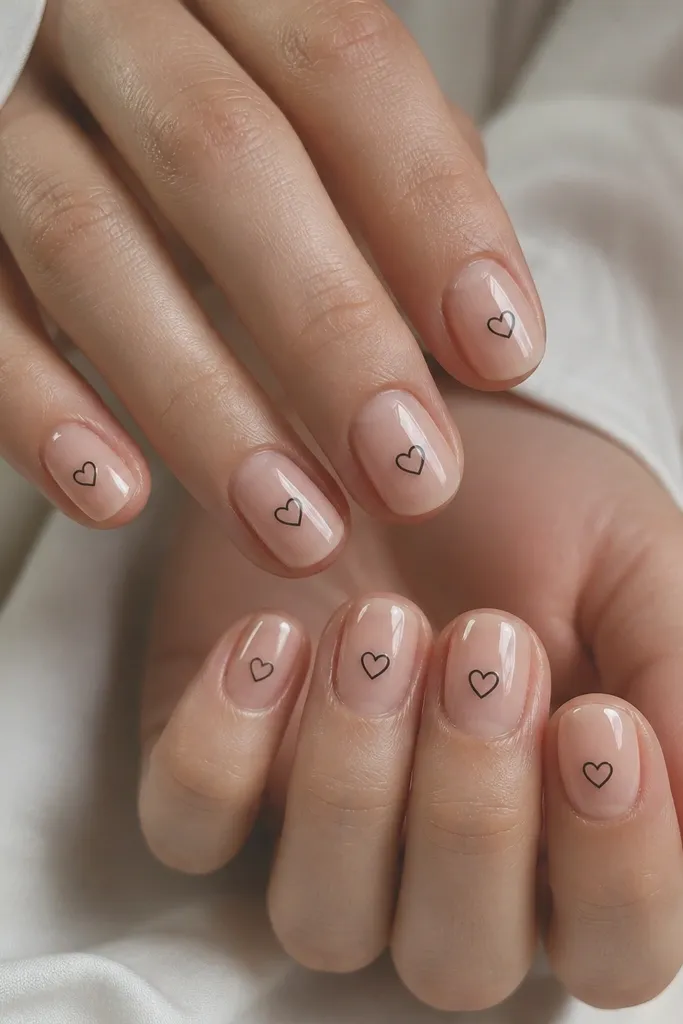
Apply clear nude builder gel or a sheer nude polish and cure. With a fine liner brush, paint one micro heart centered on each nail — the heart should be about 1/3 the nail width and sit in the middle third. Outline the heart only, leaving the inside clear or nude for the airy look. Cure, then top coat with glossy finish, pulling the brush from cuticle to tip so the lines stay crisp. Clean the outline edges with a small brush dipped in acetone if needed before curing.
Tiny black outlined hearts are sweet without feeling childish, and they look amazing on short ovals because the hearts stay proportional. The clear nude base keeps it wearable and lets the line art stay the hero. I like black outline over red hearts because it looks sharper and doesn’t clash with different lip colors. This design flatters fair to deep skin tones because the base is neutral and the hearts have clean contrast.
Skip thisAvoid filled-in hearts on short ovals; the shape gets thick and feels heavy.
Editor's noteIf your hearts keep turning lopsided, draw the two top curves first, cure briefly, then add the point at the bottom.
7. Red Velvet Gradient with Barely-There Glitter
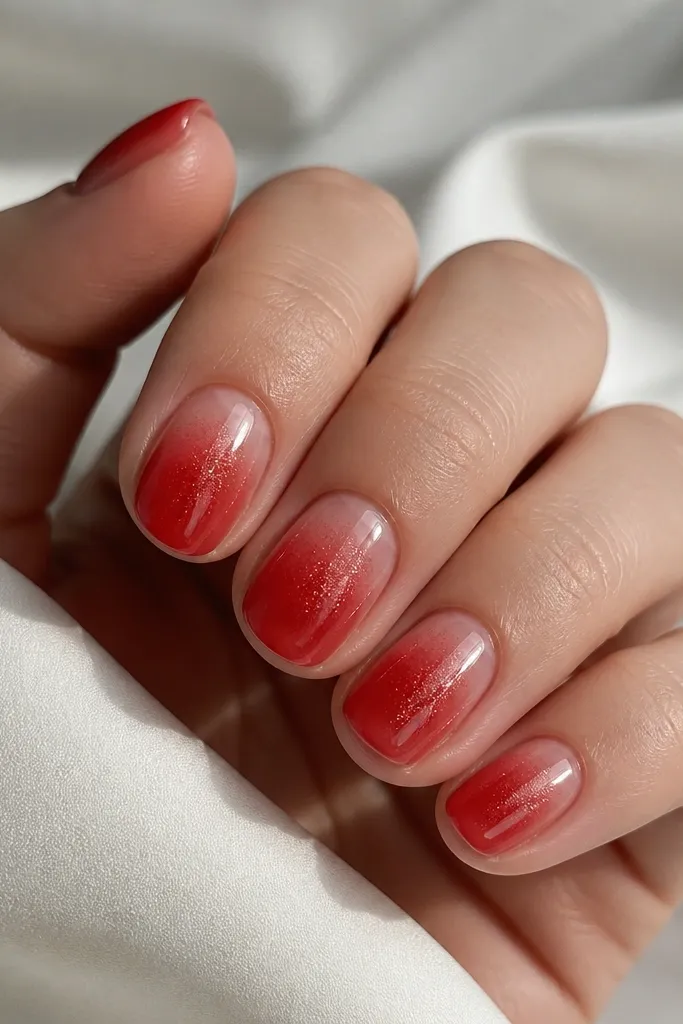
Red gradients look extra good on short ovals because the fade elongates the nail bed. I use a velvet-style red pigment or gel that isn’t too neon, more like a soft berry red, and it reads classy instead of loud. The glitter is minimal and concentrated in the center so it doesn’t widen the nail. This design looks great for holiday parties and date nights, especially on light-medium and medium skin tones with warm undertones.
Apply a nude base or sheer pink to even out the nail, then cure. Sponge a berry red gel from the center outward, keeping the cuticle area lighter and leaving a soft fade — stop about 1 mm from the cuticle line. Add a tiny amount of micro shimmer only in the center, then gently blend with the sponge edge so it doesn’t form a stripe. Cure, then seal with glossy top coat for that smooth “velvet” look. Wipe dispersion and check the sidewalls so you don’t have glitter stuck there.
Use a makeup sponge that’s cut into a small wedge — it gives you tighter fades on short nails.
Don’t drag glitter all the way to the sides; it makes short ovals look spread out.
8. Cream Marble Swipe with Mocha Veins
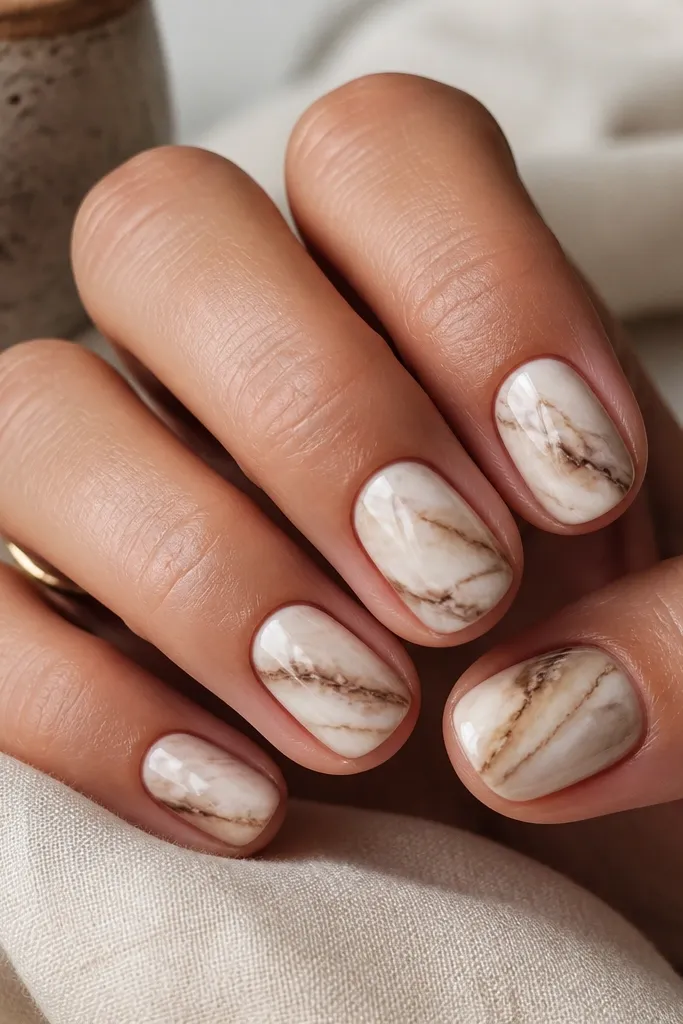
Cream marble looks clean on short ovals when the veins are thin and the base is off-white, not stark white. The mocha veins give depth without the harshness you get from black-and-white marble. I love this design for work because it looks artsy but still neutral enough for everyday outfits. It flatters cool and warm skin tones since the palette sits in between and works with both silver and gold jewelry.
Start with an off-white cream base gel, then cure. Add thin mocha lines using a striping gel — pull a few curved strokes across the nail, then add smaller offshoot lines that intersect lightly. Use a thin brush to smear only the edges of some lines so it looks like a marble swipe, not drawn lines. Cure, then apply glossy top coat in two thin layers so the marble looks smooth and not bumpy. Keep the veins mostly in the center third so the nail stays balanced.
Marble looks better with fewer veins on short nails; stop at 3-5 main strokes per nail.
Avoid heavy white swirls; they look chalky and turn into blobs on short ovals.
9. Turquoise Chrome Tips on Milky Base
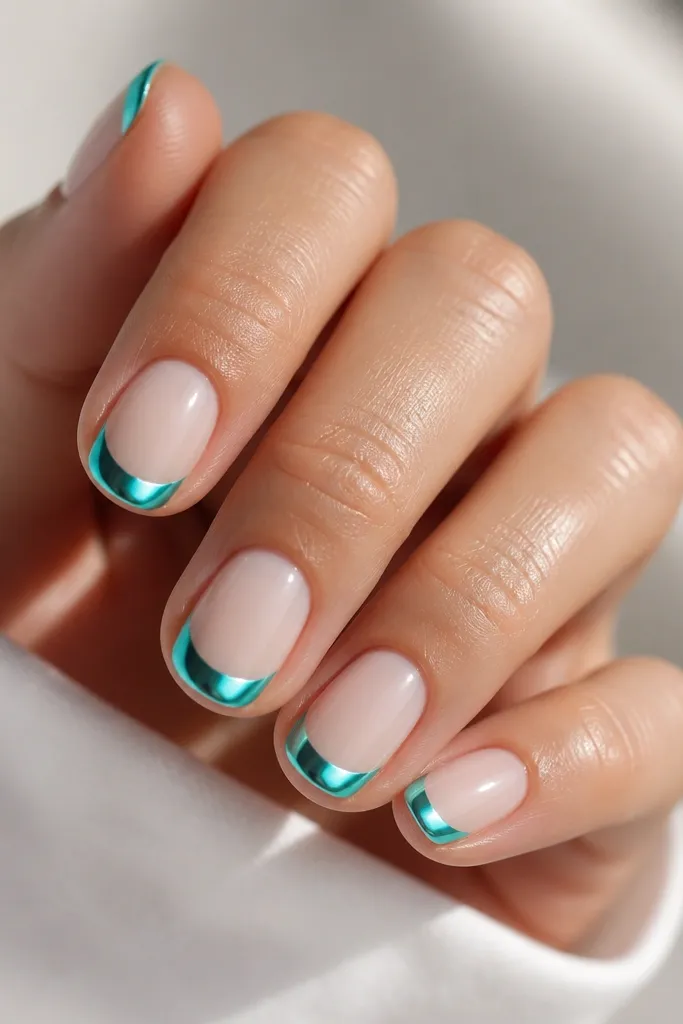
Turquoise chrome tips give that “fresh manicure” look without needing length. The milky base keeps everything soft, while the chrome tip adds the punch — and because it’s only at the tip, it doesn’t overwhelm short nail beds. On short oval nails, chrome works best in a narrow band that follows the tip curve. This looks incredible on tan and deep skin tones, and it also pops on fair skin with neutral outfits.
Apply a milky sheer base and cure fully. Tape or guide the edges with a small nail stencil so the chrome stays in a clean arc; leave about 1-2 mm of base visible near the sides. Apply turquoise chrome powder over a tacky gel at the tip, then buff gently so it turns mirror-smooth. Seal with a glossy top coat that is compatible with chrome (some systems require a specific top). Cure and then clean any fallout around the cuticle with a small brush.
If your chrome dulls after top coat, use a chrome-safe top and apply it thin, not thick.
Skip covering the whole nail with chrome; on short ovals it looks bulky.
10. Soft Pink Aura with Clear Negative Space
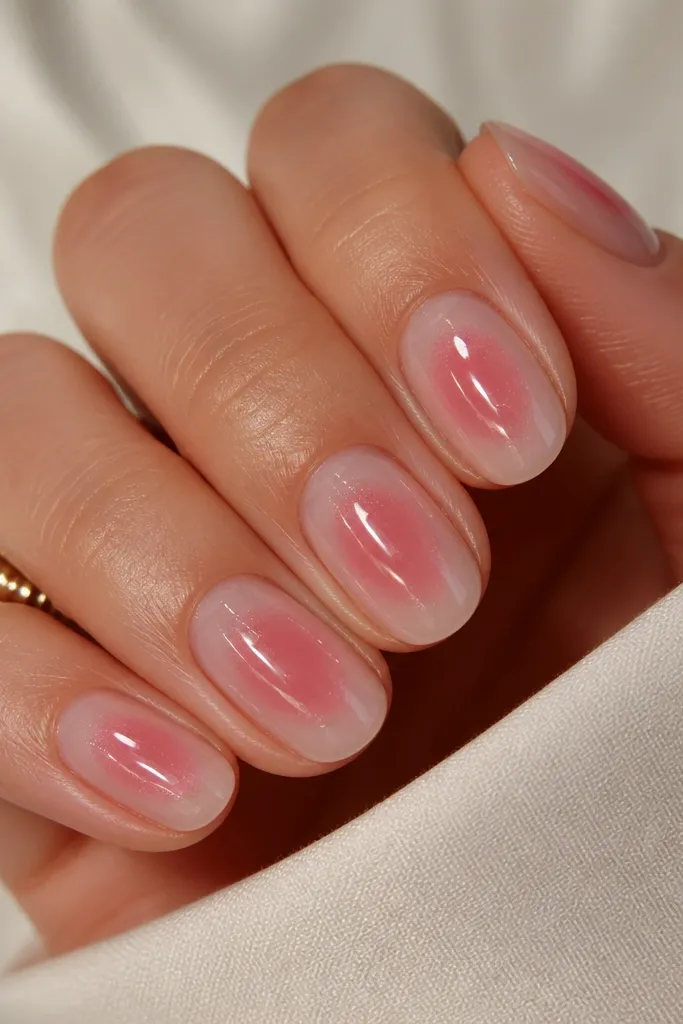
Start with clear or sheer nude overlay, then leave the center area clear by masking lightly with a small piece of foam or using a gel “block” technique. Sponge soft pink gel around the masked center, blending outward until it fades into the base. Add a tiny shimmer layer only where the aura is strongest, usually the center third. Cure, remove any masking, and apply glossy top coat carefully around the edges so the aura stays soft. Check symmetry across nails — the aura should be centered, not shifted toward the sidewalls.
Aura nails look clean on short ovals when you keep the core clear and let the color glow only around it. The soft pink aura makes your nail look like it has a gentle halo, which visually lengthens the center. Negative space keeps the design modern and stops it from feeling heavy. This one is flattering on every skin tone because the negative space reads fresh and the pink stays light.
Skip thisAvoid full coverage aura on short nails; it removes the negative space that makes it look longer.
Editor's noteUse a small foam wedge and keep the sponge dry — wet gel spreads and kills the halo.



