
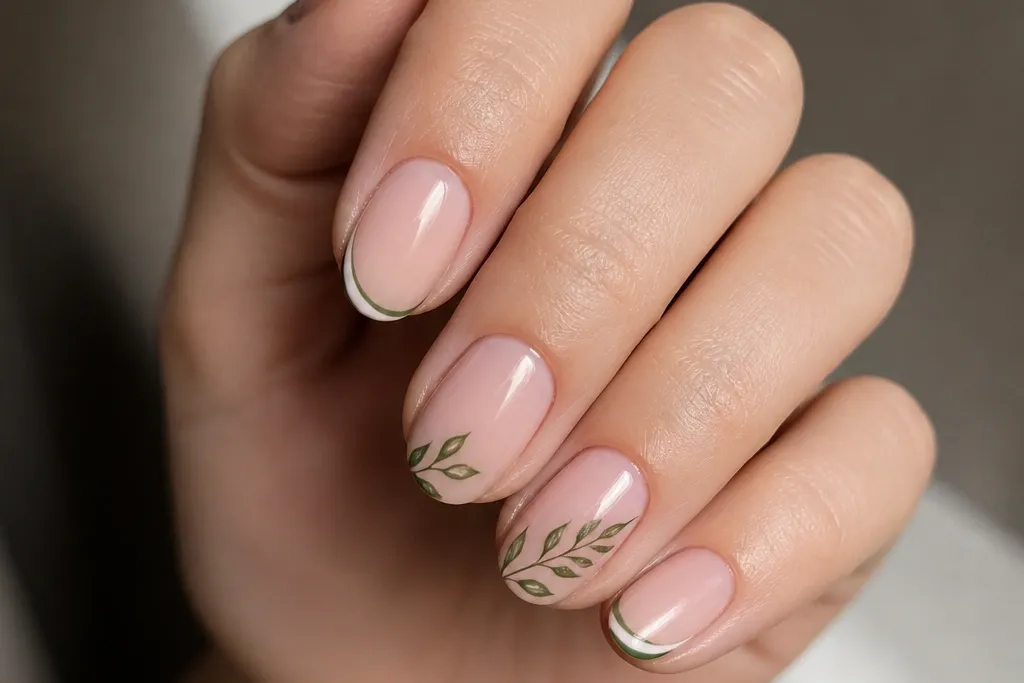
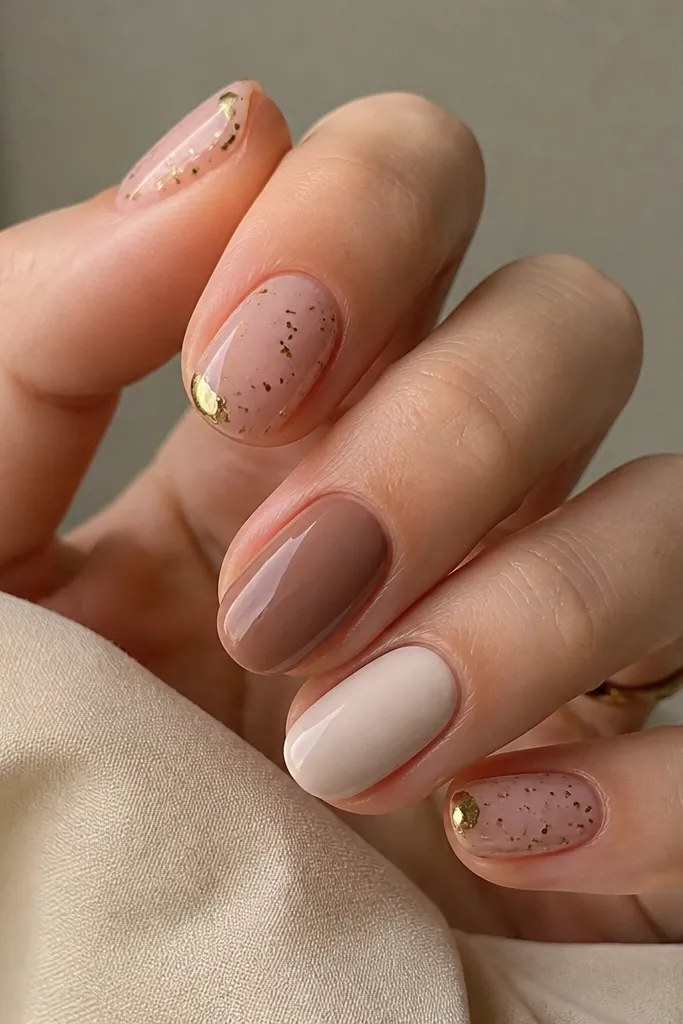
1. Creamy nude base with micro French smile
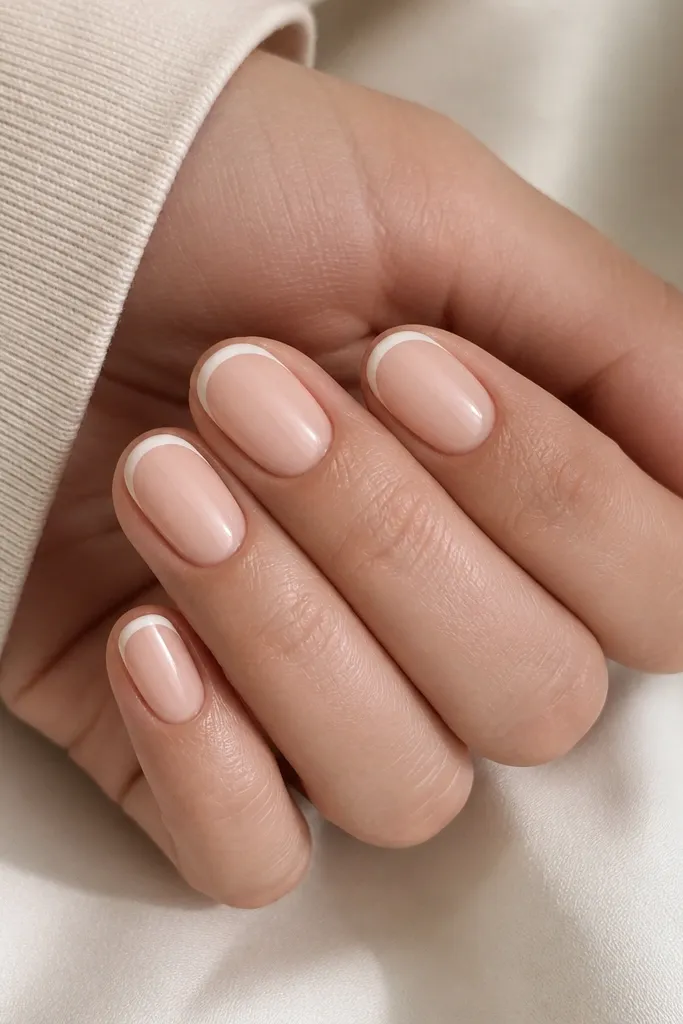
This is the French I reach for when someone wants “classic but modern” without the tip looking thick. The creamy nude base is close to skin tone, so it makes short oval nails look longer and cleaner. The white line is micro-thin, so your eye reads it as a crisp accent instead of a chunky border. It flatters most skin tones, especially warm undertones, because the beige base keeps the hands looking soft rather than stark.
Start by shaping your short ovals so the widest point sits in the middle — don’t let the sides pinch too much. Apply a thin nude gel base and cure fully, then wipe the tacky layer if your system uses that step. Use a 0.5-1 mm striping brush to paint a micro smile line in opaque white gel, keeping the curve parallel to your free edge. Leave a small nude gap under the white so it stays airy, then cap the tip edge lightly with white gel and topcoat.
If your smile curve wobbles, place two tiny dots at the side endpoints first, then connect them with one smooth stroke.
Avoid a thick white band — it makes short ovals look shorter and more “sticker-like.”
2. Half-moon negative space French with sheer pink
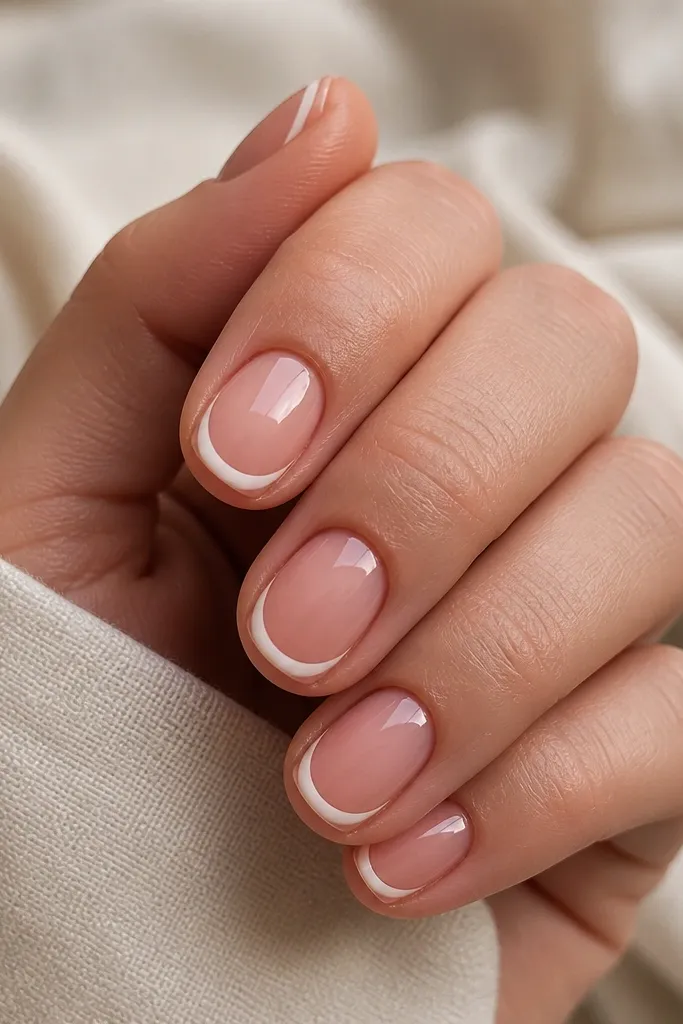
Negative space French feels fresh because your nail bed shows through, so the design looks lighter on short nails. A sheer pink base adds a healthy glow and keeps the transparent area looking intentional, not bare. The white curve sits at the free edge like a frame, which makes short ovals look airy and longer. I use this on clients with drier nail beds because the sheer base hides unevenness while still showing the shape.
Editor's noteUse a glossy base or a slightly tacky topcoat to help the white line stay smooth before curing.
Start with a sheer pink gel base — thin layers matter here because it should look like skin, not frosting. Cure, then place the white at the outer edge: paint a curved line that hugs the tip without filling the whole top. Next, lightly blend the white ends inward so it looks like a half-moon border, not a straight stripe. Finally, apply topcoat carefully, keeping it off the sidewalls so the negative space stays crisp.
Skip thisSkip heavy coverage — opaque white over a sheer concept ruins the negative space effect.
3. Classic French with a glossy nude gradient
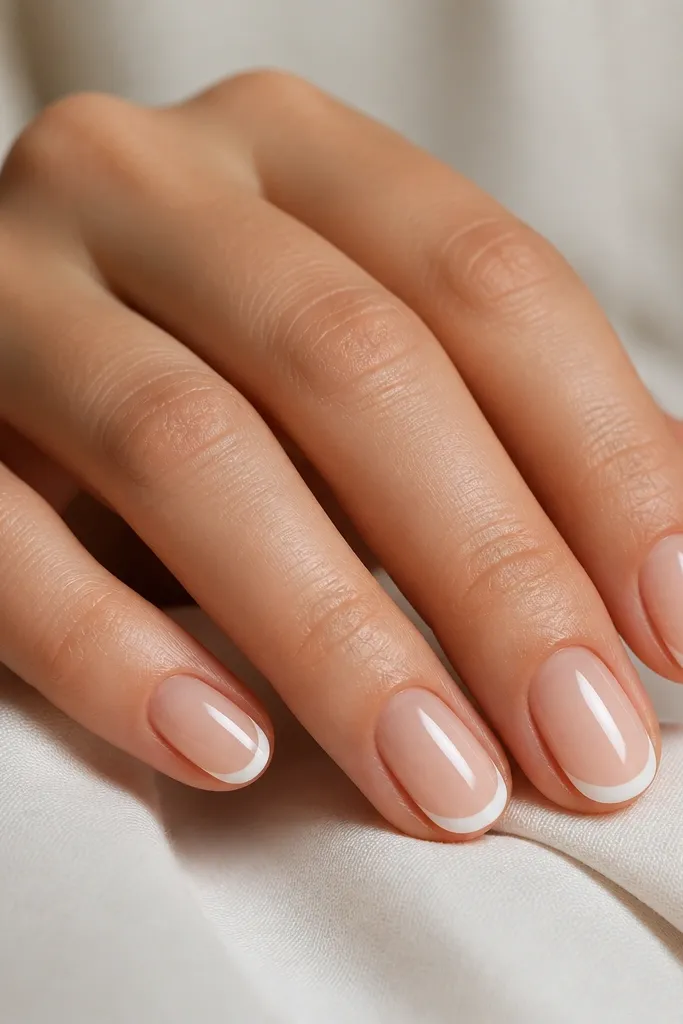
This one looks fancy because the nude isn’t flat — it fades, so the French tip looks like it’s sitting on a smooth surface. The short oval shape benefits from a gradient because it visually stretches the nail from cuticle to tip. I like it for neutral undertones because the base is balanced, not too warm or too cool. For events, it photographs well because the glossy gel catches light without looking thick.
Start by applying a deeper nude gel near the cuticle, then drag it toward the center using a sponge or a thin brush. Cure, then apply a lighter nude layer over the fade so the gradient looks smooth. Paint the classic French arc in opaque white, keeping the arc narrow and slightly higher at the sides. Cure, then topcoat with a thick, leveling layer so the surface looks glassy.
If your French arc is too wide, wipe your brush and redraw it thinner — one thin pass beats multiple thick ones.
Avoid a flat nude base under a wide French tip — it makes the nail look like a sticker.
4. French tip with translucent white overlay
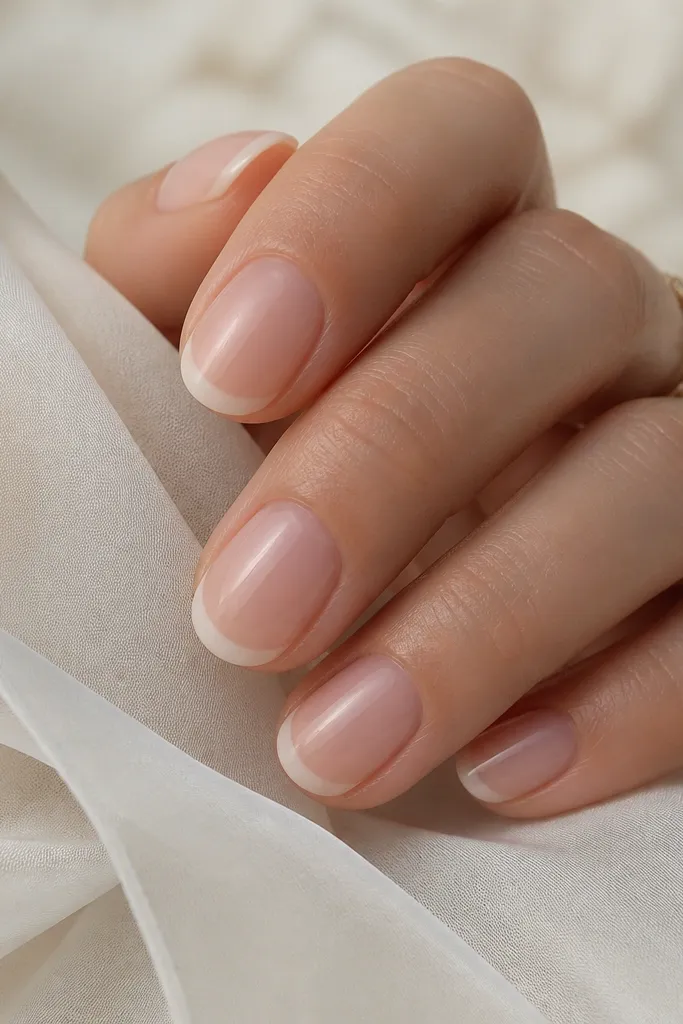
Translucent white feels modern because it looks softer and more “painted” than opaque. The milky overlay keeps short oval nails from looking too stark, which is great if you want a French look but hate high-contrast. It flatters both warm and cool skin tones because the white reads milky, not blue-white. I also like it on nails with slight ridges since the gel smooths the surface while keeping the tip airy.
Editor's noteWork in two thin coats — translucent white needs thin layers to avoid streaks.
Apply a sheer nude base and cure. Paint the smile curve with a translucent milky white gel using a thin brush — aim for coverage at the edge only, not full tip fill. After curing, add a second micro layer only where the white looks too see-through, then cure again. Finish with topcoat that is slightly thicker at the tip so the milky gel looks smooth instead of grainy.
Skip thisDon’t use matte topcoat on this design; it turns the milky white chalky.
5. White French line with tiny gold foil dots
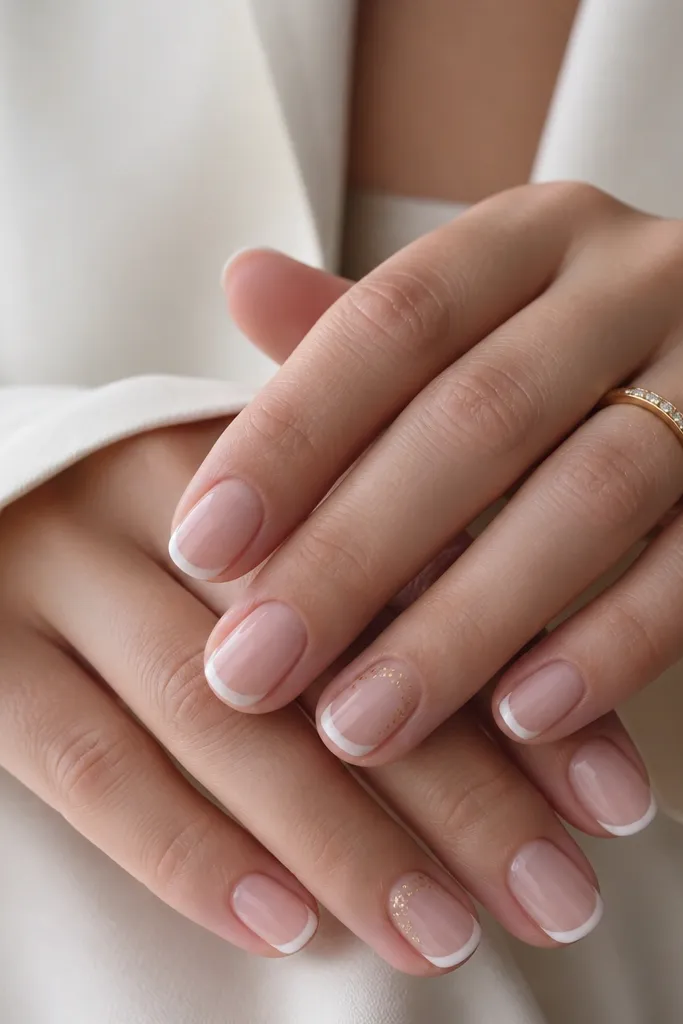
Gold micro-dots make short oval nails feel dressed up without adding length or bulk. The thin white line keeps it clean, and the tiny foil adds sparkle only at the tip curve, where the eye already lands. This works especially well if your skin tone is neutral-to-warm because the gold flatters the nude. I’ve worn this myself for dinners and it still looks subtle in the daytime.
Editor's noteKeep foil pieces smaller than a match head. Big chunks make short nails look busy.
Start with a nude base gel and cure. Paint a thin white smile line and cure again. For the foil placement, dab a small amount of clear gel near the center of the smile curve on accent nails, then press tiny gold foil pieces with a silicone tool. Cure, wipe if needed, and topcoat with a smooth, glossy layer to seal the foil so it doesn’t catch on fabric.
Skip thisAvoid putting foil all over the tip — it makes the French line lose its crispness.
6. Double-line French with one nude micro strip
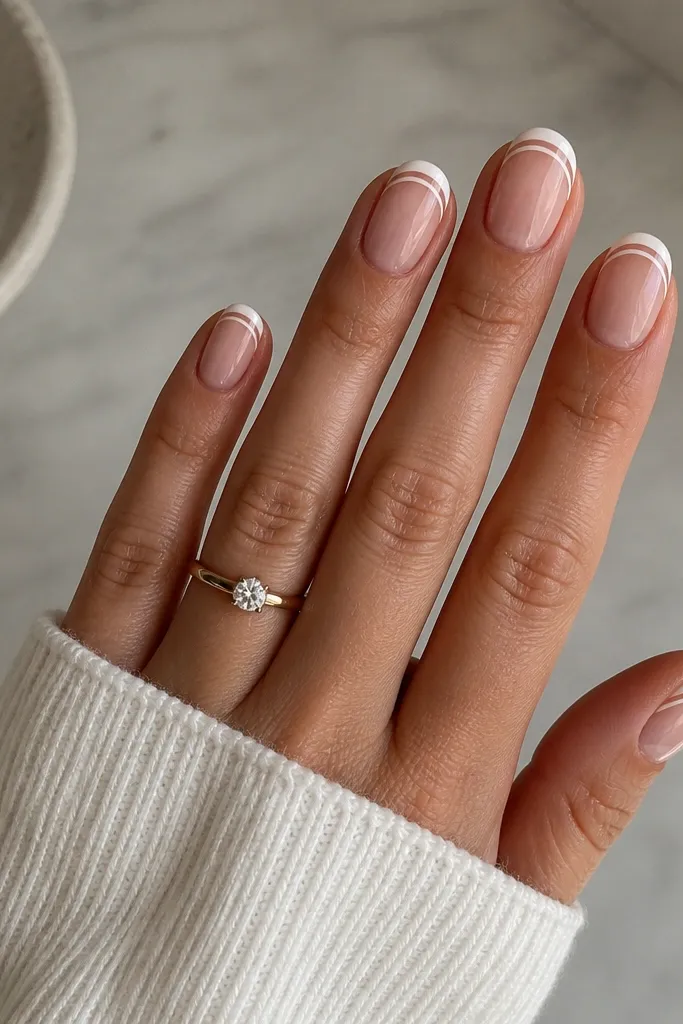
Double-line French looks modern because it adds depth while staying minimal. The narrow nude strip between the two lines creates a clean “negative channel” that makes short oval nails look sharper. I like it for people who want something different from standard French but don’t want glitter or art. It flatters hands with shorter nail beds because the inner line pulls the eye forward.
Editor's noteUse a striping brush and wipe it on a lint-free pad between nails so the line stays the same width.
Apply your nude base and cure. Paint the outermost thin white line first, right at the free edge, then cure. Without flooding the surface, draw the second thin white line slightly inward, leaving a narrow nude gap between the lines. Cure, then topcoat lightly over the lines so they stay crisp — don’t over-build thickness.
Skip thisAvoid uneven line spacing — it instantly reads messy on short nails.
7. French tip with pastel ombre fade at the edge
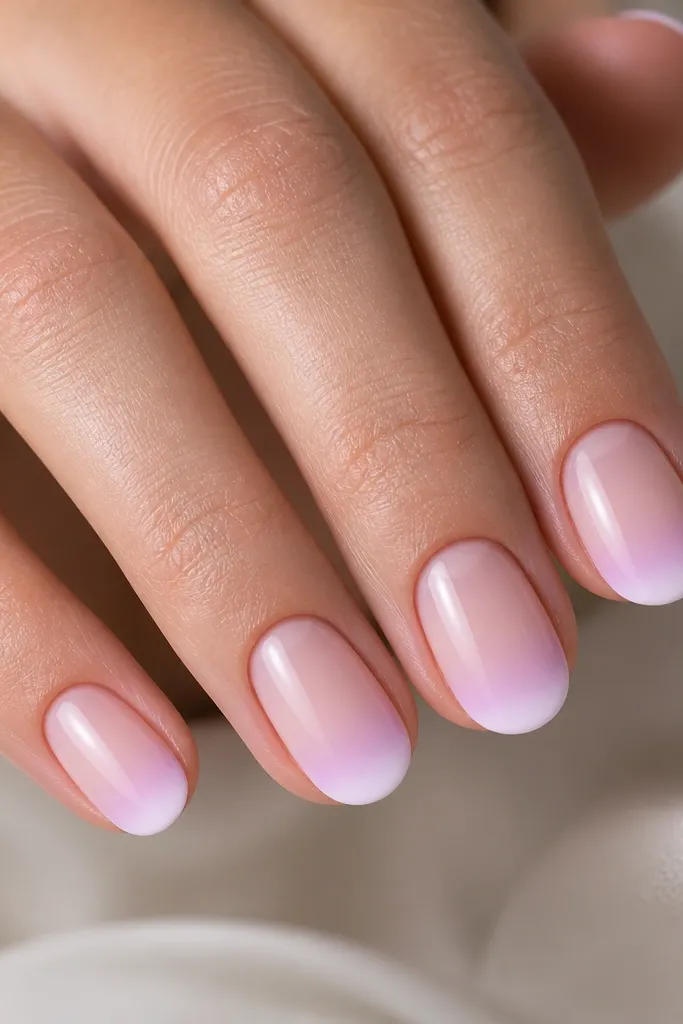
Pastel ombre French looks soft but still intentional, and it’s a great way to modernize a French tip without going full color block. The sheer nude base keeps the pastel from overpowering your hand, which is key for short ovals. Pastel shades flatter most skin tones, but I especially like pink-lavender on neutral-to-cool undertones because it doesn’t turn muddy. It also looks great on short nails because the fade creates a smooth transition instead of a hard border.
Editor's noteBlend upward, not sideways. Upward blending keeps the oval shape looking clean.
Start with a sheer nude base and cure. Paint the very edge of the tip with opaque white gel, then while it’s still tacky (or right after curing depending on your system), blend pastel pink and a touch of lavender into the area just above the white. Use a small sponge or a dense makeup brush for the soft fade. Cure, then topcoat to smooth the transition and add shine.
Skip thisDon’t mix too many pastels — two shades plus white looks expensive; three or four turns chalky.
8. Micro French with a clear glossy topcoat border
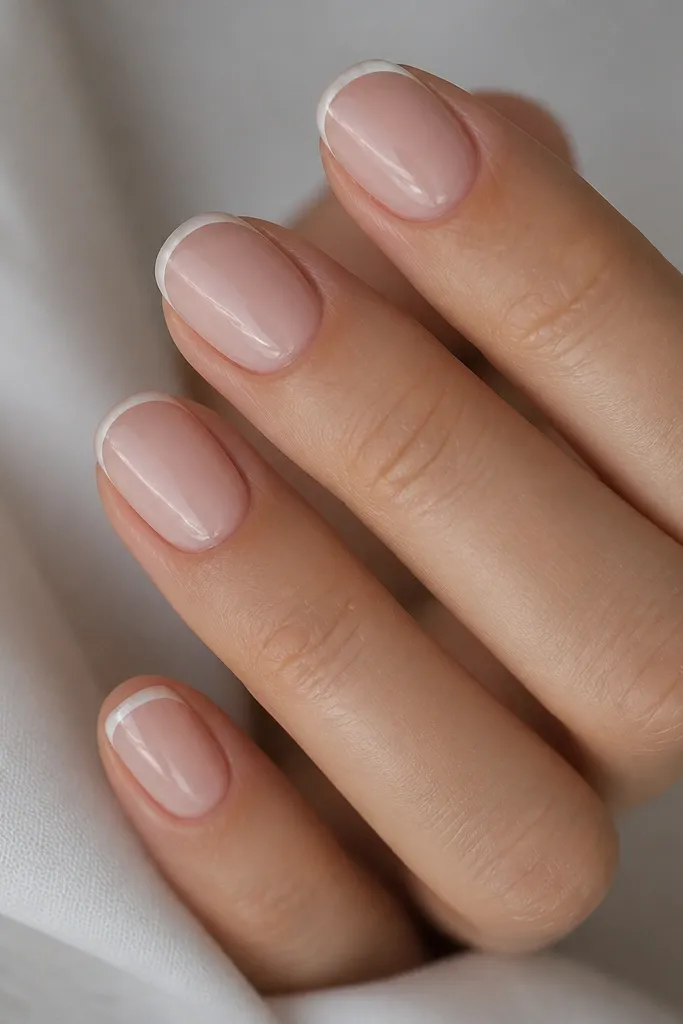
This design is all about texture contrast without adding length. The micro French line stays crisp, and the raised clear border makes the tip look like it has a glass rim. It flatters short ovals because the raised detail adds dimension where the eye expects the tip. I’ve done this on clients with thin nails because the clear gel border builds strength along the free edge while still looking polished.
Apply nude base gel and cure. Paint a super thin white micro smile line and cure. Next, use a clear gel topcoat layer and paint it only along the line area like a frame, slightly thicker at the center of the smile. Cure again, then finish with a final full topcoat so the surface feels smooth, not bumpy.
Keep the clear border to about half the width of the white line so it looks like a rim, not a blob.
Don’t skip final topcoat — raised gel edges can catch on hair and sweaters.
9. Reverse French with nude tip and white base line
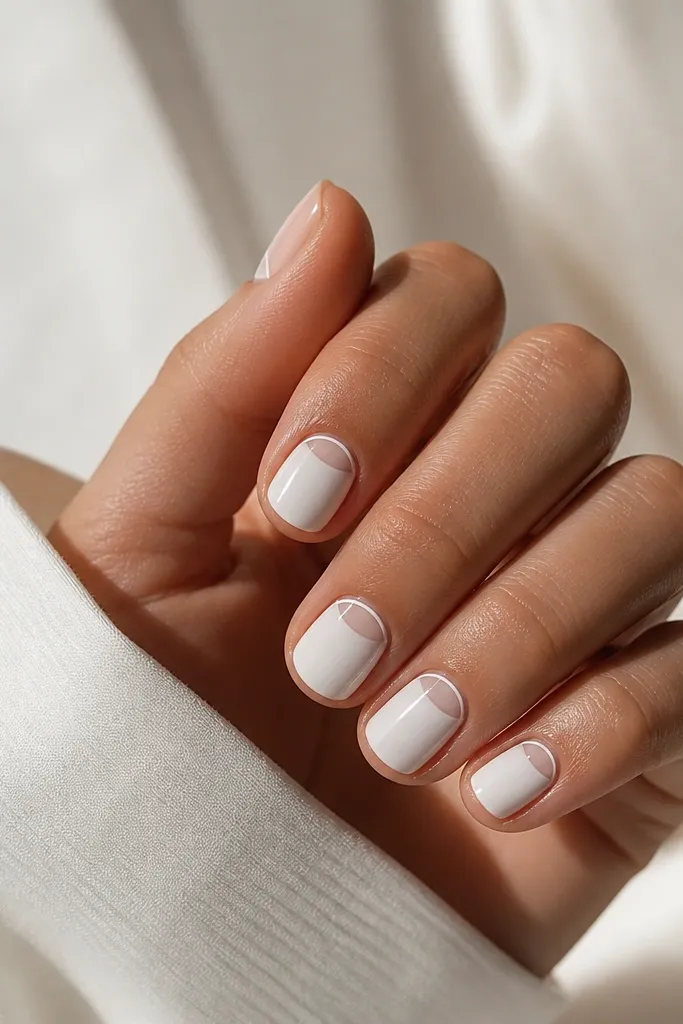
Reverse French flips the placement, which is why it looks modern even though it still feels like French. Keeping the tip nude makes short oval nails look longer, while a white line near the upper nail gives the design structure. This works well on medium to deep skin tones because the white line shows up cleanly without turning the whole nail into a block of color. It’s also a good choice if you want white to look less “tip heavy.”
Editor's noteWhen you place the upper white line, follow your natural cuticle curve, not the shape of your nail plate.
Start with a nude base and cure. Use a striping brush to place a thin opaque white line at the upper area of the nail — right under the cuticle line, staying centered. Then, cap the rest of the nail with nude gel so the tip stays clear and nude. Cure, then topcoat with a full glossy layer. For extra neatness, clean up the line edges with a gel cleanup brush dipped in acetone-free remover.
Skip thisAvoid filling the whole nail white; reverse French looks best when the nude tip stays visible.
10. French tip with tiny rhinestone at the side of the smile
One rhinestone can look expensive on short ovals when it sits in the exact spot your eye already tracks — the corner of the smile. The thin white tip keeps the design clean, and the stone adds just a flash of sparkle. I like this for nights out, but it still works for daytime if you use a small stone and keep it single. This flatters hands of all sizes, and it’s especially good if you have shorter nail beds because it draws attention upward.
Editor's notePlace the stone slightly off-center toward the sidewall. Center stones can look too heavy on short tips.
Apply nude base gel and cure. Paint a thin white French tip arc and cure. Add a pinpoint of clear gel on the outer corner of the smile curve on accent nails, then place a tiny rhinestone (SS3 or SS4 size). Press gently, cure, and topcoat over the stone with enough gel to seal it flush. Finish with a final topcoat so the stone doesn’t snag on fabric.
Skip thisSkip big stones. They make short oval nails look bulky.
11. Matte nude with glossy French micro-tip
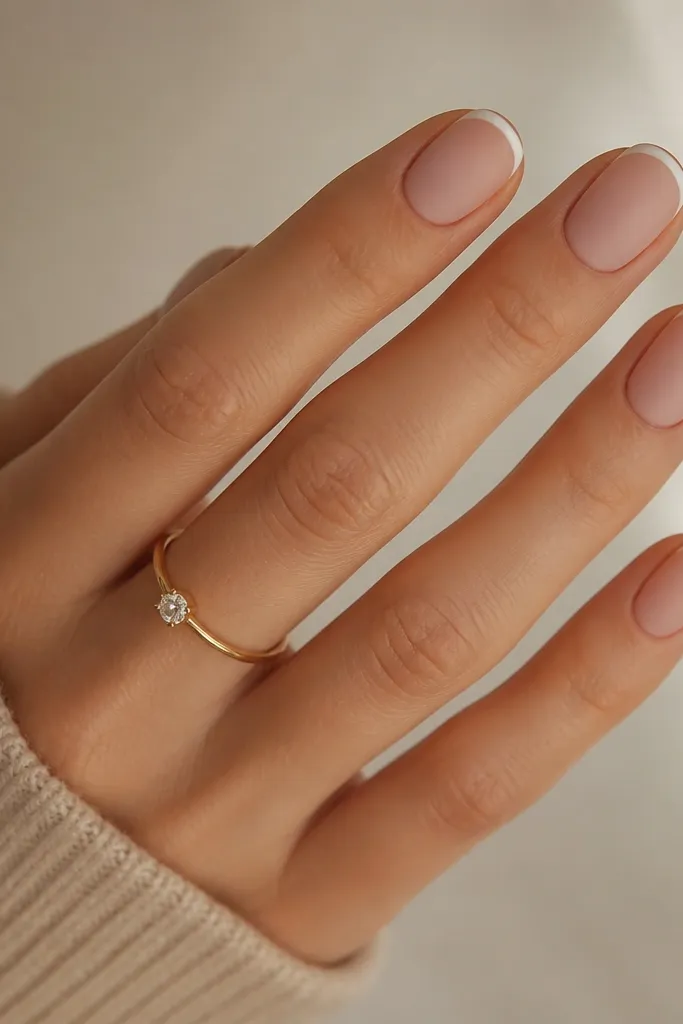
Matte base plus glossy micro French is a simple combo that always looks styled. The matte nude softens the overall look, and the glossy white line pops without turning the nails into a high-gloss mess. This works great in photos because the tip catches light at the edges. On cooler undertones, a pinky nude matte looks extra flattering, while warm undertones look best with beige-matte.
Editor's noteUse two topcoats: matte for the base, gloss for the line. One mixed finish can look smudgy.
Start with nude gel and cure, then apply matte topcoat only to the base area — you can do a full matte coat and then go back over the French line with gloss. Paint a thin white smile line in opaque gel and cure, then seal with glossy topcoat just over the white. If you’re using matte everywhere, make sure the line is fully covered with gloss so it looks crisp. Cure and check the edges under a lamp to confirm the line is smooth.
Skip thisAvoid thick white — matte can make thick white look chalky.
12. French tip with thin black outline
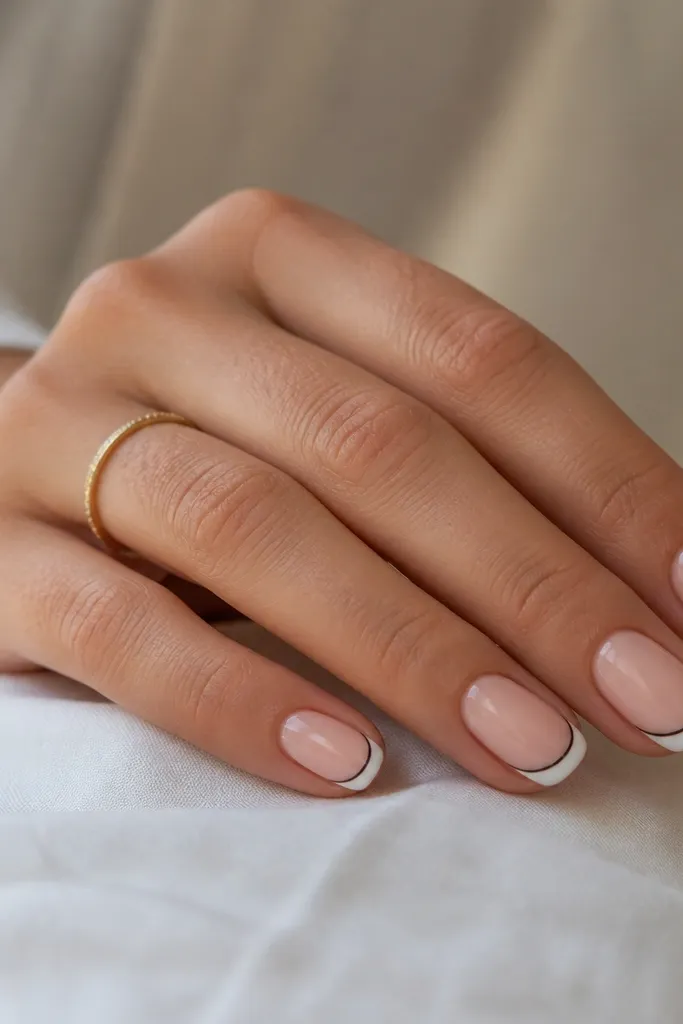
Adding a thin black outline makes French look graphic and modern without changing the overall shape. The white stays soft, but the black border gives definition so short ovals look extra clean. I love this on neutral and cool undertones because the black adds contrast without pulling warm. It’s also a great option if you want something that looks “nail art” but still works with everyday outfits.
Apply nude base gel and cure. Paint the white French tip arc first and cure. Then, using a 0.25 mm liner brush, trace the outer edge of the smile with black gel — keep it super thin and steady. Cure again, then topcoat with a glossy layer so the black line stays smooth and doesn’t look rough.
If your black line breaks, don’t fix it with a big blob. Cure, then add a tiny patch to bridge the gap.
Avoid thick black. It makes short nails look like they have heavy borders.
13. White French with pearlized nude tip cap
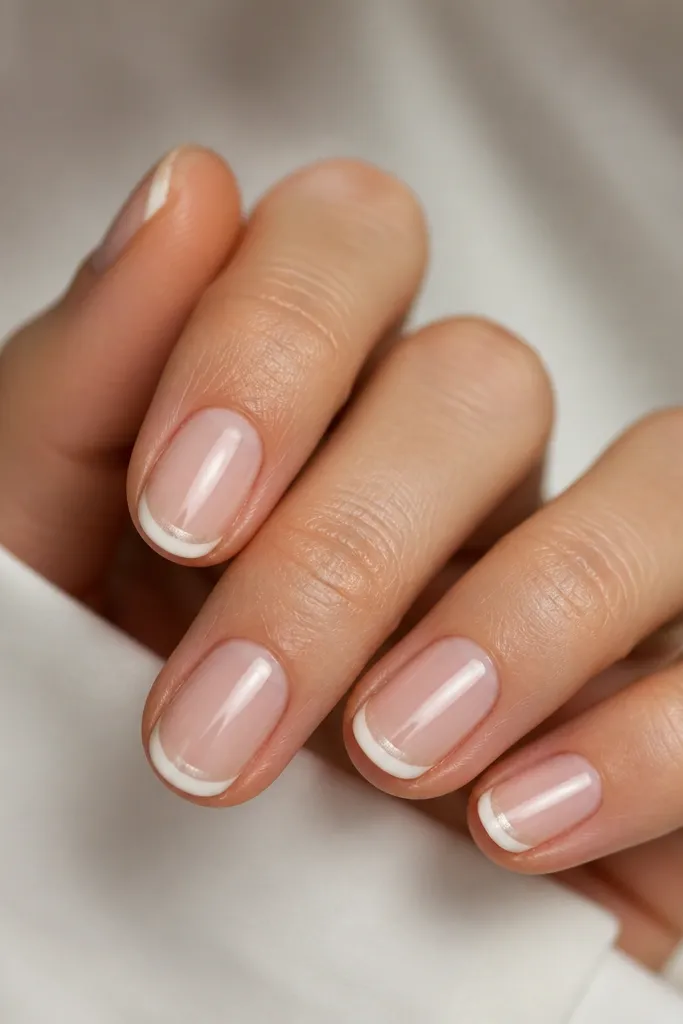
This design is subtle but it looks high-end because the pearlized nude gives a glow right under the white tip. The short oval shape benefits because the shimmer sits where the light hits — near the free edge — so your nails look smoother than they are. I recommend it for medium skin tones and deeper tones because the pearl sheen shows up clearly without needing bright colors. It also works when you want something “bridal” but not plain.
Apply nude base and cure. Add a thin pearlized nude layer over the tip area, stopping just before the smile curve, then cure. Paint the white French tip arc on top of the pearl layer and cure. Finish with a glossy topcoat, and keep the smile line clean by using your striping brush to define the curve before you cure.
Use a pearlized nude that is not too glittery. Fine shimmer looks expensive on short nails.
Avoid chunky glitter pearls under white — they create texture bumps.
14. Classic French with diagonal micro accent
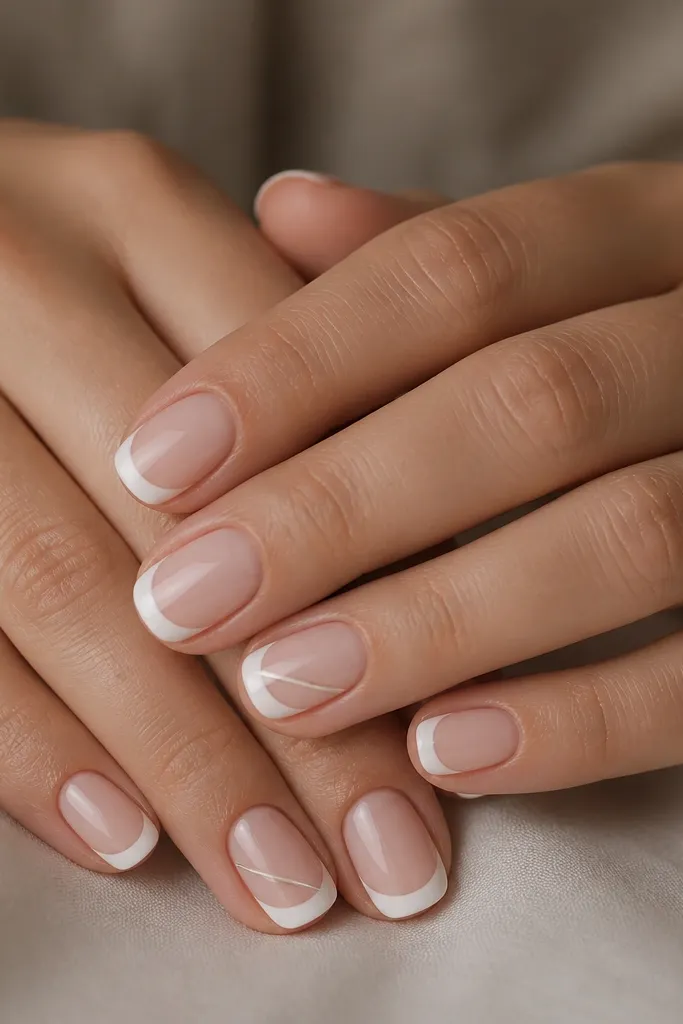
A diagonal micro accent makes classic French feel like nail art without turning the whole set into patterns. The base French keeps it familiar, and the diagonal line adds movement that flatters short ovals by giving a visual “length” cue. I like it for people who want something fun for weekends but still want their nails to look neat for work. This also works across skin tones because the accent line is tiny and blends into the French palette.
Editor's noteChoose one accent nail per hand. Two diagonals can start to look busy fast on short lengths.
Start with nude base and cure. Paint classic French arcs in opaque white on all nails except your chosen accents, then cure. On accent nails, keep the French tip as usual, then add a diagonal micro line using striping brush, starting near the mid-tip and ending toward the side without reaching the edge. Cure, then topcoat glossy to lock the line down and keep it smooth.
Skip thisAvoid thick diagonal stripes — micro thickness keeps it modern.
15. French tip with tiny negative gap at the corners
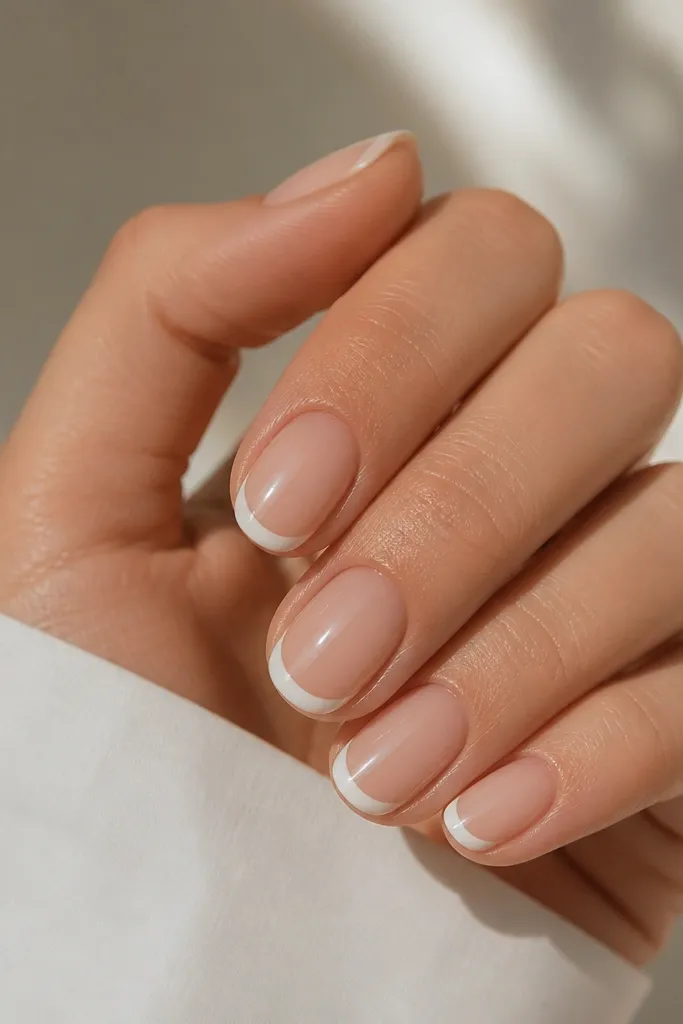
Corner negative gaps are one of those little tricks that make short oval nails look professionally finished. It prevents the French from looking like it was filled in too fast, and it keeps the oval shape crisp at the sides. This design is flattering on hands where the nail plate tapers slightly, because the gaps echo that natural taper. I’ve had this exact layout on clients who hate “wide” tips — the corners stay light, so the nail looks slimmer.
Apply nude base gel and cure. Paint the French tip arc in opaque white, but stop your brush before the side corners by about 0.5-1 mm. Then, go back and lightly connect the curve so the white looks intentional, not incomplete. Cure, then topcoat with a full glossy layer and check the corners under bright light to confirm the gaps are symmetrical.
Use the brush tip to lift and stop, not to drag — dragging fills the corners and kills the effect.
Avoid messy corner coverage. Uneven gaps make the French look rushed.



