
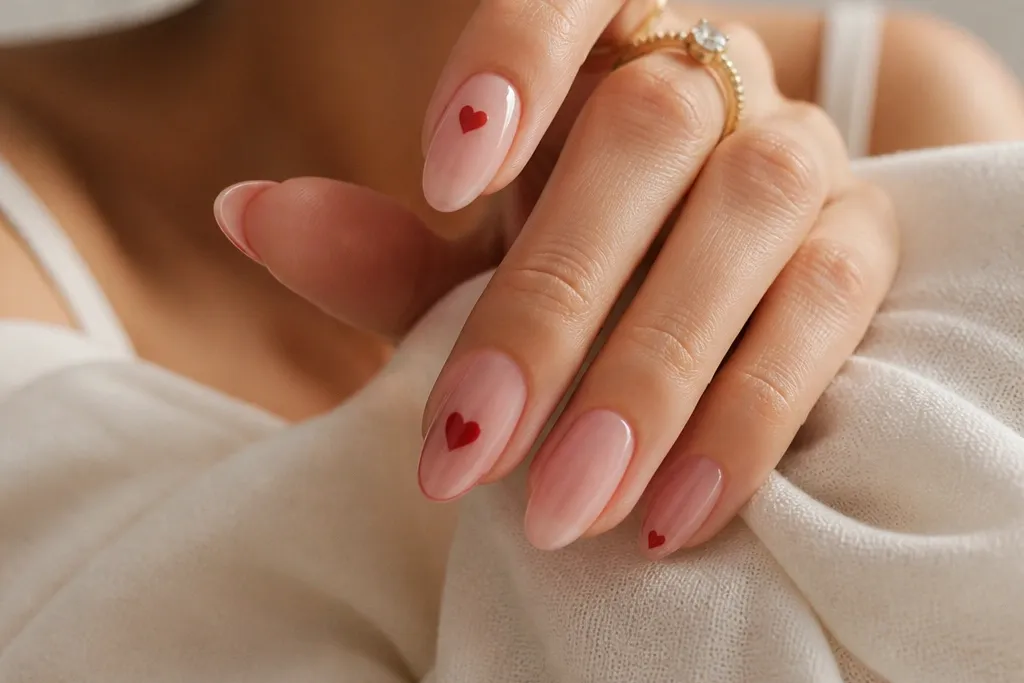
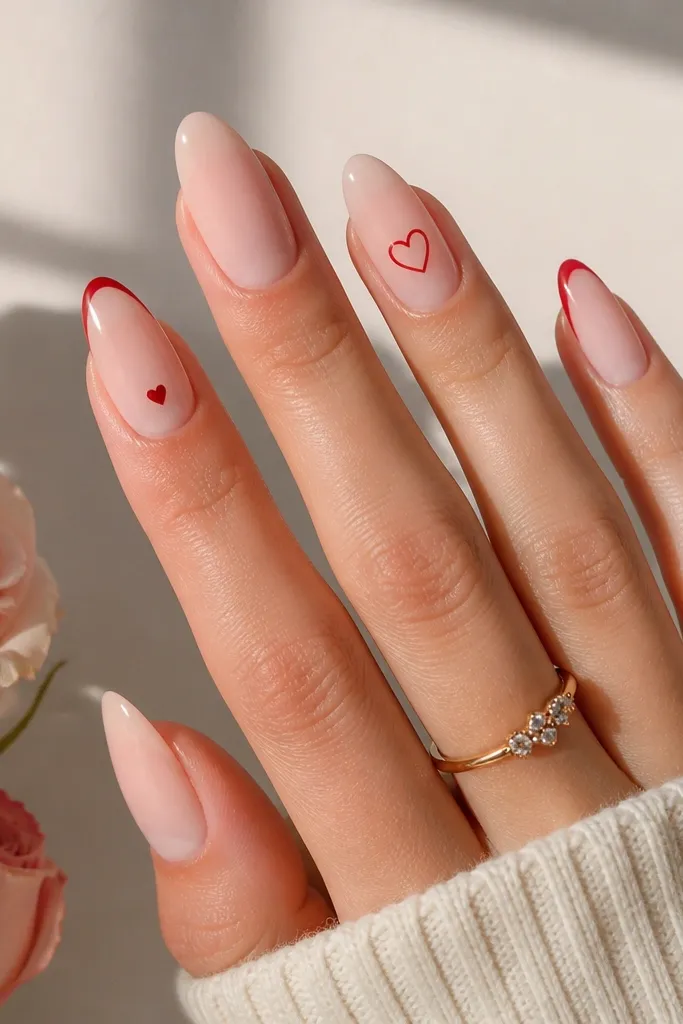
1. Cherry Heart Half-Moons on Blush BIAB
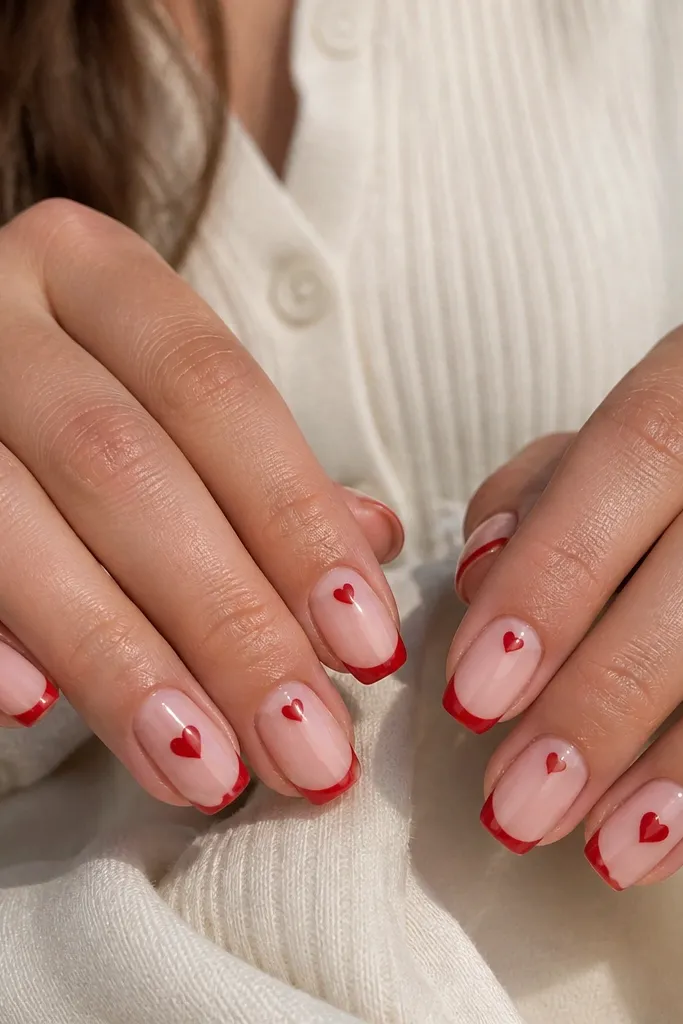
This one is my go-to when someone wants Valentine nails that still look classy at work. The base is a sheer blush BIAB so it matches your natural nail color instead of looking like a painted mask. The cherry red half-moons create contrast without covering the whole nail, so your fingers look longer and tidier. I’ve seen this look amazing on light skin and medium skin tones because the blush warms the hand and the cherry reads bright in photos. It also flatters shorter nail beds because the design sits high, near the tip, not down at the center.
Start by applying a thin BIAB layer to even out the nail and cure fully. Build a second layer only if you need extra coverage, then shape and buff lightly for a smooth surface. Paint the blush base, cure, then use a red gel liner brush to draw a clean half-moon at the very top of each nail — think “smile line” turned into a crescent. Add a small heart above the half-moon on the accent nails using dotting tool guidance, then cure again. Finish with top coat and cap the free edge on every nail.
Editor's noteIf your hearts look uneven, make the outline first with a thin stroke, then fill with a second pass — it gives you control and cleaner edges.
Skip thisAvoid doing the half-moon too low toward the middle — it makes the nail look shorter and heavier.
2. Rose Chrome Tips with Micro Hearts
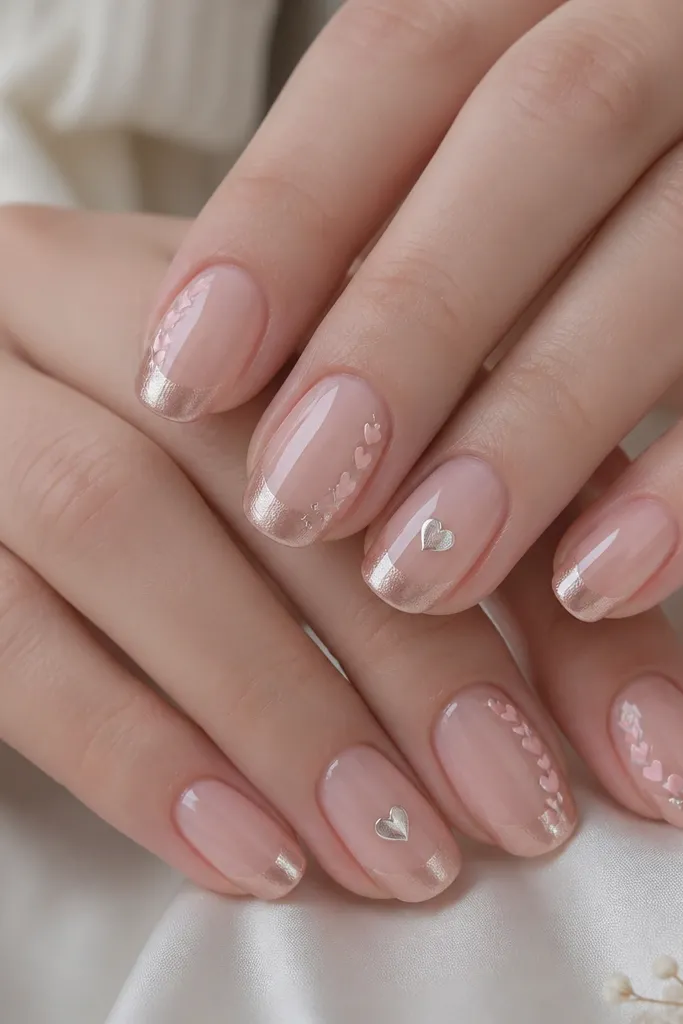
This set feels romantic without being loud, and it’s perfect when you don’t want chunky 3D details. The rose chrome tips add that “Valentine glow” under warm lighting, like dinner candles, while the sheer base keeps your nails looking natural. Micro hearts keep the theme playful but controlled, and they don’t overwhelm short nails. I’ve worn this on hands with cool undertones and it still looks flattering because the chrome brings warmth through the pink-silver shift. It also works great if you’re doing a minimalist outfit — the nails carry the mood.
Start with a sheer rosy nude BIAB and cure. Buff to remove shine, then apply a thin layer of tip-only gel (so the chrome sticks where you want it). Rub rose chrome powder onto the cured sticky layer using a sponge applicator, then gently buff the edges for a smooth fade. With a liner brush, place one or two tiny hearts per nail using pale pink gel, curing each nail before you move on. Seal with a thick high-gloss top coat, making sure the chrome fade stays crisp.
Dust off extra chrome between steps so it doesn’t migrate into the nude area and make everything look smoky.
Avoid using a matte top coat over chrome — it kills the glow that makes this look special.
3. Blush Lace Heart Overlay (Stamp + Hand Finish)
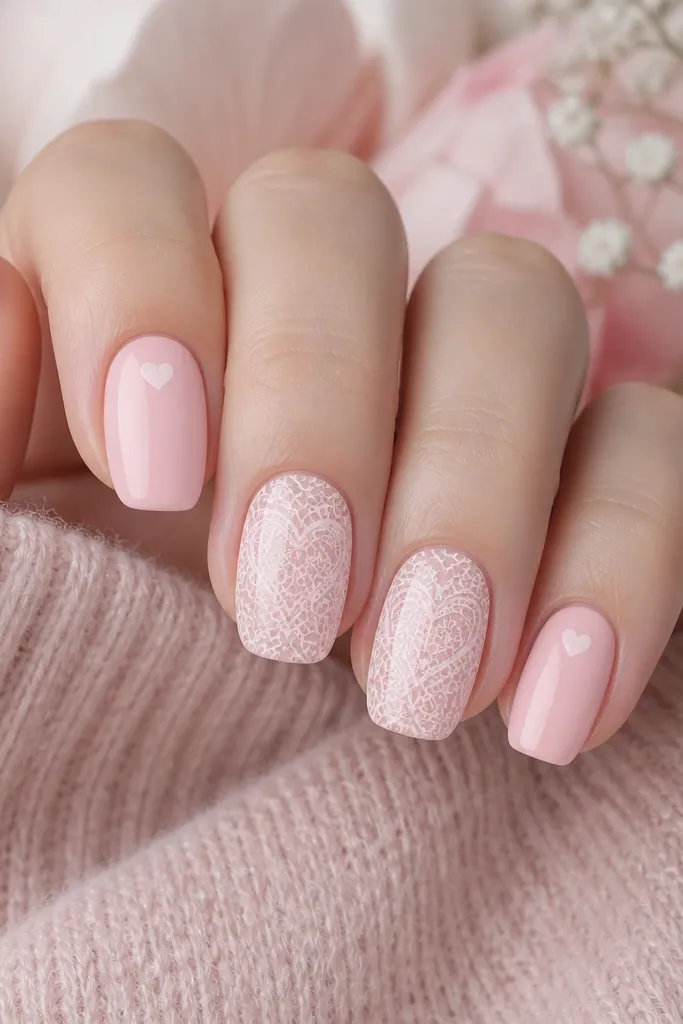
This is the romantic option for people who want “pretty details” without freehanding tiny lines all day. A blush base keeps it sweet, and the lace heart stamp gives you that delicate look you’d normally pay extra for. I like doing the lace near the cuticle because it looks like a heart-shaped frame for your nail bed. On deeper skin tones, the white-pink stamp pops clearly without needing bright neon reds. It also photographs well because the pattern has contrast even in low light.
Apply sheer blush BIAB, cure, then shape and lightly buff. Use a stamping plate with heart-lace patterns and stamp in a white-pink gel or stamping polish — press firmly and lift cleanly. Place the stamped heart at a slight angle near the cuticle on accent nails, then repeat a smaller version on the remaining nails. Use a fine liner brush to touch up any broken lines with the same stamp color, then cure. Finish with glossy top coat in two thin layers so the stamp stays crisp.
Warm your stamping plate slightly under a lamp for 20 seconds before stamping — it helps gel transfer look cleaner on gel polish stamps.
Avoid flooding the stamp with top coat too early — it can blur the lace edges.
4. Deep Cherry Jelly Hearts on Clear Pink BIAB
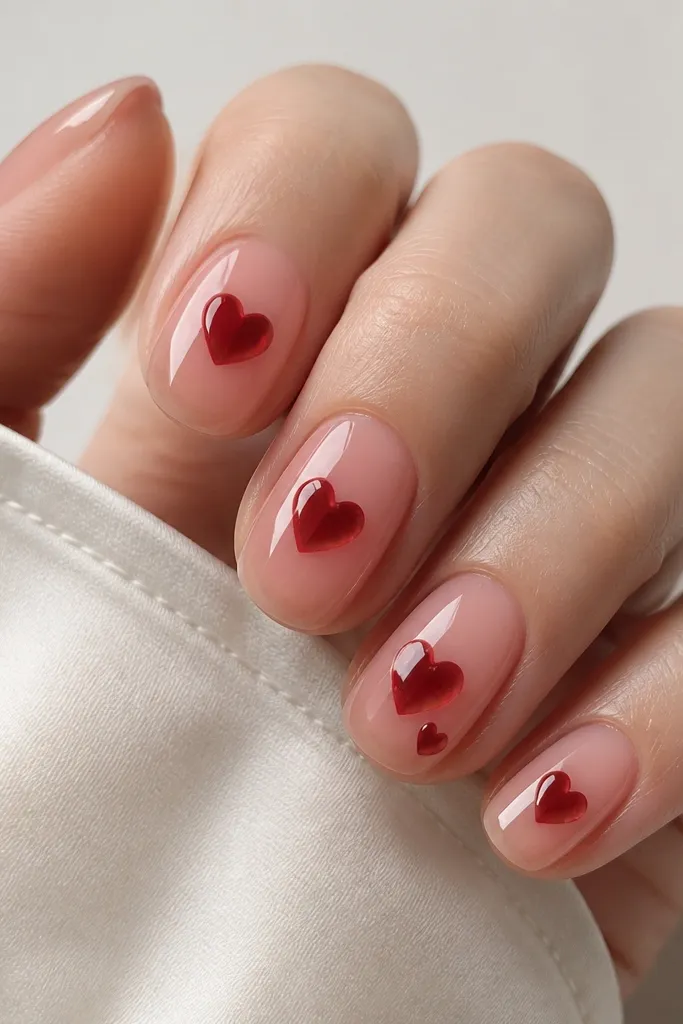
This design looks expensive because it has that jelly-candy depth. The base is clear pink BIAB, so the nail still looks like your nail underneath — that’s what makes the hearts feel like they’re suspended. Deep cherry hearts show up strongly without turning into solid, heavy blocks of color. I’ve done this on clients with short nails and it still looks balanced because the hearts sit centrally and don’t need extra length. It’s also a great choice if you want romance that feels modern instead of classic.
Start with a clear pink BIAB base layer and cure thoroughly. Add a second thin layer to create a smooth, slightly domed surface — you want room for the hearts to look “inside.” Use a jelly-style red gel (or mix red gel with a clear builder) and place small hearts in the center with a dotting tool and liner brush. Cure each nail; then add one more thin clear pink layer over the hearts to “bury” them lightly. Cap with top coat and smooth the surface so the hearts look suspended.
Keep your hearts small and centered — oversized hearts make the jelly effect look like a sticker.
Avoid using fully opaque red gel — the jelly depth disappears.
5. Mini Bow Accent on Pink Milky BIAB
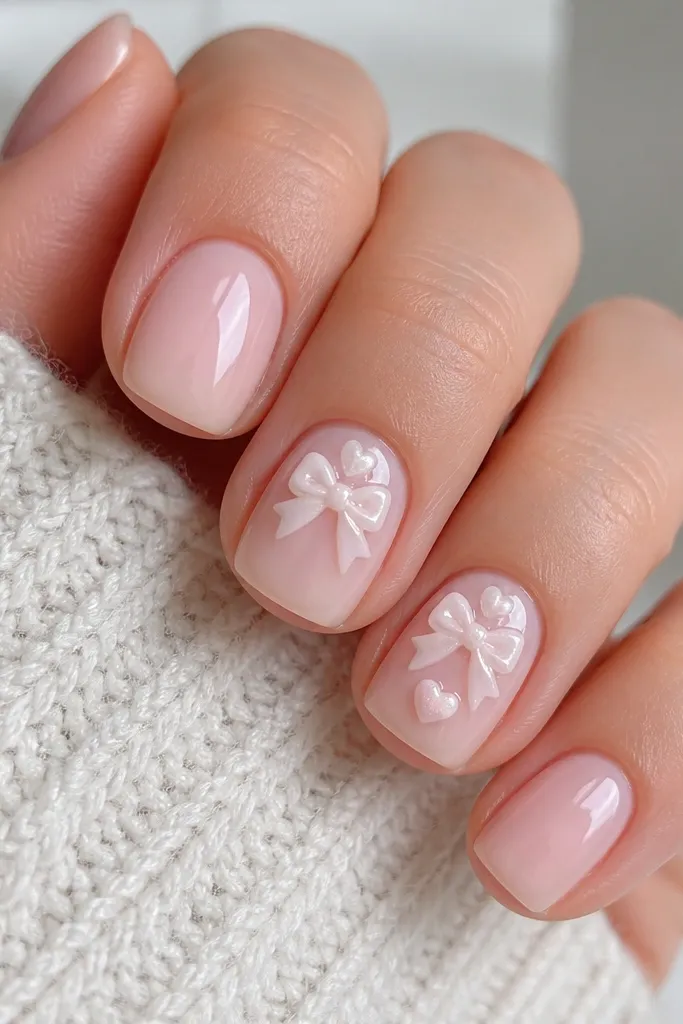
Bows are peak Valentine energy, but they can look childish if you go too big. This version uses a mini bow placed close to the cuticle, so it reads cute and still grown-up. The milky pink base is smooth and soft, which makes the bow look crisp and dimensional. I’ve seen this look especially flattering on hands with shorter fingers because the design anchors near the top and keeps the nail bed looking neat. If your skin tone is warm or neutral, the milky pink blends beautifully and the bow stays bright.
Apply milky pink BIAB (not too opaque) and cure. Shape with a gentle file so the surface stays even. For the bow, use a thin gel to outline the two loops near the cuticle, cure, then add slightly thicker gel for the center knot and cure again. Add tiny highlights on the bow loops with a white-pink gel and a fine brush. Seal with top coat carefully, using a small amount so you don’t smear the bow edges.
Editor's noteIf you’re nervous about 3D bows, do a flat bow first with gel lines, cure, then add only a small raised center knot.
Skip thisAvoid placing the bow mid-nail — it makes the manicure look top-heavy.
6. Red French Outline with Blush Center
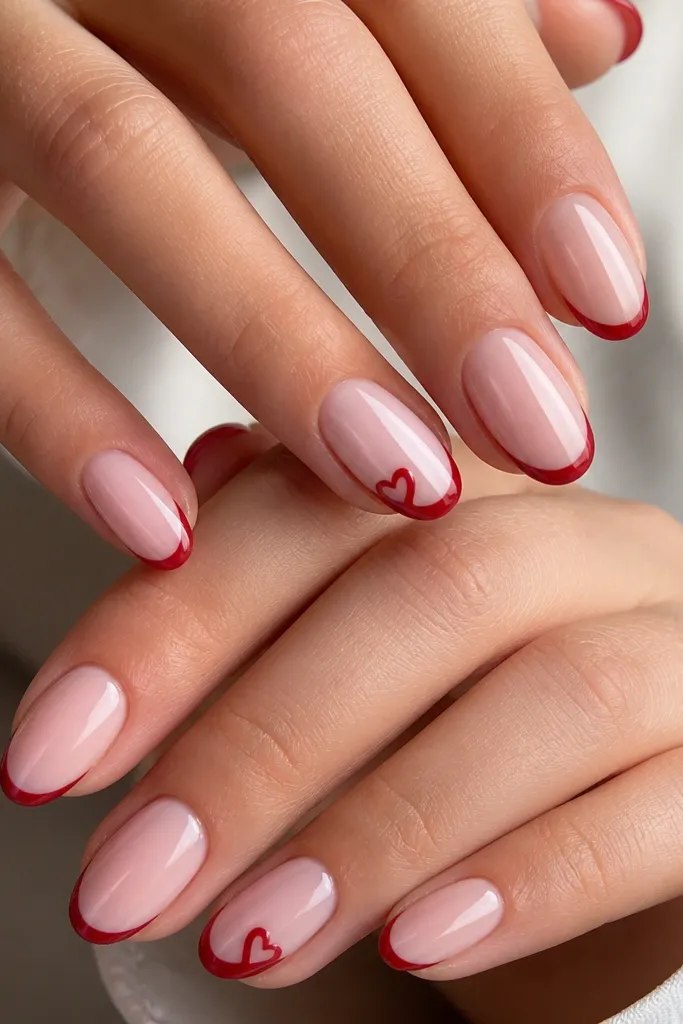
This is romantic in a grown-up way because it uses the classic French shape, then adds a Valentine twist with a red outline. The blush center keeps the nail looking light and airy, so red stays crisp instead of overpowering. A thin line also makes your nail look longer, especially on medium-short lengths. I like it on fair skin and deeper skin tones because the blush base gives a smooth color transition and the red reads clean. It’s also easy to wear to a date night without feeling like you’re in costume.
Start with a sheer blush BIAB base, cure, and buff lightly to remove any texture. Use a striping tape guide if you want super straight lines, placing it just under the tip line. Paint a thin red outline along the tip and remove the tape carefully before curing. On ring fingers, add a tiny heart on one side of the red tip line using a dotting tool, then cure. Finish with a glossy top coat and cap the free edge.
Use striping tape only for the first outline pass; freehand the heart so it looks natural and not too perfect.
Avoid thick red French tips — they look heavy and start to chip faster on the stress line.
7. Heart Confetti on Sheer Pink BIAB
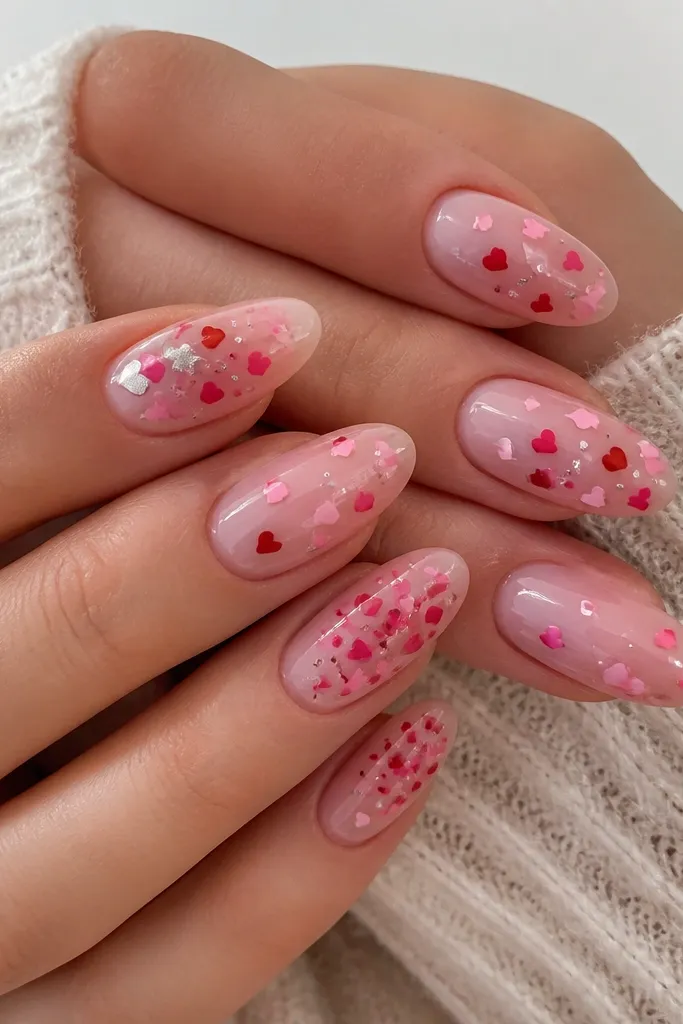
Confetti hearts look playful, but the secret is keeping the base sheer so the hearts don’t turn into a busy sticker sheet. I use a sheer pink BIAB because it makes red and hot pink look brighter without needing opaque layers. The scattered pattern gives a “sprinkles” vibe that still feels romantic, especially if you’re wearing a satin dress. This one flatters most nail shapes because hearts are tiny and they don’t require a perfect symmetry. It also works well if you’re short on time — you can place hearts quickly and cover any small spacing gaps with top coat gloss.
Apply sheer pink BIAB and cure, then wipe tack if your system needs it. Use pre-cut heart confetti or a hole punch for tiny hearts, then place them with a small amount of clear gel on each nail. Concentrate the hearts in the middle third of the nail, leaving a bit of space near the cuticle so it stays airy. Add a few silver micro dots for sparkle, then cure. Seal with two thin top coat layers to trap the confetti and prevent edges from catching.
Press the confetti flat with the back of a clean brush handle — it stops the hearts from lifting at the edges.
Avoid putting confetti right up to the cuticle — it makes growth lines show faster.
8. Pink Ombré to Red Heart Tip Blend
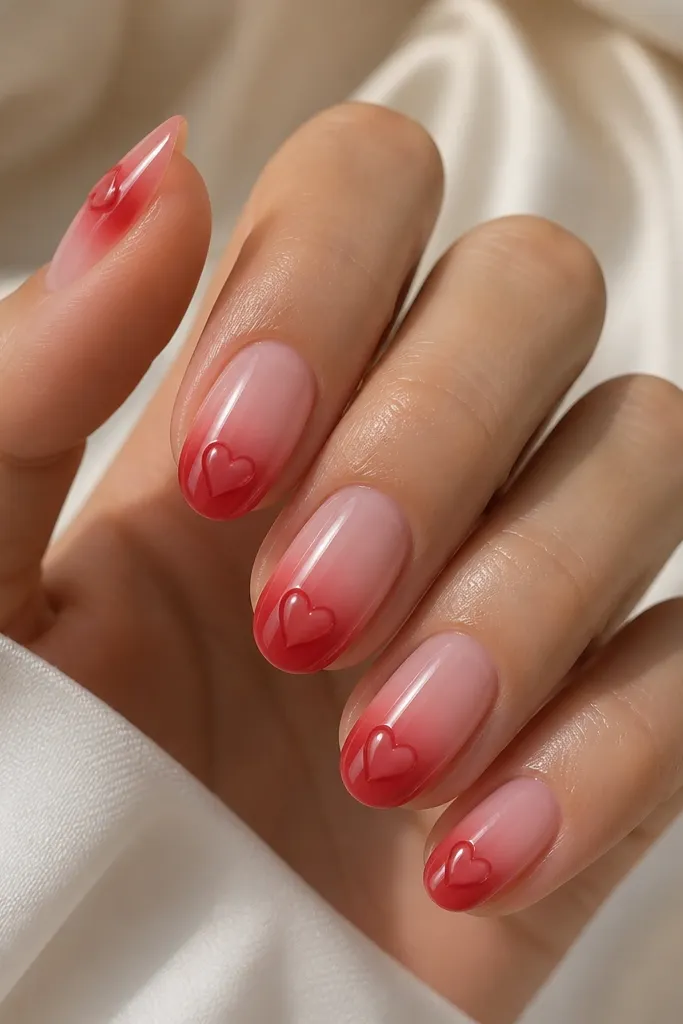
This design is romantic because the gradient does the work of blending the Valentine colors for you. The pink ombré looks sweet and wearable, and the red heart at the tip makes the theme obvious without needing extra gems. I like it for medium length nails because you get enough space for the heart without crowding. On warm undertones, the pink-to-red transition looks extra flattering and skin-like. On cooler undertones, the red still pops, and the ombré keeps it from looking harsh.
Start with a sheer pink BIAB base and cure. Apply a pink gel near the cuticle and blend downward with a makeup sponge using light taps, then cure. Add red gel at the tip and blend upward slightly so the gradient is smooth — don’t leave a hard line. Use a liner brush to draw a heart centered in the red area, then outline with a darker red gel for definition. Cure and finish with a glossy top coat.
Use sponge blending on just the first half of the nail, then refine the edges with a brush so it looks smooth, not speckled.
Avoid overworking the gradient while it’s wet — it turns patchy and dull.
9. Velvet Rose Accent with One Heart Gem
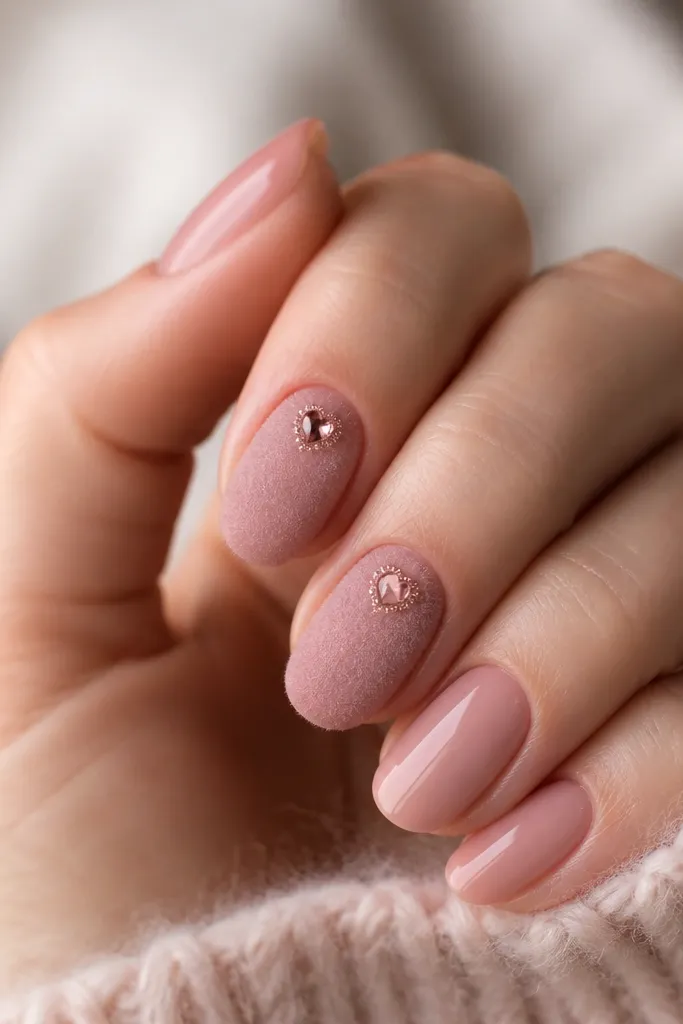
This set mixes textures in a way that reads romantic instantly. Velvet rose gel looks like a soft petal under light, and the one heart gem keeps it from feeling too “powdery.” I like pairing velvet accents with glossy nude nails because the contrast makes the gem pop without needing a full set of bling. If you’re doing this for a date night, the velvet catches candlelight like suede. It also flatters hands that already have a natural nail length, because the accents draw attention to the nail bed area.
Apply glossy nude pink BIAB to all nails and cure. On two accent nails, replace the top layer with a velvet rose gel (or apply velvet powder over a tacky base) and cure. Place one small heart gem using a clear thick gel or gem glue at about one-third down from the cuticle, then cure. Add a tiny halo of rose shimmer around the gem with a fine brush so it looks intentional. Seal the rest of the nails with glossy top coat, but keep velvet nails either un-topcoated or lightly sealed only where your system allows so the velvet texture stays fuzzy.
Only gem one nail per hand if you want a clean look; two or three gems can make it look heavy on small nails.
Avoid rubbing velvet with top coat over the whole nail — it flattens the texture and looks dull.
10. Tiny Love Letters on Nude BIAB (Script Line Art)
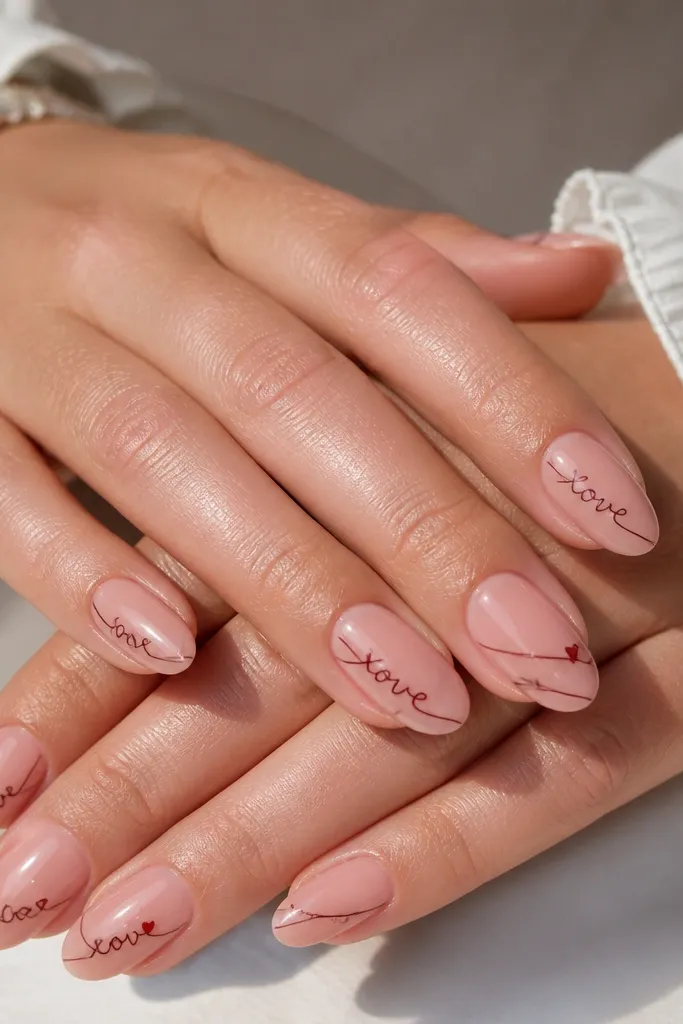
If you want Valentine nails that feel personal, script line art is the move. The nude rosy base keeps it subtle, and dark cherry or deep wine script looks like ink instead of looking like glitter. I’ve used this on clients who hate sparkles but still want the holiday theme, and it always looks thoughtful. It also works on short nails because the lines sit near the side and don’t take up much room. For photos, the glossy nude base makes the script legible instead of blending into the nail.
Start with a nude rosy BIAB base, cure, and buff smooth. Use a liner brush with deep cherry gel (or black-brown gel) and draw a single cursive line near the sidewall, about 2-3mm from the cuticle. On accent nails, add a small heart at the end of the line, then cure. If you want it extra clean, do one nail at a time so your line stays steady. Finish with a top coat that covers the script evenly without flooding the edges.
Editor's notePractice the exact stroke on a clear plastic spoon first — one smooth pull looks more romantic than lots of tiny taps.
Skip thisAvoid writing across the full nail width — the script smears visually and makes the nails look messy.



