
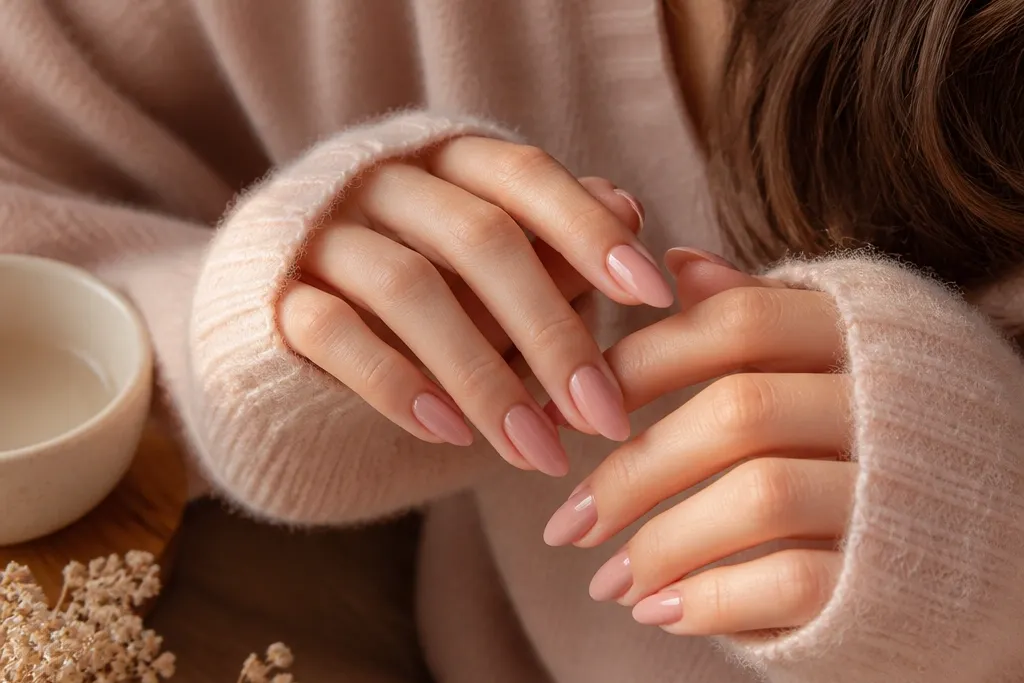
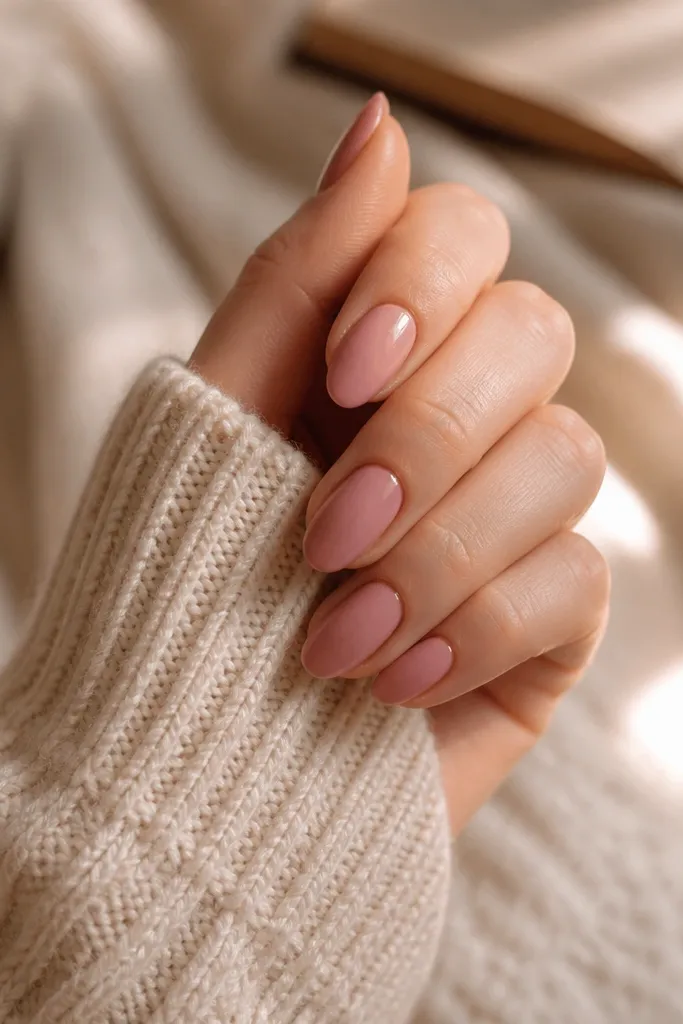
1. Warm Baby Pink Micro French with Peachy Edge
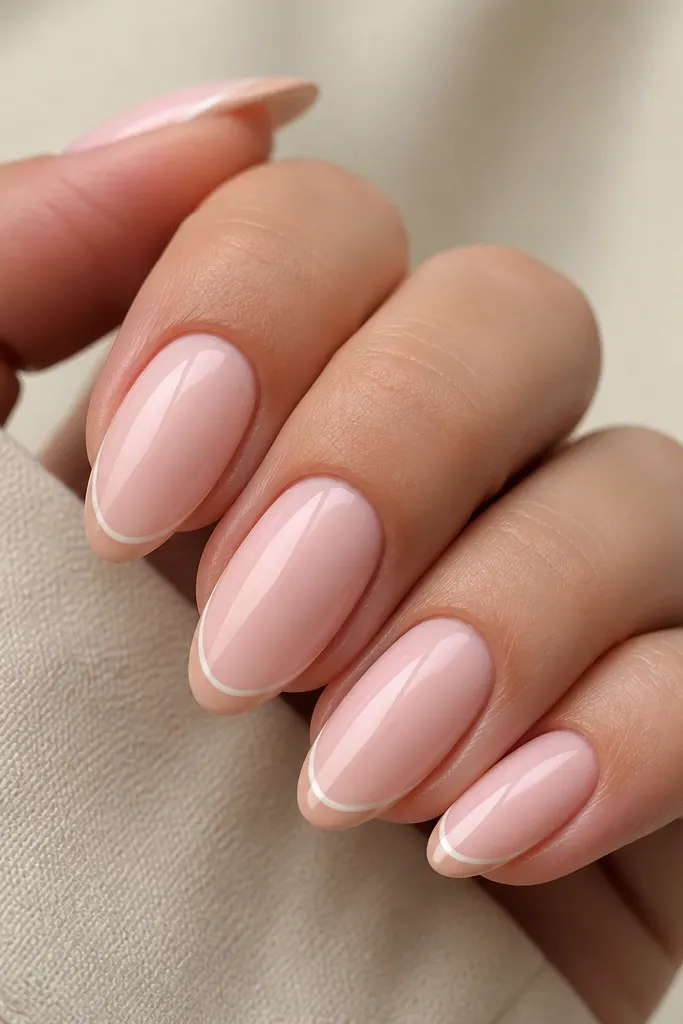
This look is the one I reach for when I want “romantic but grown-up” without adding sparkle. The warm baby pink base looks creamy, not chalky, and the micro French keeps the almond silhouette sharp. I like the peachy edge because it warms up the whole nail — it makes your cuticles look neat and your hands look slightly brighter. It flatters fair to medium skin tones especially well, but it also works on deeper skin because the warm blush doesn’t wash out. For weddings, office days, and photos where you don’t want your nails to steal attention, this is the safest choice.
Editor's noteUse a striping brush you can control with your pinky resting on the table. It makes the French arc look even from nail to nail.
Start by applying two thin coats of the warm baby pink, curing fully between coats. With a fine striping brush, draw a micro French line following the natural curve of the almond tip, keeping the line about 1 mm wide. Add the peach-beige edge right at the very tip — think “border,” not a thick band. Finally, place a tiny white highlight just inside the peach line to give the tip a crisp, dimensional look, then seal with a glossy top coat.
Skip thisAvoid a thick French — it shortens the almond shape and makes the design look like press-on nails.
2. Peach-Glazed Baby Pink Almonds with Soft Shine
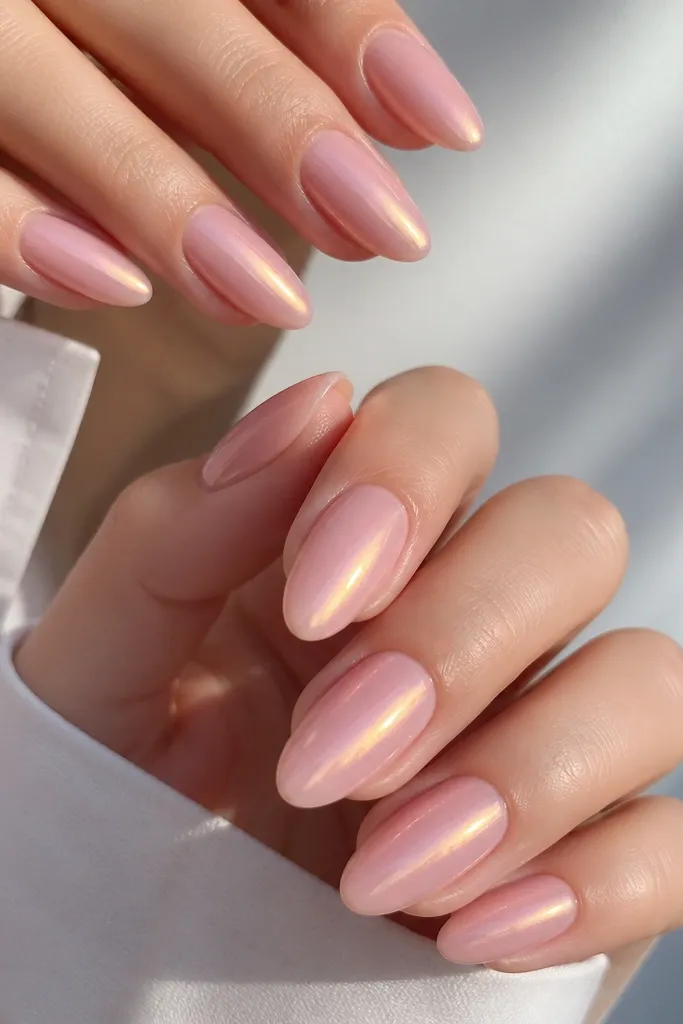
A glazed finish is my favorite trick for cozy pink almond nails warm tones because it gives depth without adding decals. The base looks like a sheer warm blush over a milky layer, so your nails look hydrated and “lit from within.” I get the best effect when the shade has a peach tint, not a rose tint — it reads softer and warmer in winter light. This flatters all skin tones, but it looks especially pretty on medium and olive complexions because the peach glow matches the undertone. If you hate glitter but still want that “something special,” this one is for you.
Editor's noteIf your top coat runs watery, do a slightly thicker first pass and cure longer. The sheen looks more “glass” that way.
Start with a thin milky-beige layer at the base of the nail, then cap the rest with a sheer warm baby pink gel. Cure and check the coverage — you want it slightly see-through, like glass. Add a second jelly layer, focusing on the center and letting it thin out a touch near the edges so the almond tip stays refined. Finish by applying a glossy top coat that’s thick enough to smooth the surface, which makes the glazed reflection look even.
Skip thisAvoid fully opaque pink — it kills the glow and makes the nails look flat.
3. Velvet Matte Baby Pink with Glossy Cuticle Halo
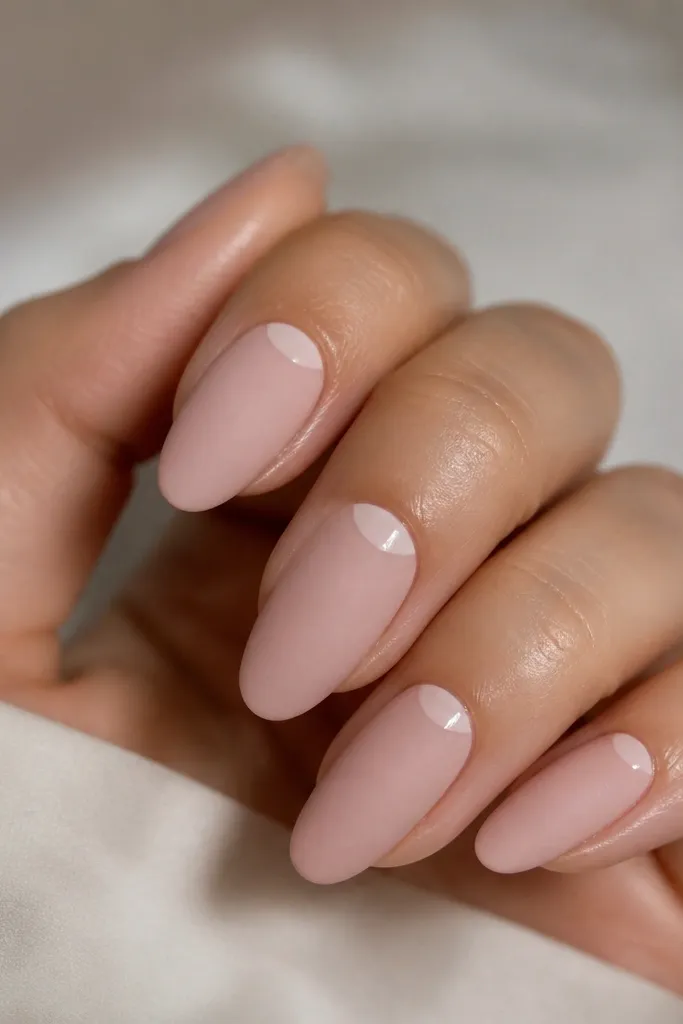
This is soft glam with texture, and it’s the kind of manicure people ask about because it looks “touchable.” The matte velvet finish makes the warm pink look silky, not shiny, and the glossy cuticle halo adds a clean, flattering highlight that makes your hands look polished. I love this on people who have dry cuticles because the gloss halo draws attention away from roughness and makes the area look intentional. It works on fair through deep skin tones because the warm baby pink stays neutral. For everyday wear and cozy weekends, it looks expensive without needing gems.
Start with two coats of warm baby pink gel and cure until fully hard. Apply a velvet matte top coat over the whole nail, but leave a small 1 mm gap around the cuticle line. With a fine brush, paint a glossy top coat crescent right at the cuticle — follow the curve of your nail plate, not a straight line. Cure again, then check under light from the side to make sure the halo catches evenly.
Use a small makeup sponge to blot the matte coat if it feels too thick in the center. It keeps the velvet finish smooth.
Avoid getting matte top coat on the cuticle halo. It turns the halo dull and defeats the whole contrast.
4. Creamy Baby Pink Almonds with Tiny Rhinestone Cluster at Sidewall
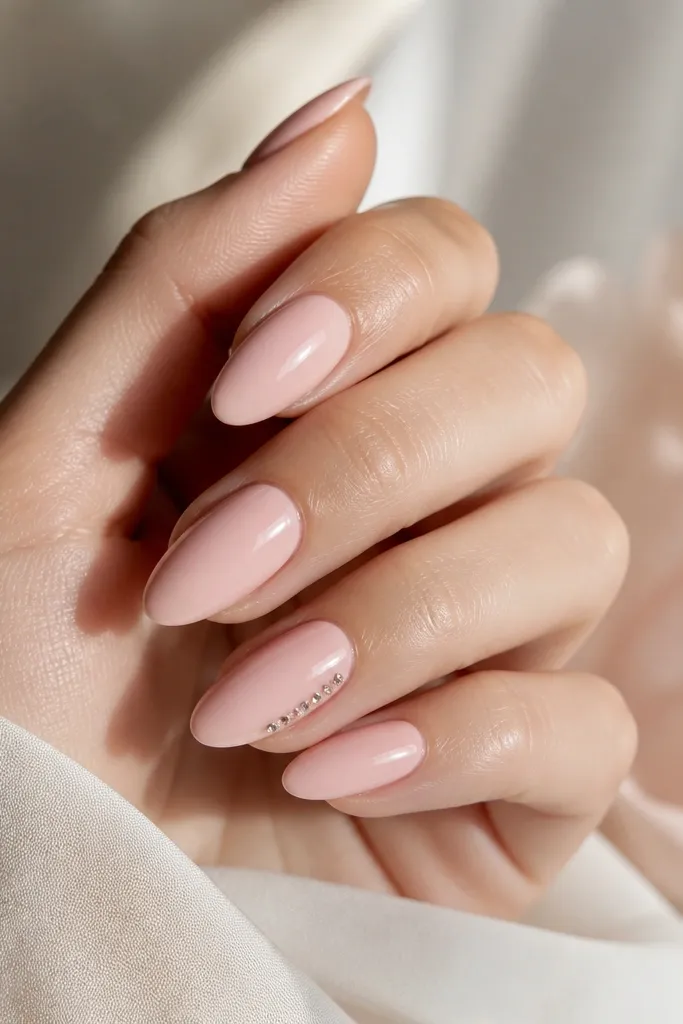
If you want cozy pink almond nails warm tones but still need a little sparkle, this sidewall cluster is the cleanest way I’ve found. The warm creamy base keeps everything soft, and placing rhinestones on the sidewall makes the nail look longer and more “snatched” than a centered gem. I’ve worn this at holiday dinners and it never felt overdone because the stones are tiny and spaced. It flatters fingers with shorter nail beds because the cluster creates a vertical line. It also looks great on medium to deep skin tones where warm pink shows up beautifully.
Editor's noteAdd a tiny drop of gel to the center stone first, then place the other two. It prevents the cluster from sliding.
Start with two coats of creamy warm baby pink gel, keeping the edges thin so the sidewalls don’t look bulky. Pick one accent nail and mark the gem placement about 3-4 mm above the cuticle and slightly toward the outer edge. Use a dotting tool to place three micro rhinestones in a tight triangle, then secure with a thin gel layer over the stones. Seal everything with a glossy top coat, but avoid dragging the brush over the stones too long so they don’t flood or sink.
Skip thisAvoid a big gem at the cuticle — it looks heavy and can lift faster.
5. Warm Baby Pink Almonds with Blended Ombre Tip (No Hard Line)
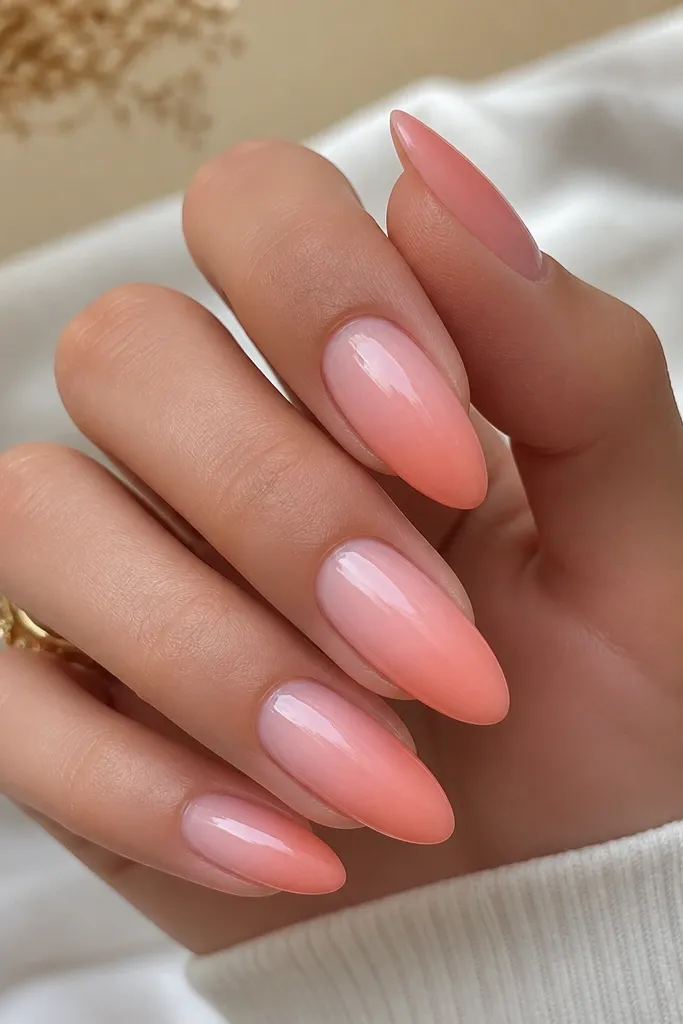
This ombre is cozy because the colors melt together instead of looking painted on. The warm baby pink base makes your nails look fresh, while the deeper peachy tip adds shape and depth. I like it for hands that look better with gentle contrast — it’s flattering on both cool and warm skin tones, but it shines on people with golden undertones. It also works for short-to-medium almond lengths because the fade guides the eye toward the tip. If you hate stark gradients, this blended version is the fix.
Editor's notePractice on a spare nail tip first and stop blending earlier than you think. Over-blending makes it look muddy.
Start by painting two coats of warm baby pink, then let it cure fully. For the tip, sponge a deeper peachy pink gel onto the last third of the nail using a makeup sponge cut into a small triangle. Blend while the gel is still workable by lightly dabbing and pulling the color upward toward the center. Wipe the sponge excess on a paper towel so you don’t leave harsh dots, then top coat with a glossy layer to smooth the surface.
Skip thisAvoid a hard ombre line — it makes the almond look shorter and the manicure looks DIY.
6. Baby Pink Almonds with Warm Pearl Dotting (Micro Pearls)
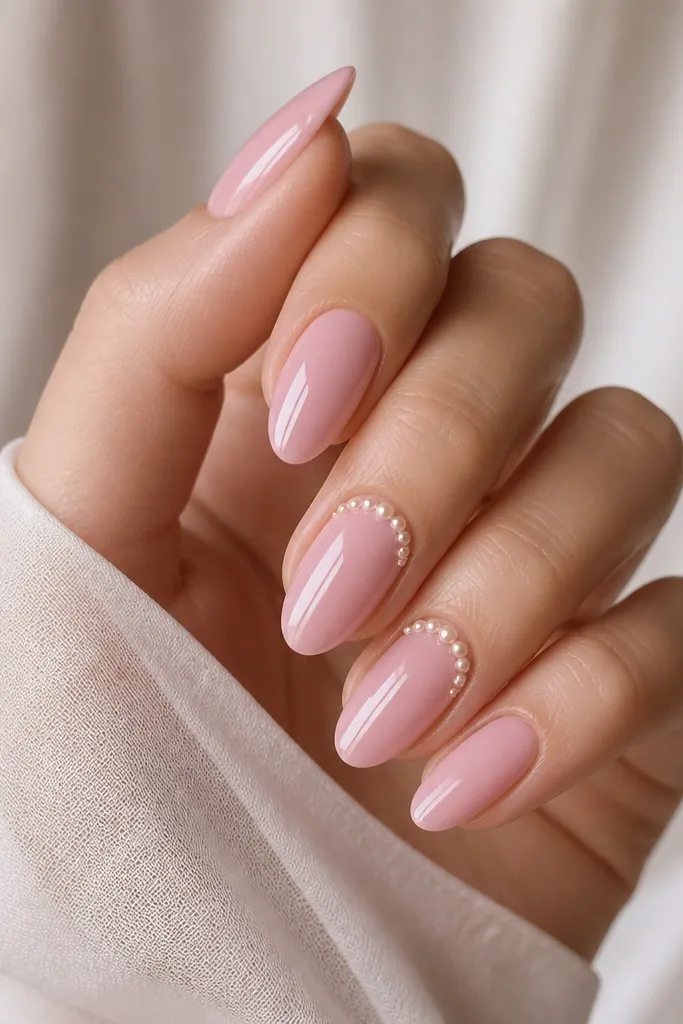
Micro pearls give you that “cozy jewelry” vibe without going full bridal. The warm ivory dots look softer than silver studs and they match the warm undertone in cozy pink almond nails warm tones. I like placing the pearls in a subtle arc because it frames the almond tip and makes the nail look longer. This is flattering for hands that need a little visual structure, like if your nails have uneven natural ridges. It also photographs beautifully because pearls reflect light in tiny points, not big sparkles.
Editor's noteUse pearls labeled as micro or 0.8-1.2 mm so the arc stays delicate. Larger pearls look bulky on almond tips.
Start with two coats of warm baby pink gel, then cure. On one or two accent nails, map an arc of placement about 4-5 mm from the cuticle and taper toward the sidewalls. Use a dotting tool with a small amount of gel to set micro pearl beads, then cure them in place. Finish with a glossy top coat, but feather it around the pearls rather than covering them thickly so they stay rounded and reflective.
Skip thisAvoid clumping pearls too close together. It turns into a textured lump instead of a refined accent.
7. Warm Pink Almonds with Nude-Taupe Half-Moon at Cuticle
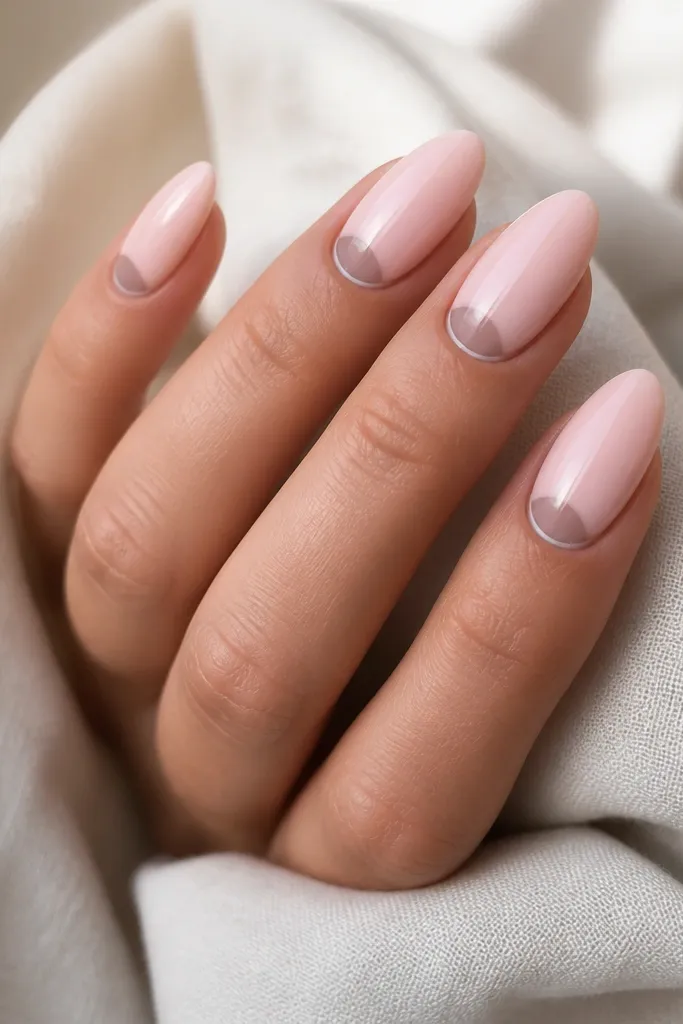
This half-moon detail is my go-to when I want warm pink but with a graphic edge. The nude-taupe shade sits close to your skin tone, so the cuticle area looks intentional and elongated. I like it because it works with short almond lengths too — the detail gives structure even when the free edge is small. It also flatters hands with warm or neutral undertones because the taupe doesn’t pull gray. For work, brunch, and everyday wear, it feels polished without any sparkle.
Editor's noteIf your cuticle shape is uneven, use a cuticle stencil sticker for one nail to get the curve right. Then freehand the rest.
Start by applying two coats of warm baby pink and cure. Use a thin liner brush to paint a half-moon shape at the cuticle — aim for about 2 mm of width and keep the curve following your natural cuticle. Leave a hairline gap between the half-moon and the cuticle edge so it looks crisp, then cure. Clean up the outline with a small brush dipped in remover, then seal the whole nail with glossy top coat for a smooth finish.
Skip thisAvoid a wide half-moon. Too much taupe makes the nail look shorter.
8. Soft Rose-Champagne Shimmer Fade on Warm Pink Almonds
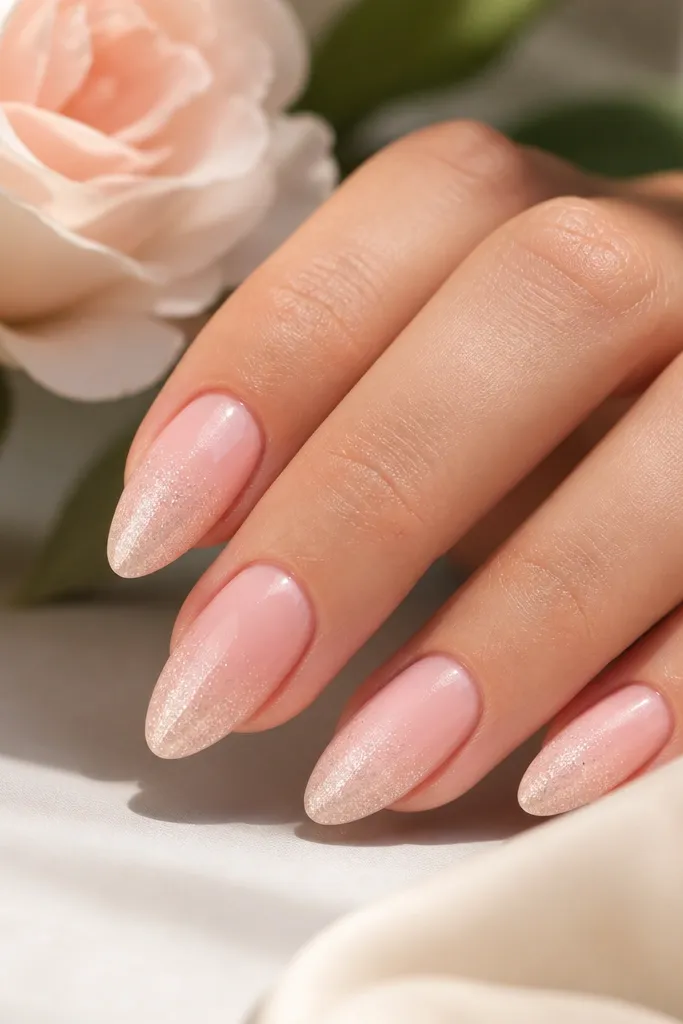
This is the “cozy but still special” option when you want shimmer without glitter chunks. The rose-champagne particles catch light in tiny flashes and they look warm against baby pink. I love the fade placement because it keeps the cuticle area clean and makes your almonds look longer. This works on every skin tone, but it’s especially flattering on fair and light-medium skin because the champagne reads warm instead of icy. For parties, date nights, and holiday dinners, it hits the sweet spot.
Start with two coats of warm baby pink and cure. Apply a sheer layer of clear gel across the bottom two-thirds of the nail. Dip a fine brush into a rose-champagne shimmer gel and place it at the tip, then drag gently upward about halfway to create the fade. If the shimmer looks too heavy, wipe the brush on a paper towel and go back lightly until it looks like a gradient. Finish with a glossy top coat to lock everything down and smooth the texture.
Use shimmer gel over loose glitter. Gel keeps the fade soft and prevents gritty sparkle from snagging.
Avoid packing shimmer all over the nail. It turns the look into full glitter and loses the almond-length effect.
9. Warm Pink Almonds with One-Line Heart in Fawn Nude
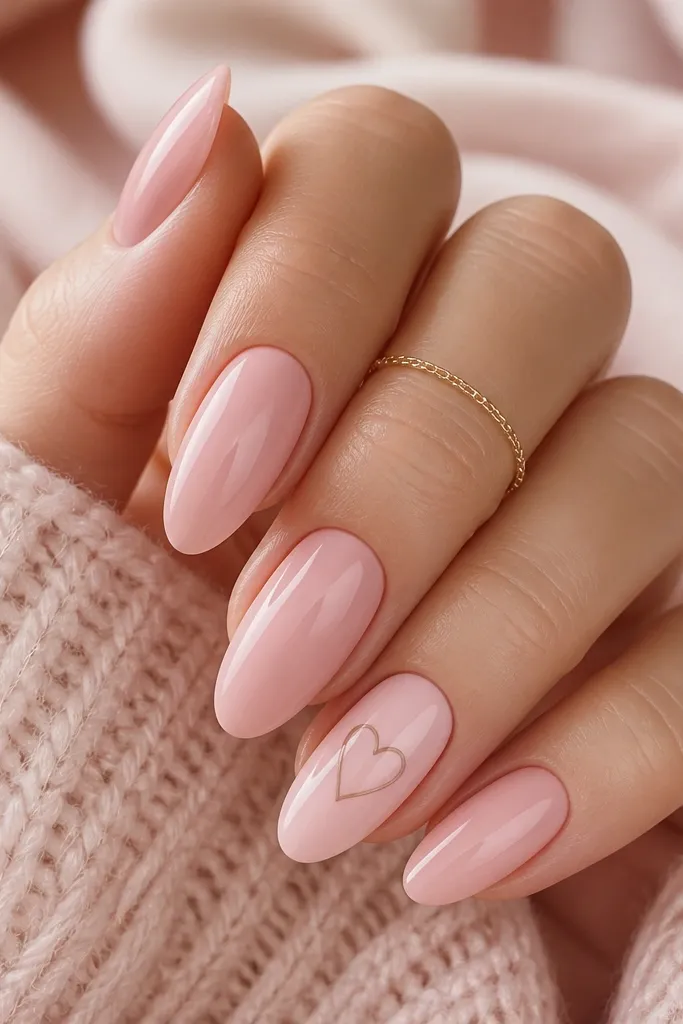
A one-line heart is the most romantic detail that still feels clean. The warm baby pink base keeps it cozy, while the fawn nude outline makes the heart look subtle instead of childish red. I like placing the heart slightly higher than the middle so it sits toward the upper curve of the almond and doesn’t crowd the tip. This looks flattering on shorter almond lengths because the line art is thin and doesn’t add bulk. It’s perfect for Valentine season, anniversaries, and anyone who wants romance without glitter.
Editor's noteIf your line shakes, rest your hand on a folded towel and move your brush with your wrist, not your fingers.
Paint all nails with two coats of warm baby pink gel and cure. On the accent nail, use a fine nail art liner and draw a single continuous heart outline, leaving space inside so the heart stays airy. Place it about 3-4 mm above the center point of the nail, centered from sidewall to sidewall. Let it cure, then apply one thin glossy top coat across the whole nail, avoiding heavy layers over the line so it stays crisp.
Skip thisAvoid filling the heart in. A solid heart looks thick and can look cheap on almond nails.
10. Baby Pink Almonds with Warm Tan Micro Swirl on Accent Nail
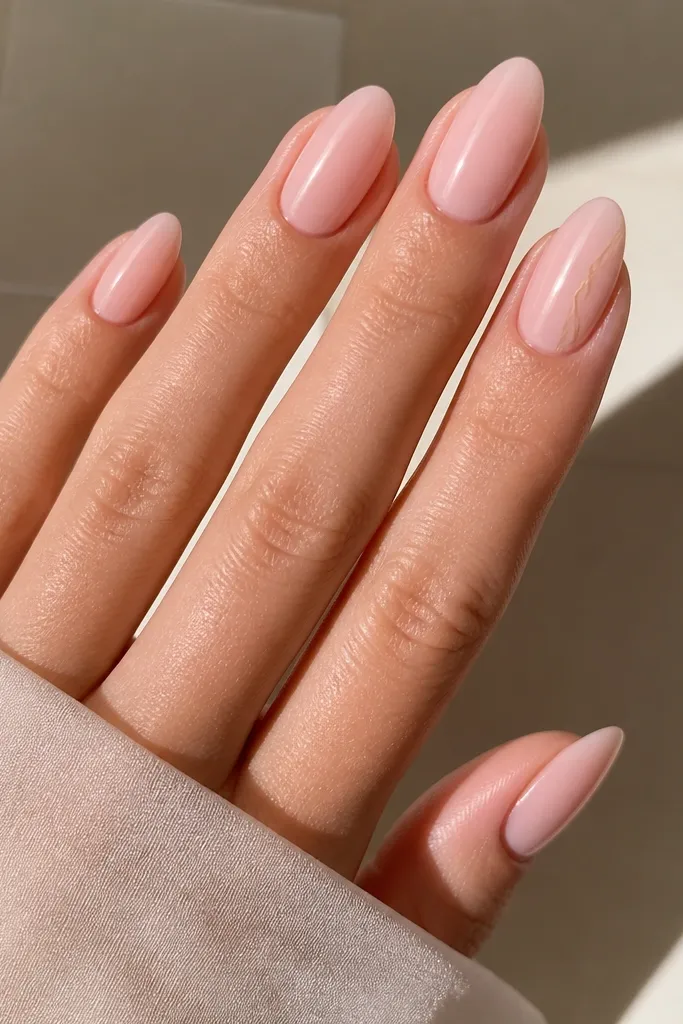
This is a design I did on my own nails before a weekend trip, and it’s stayed my favorite for “soft statement.” The warm tan micro swirl reads like a hand-drawn ribbon, and it adds personality without making the manicure busy. I keep the swirl thin and close to the sidewall so it enhances the almond’s natural curve. It flatters fingers with short nail beds because the swirl pulls the eye up and gives movement. On medium to deep skin tones, the tan line looks warm and intentional, not muted.
Start with two coats of warm baby pink gel and cure. Choose one accent nail and apply a clear gel layer only where the swirl will sit so the line art has a tacky surface to grip. Using a fine liner brush, draw a micro swirl near the outer sidewall — keep it small, about the size of a pea — and add a second faint curl tucked slightly behind. Cure, then seal with glossy top coat, making sure the brush passes smoothly over the line art so it doesn’t catch or lift.
Use a liner brush with a fine point and clean it often. A dirty brush makes the tan line look cloudy.
Avoid big swirls or multiple accent nails with swirls. It shifts from cozy to chaotic fast.



