
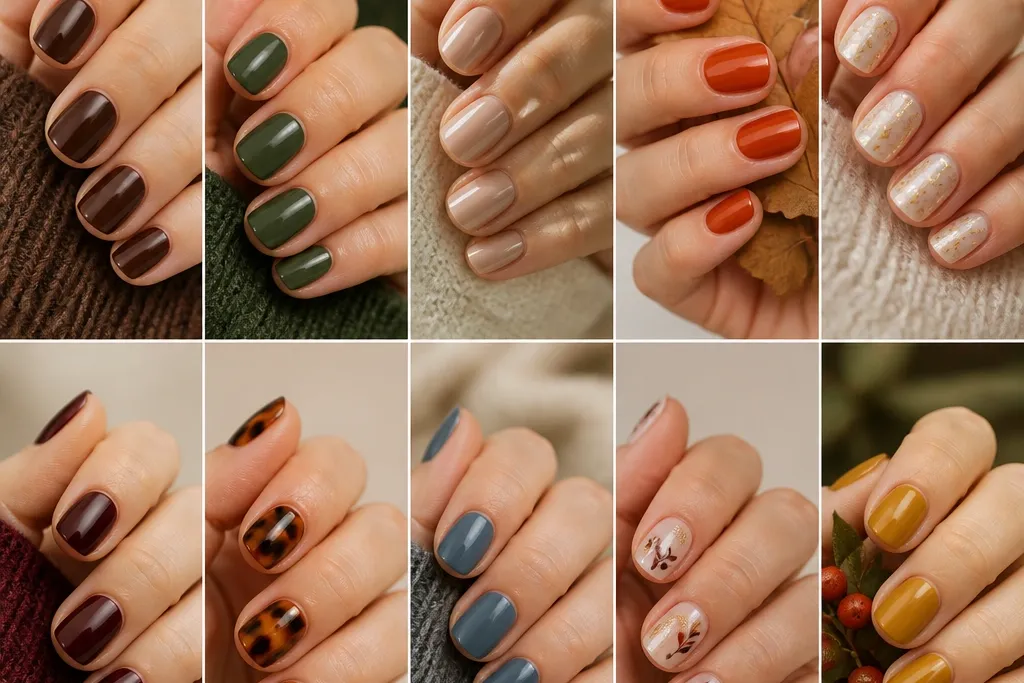
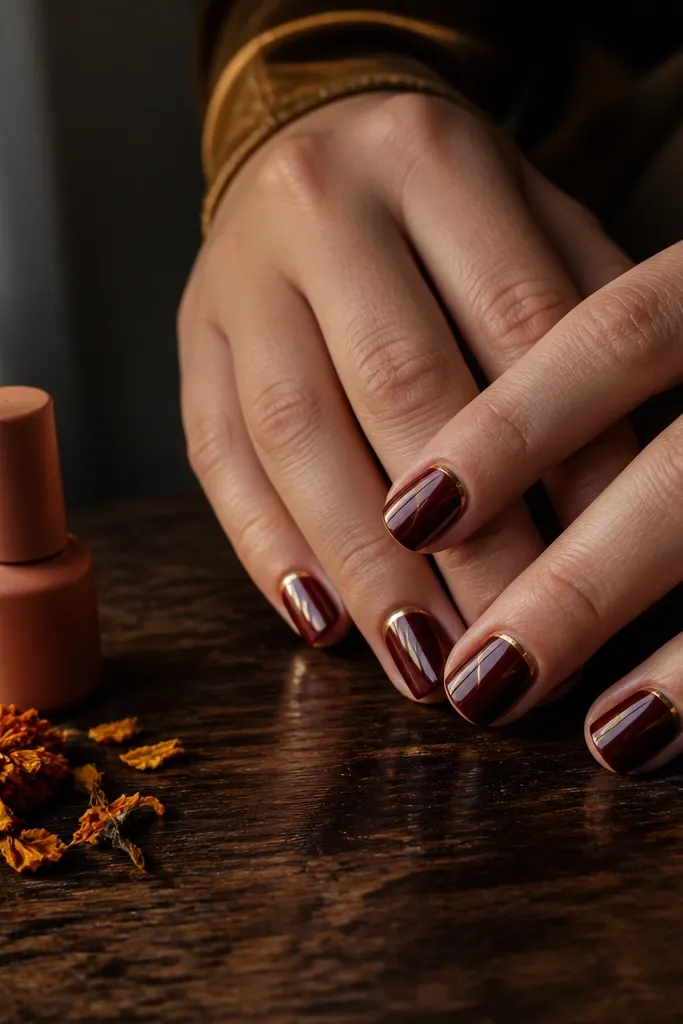
1. Oxblood V-tip with micro-glitter edge
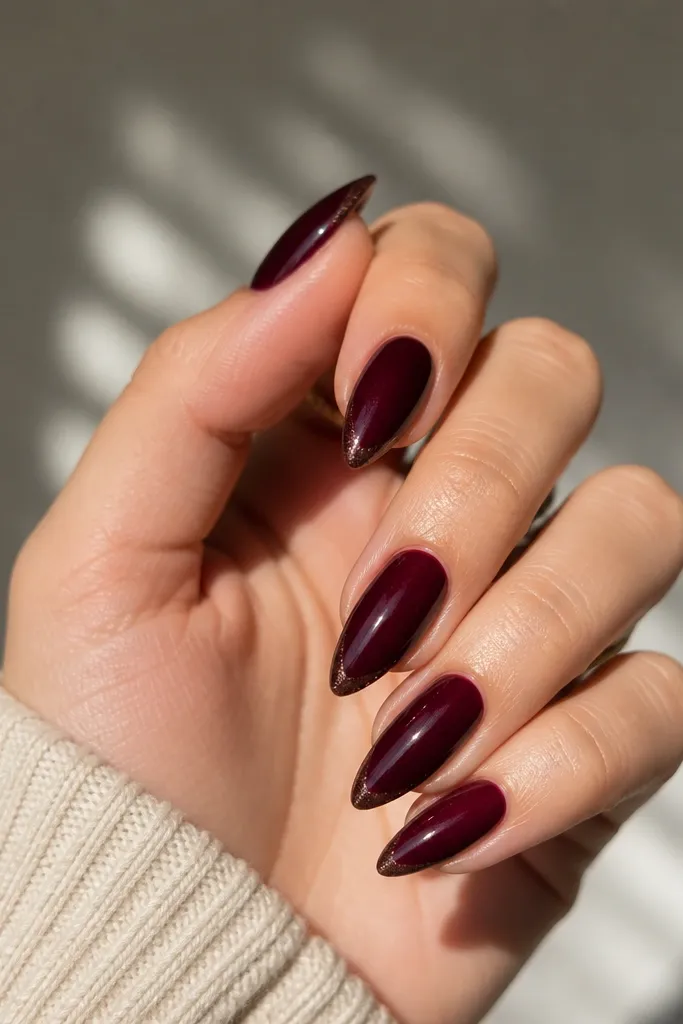
This is the fall set I reach for when I want “expensive” without adding bulk. The oxblood reads rich on every skin tone because it’s deep and cool — it looks especially good if you have fair to medium skin with pink or neutral undertones. The V-tip is narrow enough for short nails, so your nail bed still looks like nail bed, not just a block of color. The micro-glitter sits only at the edge, so it catches light like jewelry instead of looking sparkly everywhere.
Start with an oxblood gel polish in two thin coats, keeping the color centered so the sides taper slightly. Then use a striping brush to paint a clean V shape at the tip: the point of the V should land about 1-2 mm above the very edge of your nail. Mix or apply micro-glitter along the sides of the V, not the middle, and press it lightly so it stays crisp. Finish with a glossy topcoat, and cap the free edge with the last coat so it resists chipping.
Editor's noteAfter curing, run a cotton swab with alcohol around the V-tip to sharpen the edges. If the glitter looks thick, add one more thin topcoat rather than more glitter.
Skip thisAvoid a wide French tip — it makes short nails look stubby and cheap-fast.
2. Burnt sienna matte with glossy leaf cutout on one accent nail
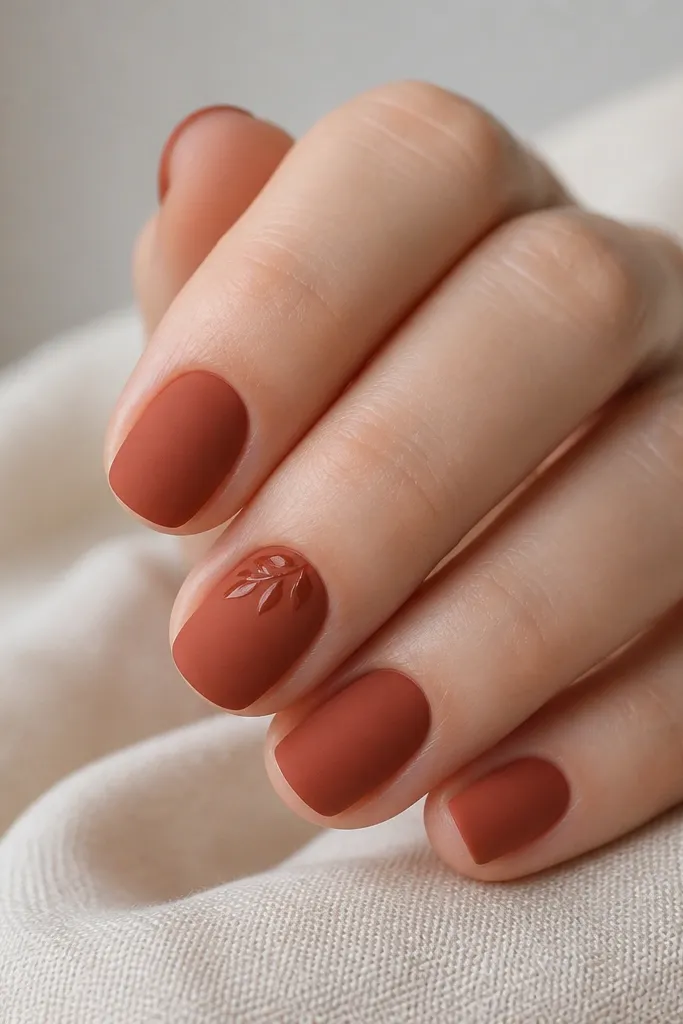
Matte + one glossy accent is a foolproof way to look styled, not “just painted.” Burnt sienna flatters warm undertones and also looks striking against cool skin because it has that earthy orange-brown warmth. The glossy leaf near the cuticle makes the nail look longer because it starts high and guides the eye downward. I like one accent only on ring fingers because too many leaves start looking like autumn confetti.
Paint all nails with burnt sienna and cure. Apply a matte topcoat to every nail except the accent nail so the leaf has contrast. On the accent nail, use a thin liner brush to paint a leaf shape in deep chocolate brown or oxblood gloss — keep it small, about the width of your cuticle. Finally, seal with glossy topcoat on the accent only, and matte topcoat on the rest so the textures stay intentional.
If your matte topcoat looks patchy, buff the color lightly after curing and remove dust with a lint-free wipe before applying matte.
Don’t put matte over glitter or foil accents — it kills the shine and makes it look dull.
3. Chocolate brown base with thin gold diagonal stripe
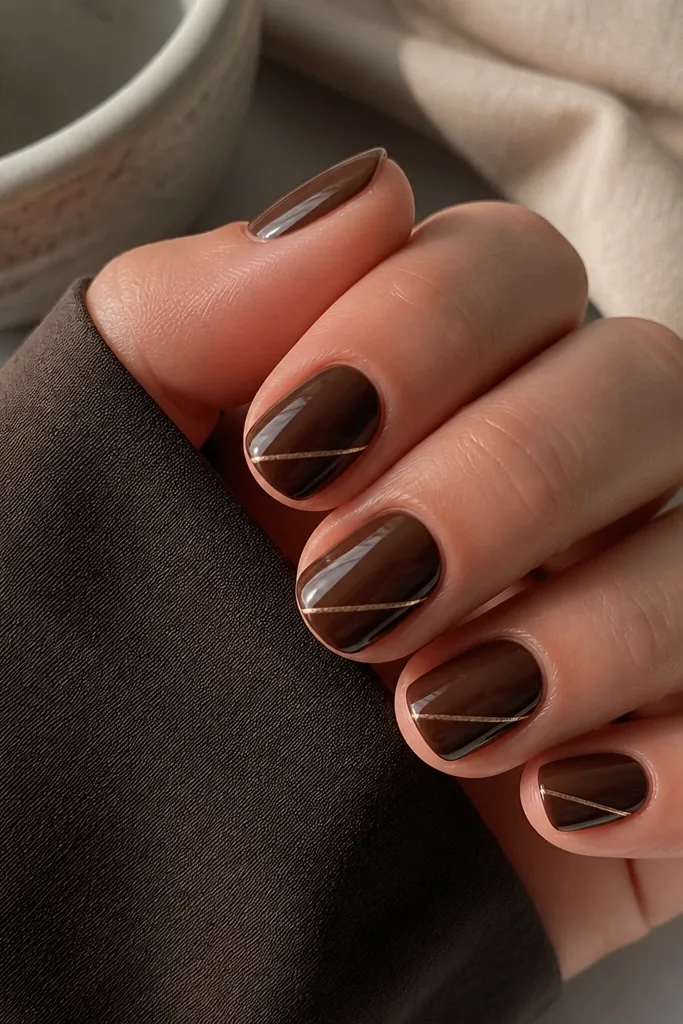
A single diagonal stripe is my go-to for a clean expensive look on short nails. Chocolate brown is flattering because it reads grounded and not too red, and the gold line adds warmth without turning into a full-on party manicure. The stripe angle matters: it should run upward toward the tip so the nail looks longer. This set looks great for neutral skin tones and also pops on darker skin because the brown and gold create high contrast.
Start with a chocolate brown base in two thin coats, centered so the color doesn’t flood your sidewalls. Use striping tape or a liner brush to place a gold stripe diagonally — start around the center of the nail and angle toward the tip, leaving a small gap from the side edges. Apply gold foil gel or metallic gold polish on the stripe only, then cure. Seal everything with glossy topcoat, and cap the stripe area with a thin layer so it doesn’t lift at the edges.
Editor's noteClean up the stripe edges with a small brush dipped in gel cleanser before curing — you’ll get that crisp 'salon' line.
Skip thisSkip thick stripes — a chunky line makes short nails look wider instead of longer.
4. Cocoa ombre with sheer nude center and burnt orange tips
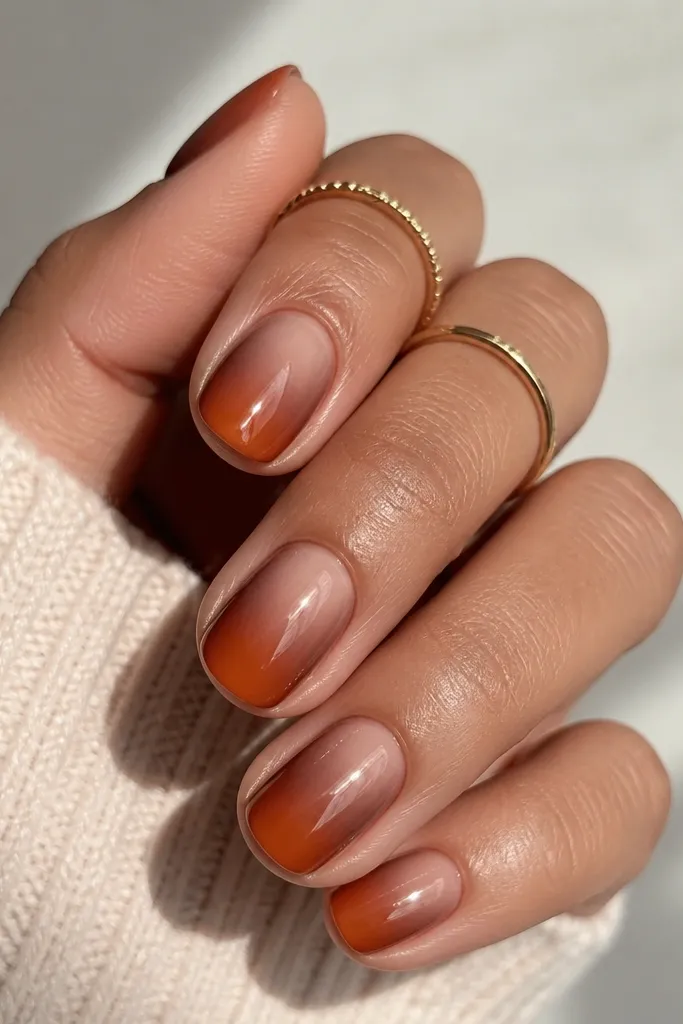
Ombre works on short nails when the nude center stays sheer and the color fades softly. This design uses a sheer nude base to keep the nail bed visible, then layers cocoa brown for depth and burnt orange at the very tips for that autumn punch. It flatters a wide range of skin tones because the nude center matches your natural nail bed color. If you want an expensive look without sharp lines, this is the one — it looks smooth and intentional.
Paint a sheer nude gel as your base and cure. Sponge cocoa brown starting from the mid-nail toward the side edges, keeping the center lighter so the nail bed shows through. With a smaller sponge or a makeup sponge corner, dab burnt orange only at the tip and blend upward just 1-2 mm. Finish with a glossy topcoat to smooth out the sponge texture, and cap the free edge carefully so the ombre doesn’t chip.
Use a makeup sponge that’s slightly damp with cleanser; dry sponges can leave grainy edges on ombre.
Don’t make the nude center opaque — if it covers your nail bed, the ombre shortens the nail.
5. Plaid micro-checks in deep green and black on a nude base
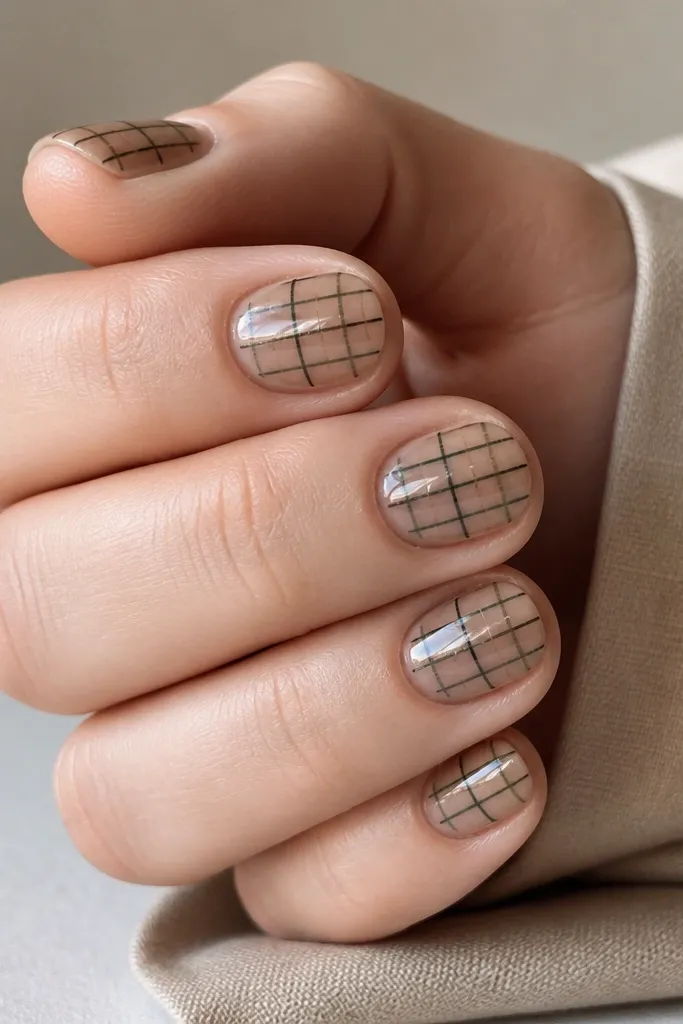
Plaid can look cheap if the squares are too big, but micro-checks look pricey because they’re controlled. A nude base makes the pattern readable and keeps the set light enough for short nails. Deep green and black are a classic fall combo that flatters both warm and cool skin tones — green brings out the warmth, black adds definition. The key is crisp lines and even spacing so the eye sees neat fabric, not messy paint.
Start with a nude base in a sheer pink-brown tone and cure. Use a thin liner brush or nail striping tape to draw vertical lines in black first, then add horizontal lines in deep green. Keep each “check” small — about the size of a grain of rice — and leave tiny gaps so the lines don’t blur. Seal with glossy topcoat, and if any lines look raised, do a second thin topcoat to level them.
Mark the center of the nail with a dot of base gel before you start lines. That dot keeps the plaid from drifting sideways.
Avoid thick plaid lines — they widen the nail and make the pattern look messy.
6. Auburn swirl tips with clear base and glossy finish
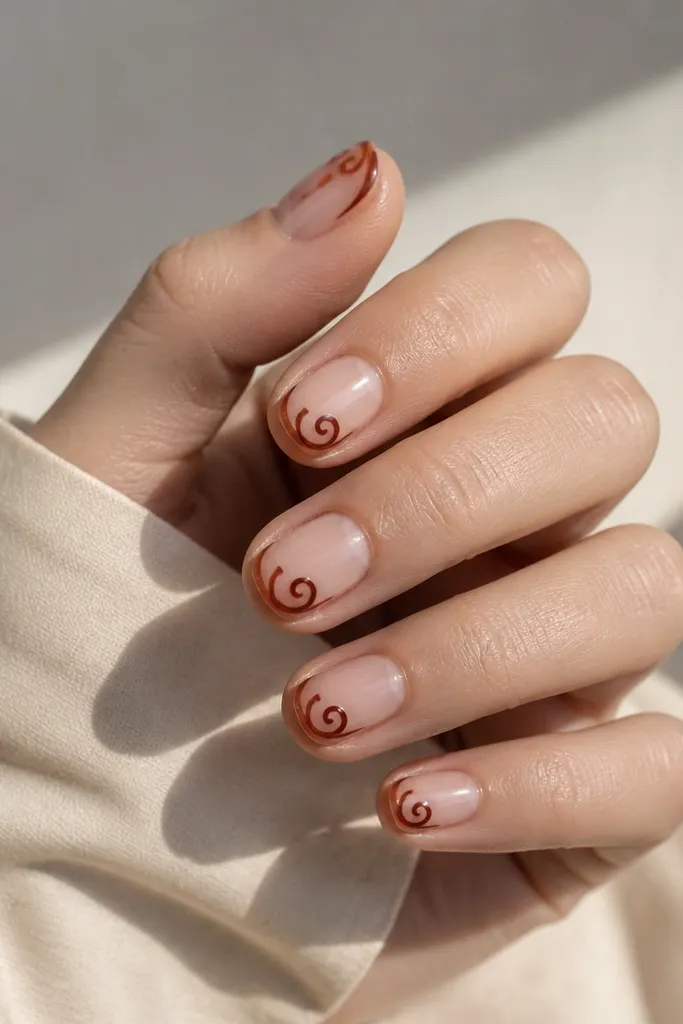
Swirls look artsy, but on short nails you need them tight and placed at the tip. A sheer or clear base keeps the nail looking long and fresh, while auburn swirls bring that autumn warmth. This set is flattering if your skin has golden, olive, or neutral tones because the auburn matches hair and clothing undertones. It also looks great for dressy events because the swirl detail feels intentional rather than random.
Apply a sheer base (clear builder gel or a nude sheer) and cure. Paint the tip area with a very thin auburn line using a detail brush, then curl it into a small swirl — keep each swirl about 2-3 mm wide. Add one or two swirls per nail depending on nail width, keeping them centered. Cure, then apply glossy topcoat and cap the tip so the swirl edges feel smooth.
Editor's notePractice the swirl on a paper nail guide or scrap nail first. The best-looking swirls have the same curve on every nail.
Skip thisDon’t put swirls across the whole nail — it crowds short nails and makes them look busy.
7. Smoked rose with copper chrome half-moon
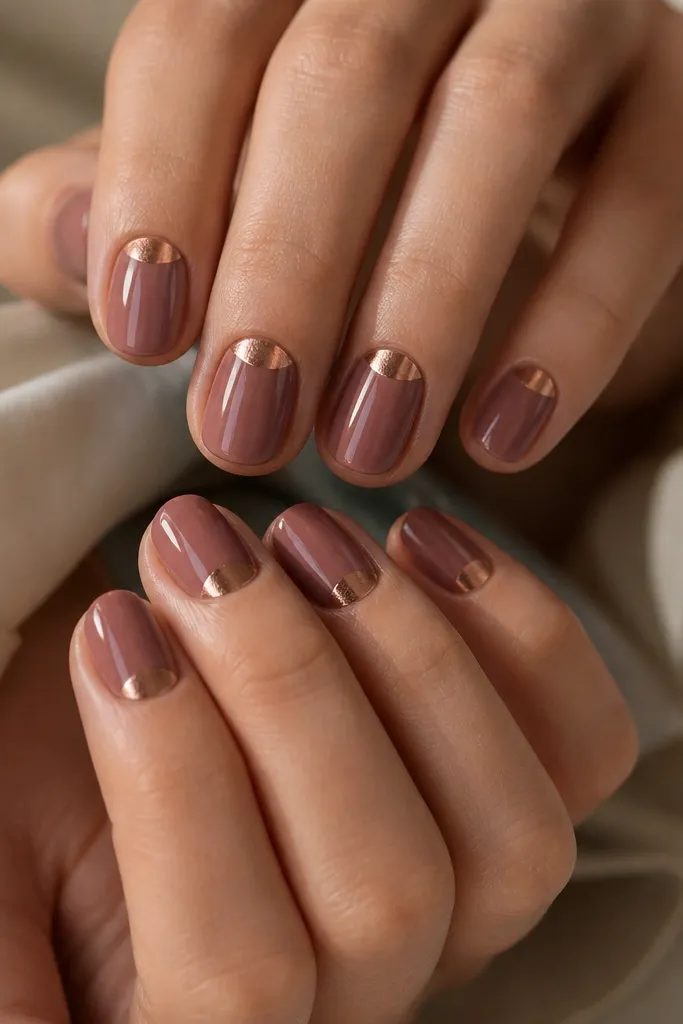
Copper chrome at the cuticle is the fastest way I’ve seen to make short nails look dressed up. Smoked rose is the perfect base because it’s muted and classy, not bright, so the chrome looks expensive instead of flashy. The half-moon placement at the cuticle makes your nail bed look fuller and slightly longer — your eye starts high. This works beautifully on fair, medium, and deep skin tones because copper shifts warm and flatters most undertones.
Paint smoked rose in two thin coats and cure. Use a small makeup sponge to apply copper chrome powder or chrome gel in a half-moon shape right at the cuticle line — keep it around 1-2 mm tall so it doesn’t cover the whole nail. Press gently and wipe away excess so the edge stays crisp. Seal with a glossy topcoat, but keep the first topcoat thin so the chrome doesn’t haze.
Editor's noteIf chrome looks patchy, clean the surface with cleanser and make sure the base is fully cured before applying chrome.
Skip thisAvoid a half-moon that’s too wide — it can look like a band and shorten the nail visually.
8. Satin nude with burnt orange "dot cluster" near the cuticle
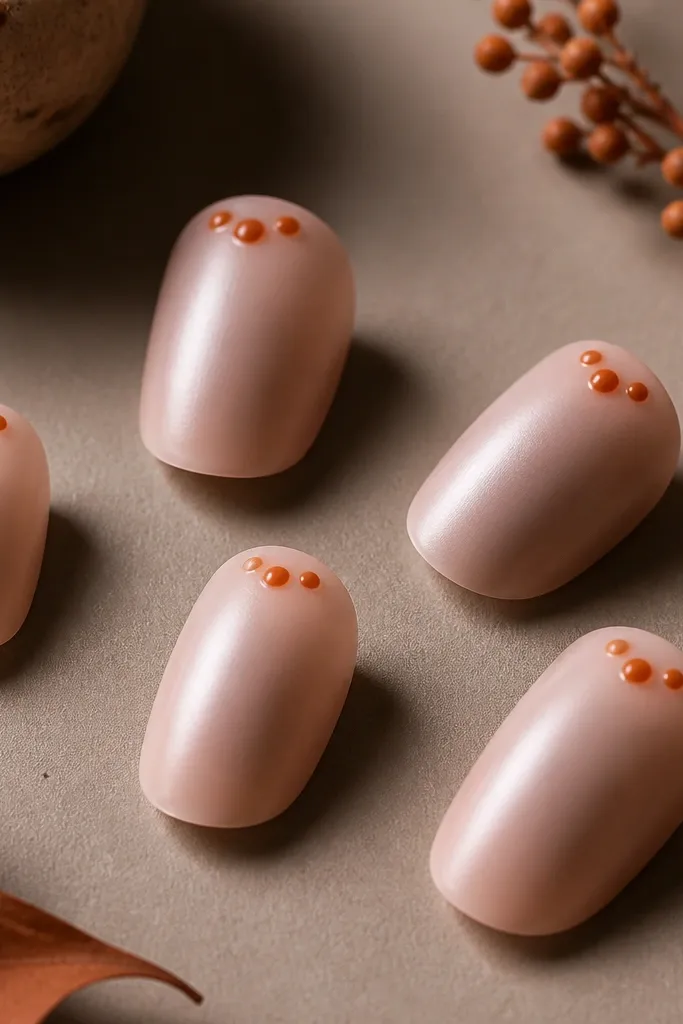
This is a subtle expensive look that still feels autumn. The satin nude base gives a soft, expensive blur, and the dot cluster adds warmth without taking over the nail. Burnt orange dots near the cuticle create a focal point high on the nail, which helps short nails look longer. This design looks great on every skin tone because it uses your natural nail bed as the main color and adds fall warmth only where you want attention.
Apply a nude base, then finish with a satin topcoat (not full matte). With a dotting tool, place 3-5 burnt orange dots clustered near the cuticle on each nail — keep the cluster tight, about the size of a pencil eraser. Add a glossy topcoat only over the dots so they look raised and crisp against the satin. Cure fully and then check the edges — if dots feel rough, add one more thin glossy topcoat.
Use the smallest dotting tip you have. Big dots look childish fast on short nails.
Skip random dot placement — if the cluster spreads out, it looks messy instead of intentional.
9. Forest green nail with gold leaf placement and negative space
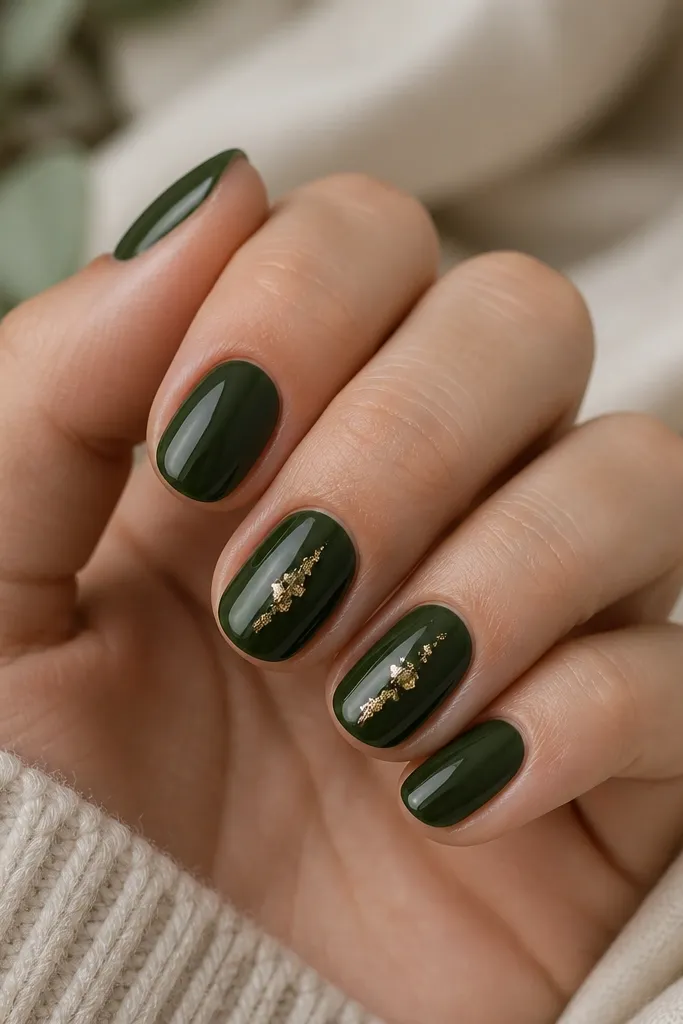
Gold leaf over forest green looks like a sweater you can wear to dinner. Negative space matters here: the leaf should sit in a small patch so the nail still has breathing room, especially on short lengths. Forest green flatters warm and neutral undertones and makes darker skin tones look extra sharp. The leaf also catches light in tiny irregular flashes, which reads high-end even if the rest of the nail is simple.
Paint all nails forest green in two thin coats and cure. Pick one or two accent nails and apply small pieces of gold leaf gel or adhesive in a patch about halfway between cuticle and tip. Press the leaf down lightly with a silicone tool, then leave surrounding areas untouched for negative space. Seal with a rubberized topcoat or a thin layer of topcoat first to trap the leaf, then a final glossy topcoat.
Editor's noteTrim stray leaf edges with a fine nail file after the first topcoat cures.
Skip thisAvoid covering the whole nail with leaf — it turns into a textured blob and looks cheap.
10. Deep taupe base with thin white "ribbon" line and gold dot
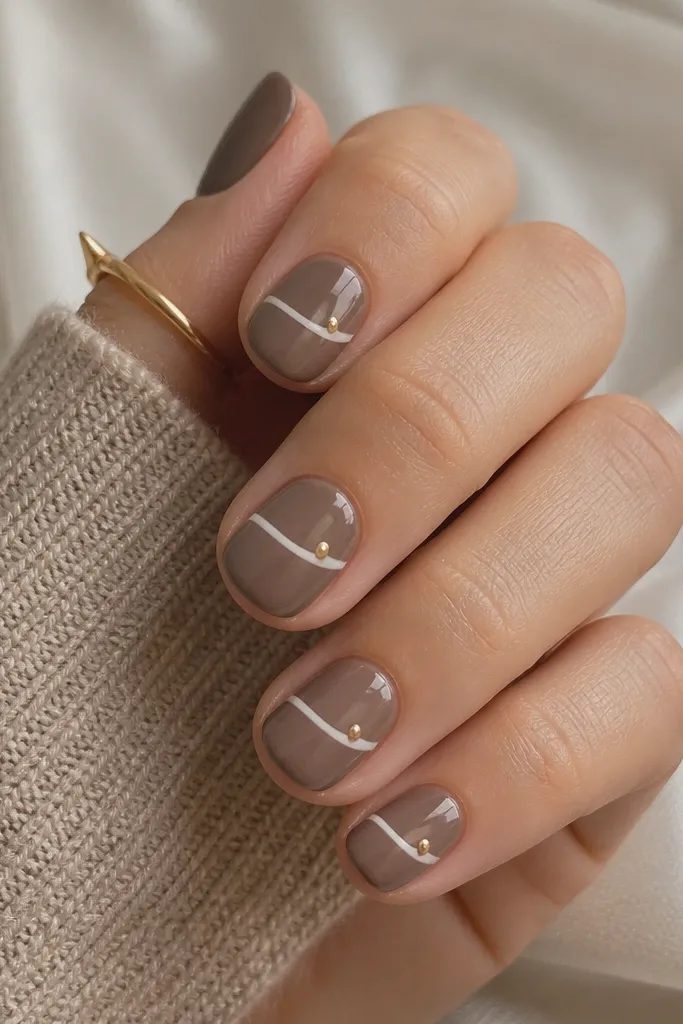
This design looks like fall jewelry because it’s graphic, not busy. Deep taupe is a smart base color because it’s neutral, so the white ribbon reads clean and the gold dot adds warmth. The ribbon line curves slightly upward, which visually stretches short nails. It flatters everyone because taupe sits between pink and brown and works with both warm and cool skin tones. For an expensive look, the line has to be thin and the gold dot has to be placed with intention.
Start with deep taupe gel in two thin coats and cure. Use a striping brush to draw a thin white ribbon line that curves from one side of the nail to the other, staying centered and leaving equal space on both sides. Add one small gold dot near the ribbon’s highest point — about 1 mm wide — then cure. Finish with glossy topcoat, and run the brush along the ribbon line so it feels smooth and doesn’t catch on fabric.
Editor's noteIf the white line looks shaky, use nail art tape to guide the curve, then remove it before curing.
Skip thisDon’t thicken the ribbon line — wide lines make short nails look crowded.



