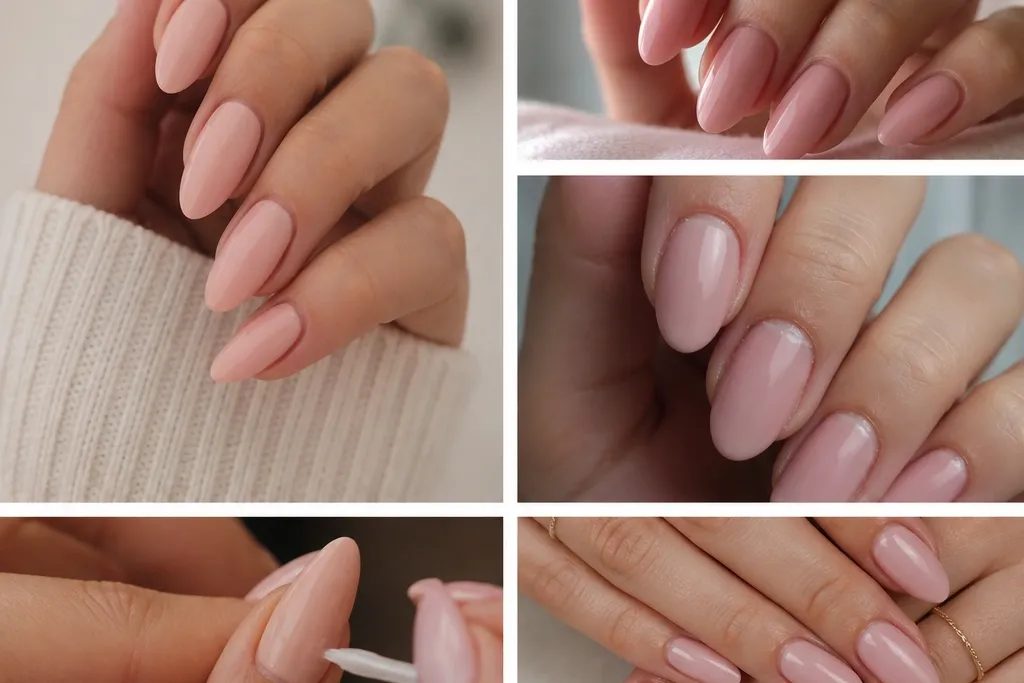
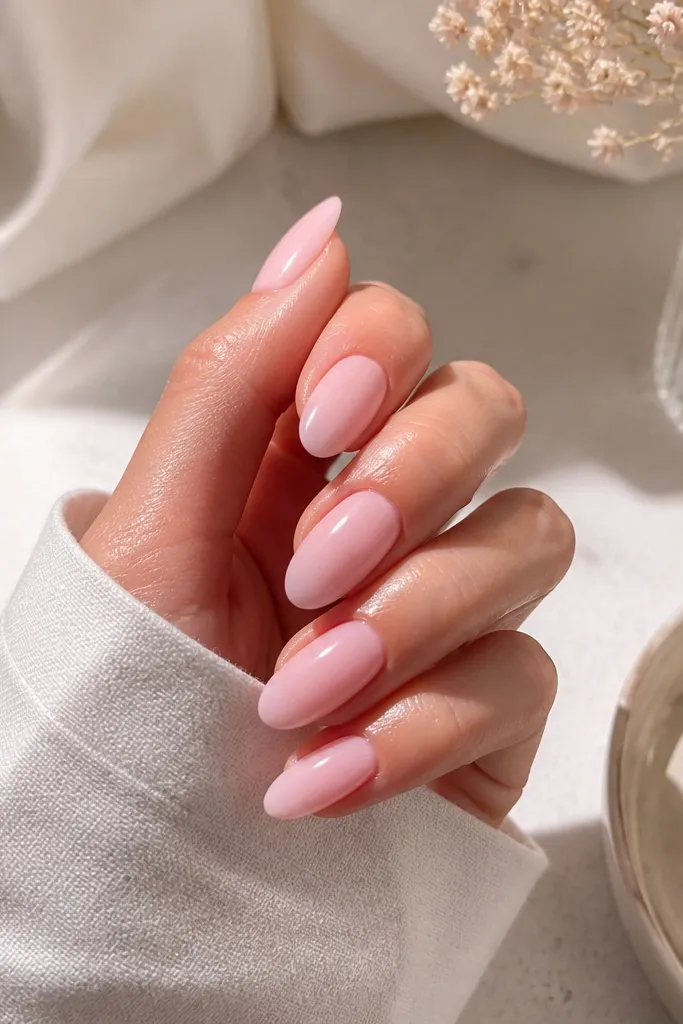
1. Sheer Baby Pink Almond with Crystal Micro-Glitter Cuticle Halo
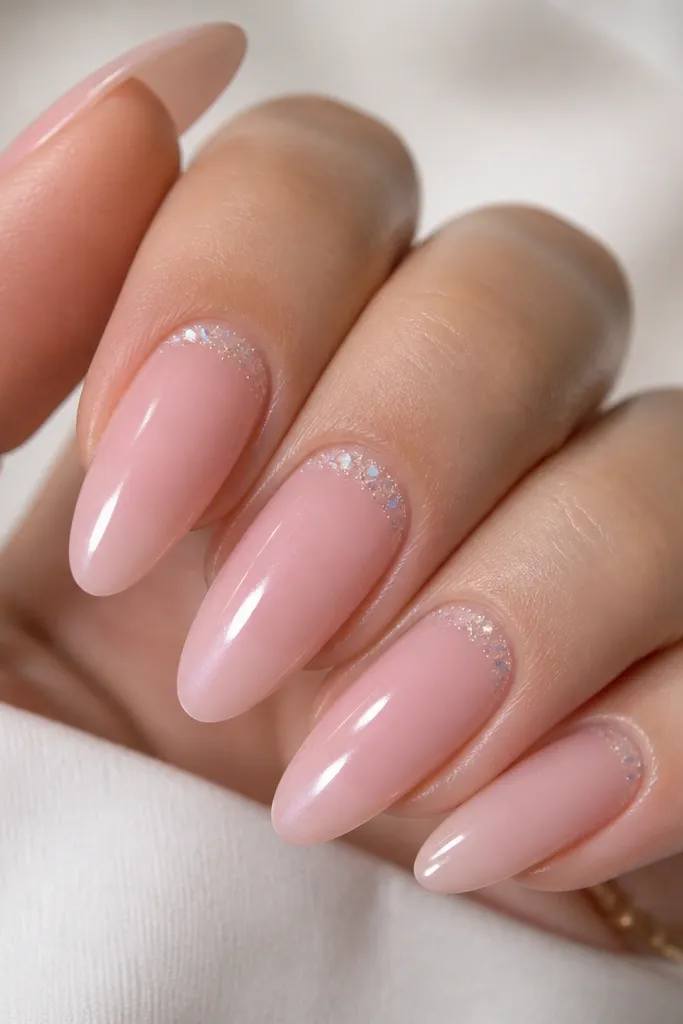
This look is the one I reach for when someone wants pink but hates “loud” nails. The sheer baby pink makes your nail bed look longer, and the glitter halo stays concentrated at the cuticle where it frames your fingers. I’ve worn this with both cool and warm skin tones by swapping the glitter: clear micro-glitter for cool undertones, and slightly warm champagne glitter for golden undertones. It’s feminine without feeling busy because the nail body stays mostly negative space. For photos, the crystals catch light only at the base, so you don’t get that sparkly glare across the whole nail.
Start by prepping and dehydrating your natural nail, then apply a thin primer and build your acrylic with a sheer baby pink. Shape the almond by filing the sidewalls first so the widest point sits near the upper third of the nail, not at the center. Add the micro-glitter halo by placing it in a tight band along the cuticle — leave a hairline gap so it doesn’t flood onto skin. Finally, seal with a thin top coat, cure fully, and do one extra light pass with a soft buffer after curing for a glassy surface.
If your glitter looks chunky, press it gently into a tacky layer with a silicone tool so it sits flat and doesn’t snag on sweaters or hair.
Avoid putting the glitter across the whole nail — it makes sheer pink look muddy and widens the almond.
2. Rosy Mauve Almond with French Tip Fade (No Hard White Line)
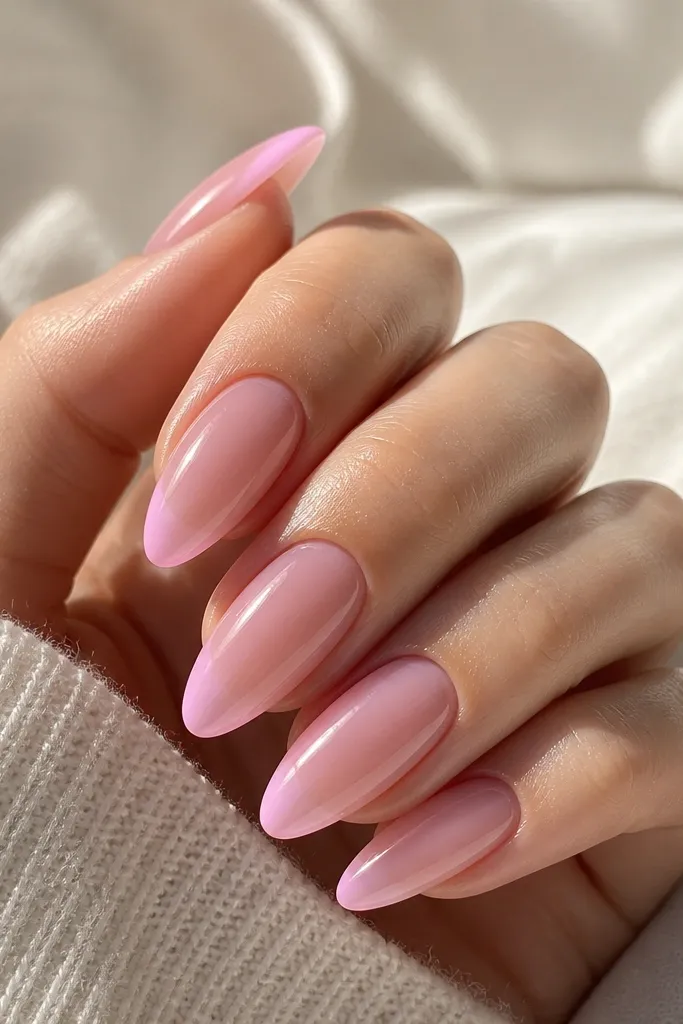
This is the French manicure that doesn’t turn dated. The base is a rosy mauve — not bright bubblegum — so it looks clean and skin-friendly. Instead of a crisp white stripe, the tip fades into a lighter mauve-pink, which keeps the almond point looking delicate. I’ve seen this flatter almost everyone because mauve sits between pink and neutral and doesn’t fight your undertone. It also works for short-to-medium almond because the fade creates a longer visual line without adding bulk at the edge.
Editor's noteUse a makeup sponge to test the color fade on a scrap nail tip first; if the transition is too stark, your “French” will look like tape.
Build your acrylic first using a medium sheer mauve pink so the nail bed looks naturally tinted. After shaping, create the tip fade by applying a lighter mauve-pink at the very edge and blending downward with a small acrylic brush — keep the blend thin. Do not paint a thick stripe; you want a gradient that disappears into the base. Seal with two thin top coats, and file only the tip surface lightly so you don’t scratch the fade.
Skip thisSkip a hard opaque white line — it makes almond look wider and more artificial on pink bases.
3. Peachy Bubblegum Almond with One-Third Tip Color Block
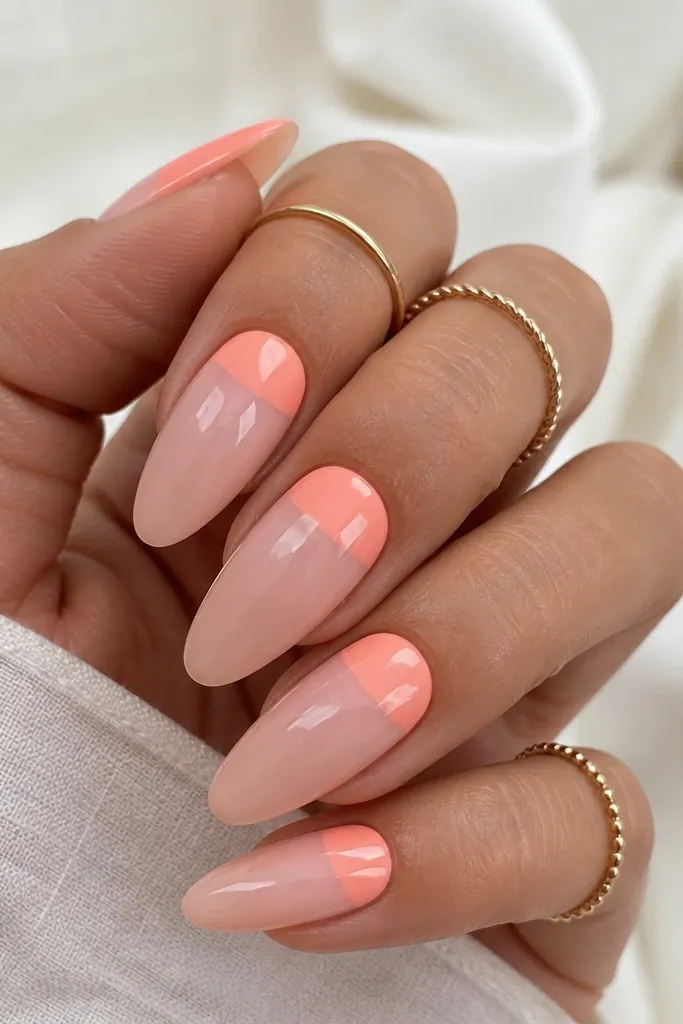
This design is bold but still flattering because the color block stays high and tidy. The base is a translucent nude-pink that lets your natural nail bed show through, so the peach doesn’t look heavy. I like peachy bubblegum when your skin reads warm — it gives that “sunlit” look without turning orange. The sharp edge at the bottom of the block creates structure, which is why this works on almond: it makes the tip look intentional, not just painted. It also hides tiny chips better than full-coverage pink because the base can stay sheer for longer.
Editor's noteFor crisp edges, use a thin liner brush and pull the color from the tip toward the edge in one direction — don’t overwork it.
Start with a translucent nude-pink acrylic, then shape almond with a narrow tip and clean sidewalls. Mark the placement of the color block by lightly brushing a thin strip of nude-pink as a guide — about one-third from the tip down. Apply the peachy bubblegum color only to the upper section, using thin layers so the block stays smooth and doesn’t shrink back. Finish by sealing with a glossy top coat and wiping the tacky layer with alcohol after cure if you use gel top coat.
Skip thisDon’t paint the block too low; if it reaches the center, almond becomes visually short and chunky.
4. Pink Marble Almond with Milky Vein Lines and Matte Cuticle
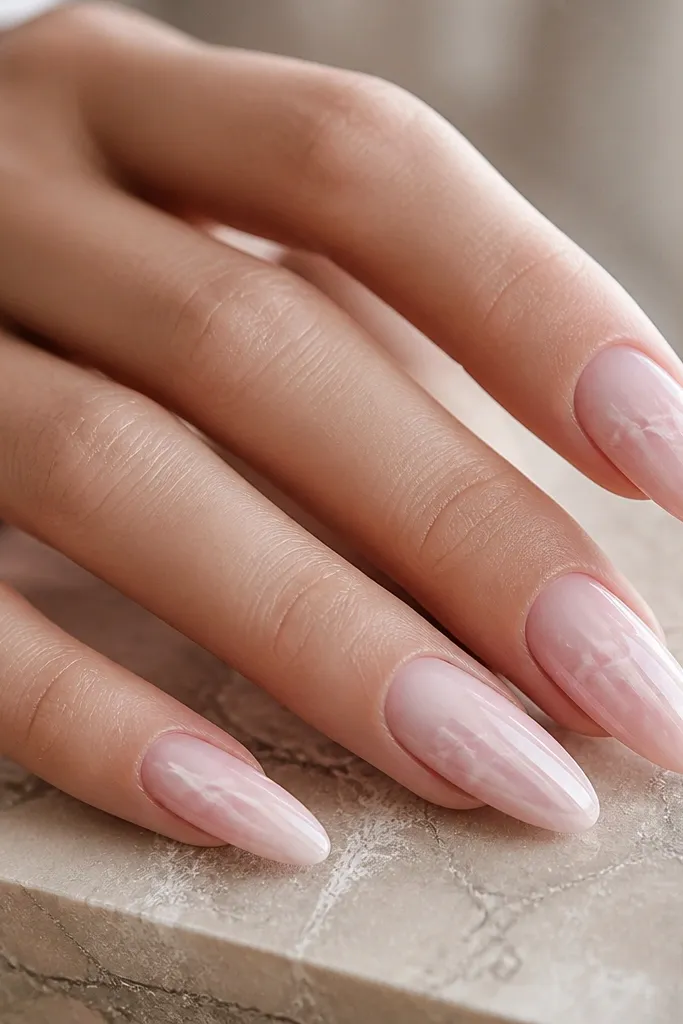
Marble looks expensive when the veins are thin and the base stays milky, not translucent. This set uses a milky pink acrylic base so the marble has something to sit on, then adds white and pale rose vein lines that taper like real stone. I keep the cuticle matte and the body glossy for contrast — it makes the nail look styled even when the pattern is subtle. This works especially well on medium-long almond because the marbling has enough surface to look natural. If your skin tone is fair, the milky pink keeps it soft; if you’re deeper-toned, it still reads bright without going neon.
Editor's noteIf your marble looks like scribbles, slow down and use fewer lines — three strong veins beats ten random ones every time.
Build a milky pink base first and shape the almond with a slightly longer tip than you think you need. Add marble veins by dragging a small brush through a mix of thin white gel or acrylic paint, then pull the lines in short strokes so they look organic. Keep the veins mostly in the center and near the tip; leave some space so it doesn’t look like a sticker. After curing, apply matte top coat only at the cuticle and up to about a third of the nail, then seal the rest with glossy top coat.
Skip thisAvoid thick marble blobs — they look raised and catch on clothing.
5. Hot Pink Almond with Clear Negative-Space Side Arcs
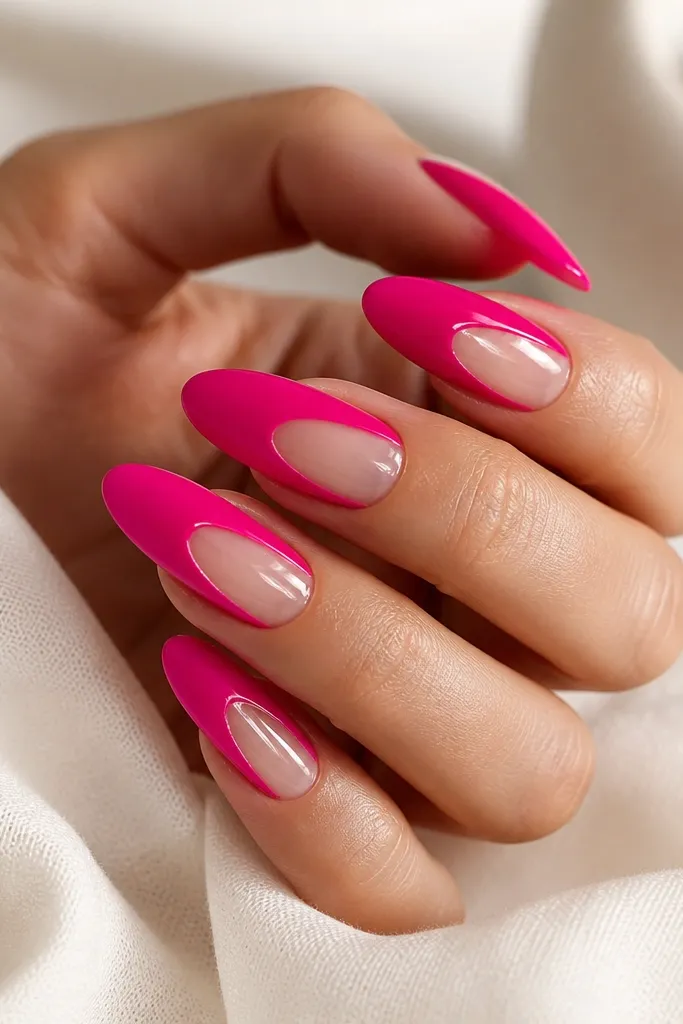
This is the look I use when someone wants pink that still looks sharp on the hand. The hot pink is strong, but the negative-space side arcs keep it from feeling bulky. Clear gel arcs also show off the almond shape because your eye tracks the curve along the sides. I like this on light to medium skin tones with either gold or silver because the clear sections keep the color from clashing. For a night-out manicure, this one looks clean even when you’re wearing simple rings.
Build a thin clear acrylic base or use clear overlay tips, then apply hot pink only to the main center area. Before the pink fully sets, outline the side arcs by leaving two curved windows — one on each side — and keep them symmetrical. Use a thin flat brush to pull the hot pink toward the arc edges, then clean the edges with a small acetone-free gel brush and wipe. Finish with glossy top coat, and cap the free edge lightly so the hot pink doesn’t chip at the tip.
Use a nail guide card or tape strip to keep both arcs the same height; even a 1 mm difference shows on hot pink.
Skip full-coverage hot pink — without negative space, the nail looks wide and less “almond.”
6. Dusty Rose Almond with Tiny Dots in a Diagonal Line
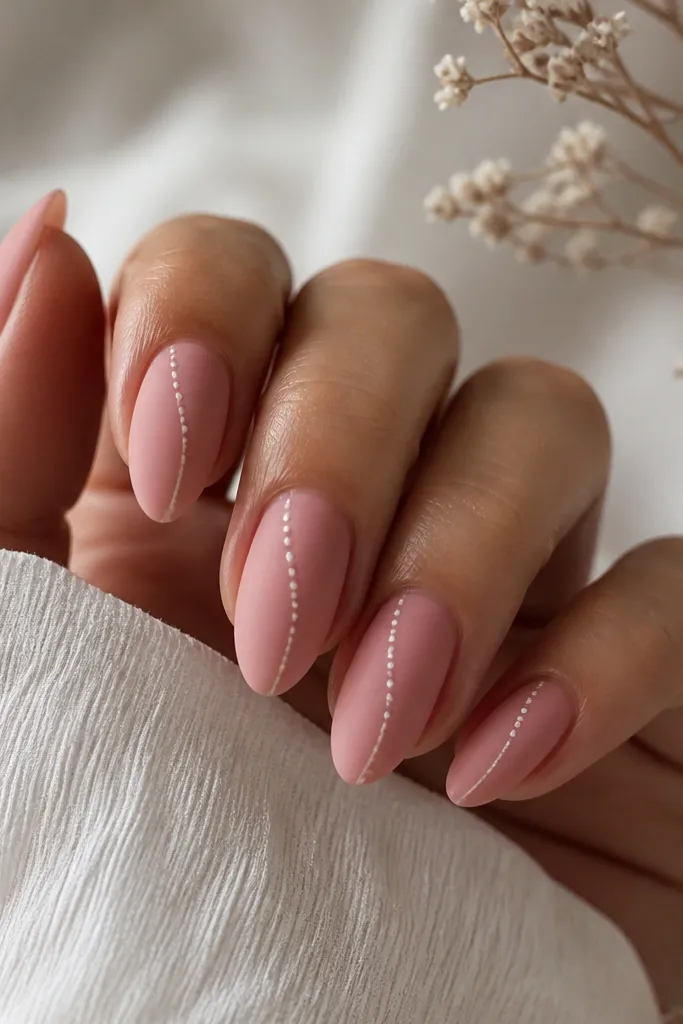
Dusty rose reads classy because it’s not highlighter-bright. The matte base makes the pink look like velvet, then the tiny dots add a playful detail without turning into full nail art. I place the dots diagonally so the eye moves across the nail — it makes fingers look longer and slimmer. This set flatters almost any undertone because dusty rose has a gray-pink balance. It also looks great with everyday outfits: think white tees, denim, and soft sweaters.
Editor's noteIf your dots smear, let the matte layer fully set and wipe the brush clean between nails so you don’t drag pigment.
Start with a dusty rose acrylic that’s slightly sheer, then shape almond with a clean taper at the tip. Apply matte top coat to the entire nail body after curing. Use a dotting tool (or a toothpick with a clean tip) to place white dots in one diagonal line — start near the cuticle edge and keep spacing even. Seal lightly with a thin glossy top coat only over the dots if you want them to pop, or keep everything matte for a softer look.
Skip thisDon’t put dots in the middle only — it makes the nail look shorter and wider.
7. Pink Almond Ombré with Milky White Gradient Tip
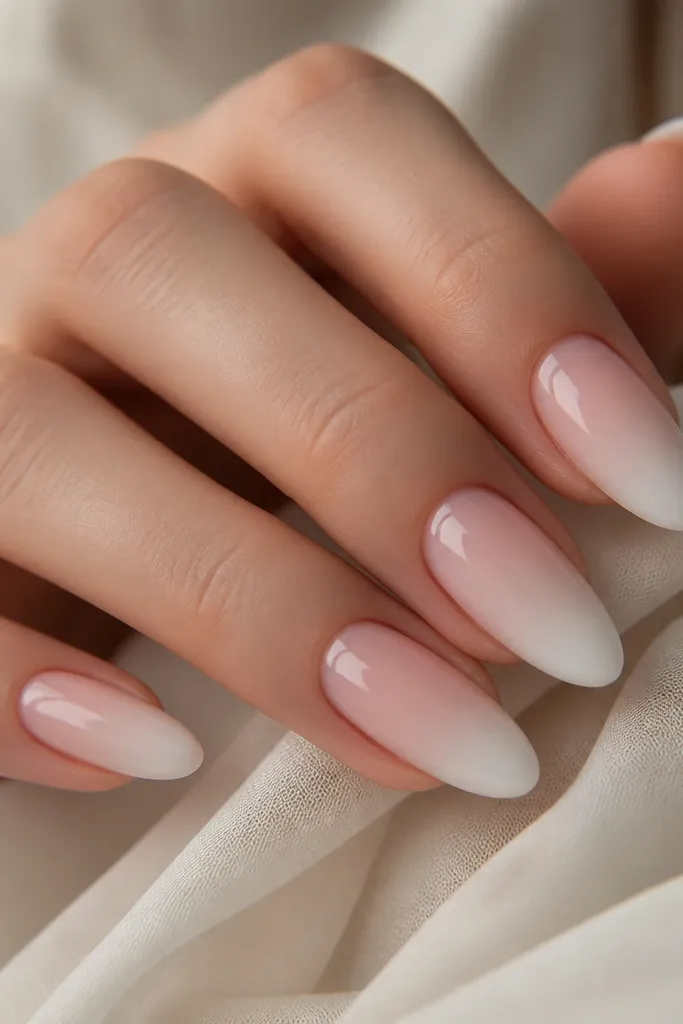
This ombré is the one that always looks fresh because it mimics how nails naturally lighten at the tip. The base is a sheer pink that blends into milky white, giving that “clean manicure” vibe without needing a traditional French. Milky white softens the contrast so the almond tip looks airy instead of stark. I’ve used this for office looks where you still want polish, and it also works for weddings because it reads delicate in both daylight and flash photos. If you’re worried about pink staining or looking too bright, this set is forgiving because the white tip balances it.
Build a sheer pink base first, then shape almond while keeping the apex centered slightly forward. Create the gradient by applying milky white only at the tip zone and blending upward with a damp brush — the key is thin layers, not one thick layer. Keep the gradient narrow on shorter almond and wider on longer almond so the tip stays proportional. Finish with a glossy top coat and cap the tip edge to protect the milky white from catching chips.
Practice the gradient on two test nails and stop when the blend looks like fog, not like paint.
Avoid a two-tone ombré with a visible line — it makes the set look like stickers.
8. Glazed Strawberry Pink Almond with Clear Jelly Topcoat
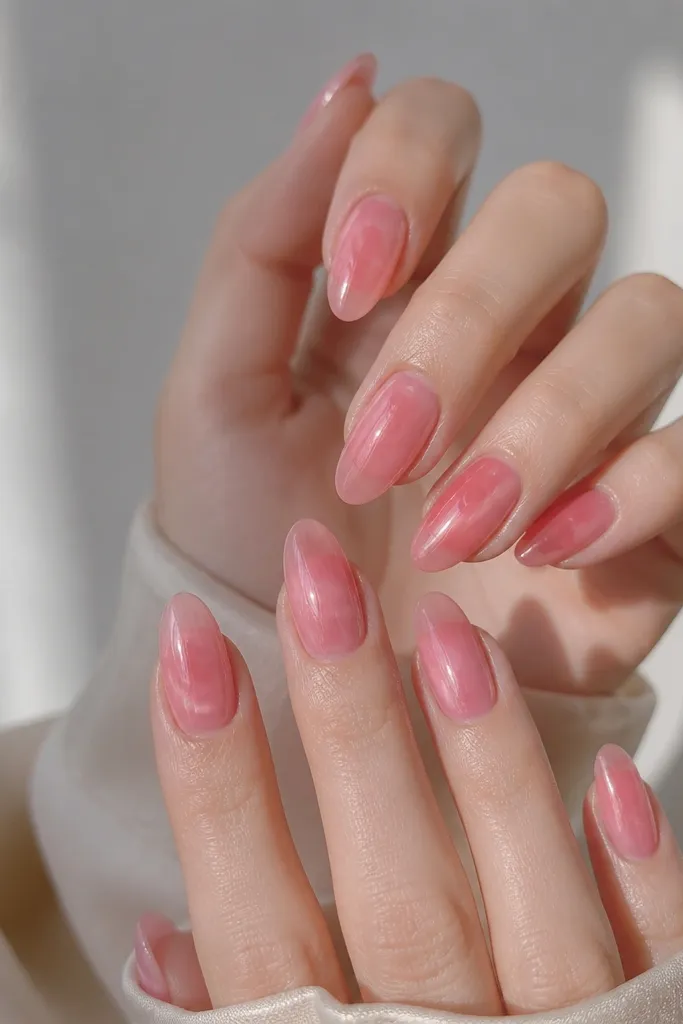
Glazed nails are all about the shine and the “see-through” depth. This strawberry pink is slightly translucent, so your nail bed still shows through, and the clear jelly topcoat makes it look like candy glass. I like this for hands that get photographed a lot — it catches light in a smooth sheet instead of glitter sparkle. It flatters most skin tones because it’s a pink that sits between berry and nude. For day-to-night, it’s perfect because the shine reads elegant even when the color is playful.
Build your acrylic with a translucent strawberry pink, not fully opaque. Shape almond with a smooth apex and avoid filing too much off the top — you want a gentle curve under the jelly finish. Apply a clear jelly layer, then add one more thin jelly coat if you want extra depth at the center. Seal the edges so the jelly doesn’t peel at the sidewalls, and cure evenly. Finish by wiping any tacky residue and check shine under a lamp at two angles.
If the jelly looks cloudy, you likely under-cured. Cure longer, then re-check before adding another layer.
Don’t skip the translucent base — opaque pink under jelly can look flat and thick.
9. Blush Pink Almond with Gold Leaf Cuticle Accent
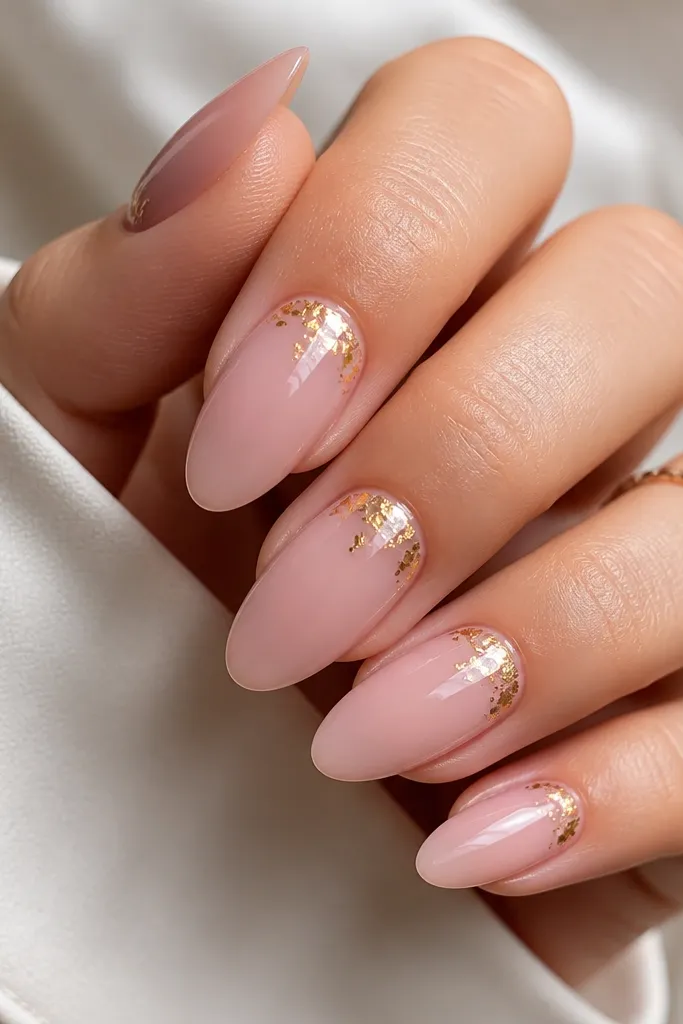
Gold leaf at the cuticle looks expensive because it’s placed where your hand naturally glances. The blush pink is soft enough to keep gold from overpowering, and the irregular leaf pieces mimic real foil, not sticker graphics. I use this with both warm and cool undertones by choosing the blush shade: warmer blush with yellow gold, cooler blush with rose-gold or pale gold leaf. It’s flattering on almond because the cuticle area has a natural curve that makes the leaf look like it’s “growing” from your nail. Great for holidays, but it also looks nice with everyday outfits because the accent is small.
Start with a blush pink acrylic that’s sheer enough to let the nail bed show. Shape almond with crisp sidewalls so the cuticle line looks clean. Apply a tiny amount of gel or acrylic adhesive at the center of the cuticle and press gold leaf pieces in small clusters — tap off excess so it doesn’t spread. Seal with a thin top coat in two passes so the leaf stays smooth and doesn’t snag.
Use a soft makeup brush to sweep away loose leaf before top coat; loose flakes create bumps.
Avoid covering the entire cuticle with leaf — it looks heavy and can lift at the edges.
10. Pink Almond with Tiny Heart Tips in Clear Gloss
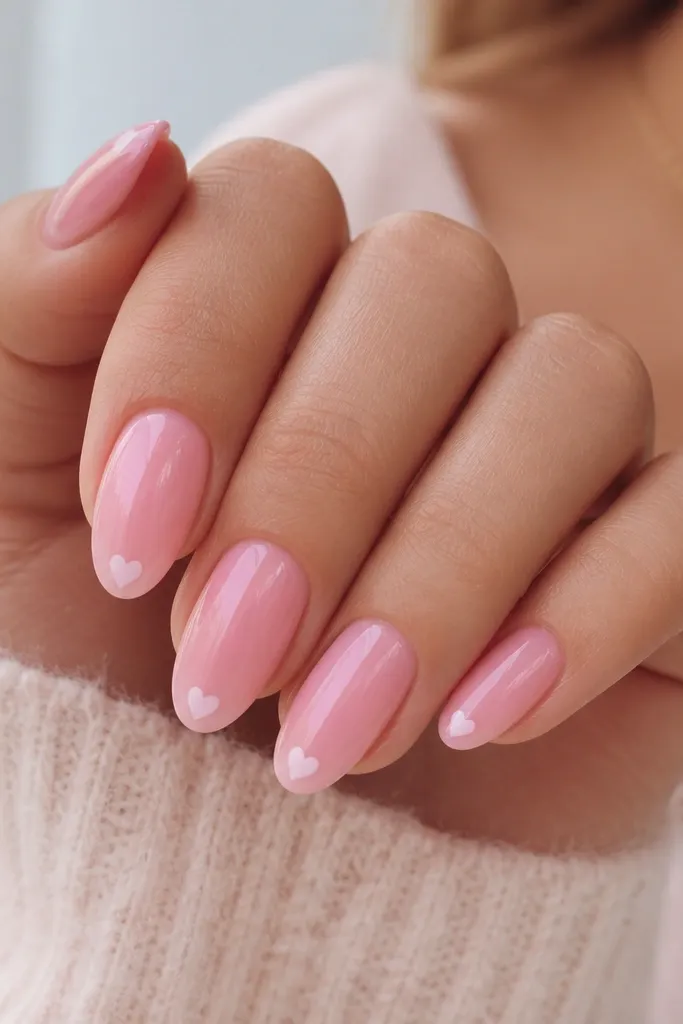
Tiny heart tips are cute without turning childish because the heart is small and sits only at the tip. The pink base should be bright enough to read as “fresh,” but not so neon it fights the hearts. I like pale pink hearts on a slightly deeper blush base, or white hearts on a sheer baby pink — both look crisp and intentional. This set flatters shorter fingers because the hearts sit at the end of the nail, keeping the visual line long. It’s also an easy way to add personality for dates and birthdays without committing to full nail art.
Build your nails with a sheer-to-medium pink acrylic and shape a narrow almond tip so there’s room for the heart without crowding the sides. Place the heart decals or hand-painted hearts at the very tip center — keep them within the last 2-3 mm of the free edge. If painting, use a fine liner brush and let each line dry before filling. Seal with a glossy top coat, and cap over the heart so it feels smooth when you run your finger across the tip.
If hearts feel too flat, add a micro-layer of clear gel over the heart and cure again for a smooth, domed look.
Don’t put hearts too far down the nail — it makes the almond tip look shorter.