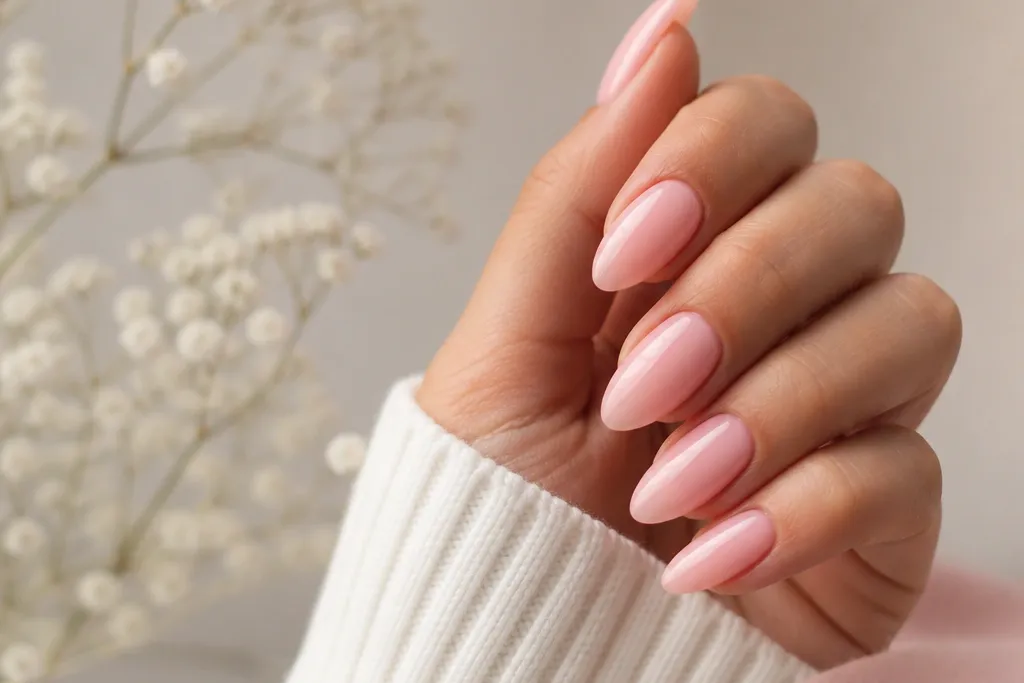
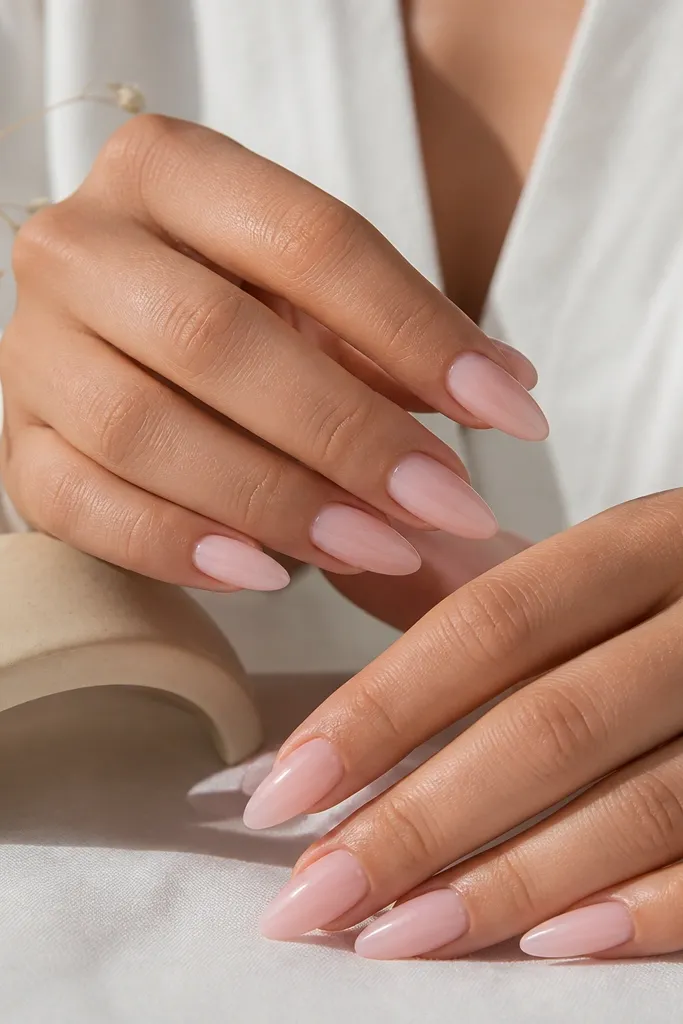
1. Baby Pink Almonds with Ultra-Thin White French Curve
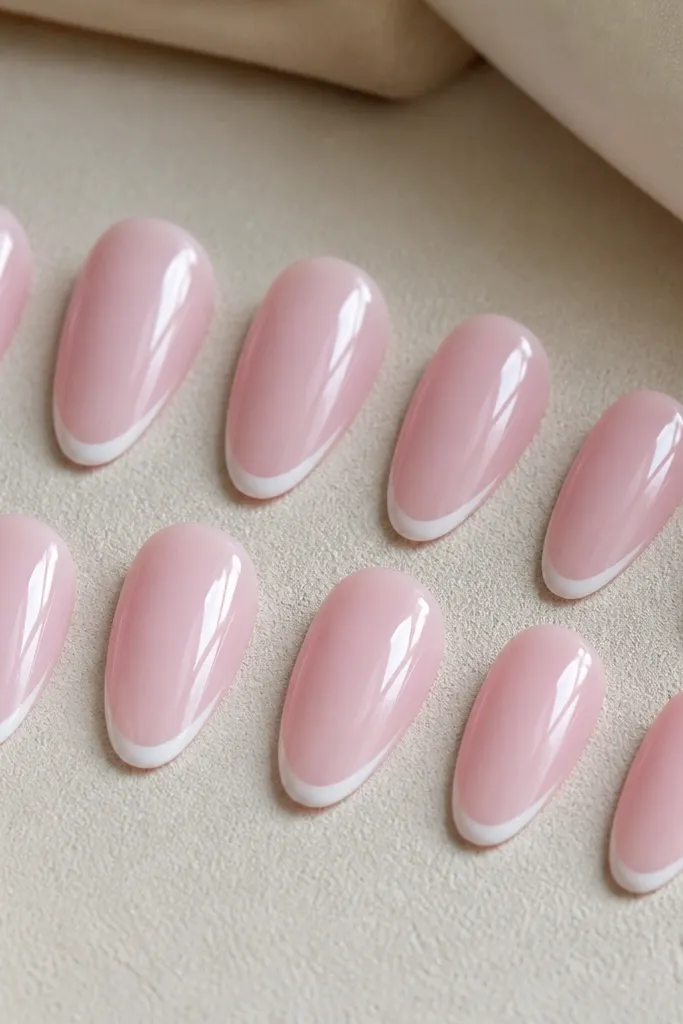
Start by dry-fitting your nails and trimming only the length if needed — keep the almond point so it matches your finger length. Apply the nail adhesive to the press-on base near the cuticle and the middle, then press at the center first. Slide the nail into place and hold the side edges for 10 seconds so they seal against the nail plate. Finally, press the free edge down hard along the white tip curve for 20-30 seconds to lock the French line flat. Finish with a quick topcoat gloss if your set feels slightly matte.
This set is the one I reach for when I want my hands to look “done” but still soft. The base is a milky baby pink that reads clean and bright, and the tip line is so thin it frames the almond without chopping the finger visually. On fair to light skin with cool undertones, the pink looks like a rosy tint instead of turning chalky. If your nail beds are short, this design makes the nail look longer because the negative space stays open between the cuticle and the French edge. The key is the curve — the white line follows the almond contour instead of sitting like a straight stripe.
Skip thisDon’t choose a set that’s wider than your nail plate — that’s what causes corner lift and makes the French line look messy.
Editor's noteIf the French line looks uneven after pressing, use a clean cotton swab dipped in a little alcohol to tidy the edge before it fully sets.
2. Rosy Pink Almonds with Thick French Band
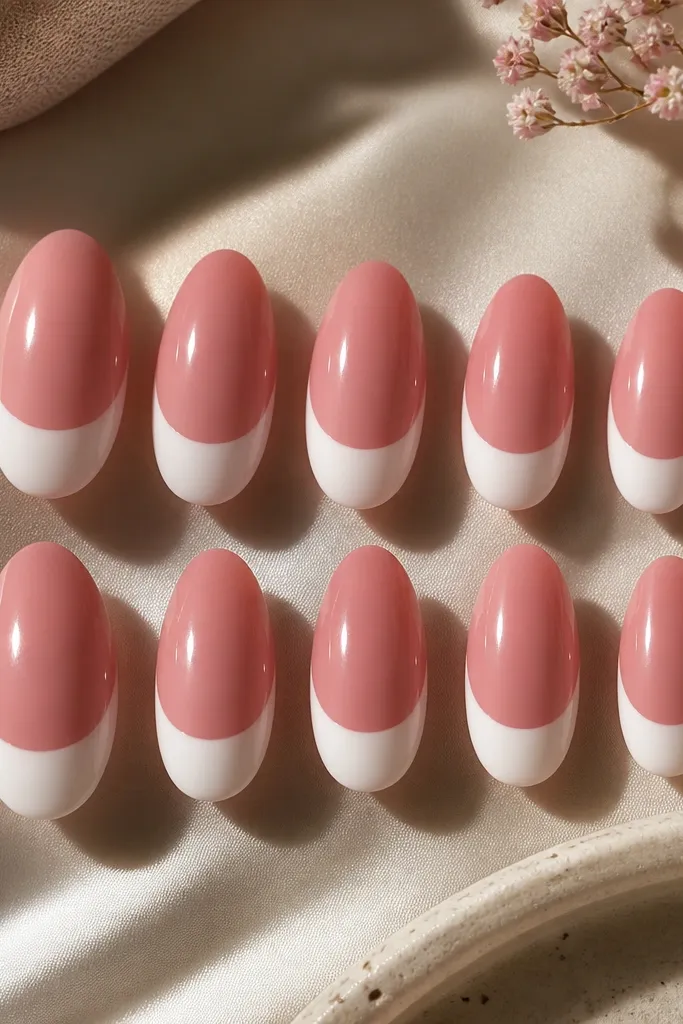
This is the “I want contrast” French set. The base rosy pink has a warm tint that flatters light-warm skin and also looks great on medium skin because it doesn’t wash out. The thick French band makes your almond tips look intentional even if your nail width isn’t perfectly symmetrical. I’ve worn this when my nails looked a little thin — the stronger white band visually balances the whole shape. The styling principle is weight distribution: more color at the tip makes the finger look longer and steadier, especially in photos.
Pick nails that match your nail width and keep the almond points centered — if the tip points off to one side, the thick band will look crooked. Press the nail down at the cuticle area first, then press in the middle to remove air gaps. Use your thumb to run along the sidewalls from cuticle to tip so the band sits smooth. If the band edge feels raised, press the tip for another 10 seconds. Pair it with a sheer pink lip or a nude gloss so the nails stay the star.
Wear this with silver rings — the cool white band makes silver look crisp and modern against the rosy base.
Skip thin, flimsy adhesive tabs if your nails are oily — thick-band sets show edge lifting more than thin-tip sets.
3. Mauve-Pink Almonds with Micro-Glitter French Tips
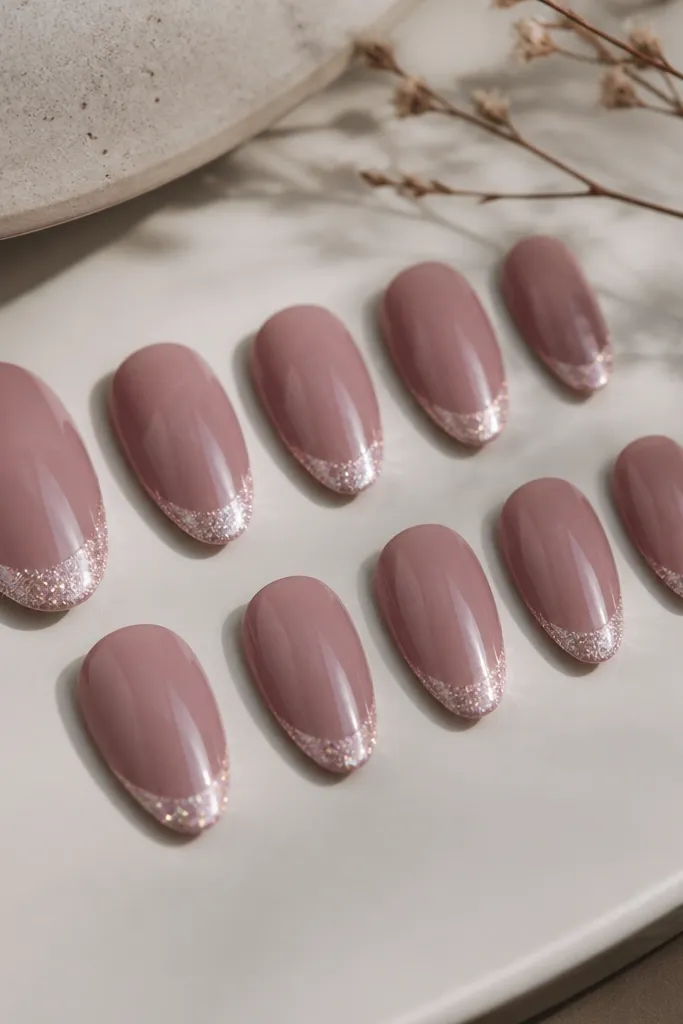
If plain French tips feel too basic, this is the middle ground. The base is a muted mauve-pink that flatters deeper skin tones and also looks gorgeous on light skin when you want something slightly smoky. The French tip is mostly white, but there’s micro-glitter packed into the line so it catches light without turning chunky. I love it for nights out because it looks like gel frosting in motion, but it still reads feminine. The principle here is restraint: glitter only at the tip keeps the look clean and prevents the whole nail from feeling busy.
Start by cleaning your nail surface with an alcohol wipe and letting it fully dry — glitter tip sets grab oils fast and can pop off. Apply glue to the press-on base, then align the French tip curve so it matches your nail’s natural smile. Press at the center and then seal both side edges. After 30 seconds of holding, check the tip line for any gaps — press those spots again with firm pressure. For extra realism, add a thin layer of glossy topcoat, focusing on the glitter line so it looks glassy.
Avoid soaking dishes in hot water right after applying — micro-glitter tips lift first when the adhesive softens.
Don’t pick a glitter French tip that spills into the pink area — it turns into a glitter gradient that looks cheap on almond shape.
4. Pink Ombre Almonds with Negative-Space French Edge
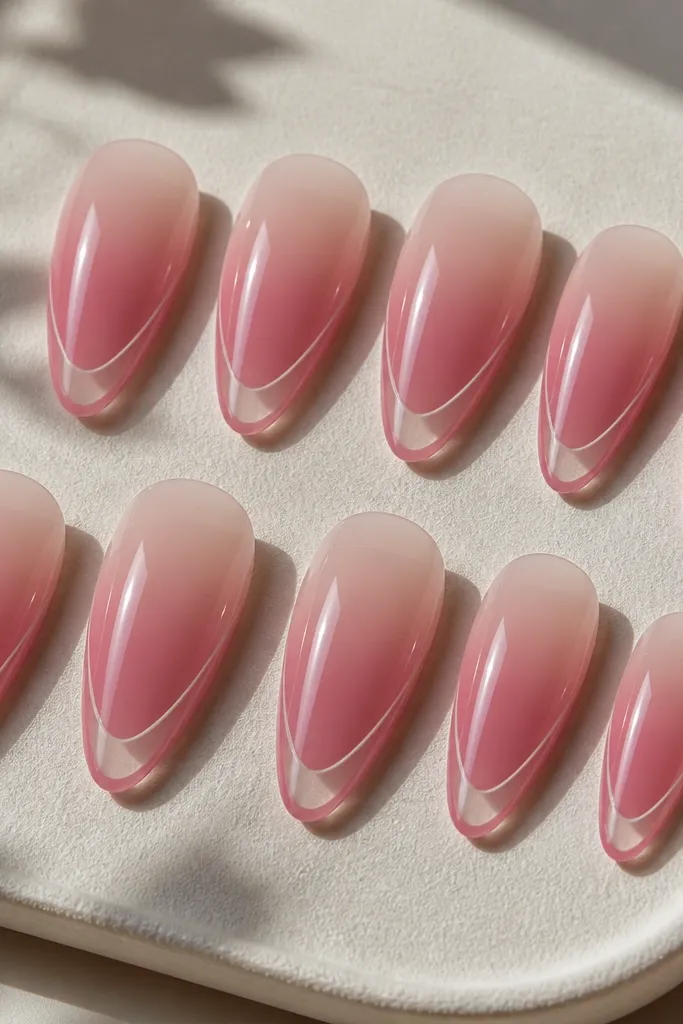
This set is for when you want French without the obvious white stripe. The base goes from nude-pink near the cuticle into a stronger rosy pink at the tip, so your nails look like they’re glowing from within. The negative-space edge creates a clean “French” frame by leaving a thin clear line where the white would be. On medium to deep skin tones, the nude-to-rose fade looks especially flattering because it mirrors natural nail color and doesn’t overpower your skin. The key is the negative-space line — it makes the almond shape look sharp and modern.
Choose a set where the ombre starts close to the cuticle — if it begins too low, you lose that length-enhancing effect. Dry-fit each nail and make sure the negative-space line sits evenly on both sides. Apply adhesive to the press-on base, then place the nail and press at the cuticle for 10 seconds. Next, press along the center and finish by smoothing the negative-space edge area so it stays crisp. Pair with a simple outfit and minimal jewelry — the design reads best when the rest of your look is clean.
If the negative-space edge looks cloudy, lightly buff the press-on surface with a soft file before applying topcoat.
Don’t overlap the press-on onto skin — the negative-space line will look wider and more uneven.
5. Hot Pink Almonds with White French + Tiny Heart Accent
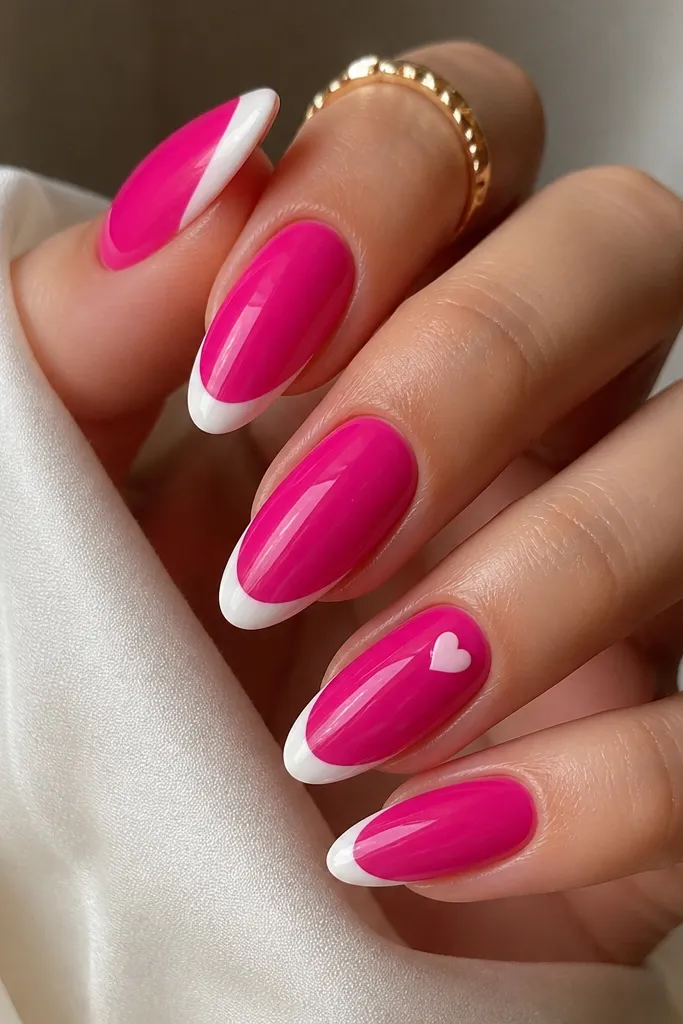
Start with the plain French nails first and save the heart accent for your ring finger or thumb — that’s usually the most flattering placement. Align the white tip curve so it looks centered on the almond point. Press the heart nail a little longer at the cuticle area so the accent doesn’t lift. After all nails are on, seal the whole set with a glossy topcoat, then cure it under a lamp if your topcoat requires it. Finish by gently wiping any edge glue with a cotton swab so the heart stays crisp.
This set is loud in the best way. The base is a bright hot pink that looks sharp against fair and light skin, and it also pops beautifully on medium skin when you want a more playful manicure. The French tip is classic white, so the heart accent feels intentional instead of random. I wear this for birthdays, date nights, or when I want my nails to match a bold outfit. The styling principle is one focal detail: keep the hearts small and place them near the cuticle so your eye goes upward and your fingers look longer.
Skip thisSkip hearts that are too large — big hearts on almond shape look like stickers and lose the clean French vibe.
Editor's noteIf you’re wearing long sleeves, do one extra press on the sidewalls the first hour — hot pink sets show lifting faster in motion.
6. Powder Pink Almonds with Double-Line French (White + Silver)
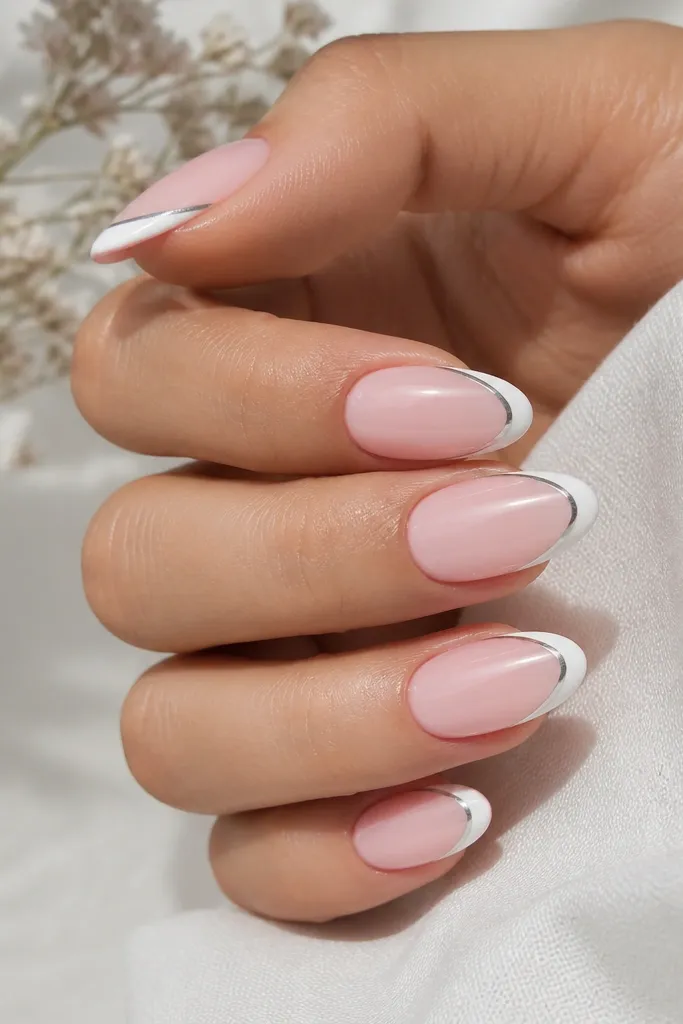
Pick press-ons where the silver line is embedded, not a raised sticker layer. Clean your natural nails with alcohol and let them dry completely. Apply adhesive to the press-on base, then press from cuticle to tip so the double lines sit flat. Hold for 20 seconds, then check the silver line at the tip — if it looks slightly lifted, press that area again. Style with a nude outfit and either silver hoop earrings or a simple chain bracelet to match the reflective line.
Double-line French is the fastest way to make pink almond nails look expensive without adding a bunch of extras. The base is powder pink, which reads soft and even, and it lets the silver line pop without turning the whole set into glitter overload. The white line stays crisp, and the silver line adds a fine reflective edge that looks great under daylight and indoor lights. On fair skin, the powder pink keeps everything airy. On deeper skin tones, the silver reflection looks bright and clean, especially with gold or silver jewelry. The key is thin lines — they sharpen the almond silhouette.
Skip thisDon’t add extra rhinestones on top — the double-line already gives detail and extra gems make it look cluttered.
Editor's noteIf the silver line catches unevenly, rotate your hands under light and press the tip line once more; it fixes tiny air pockets.
7. Creamy Pink Almonds with Matte-to-Gloss French Tip Contrast
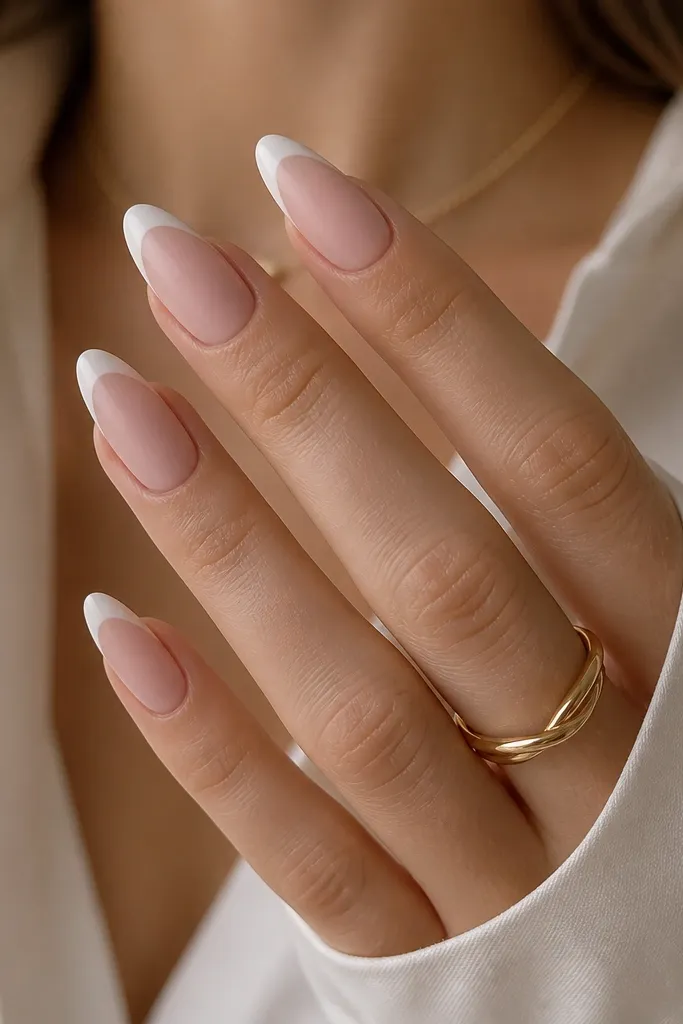
Start by applying the press-ons carefully and avoid over-buffing your natural nails — matte bases look best when the press-on sits smoothly. Glue as usual, then press at the cuticle and sides. Once the set is on, avoid heavy topcoat over the entire nail because you want the matte base to stay matte. If your press-ons include a matte finish, only add topcoat on the white tips. Use a tiny brush to keep the gloss only on the French line so the contrast stays sharp.
This design looks different in real life, not just in photos. The base is creamy pink with a matte finish, which makes the color look velvety and soft. The French tip is glossy white, so the shine hits first when you move your hands — it gives that “fresh gel” effect. This set is flattering on almost everyone because the matte base hides minor nail imperfections and the glossy tip keeps it looking crisp. I especially like it for winter because matte pink feels cozy, and the glossy tip keeps it from looking dull. The styling principle is texture contrast — matte reduces visual noise, gloss adds definition.
Skip thisDon’t seal the whole set with glossy topcoat — it erases the matte-to-gloss contrast and the look turns flat.
Editor's noteIf you accidentally get gloss on the pink, wipe it immediately with alcohol on a cotton swab before it dries.
8. Pink French Almonds with Clear Cuticle Border
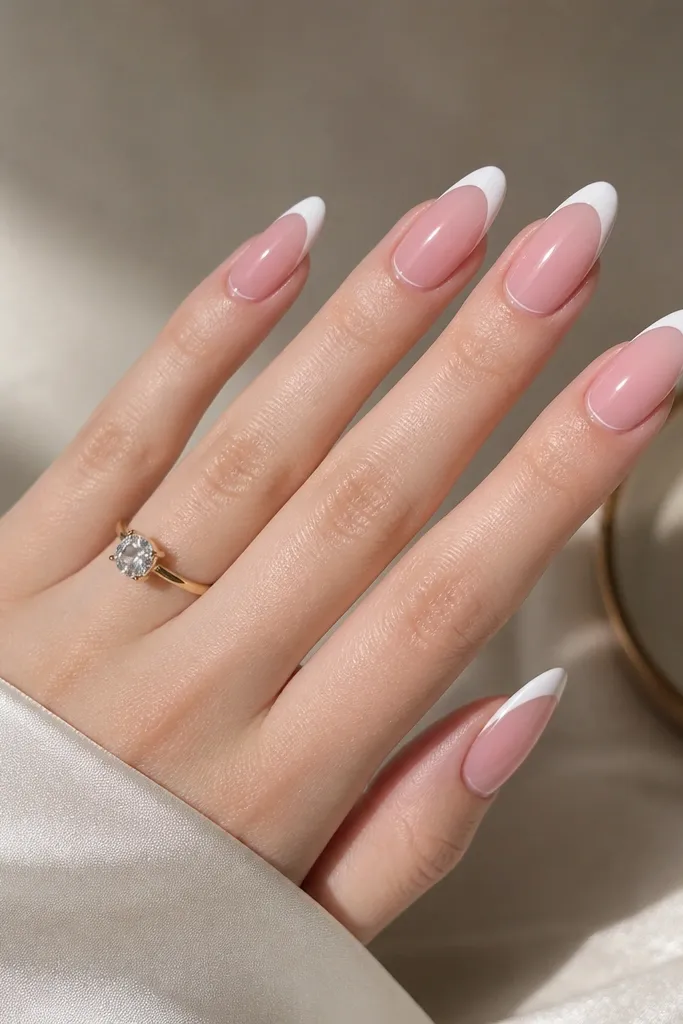
This one makes your cuticle area look tidy, even if your natural cuticles aren’t perfect. The design uses a sheer clear border around the cuticle, then fills the rest with soft pink. The French tip is white and centered, so the overall shape reads clean and balanced. On nails that grow with a slightly uneven cuticle line, this style hides it because the clear border creates an even frame. For skin tones from fair to deep, the transparent ring looks natural and prevents the pink from looking too opaque. The key is the clear border — it acts like a framing mat that makes the almond shape look sharper.
Dry-fit each nail and confirm the clear border sits right at your cuticle line, not over it. Clean with alcohol and let it dry. Apply adhesive to the press-on base where the pink area is, then place the nail so the clear border stays visible. Press at the sides first to avoid pushing adhesive into the clear area. Hold for 20 seconds, then run a soft file along the edge if there’s any overhang. Style with a simple manicure-friendly outfit because the design already gives structure.
Use a thin glue layer — clear cuticle designs show excess glue faster than solid pink bases.
Don’t place the nail too low; if the cuticle border covers your actual cuticle, the transparent ring looks cloudy.
9. Rosy Pink Almonds with Pearlized French Tips
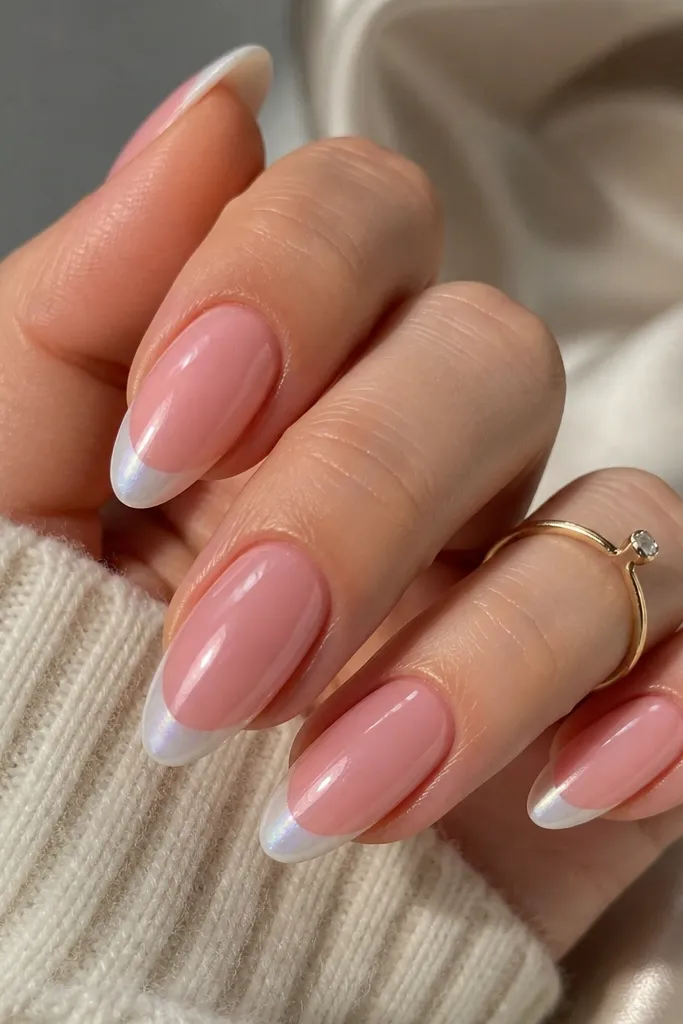
Choose press-ons where the pearl is concentrated at the tip line, not spread across the whole nail. Clean with alcohol and let your nails dry fully. Apply adhesive to the press-on base and press at the center, then seal the sidewalls. Hold for 25 seconds, then check the almond point — the pearl tip should look centered and smooth at the tip. Add a glossy topcoat over the rosy base only if it looks slightly dull, but keep the pearl tip finish intact. Pair with cream sweaters or satin tops because the pearly edge looks natural against soft fabrics.
Pearlized French tips are my pick when you want softness with a little glow. The base is glossy rosy pink, and the tip is off-white with a pearl effect that shifts slightly under light. This looks gorgeous on fair skin because it doesn’t turn stark like bright white, and it looks flattering on medium and deep skin because the pearl gives a light-catching edge without harsh contrast. I’ve worn this to weddings and family events because it reads polished without feeling too “holiday.” The principle is gentle reflectiveness — the pearl tip gives definition while staying feminine and wearable.
Skip thisDon’t use a heavy glitter topcoat over pearl French — it turns the pearl into sparkle and loses the soft glow.
Editor's noteIf the tips look too gray, rub a tiny amount of cuticle oil around the edges after application — it warms the pearl tone visually.
10. Soft Pink Almonds with Micro French + Single Side Stripe
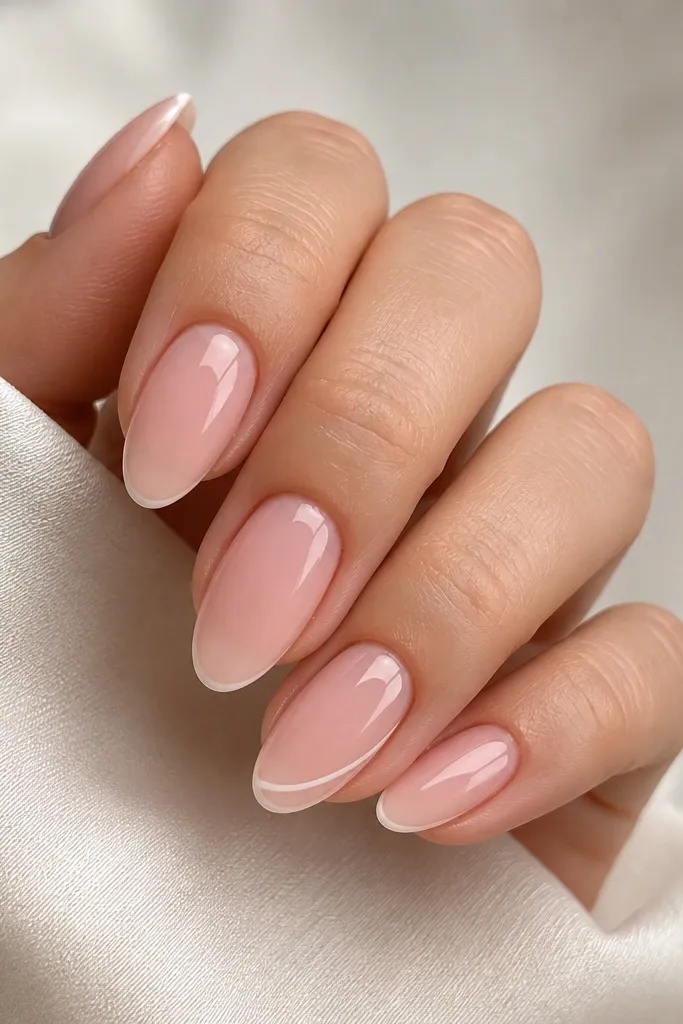
Start by placing the micro French tips so they align with your natural nail line — the shortest part of the French should sit near the center of the almond. Glue and press as usual, then hold longer on the ring finger to keep the side stripe flat. Use a topcoat that dries glossy and smooth so the stripe doesn’t catch texture. Keep the stripe nail as your accent only; doing stripes on multiple nails makes it look busy. Style with a neutral manicure vibe: nude lip, simple eyeliner, and small studs so the nail detail shows.
This set is for people who like French but don’t want it to take over. The micro French tips are thin and short, sitting closer to the center of the almond rather than reaching far down the sides. The base is a soft pink that stays neutral, and the single side stripe adds a modern detail without clutter. On short nail beds, micro French makes the nail look delicate and longer, because the tip isn’t heavy. I also like this for everyday wear because it looks clean even when your nails grow out a bit. The styling principle is asymmetry in one small spot — you get interest without losing the classic shape.
Skip thisDon’t over-layer topcoat on the stripe nail — too much thickness makes the stripe look raised.
Editor's noteWhen you file the free edge, keep the side stripe nail last so you don’t accidentally scratch the accent.