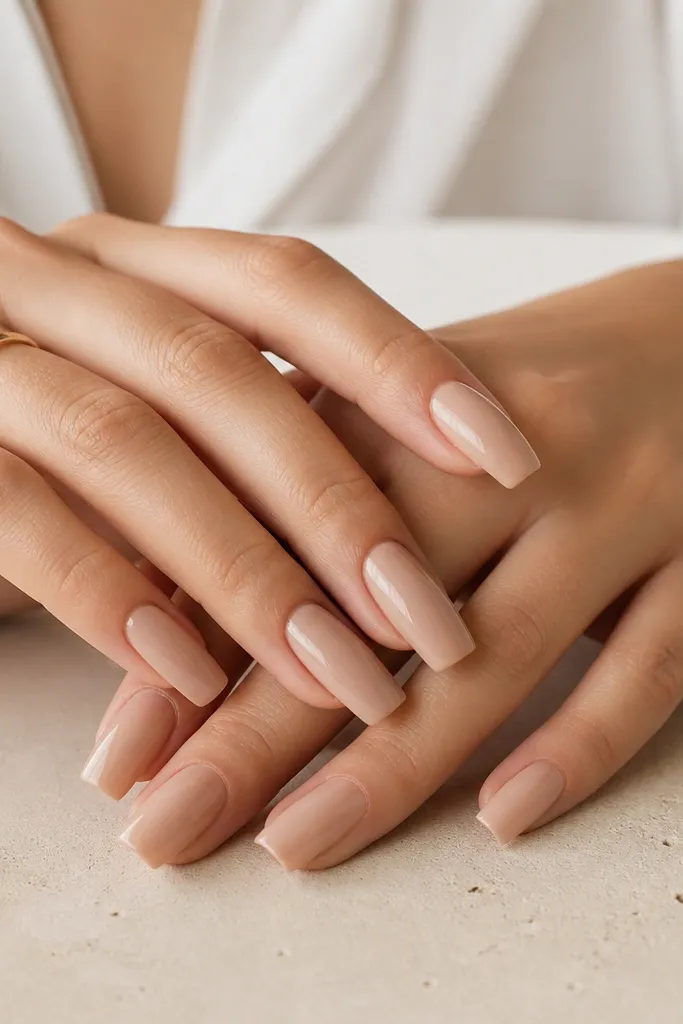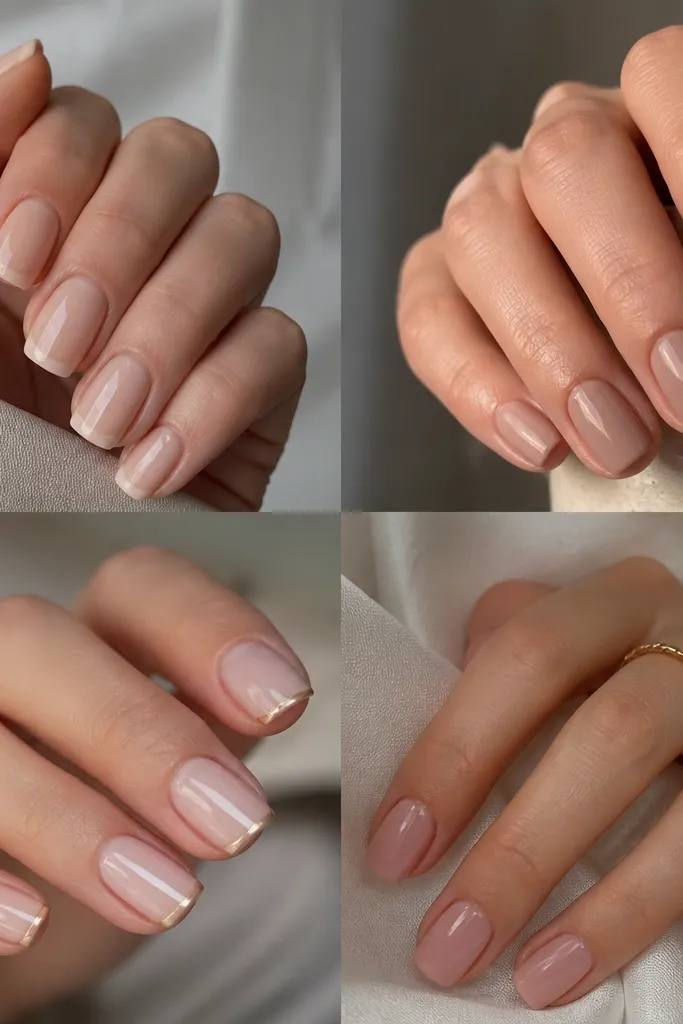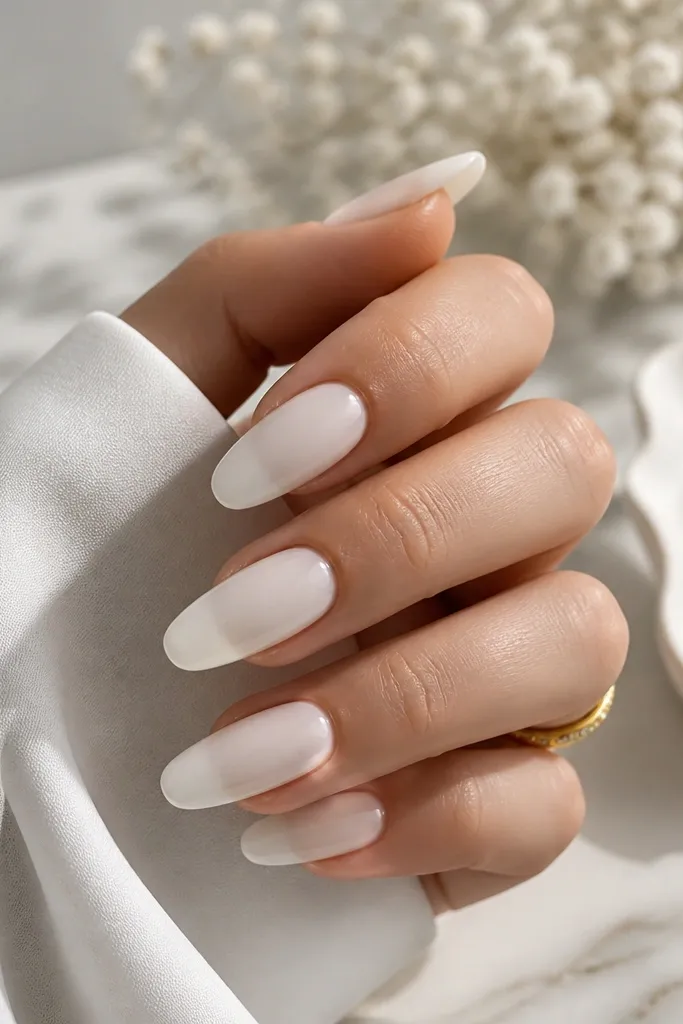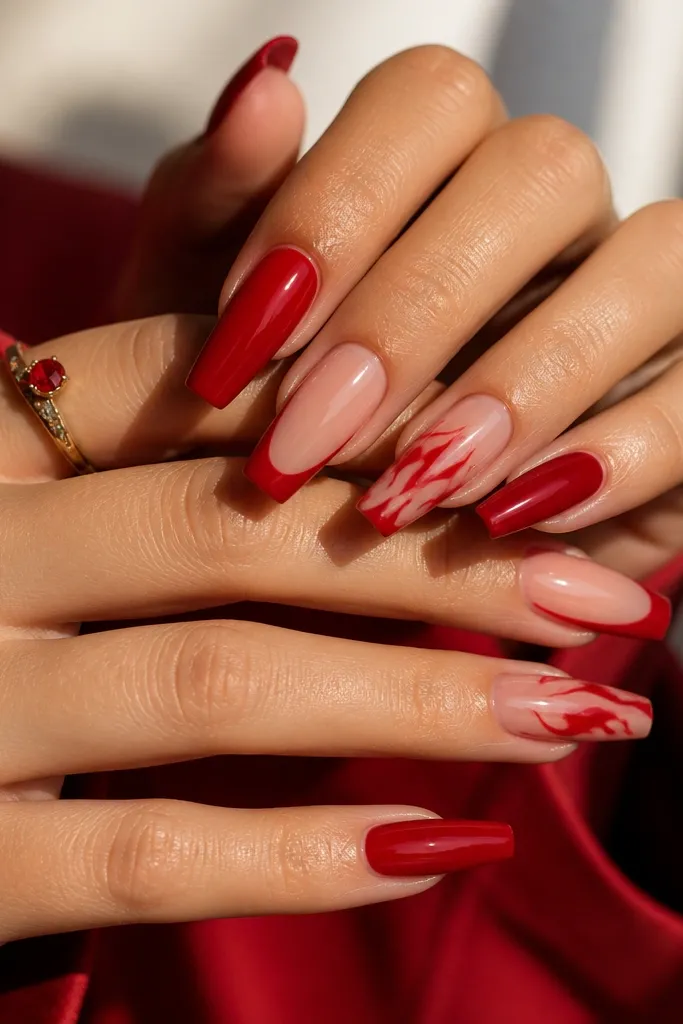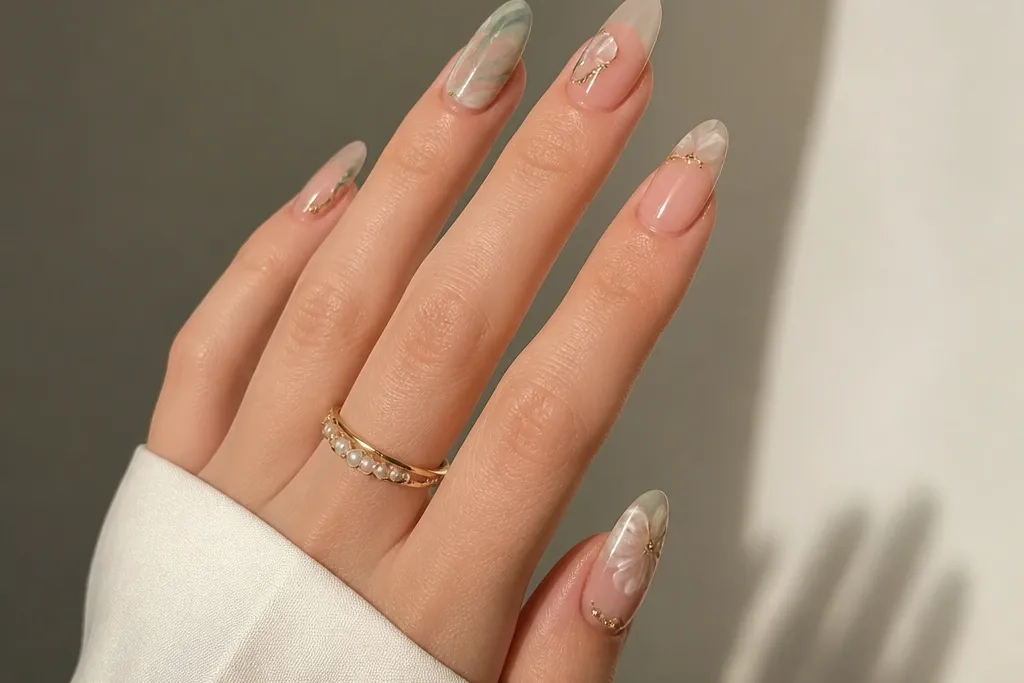
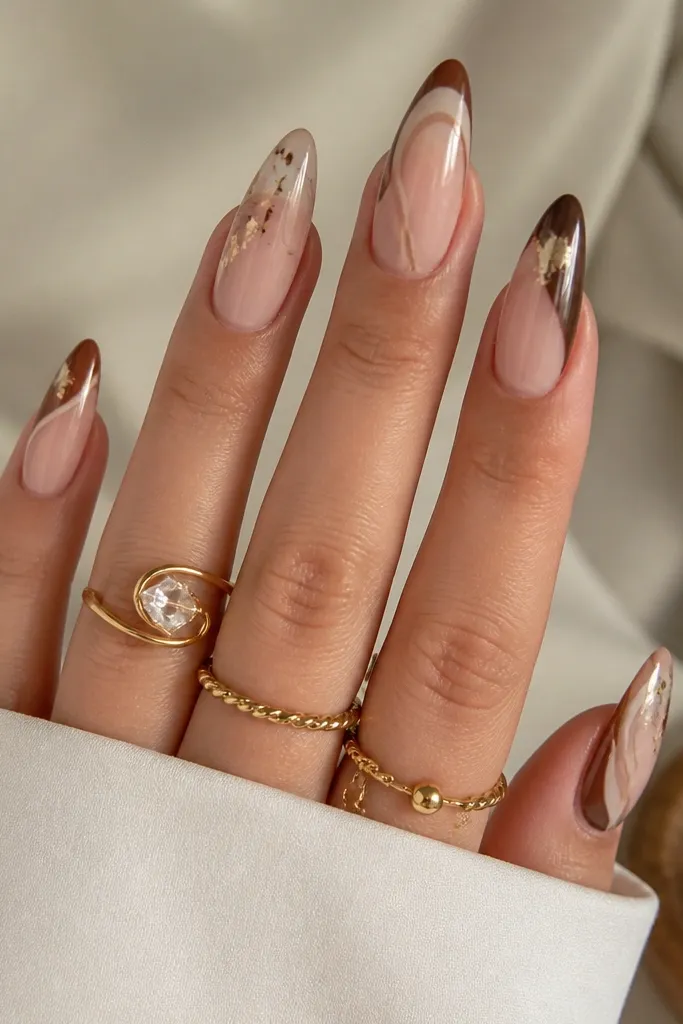
1. Glass Nude Micro French with Halo Cuticle
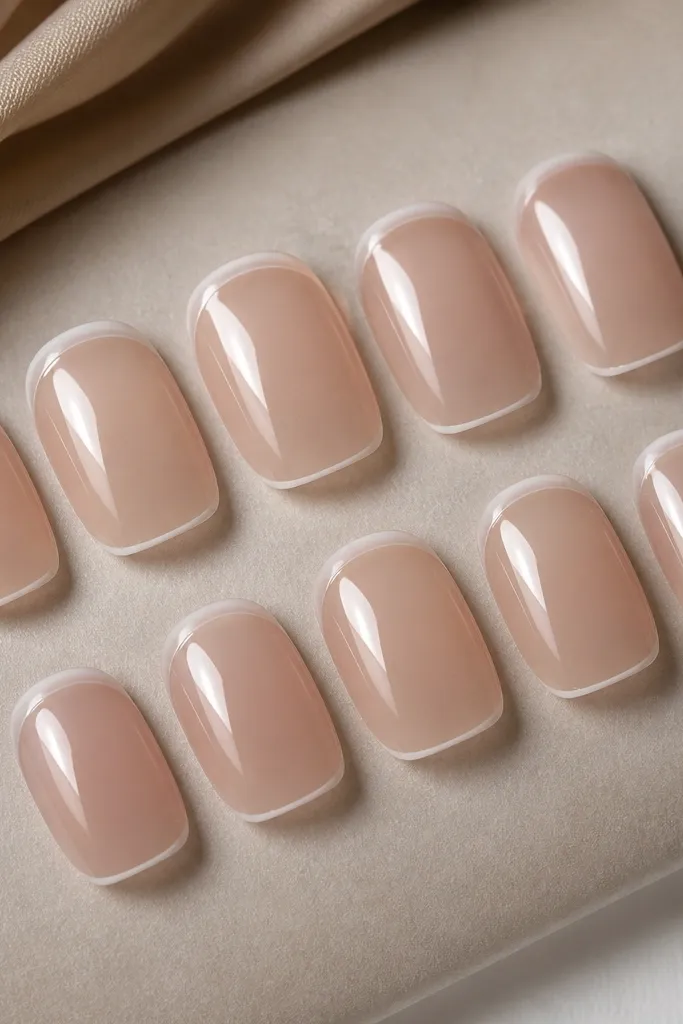
This design is the one I do when someone wants luxe without feeling “done.” The nude base is sheer enough to show natural nail color but evened out with a milky tint, so it looks expensive on warm and cool skin tones. The micro French is thin — I keep it under 1 mm — which makes the fingers look longer without adding bulk. The halo cuticle uses a soft pearl gel that sits like a glow ring, so your cuticle area looks intentional instead of plain. It’s flattering on hands with shorter nail beds because the thin tip line keeps the eye moving upward.
Editor's noteFor extra luxe photos, keep the pearl halo subtle and let the nude do the talking — you want glow, not glitter.
Start with a short squoval extension and file the free edge so it’s straight and even across all nails. Apply a translucent milky nude base, cure, then add the micro French using a fine liner brush — paint only the tip edge, not the whole tip. Next, tap a small amount of pearl gel around the cuticle in a ring, leaving a clean gap at the actual cuticle line. Cap everything with a glossy top coat, then cure and wipe. Finally, check side angles under a lamp — if you see thick edges, lightly buff the sidewalls before top coat.
Skip thisDon’t thicken the micro French or you’ll lose the “clean glass” look and it will read cheap.
2. Iced Mocha Almond with Cocoa Marble Tips
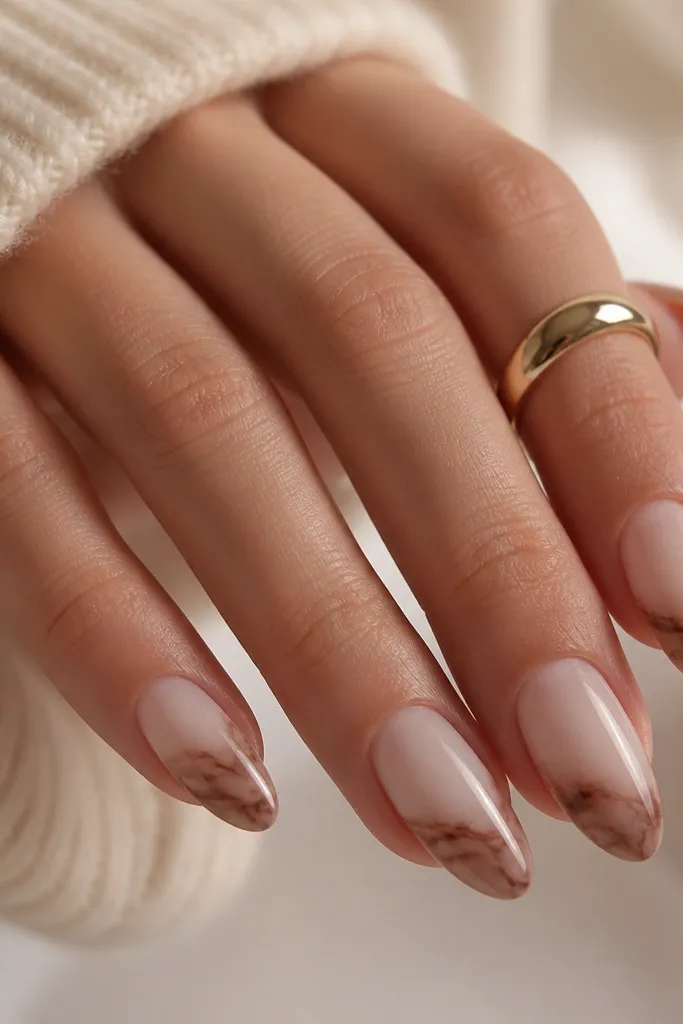
This is my go-to when someone wants fall vibes but still wants the manicure to look high-end, not themed. The iced mocha base is a gray-brown milky shade that flatters both olive and fair skin — it cools warm undertones without washing anyone out. The marble is concentrated at the tip, so the nail stays wearable even if the design shifts slightly after growth. It also makes the nail look longer because the veining pulls attention toward the free edge. The glossy finish keeps it looking like dessert glass.
Editor's noteKeep the marble lines fewer than you think — three to five strokes per nail reads luxe, ten strokes reads busy.
Build a medium almond extension and keep the apex centered, not too high. Paint a milky iced mocha base in two thin coats, curing each. For the marble, use a thin brush and a dark cocoa gel to draw a few irregular lines at the tip third, then drag a lighter brown through them with a clean brush for the marble haze. Add a tiny bit of white gel only where you want the “frosted” cracks to show. Seal with a high-gloss top coat, then lightly buff the surface so the marble looks smooth, not textured.
Skip thisDon’t paint marble across the whole nail; it looks messy once your natural nail grows out.
3. Pearlized Champagne Chrome on Nude Extensions
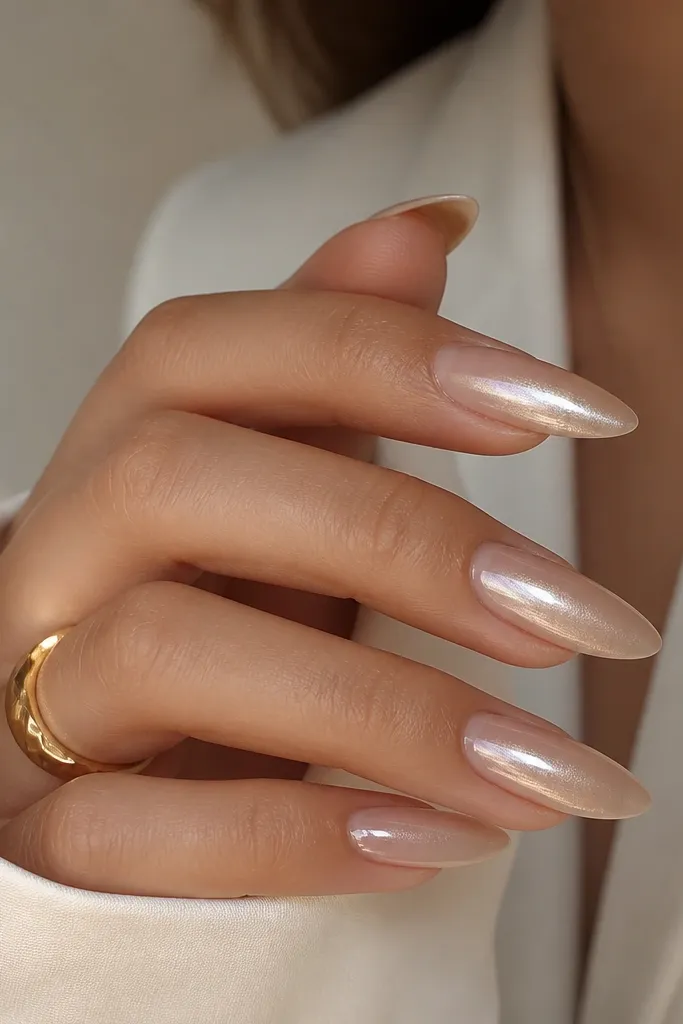
This one looks expensive because it keeps the cuticle clean and lets the chrome catch light like jewelry. The nude base is slightly warm, so the champagne chrome doesn’t turn too yellow on medium and deep skin tones. The chrome is not full coverage — it starts around the mid-nail and blooms toward the tip, which makes fingers look slimmer and longer. It’s also great for events because chrome reads luxe under flash. If your hands look better with gold tones, this design will feel like a perfect match.
Apply a sheer nude base and cure fully, then shape your extension to a long almond with a smooth sidewall. Use a sponge or small chrome applicator to place champagne chrome from mid-nail down, leaving the first 1-2 mm near the cuticle nude. Blend the edges gently by tapping, not swiping, so the gradient stays smooth. Add a second light pass on the tip area only for extra brightness. Finish with a glossy top coat that won’t dull chrome too much; I prefer a top coat labeled chrome-safe and cure thoroughly.
If chrome looks patchy, stop and add one more light tap pass — pressing harder usually makes it worse.
Don’t coat the whole nail in chrome and then forget the cuticle gap; that’s how it turns “costume” fast.
4. Satin Rose Matte with Tiny Rhinestone Crescent
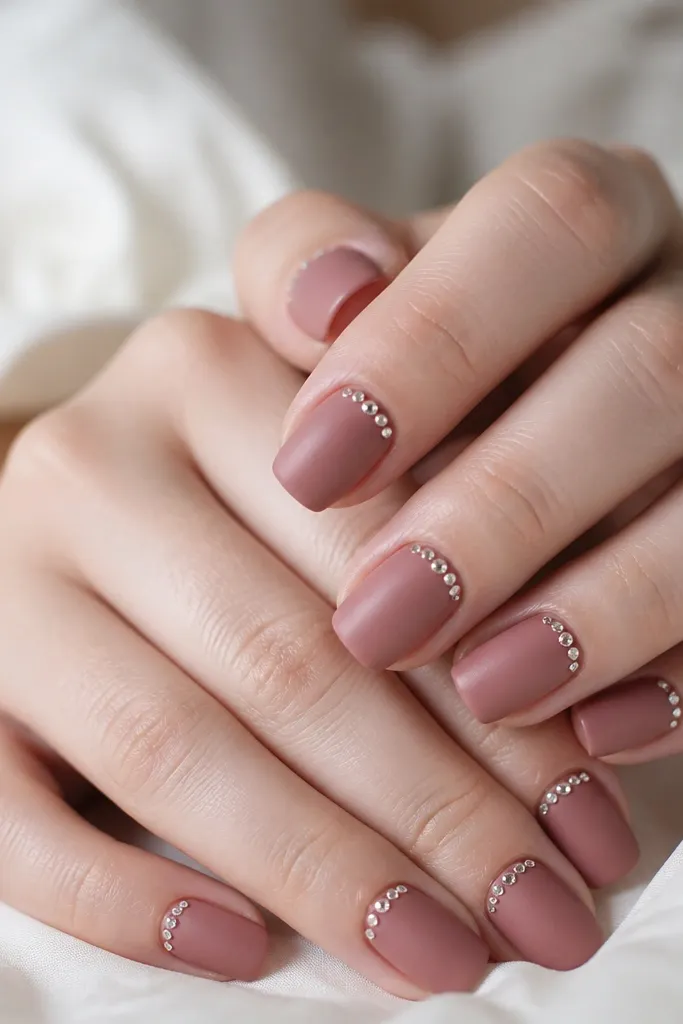
Matte can look luxe or cheap depending on the edges, and this design keeps it clean. The satin rose color is dusty and flattering — it looks good on fair skin because it isn’t too pink, and it looks good on deeper skin because it has a muted warmth. The rhinestone crescent is tiny and placed only on the cuticle area, so it feels like jewelry rather than decoration. The matte finish hides small surface imperfections, but the stones still add that polished sparkle. This is a great choice for weddings, date nights, and anyone who wants something soft but still “special.”
Start by creating a short squoval shape and file smooth, especially at the sidewalls. Apply a satin rose gel base and cure. Place 5-7 micro rhinestones in a neat crescent across the cuticle — I set the stones slightly off-center so the sparkle moves with your hand. Use gel to secure each stone and cure. Seal with a matte top coat, but keep it light over the stones so they stay crisp and don’t look dull. Clean the cuticle line with a small brush and alcohol wipe before the final cure.
Choose stones with the same size and cut; mismatched stones look like a craft project under matte.
Don’t use a high-shine top coat over matte designs — it kills the satin effect and makes the stones look glued on.
5. Black Velvet Negative Space with Silver Side Lines
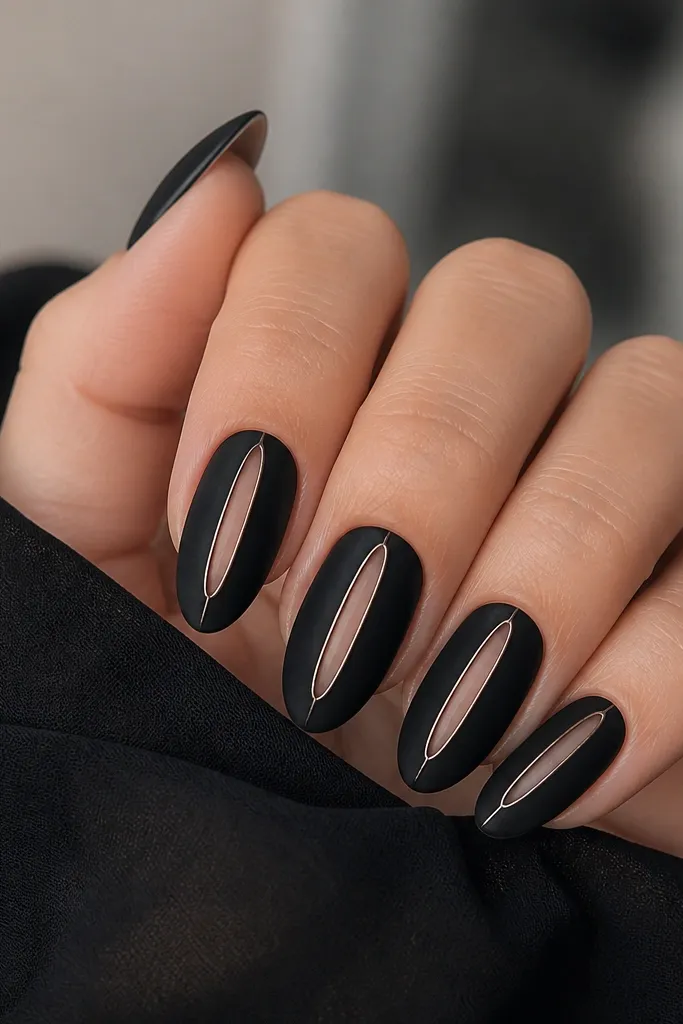
If you want edgy luxe without going full gothic, this is the one. The black velvet finish looks soft and expensive, especially under indoor lighting where glossy black can look harsh. The negative space window keeps it modern and makes fingers look longer because your eye has a clear vertical path. The two silver side lines add structure and reflect light in a controlled way. This flatters hands with longer nail beds, but it also works on short nails if you keep the window narrow. It’s strong for parties, concerts, and nights out where you want your nails to look intentional.
Editor's noteKeep the negative window narrow — around 1.5-2 mm — so it looks sleek, not like a gap in the nail.
Apply a thin black gel base and cure, then use a striping tool or thin tape to mask a vertical negative space window near the center. Build the velvet effect by using a velvet-matte or soft-matte top product over the black — I keep it even so it doesn’t look patchy. Add two fine silver gel lines along the sides of the window, staying parallel and symmetrical. Remove the masking carefully before curing so edges stay sharp. Finish with a velvet-safe top coat and cure fully, then inspect straight-on for alignment.
Skip thisDon’t spill silver over the negative space; it turns into messy “outline” instead of clean luxe.
6. Milky Blue One-Stripe French with Gold Foil Speckle
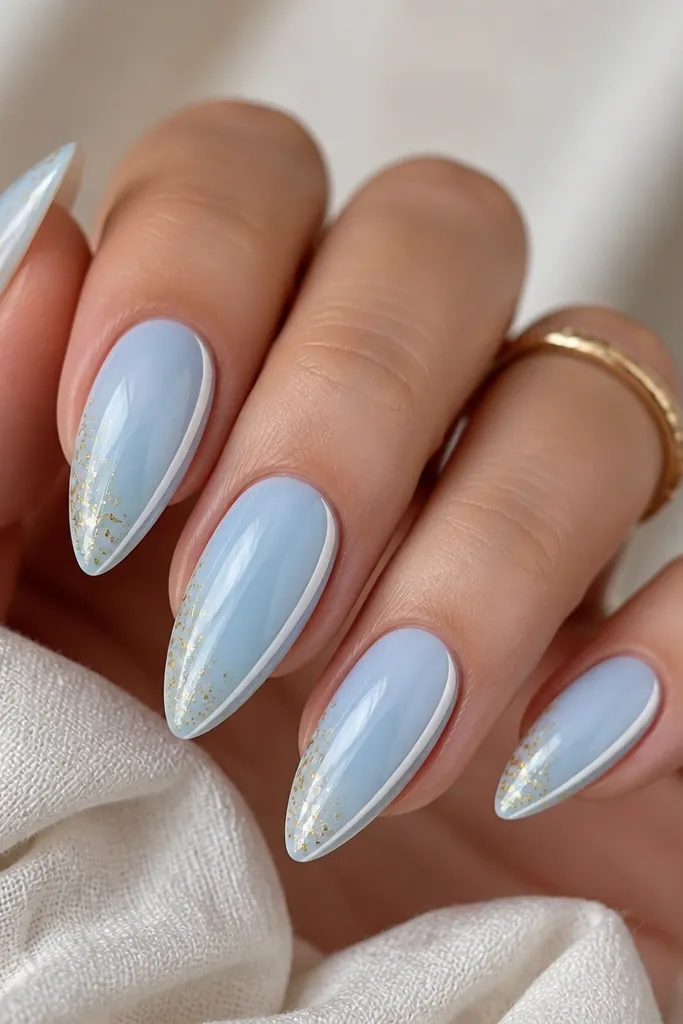
This design looks creative because it breaks the symmetry in a controlled way. The milky blue base is flattering because it’s not neon and it reads as “cool” rather than loud. Using a one-stripe French keeps the look graphic, and the gold foil speckles add that luxe sparkle without needing rhinestones. The tip area is where it matters — gold foil near the edge catches light when you move your hands. It’s especially pretty on skin tones that look great with silver or mixed metals.
Editor's noteIf foil is too bright, mix a small amount of clear gel over it before curing so it looks like soft specks, not chunks.
Start with long almond extensions and file a crisp tip curve. Paint two thin coats of milky blue, cure, and check for streaks under the lamp. Create the one-stripe French by placing a thin white line on only one side of the tip — about 0.5-0.8 mm from the edge. On the opposite side, tap tiny bits of gold foil using foil transfer gel, then cure. Seal with a glossy top coat, and cap the tip so the foil doesn’t snag.
Skip thisDon’t make the stripe thick; chunky French on one side looks uneven and cheap.
7. Clear Jelly Tips with Rose Quartz Veins
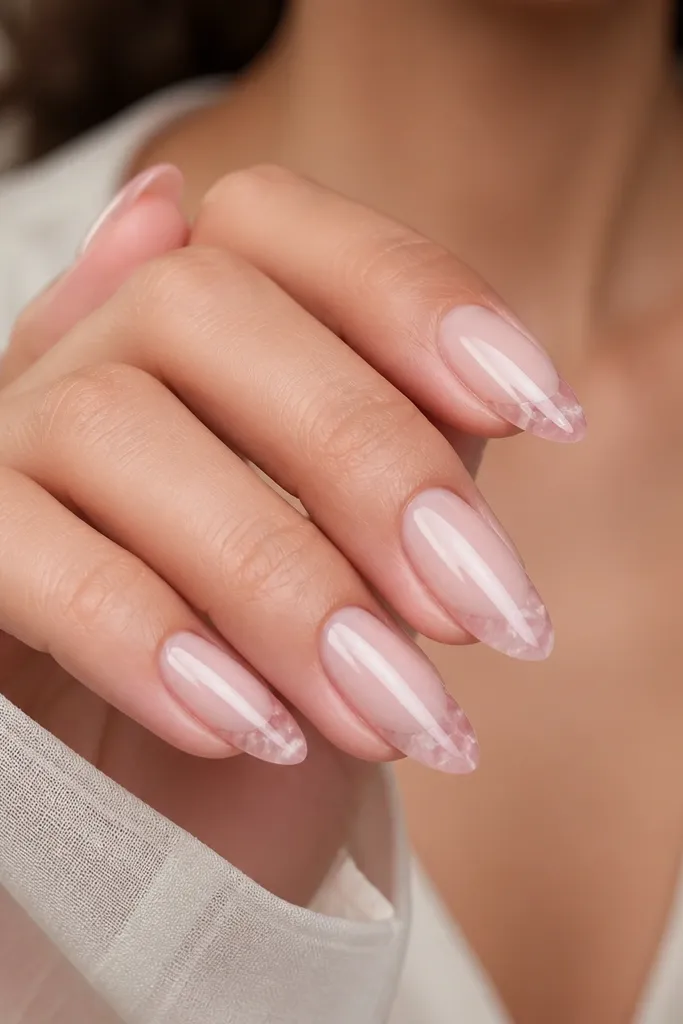
Jelly tips look luxe because they’re dimensional, not flat. The sheer nude base keeps your nails looking clean, while the clear jelly at the tip makes the design feel like glass gem. Rose quartz veins are soft pink and blush — they flatter fair to deep skin because they sit between warm and cool. The veins are placed inside the jelly, so they look suspended, which makes photos look high-end. This is a great choice if you want something that feels “jewelry,” but you don’t want a heavy top layer of rhinestones.
Build medium almond extensions and leave the tip area slightly thinner for a natural jelly look. Paint a sheer nude base and cure. Apply clear jelly gel on the tip only, keeping it translucent and leaving a small nude border near the sidewalls. Use a fine brush to pull thin rose-pink and blush lines through the jelly — keep the lines irregular and light. Cure, then cap with a final thin clear layer to smooth the surface. Top coat glossy and wipe the tacky layer if your system needs it.
Use gel colors that are see-through; opaque pink makes it look like candy coating.
Don’t overfill the jelly — thick jelly at the tip causes lifting and feels bulky when you wear it.
8. Sculpted Nude with Micro 3D Bow Charm
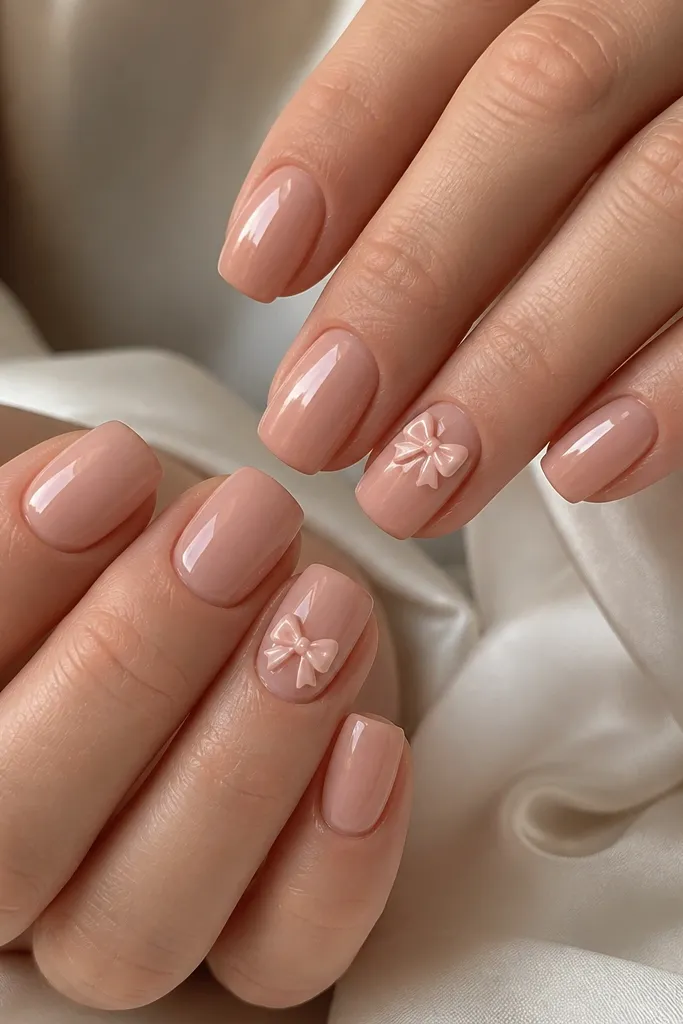
This design is luxe because it’s controlled and tactile. The sculpted nude base has a smooth, rounded apex that makes the nail look like it has a built-in highlight. The micro 3D bow charm adds personality without overwhelming the whole set. I place the bow on two nails only, usually the ring fingers, so the look stays wearable. Pale pink bows work on nearly every skin tone because they’re close to natural skin color — they read sweet, not loud. If you like cute details but hate “too much,” this is your sweet spot.
Editor's noteChoose a charm with a flat back; bulky charms snag on hair and knit sleeves.
Start with short squoval extensions and make sure the apex is centered and slightly higher than you think, then file to a smooth curve. Apply a nude gel base and cure, then add a second thin nude layer for even opacity. Place the micro bow charm with a tiny amount of gel — press it flat at the cuticle side so it doesn’t lift at the edges. Cure carefully and check for any sharp edges around the charm; file gently if needed. Finish with a glossy top coat, but keep it thin over the bow so it doesn’t look flooded.
Skip thisDon’t put charms on every nail — the set loses the luxe focus and turns into costume jewelry.
9. Olive Smoke with Gold Half-Moon Tips
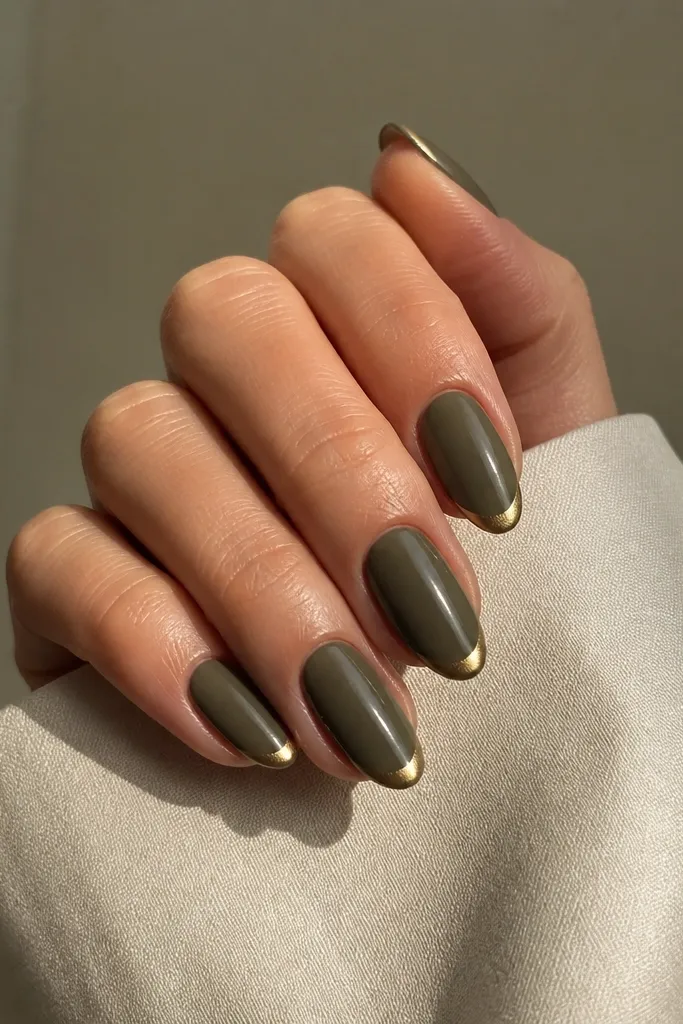
This is for anyone who loves neutrals but wants something more grown-up than beige. The smoky olive looks expensive on warm skin tones because it has depth, and it looks striking on cool skin tones because it adds warmth without going orange. The gold half-moon at the tip is like a reversed French — it frames the nail edge and makes it look sharper. I like keeping the gold thin and crisp so it reads clean rather than chunky. This design works well for fall, but it also wears beautifully in winter because olive doesn’t look harsh in cold lighting.
Apply a medium almond extension and file the tip evenly. Paint two coats of smoky olive gel, curing each, then decide on finish: I do a semi-satin top for that smoky effect. Use a thin striping brush or stencil to paint a gold half-moon at the tip — keep it centered and about 2-3 mm tall. Cure the gold carefully, then add top coat over everything except the gold edge if your system dulls foil/metal. If needed, use a glossy top only on the gold half-moon area for extra shine.
If the gold looks too bright, blend the edge with a tiny bit of olive gel around the crescent before top coat.
Don’t make the half-moon too wide; broad gold tips look like nail art stickers.
10. White Lace Overlay with Sheer Pink Base
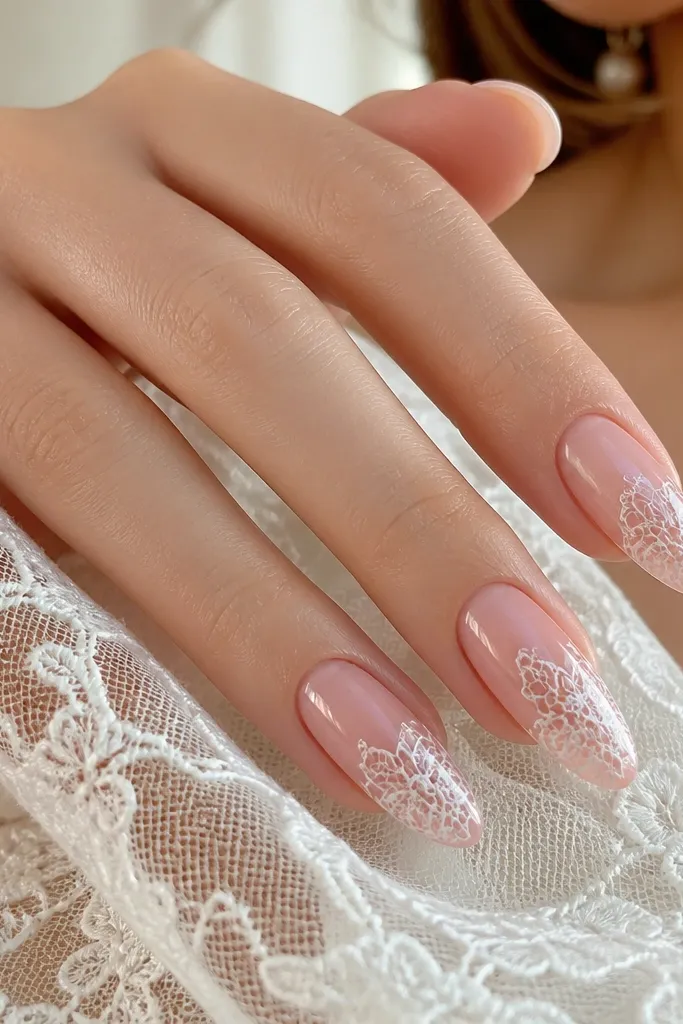
Lace on nails looks luxe when it’s airy and placed in the right zones. The sheer pink base gives a soft glow that flatters fair to deep skin, especially if you choose a pink that matches your natural undertone. The lace overlay is white but not stark — I mix white with clear so it stays slightly translucent, like fabric. The pattern is concentrated from mid-nail to the tip, which keeps the cuticle area clean and makes the design feel intentional. This is a beautiful pick for bridal events and romantic dinners, and it also works for anyone who wants “feminine but not childish.”
Start with long almond extensions and keep the cuticle line neat so the sheer base looks clean. Apply a sheer pink jelly base and cure. Using a thin liner brush, draw lace-like filigree starting around the mid-nail and extending to the tip, leaving gaps so it stays light. Add a few thicker lace nodes near the tip to guide the eye. Cure, then seal with glossy top coat in two thin layers so the lace doesn’t lift or feel bumpy.
Practice lace lines on one nail first; lace looks expensive when the lines are confident and slightly uneven like real fabric.
Don’t fill every gap with white; solid lace blocks the light and reads heavy.
11. Red Velvet Ombre with Black Micro Dot Tips
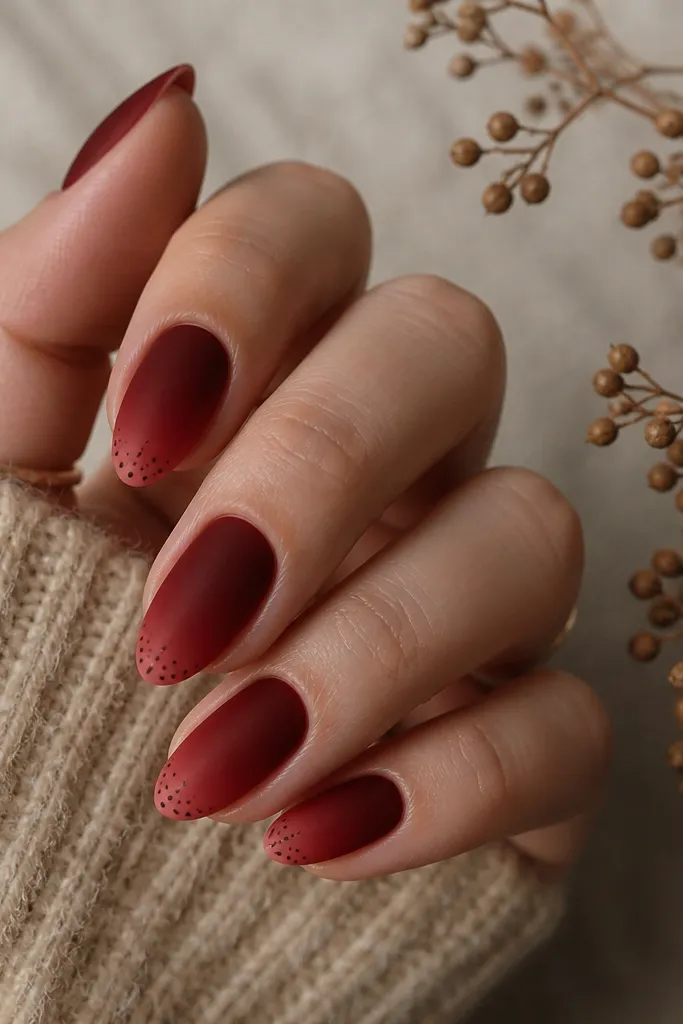
This design is dramatic but still wearable because the ombre is smooth and the dots are small. The deep red velvet finish reads expensive because it looks soft, like fabric, instead of shiny candy. The black micro dots add a graphic edge without turning it into polka-dot overload. Ombre flatters most hands because it creates a vertical gradient, and the dots at the tip draw attention to the nail shape. If you want something bold for winter parties or holiday events, this is the one I reach for.
Editor's noteUse a fine dotting tool or toothpick — oversized dots make it look like nail polish accident.
Build medium almond extensions and file the tip clean and slightly rounded, not knife-sharp. Paint a deep red base and cure, then blend the ombre using a sponge — keep the transition smooth from cuticle to mid. Add a velvet-matte top product and cure for the soft texture. With a dotting tool, place a small cluster of micro black dots at the tip edge — aim for 6-12 dots total per nail, spaced out. Seal with a second thin velvet top coat, focusing on the surface, not overpainting the dots.
Skip thisDon’t make the ombre streaky; streaks kill the velvet “fabric” effect.
12. Nude Chrome French with Clear Negative Cuticle
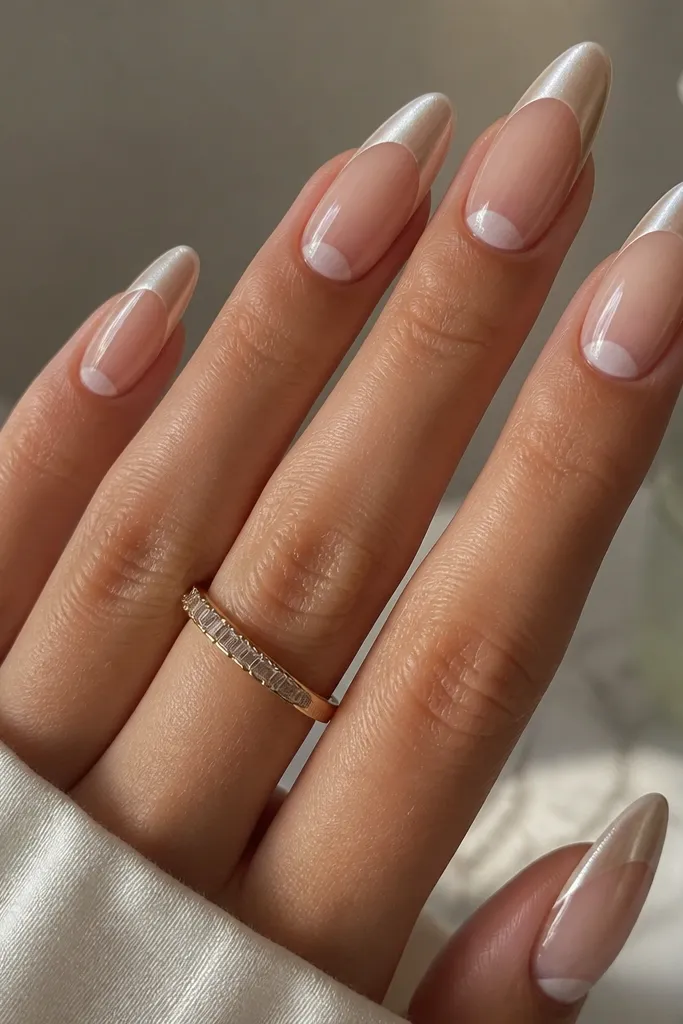
This look screams luxe because it uses negative space in the cuticle, not the tip. The clear cuticle gap makes the nail look longer and cleaner, and it also hides the line where extensions meet your natural nail. The nude chrome French gives a soft metallic glow without the harshness of bright silver. I like it on hands that look better with neutral tones — it flatters fair, medium, and deep skin because the chrome is nude-toned, not icy. It’s also great for clients who want “expensive minimal” but still want a shine factor.
Editor's noteMeasure the French line with a guide: keep it consistent across nails so the set looks salon-perfect.
Start with long almond extensions and keep the cuticle area sculpted smooth. Apply a sheer nude base from just below the cuticle line down the nail, leaving the cuticle area clear. Create the chrome French at the tip using nude-toned chrome powder or chrome gel — keep it thin and crisp, like a standard French line. Cure, then gently buff any rough edges without thinning the chrome. Finish with a glossy top coat, and if your top coat dulls chrome, use a chrome-safe top and cure fully.
Skip thisDon’t cover the clear cuticle gap with nude gel; that’s where the clean “luxury” effect comes from.
13. Soft Peach Opal with Floating Confetti Flakes
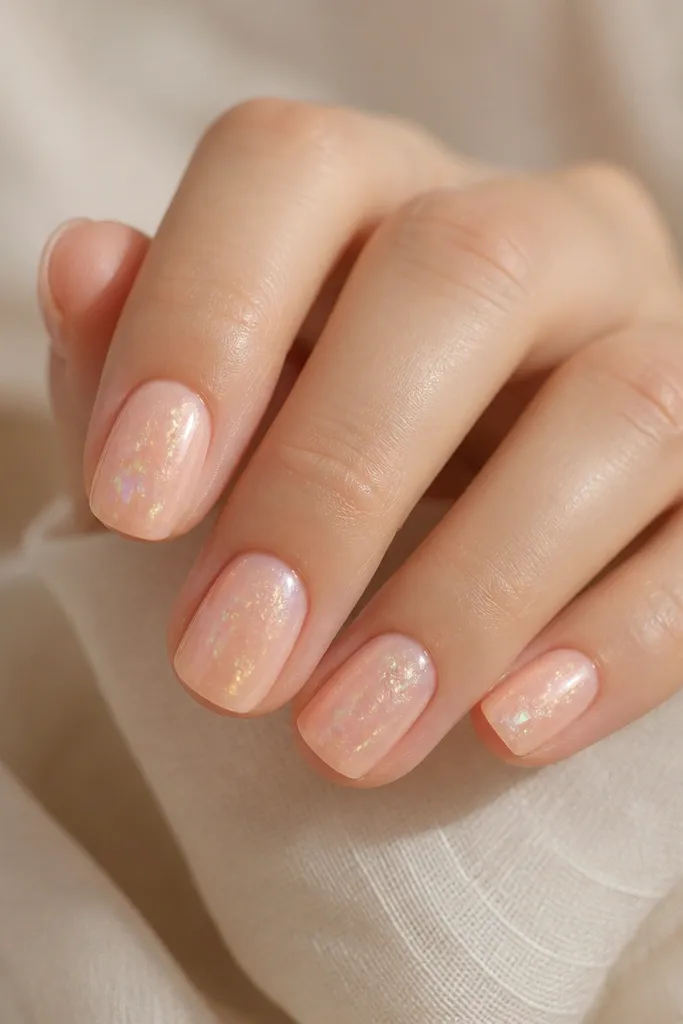
Opal bases look expensive because they shift color with light instead of sitting flat. The soft peach tone is flattering because it’s warm without being orange, and it works across skin tones from fair to deep. The confetti flakes are placed like they’re floating — I keep them sparse and in the center third so they don’t look like glitter fallout. This is a cute-but-luxe design for spring and summer, but it also looks good under warm indoor lighting year-round. It’s especially flattering on short nails because the opal glow makes the nail look smoother and longer.
Apply short squoval extensions and file smooth. Paint a soft peach opal gel in two thin layers and cure. Add holographic micro flakes by tapping them lightly into the center third using clear gel — don’t dump them, place them. Cure, then cover with a thin clear layer so the flakes look suspended instead of sitting on top. Finish with glossy top coat and wipe the tacky layer if needed. Check the nail from the side to ensure the top is smooth over the flakes.
If flakes stick too high and feel rough, add one more thin clear gel layer before top coat.
Don’t concentrate all the flakes at the tip; it reads like cheap glitter polish.
14. Champagne Nude with Pearl Studs and Thin Side Bar
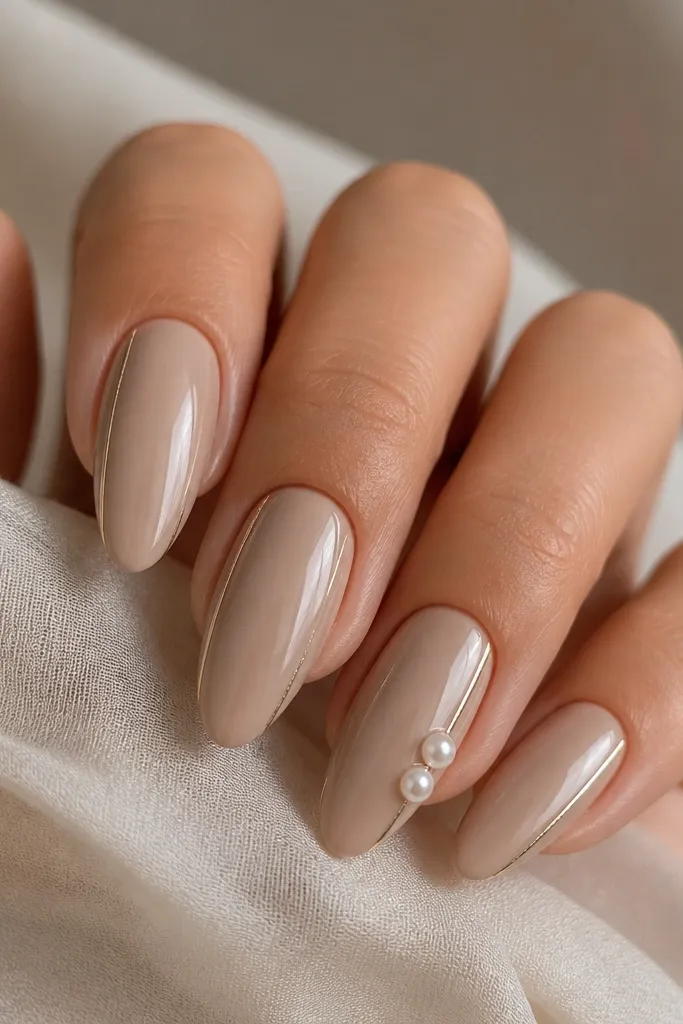
This is elegant luxury with a design trick: one strong line. The champagne nude base looks rich without being dark, and it flatters hands because it blends with natural skin tones while still looking intentional. The thin side bar adds a sharp vertical highlight that makes nails look longer and slimmer. Pearl studs placed near the bar give a jewelry feel, and because there are only two, it stays refined. This set works for office events, dinners, and bridal parties where you want “pretty” without rainbow colors.
Start with a medium almond shape and a smooth apex. Paint champagne nude in two coats for even opacity, cure, and apply glossy top if your gel line needs it for adhesion. Add a thin metallic side bar on the outer edge — keep the bar 1-2 mm from the sidewall and run it vertically from mid-nail to near the tip. On two accent nails, place two small pearls beside the bar, spacing them about 2-3 mm apart. Cure and top coat over everything lightly, making sure the bar edge is sealed so it doesn’t catch on fabric.
Use the same pearl size across nails; mismatched pearls look accidental.
Don’t thicken the side bar — a wide bar turns from luxe detail into a sticker stripe.
15. Deep Emerald Cat-Eye with Catwalk Silver Tips
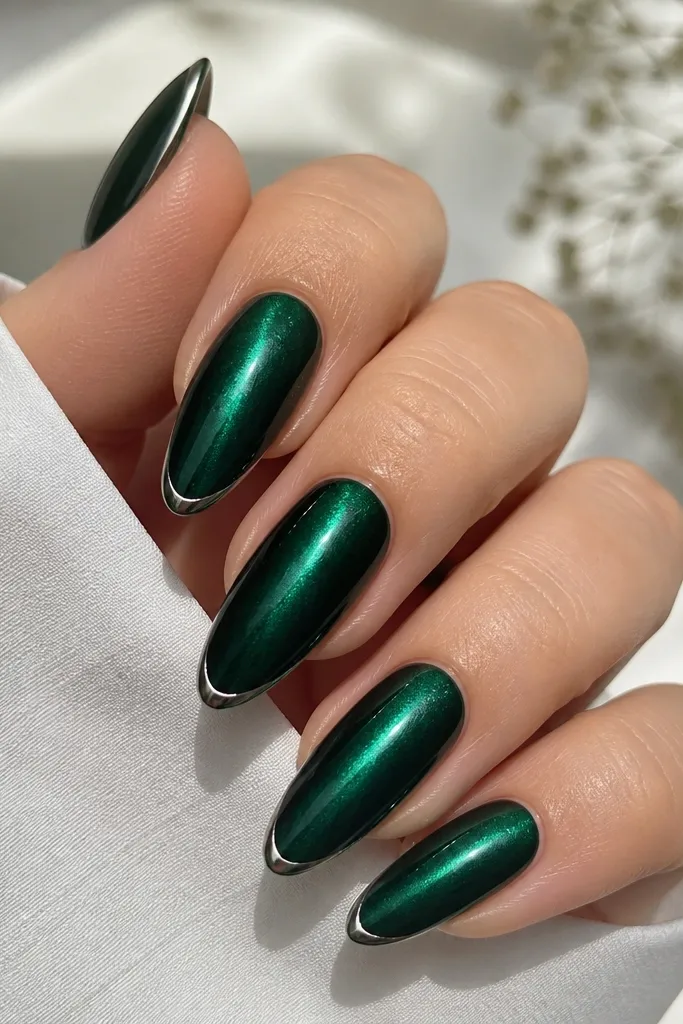
Cat-eye gel looks expensive when the streak is sharp and centered, and the design keeps everything else simple. The deep emerald color is flattering on almost everyone because it has both warmth and depth, and it looks especially good on medium and deep skin tones. The silver tips are thin and crisp, like a micro French, which keeps the cat-eye as the main event. This design works for holiday parties and nights out because it reads like jewelry — the streak moves when you move your hands. It also looks great on longer almond shapes because the streak naturally lengthens the nail.
Editor's noteIf the cat-eye streak drifts, reposition the magnet closer to the tip and hold longer — it locks the streak tighter.
Apply long almond extensions and file for a smooth, symmetrical surface. Paint a deep emerald cat-eye gel in one or two thin layers depending on opacity, cure. Use a cat-eye magnet right after applying the gel and hold it straight over the nail for the full cure time — you want one bright streak in the center. After curing, paint a thin silver micro French at the tips, keeping it under 1 mm. Seal with a glossy top coat and cure fully, then wipe and check the streak alignment from multiple angles.
Skip thisDon’t use thick cat-eye layers; thick gel blurs the streak and kills the luxe look.