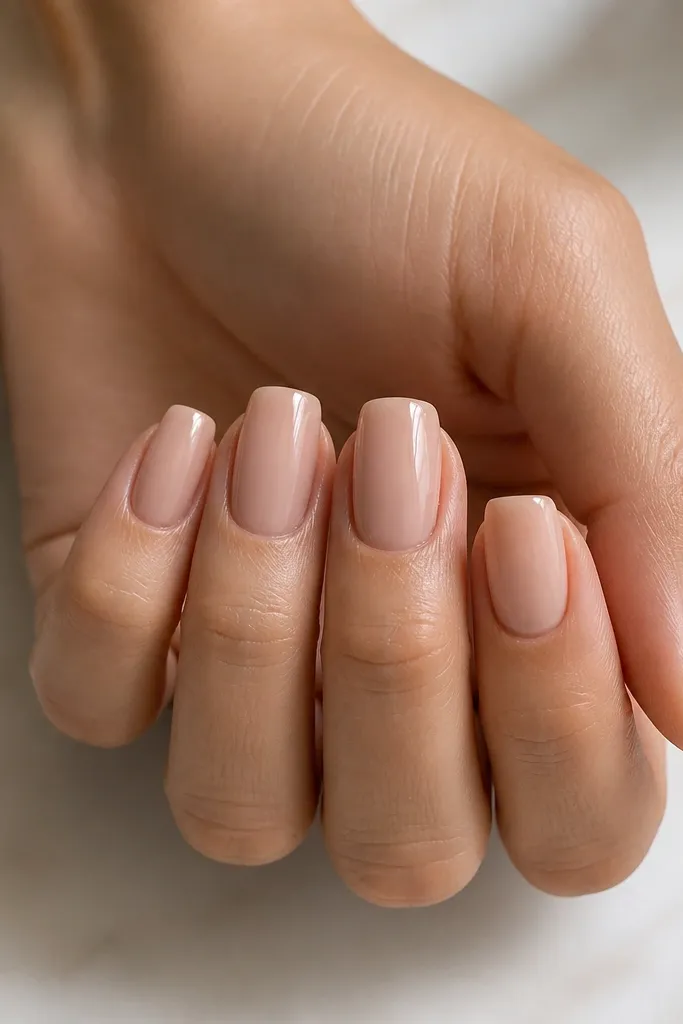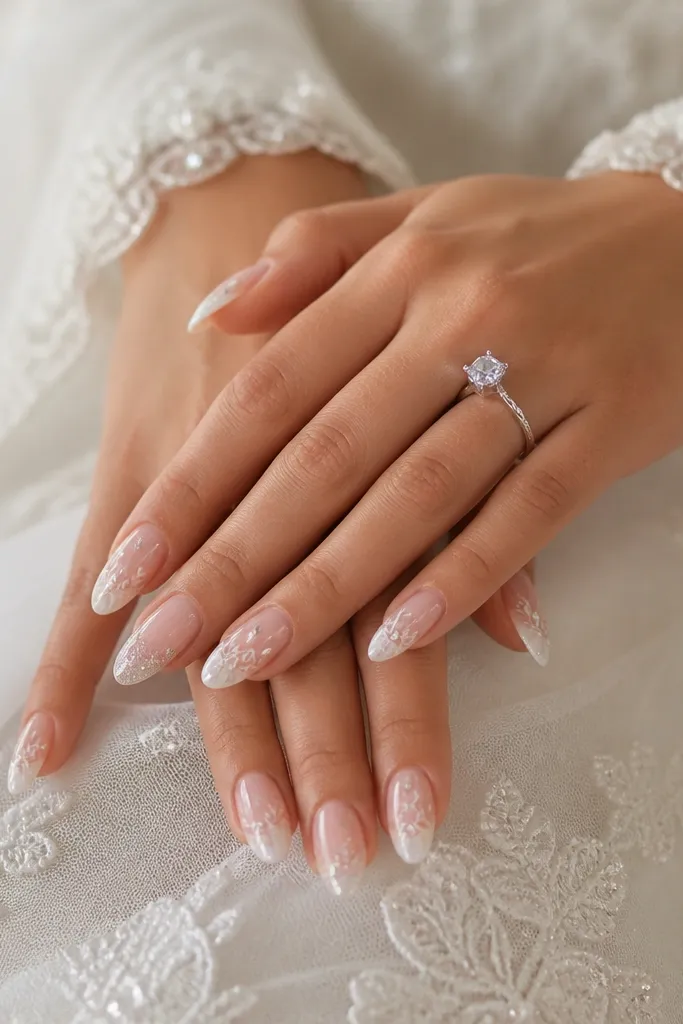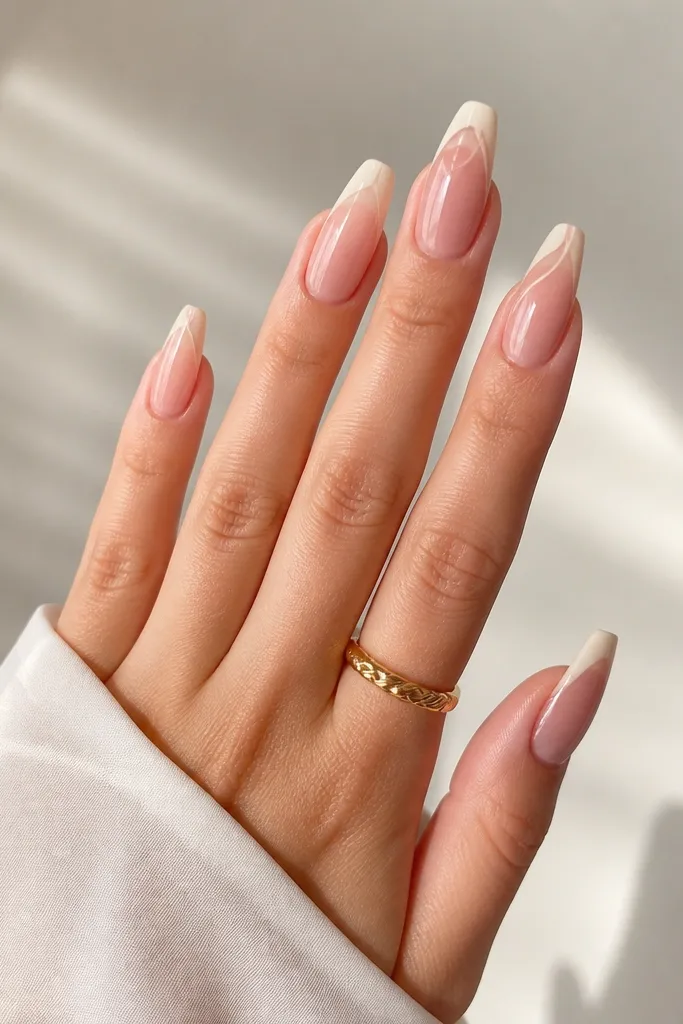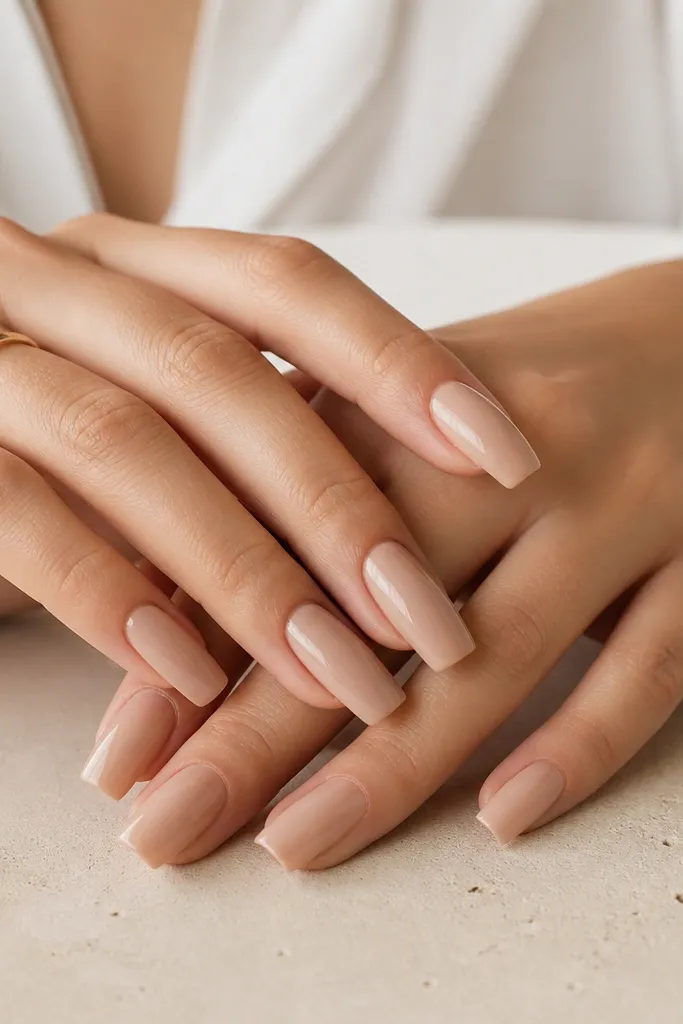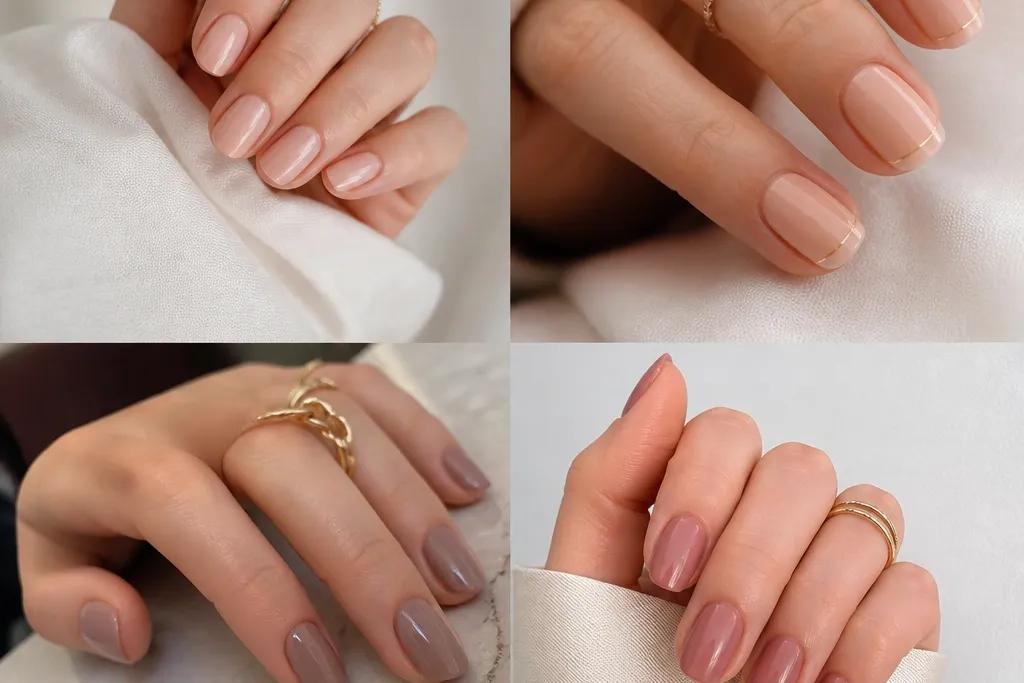
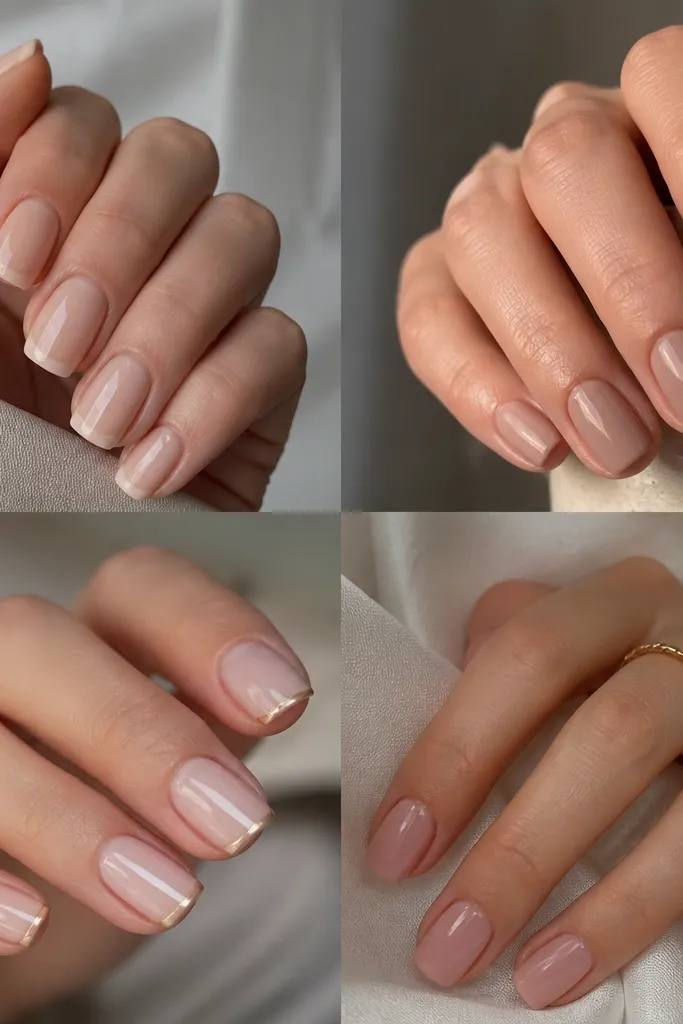
1. Milky Nude with Micro French Tip and 1 Chrome Line
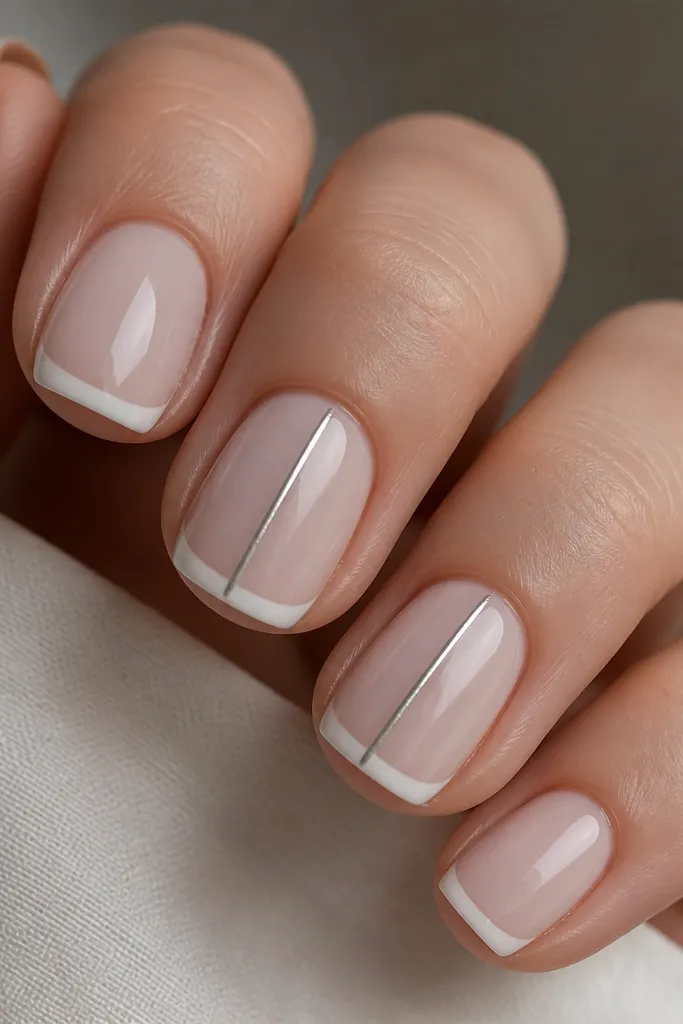
This set is the one I reach for when I want “polished” without looking like I’m trying too hard. The milky nude base blends with most skin tones because it’s sheer but not watery, so it doesn’t wash you out. The micro French tip stays classy because the tip is narrow, not wide — it visually lengthens without making short nails look stubby. The single chrome line gives modern edge while still reading minimal.
Start by filing your short extensions into a squoval shape, keeping the sidewalls smooth so the French line doesn’t catch. Paint a milky nude gel base and cure fully. Create the micro French tips with a striping brush, keeping the tip width around 1 mm — I measure by eye against the nail width and keep it thin. On two accent nails, add a straight chrome line in the center using a gel striping guide, then topcoat everything with a glossy finish.
If your French tips get wobbly, press a thin strip of striping tape along the tip edge before you paint white, then remove it right after curing the gel.
Avoid a thick French tip — it makes short nails look wider than they are and reads dated.
2. Sheer Rose Base with Double Thin Lines at the Tip
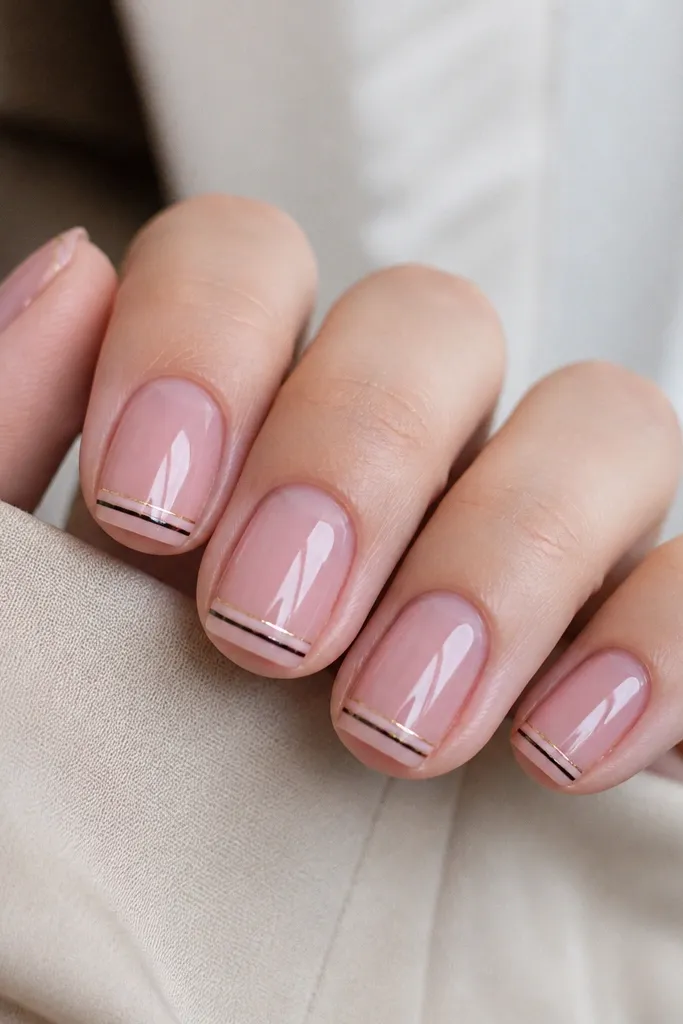
Apply a sheer rose gel base and cure. For the double lines, first paint a thin black line right along the tip edge using gel liner. Cure, then add a second hairline in pale gold just inside the black line by about 0.5 mm. Finish with a glossy topcoat that covers the edges so the lines don’t lift during wear.
This design works because it frames the nail without filling it up. A sheer rose base flatters fair to medium skin tones by adding a soft pink glow, and it looks good even if your nails grow out a little. The double thin lines at the tip create a crisp “tail” that makes the nail look longer. Black plus pale gold keeps it modern and wearable with both casual and dressy outfits.
Skip thisSkip chunky glitter at the tips; on short nails it overwhelms the clean line effect.
Editor's noteUse a liner brush that holds a point — if the brush spreads, your lines will look thick on short nails.
3. Iced Beige with Side-Accent Negative Space
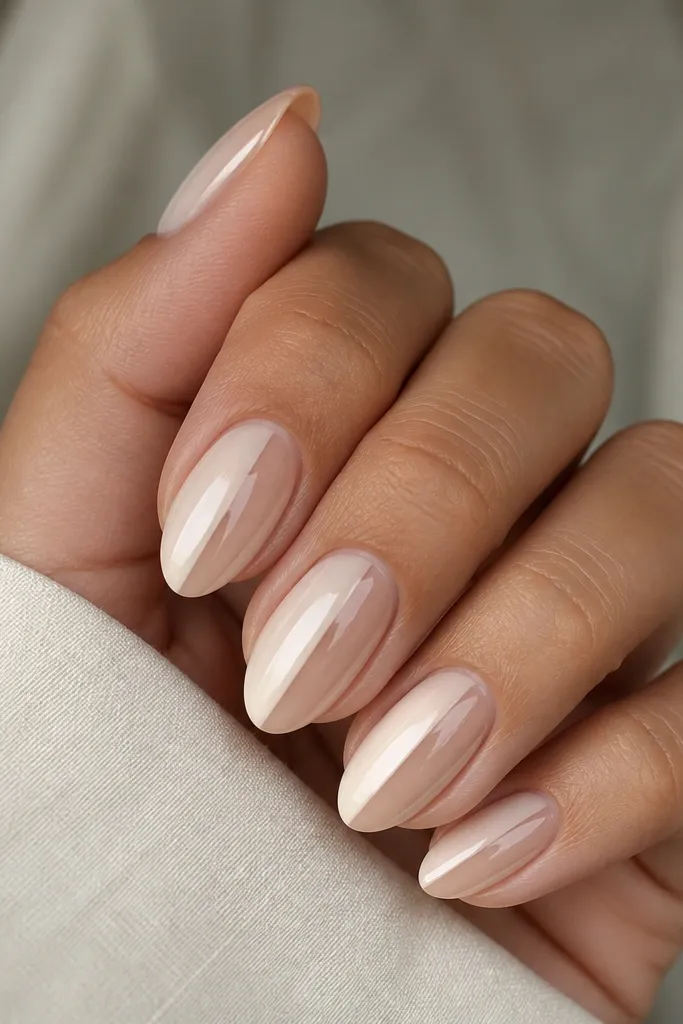
Start with an iced beige base that’s slightly milky, not opaque. Cure it, then place a thin strip of tape vertically where you want the negative space window. Paint over the nail with the same beige gel (or a slightly deeper beige if you want dimension), cure, and remove the tape to reveal the bare panel. Seal with a glossy topcoat and cap the free edge so the negative space edge stays crisp.
Negative space is the trick that makes short extensions feel airy and expensive. The iced beige base is warm-neutral, so it looks good on cool and warm undertones without turning orange. Keeping a narrow bare panel on one side creates a slimming, lengthening effect — your eye reads a vertical line. This one looks especially chic on hands with shorter fingers because it doesn’t add visual bulk.
Skip thisDon’t cover the entire nail with opaque color; short nails need breathing room to look modern.
Editor's noteIf you don’t have striping tape, use a very thin detail brush to paint up to the bare panel edge, then clean the line with a flat brush dipped in gel cleanser.
4. Glossy Black Mini Tips with Clear Base
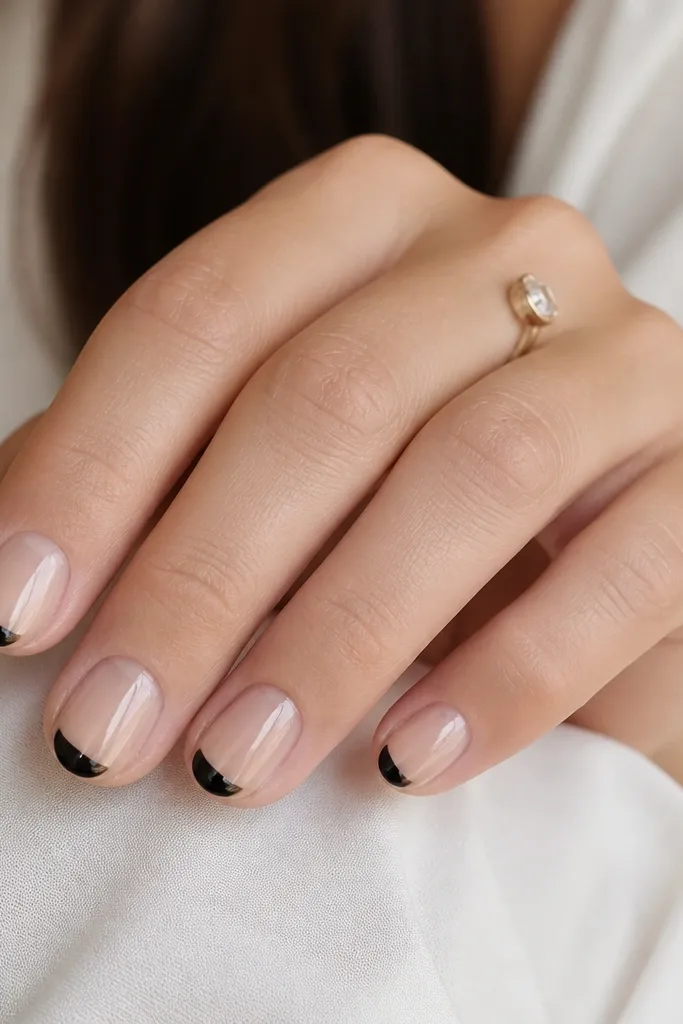
Build your short extensions, then apply a clear builder gel or clear rubber base and cure. Add black gel only to the tip portion, keeping it rounded and about 2-3 mm wide. Use a dotting tool to place black, then drag the edges inward slightly for a smooth cap shape. Topcoat with a thick glossy layer and cure fully to get that glass shine.
This is the “sharp but practical” set. A clear base keeps the nail looking light and clean, and it works on almost any skin tone because it doesn’t compete with your hand. The mini black tips add contrast without turning into a full French that can look heavy on short nails. I’ve worn this with workwear and it still looks intentional because the black is controlled and glossy.
Skip thisDon’t paint black all the way to the sides — side coverage makes short nails look stubby.
Editor's noteFor a cleaner edge, apply black gel, cure 10 seconds, then refine the border before full cure.
5. Warm Nude with Tiny Heart on the Side of the Nail
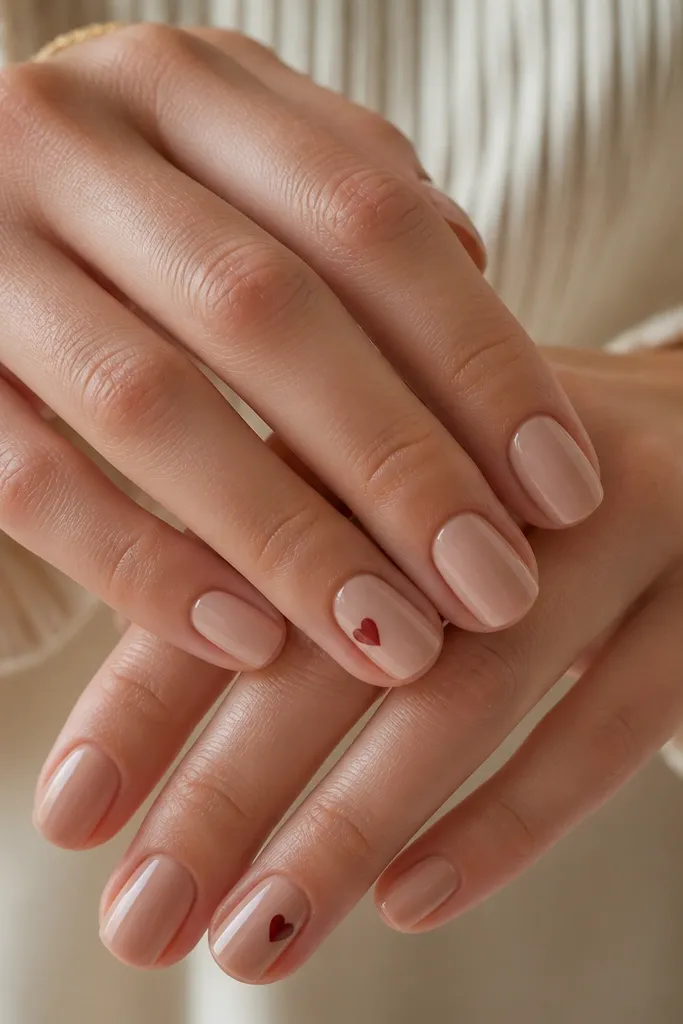
Apply warm nude gel and cure, then topcoat lightly so the surface is smooth. With a gel liner brush, draw a small heart using red gel, keeping it under 2 mm wide. Place it on one side of the nail, roughly at the midpoint between cuticle and tip. Cure, then seal with glossy topcoat on all nails, making sure the heart is fully encapsulated.
A tiny heart looks modern when it’s small and placed off-center. The warm nude base flatters most skin tones because it has a peachy undertone that warms up your hand. Putting the heart on the side near the middle keeps it from looking childish — it reads like a detail, not a theme. This set is great for dates, birthdays, and even office days when you want something sweet but still grown.
Skip thisDon’t put the heart at the tip; on short nails it crowds the edge and looks messy.
Editor's notePractice heart placement on a nail wheel by marking the midpoint with a dot first — it keeps the heart from drifting.
6. Pearl Chrome Cap with Milky Pink Base
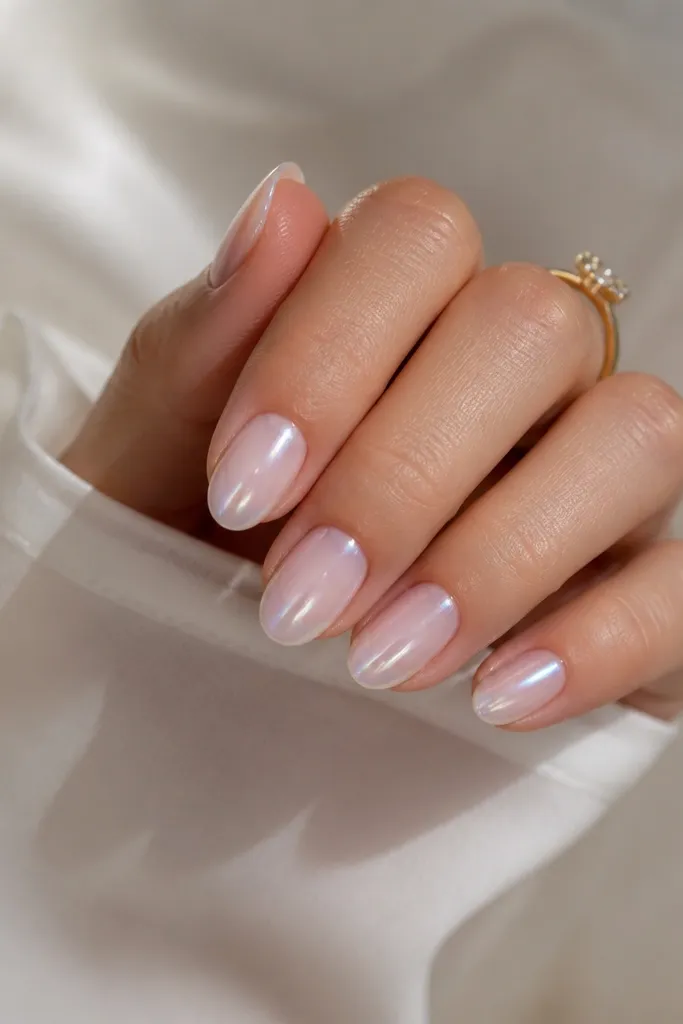
Chrome caps look chic because they act like a highlight, not a full-on glitter bomb. The milky pink base is soft and flattering, and the pearl chrome keeps the set elegant instead of harsh. Limiting chrome to the tip makes the nail look longer and gives a “jewelry” feel that still works for everyday. I’ve worn this to weddings and it looks good in photos without screaming for attention.
Start with a milky pink base and cure. Apply a thin layer of chrome gel or tacky layer only on the tip cap area, about 2-3 mm. Use a pearl chrome powder (silver-pearl) and buff it on the tacky gel, then gently wipe off excess. Seal with a glossy topcoat that doesn’t dull the chrome too much — use a top made for chrome if you have one.
Use a foam applicator and press lightly — heavy pressure can smear the cap edge.
Skip full-nail chrome on short extensions; it makes the nail look flat and wider.
7. Sage Green Micro Checks on Nude
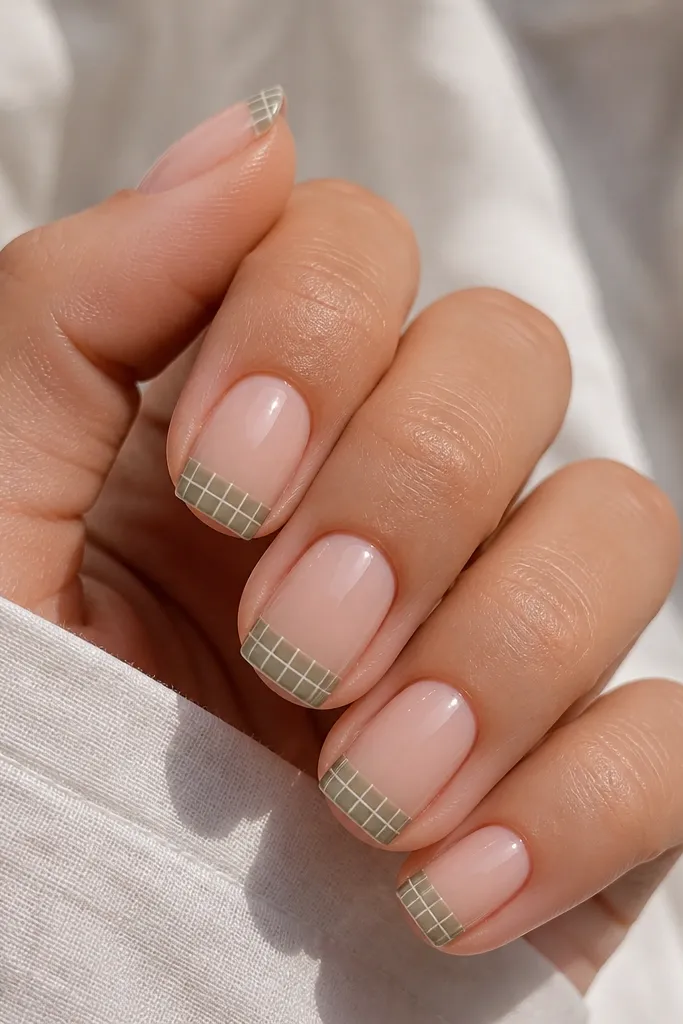
Micro checks look modern because the pattern is small enough to feel graphic, not busy. The nude base keeps it wearable, and sage green adds a fresh, slightly muted pop that works with denim, neutrals, and summer dresses. Placing the checks only in the tip third creates a border effect, which visually elongates short nails. It’s one of my favorite “seasonal” looks because it still feels calm.
Paint a nude gel base and cure. For the check pattern, use thin striping tape to create a grid across the tip third — keep the grid small so each square is about 1 mm. Paint sage green over the taped grid, cure, then remove tape. Add a thin white line between checks if needed for crisp separation, then finish with glossy topcoat.
If tape leaves bubbles, press it down with a silicone tool and wipe the nail with cleanser first.
Avoid large check squares; on short nails they swallow the nail shape.
8. Beige Marble Vein with Clear Negative Center
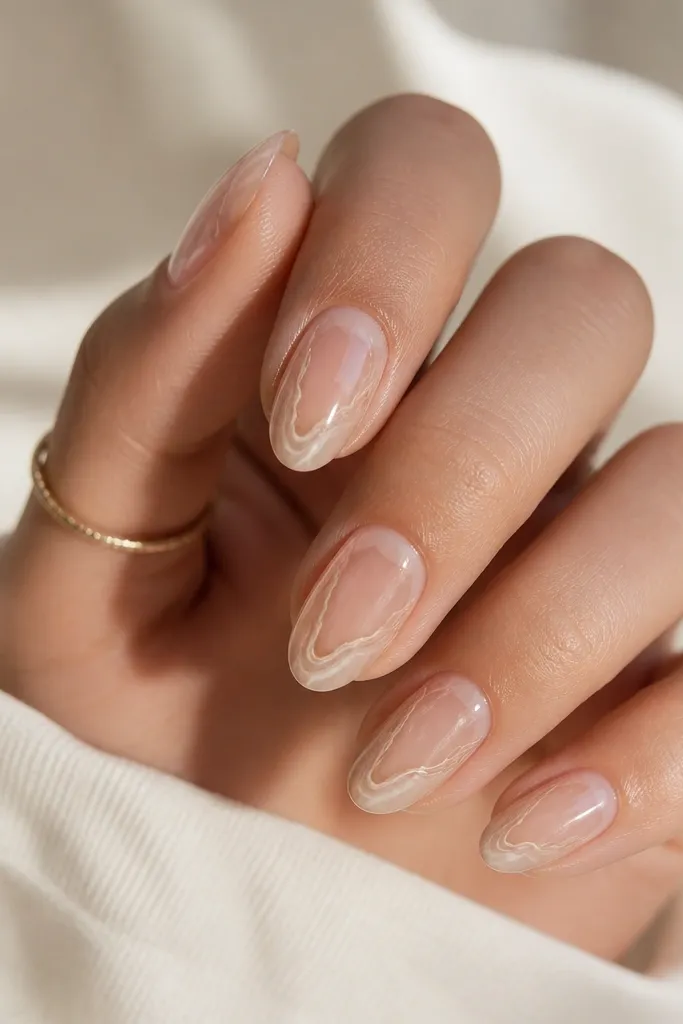
Marble looks expensive when it’s light and spaced out. The clear negative center makes the design feel modern and keeps your nail from looking crowded. Beige marble works on almost every skin tone because it’s neutral and warm, and the thin veins create movement without heavy pigment. This set is great when you want something artsy but still clean enough for work.
Apply a sheer nude or clear base, then leave a clear center strip using thin tape. Create marble by using a light beige gel and a fine detail brush to draw wispy veins on both sides of the center — keep veins thin and varied. Add a second slightly darker beige for depth, then gently blend the edges with a clean brush. Cure and remove tape after the first cure, then seal with glossy topcoat to trap the pattern.
Use gel, not nail paint, for marble veins — gel levels smoother and stays crisp on short nails.
Don’t pack thick marble blobs; thick veins look bulky on short lengths.
9. Black Satin Matte with One Glossy Accent Stripe
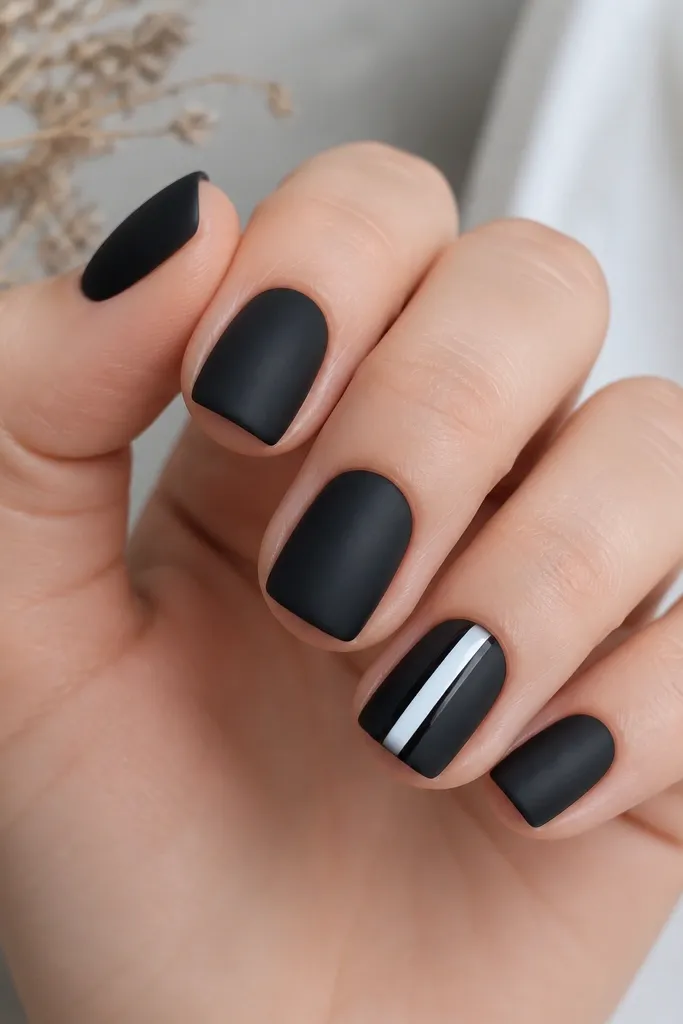
Apply your black satin matte gel to all nails and cure. On the accent nail, paint a thin glossy stripe using a gel liner and a glossy gel top (or glossy paint), then cure. Keep the stripe centered and about 1 mm wide for short nails. Finish by using matte top on the rest and glossy top only over the stripe area so the contrast stays sharp.
Matte black can look either edgy or cheap depending on the finish. A satin matte gel gives a smooth, velvety look, and it hides tiny bumps better than super high-gloss. The glossy accent stripe keeps it modern by adding one reflective focal point. This set is flattering on hands that like contrast — it makes fingers look longer and adds a confident, clean vibe.
Skip thisDon’t matttop over the whole accent stripe; it kills the contrast effect.
Editor's noteWipe the tacky layer with cleanser before matte top — it stops streaks.
10. Soft Pink Base with Tiny 3D Bow at the Cuticle
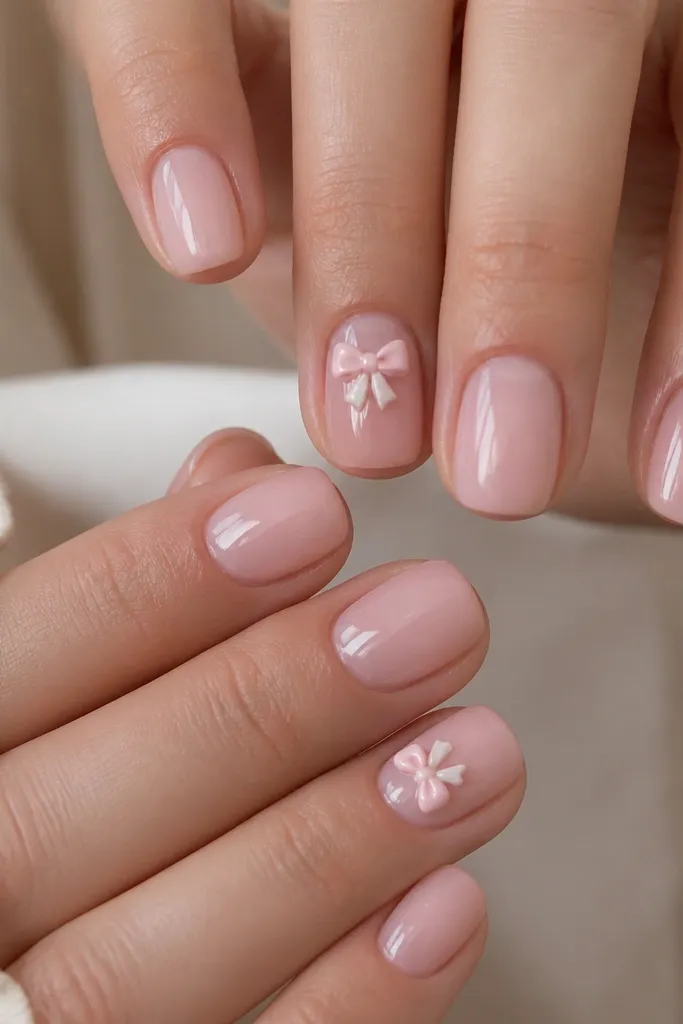
3D details look chic when they’re small and placed low on the nail. A soft pink base gives a gentle background, and the bow gives a playful moment without turning the nail into a costume. I like placing it close to the cuticle because it looks like jewelry and keeps the bow from snagging on sleeves. This design is best for events, photos, and days when you want “cute” but still clean.
Apply soft pink gel and cure, then add a thin layer of clear gel where the bow will sit. Place a pre-made tiny bow charm (or form one with polymer gel) and press it flat with a silicone pusher. Cure carefully in short bursts so the charm stays anchored. Seal with clear builder gel around the edges first, cure, then apply a glossy topcoat to smooth over the bow.
If you build your own bow, keep it under 3 mm tall so it doesn’t lift at the edges.
Skip a tall bow — height makes short nails catch and chip faster.
11. Nude Gradient Fade into Clear Tip
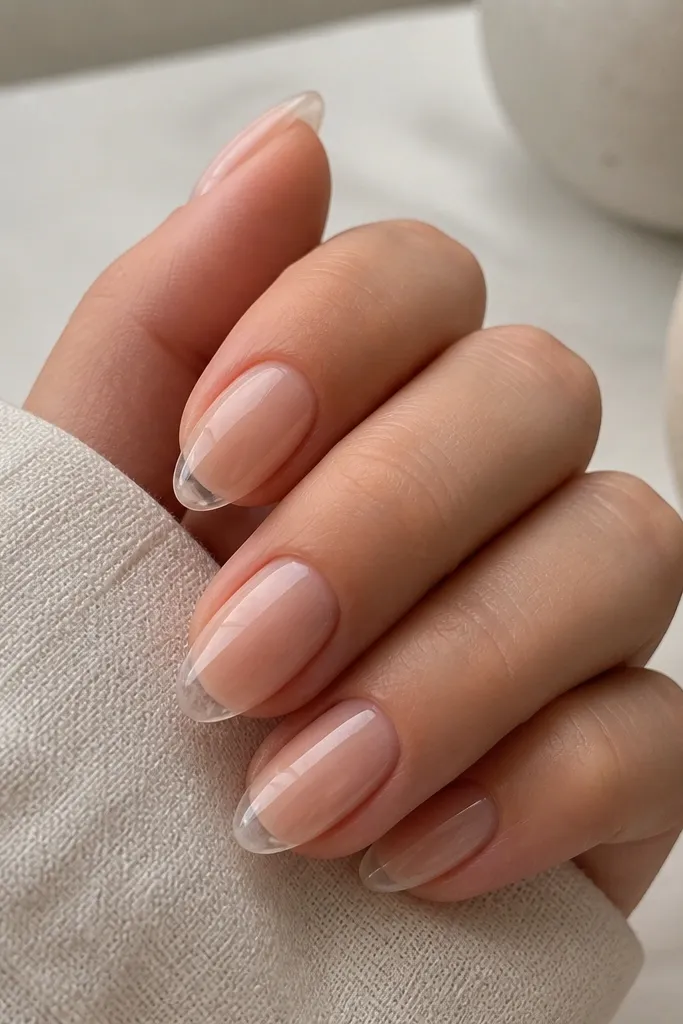
This gradient is the “short nail lengthening” trick because it visually removes the harsh line where color would normally stop. The warm nude near the cuticle flatters hands by warming skin tone, while the clear tip makes the nail look longer and lighter. It also hides grow-out better because the fade blends naturally. I like this when I want a clean look that still has a twist.
Apply a warm nude gel near the cuticle and blend it downward using a makeup sponge — keep the blend soft. Leave the last 2-3 mm of the nail clear by not placing nude there at all. Cure, then add a clear gel layer over the tip to make it glassy and even. Finish with glossy topcoat and cap the free edge lightly.
Wipe your sponge on a lint-free wipe before picking up more gel so you don’t get harsh speckled edges.
Avoid a sudden nude cutoff — the line is what makes it look cheap.
12. Red Micro French with Gold Cuticle Halo
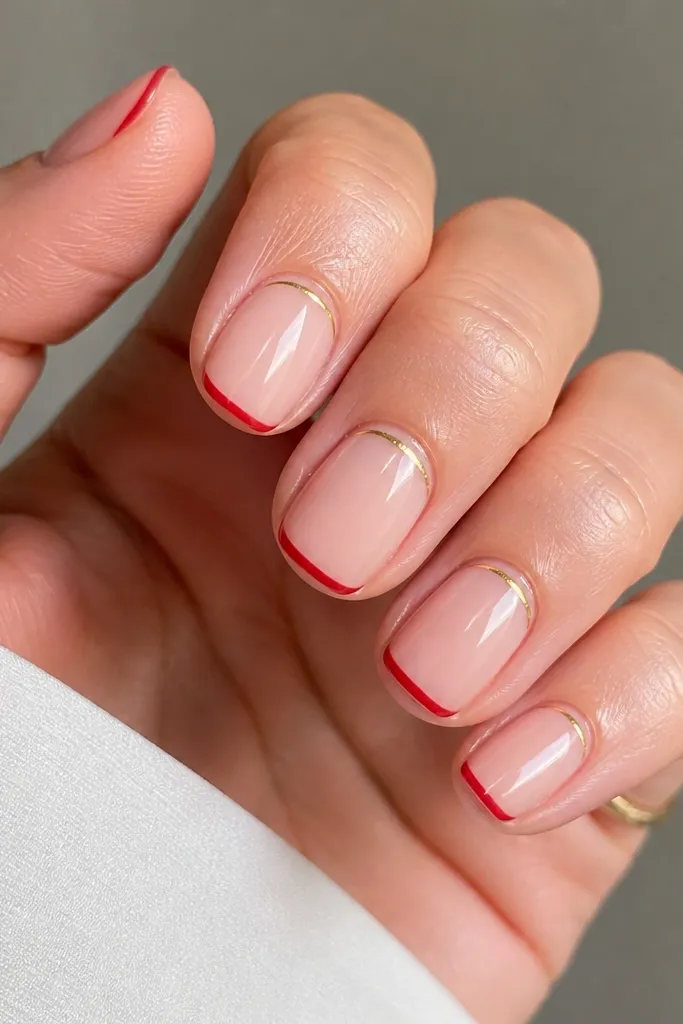
This is the holiday look that still reads modern because the red stays micro and the gold is minimal. The sheer nude base keeps it elegant and wearable, and the red micro French makes the nail look neatly framed. The gold cuticle halo adds a jewelry effect without covering the whole nail. I’ve worn this with gold hoops and it pulls the whole outfit together.
Paint a sheer nude base and cure. Add micro red French tips with a striping brush — keep the tip width narrow and the line straight. For the cuticle halo, draw a thin gold line following the crescent shape at the cuticle on each nail, then connect it at the sides. Cure and topcoat glossy, making sure the gold line is sealed so it doesn’t snag.
Use a liner brush loaded with very small gel amount — gold floods fast on short nails.
Skip thick gold at the cuticle; bulky lines make short nails look crowded.
13. Blueberry Jelly Base with Silver Confetti Dot
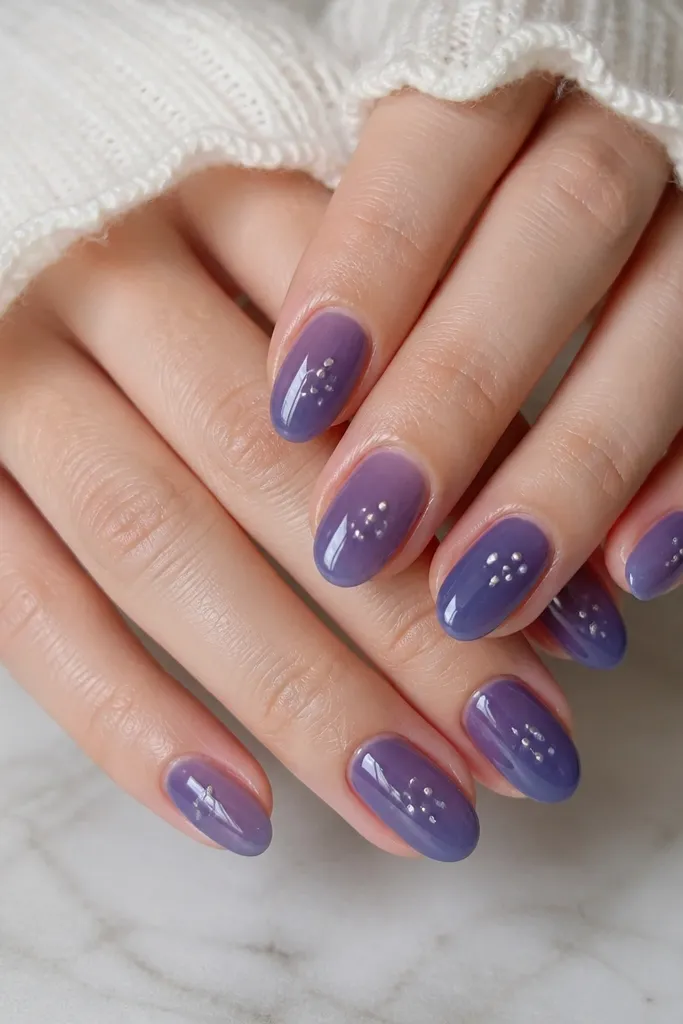
Apply blueberry jelly gel in two thin layers so it stays translucent and glossy — cure between layers. Place 2-4 tiny silver dot accents near the center of the nail using a dotting tool. Keep the cluster tight so it doesn’t spread toward the edges. Seal with a glossy topcoat that levels — I do an extra thin topcoat around the dots to lock them down.
Jelly bases look best on short nails because they keep the nail looking like skin — glossy and dimensional. Blueberry jelly is flattering because it has depth, but it’s still translucent enough to avoid looking heavy. The tiny silver dot clusters create sparkle without turning into full glitter. This set is a fun seasonal option that still looks clean because the dots stay controlled.
Skip thisAvoid big loose glitter — it catches on sleeves and chips corners quickly.
Editor's noteIf your jelly looks streaky, add one more thin layer instead of thickening the first coat.
14. Mocha Brown Half-Moon Outline on Nude
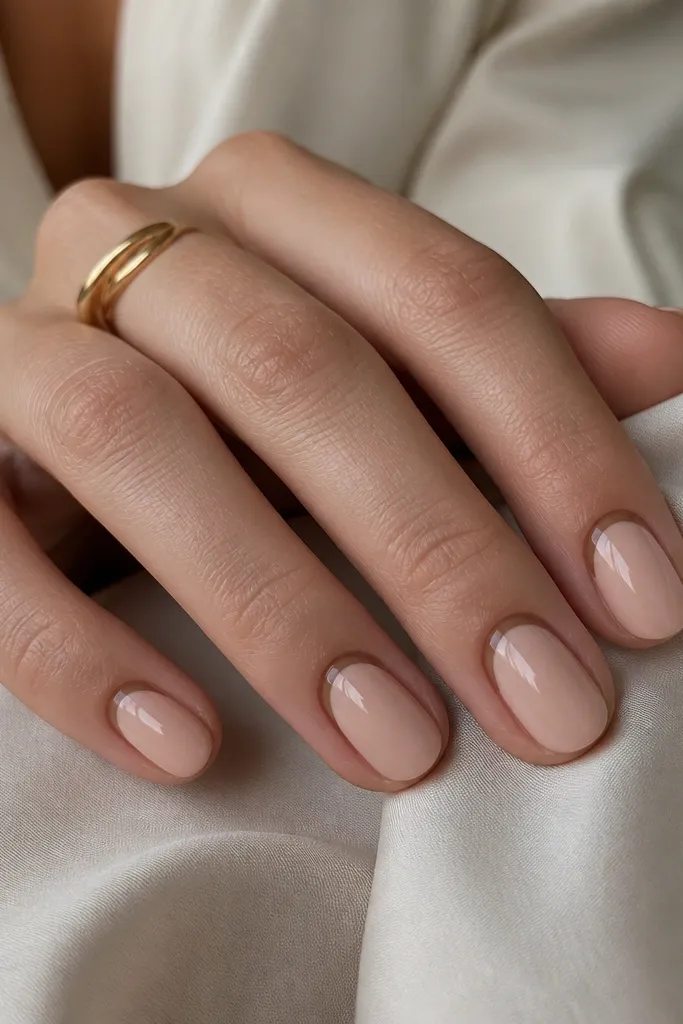
Half-moon outlines look chic because they’re graphic and minimal. A nude base makes the design feel modern instead of vintage, and mocha brown is softer than black — it flatters warm and neutral undertones. Keeping the center of the half-moon clear preserves the airy look, which is key for short nails. This set works for everyday because it’s subtle but still intentional.
Apply a nude gel base and cure. With a fine liner brush, draw the half-moon outline at the cuticle using mocha brown gel, leaving the cuticle center untouched. Make the outline about 1/3 of the nail width on each side. Cure and then topcoat glossy, capping the outline edges so the line stays crisp.
Use a makeup mirror at an angle — it helps you see if the half-moon is symmetric on both sides.
Avoid filling the half-moon — solid cuticle coverage makes short nails look heavier.
15. Champagne Nude with Two-Point Star at the Tip
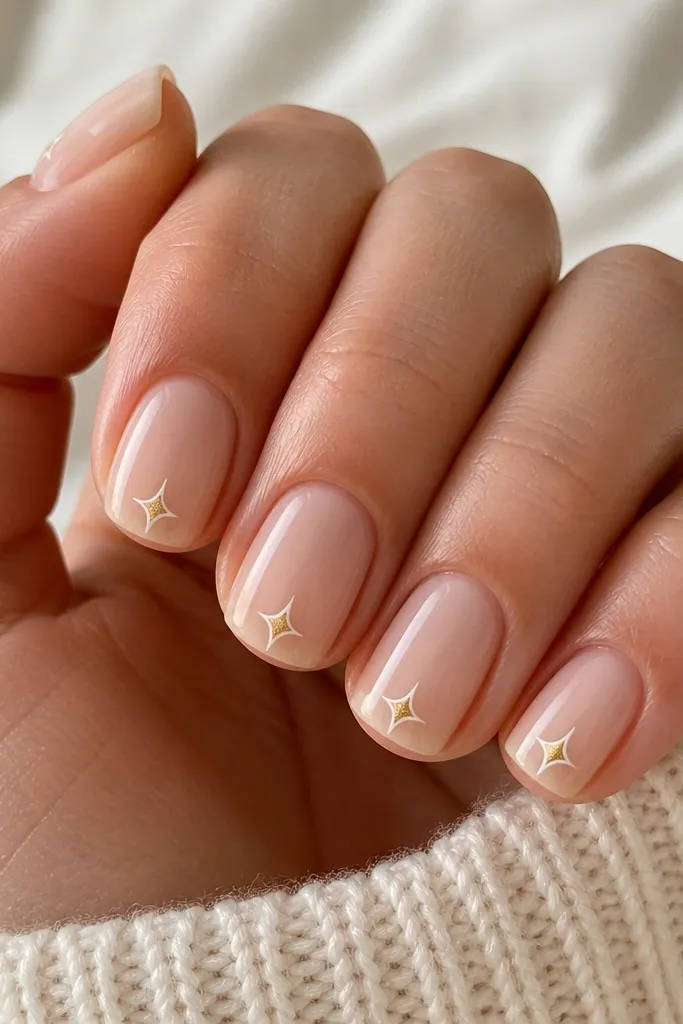
Paint champagne nude gel and cure. With a dotting tool and gel liner, create a small two-point star near the tip, about 1.5 mm from the edge. Outline it in white gel first, cure, then add a tiny dot of gold in the center of the star. Cure again and seal with glossy topcoat to lock it in.
This is a modern take on a “spark” detail that doesn’t take over the nail. Champagne nude is flattering because it has a light golden cast that looks good with warm jewelry and neutral outfits. The two-point star is simple enough to stay chic on short nails, and placing it near the tip makes it feel like a finishing touch. It’s playful but still minimal, which is why it feels current.
Skip thisSkip large stars — they look cartoonish on short extensions and break the clean look.
Editor's noteIf the star edges get shaky, stamp the outline lightly with a nail art stamp designed for tiny icons.